
Magnet Storage Box|Magnet Storage Box|Latch|Clear Labels|Magnet Holder
Print Profile(10)
Description
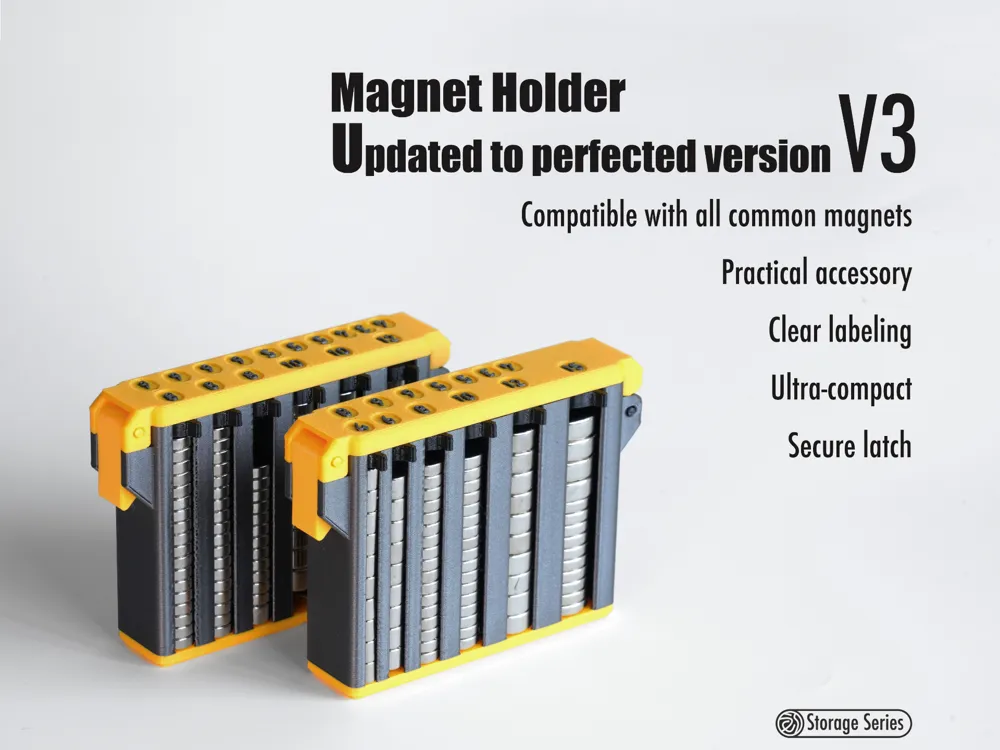
Magnet Holder
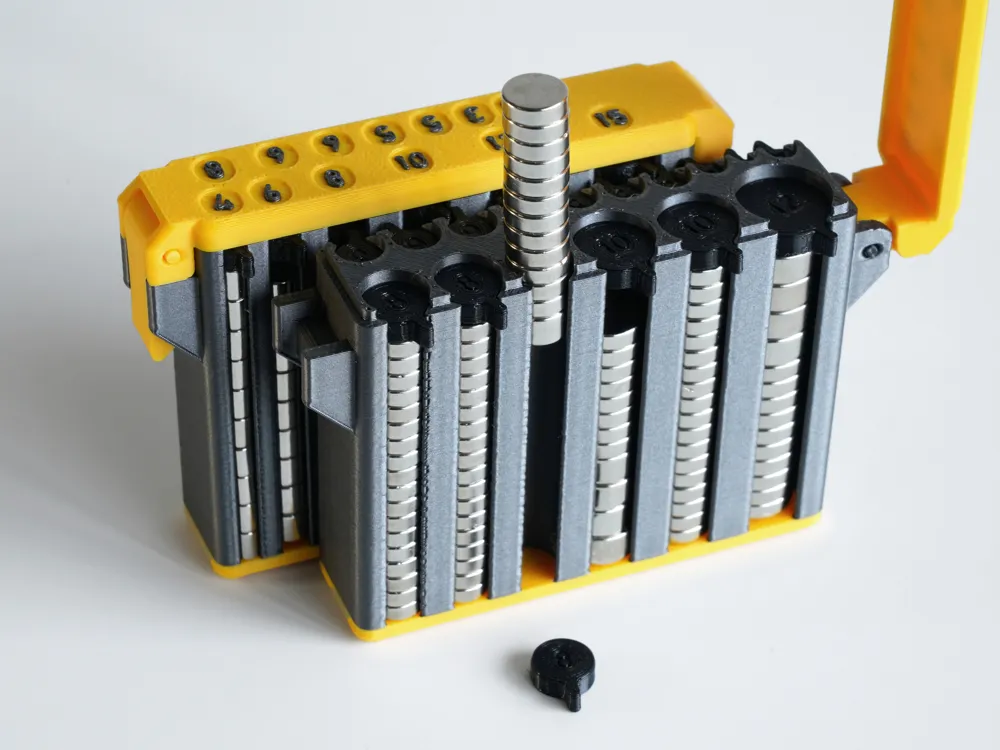
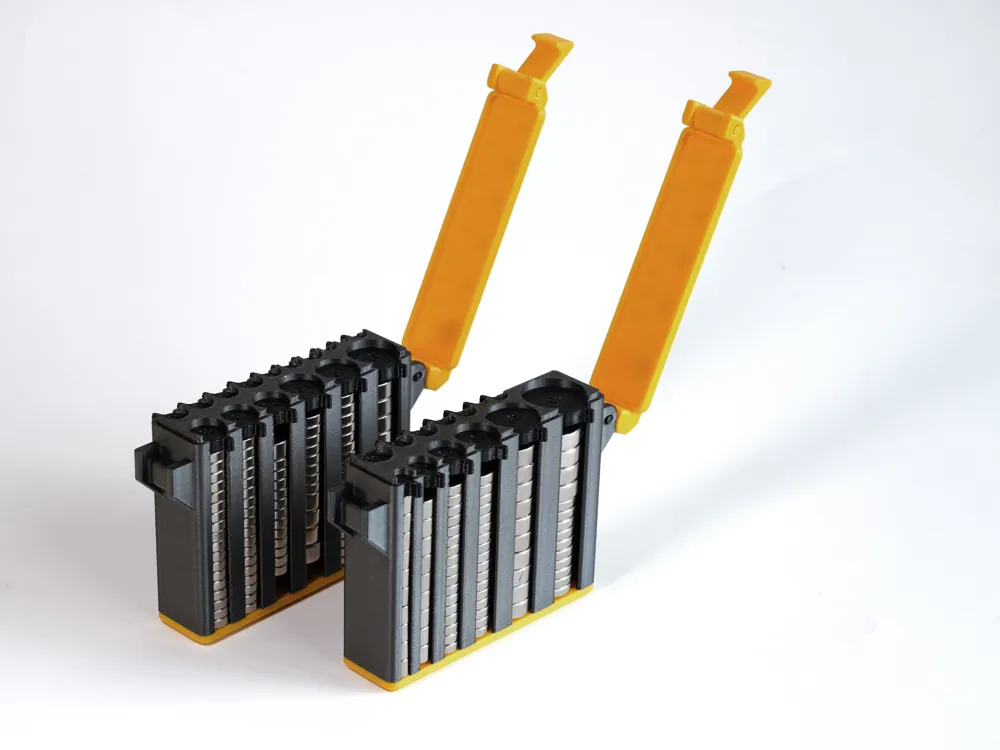
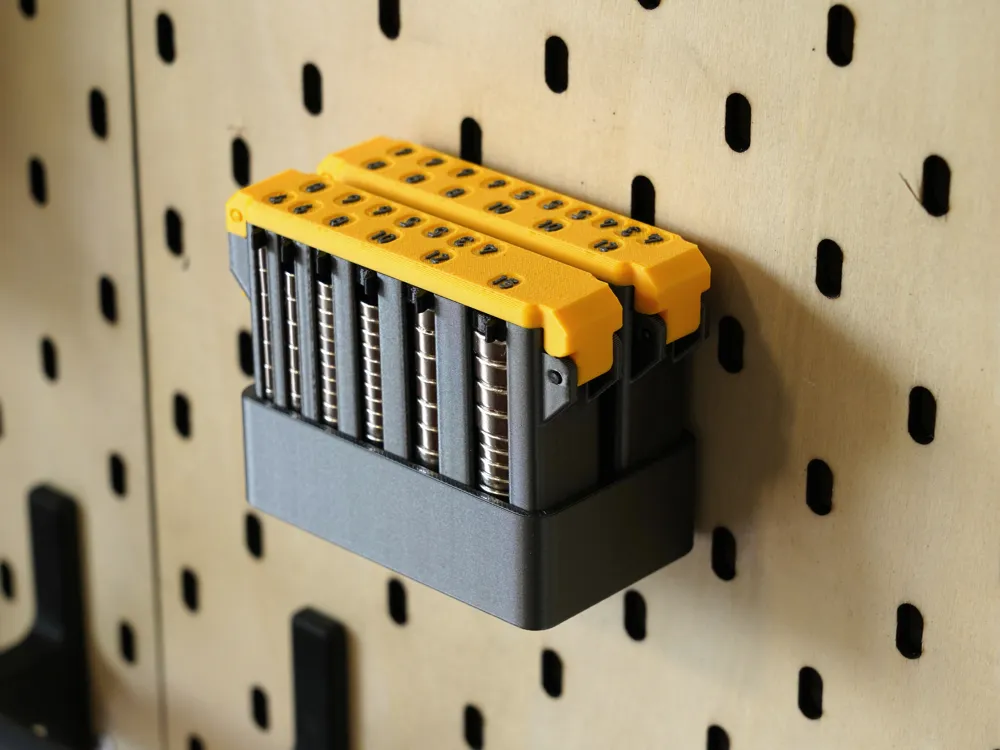
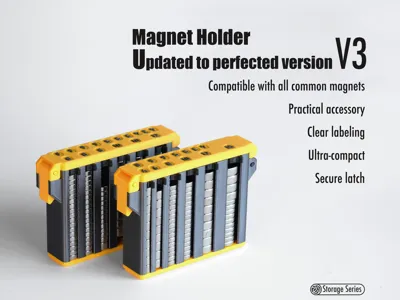
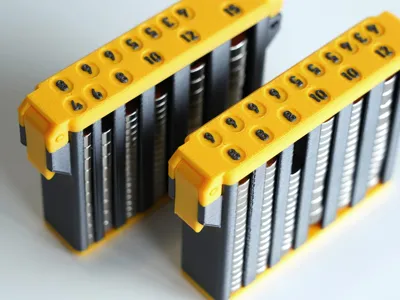
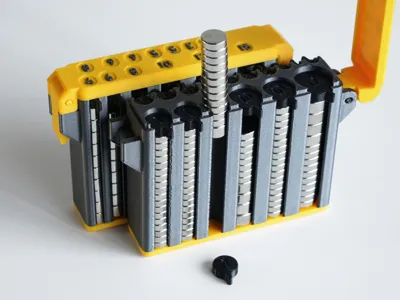
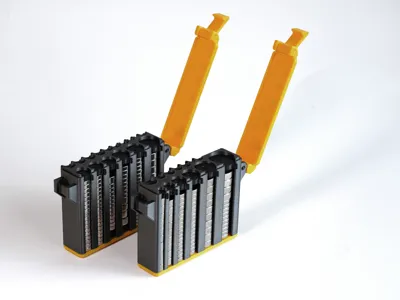
Magnet Holder (secure latch, compatible with all common magnet sizes, clear labels, compact and portable)
2026/03/28, Brand new and most refined V3 version
Thank you very much for your suggestions, which gave me ideas for gradual improvements. This is now essentially the most perfect version. I strongly recommend printing the latest V3 version. Thank you all!!!
Continuity:
- Inherits the secure latch of the V2 version
- Maintains the same super compact size as the V2 version, 80.2x56.7x17.5mm
- Still uses filament as the hinge pin, easy to install and very durable.
New Features:
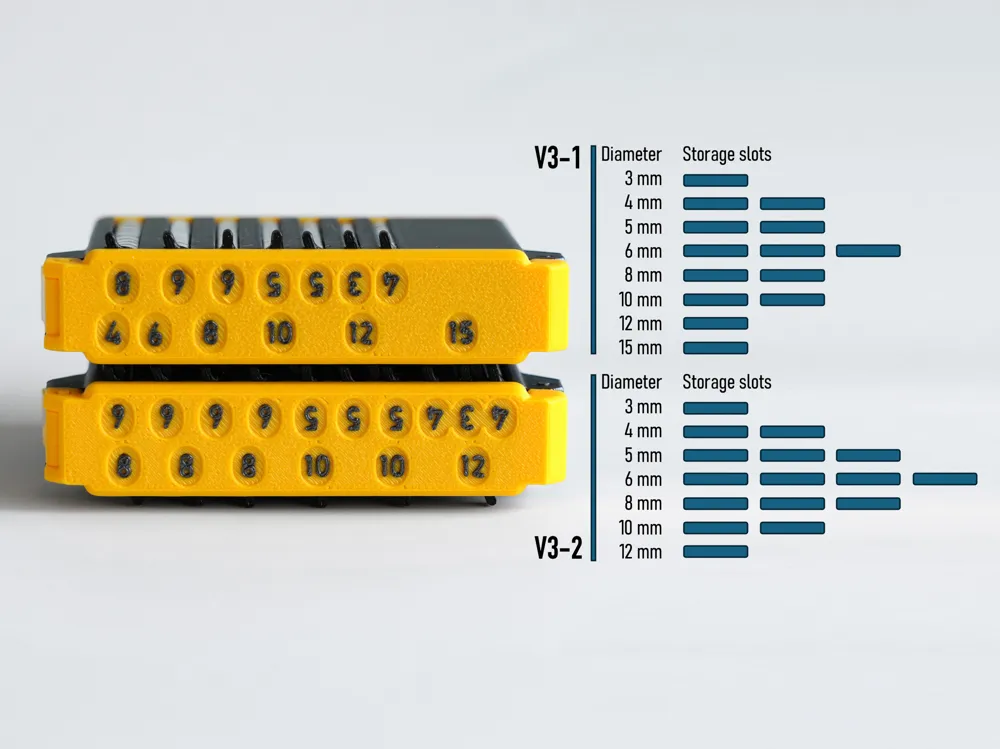
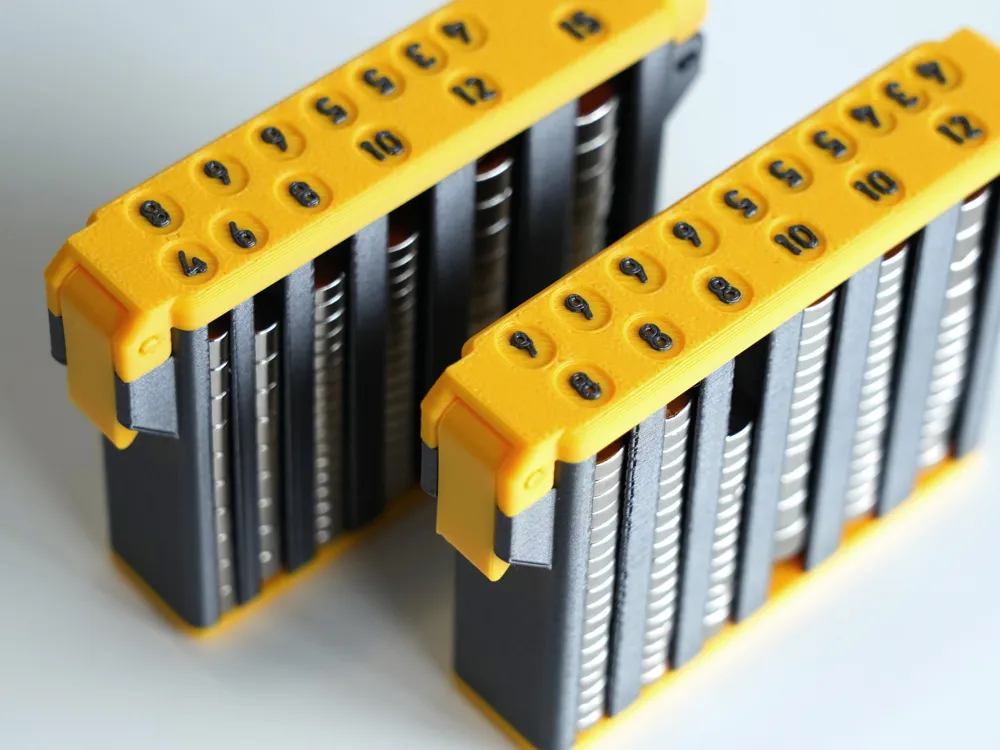
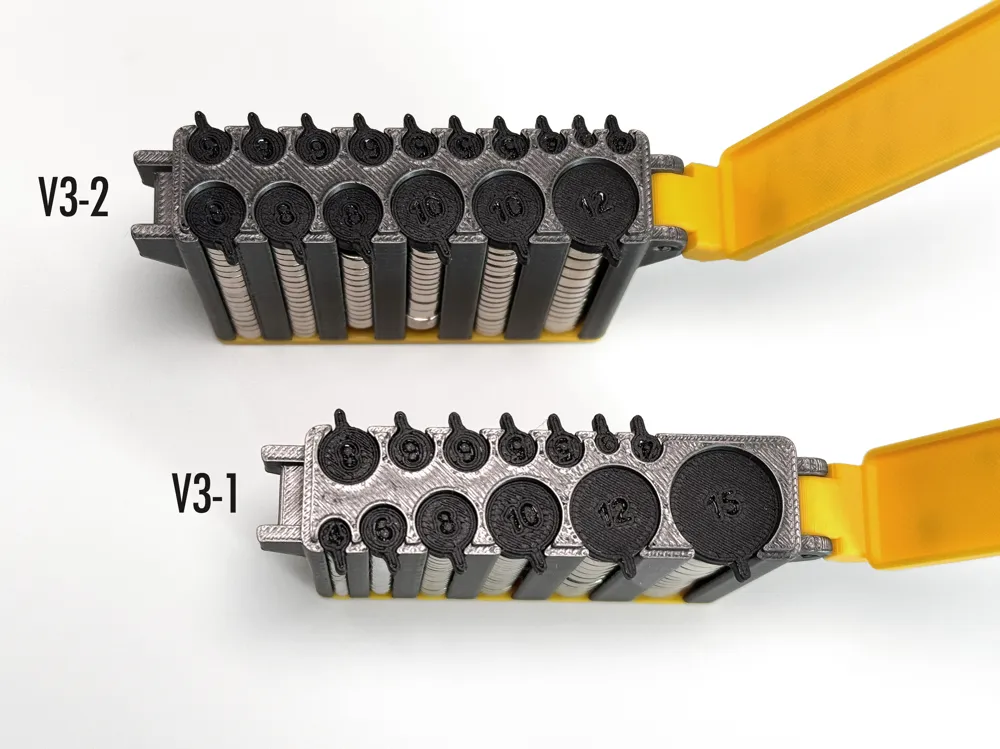
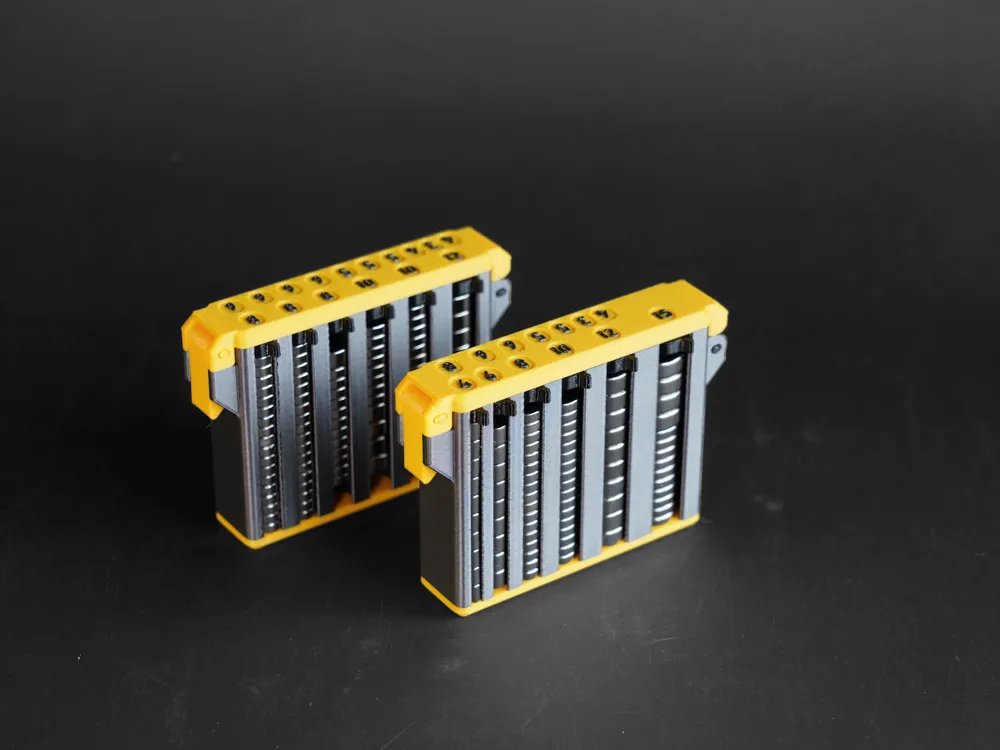
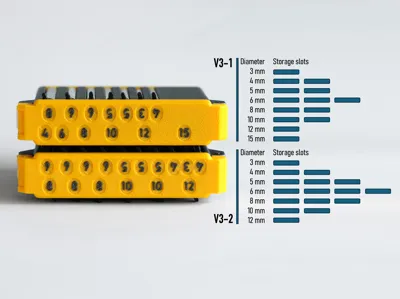
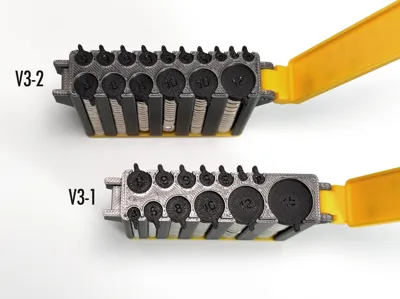
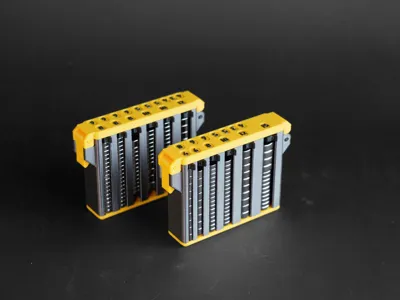
- Clear **diameter labels**, both on the lid and accessories, clearly indicate the magnet's diameter size. (This is the biggest improvement; the design and testing of the labels took most of my effort and time)
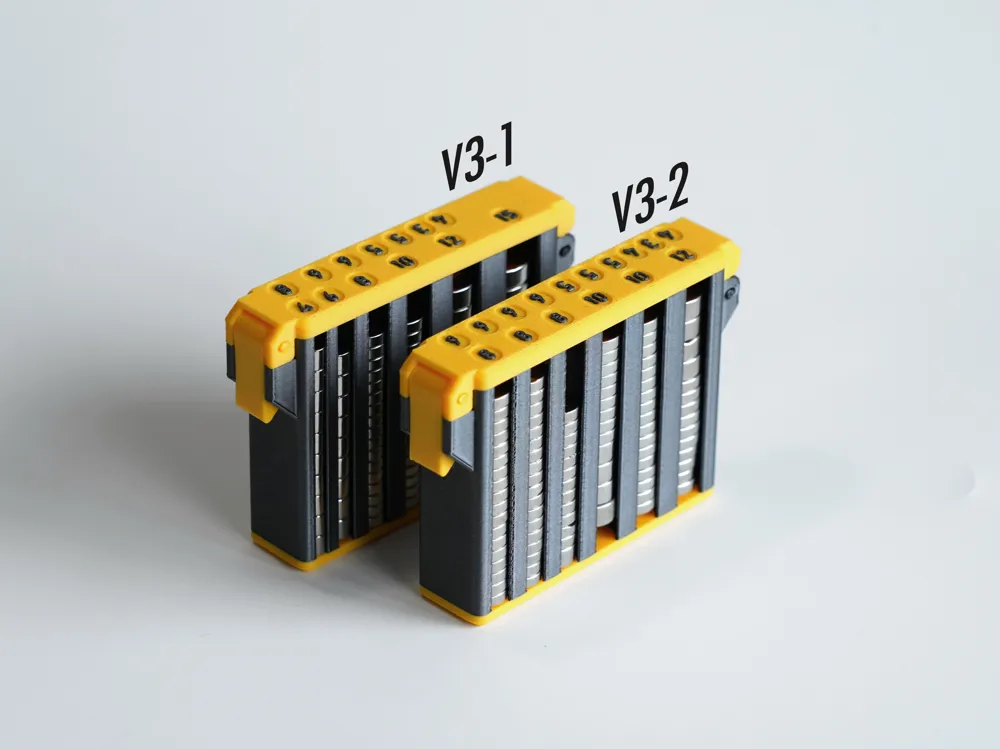
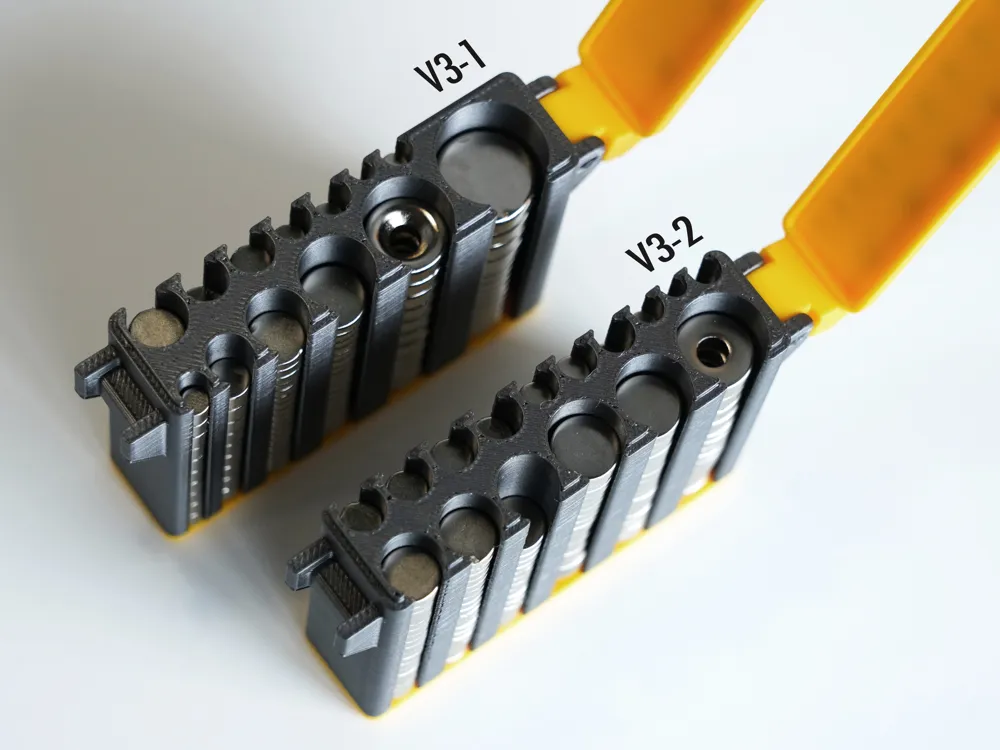
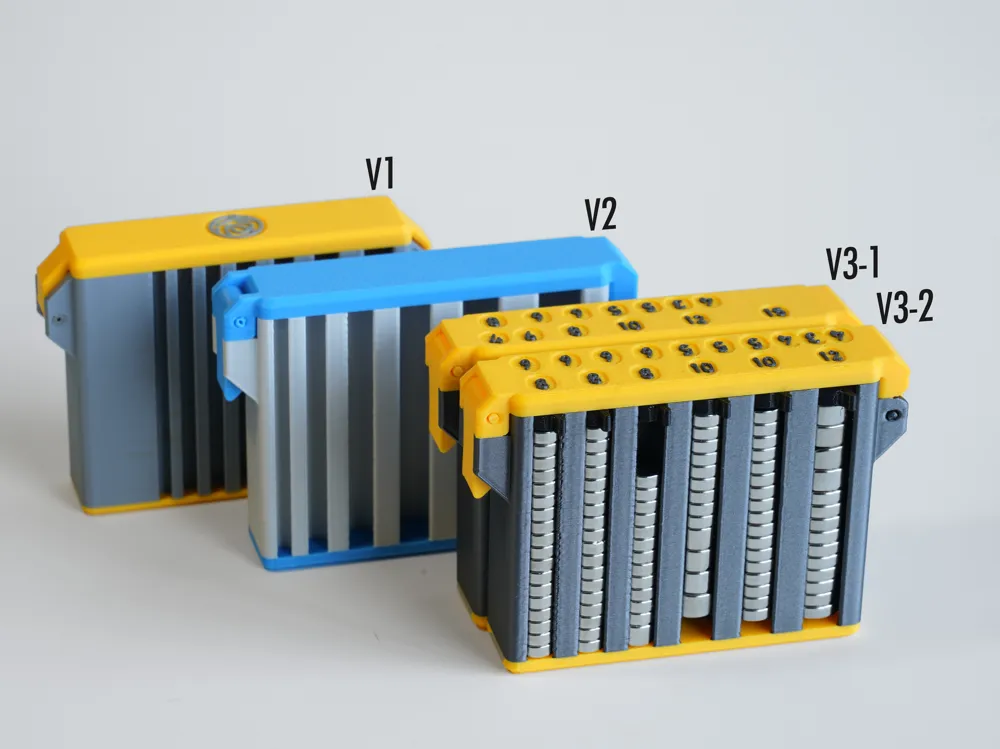
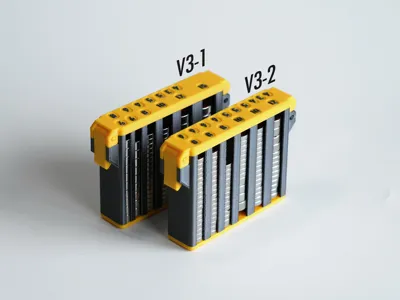
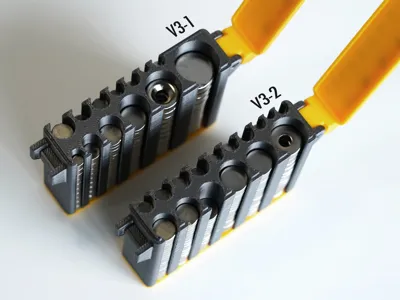
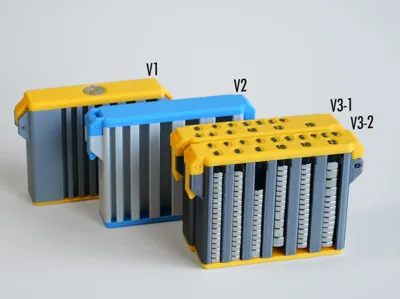
All hole positions have been rearranged to be more reasonable, still compatible with all common magnet sizes. There are a total of two models (please look carefully at the photos, choose the one you want, or both):
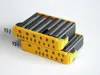
**V3-1**, (plate 1, plate 2) evenly covers all common sizes from 3-15mm.
**V3-2**, (plate 3, plate 4) provides the most holes for the most common 5, 6, 8mm sizes, while also accommodating other sizes.
Complementary practical accessories:
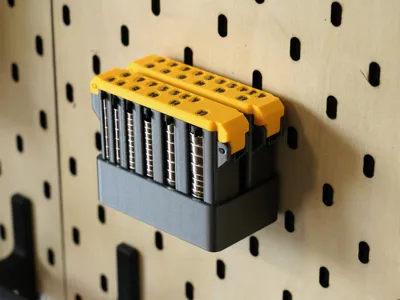
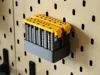
**1. Pegboard holder**, suitable for all V1, V2, and V3 versions, suitable for pegboards with 40mm hole spacing and 5mm board thickness, such as IKEA's SKADIS.
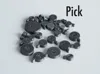
**2. Pick**, can be placed at the bottom of the slot to facilitate removing magnets. In fact, you don't even need this pick; tweezers or a pen nearby can also easily help push out the magnets.
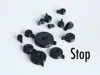
**3. Stop**, magnets will attract and repel each other; inserting the stop at the slot opening can effectively prevent magnets from jumping out.
The stop must be printed with TPU; only flexible TPU can tightly plug the opening. If you feel it's not tight enough, please scale the model up by 1-2% in Bambu Studio.
Trying to insert magnets in different directions, or rotating them appropriately, is the best way to prevent magnets from jumping out; a little patience is required.
Important reminder, as the label font for the V3 version is very small, to ensure clear printing,
1. Please be sure to use the provided print profile for printing. The skirt and prime tower in the print file are both very necessary; do not remove them. Additionally, the printing order of the two filament colors is also very important; do not change it.
2. Ensure the build plate is thoroughly cleaned, thoroughly scrub it clean with dish soap and a stiff brush, and apply glue if necessary.
3. Filament should be of the same type, for example, all PLA Basic
Below is the V1 and V2 version update history:
2026/02/26 Updated to V2 version, addressing all issues of the V1 version.
(Special note: This model is compatible with **all 3D Printer models**. V1 and V2 are set for print-by-object. If you cannot see the print profile in Bambu Handy, please open it in Bambu Studio on your computer and then select your printer model)
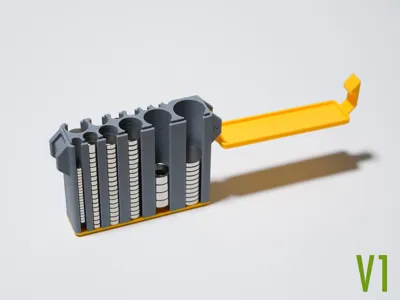
Secure Latch:
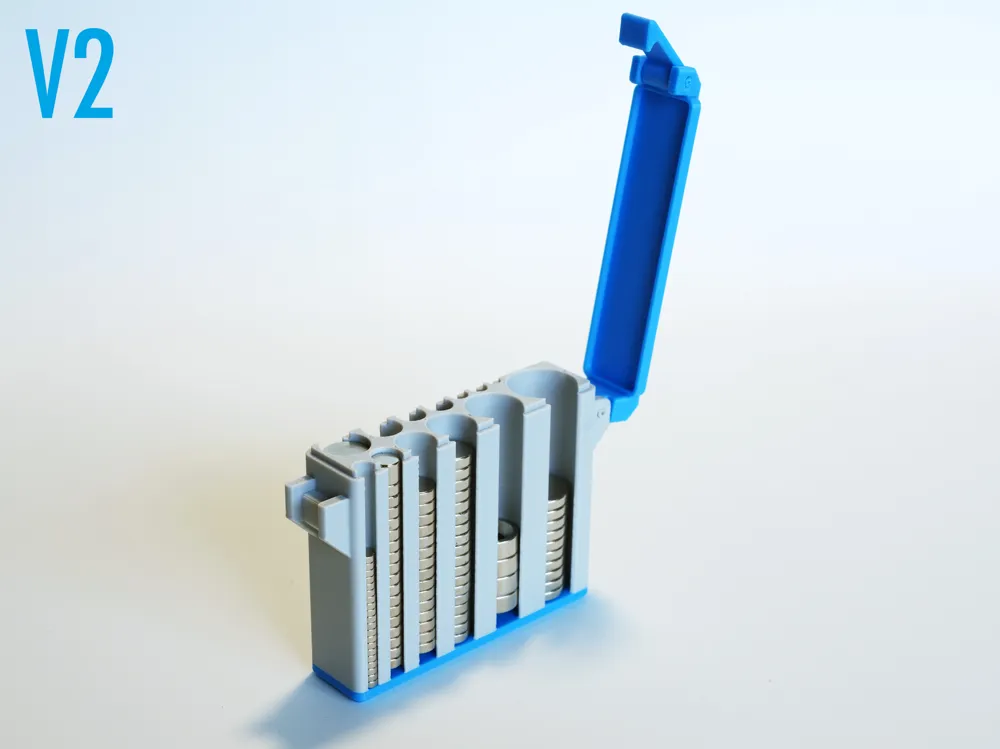
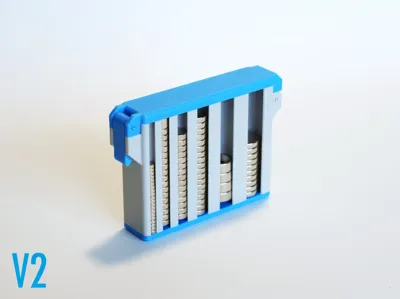
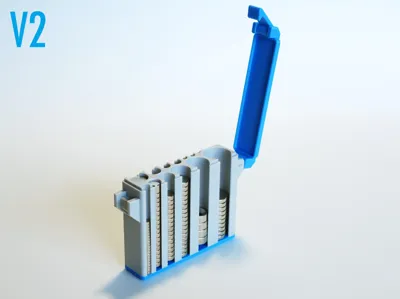
The lid with a snap closure won't fall off even if vigorously shaken, magnets won't scatter, making it convenient to carry.
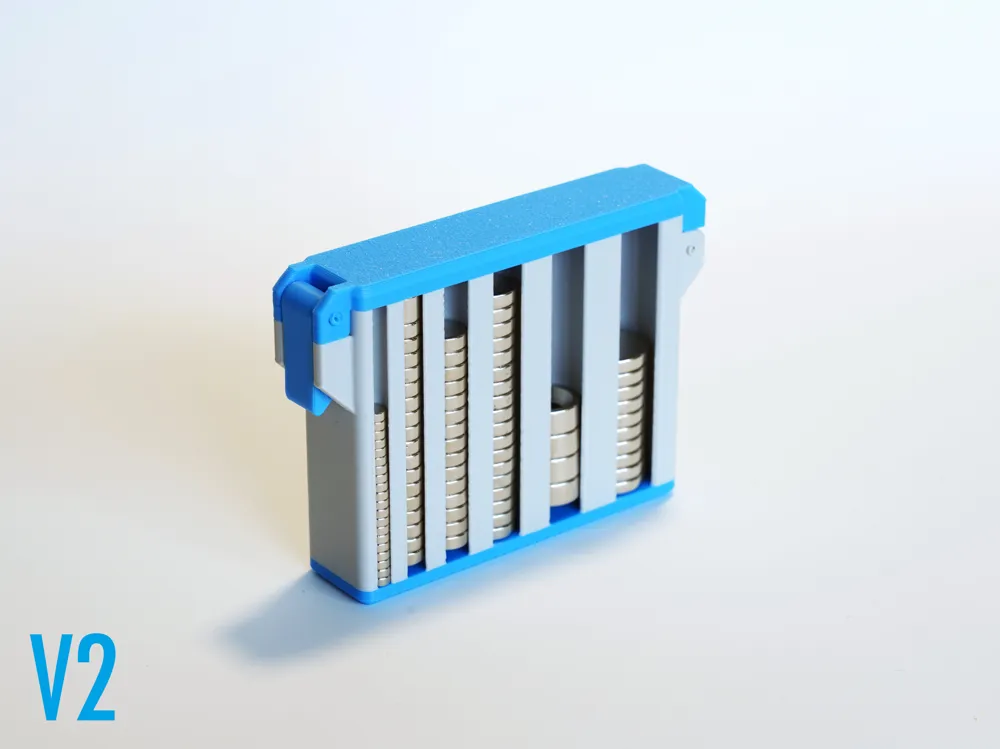
V2, upgraded with an active latch, very durable and won't break.
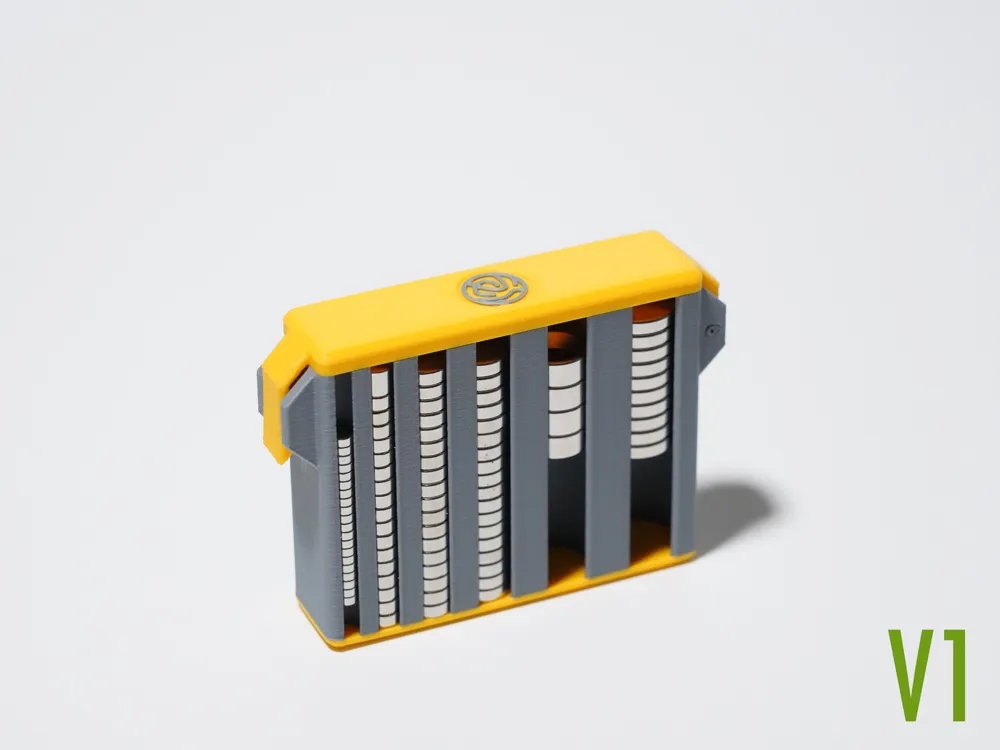
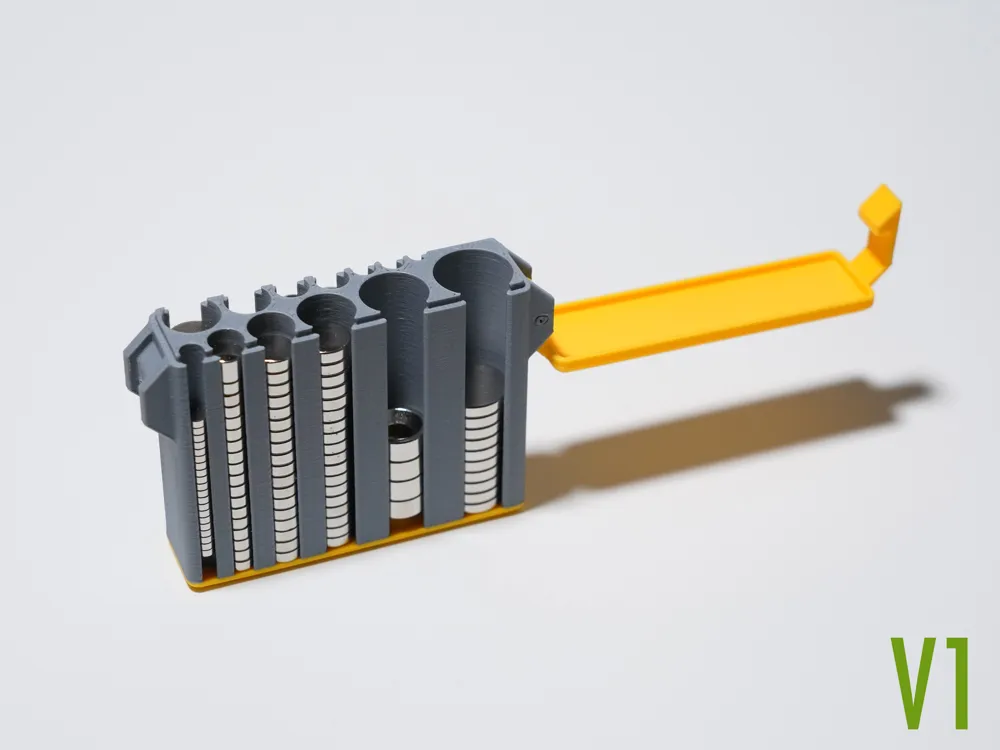
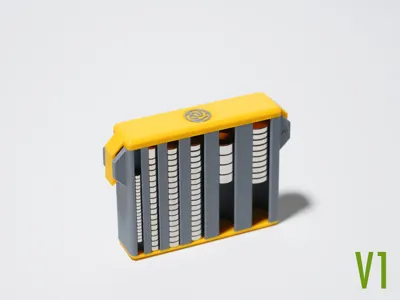
V1, fixed latch, simpler to print and install, but requires sanding the snap area on the box body, otherwise it cannot be fully closed. Caution is needed, as the latch might break.
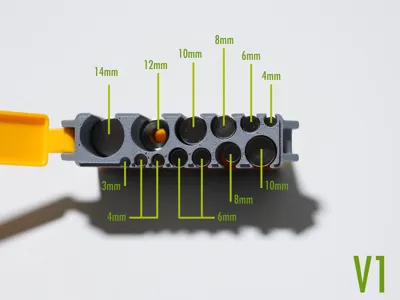
Compatible with all common sizes:
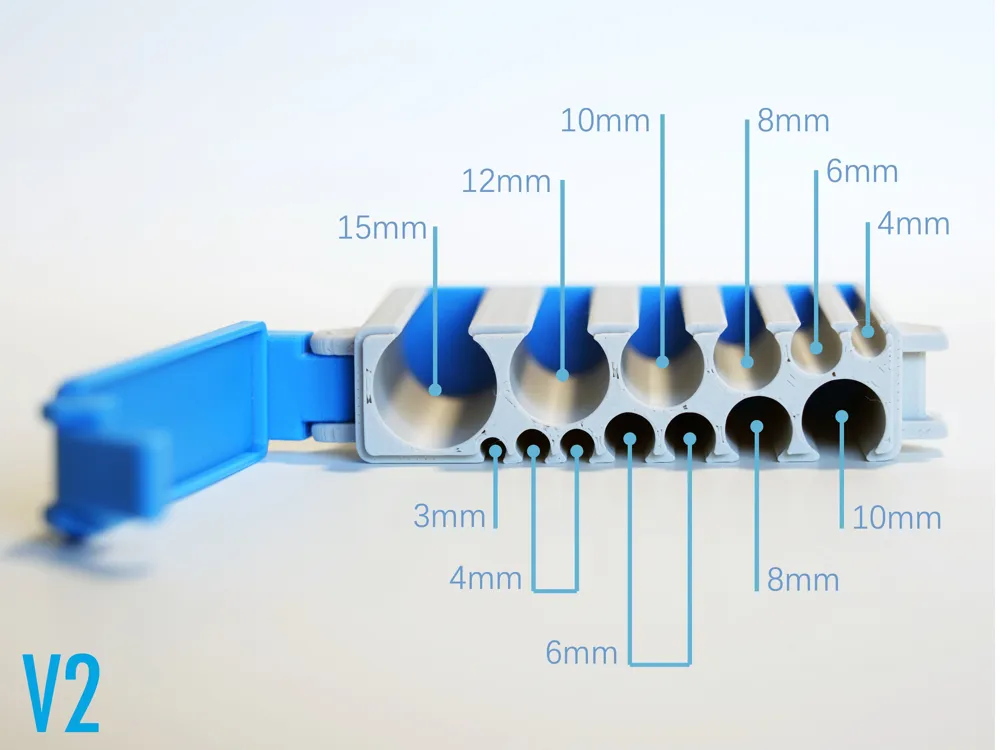
Suitable for common circular magnets of various sizes, including the following diameter sizes:
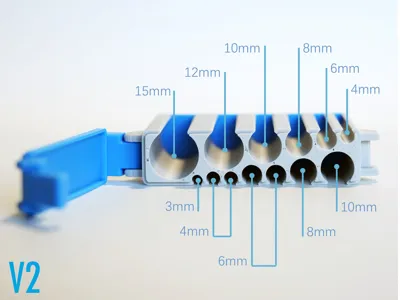
V2: 15mm,12mm,10mm,8mm,6mm,4mm,3mm.
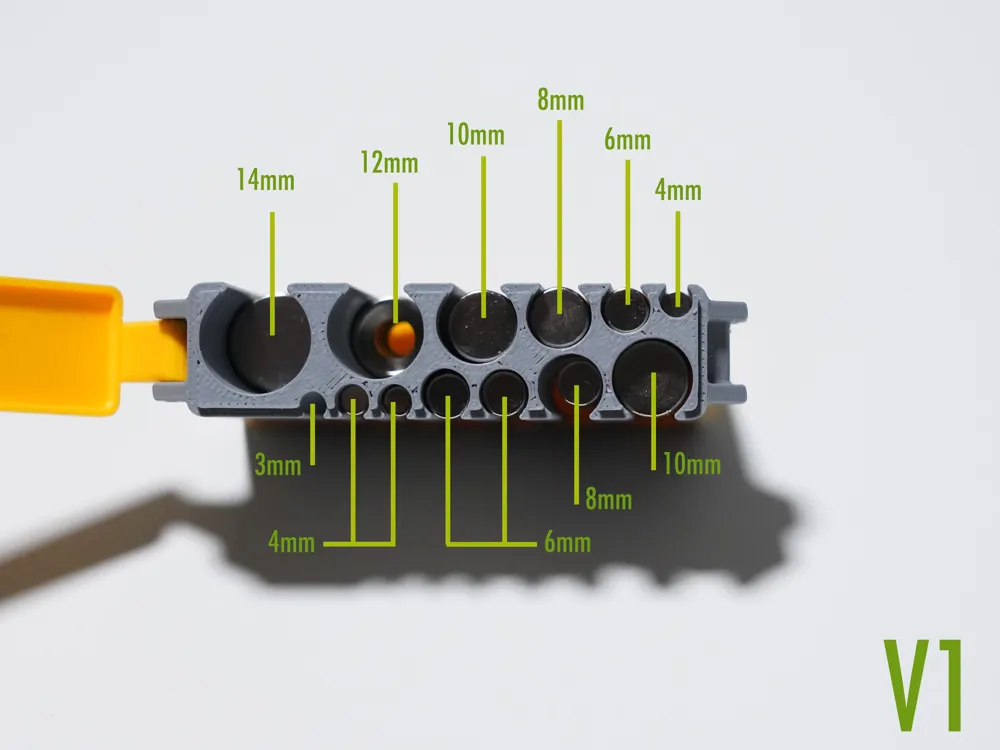
V1: 14mm,12mm,10mm,8mm,6mm,4mm,3mm.
In fact, these sizes are all backward compatible, meaning a 15mm hole can also store 14mm and 13mm magnets, so this storage box can store magnets of all sizes from 3-15mm.
Compact and Portable:
V2 version external dimensions: 80.2x56.7x17.5mm
V1 version external dimensions: 77.4x56.0x17.5mm
Hinge pin: Just cut a piece of filament and thread it through. Gently heat both ends with a soldering iron, or use a tiny bit of super glue (very little, be careful not to fully glue the pin).
Reminder:
V1 version, the snap might be a bit tight. Please file it down a bit with a small file if needed, otherwise, the lid's snap might not close completely.
V2 version, due to variations in different filaments, it might still be a bit tight when installing the hinge pin. Please insert the filament while rotating it, or drill it a bit with a 1.8mm drill bit, a metal wire core, or a toothpick for easier installation.
Boost Me (for free)
Thank you for your support . Happy printing.
License

You shall not share, sub-license, sell, rent, host, transfer, or distribute in any way the digital or 3D printed versions of this object, nor any other derivative work of this object in its digital or physical format (including - but not limited to - remixes of this object, and hosting on other digital platforms). The objects may not be used without permission in any way whatsoever in which you charge money, or collect fees.


Comment & Rating (332)