
JCB 3CX Backhoe Loader ( Excavator ) 1:24 scale
Print Profile(2)

Bill of Materials






Description
Hello!
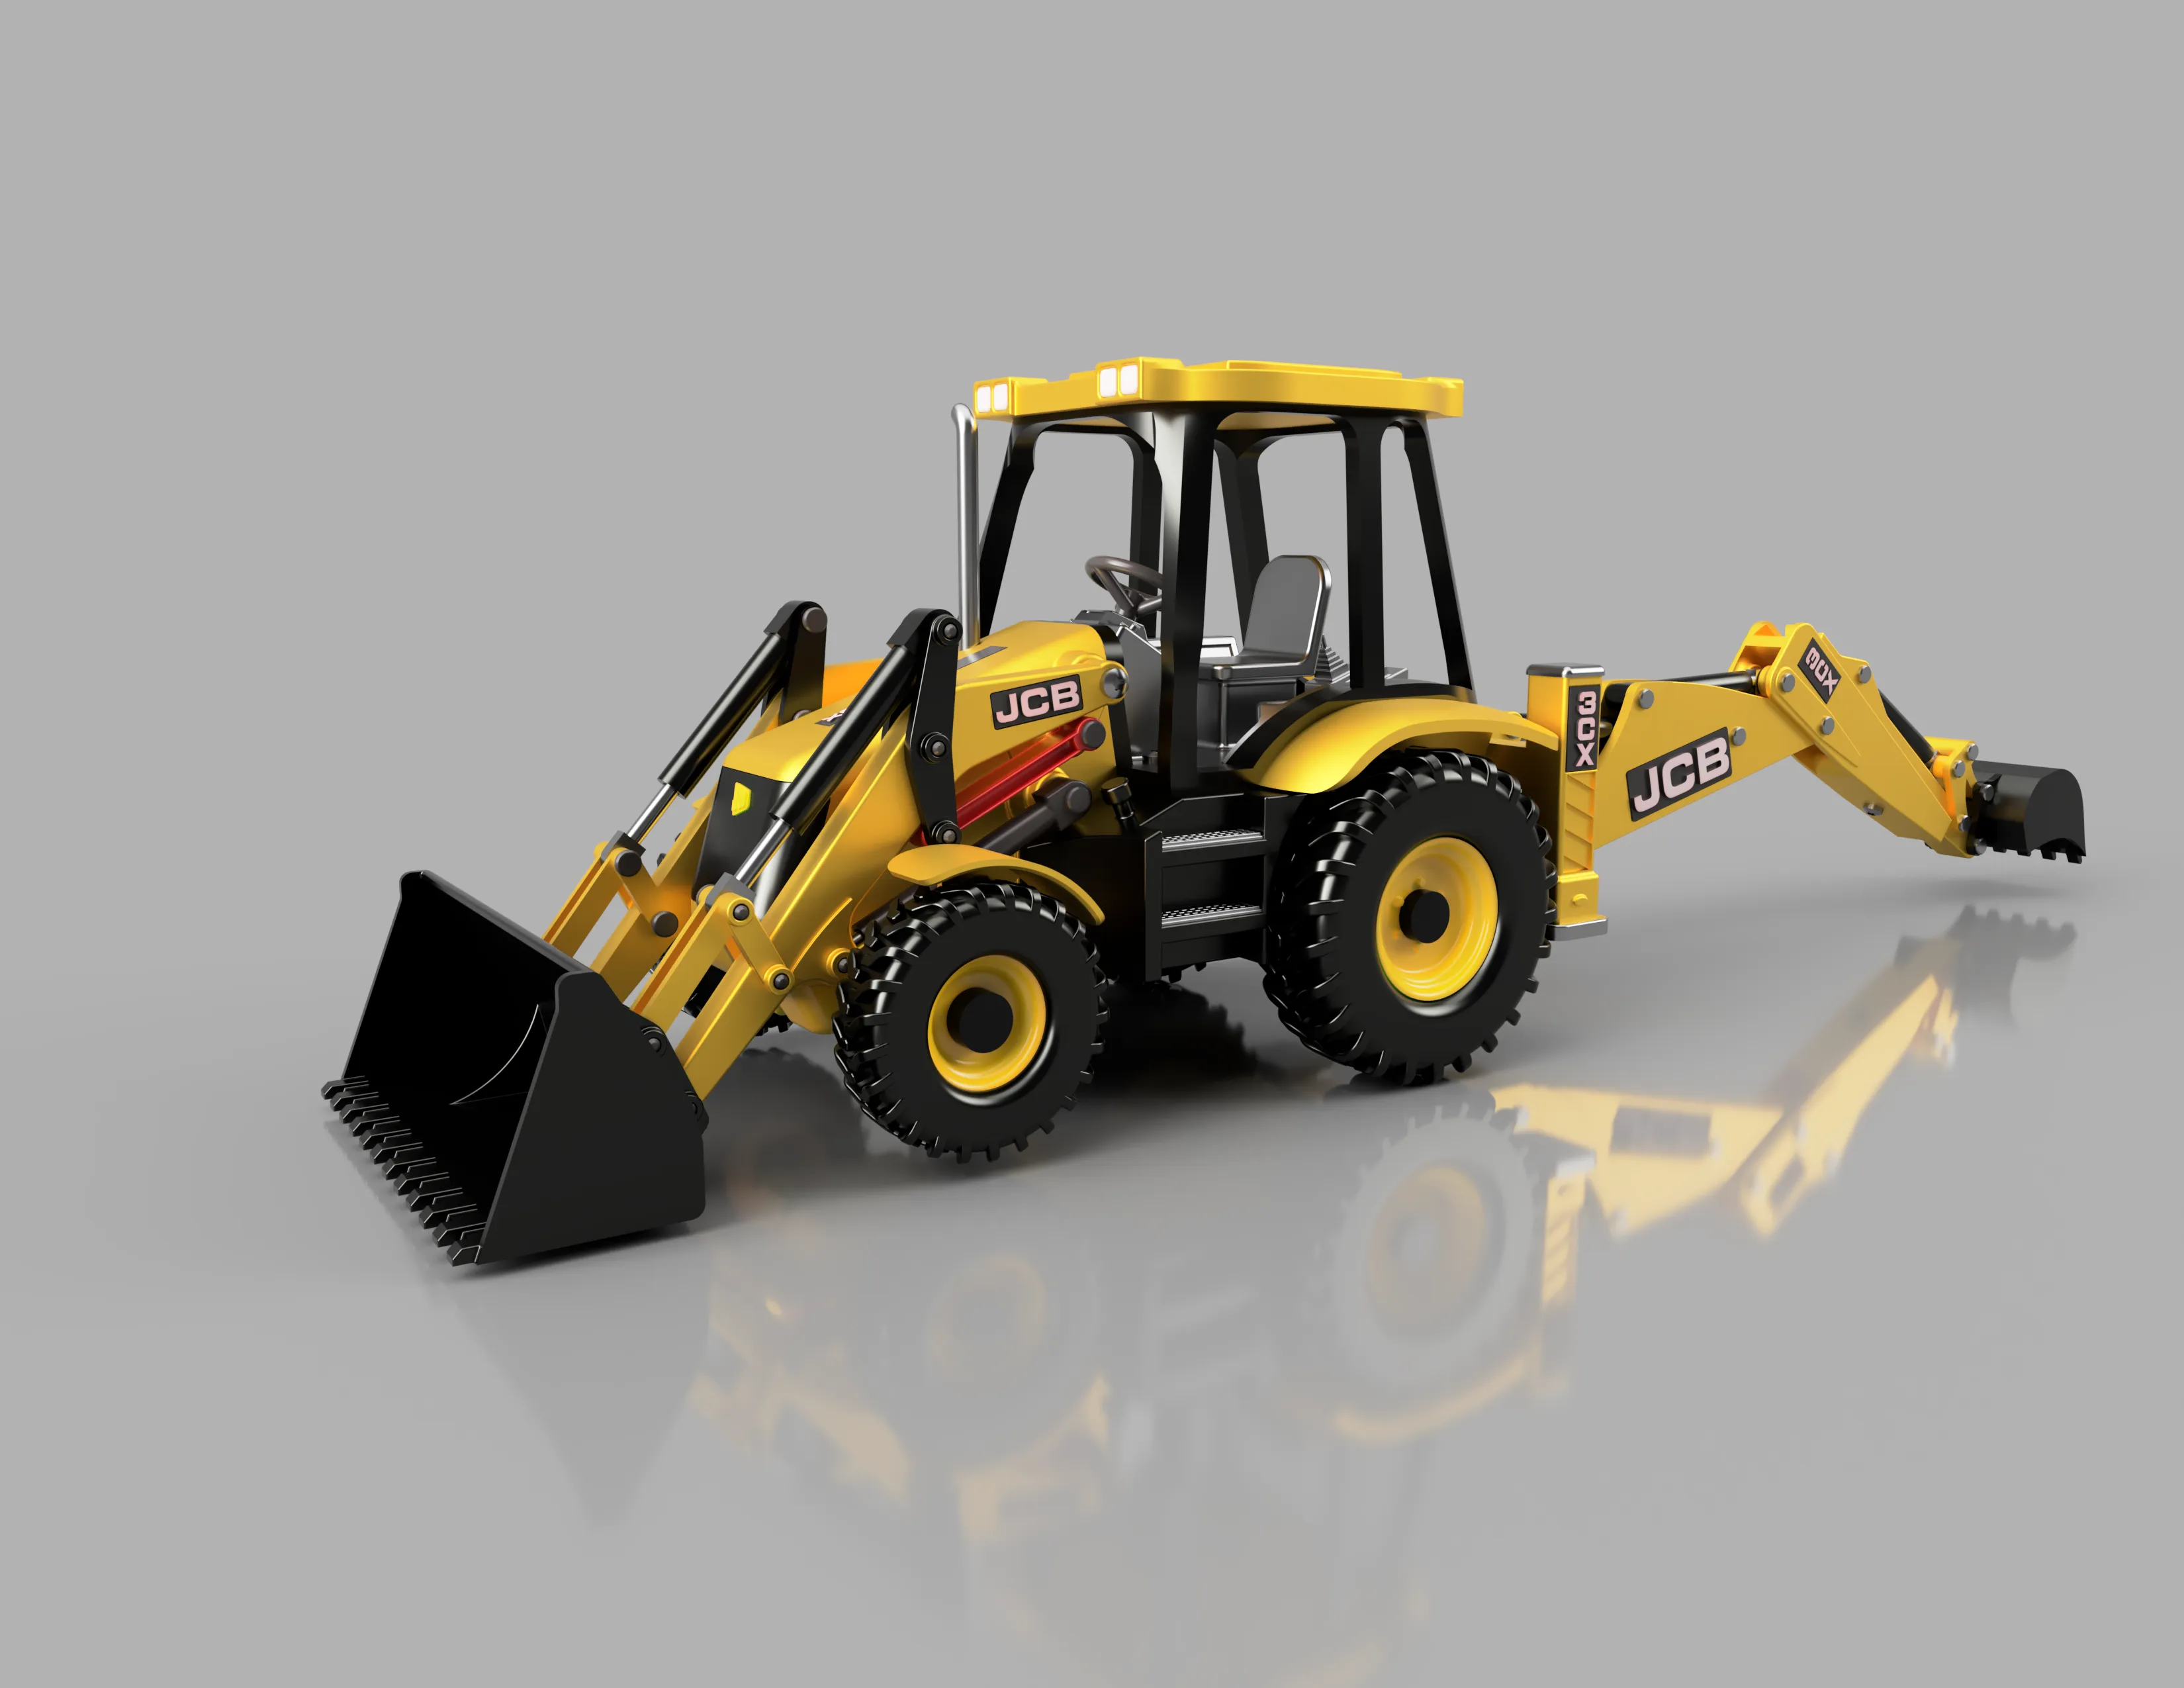
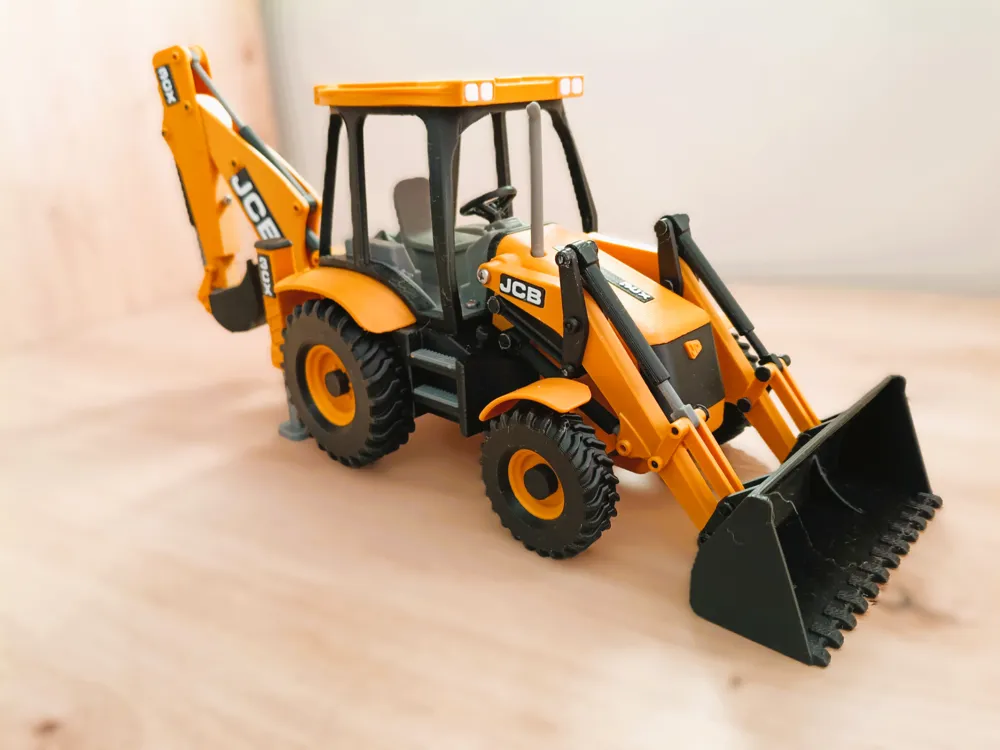
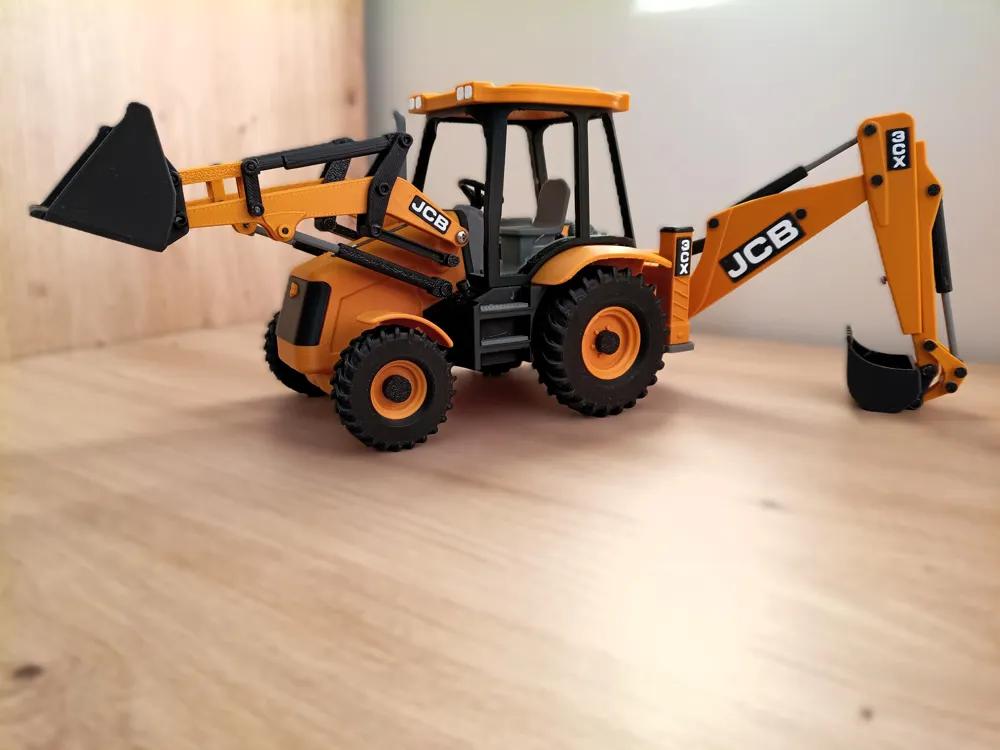
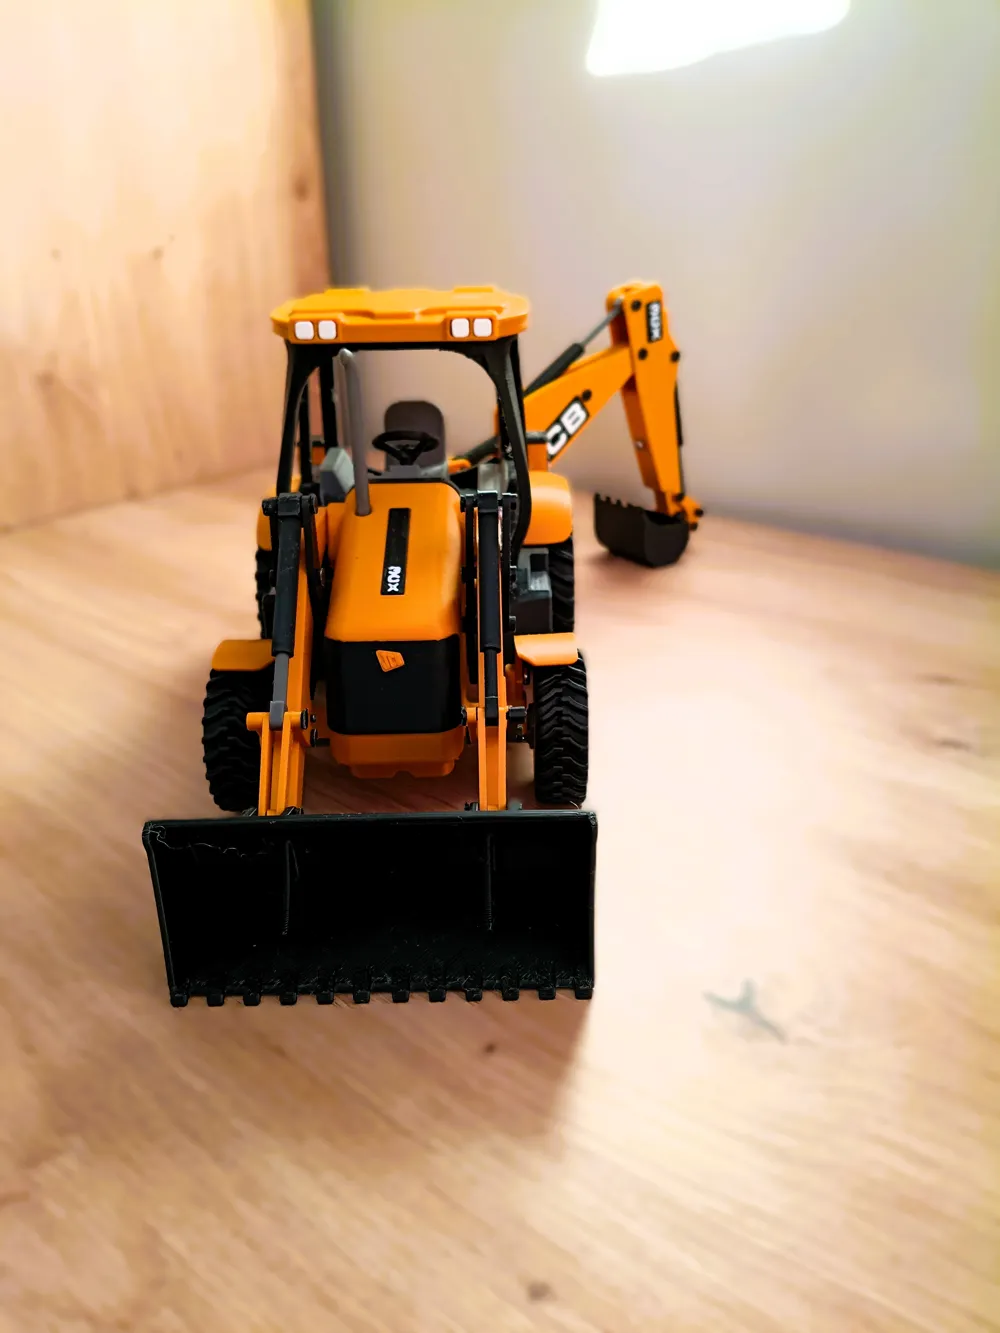
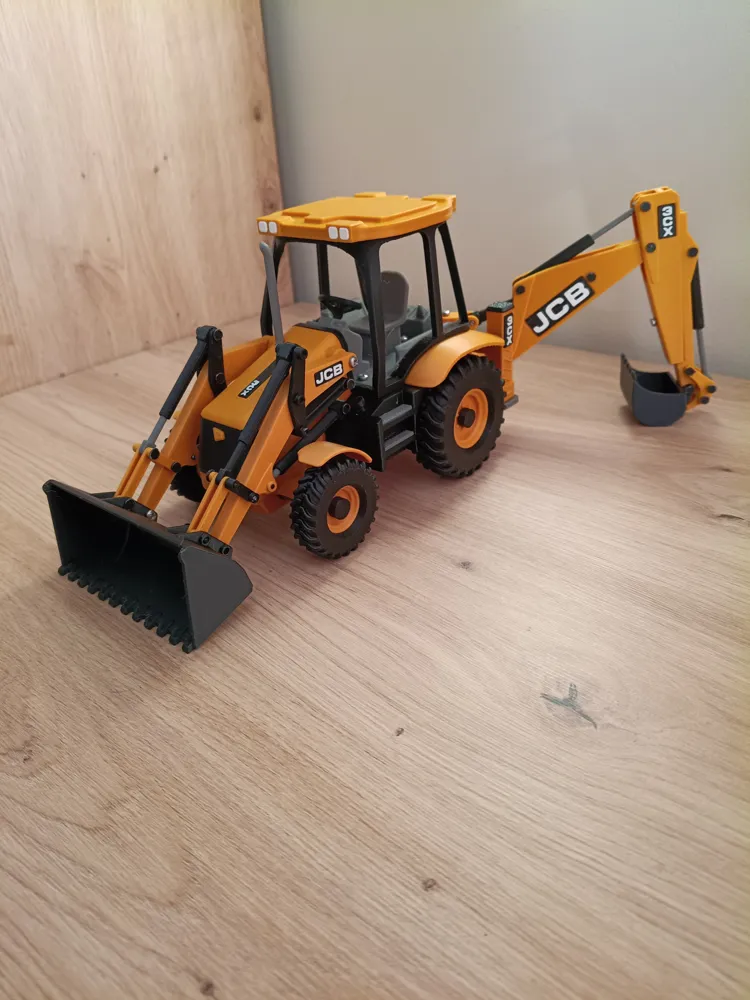
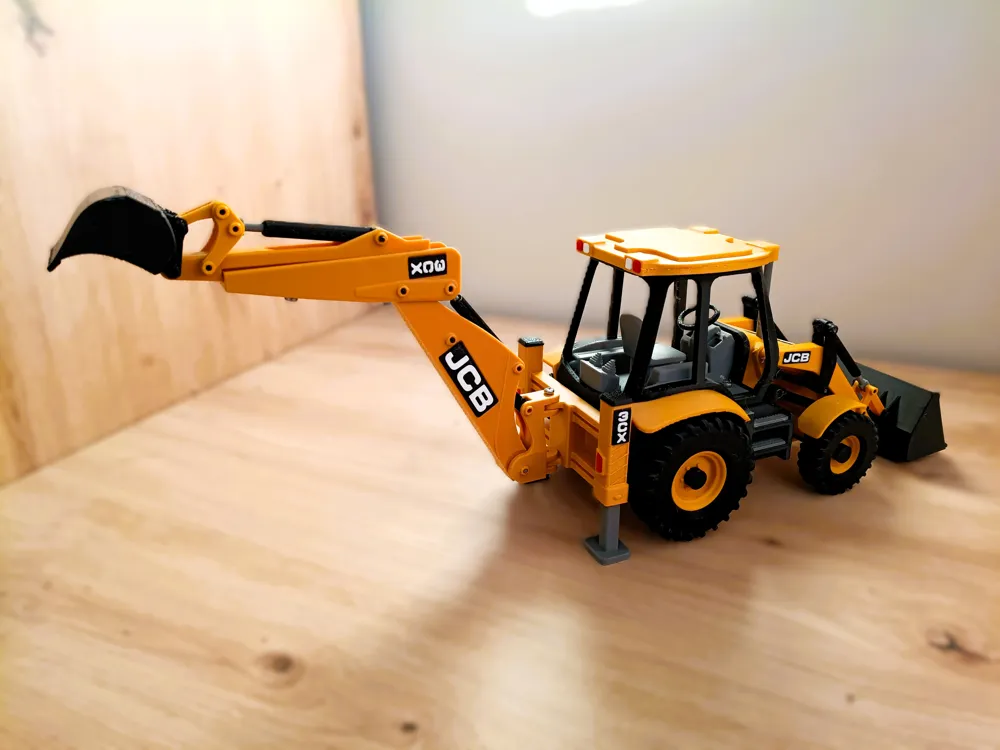
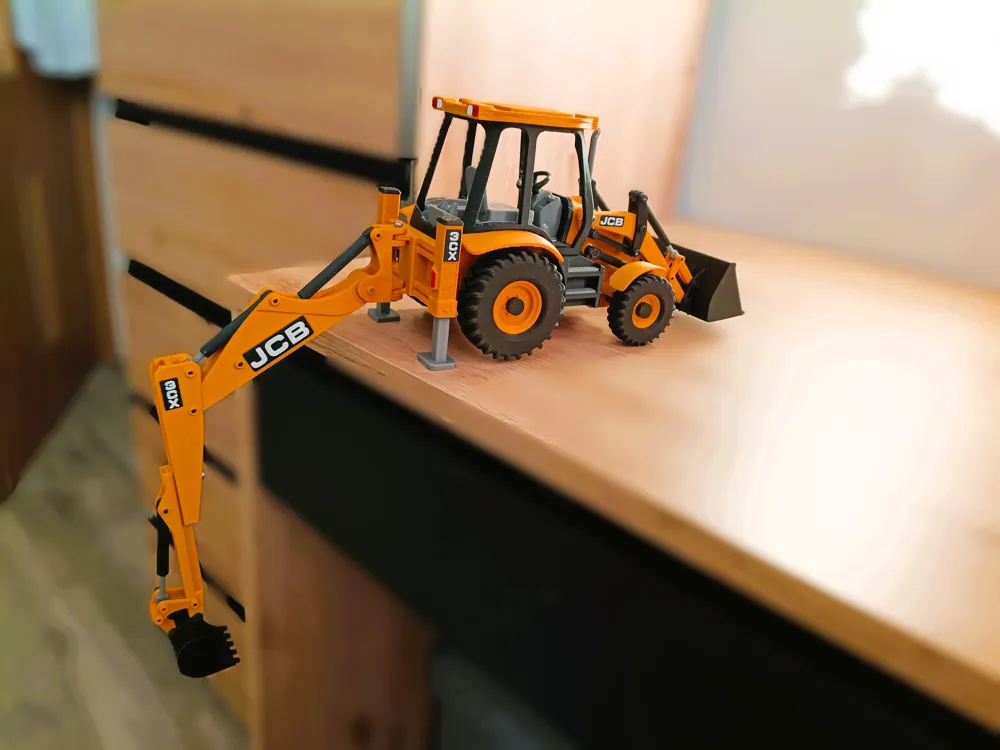
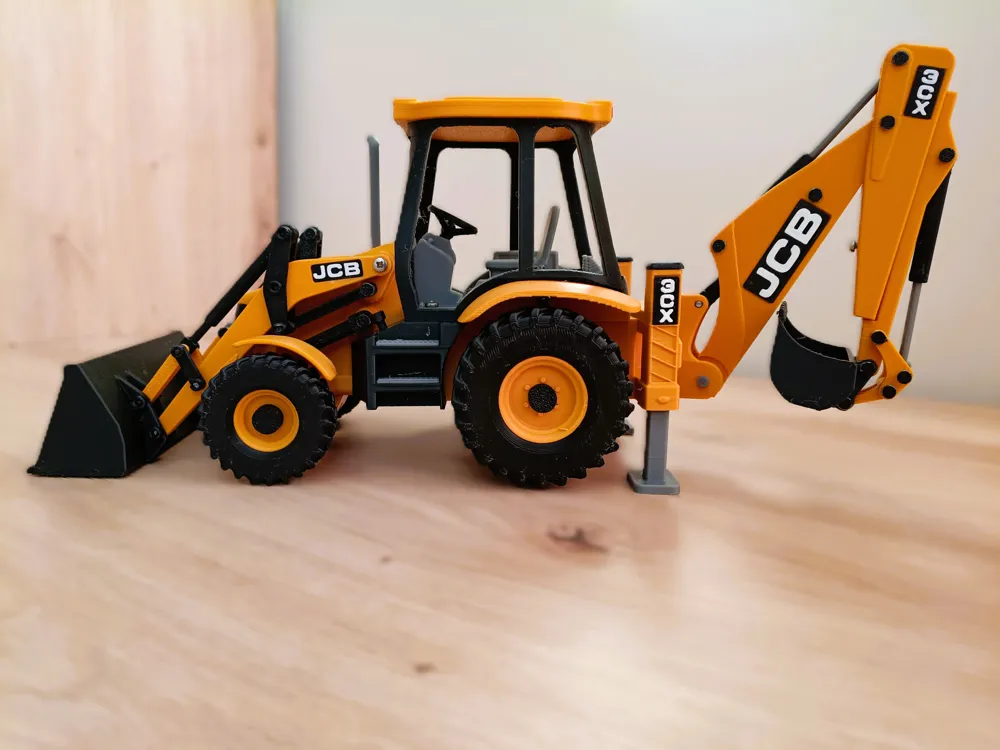
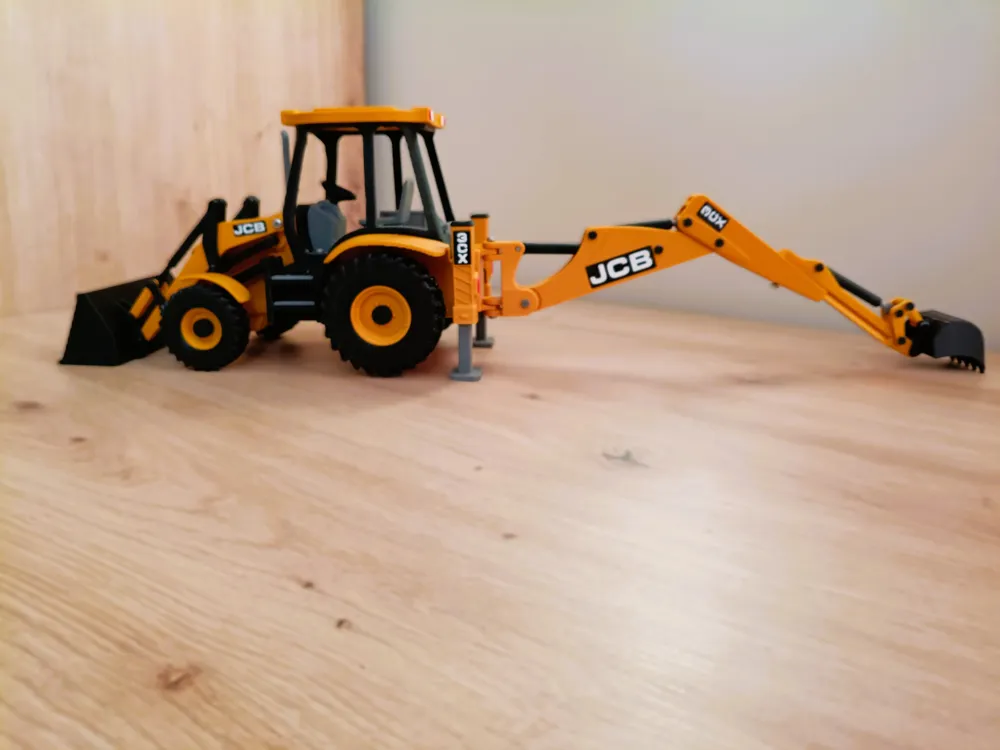
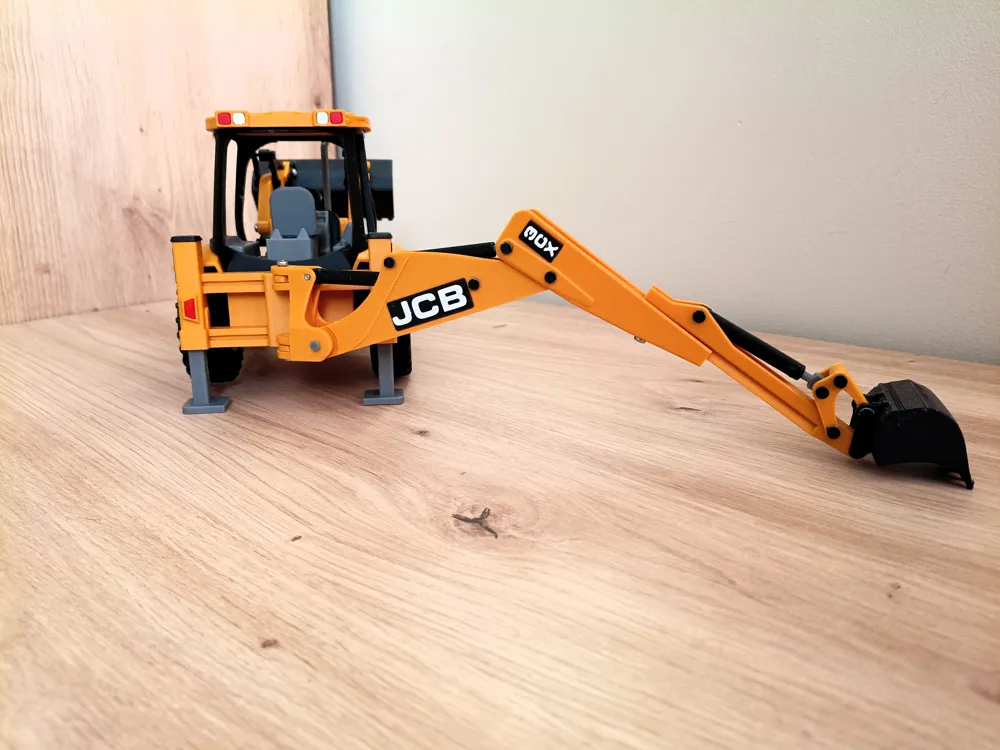
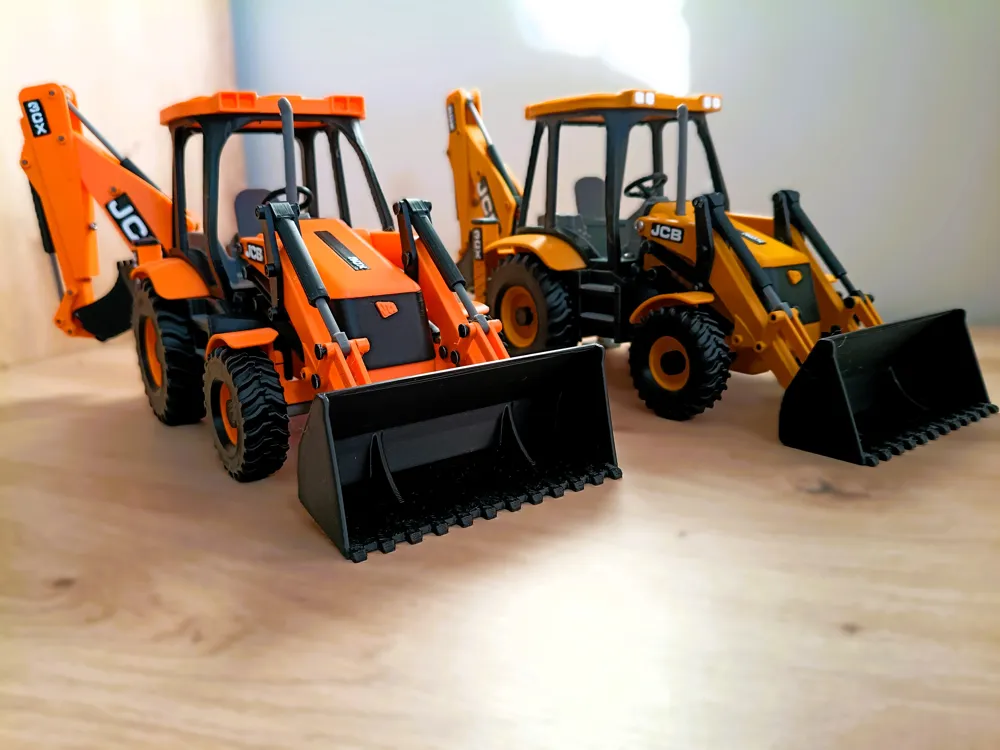
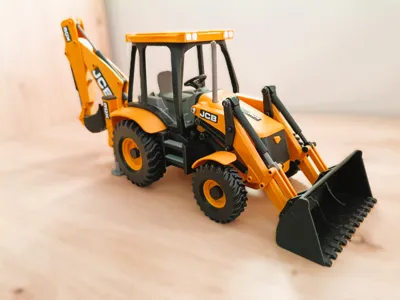
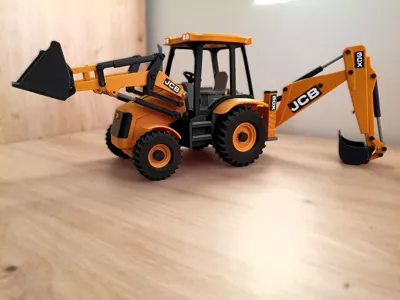
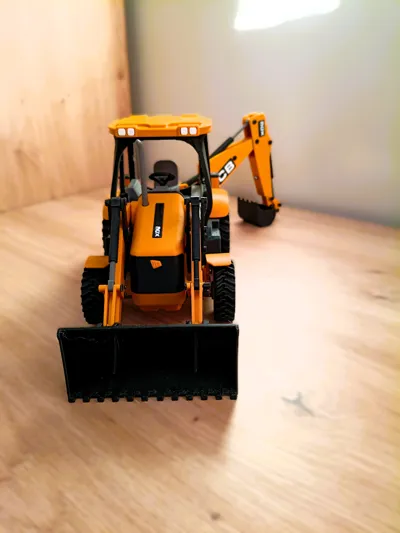
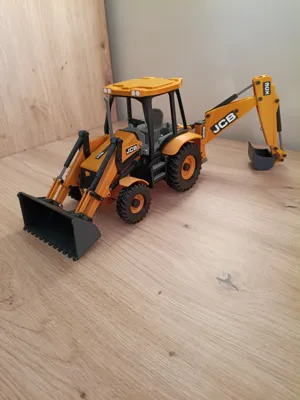
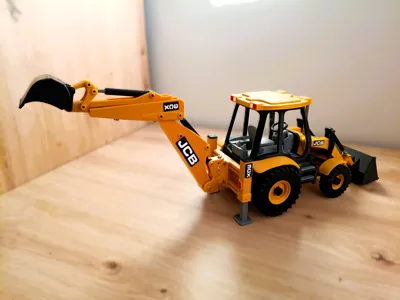
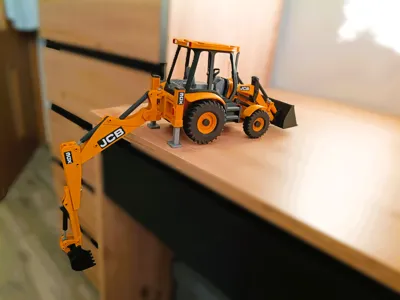
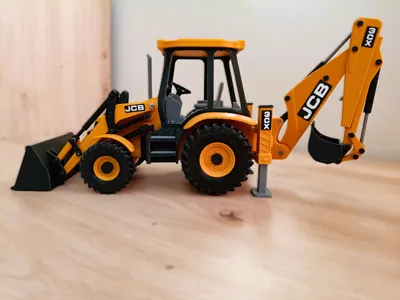
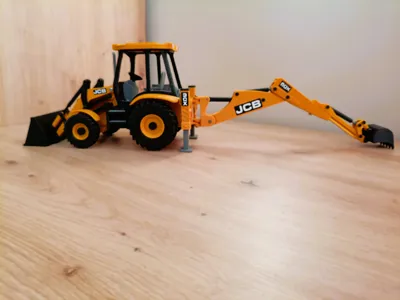
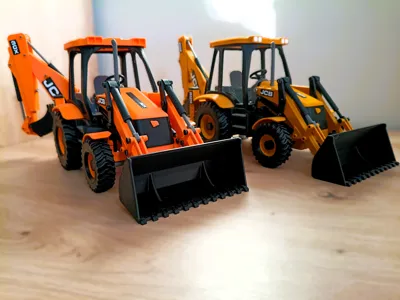
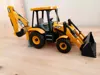
I would like to present my new JCB 3CX backhoe loader model.
The idea for this vehicle came from my nephew, who really wanted to have a toy excavator to play with 🙂
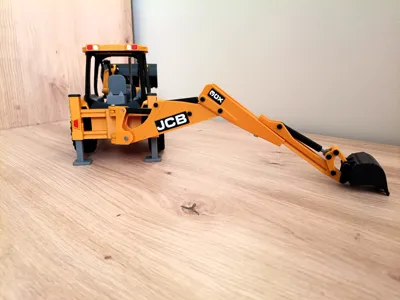
This JCB model has many movable parts:
- front bucket with leveling mechanism
- extendable digging arm
- rotating wheels
- extendable stabilizers
All logos are printed using AMS.
If you don’t have AMS, you can print the model in a single color and paint the logos yourself — or simply leave them as they are if that doesn’t bother you.
Based on mistakes learned from my previous models, the steering wheel is printed separately, which helps reduce the number of supports in hard-to-remove areas.
As with my previous JCB model, the main color used is PLA Light Gold by Sunlu.
Assembly consists of many parts, but I believe the difficulty level is moderate and manageable.
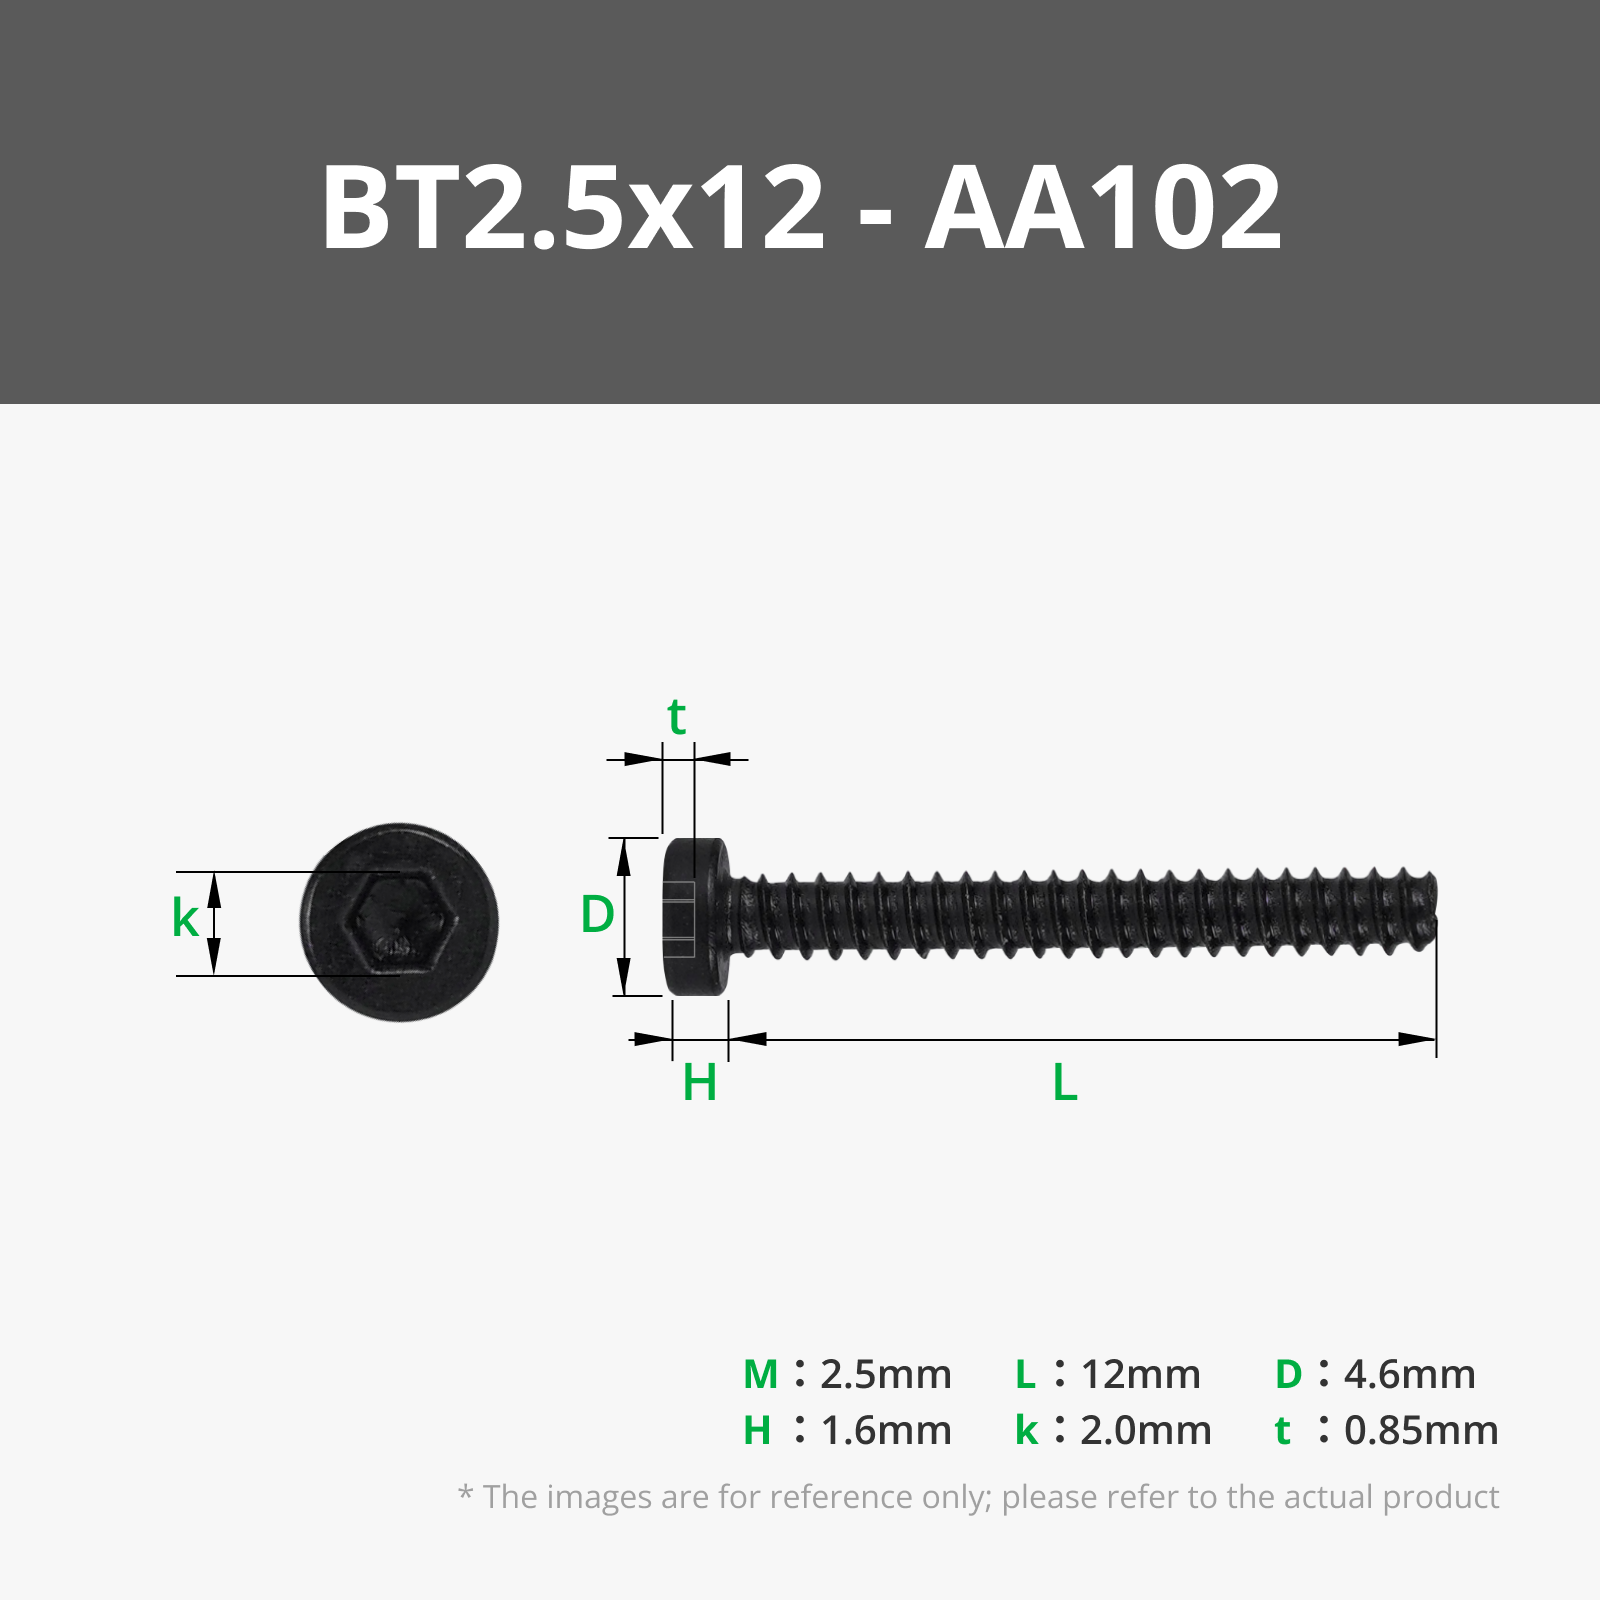
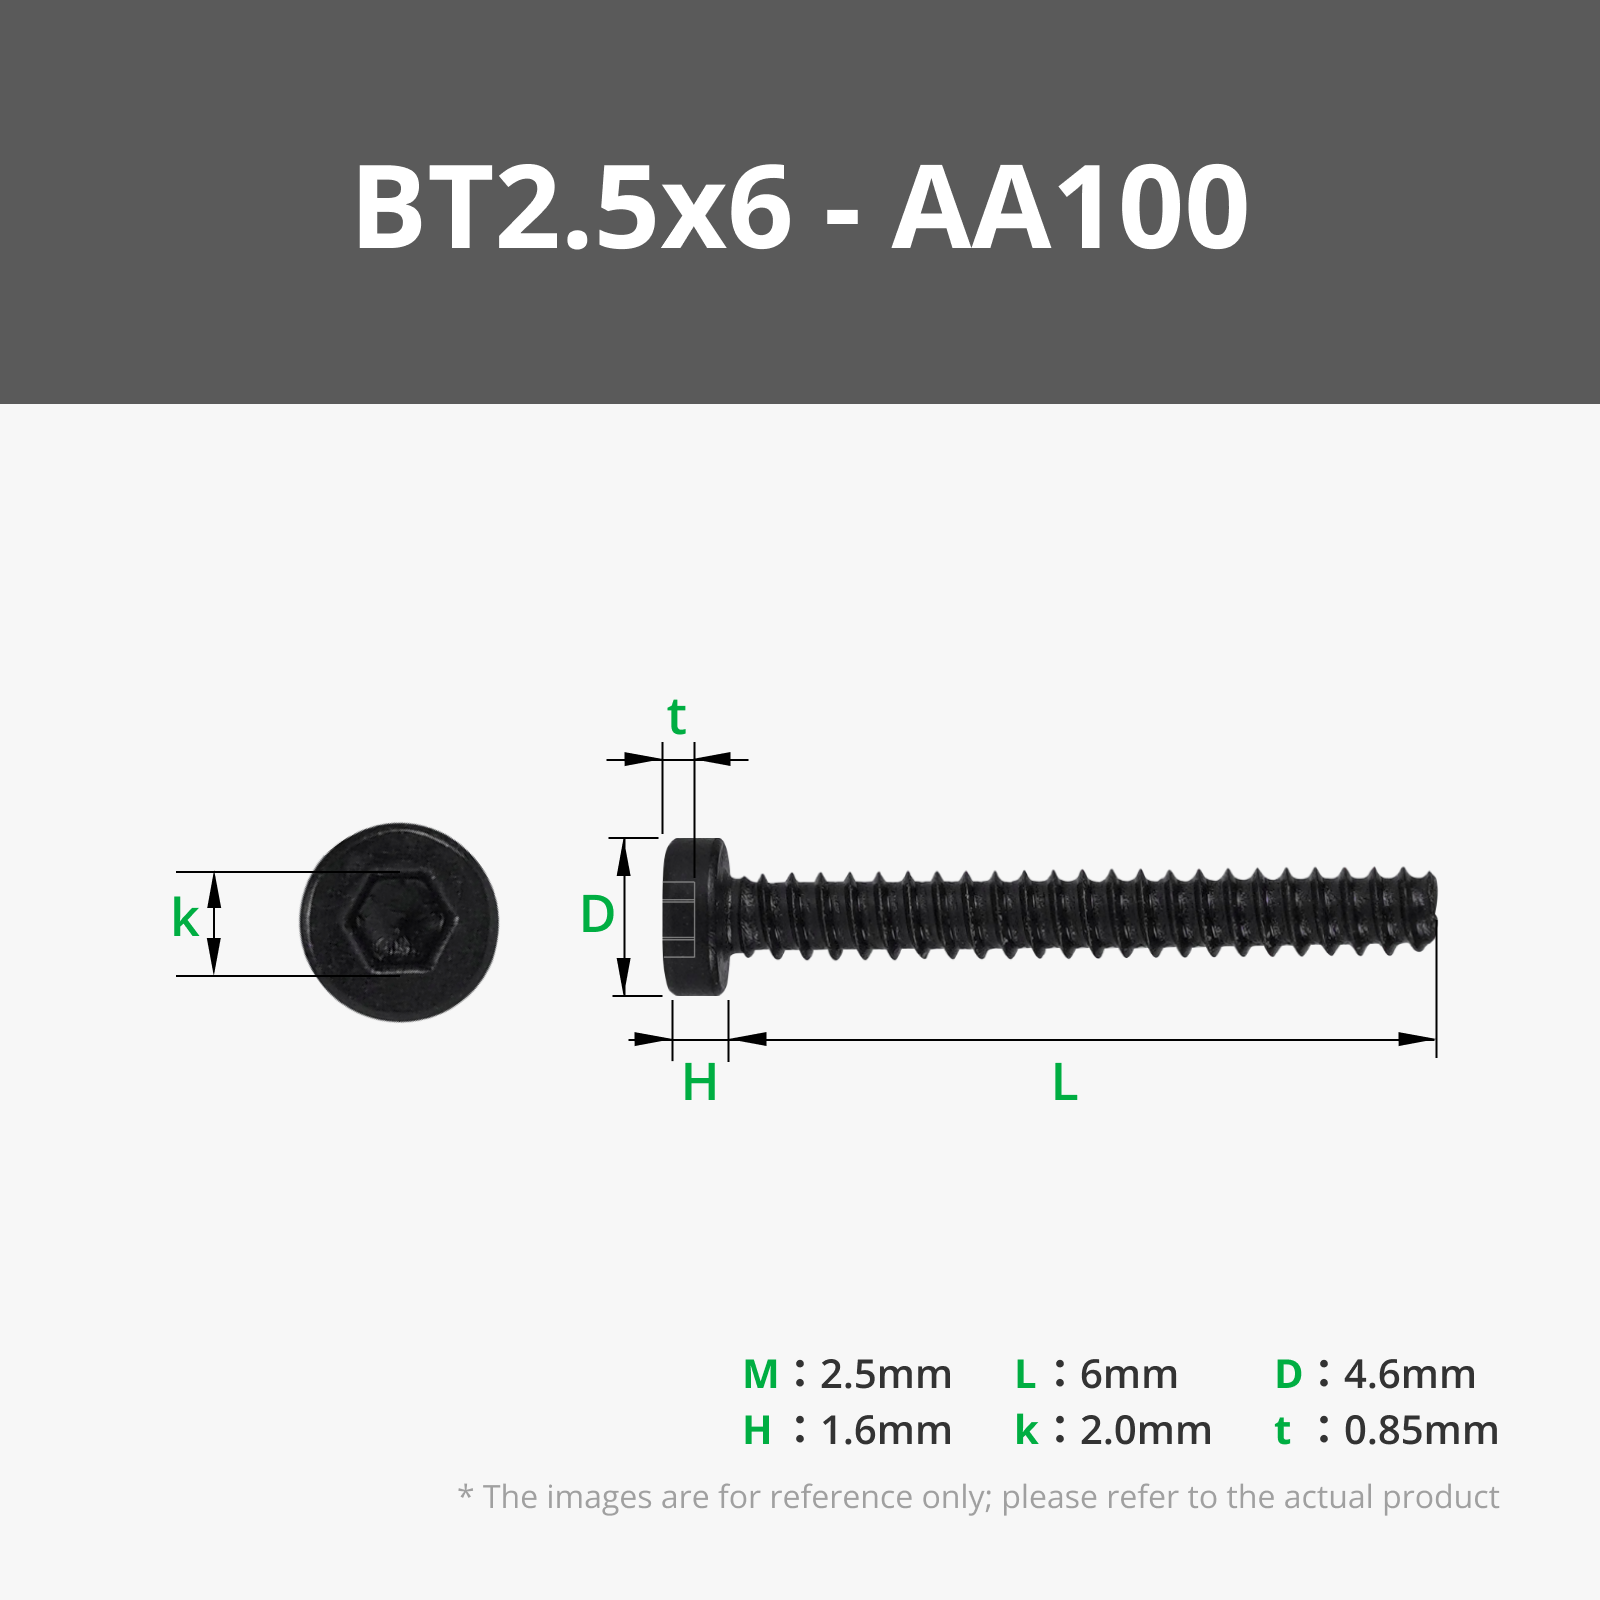
All pins can be replaced with M2.5 screws if the arm or the bucket is dropping and you want the whole mechanism to be rigid.
The most important things during printing are:
- a clean build plate
- using brim ears on some parts
I recommend not changing any settings in Bambu Studio.
Boost Me (for free)
This model was created for my nephew — if you enjoy it too, feel free to give it a Boost!
Your support means a lot and helps me develop future models.
- First, carefully remove all supports and brim from the printed parts.
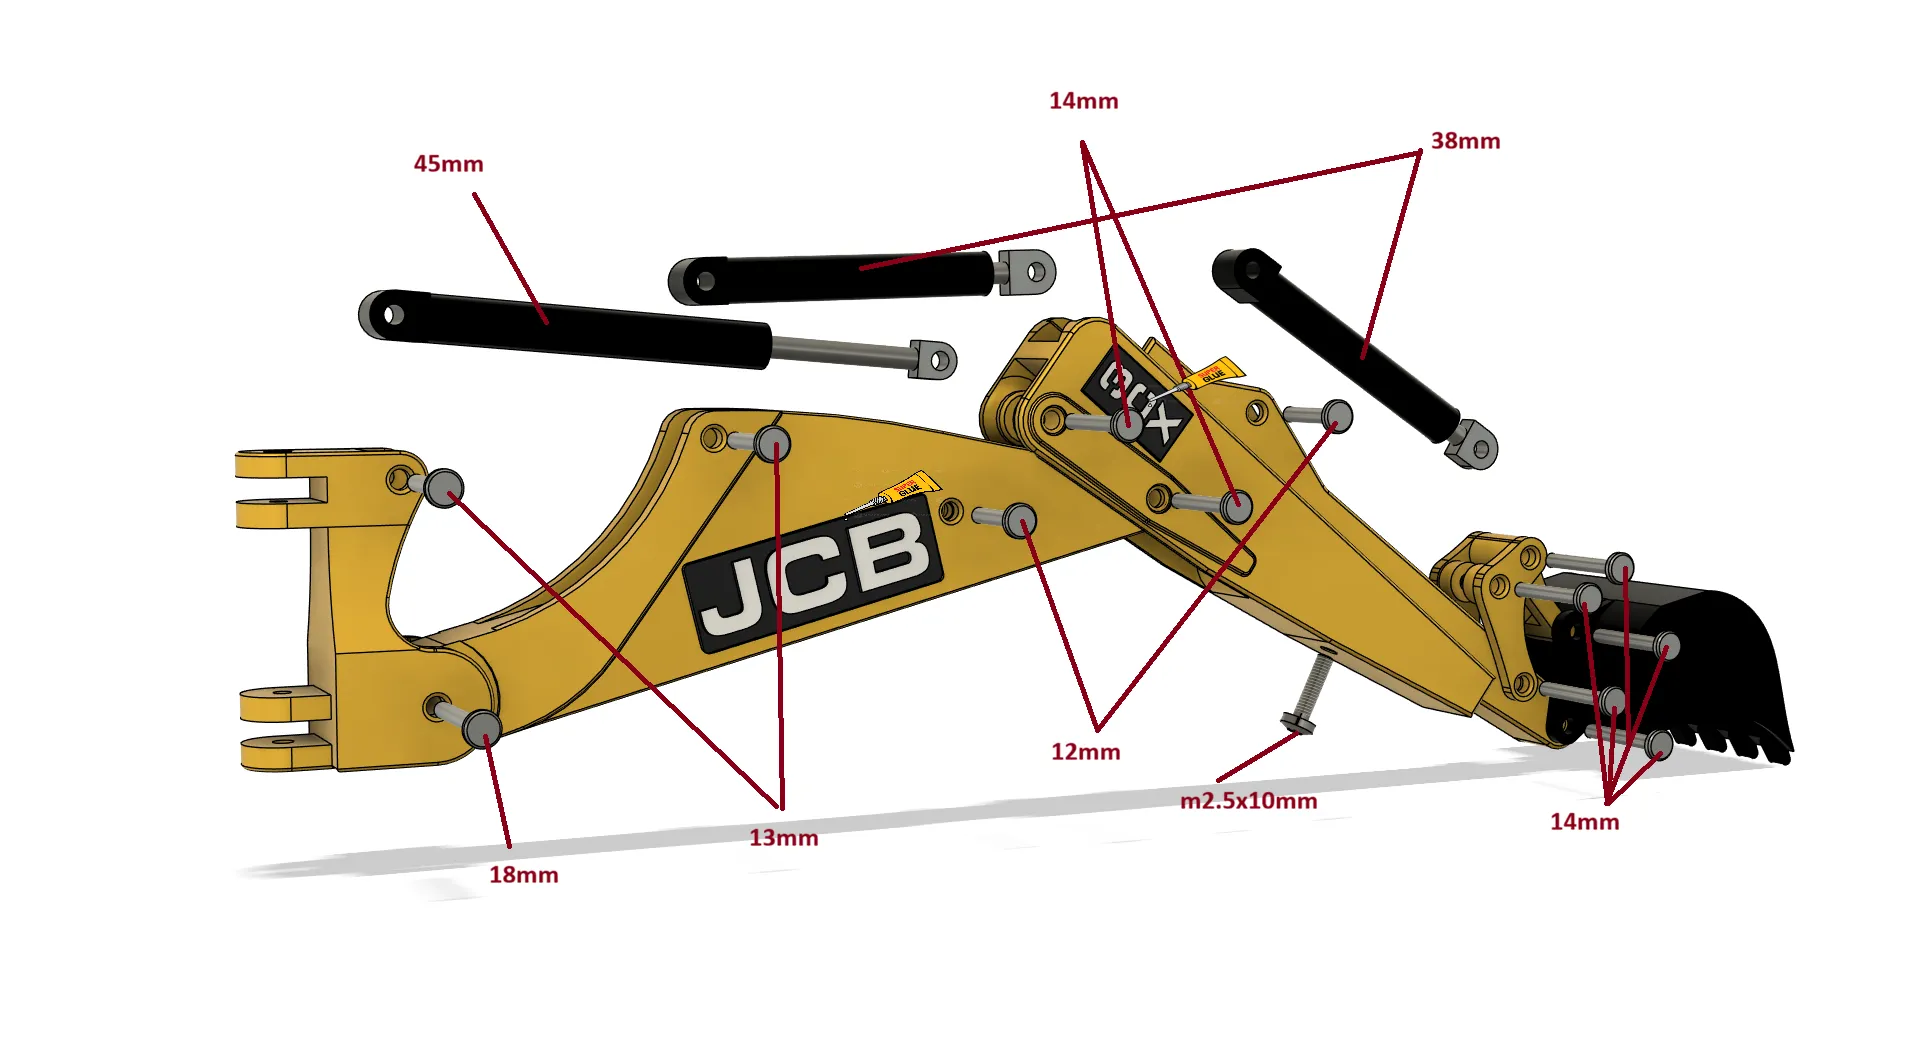
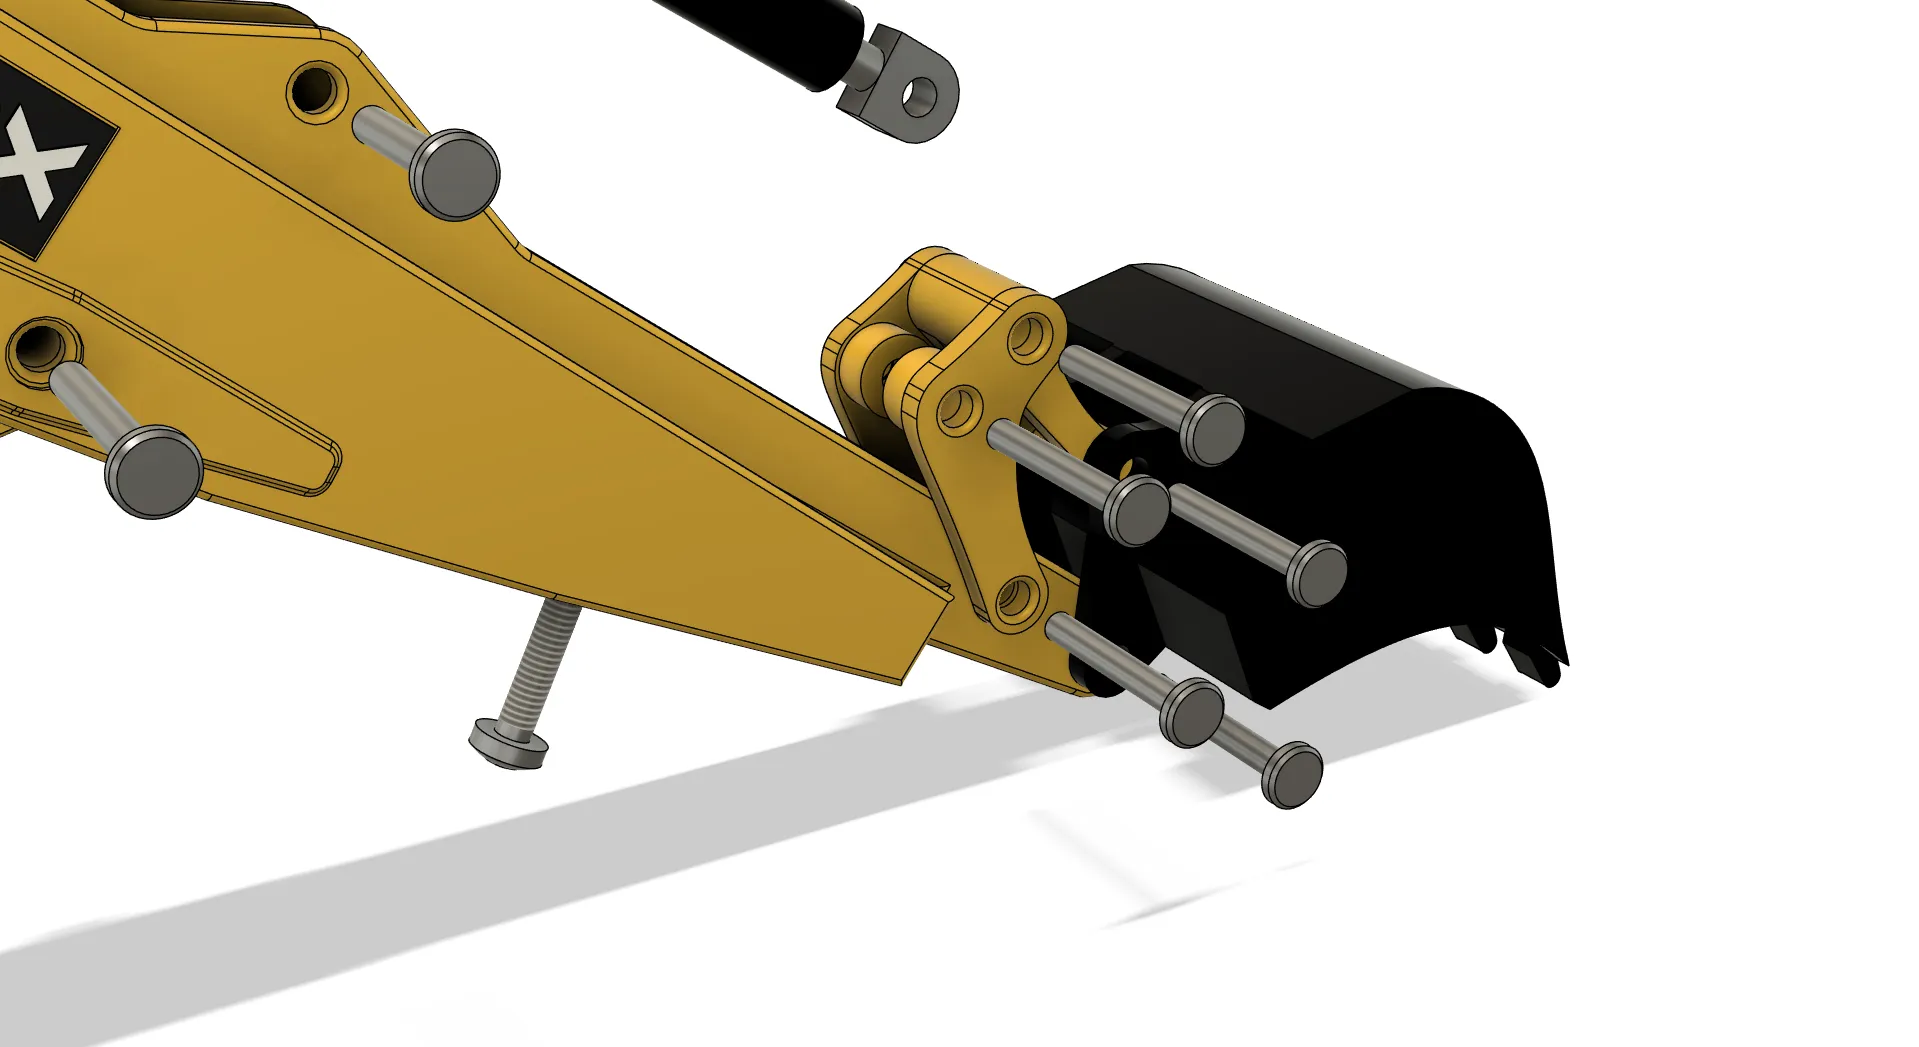
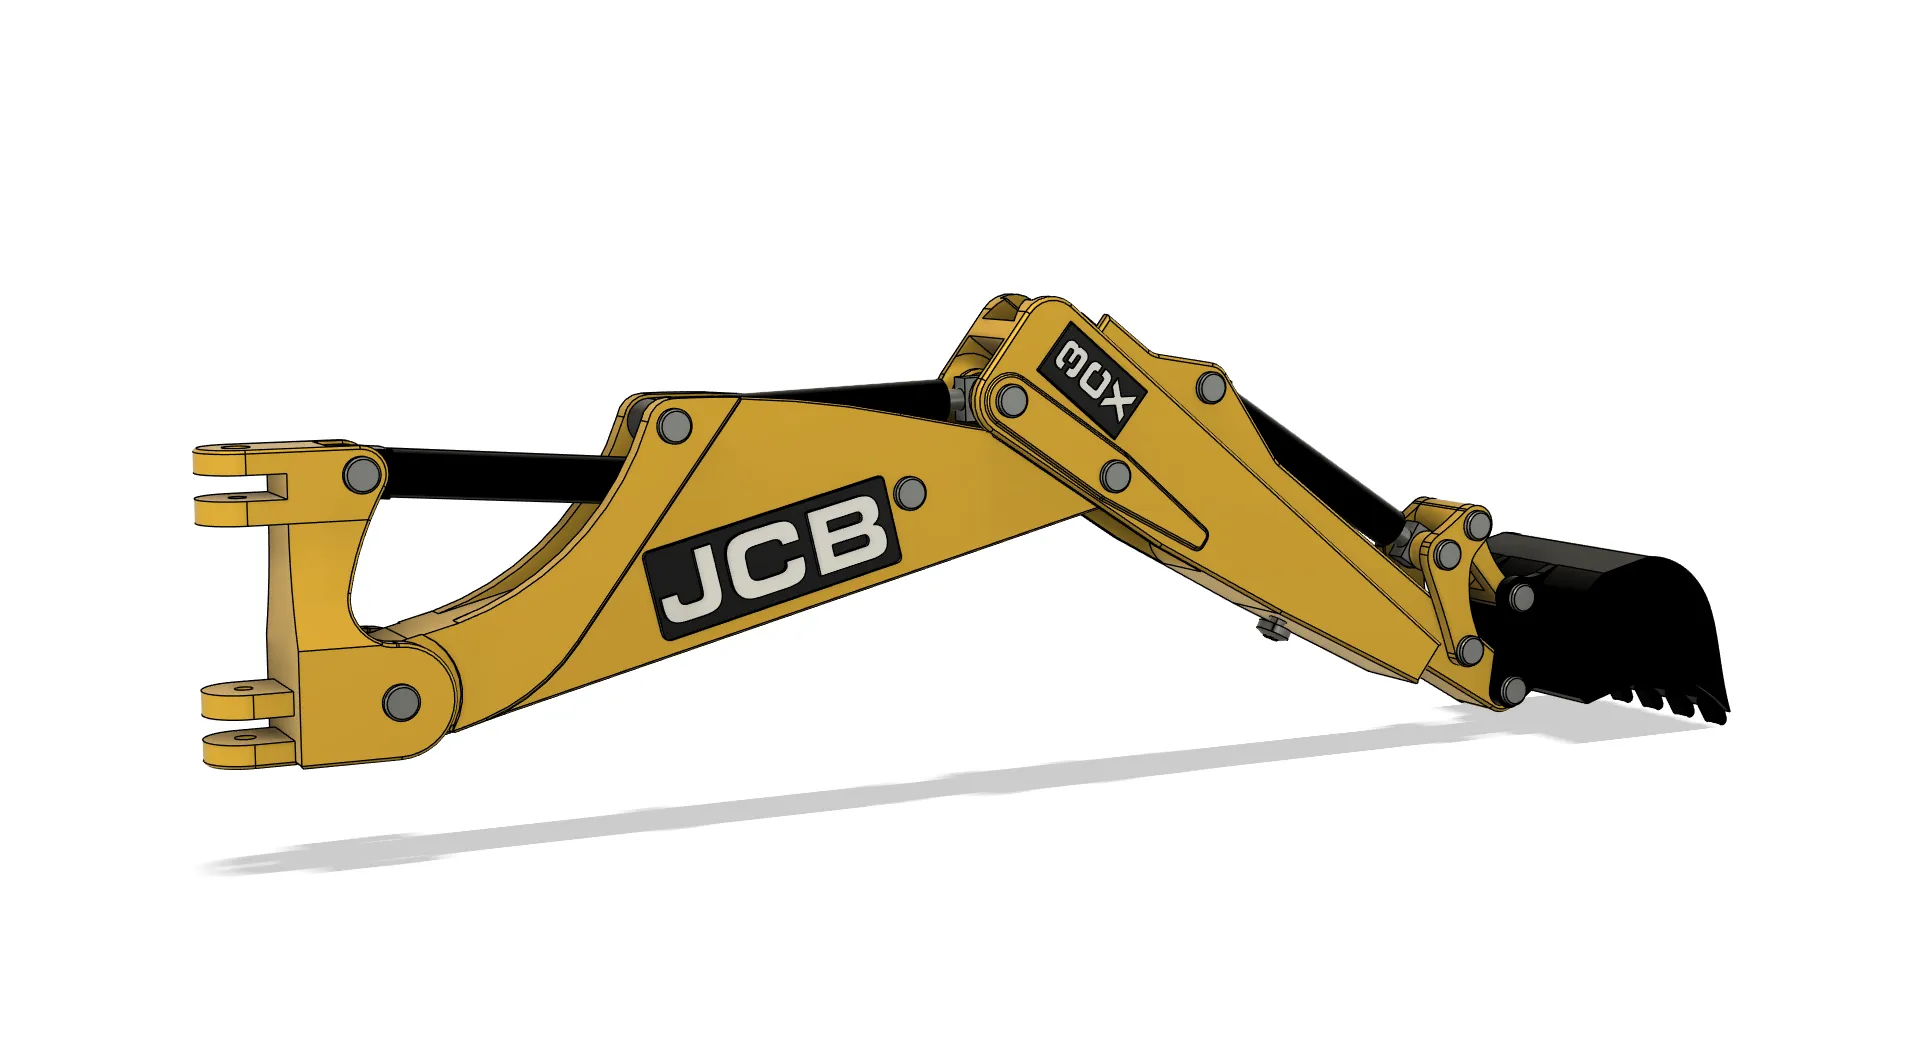
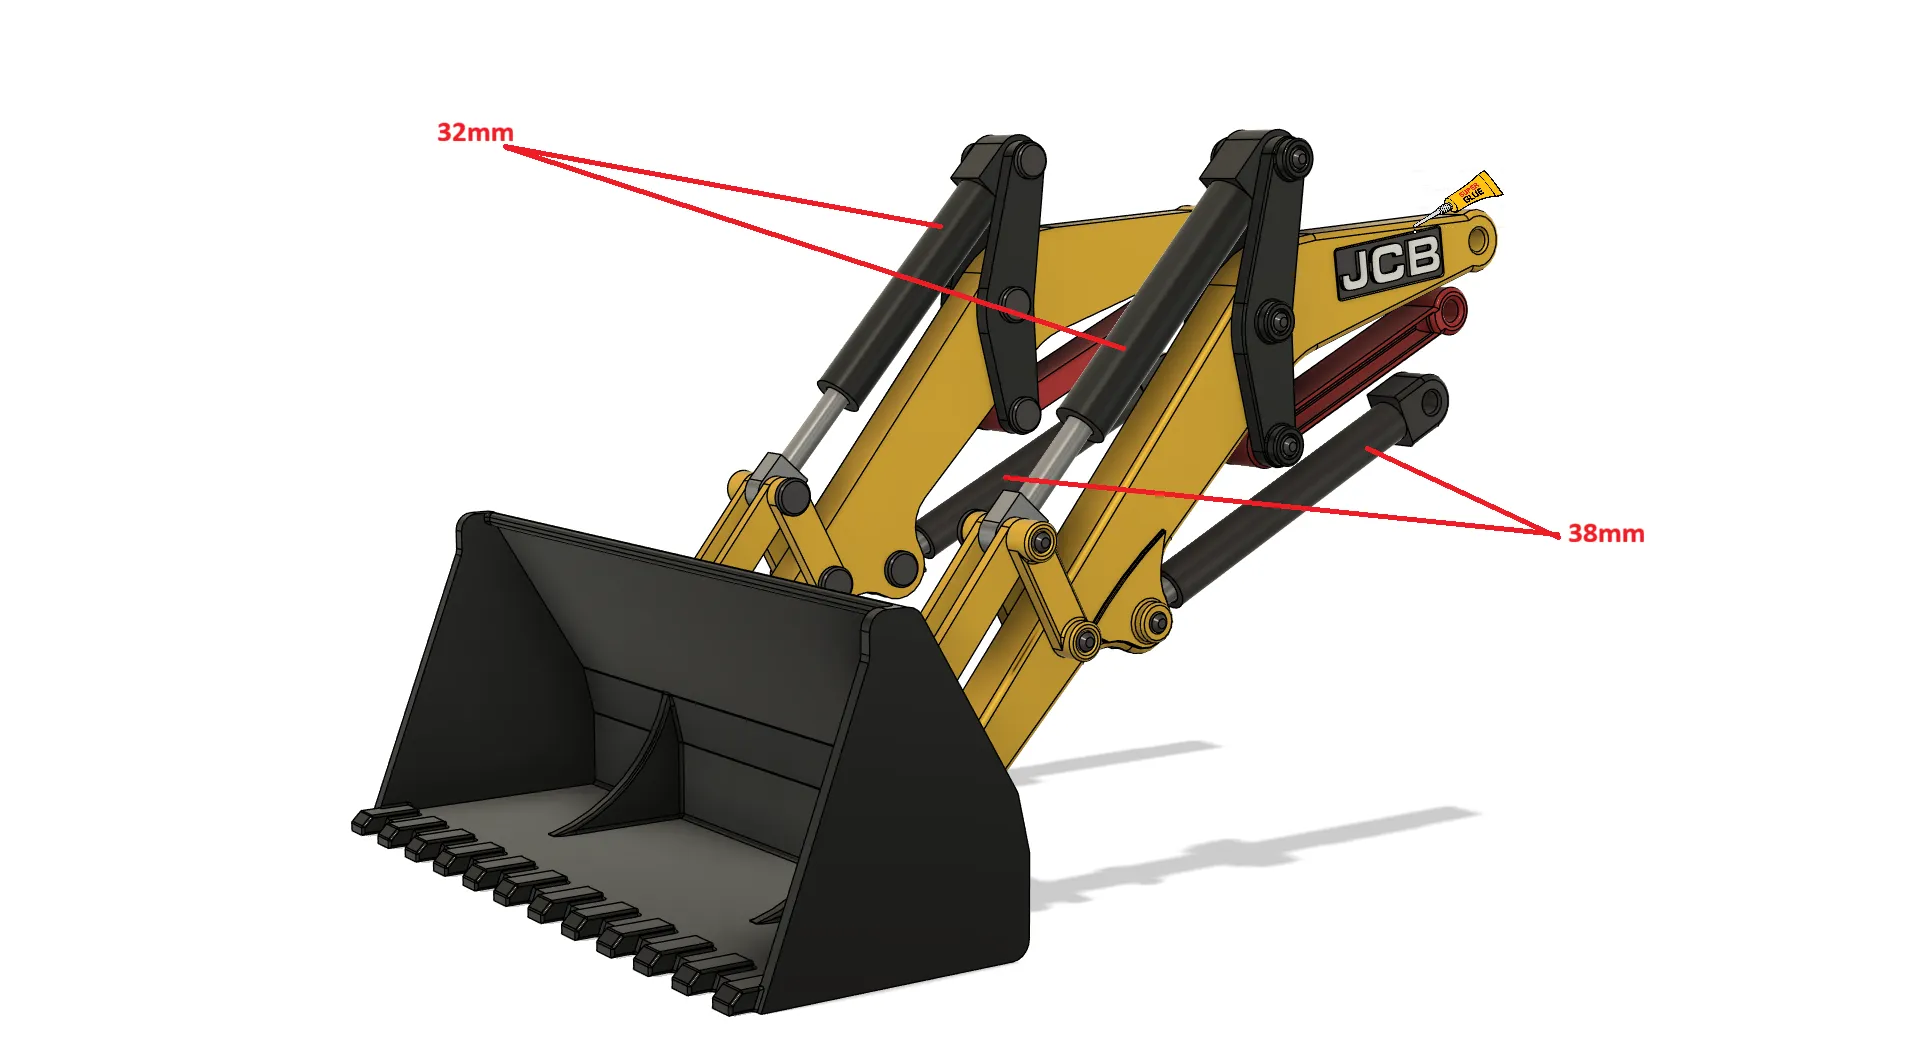
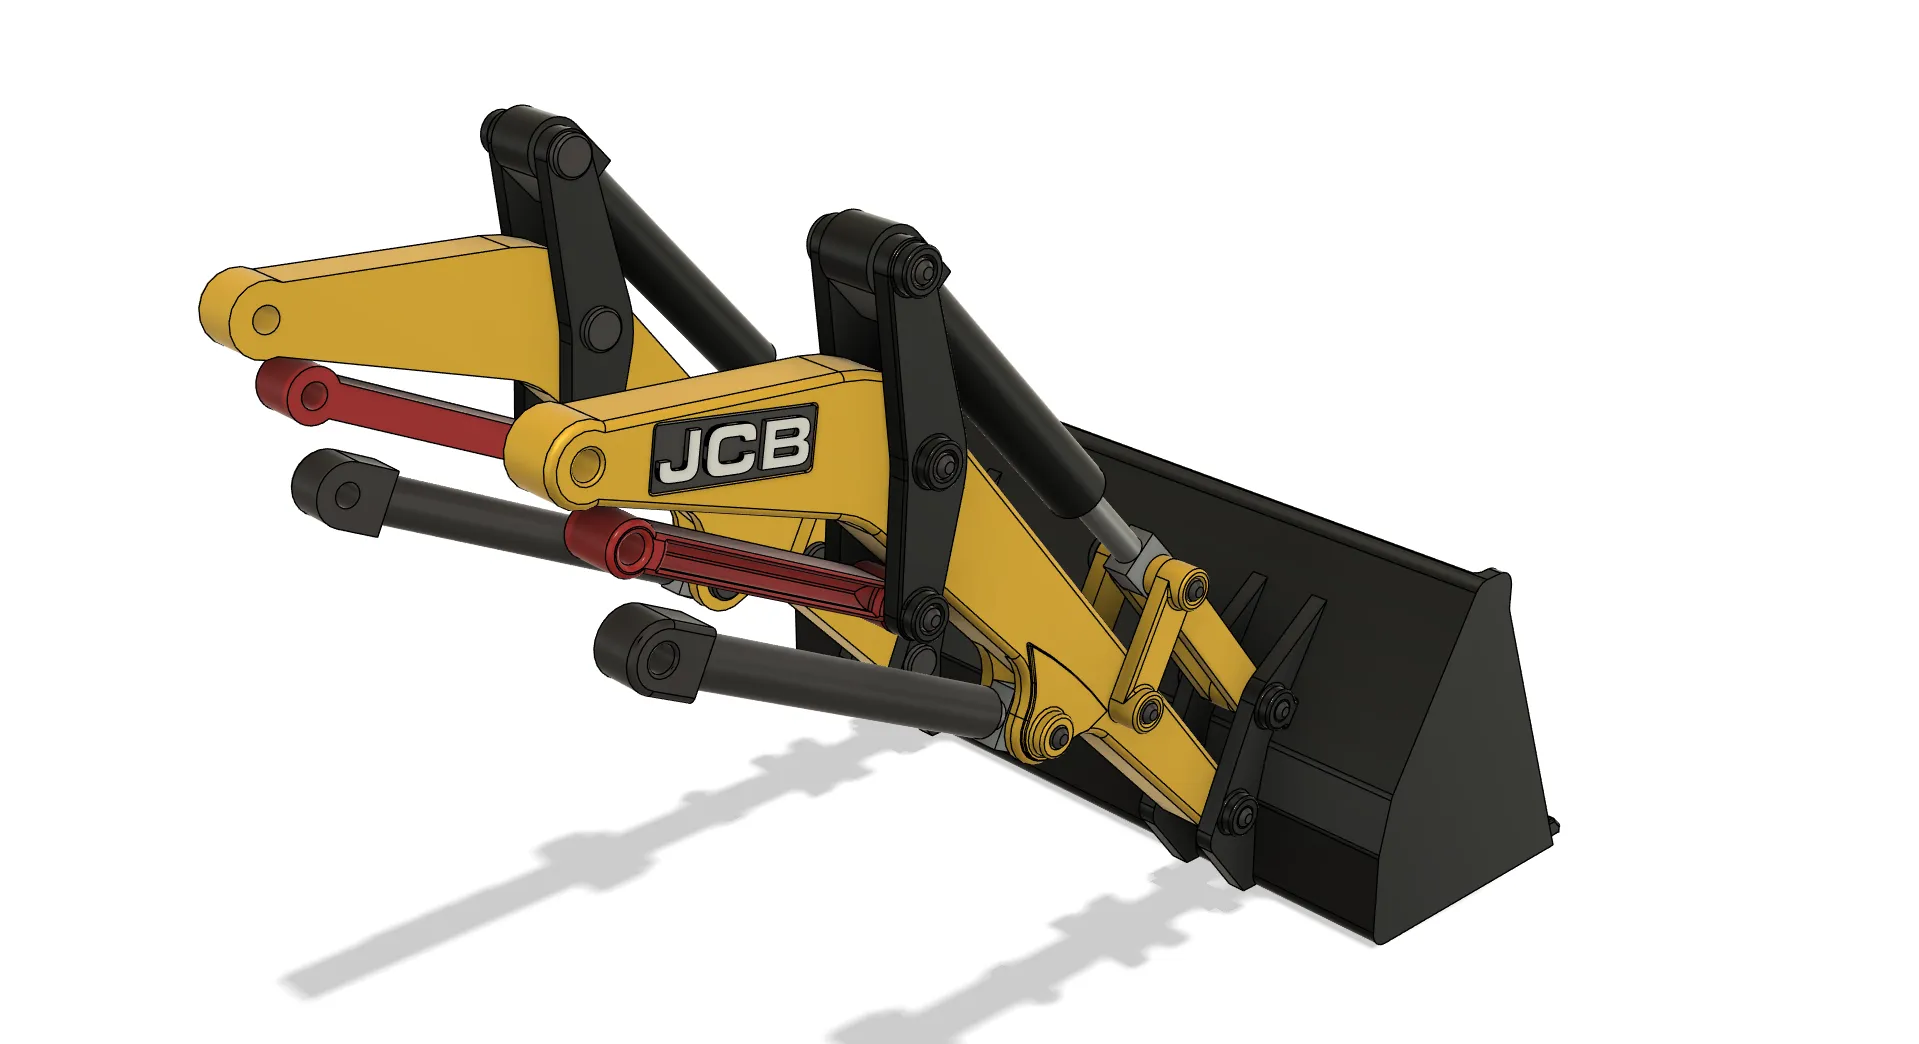
- Next, start assembling the digging arm, following the reference image.
The given lengths of the pins and cylinders are approximate and are measured from the outside edges, not as exact overall dimensions. - If any pin fits too loosely or too tightly, you may need to:
- use a small amount of glue, or
- slightly sand or reduce the diameter of the pin
- Assembly tolerances may vary depending on printer calibration, but I hope that everything will fit together smoothly without major adjustments.
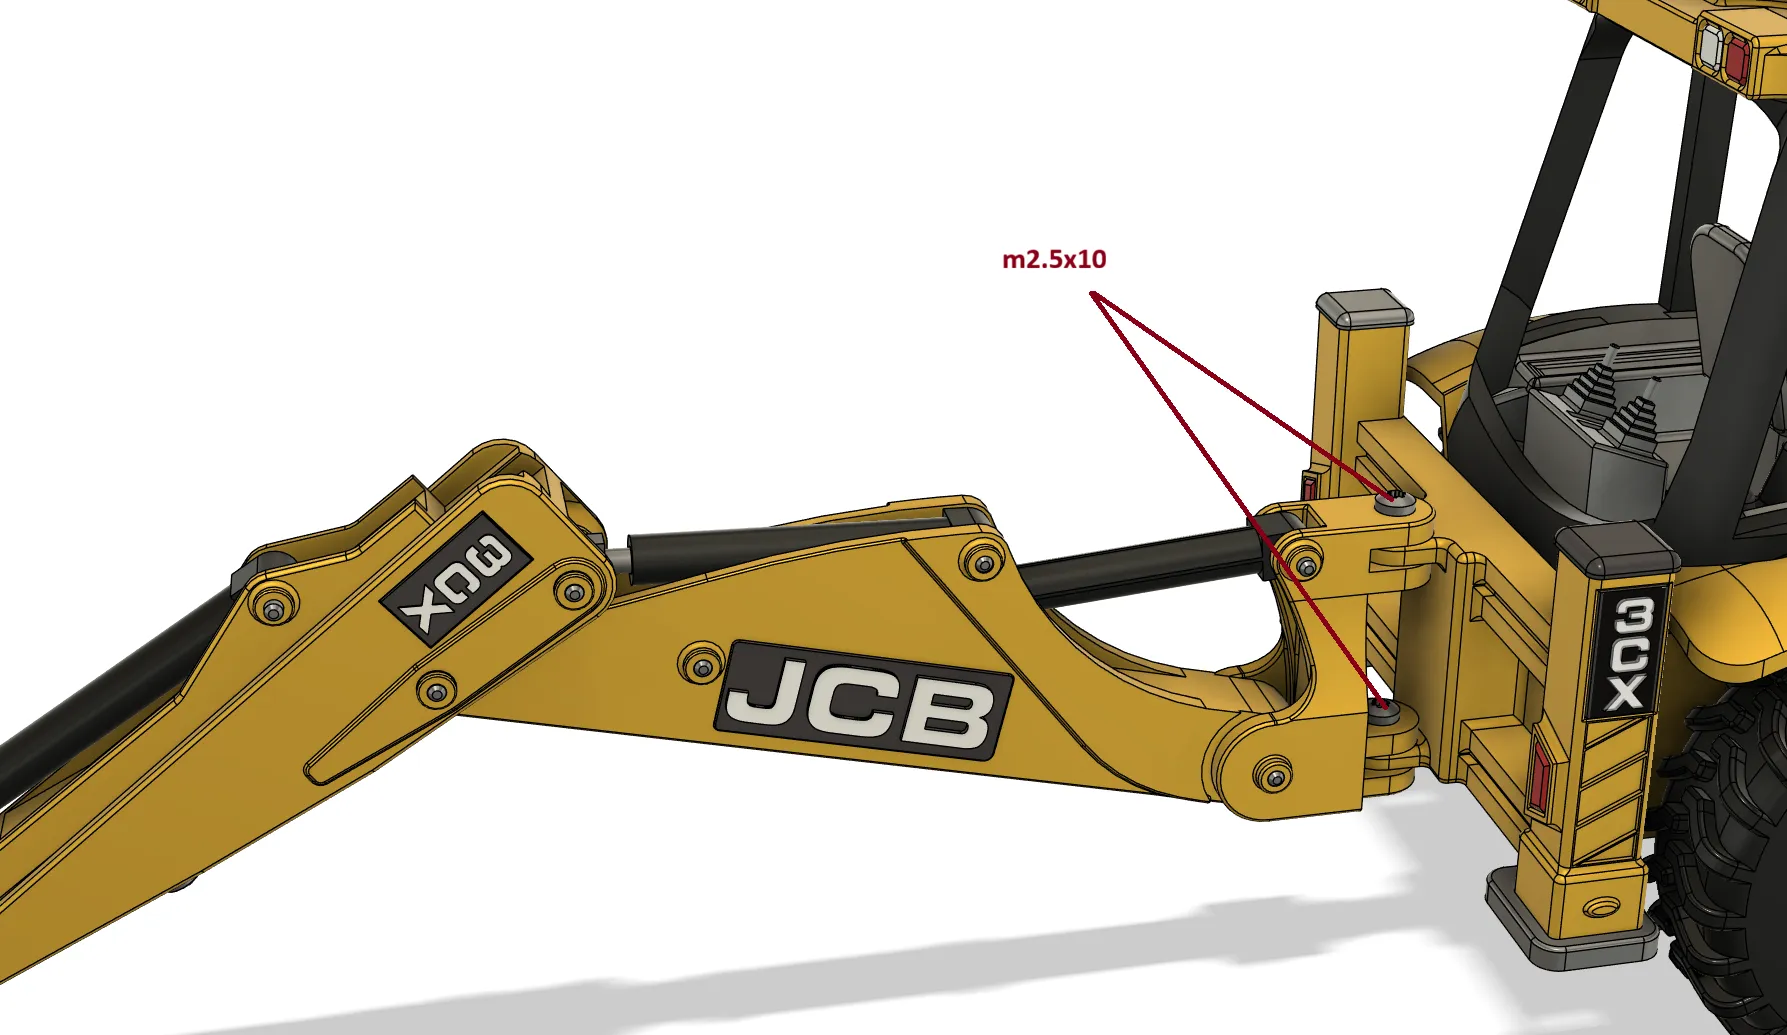
- Tighten the M2.5 screws so that the sliding arm moves with slight resistance.
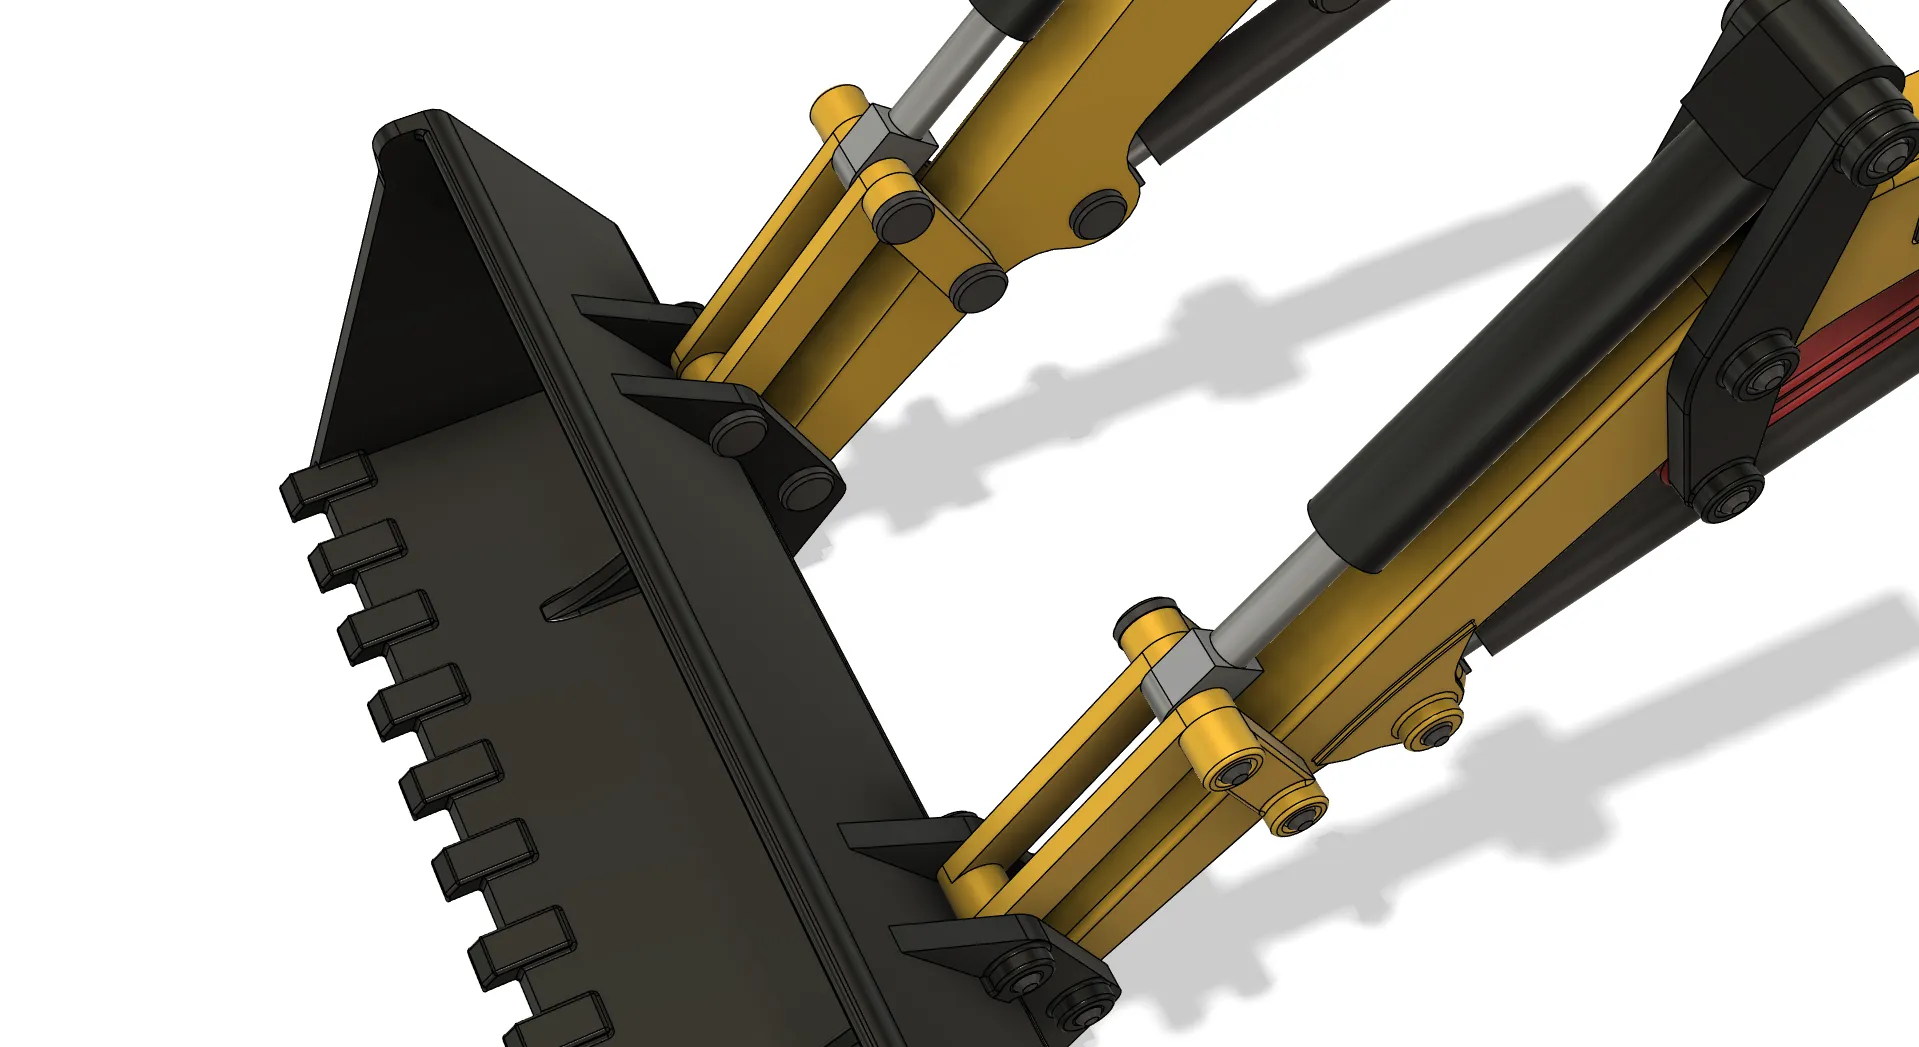
- Next, assemble the front bucket.
The situation is similar to the previous step, but here only one pin length is used: - 12 mm pin, black color
As before, check the fit.
If the pin is too loose or too tight, use a small amount of glue or slightly adjust the diameter if necessary.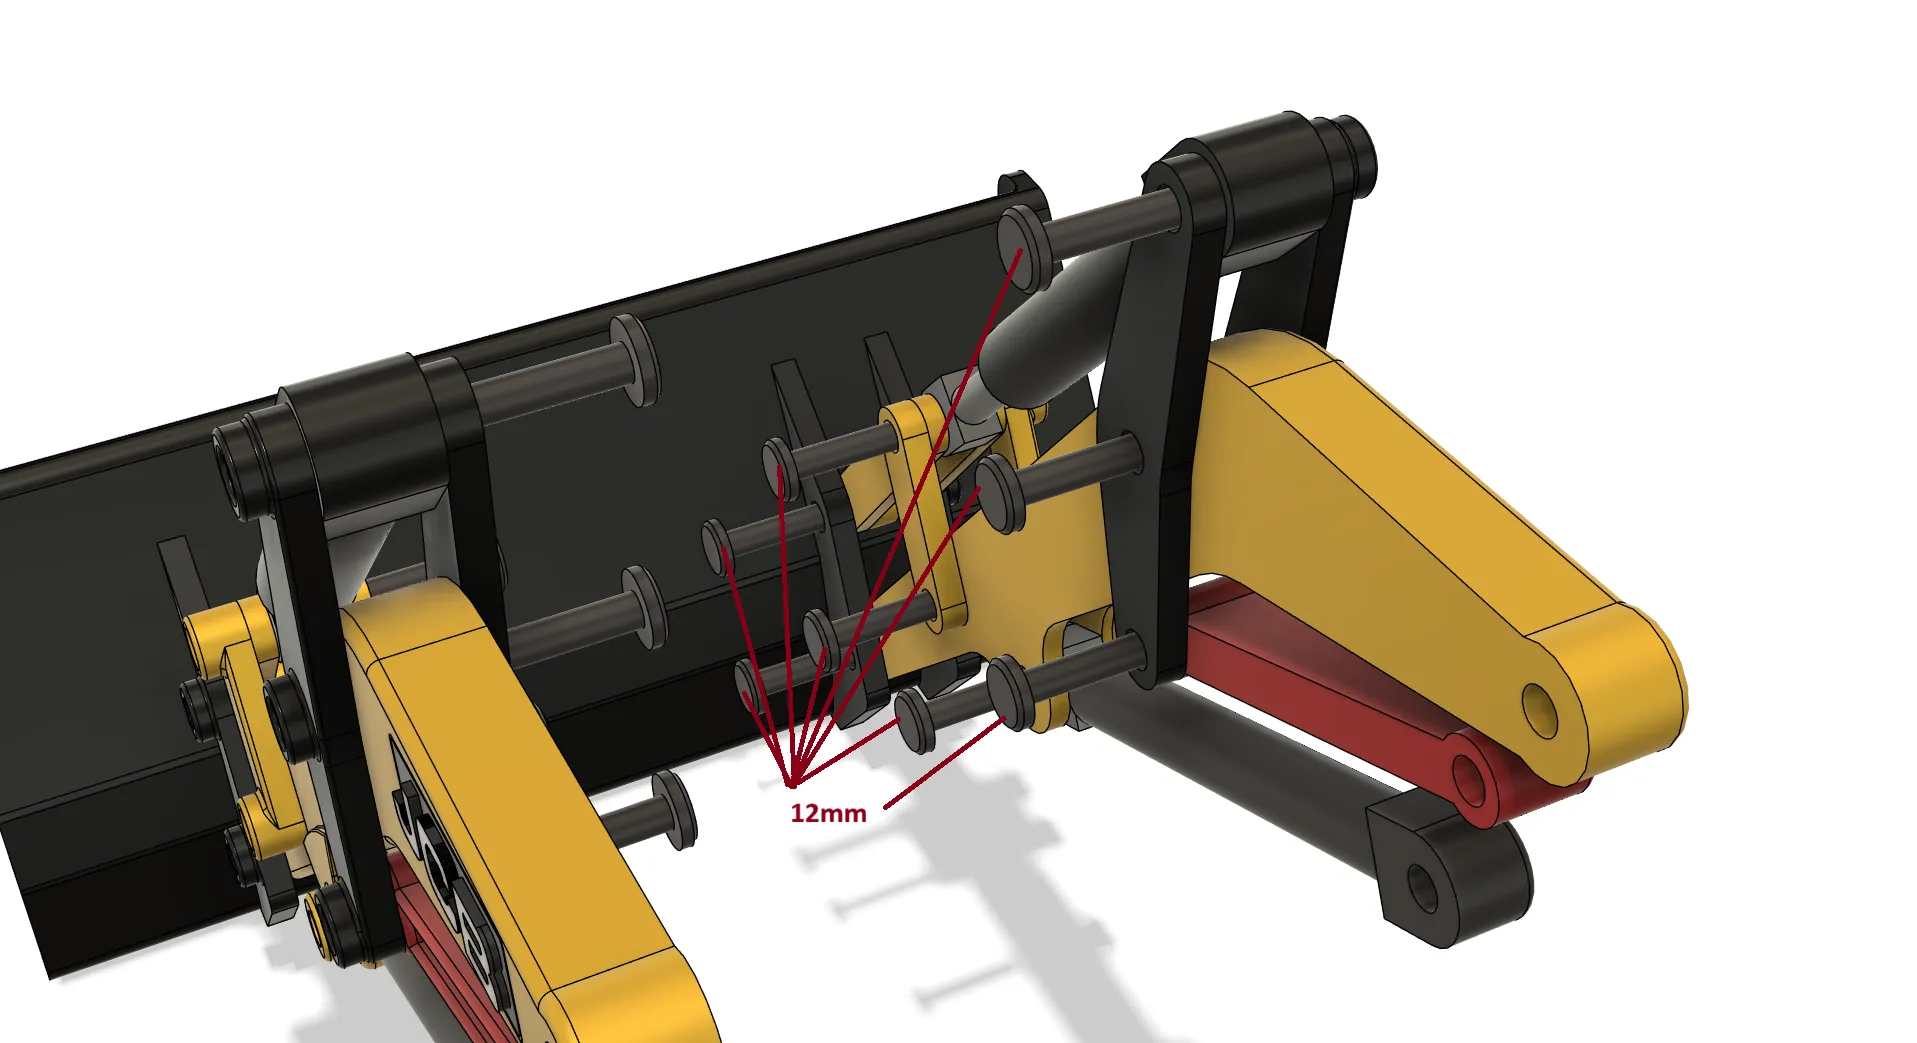
Insert the cab interior through the rear window opening.
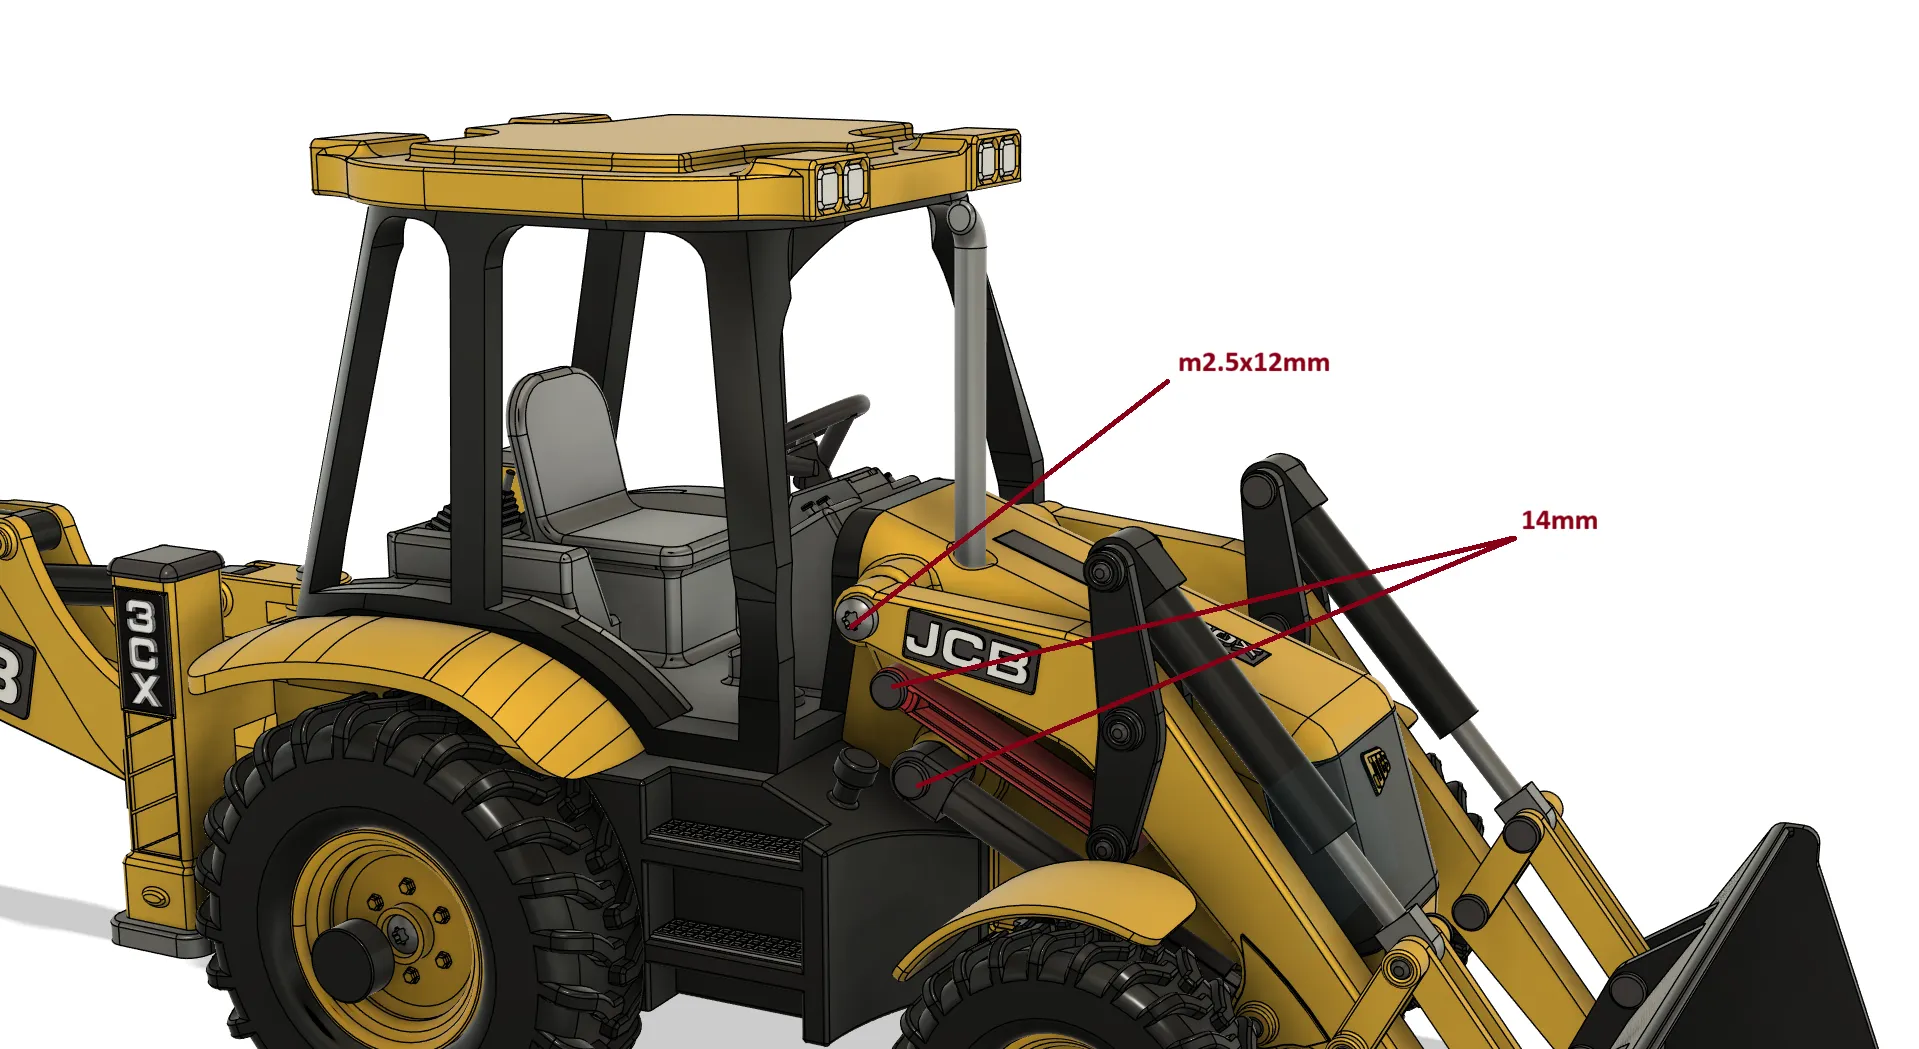
Once in place, secure it to the frame using 3 screws.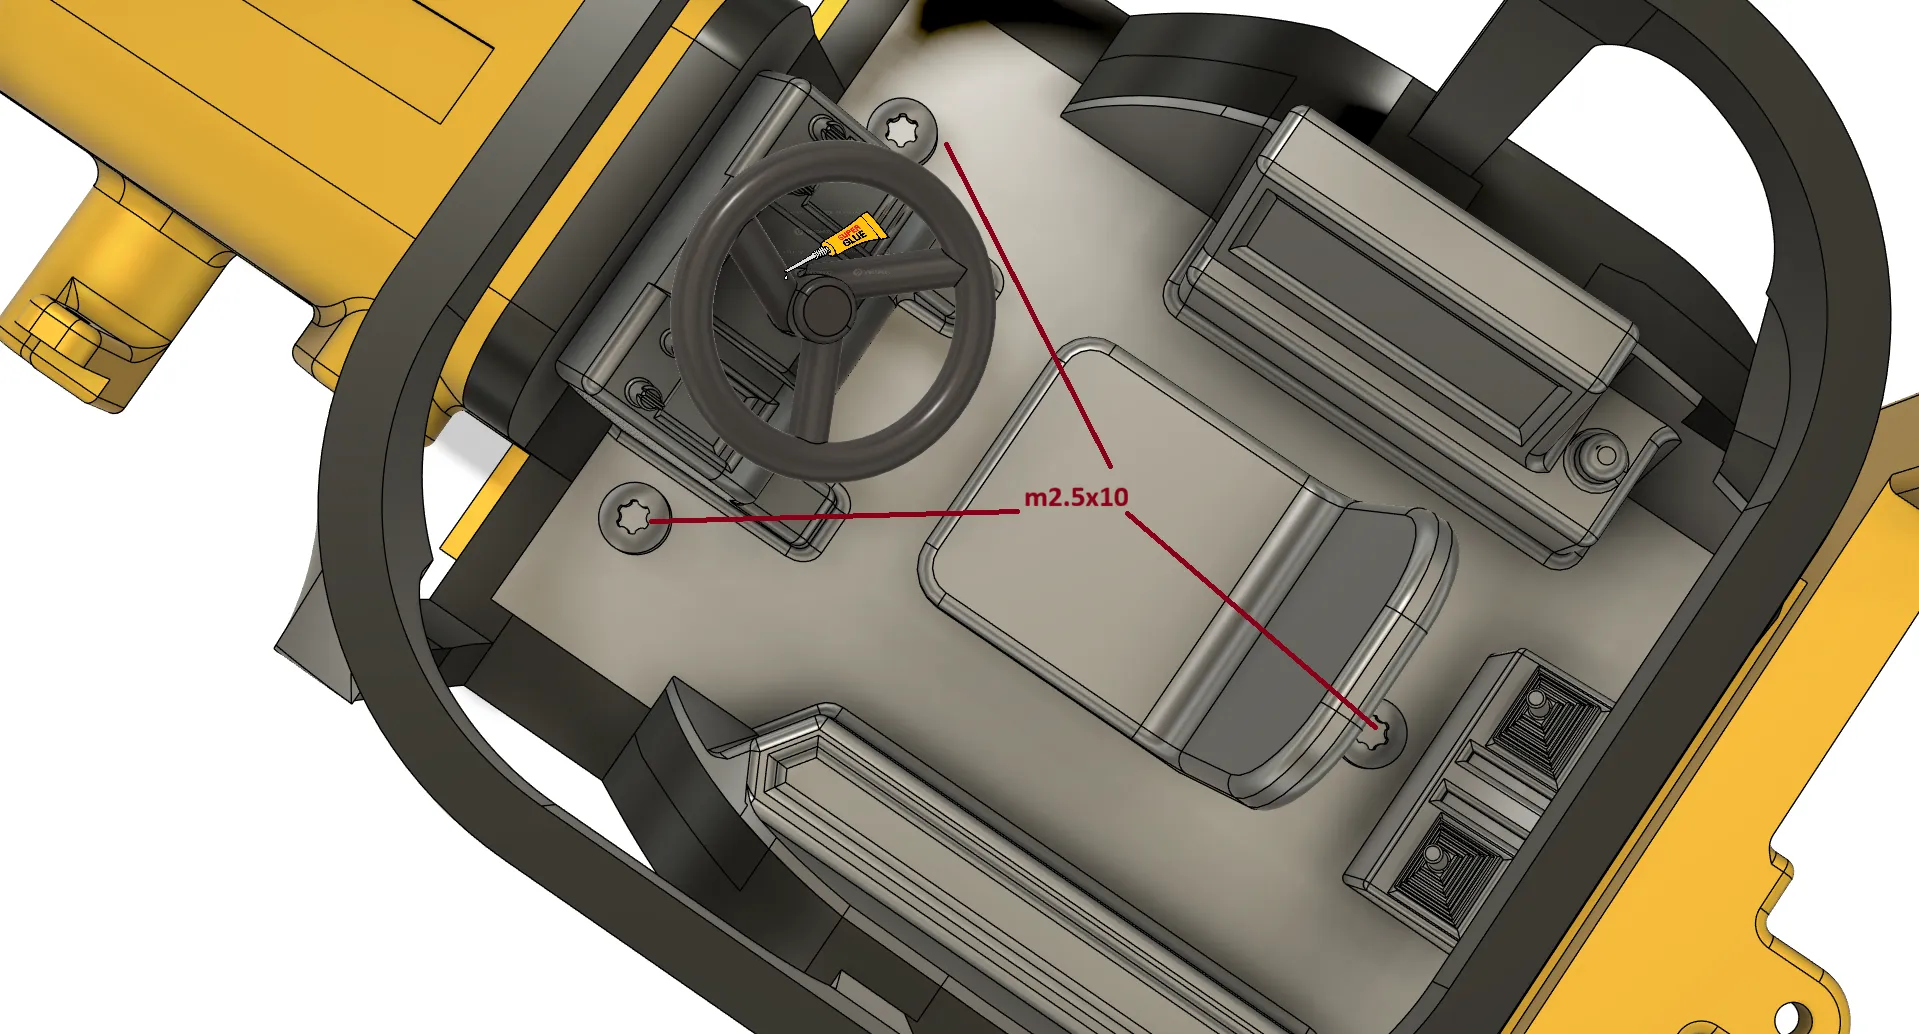
Finally, glue the logos and other decorative elements in place, as shown in the reference images.
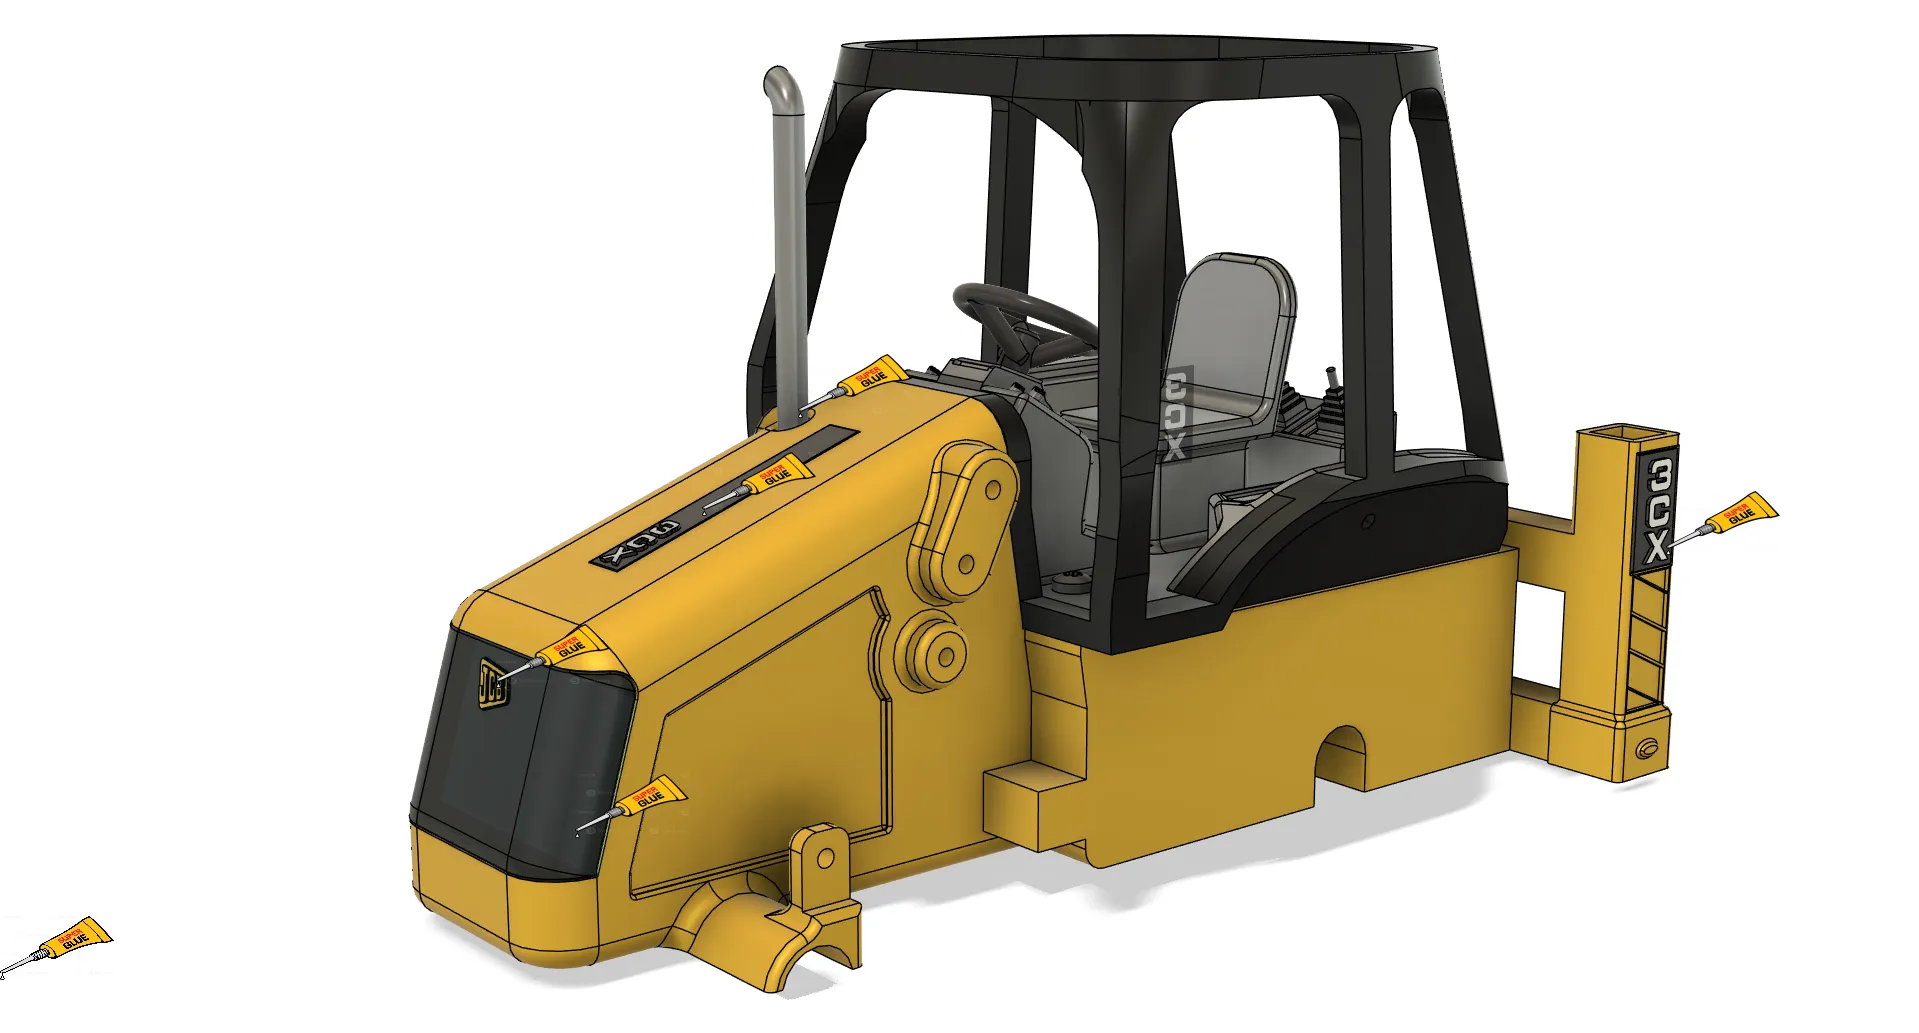
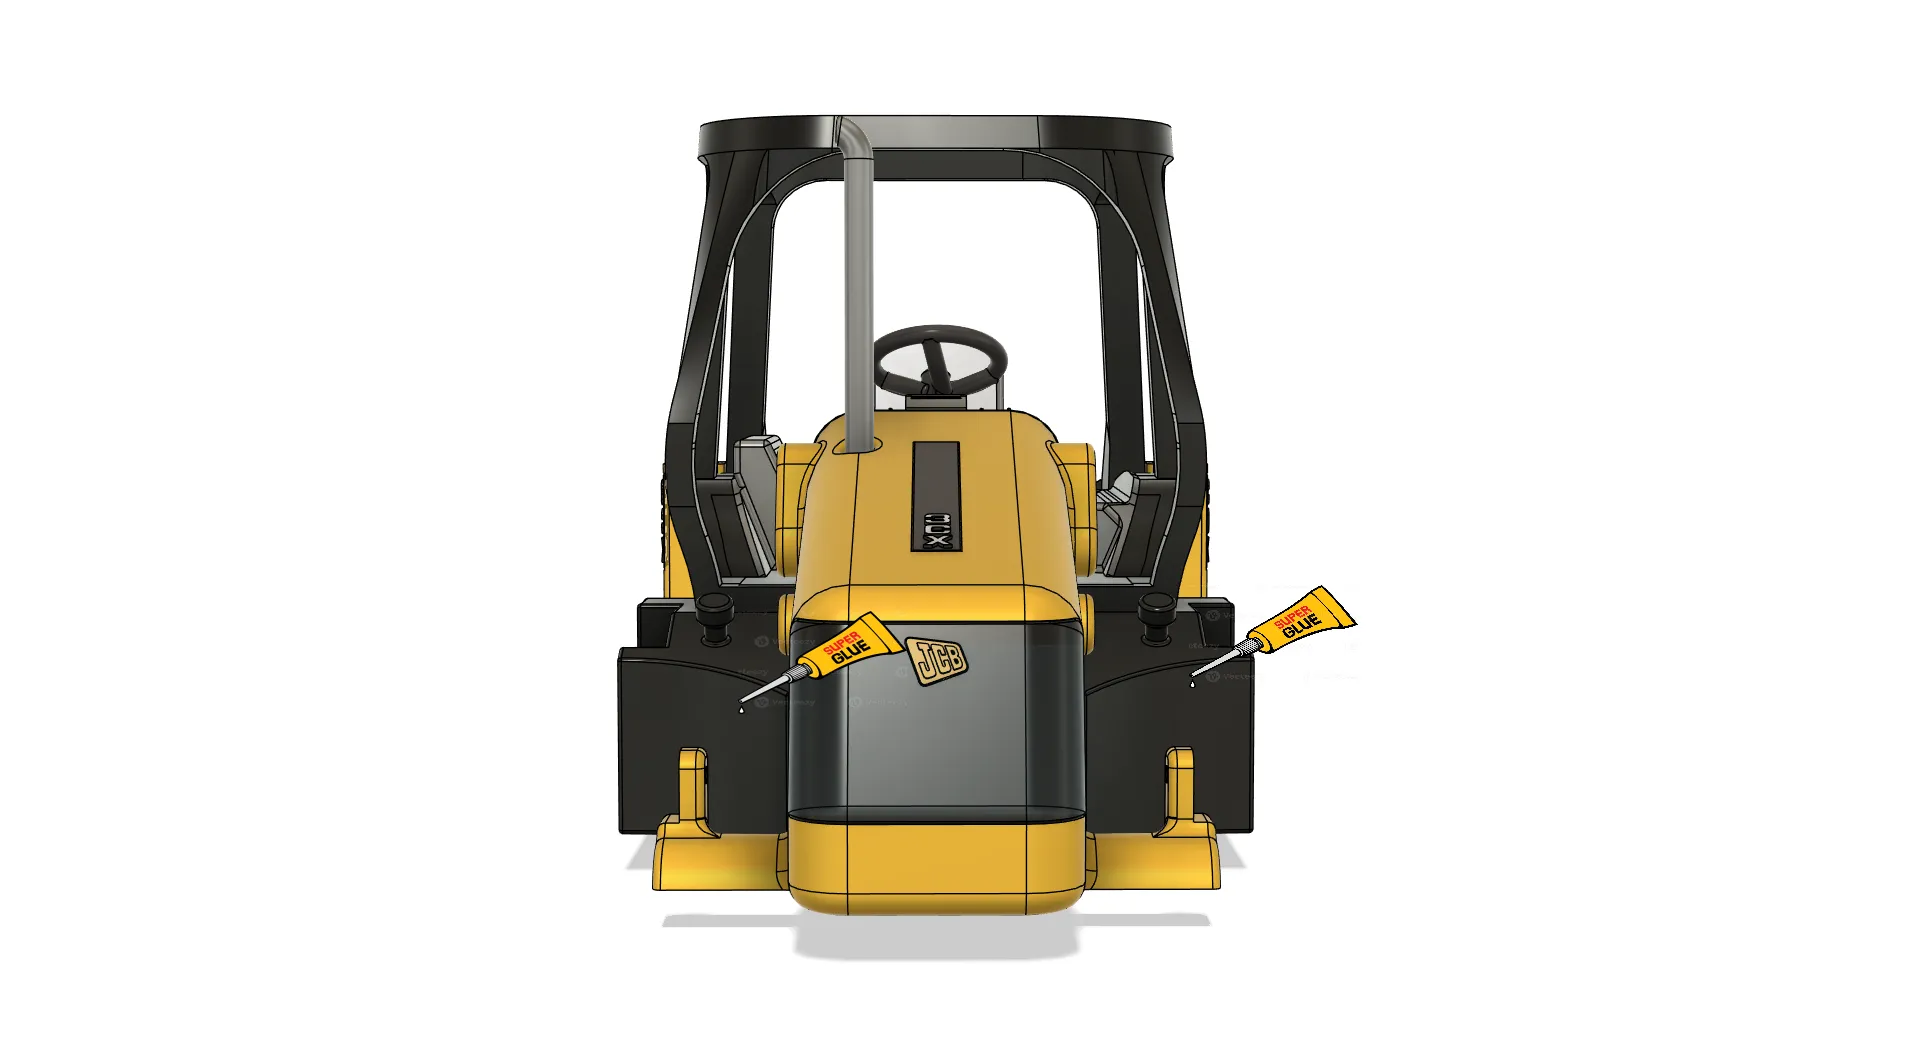
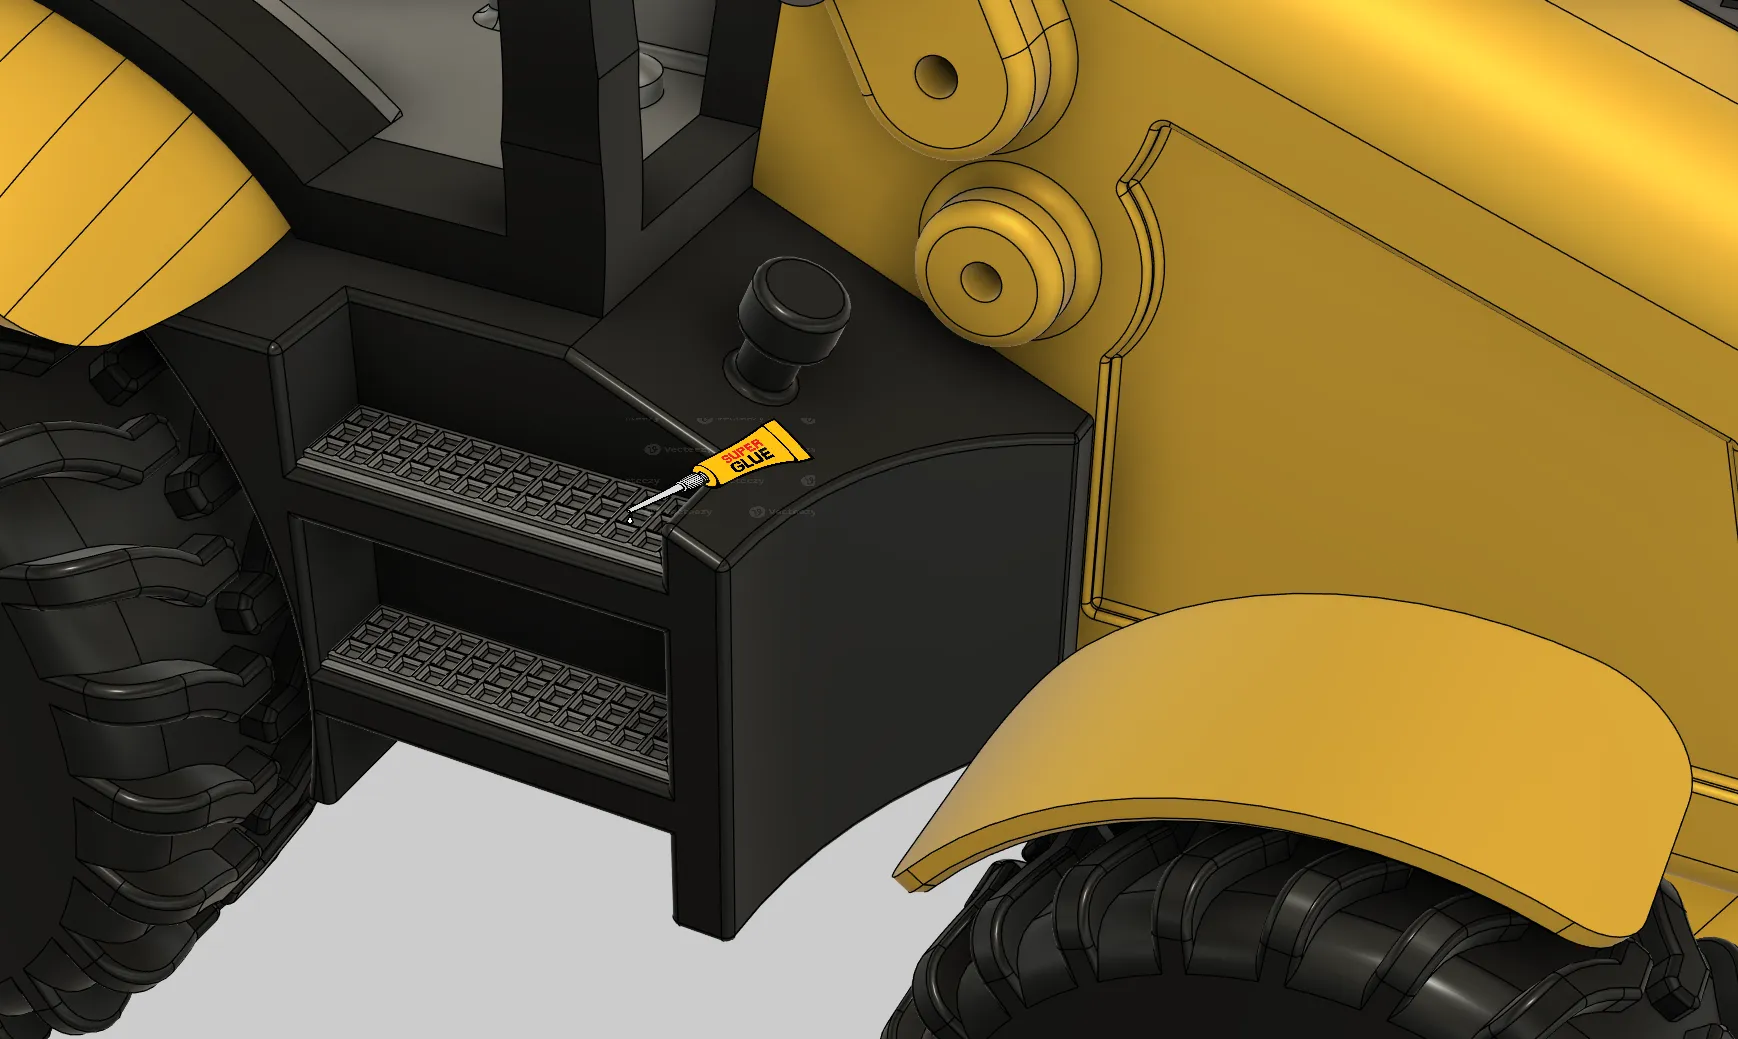
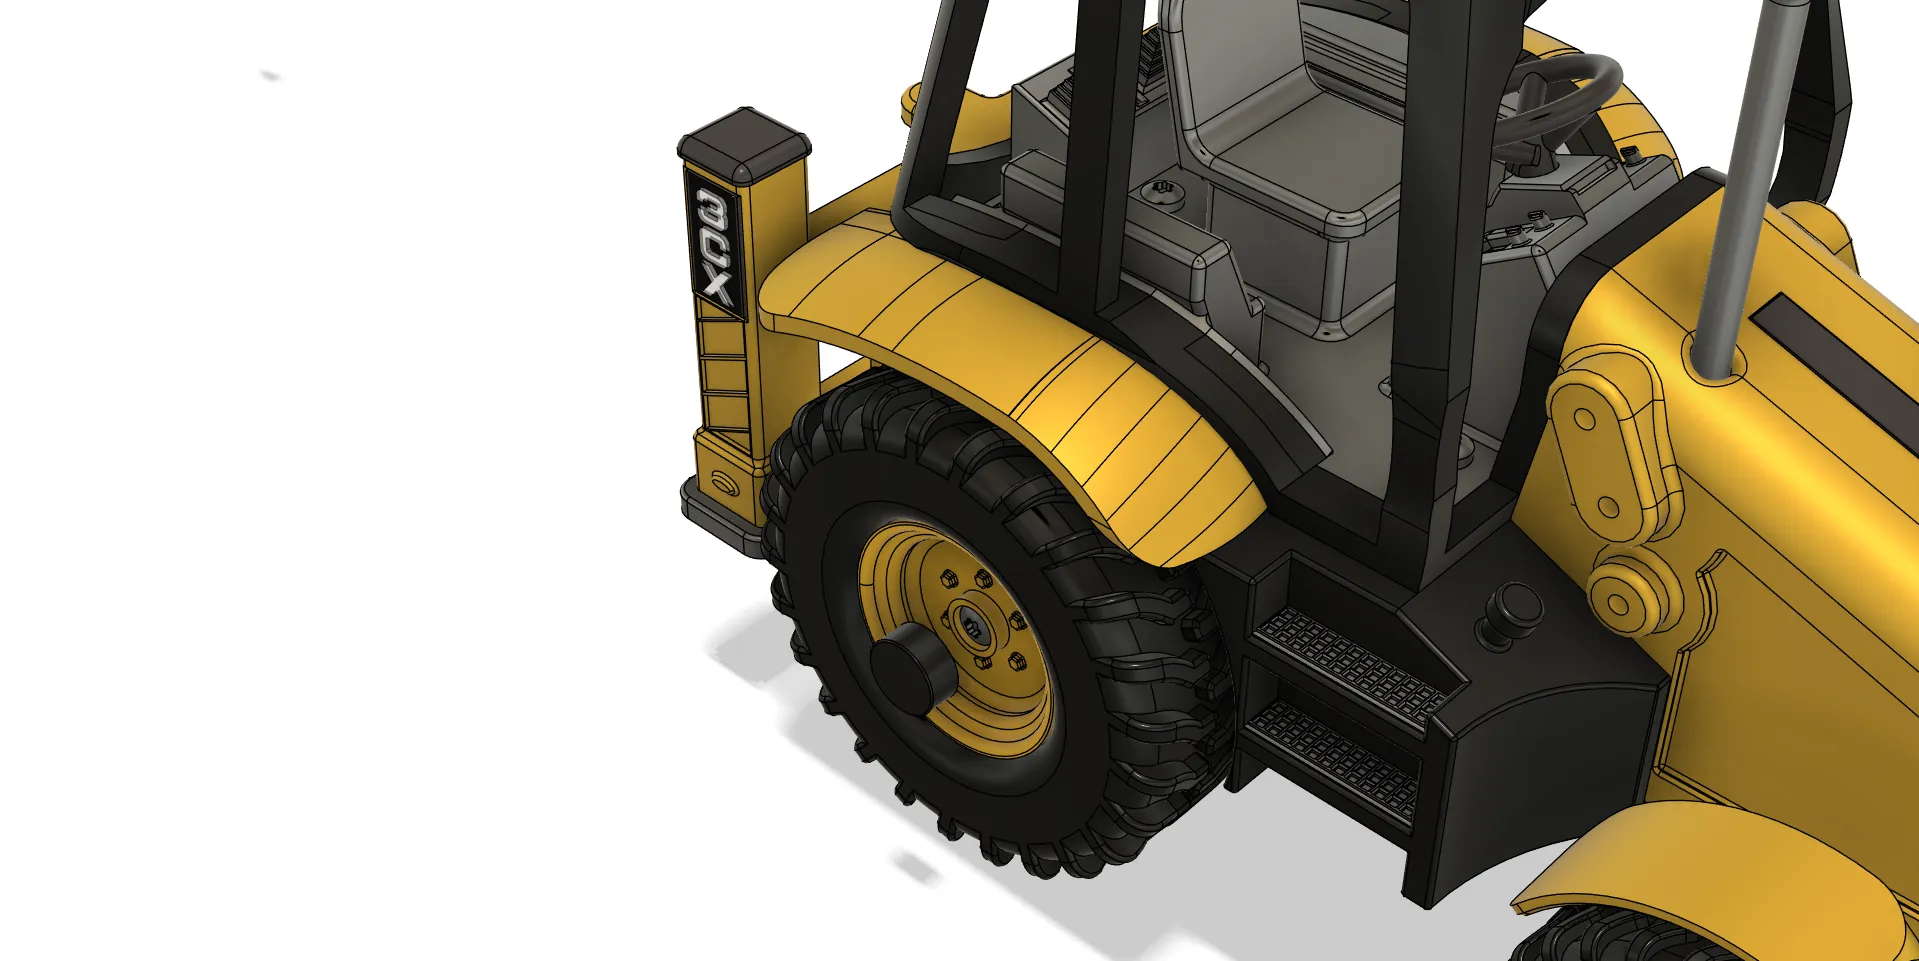
Attach the fenders and secure them with screws.
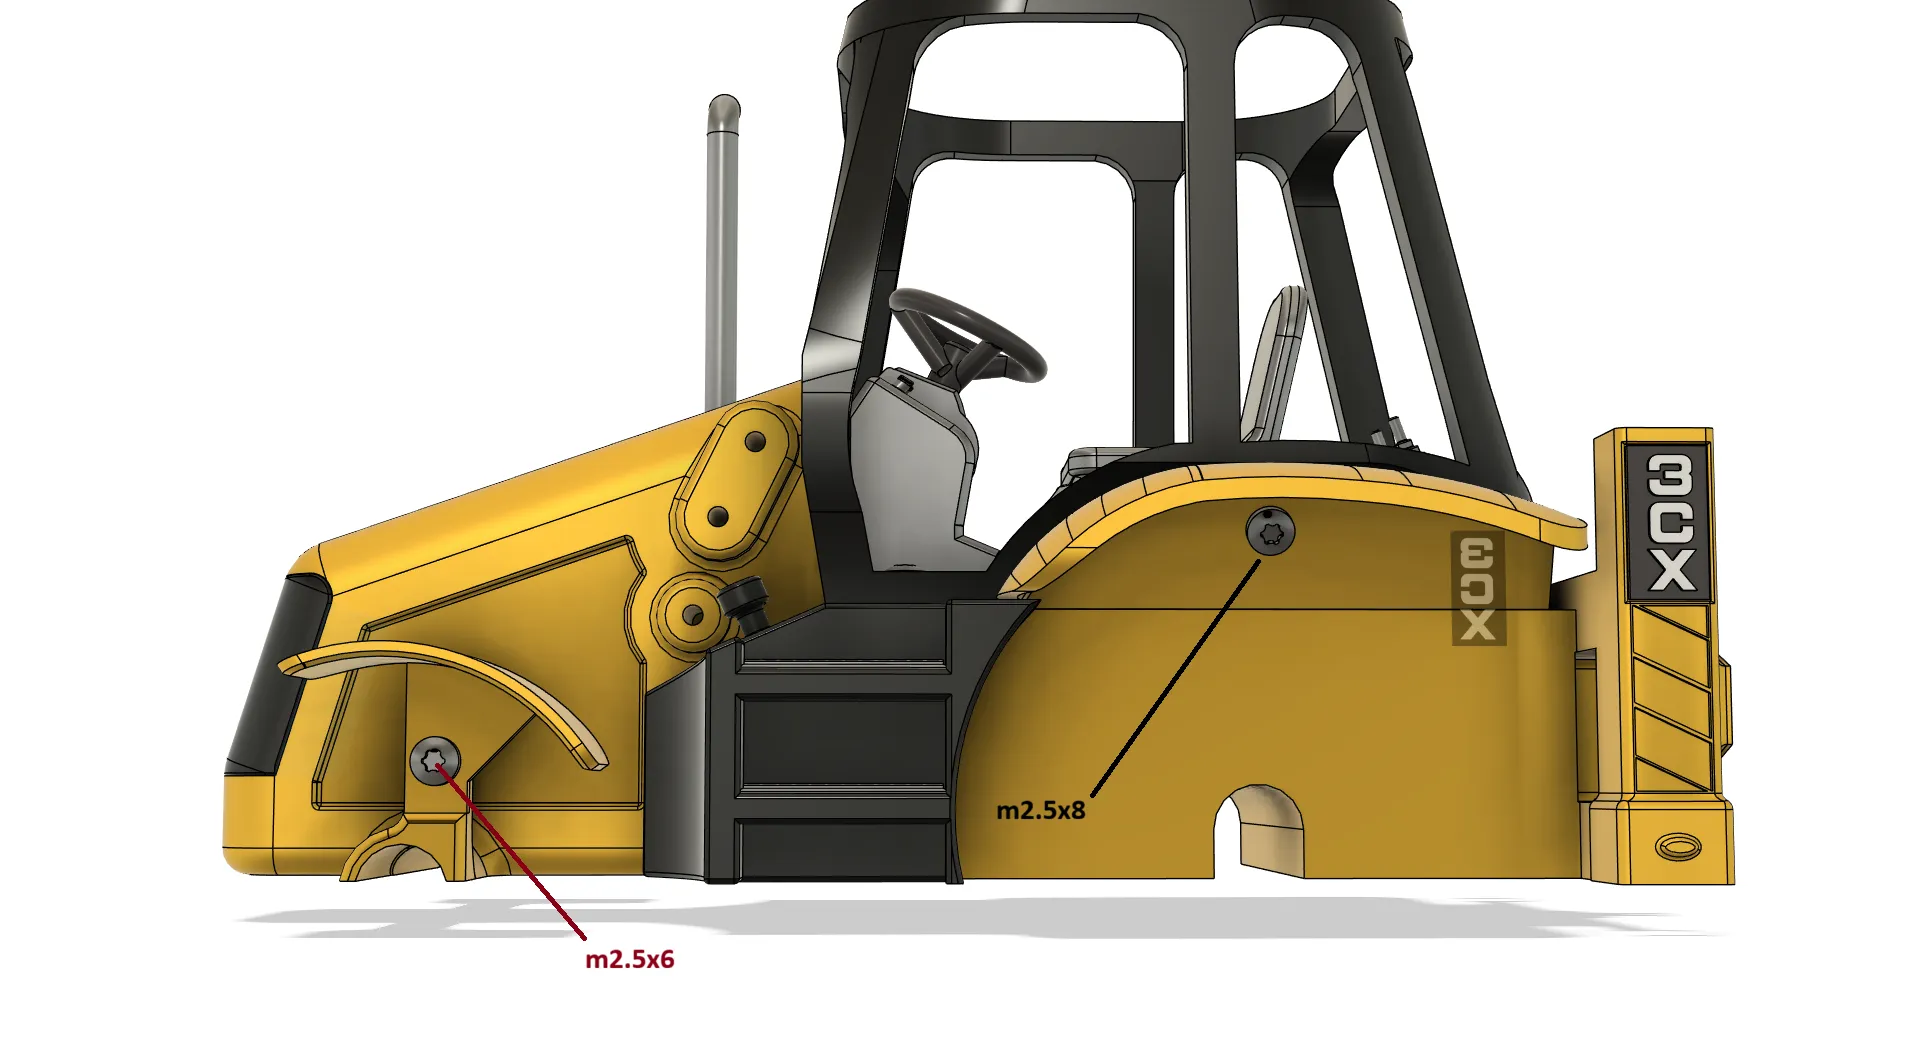
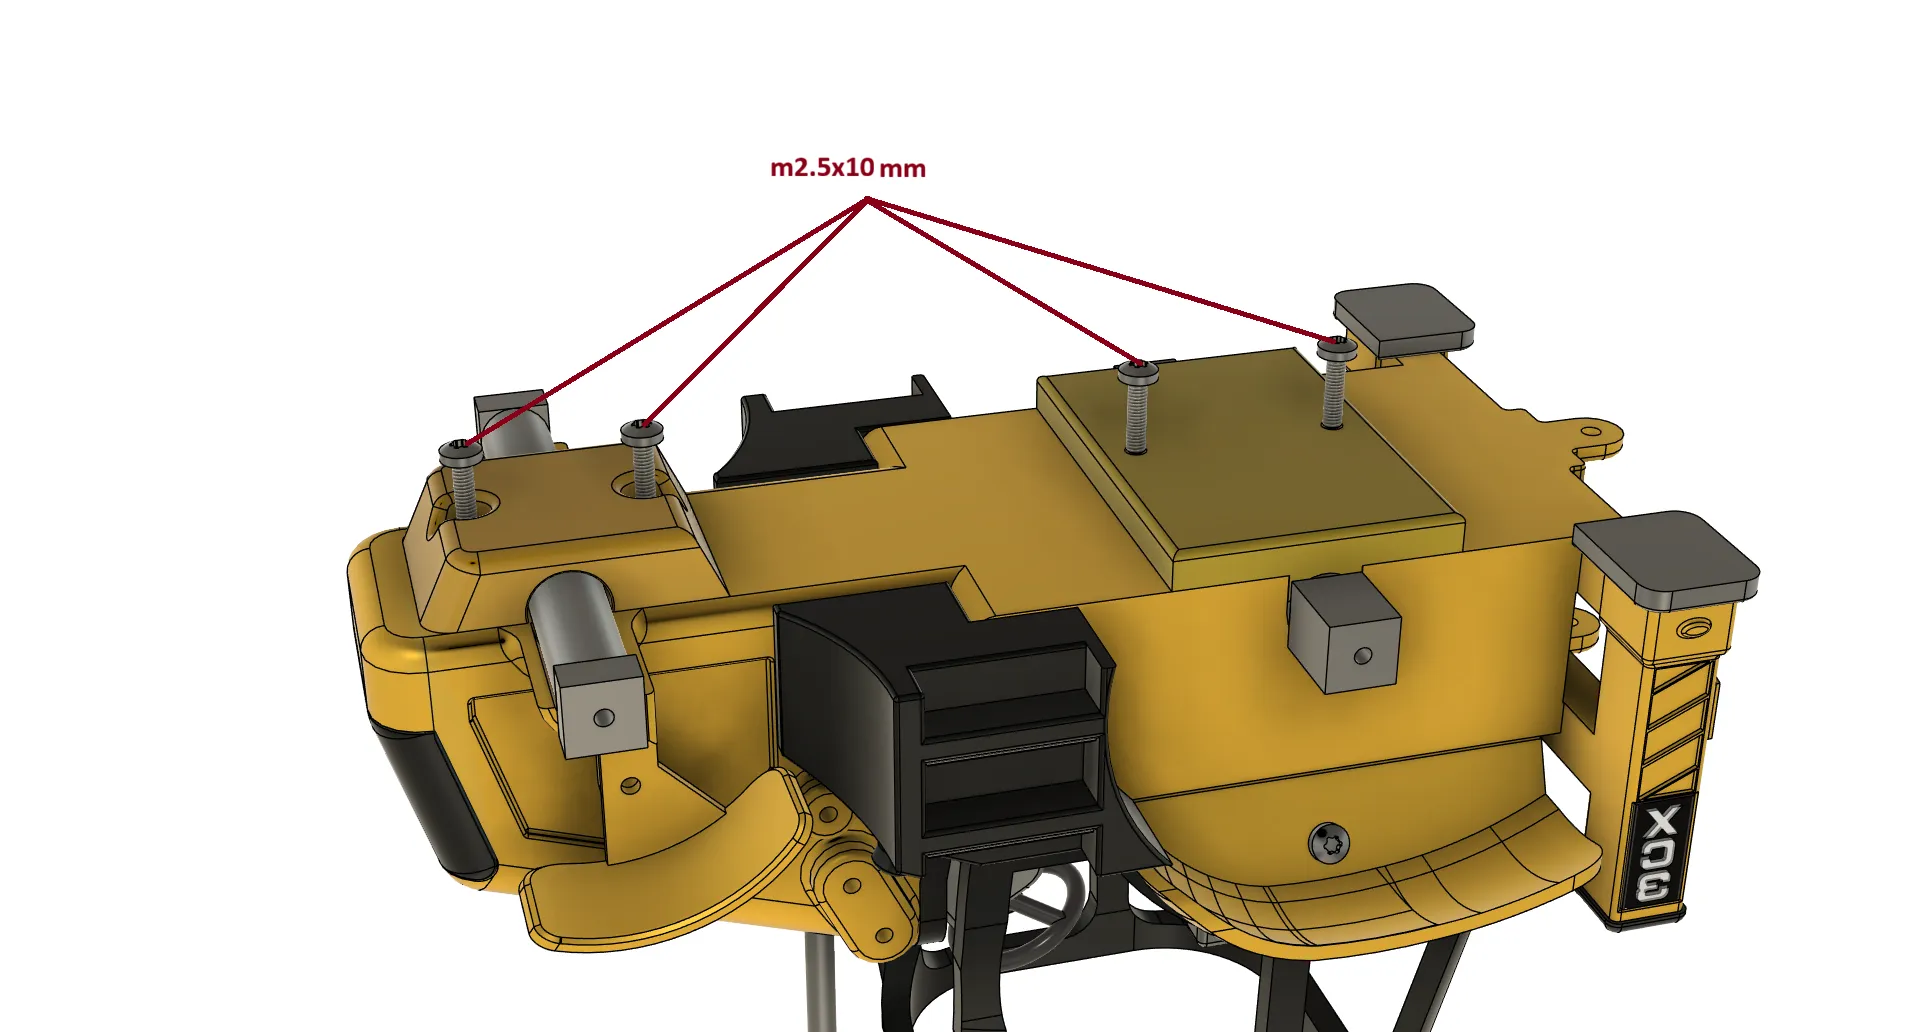
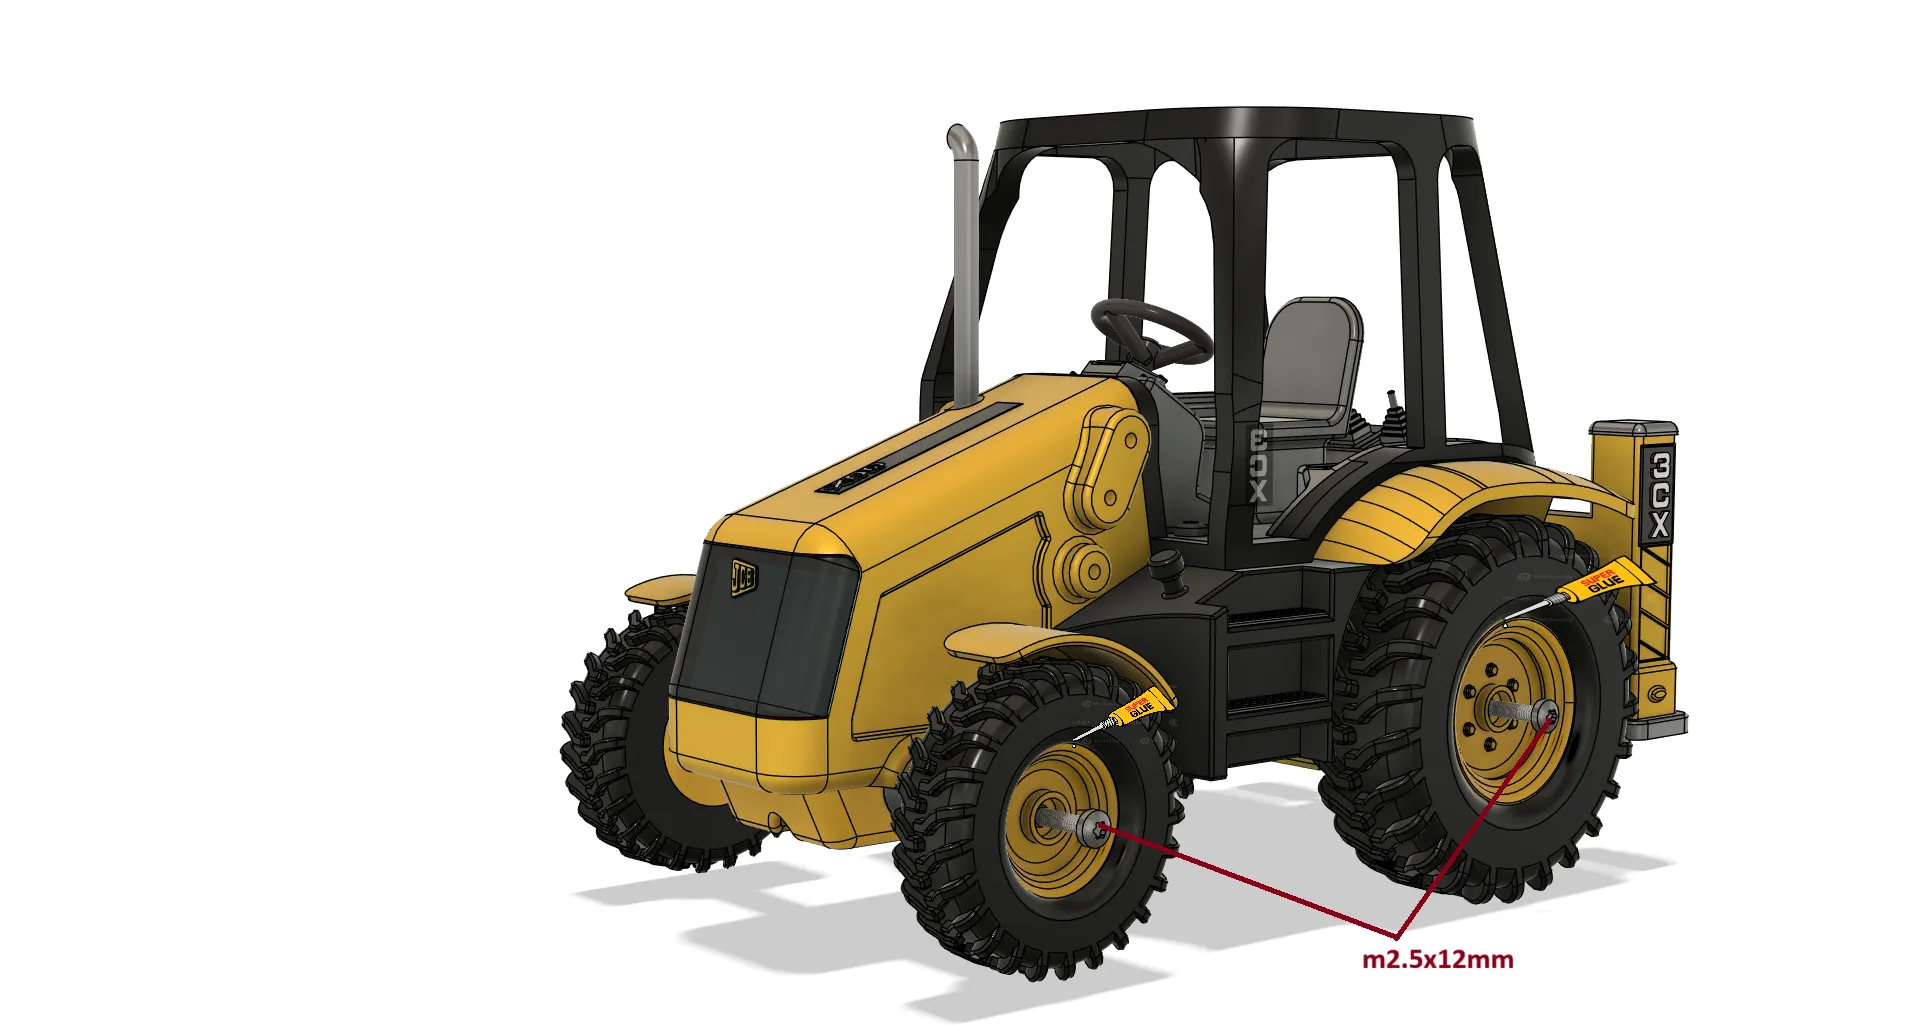
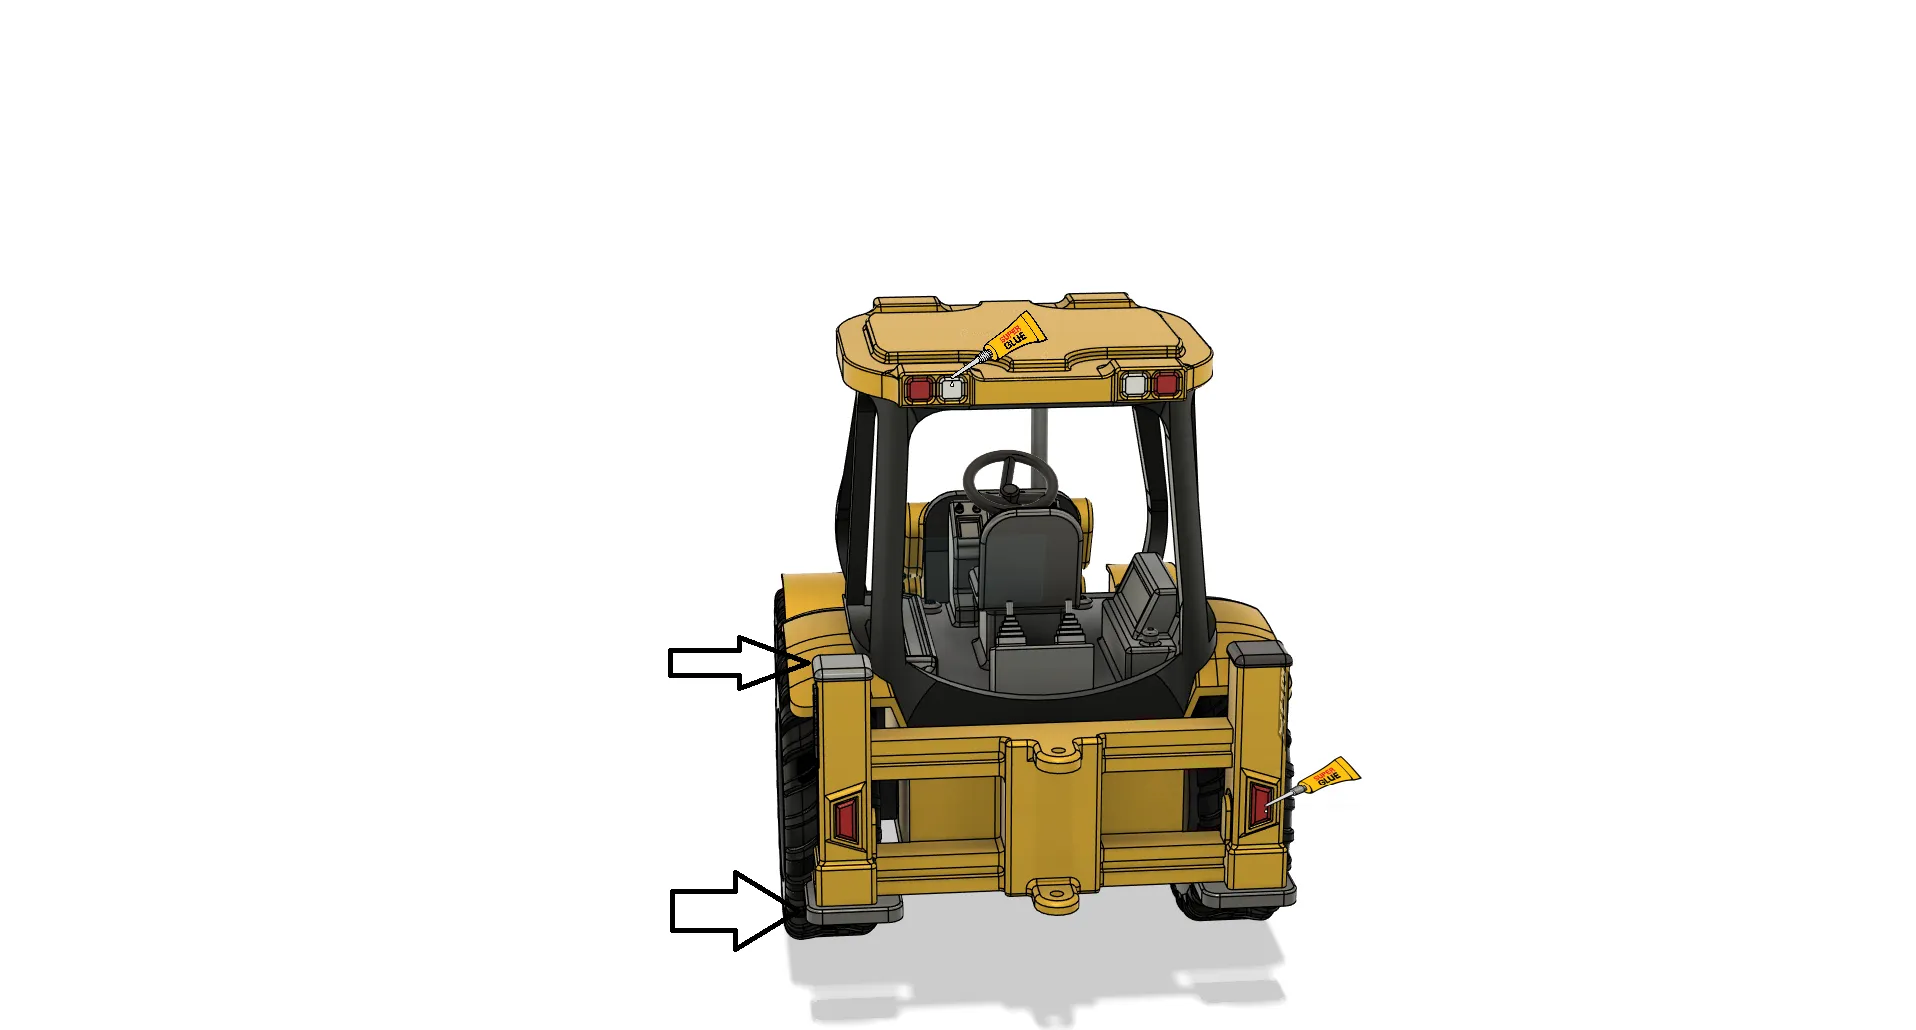
Glue the tires onto the rims and then attach them to the axles with screws.
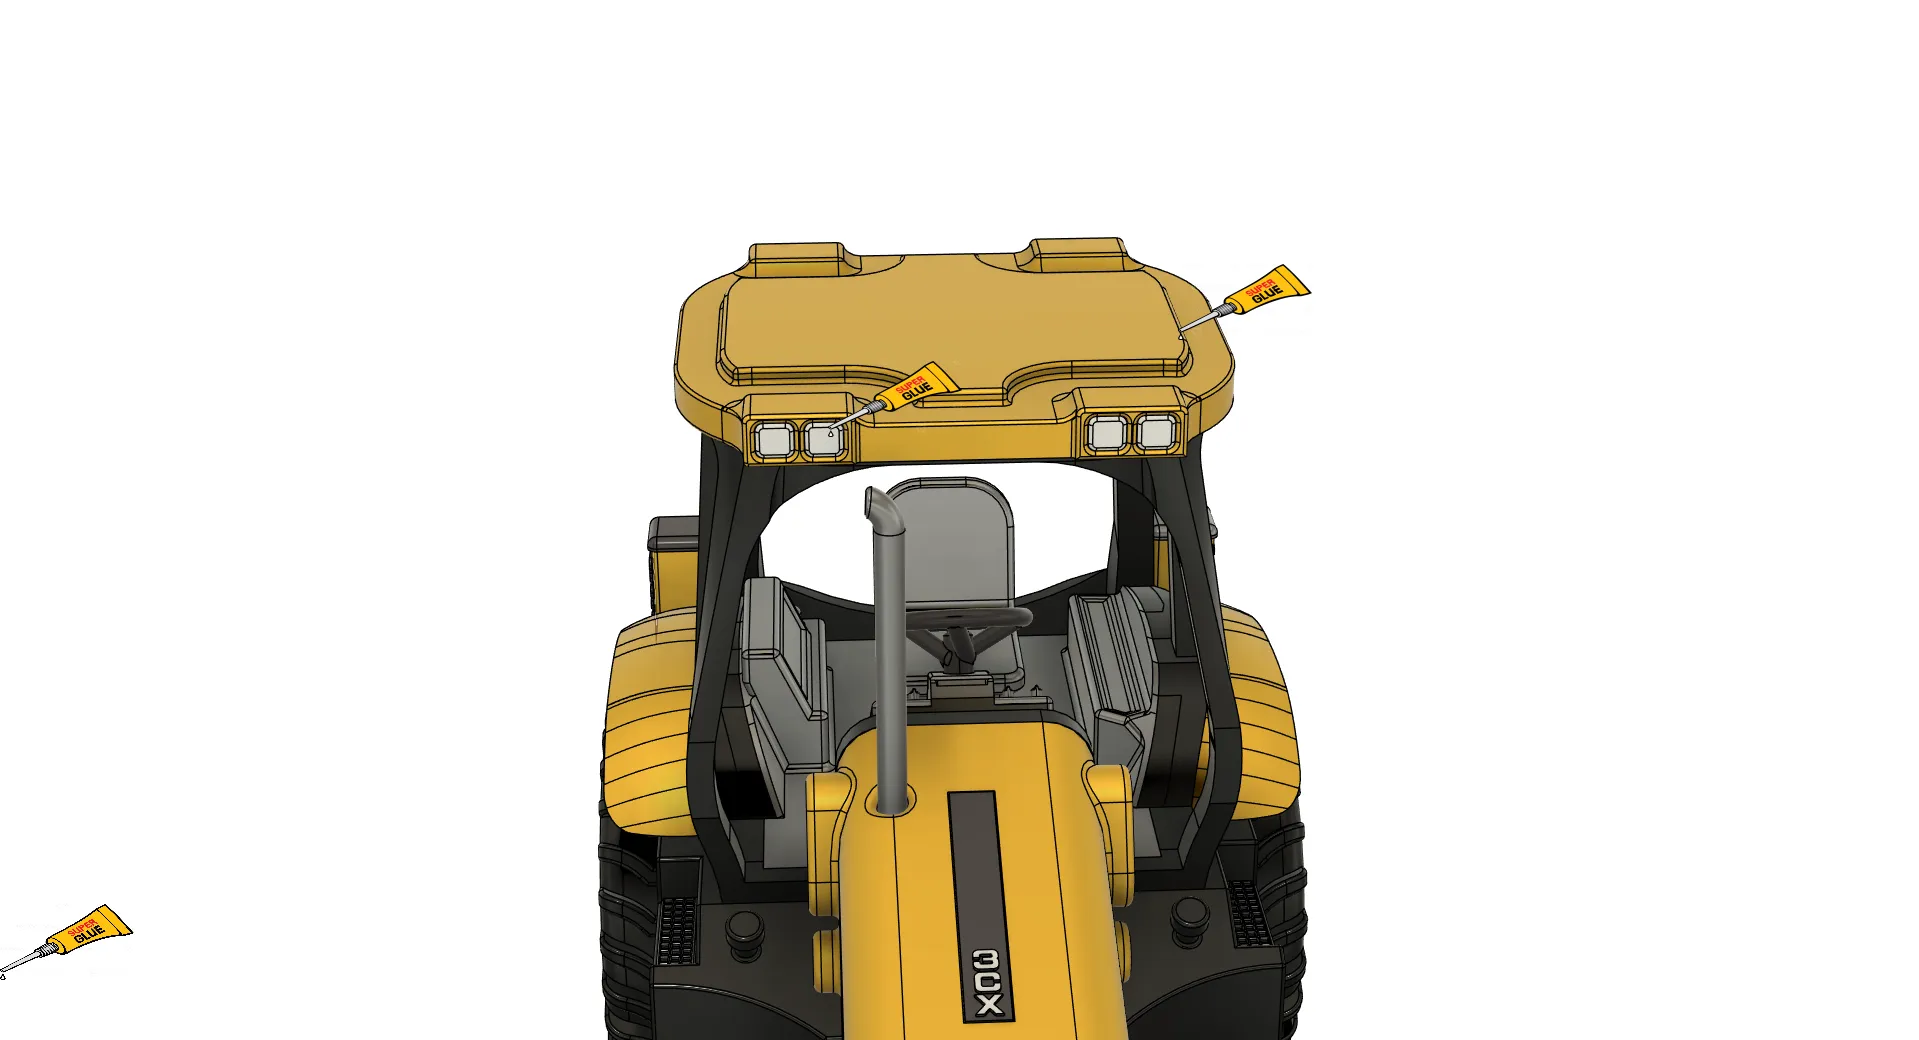
- Glue the roof and lights in place.
- All lights are printed in white, but the rear lights look better in red.
- Also, install the rear stabilizers.
- Attach the hubcaps onto the rims
- Attach the front bucket.
- Insert the pins as shown in the reference images.
- Make sure everything moves smoothly before securing.
- Install the rear arm.
Align it properly with the frame and pins, then secure it in place.
- Final Check
If you followed all the steps, your JCB 3CX should now be fully assembled. - All pins can be replaced with M2.5 screws if the arm or the bucket is dropping and you want the whole mechanism to be rigid.
License

You shall not share, sub-license, sell, rent, host, transfer, or distribute in any way the digital or 3D printed versions of this object, nor any other derivative work of this object in its digital or physical format (including - but not limited to - remixes of this object, and hosting on other digital platforms). The objects may not be used without permission in any way whatsoever in which you charge money, or collect fees.


Comment & Rating (272)