Search models, users, collections, and posts
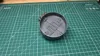
Internal Exhaust Backdraft Check Valve 100mm/4inch
Remixed by
IP Report


Print Profile(2)
0.16mm layer, 2 walls, 15% infill
Designer
2.3 h
1 plate
v1.5 - Updated Outer Ring 0.2mm layer, 4 walls, 15% infill
Designer
42 min
1 plate
Open in Bambu Studio
Boost
107
408
35
3
293
228
Released
Description
The Problem It Solves: When multiple devices share an exhaust duct, odors and fumes backflow through idle machines. Laser engraver smells in your 3D printer enclosure? This completely eliminates that issue.
Updates:
- v1.5 New print profile has a thicker wall at the bottom and more wall loops. I noticed after a few months of use it wasn't perfectly round anymore and one of the flaps was stuck mostly closed. The v1.5 print profile is just the outer ring. If you've already printed v1, just print the outer ring, all the flaps, springs, etc can be taken from the original print and used on the new outside ring.
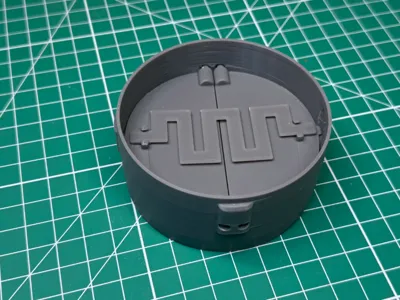
How It Works:
- One-way flapper valve allows air out but prevents backflow
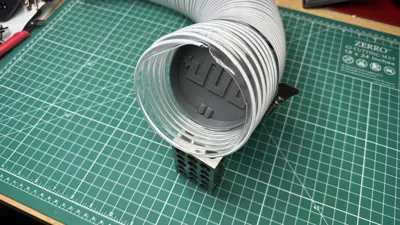
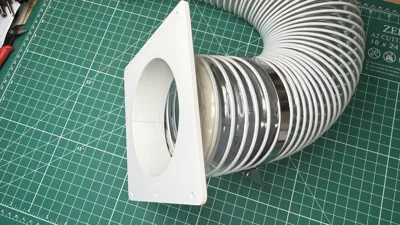
- Friction-fit design installs directly inside 100mm/4" PVC ducting
- No additional connectors It mounts internally
- Choose your spring tension - includes two strength options can be mounted in any orientation and doesn't rely on gravity
Improved Design Features From Originals:
- Reinforced flap mount maintains structure when clamped tight
- Chamfered edges for cleaner prints and easier assembly
- Tool-free installation - just needs one hose clamp
- Standard PLA compatible - no special materials required
Perfect For:
- Multi-printer workshops sharing exhaust
- Combined 3D printer + laser engraver setups
- Any ducted ventilation system needing backflow prevention
- 100mm ducting systems (fits this tube), could be scaled for other sizes
Assembly:
- Print and clean supports
- Bend flaps slightly and insert into body
- Choose spring strength and install (smooth side up recommended)
- Insert into duct with flaps opening in exhaust direction
- Secure with hose clamp, leaving room for duct connectors
Real-World Testing: Currently running on a 4-device exhaust system - eliminated cross-contamination from laser engraver odors.
This remix is based on

License
This user content is licensed under a
Creative Commons Attribution-Noncommercial
Comment & Rating (35)