
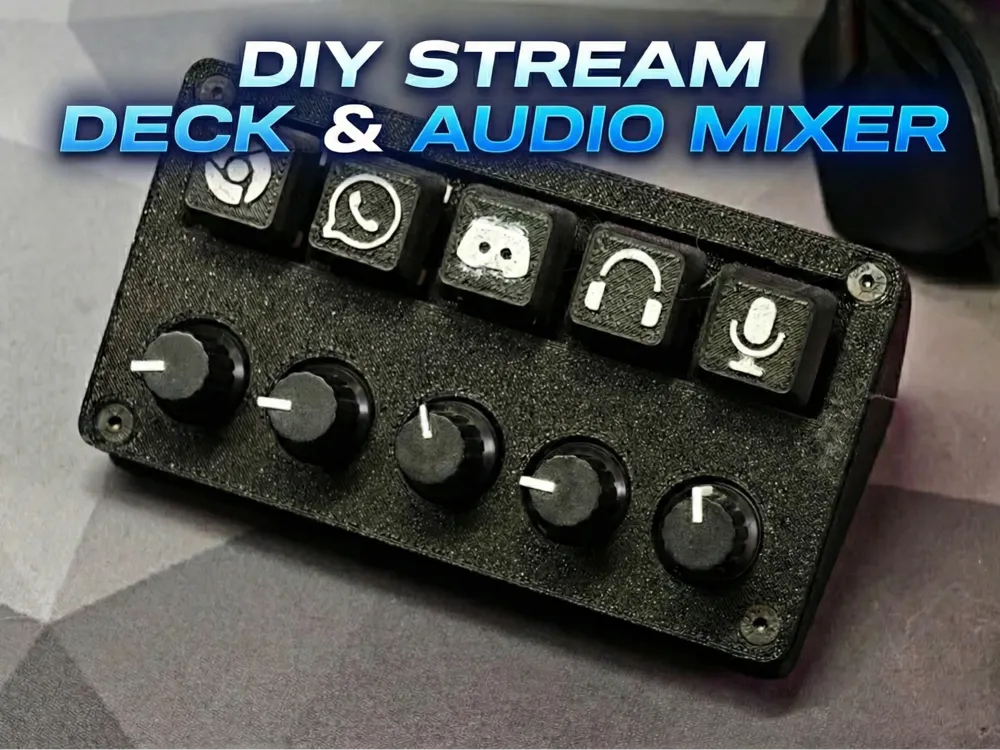
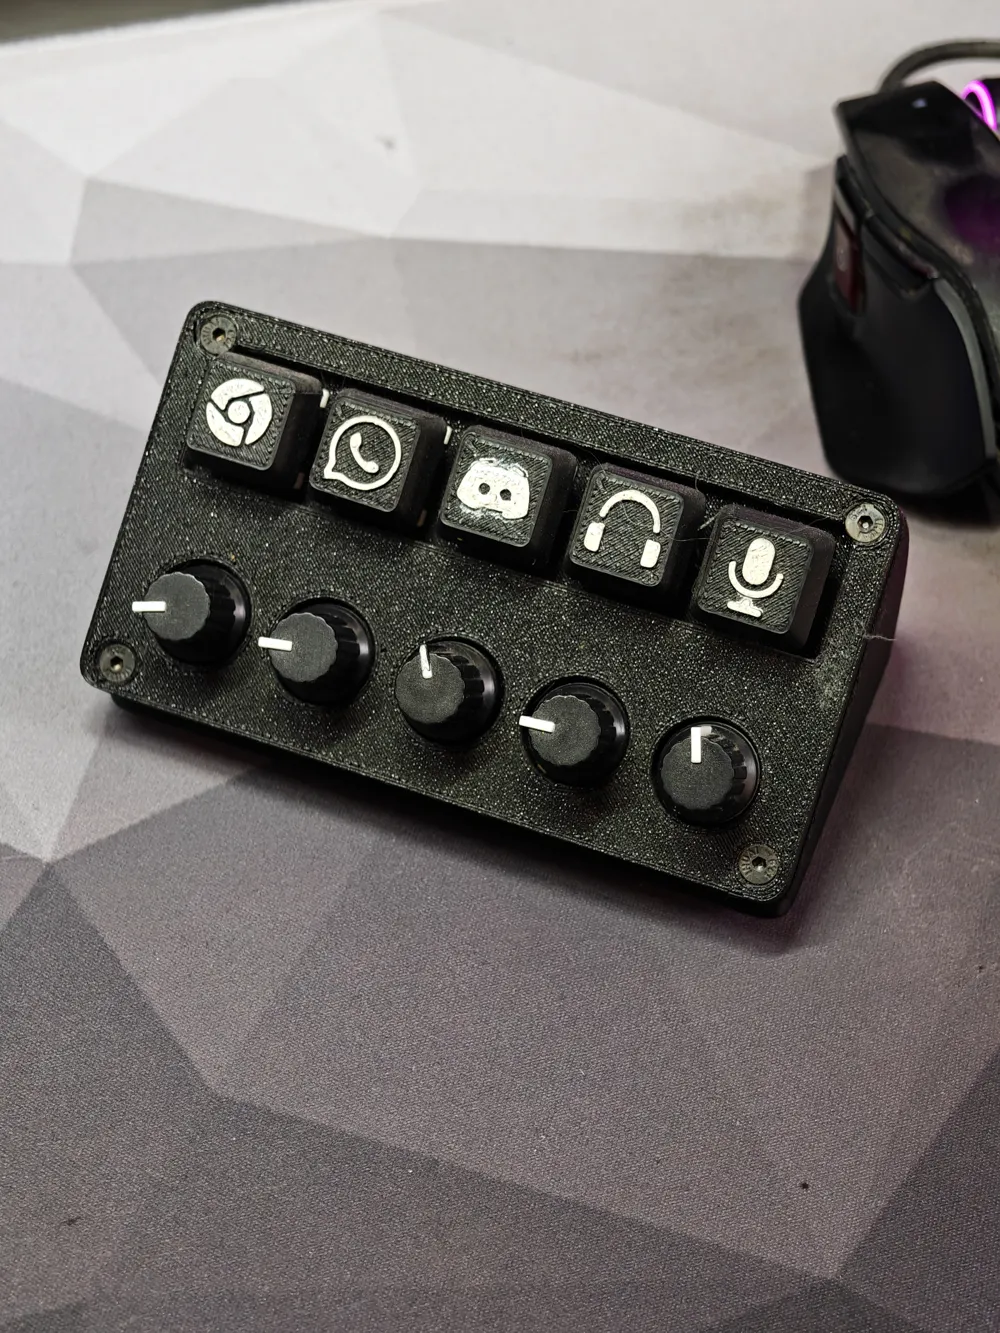
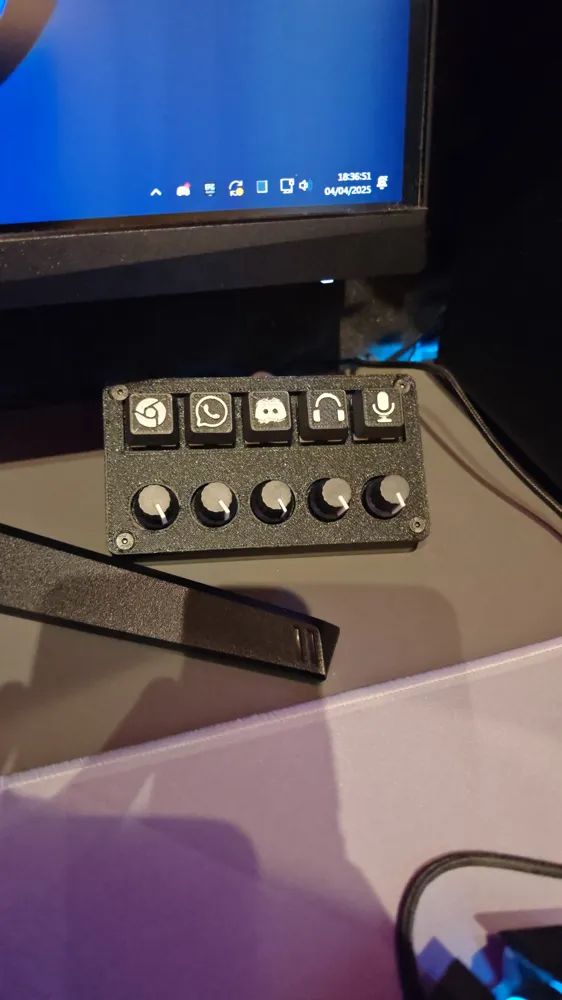
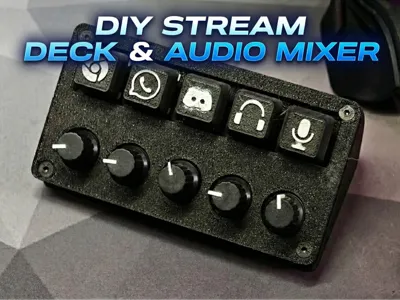
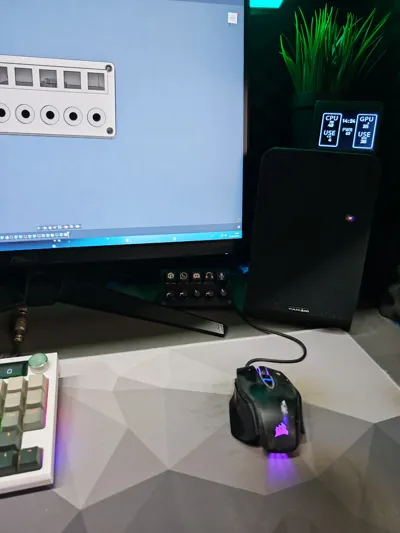
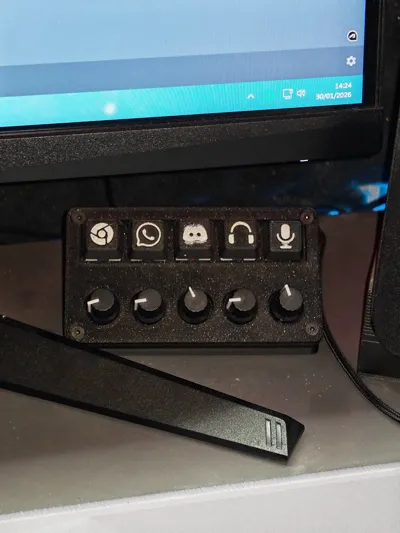
DIY Stream Deck & Volume Mixer - 10€ Aliexpress
Print Profile(1)
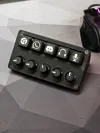
Bill of Materials
- Arduino Pro Micro (ATmega32U4) with USB Type-C port x 1:
- Mechanical keyboard switches x 5:
- Linear 10k ohm potentiometers x 5:
- M3 Heat-set inserts x 4:
- M3x12mm screws x 4:
Description
IT | Descrizione del Progetto
Questo progetto è una soluzione economica e altamente funzionale per chiunque abbia bisogno di un controller macro e un mixer audio analogico. Con una spesa di circa 10 euro su AliExpress, potrai gestire 5 tasti programmabili e 5 volumi indipendenti per le tue applicazioni.
Componenti necessari (BOM):
- 1x Arduino Pro Micro (ATmega32U4) con porta USB Type-C.
- 5x Switch meccanici da tastiera.
- 5x Potenziometri lineari da 10k ohm.
- 4x Inserti a caldo M3 (Lunghezza 4mm, OD 5mm).
- 4x Viti M3x12mm.
- Fili elettrici sottili.
Software:
- Pulsanti: L'Arduino si interfaccia come tastiera HID. Usa il codice fornito per gestire i 5 pulsanti (codice.txt).
- Potenziometri: È necessario scaricare DEEJ (progetto open source su GitHub) per gestire i volumi delle app o altre funzioni come lo zoom. Fornisco il mio file di config.yaml come esempio.
IT | Parametri di Stampa Consigliati
Per ottenere il miglior equilibrio tra estetica e robustezza, consiglio questi settaggi:
- Pareti (Walls): 2.
- Riempimento (Infill): 10%.
- Top Layers: 3 o 4.
- Bottom Layers: 2 o 3.
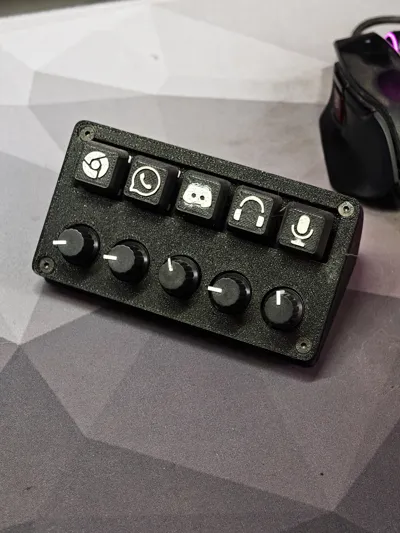
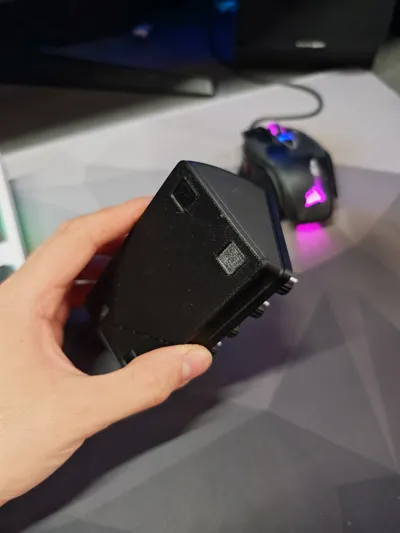
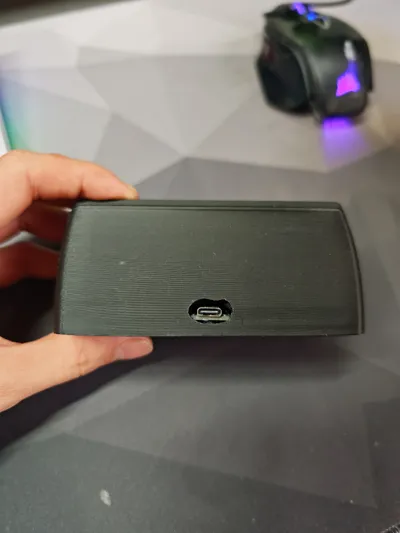
- Materiale: Ho utilizzato il PLA-CF per la finitura professionale texturizzata visibile nelle foto.
IT | Istruzioni per il Montaggio
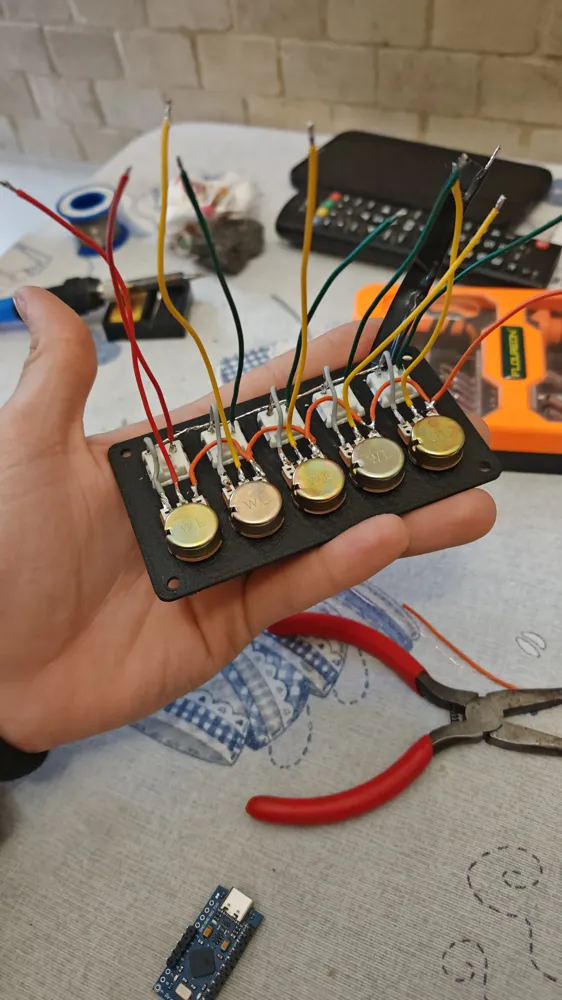
- Pannello di Controllo: Prendi il pezzo chiamato SUPPORTO. Monta i 5 switch a incastro e i 5 potenziometri fissandoli con la loro rondella e dado.
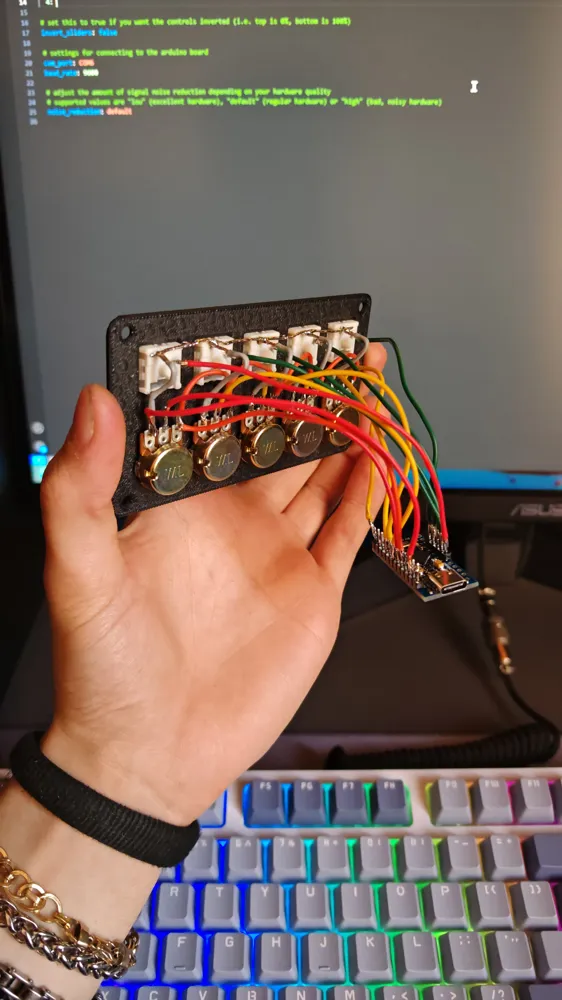
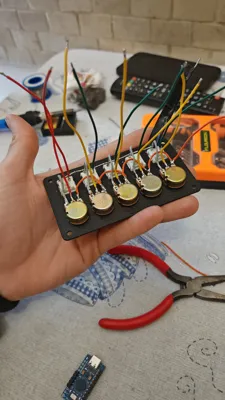
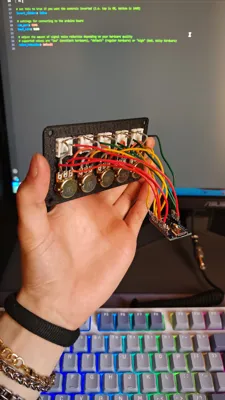
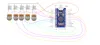
- Saldatura: Salda i componenti all'Arduino seguendo lo schema elettrico fornito (connection.png).
- IMPORTANTE: Fate i cavi delle saldature molto CORTI, altrimenti avrete grandi difficoltà a far rientrare tutto nella base durante la chiusura.
- Base: Prendi il pezzo chiamato BASE e installa i 4 inserti a caldo negli angoli, lasciandoli a filo con la superficie.
- Fissaggio Arduino: Posiziona l'Arduino nel suo alloggiamento e fissalo saldamente con della colla a caldo o colla bi-componente.
- Assemblaggio Finale: Posiziona il supporto cablato sulla base, metti sopra il pezzo chiamato TAPPO (la scocca con i fori per i tasti) e chiudi il tutto con le viti M3.
- Tasti e Pomelli: Per i pomelli dei potenziometri ho fornito un modello nel file (anche se spesso i potenziometri vengono venduti compresi di pomelli), mentre per i keycaps degli switch puoi scaricare qualsiasi modello standard compatibile.
EN | Project Description
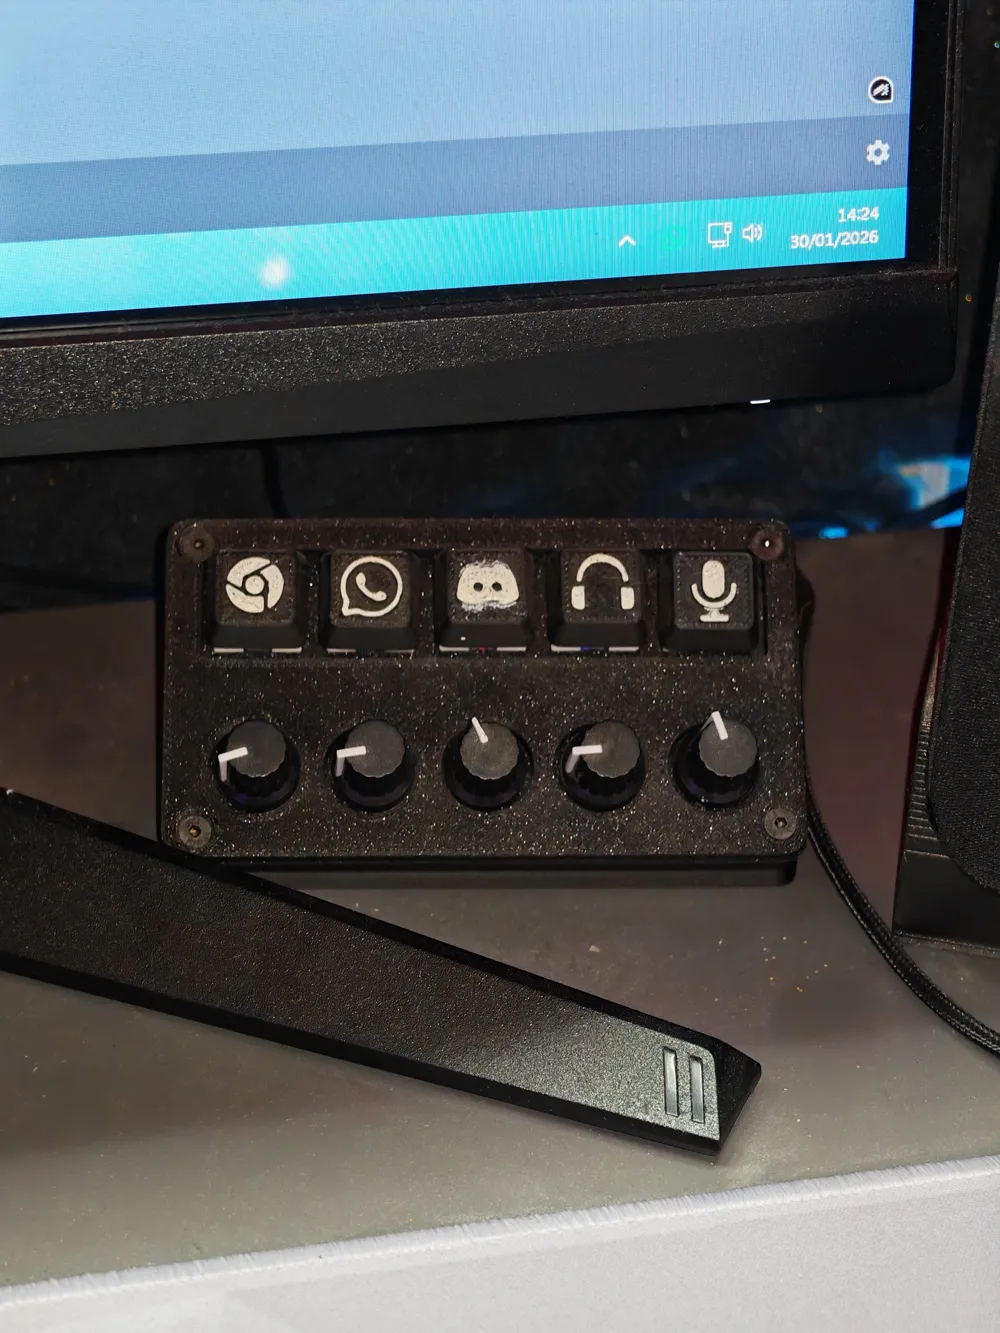
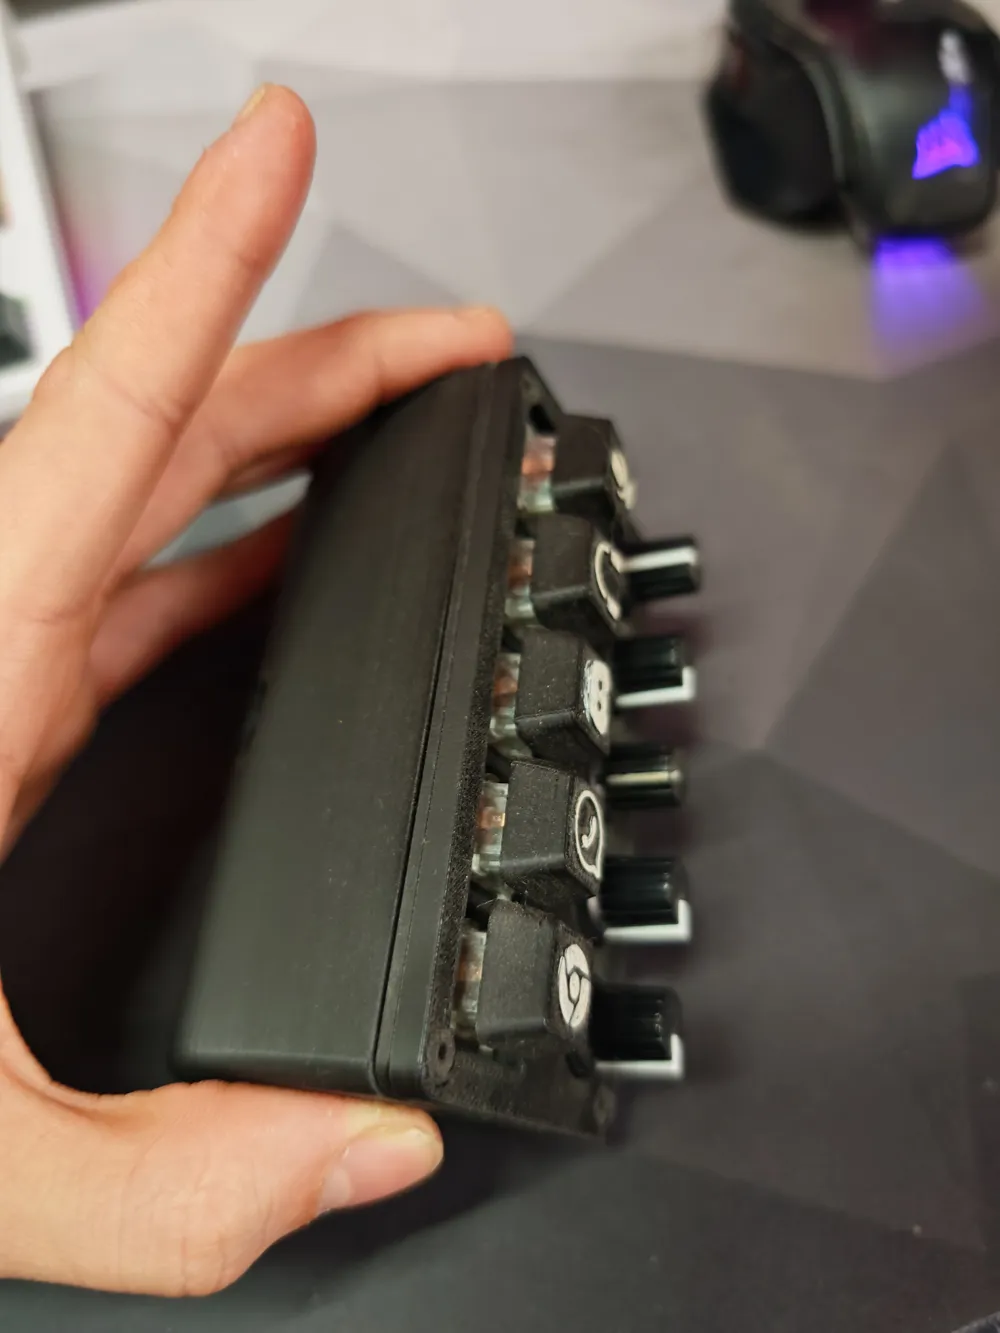
This project is an affordable and highly functional solution for anyone in need of a macro controller and an analog audio mixer. For around 10 euros on AliExpress, you can manage 5 programmable keys and 5 independent volumes for your applications.
Bill of Materials (BOM):
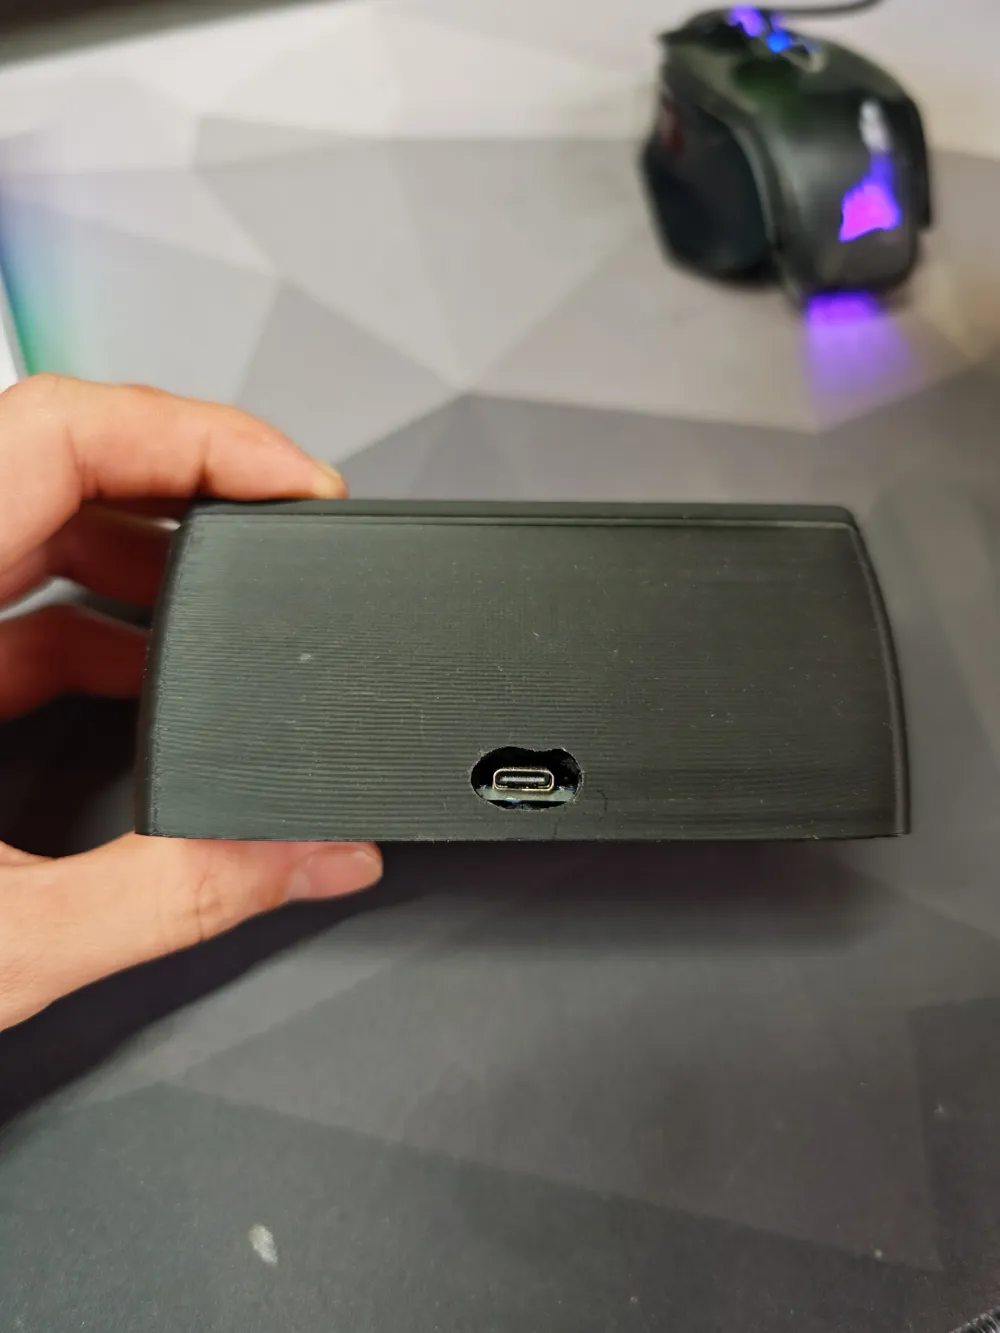
- 1x Arduino Pro Micro (ATmega32U4) with USB Type-C port.
- 5x Mechanical keyboard switches.
- 5x Linear 10k ohm potentiometers.
- 4x M3 Heat-set inserts (Length 4mm, OD 5mm).
- 4x M3x12mm screws.
- Thin electrical wires.
Software:
- Buttons: The Arduino interfaces as an HID keyboard. Use the provided code to manage the 5 buttons (codice.txt).
- Potentiometers: You need to download DEEJ (open-source project on GitHub) to manage app volumes or other functions like zoom. My config.yaml configuration file is provided as an example.
EN | Recommended Print Settings
To achieve the best balance between aesthetics and durability, I recommend these settings:
- Walls: 2.
- Infill: 10%.
- Top Layers: 3 or 4.
- Bottom Layers: 2 or 3.
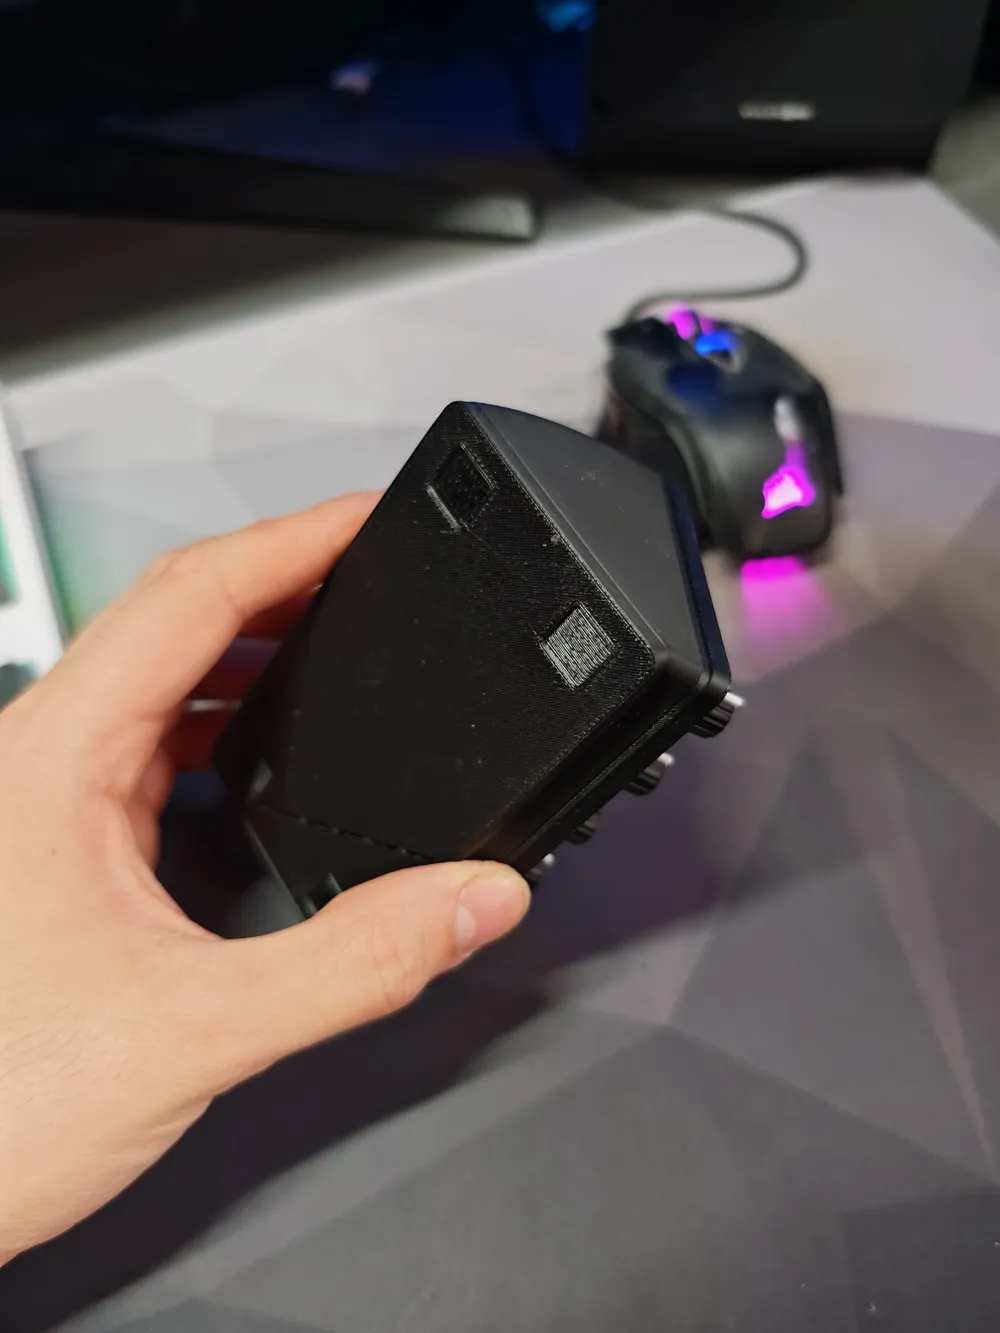
- Material: I used PLA-CF for the professional textured finish seen in the photos.
EN | Assembly Instructions
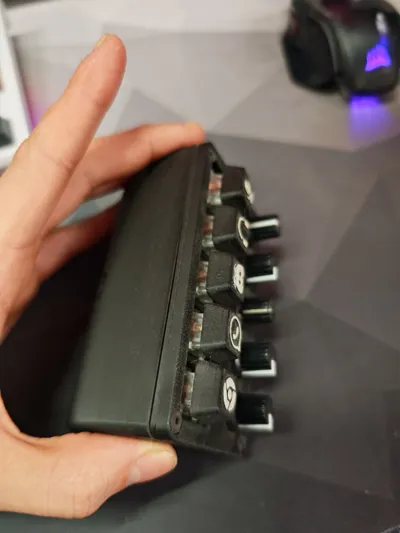
- Control Panel: Take the part named SUPPORTO. Snap in the 5 switches and mount the 5 potentiometers, securing them with their washer and nut.
- Soldering: Solder the components to the Arduino following the provided wiring diagram (connection.png).
- IMPORTANT: Keep the soldering wires very SHORT; otherwise, you will have great difficulty fitting everything into the base during closure.
- Base: Take the part called BASE and install the 4 heat-set inserts in the corners, leaving them flush with the surface.
- Arduino Mounting: Place the Arduino in its housing and secure it firmly with hot glue or two-component epoxy.
- Final Assembly: Place the wired support onto the base, put the piece called TAPPO (the shell with button holes) on top, and secure everything with the M3 screws.
- Keys and Knobs: I have provided a model for the potentiometer knobs (though they are often sold with knobs included), while for the switch keycaps, you can download any compatible standard model.
Documentation (3)
License



Comment & Rating (13)