
Print Profile(4)
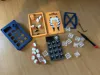


Bill of Materials
- M3x8x5 Heat-set Threaded Inserts x 4:
- M3x12 Button Head, Socket Cap Screws x 4:
- Adafruit Macropad x 1:
- M3x8 screws x 4: Only needed if they did not come with your Macropad.
Description
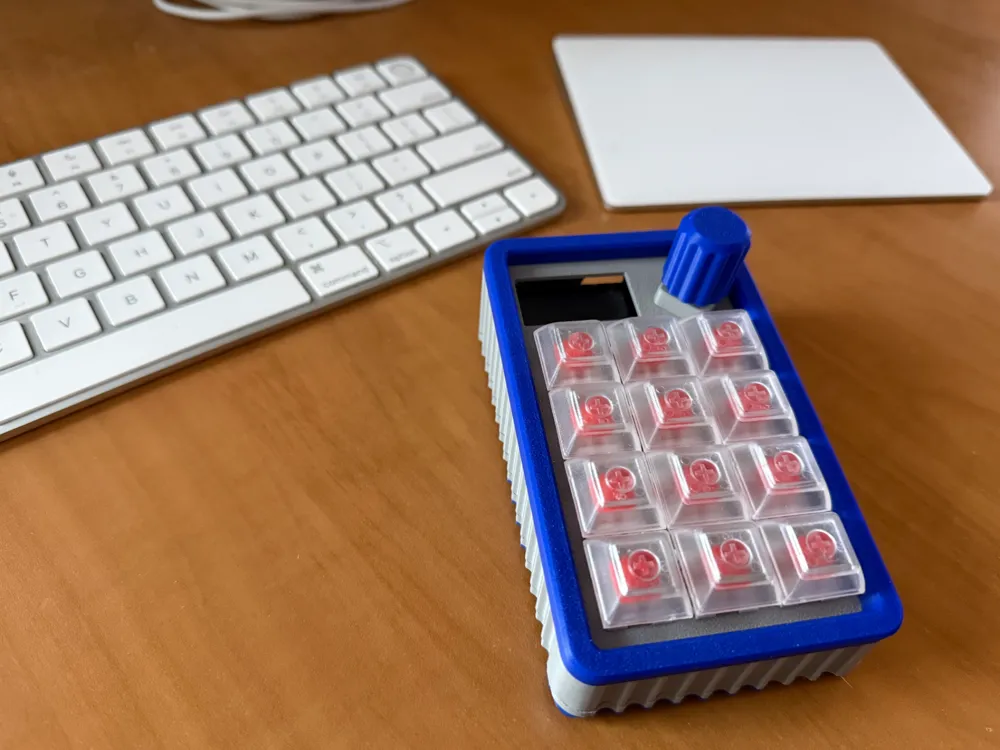
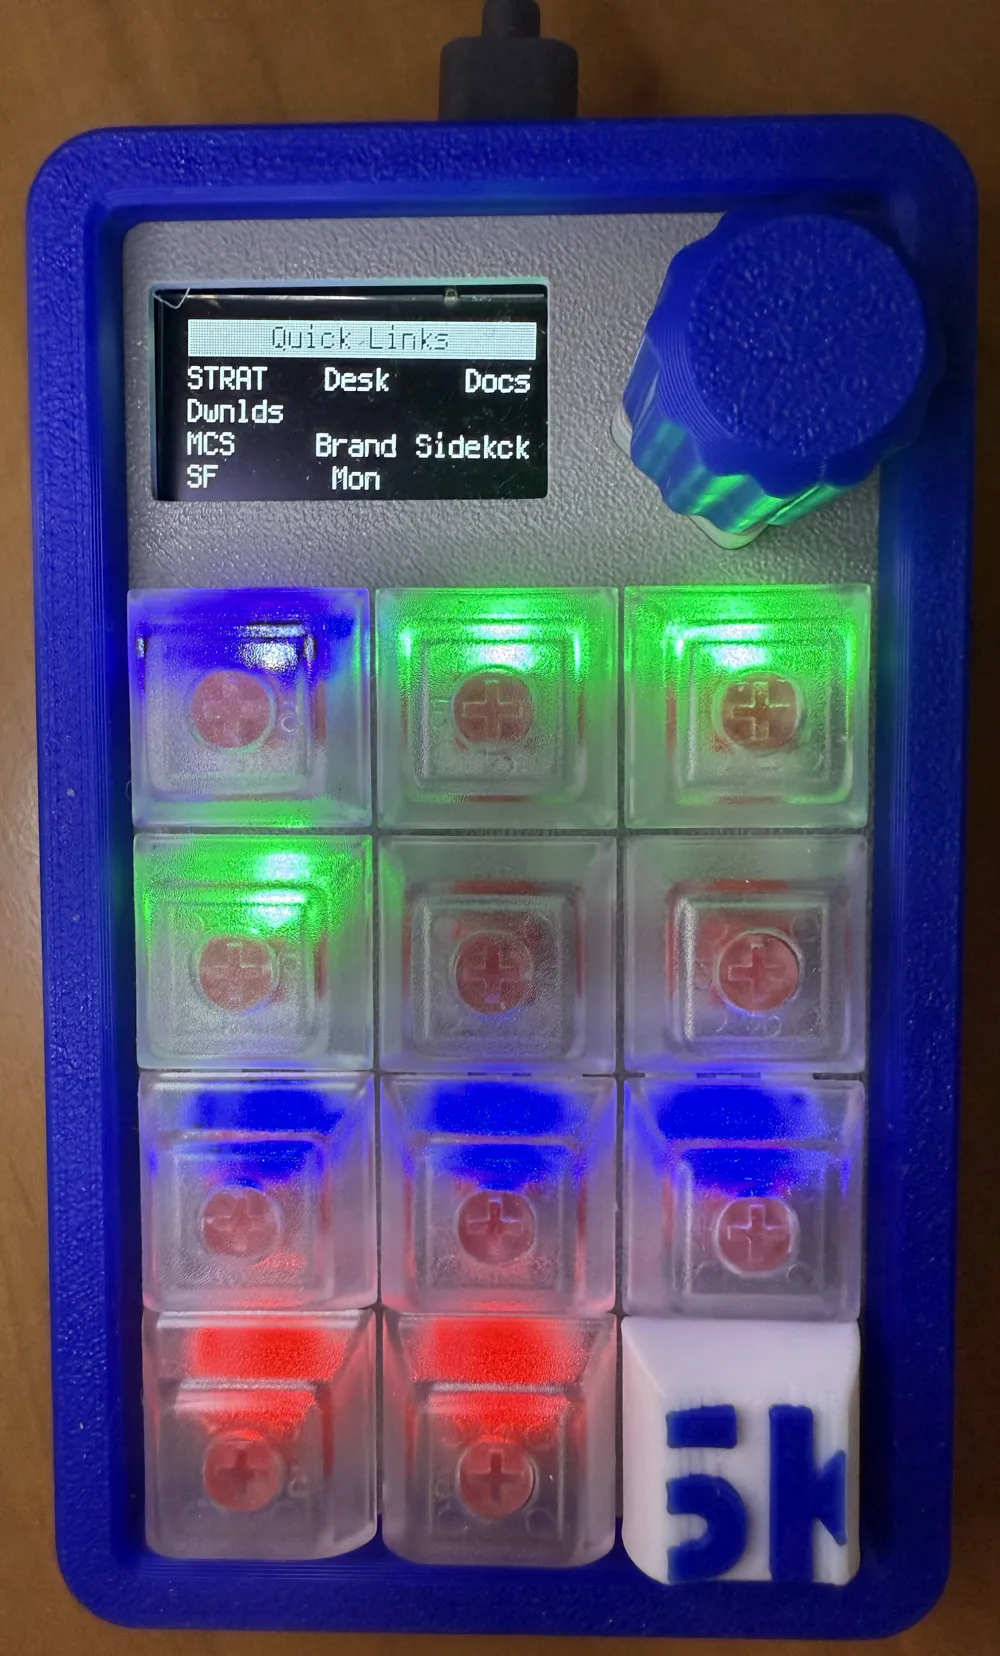
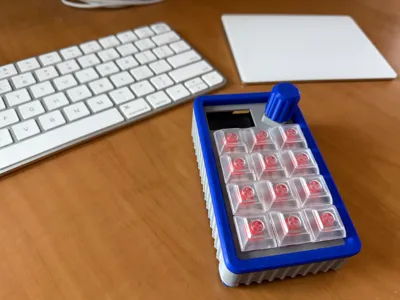
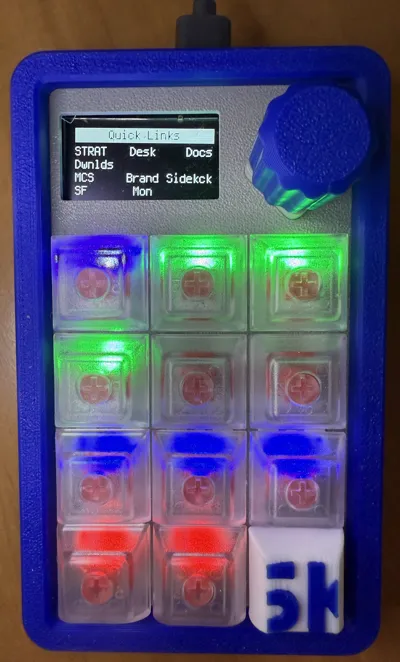
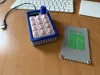
Remix of the HaloPad v2 enclosure for the Adafruit Macropad.
Made the following modifications to the original:
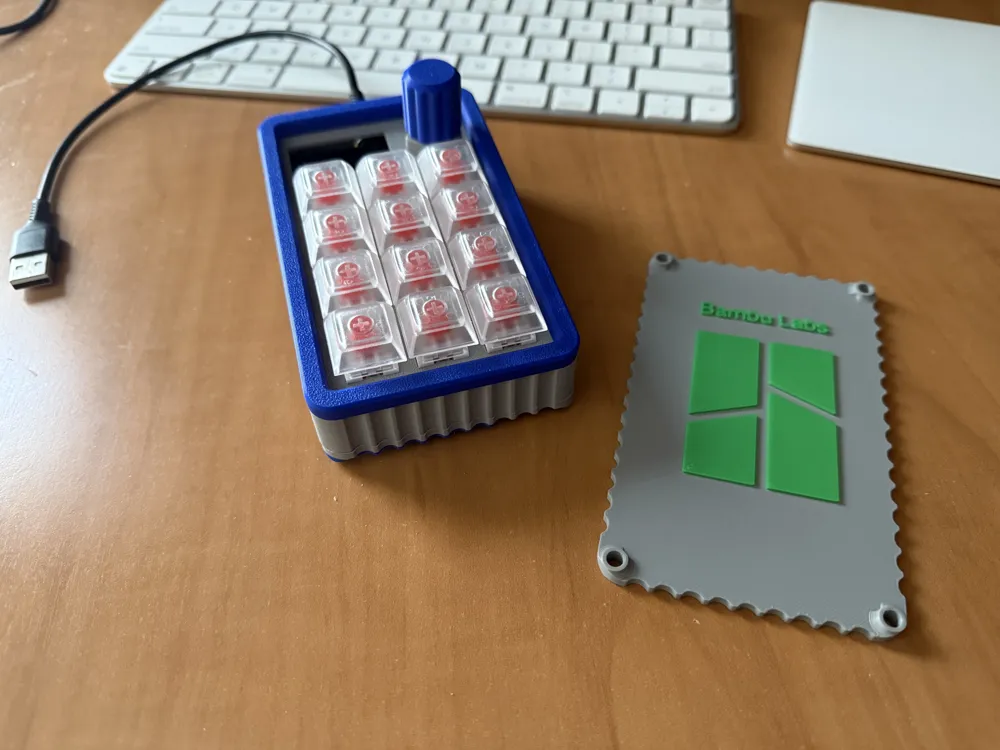
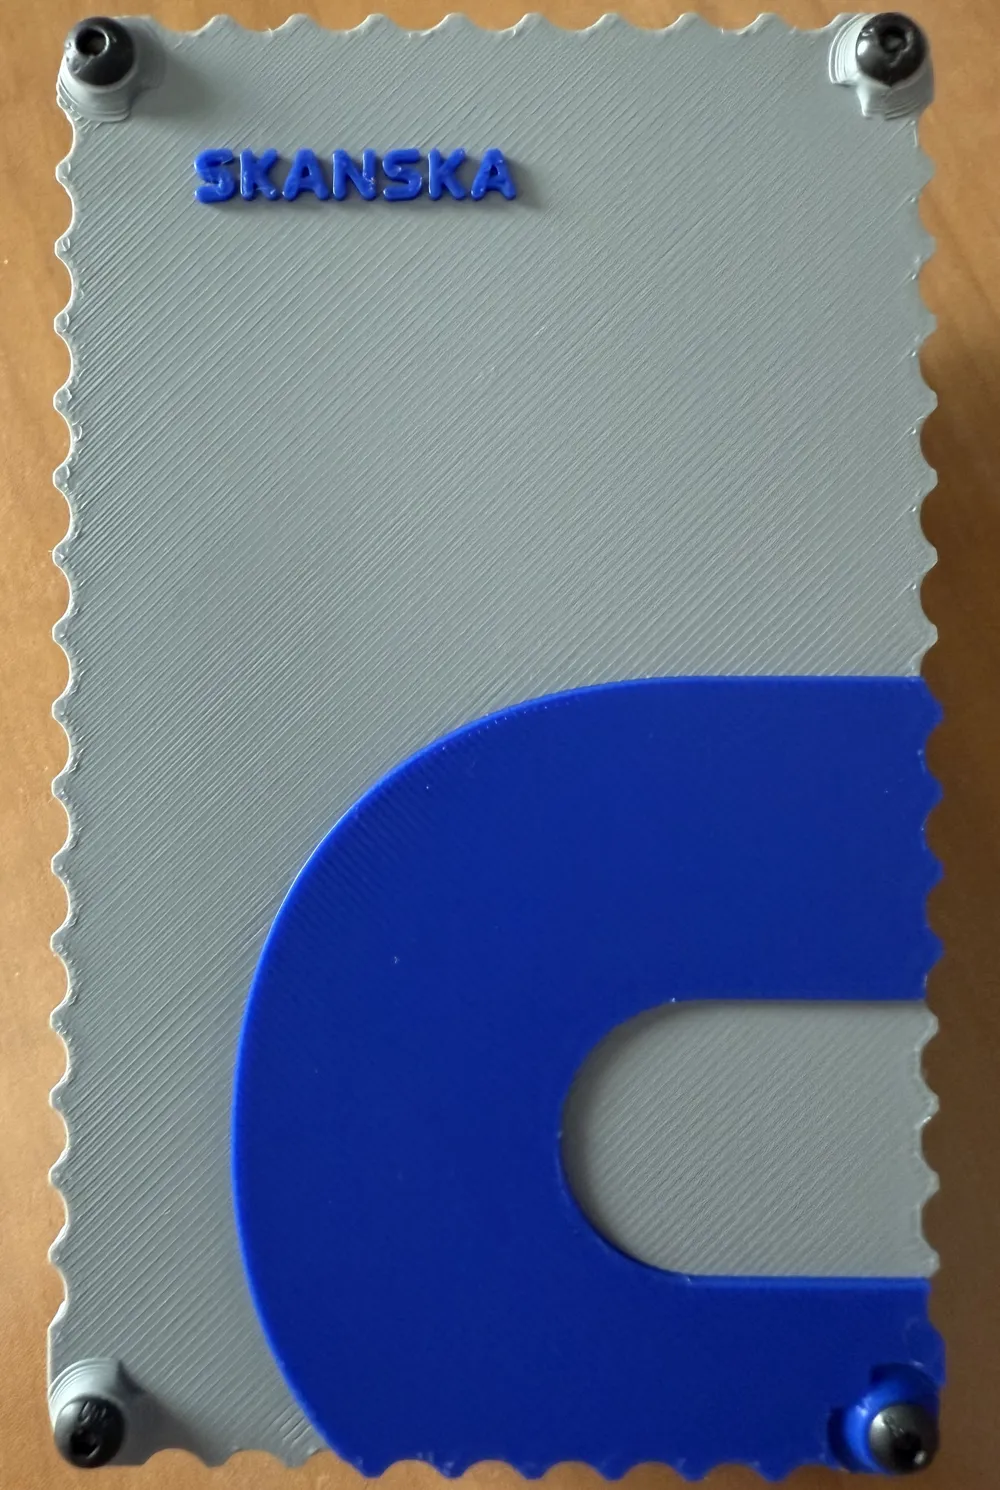
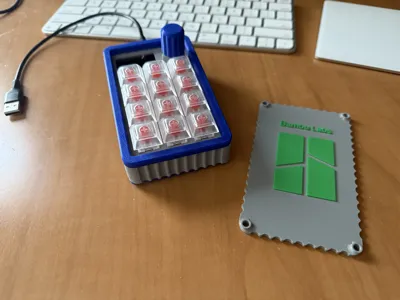
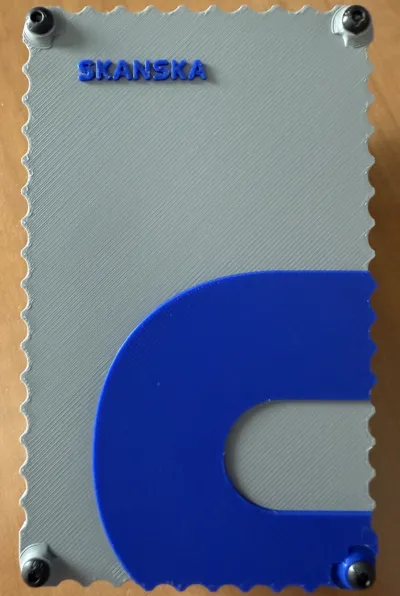
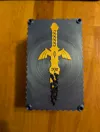
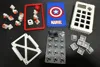
- Created a back plate to cover the main casing.
- Back plate can have text and logo added, or be printed blank.
- Updated the fit of the rotary knob.
Required non-printed materials:
- (1) Adafruit Macropad
- (4) M3x8mm screws to connect Macropad board to the bracket (these typically come with the Macropad kit)
- (4) M3x8mm heat-set threaded inserts in the main case
- (4) M3x12mm screws to connect the back plate to the main case.
Directions:
- Use soldering iron, etc. to insert M3x8 heat-set threaded inserts into the corner holes in the main body walls (bottom side).
- From below, press the rotary encoder hole cover into place. This is a snug fit so take your time.
- Use 4 M3x8 screws to mount the board onto the bracket.
- Align the bracket with the main case body. Make sure the “wings” are flush with the body walls.
- Push fit the key switches into the board.
- Attach key caps to switches.
- Align the ring pegs to the holes on the top of the main body, push fit.
- Use 4 M3x12 screws to attach the back plate to the main body via the inserts from step 1.
- Finally, align the flat inner wall of the knob to the flat section of the rotary encoder and press the knob into place.
This remix is based on


License

You may create derivative works based on this object, provided that all such derivative works are published exclusively on the MakerWorld platform and include proper attribution to the original creator. You may not share, upload, host, distribute, or publish this object—or any derivative work of this object—on any other digital platform, marketplace, or distribution channel. Commercial use of this object and any derivative works is strictly prohibited. This includes, but is not limited to, selling, renting, sublicensing, or using the object in any context in which you receive monetary compensation or other financial benefits.


Comment & Rating (3)