140mm Exhaust Adapter Fumigator


Print Profile(1)
Description
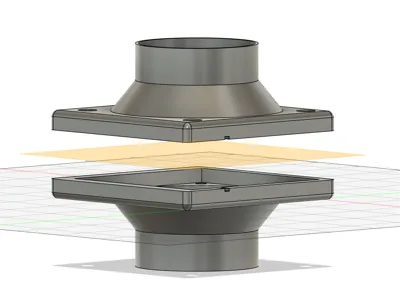
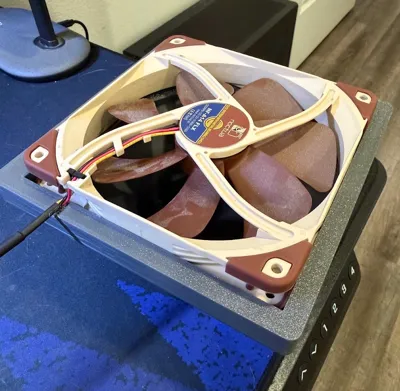
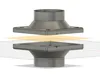
140mm Recessed Exhaust Adapter | Fully Enclosed | Noctua NF-A14 FLX
This high-performance exhaust adapter is specifically designed to create a professional, airtight vent system for 3D printer enclosures. Unlike flat adapters, this model features a recessed "pocket" design that fully encloses the fan frame for maximum efficiency and a sleek look.
Key Design Features:
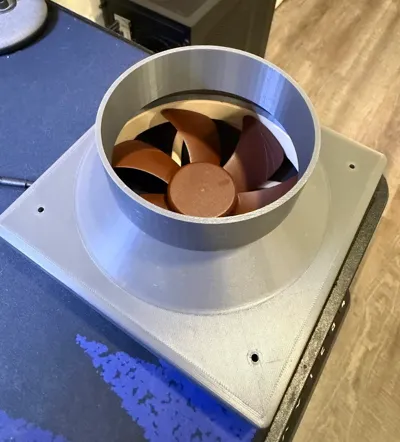
- Recessed Enclosure: The upper and lower halves feature a recessed cavity that the Noctua NF-A14 FLX sits inside. This ensures the fan is perfectly centered and eliminates air leaks from the sides.
- Integrated Wire Management: A dedicated cable notch is built into the mating edge, allowing the fan’s power wire to exit safely without being pinched or compromising the seal.
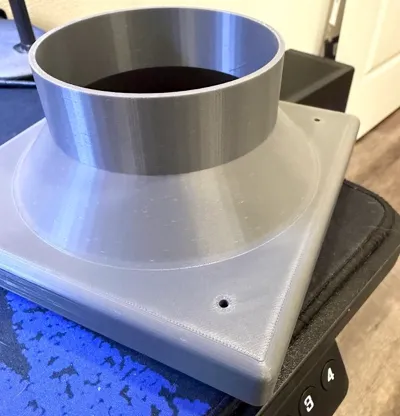
- Streamlined Airflow: A smooth conical transition from the square fan housing to the circular duct port reduces turbulence and backpressure, ensuring your fumes are moved efficiently.
- Bolt-Together Assembly: Designed for standard M3/M4 hardware to securely "sandwich" the fan between the two halves.
Recommended Print Settings:
For an airtight, gas-safe part, I recommend the following:
- Material: PETG (Recommended for heat resistance and its ability to create a better mechanical seal under pressure).
- Wall Loops: 4–5 perimeters. Crucial for making the part gas-tight.
- Infill: 25%–40%. Since printing materials are naturally porous, higher infill and more walls ensure no fumes escape through the part itself.
- Ironing: Enable "Ironing" on the top surfaces of the flanges. This flattens the mating surface where the fan sits, creating a much better seal.
- Supports: Required. Use "Tree Supports" for the conical sections to ensure a clean finish.
Assembly Instructions:
- Drop your Noctua fan into the recessed pocket of the lower half.
- Align the cable with the integrated notch.
- Place the upper half on top (the fan will be fully enclosed).
- Secure with four bolts through the corner holes.
- Attach your standard flexible ducting to the circular ports.
License
You shall not share, sub-license, sell, rent, host, transfer, or distribute in any way the digital or 3D printed versions of this object, nor any other derivative work of this object in its digital or physical format (including - but not limited to - remixes of this object, and hosting on other digital platforms). The objects may not be used without permission in any way whatsoever in which you charge money, or collect fees.
Comment & Rating (0)