


Print Profile(6)
Bill of Materials


- Superglue x 1:
- Acrylic joint sealant x 1: paintable, for filling seams
- Spray paint x 1: Note: Light gray or beige recommended for realistic lunar tone
Description
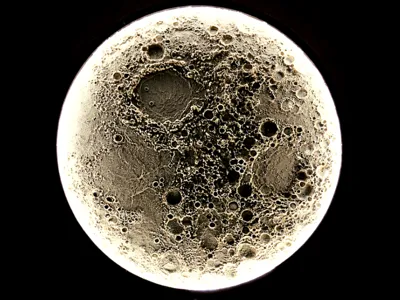
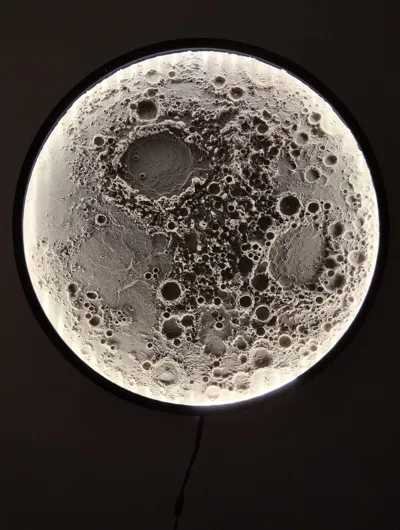
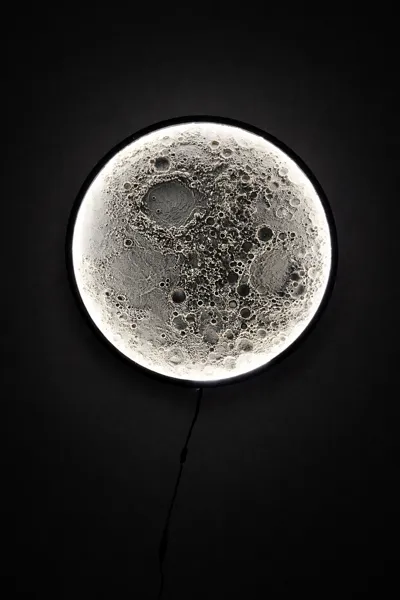
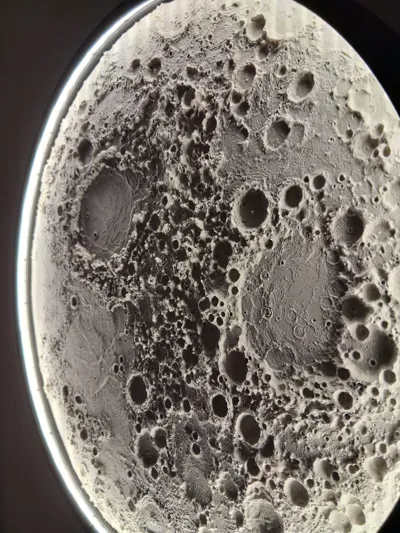
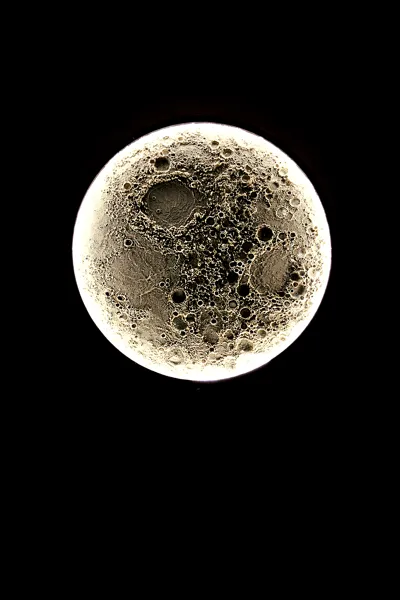
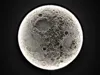
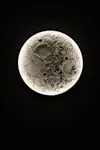
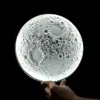
High-detail 50 cm illuminated Moon wall lamp, based on real lunar surface data, featuring the eastern lunar region with realistic surface relief.
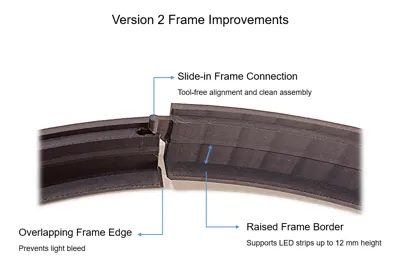
Version 2 introduces an improved frame system with better light sealing, easier assembly, correct Northern Hemisphere orientation, and support for LED strips up to 12 mm width.
The Version 2 frame and baseplate are backward compatible with Version 1 moon parts.
---
Version 2 – Improvements & Changes
This model has been updated to Version 2 with the following improvements:
- Raised frame design, allowing the use of LED strips up to 12 mm width
- New slide-in frame system, making assembly easier and cleaner
- Overlapping frame edge, preventing light bleed between frame segments
- Moon pieces mirrored, so the orientation correctly matches the Moon as seen from the Northern Hemisphere
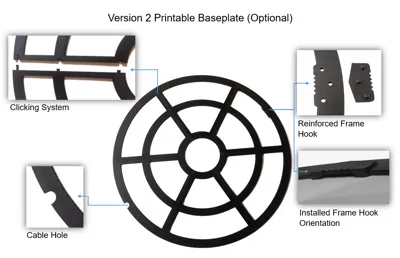
- Optional printable baseplate parts added, replacing the MDF board and separate hook
- Baseplate parts can be glued together to form a rigid mounting plate
Integrated frame hook for wall mounting
---
Materials:
- PLA (matte filament recommended for the outer frame)
- Superglue
- Acrylic joint sealant (for filling small gaps between the moon surface pieces)
- Spray paint (light gray or beige recommended, after filling)
- Minimum of 1.53 m LED strip
- COB LED strips recommended for a more uniform light output
- Maximum LED strip width: 12 mm
Optional:
- ABS, PETG-CF or other robust filament
- Recommended for increased strength and durability when printing the baseplate
If not using the printable baseplate:
- MDF board (3 mm thickness)
- Cut into a 50.2 cm diameter circle
Frame hook
---
Assembly Overview (Quick Guide)
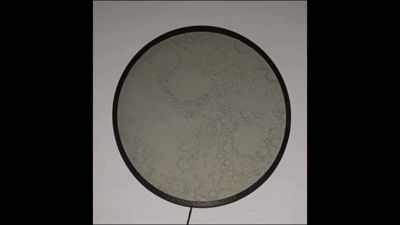
- Glue moon surface parts together, fill seams and spray paint
Glue the baseplate parts together (optional printable baseplate)
Make sure frame hook orientation is correct (see reference images)
- Assemble and glue frame parts and install LED strip (max 12 mm width)
- Dry-fit frame over moon and baseplate to check alignment
Glue moon onto baseplate
Use the reference images for correct orientation
Glue frame onto baseplate
---
Finishing tips:
- Take time to fill seams carefully for the best visual results.
- After applying sealant between the gaps, lightly dabbing the surface with a paper towel helps create a more realistic lunar texture.
- When using COB LED strips with fixed cut lengths, slightly overlapping the final segment can help avoid visible dark gaps and ensure more uniform illumination.
---
Credits
This lunar lamp is a remix of a model originally designed by Martin Kozak and is shared under the same Attribution–NonCommercial license (commercial use is not allowed).
Boost Me (for free)
If you like this model, a boost, like, or rating would be greatly appreciated. Thank you!
This remix is based on

License
You may create derivative works based on this object, provided that all such derivative works are published exclusively on the MakerWorld platform and include proper attribution to the original creator. You may not share, upload, host, distribute, or publish this object—or any derivative work of this object—on any other digital platform, marketplace, or distribution channel. Commercial use of this object and any derivative works is strictly prohibited. This includes, but is not limited to, selling, renting, sublicensing, or using the object in any context in which you receive monetary compensation or other financial benefits.
Comment & Rating (593)