
Small Bearings - 5 Sizes: 685, 687, 689, 629, 608
Print Profile(12)
Description
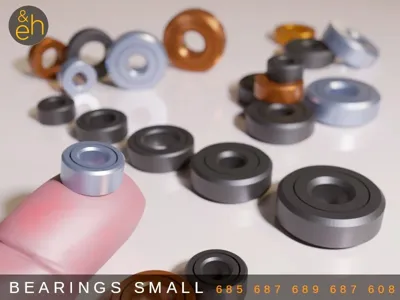
Small Slide Bearings
In essence they are just too small to print as roller bearings and nevertheless work just great.
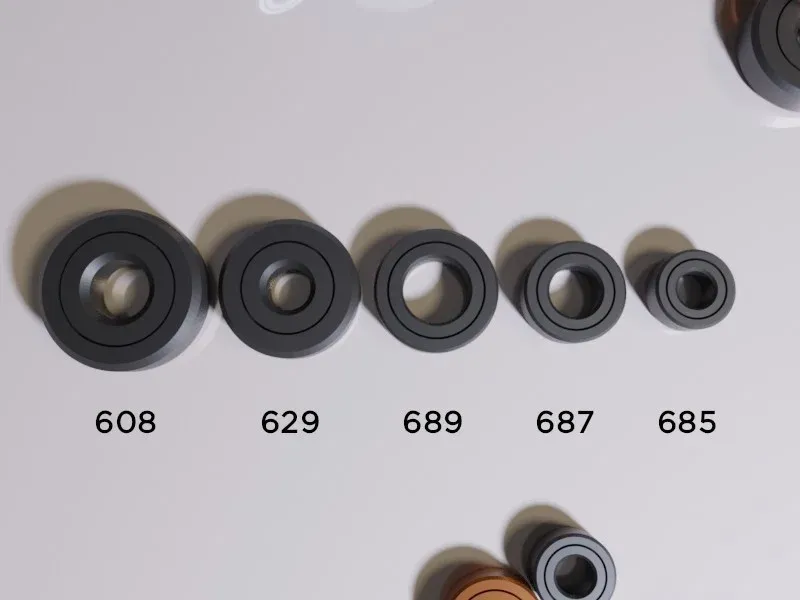
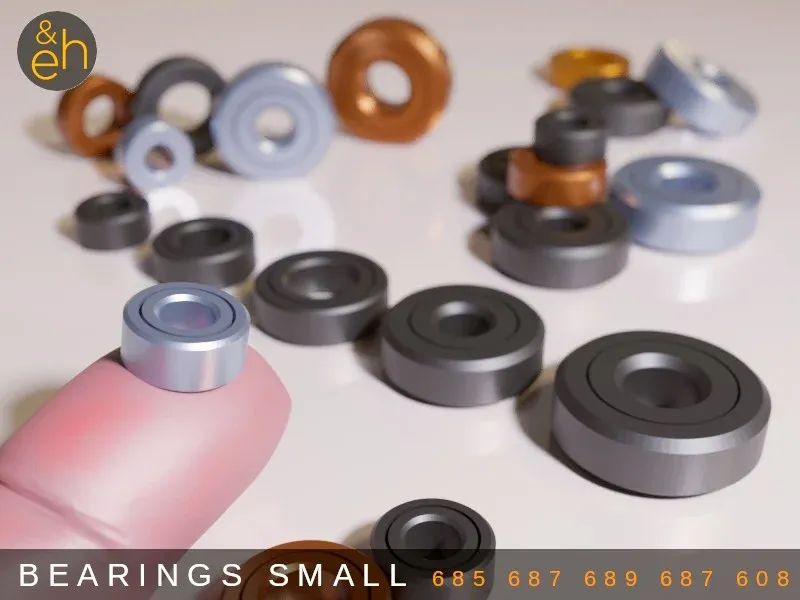
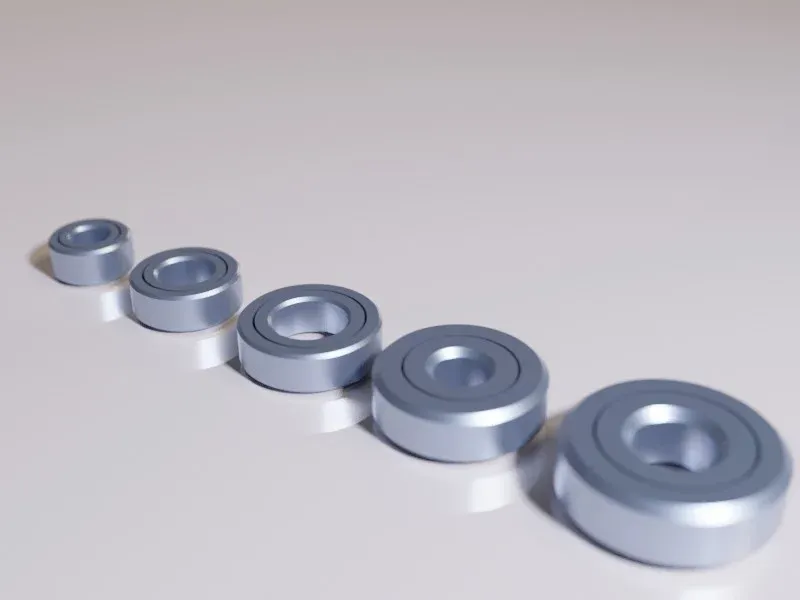
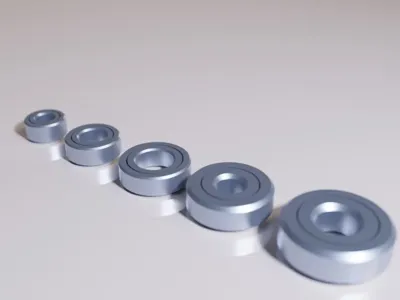
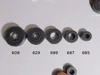
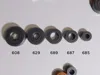
They come in five common sizes from pretty small (22 mm) to tiny (11 mm): 608, 629, 689, 687, and 685.
They are actually easier to print than roller bearings and with a little grease work just like their bigger counterparts.
They are all print-in-place, which means that you only need to print a single piece and that there is no assembly involved.
This set starts at 608 as the biggest size, which is pretty much the most commonly used size in DIY projects (filament guides, spool holders, fidget spinners, RC cars, robots, perpetua mobilia...), and goes down to 685, which I use in mechanical clocks, robots etc.
Once again they come in five different sizes, and two/three flavors - narrow (named tolMin), wide (tolMax) clearance, and ultra narrow (tolUltra - only the 2 bigger bearings). Please see below for clearance. Measures are inner x outer diameter x width:
- 608: 8 x 22 x 7 mm (0.31 x 0.87 x 0.28")
- 629: 6 x 19 x 6 mm (0.24 x 0.75 x 0.24")
- 689: 9 x 17 x 5 mm (0.35 x 0.67 x 0.20")
- 687: 7 x 14 x 5 mm (0.28 x 0.55 x 0.20")
- 685: 5 x 11 x 5 mm (0.20 x 0.43 x 0.20")
Printing. Slide bearings are actually considerably easier to print than roller bearings, simply because there are far fewer moving parts. However, simply because of the small size even well designed slide bearings below size 608 are a little tricky to print and I fear just like with my roller bearings I can't actually give you a one-fits-all recipe for printing. You'll have to try out yourself (it is all very small prints, so you won't lose a lot of filament).
Once you have your optimal settings established they are really easy to print. So here a few tips:
- I have included a low (named tolMin - and for the 2 largest bearings tolUltra) and a high (tolMax) clearance version of each bearing for you to try. My personal experience is that I can use the high clearance version right off the printer bed (after a little squeezing and rolling) but they tend to be a little wobbly, whereas the narrow ones usually need some individual attention to losen the parts (do this with the tip of a knife or small screwdriver). I would definitely start with the high clearance variety and with one of the larger bearings.
- Print slow. I mean real slow. Slow like 10 mm/s for the first layer, 20-25 for the rest. Make sure that all those little details stick to your printer bed (I use a higher bed temperature for the first layer).
- Make sure that you are not printing elephant's feet.
- I use 0.1 - 0.12 mm resolution and 30% (lines) infill.
- Set your Z-seam alignment to random.
- Reduce flow (I use 90% flow for all bearings).
Finally, add a drop of e.g. silicone or PTFE lubricant.
Models by guppyk on Thingiverse: https://www.thingiverse.com/thing:4851975
License

You shall not share, sub-license, sell, rent, host, transfer, or distribute in any way the digital or 3D printed versions of this object, nor any other derivative work of this object in its digital or physical format (including - but not limited to - remixes of this object, and hosting on other digital platforms). The objects may not be used without permission in any way whatsoever in which you charge money, or collect fees.


Comment & Rating (154)