


Print Profile(2)

Description
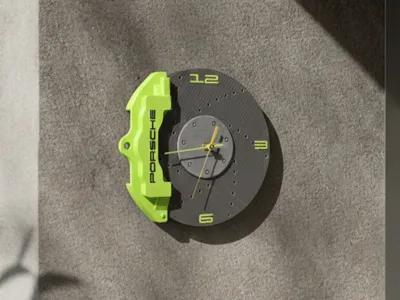
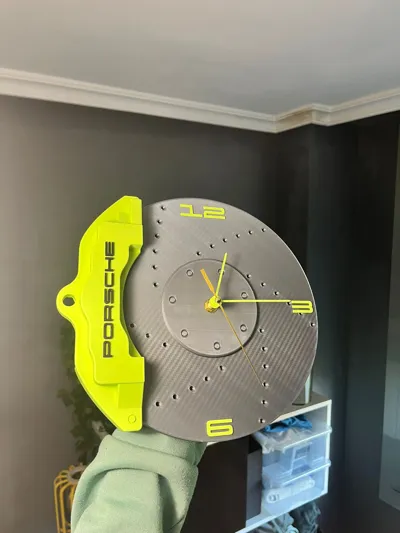
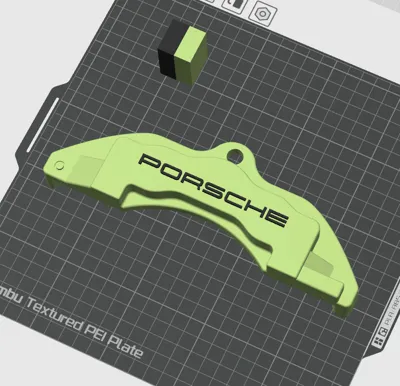
Sports wall clock
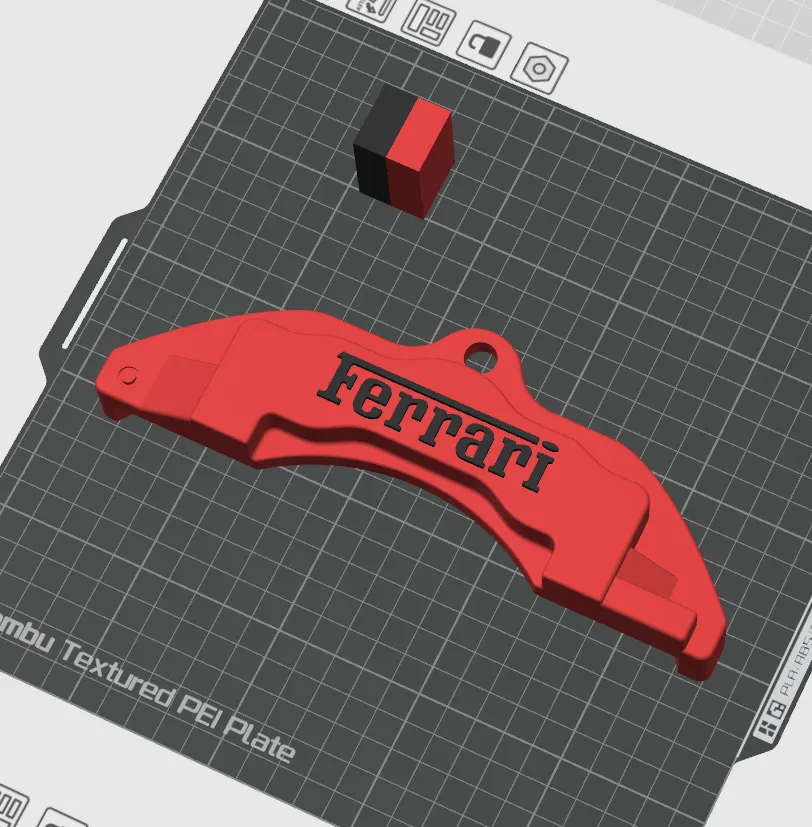
Currently there are two versions, Porsche and Ferrari. Each one features its version of the caliper and disc with its corresponding typography
I chose to use the carbon fiber effect build plate but the standard effect might give cleaner results
Only support for the caliper is needed
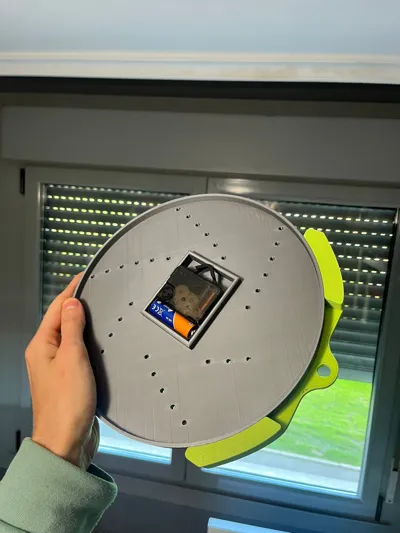
One of the mechanisms used for this model is the following:
https://es.aliexpress.com/item/1005008083912079.html?spm=a2g0o.order_list.order_list_main.39.247f194ds5rJLZ&gatewayAdapt=glo2esp
The mechanism's body measures 5.5 x 5.5 although this clock design has a slight margin in case your mechanism has a small hook or clip for hanging
Currently I do not know if Bambu Lab's clock mechanism has these same measurements but they tend to be all the same
License
You may create derivative works based on this object, provided that all such derivative works are published exclusively on the MakerWorld platform and include proper attribution to the original creator. You may not share, upload, host, distribute, or publish this object—or any derivative work of this object—on any other digital platform, marketplace, or distribution channel. Commercial use of this object and any derivative works is strictly prohibited. This includes, but is not limited to, selling, renting, sublicensing, or using the object in any context in which you receive monetary compensation or other financial benefits.
Comment & Rating (52)