AA Battery Powered Filament Welder


Print Profile(1)
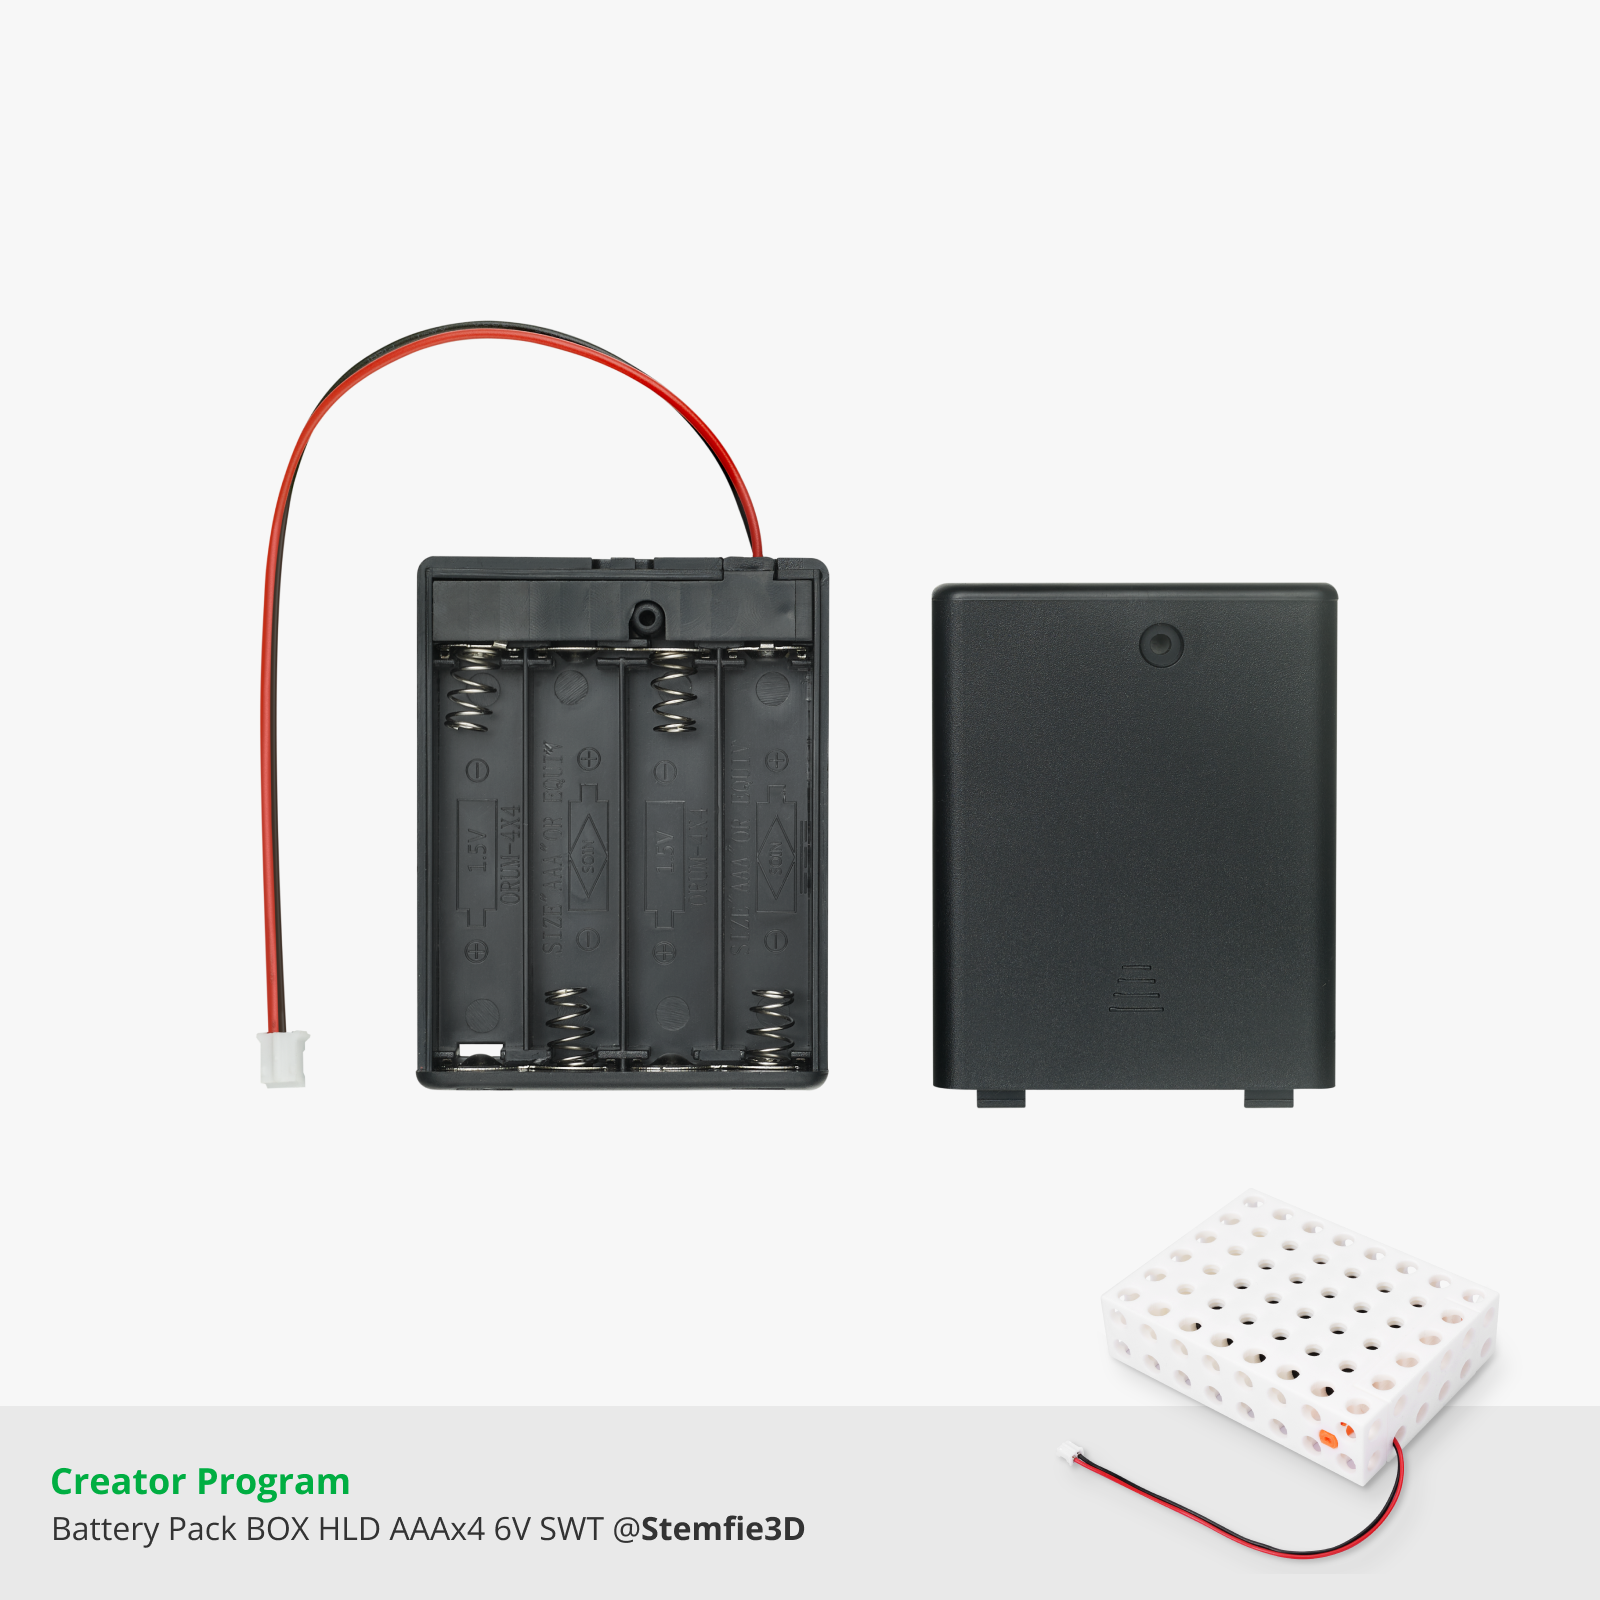
Bill of Materials

Description
This project is a simple, low-cost filament welder designed for joining filament scraps, repairing broken spools, or extending short filament pieces.
It’s built with minimal electronics, recycled parts, and one custom 3D printed component — perfect for makers who enjoy practical DIY solutions.
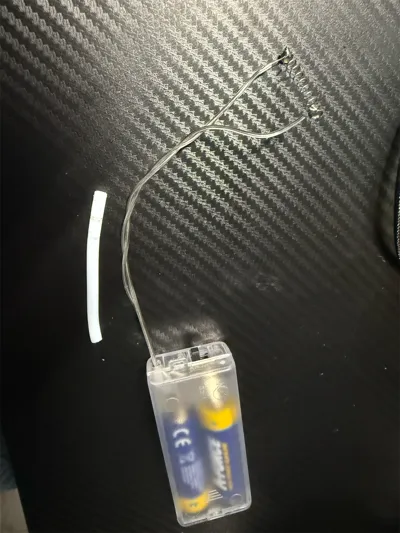
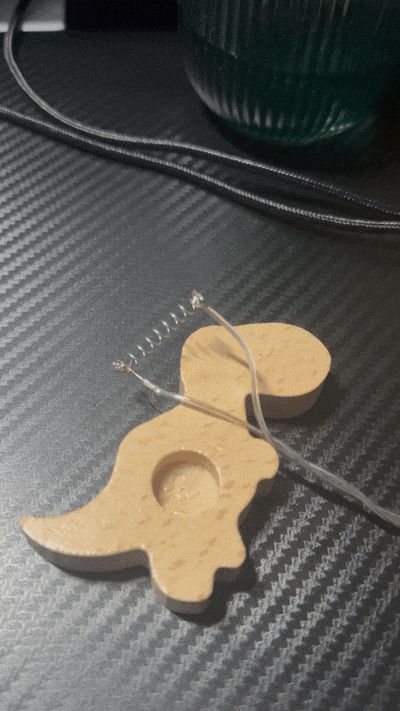
The core of the design is a self-designed PTFE 4/2 mm tube holder, combined with a ballpoint pen spring used as a heating element. Power comes from a 2× AA battery pack salvaged from broken LED lights, which is an important detail — the pack already includes a built-in ON/OFF switch, making the welding process much easier and safer to control.
Required Parts
- 3D printed PTFE tube holder (4/2 mm) – custom design
- PTFE tube 4/2 mm
- Spring from a standard ballpoint pen
- 2× AA battery holder with built-in switch
(reused from damaged LED lights) - 2× AA batteries
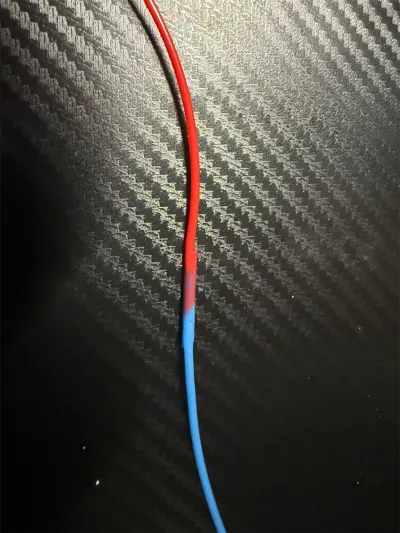
- Wires (recycled if possible)
- Basic soldering skills
Assembly Instructions
- Slide the ballpoint pen spring onto the PTFE tube.
- Solder the positive and negative wires from the battery pack directly to the spring.
- Insert the PTFE tube with the spring into the 3D printed holder.
- Route the wires through the bottom of the printed part.
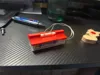
- Glue the AA battery pack to the holder (hot glue works well).
- Check all connections before inserting batteries.
Filament Welding Instructions
- Insert filament pieces into both ends of the PTFE tube so they meet in the middle, inside the spring.
- Turn ON the battery pack.
- Wait a moment until you see a small amount of smoke coming from the spring (this means it’s hot enough).
- Turn OFF the power.
- Immediately push both filament ends together firmly.
- Wait a few seconds, then gently pull and shape the still-soft filament section.
- Let it cool — your filament is now welded.
Notes & Safety
- Use short heating times to avoid overheating the filament.
- Always test with scrap filament first.
- Different filament materials may require slightly different heating times.
- Work in a well-ventilated area.
Why This Project?
- Reduce filament waste
- Repair broken filament
- Extremely cheap & simple
- Battery powered — no power supply needed
- Great beginner electronics project
f
Boost Me (for free)
If you like this project, please leave a ❤️ and a boost — it really helps!
Comment below if you’d like to see an improved V2 version.
i
Comment & Rating (21)