
Kallax Splitter (without screws)
Print Profile(4)
![[V3] 50% Splitter](https://makerworld.bblmw.com/makerworld/model/USdb5c88d2dedeb8/832162583/instance/14bbbb735602cfd8.webp?x-oss-process=image%2Fresize%2Cw_100%2Fformat%2Cwebp)
![[V3] 33% Splitter](https://makerworld.bblmw.com/makerworld/model/USdb5c88d2dedeb8/853054250/instance/447ff993b677de52.webp?x-oss-process=image%2Fresize%2Cw_100%2Fformat%2Cwebp)
![[V2] 50% Splitter](https://makerworld.bblmw.com/makerworld/model/USdb5c88d2dedeb8/722638662/instance/caf4cb311c337103.png?x-oss-process=image%2Fresize%2Cw_100%2Fformat%2Cwebp)
![[V2] 33% Splitter](https://makerworld.bblmw.com/makerworld/model/USdb5c88d2dedeb8/722670544/instance/d85f40cc4aebe613.png?x-oss-process=image%2Fresize%2Cw_100%2Fformat%2Cwebp)
Description
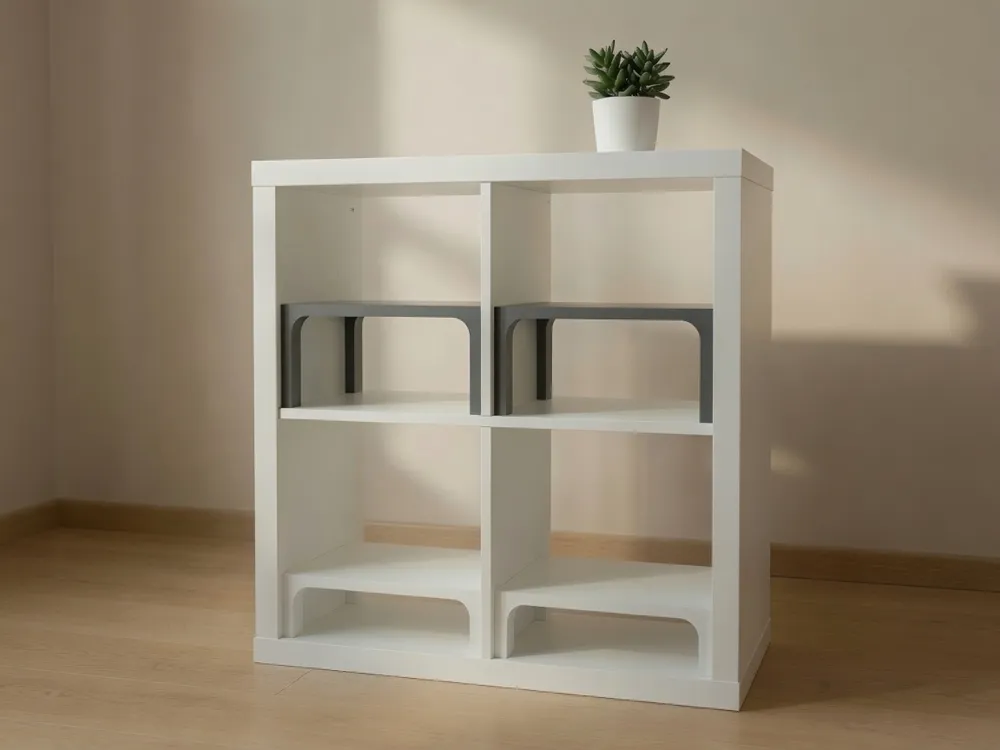
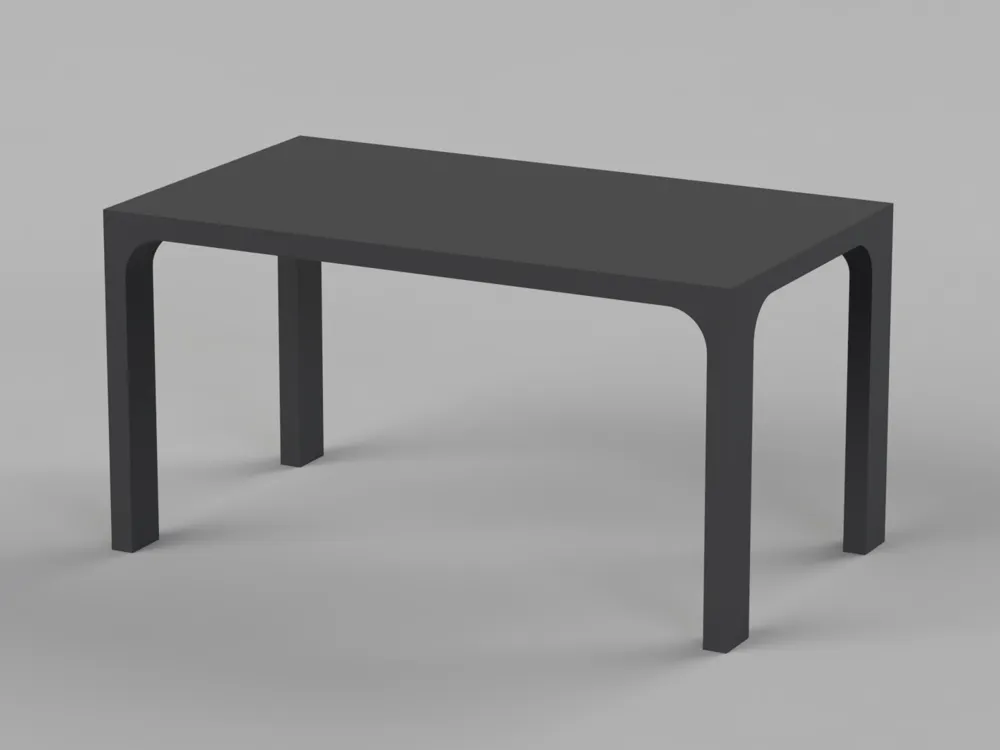
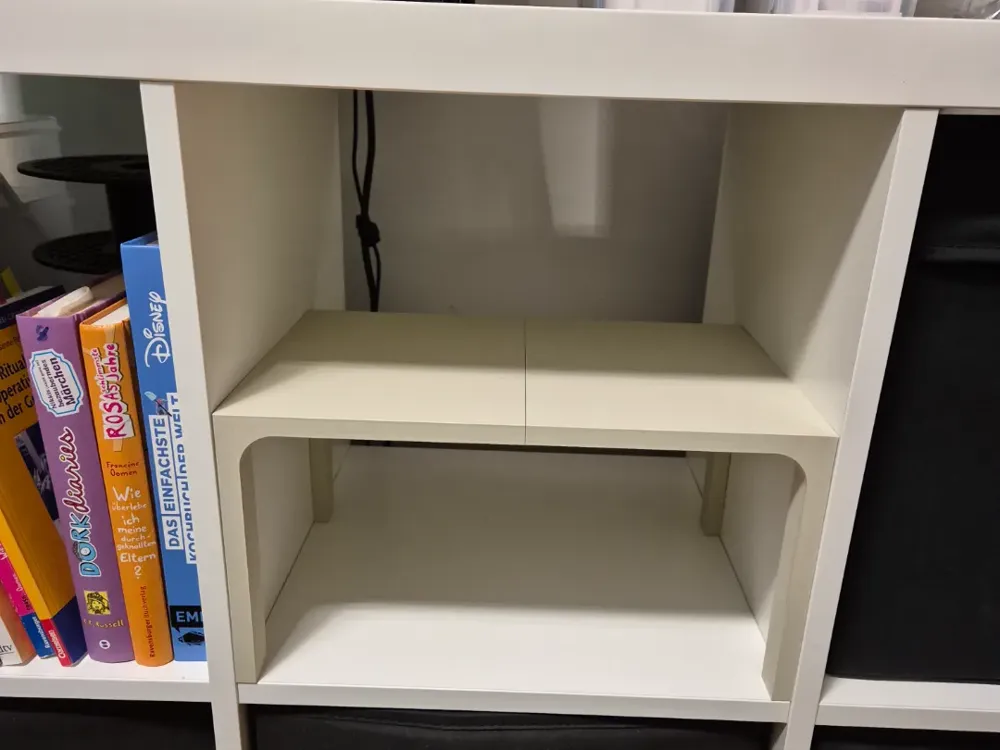
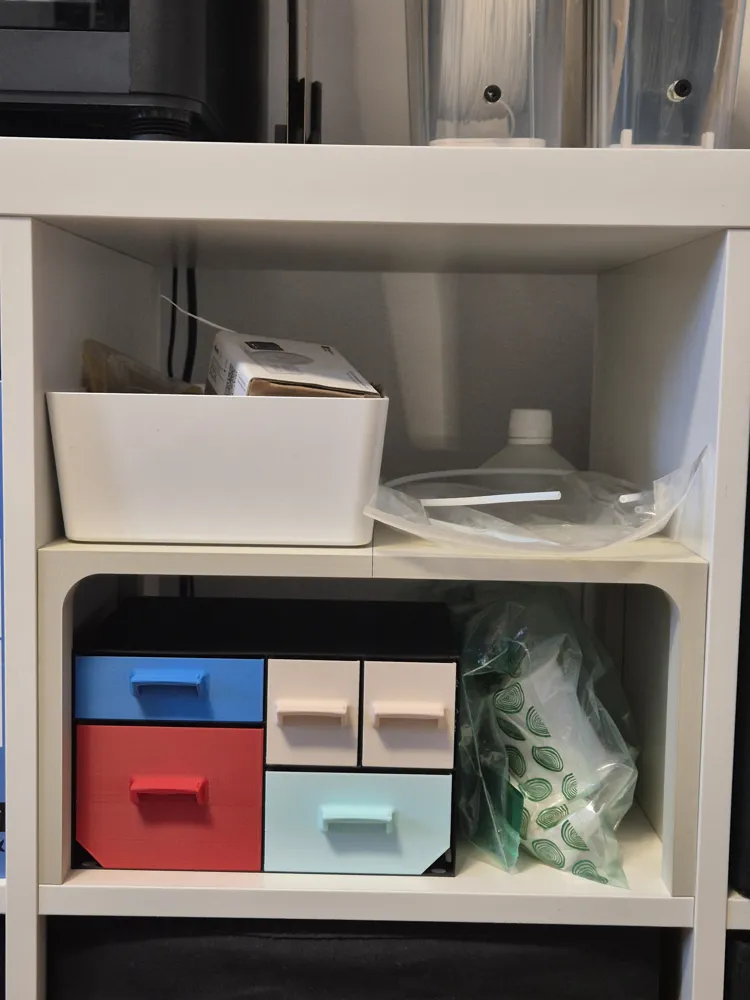
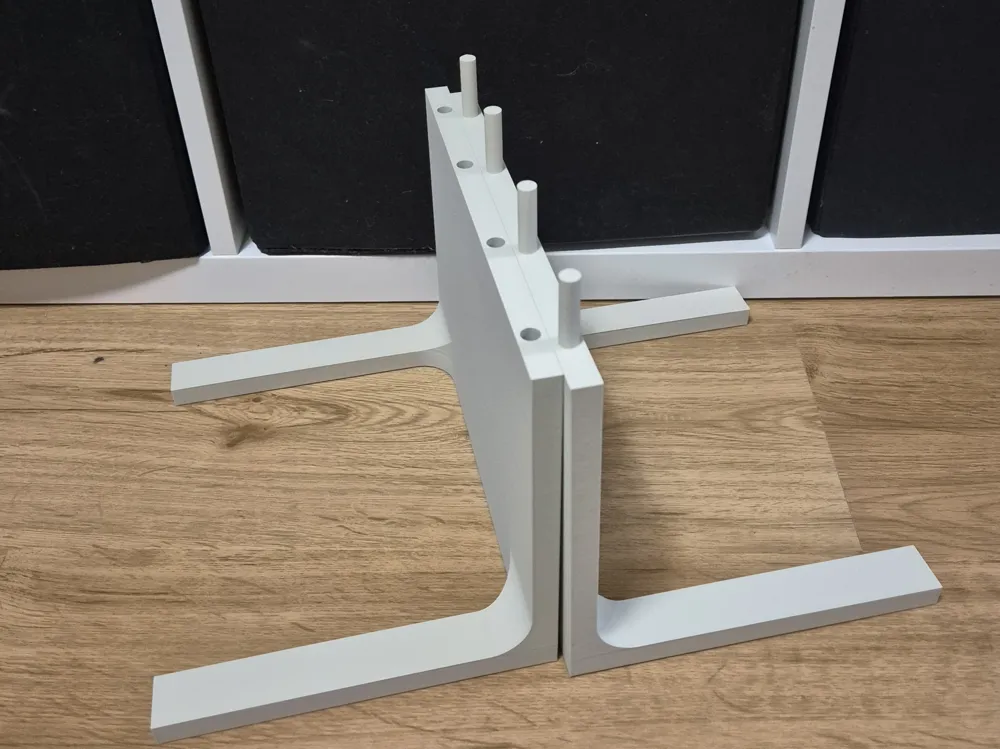
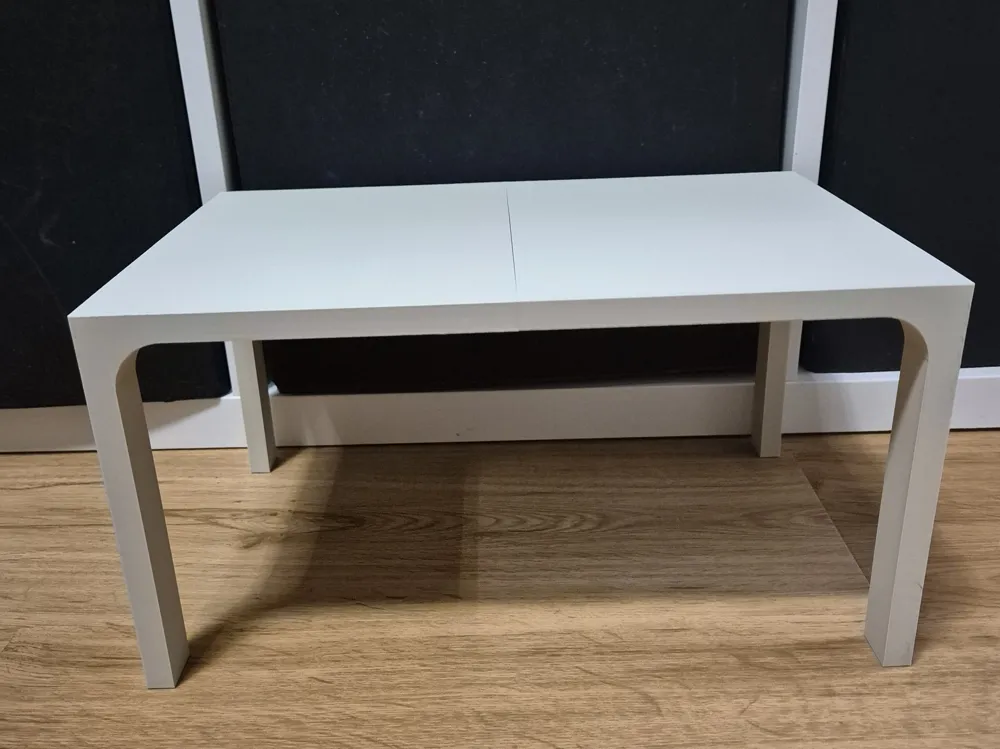
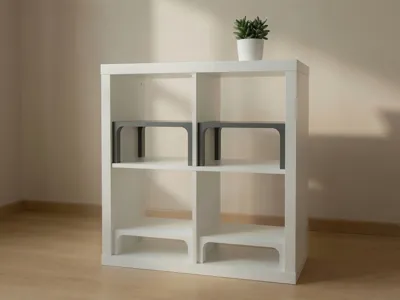
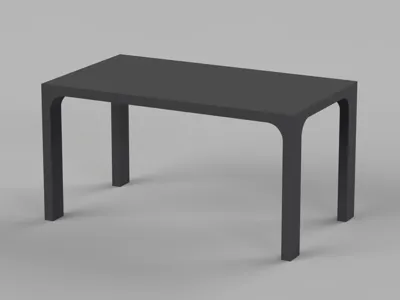
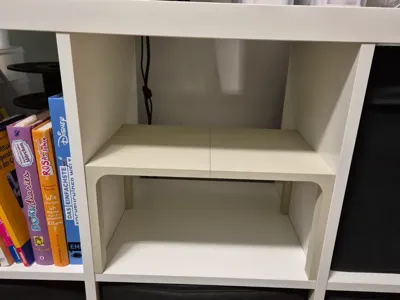
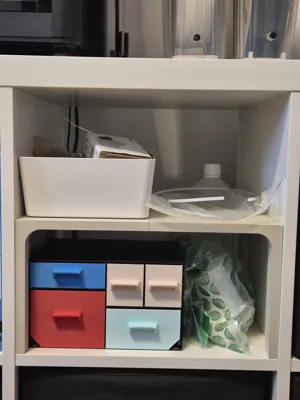
I needed a divider for my Kallax shelves but wasn’t happy with the options available, so I designed my own!
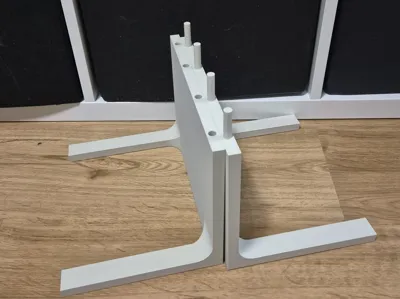
This design is completely tool-free — no screws, no nuts, no tools required.
There are two main splitter options:
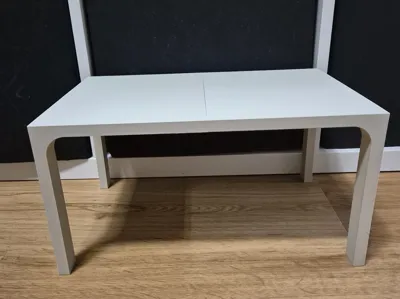
- 50% Splitter – divides one compartment vertically into two equal parts
- 33% Splitter – divides one compartment vertically into three equal parts
And you can choose from three different depths to suit your needs:
- 24 cm – perfect if you don’t need to cover the full depth
- 19 cm – print two of these to cover the entire 38 cm depth
- 14 cm – great as an addition if you already printed the 24 cm version and later want to extend the depth
Printing tips:
If you have problems with the fitment of the pins, then try the following
- if printing the pins in horizontal position (faster)
- lower the layer height for a smoother outline
- use v3 (different pin sizes) or scale the pins down a feq percent (1-2%) and print one pin at a time to not waste filament
- use min 3 wall loops with the inner/outer/inner wall order and Arachne wall generator
- you can also print the pins upright
- is a bit slower and the pins are now quite as strong but should result in better 3 dimensional accuracy
- pins might snap between the layer lines, if layer adhesion is weak and the load on top is high
Version History:
Version 3
Improved the geometry (rounded edges, less material, adjusted tolerances, etc…). Also added other sizes of pins for better fit.
Version 2
A few users mentioned that the tolerances were a bit too tight, so the two parts didn’t fit together easily.
To fix this, I’ve created a new version that uses separately printed pins. These are printed on their own and then inserted into the main parts.
If they’re still a little too tight, you can simply scale the inserts down by a few percent in your slicer - no need to reprint the entire model!
Version 1
The connectors are 25 mm long with a tight but forgiving combined tolerance of just 0.13 mm. With the recommended print profiles, everything should fit together perfectly and snugly.
Thanks for checking out my model!
I really hope you like it and have fun printing it!
If you have any questions, suggestions, or just want to share a photo of your finished print, I’d love to see it!
Happy Printing!
~Marco
Boost Me (for free)
Do you like my model? A boost would be a great help!
License

You shall not share, sub-license, sell, rent, host, transfer, or distribute in any way the digital or 3D printed versions of this object, nor any other derivative work of this object in its digital or physical format (including - but not limited to - remixes of this object, and hosting on other digital platforms). The objects may not be used without permission in any way whatsoever in which you charge money, or collect fees.


Comment & Rating (87)