Sewing Coaster


Print Profile(2)
Description
Introduce your little maker to the joy of sewing with this 3D-printed geometric stencil. Specifically designed for children ages 5 and up, this tool is more than just a template—it’s a hands-on way to develop fine motor skills and hand-eye coordination while exploring the basics of fabric craft. I
Key Features
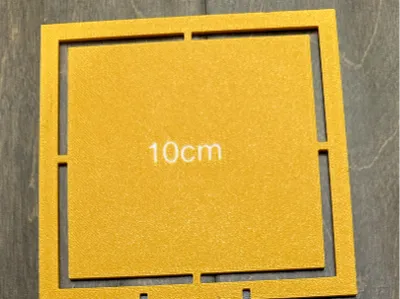
Perfectly Proportioned Shapes: Includes a 10 cm circle and a 10 cm square, providing a clear, manageable canvas for a child's first sewing project.
Built-in Seam Allowance: To take the guesswork out of sewing, the stencil features a 1.5 cm seam allowance. This helps children visualize the "stitch line" versus the "cut line" from the very beginning.
Guided Turning Notches: I have added two small indentations to each shape. These serve as friendly reminders of where to stop sewing, leaving the perfect gap to turn the fabric right-side out.
- Maker-Friendly Design: Whether they are practicing their first running stitch by hand or guided by a sewing machine, this durable stencil is built to handle every step of their creative journey.
How to Make Your First Coaster
Follow these simple steps to turn your fabric into a finished masterpiece!
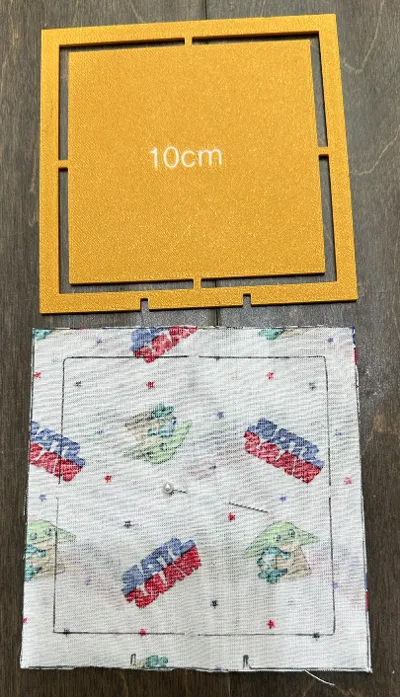
Step 1: Trace Your Pattern
Place your stencil on the back of your fabric. Using a pencil or fabric marker, trace both the outer edge (the cutting line) and the inner edge (the sewing line).
Pro Tip: If your fabric has a pretty pattern, make sure two pieces are facing each other (Right Sides Together) so the drawing is on the "ugly" or plain side.

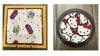
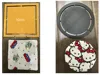
Circle Square
Step 2: Pin and Cut Your Shapes
Before you reach for the scissors, place two pieces of fabric together so the "pretty" sides are touching.
- Insert a Pin: Slide a sewing pin through both layers of fabric in the center of your shape. This keeps the fabric from shifting while you work!
- Start Cutting: Carefully cut along the outer perimeter (the larger line) of the shape you traced. If this is your first time, the square is a great place to start!

Step 3: Sew the Inner Line
Pin your two pieces of fabric together and sew along the inner perimeter (for the square) or circumference (for the circle).
Important: Stop sewing at the small indentations! Leaving this gap allows you to turn the fabric right-side out.

Step 4: The Big Reveal
Reach through the gap and pull the fabric through to show the patterned side. You can use a blunt tool, like a chopstick or a purple thumper, to gently push out the corners or curves for a crisp edge. Give it a quick press with an iron for a smooth, professional finish.

Step 5: The Final Stitch
To finish, sew a neat line around the very edge of your coaster. This is called a topstitch—it closes the gap and makes your coaster lay flat.
Congratulations! You’ve made your first coaster.
Printing Parameters
0.2mm layer
2 walls
15% infill
AMS Required
Boost Me (for free)
If you would like more models like this, help me with a boost and a comment. Love to see my creations become something special for all the makers out there. Thank you for your support.
License
You shall not share, sub-license, sell, rent, host, transfer, or distribute in any way the digital or 3D printed versions of this object, nor any other derivative work of this object in its digital or physical format (including - but not limited to - remixes of this object, and hosting on other digital platforms). The objects may not be used without permission in any way whatsoever in which you charge money, or collect fees.
Comment & Rating (0)