CyberBrick Ant weight battlebot (weighs 230 grams)


Print Profile(1)
Bill of Materials


Description
Boost Me (for free)
this model is awesome and so are you!
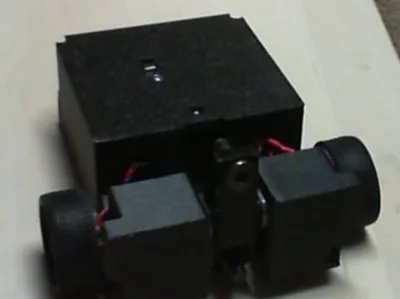
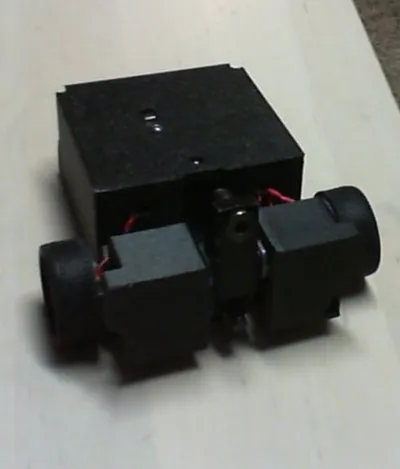
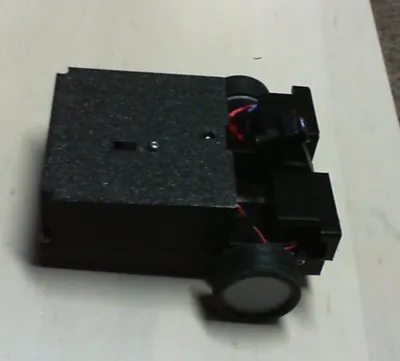
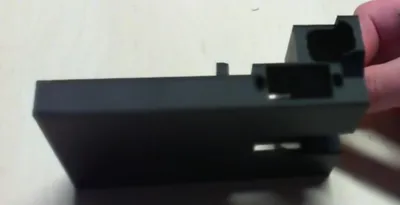
This is an Ant Weight Battle Bot which wields a vertical spinner powered by two N30 motors. It requires just one beginner hardware CyberBrick set and one extra 360 servo. Assembly is easy with only six 3d printed objects and nine screws. it uses two 360-degree servos
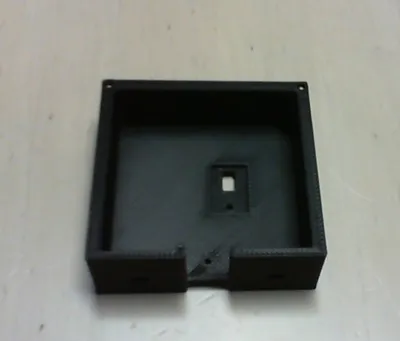
Assembly instructions: slide the servos in place. there is enough room to slide them in, but you just need to try a couple of angles. once you do that, they each can be screwed in each with 2 m2.5x6 screws. (The ones that come with the cyberbrick set.)


attach the wheels: after you stretch the tires around the wheels, you can either just press the wheels on, but during one of my battles they fell off. hot glue is a good option because it's not there permanently, you can just peel it off. if you really want it to stay together, use a bit of super glue. disclaimer: use only a small amount of glue, otherwise it will ooze and glue the wheel in place. (I did it accidentally!)
plug the servos in: the wires should come directly back. looking from the front: the left servo should be plugged into the servo 1 port, the right into servo port 2.

optional screws: if you are using screws on the weapon, apply a little hot glue where the threads meet the head then quickly screw it in all the way. it will stay in better. also, the screws will not work if you don't print the weapon out of TPU. the threads really bite into the material, so a hard one will not work.

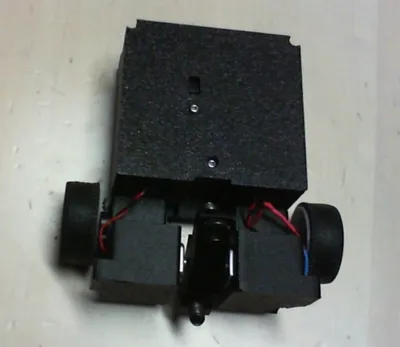
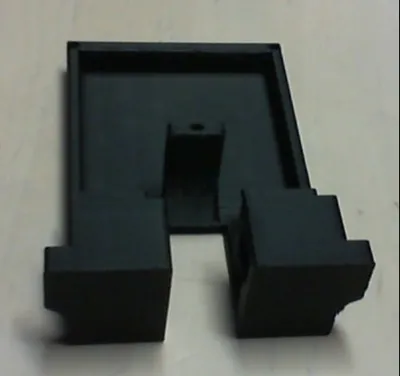
mount the motors: it should be tight, but smooth. line the shaft up with the weapon and press. that will also be tight, but if you printed it out of TPU then it will be fine. note: make sure the bottom screw is pointing forward. if you aren't using any screws, the indent should be facing forward on the bottom. after you do one motor, the other one will just slide right into the weapon

plug in the motors: they need to be threaded through the holes on the lid. looking from the front, the right motor is plugged into the m1 port, the left one into m2.

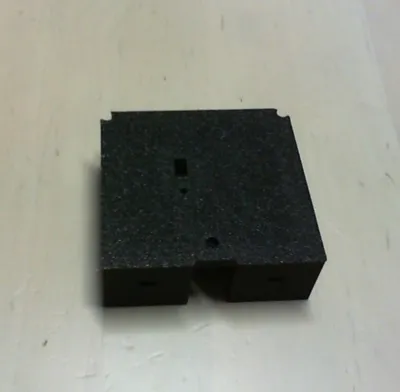
now we need power: screw the spacer onto the switch (I used a pliers to hold the spacer in place as I screwed in the screw) then place the switch at the top in its little inset, then screw that in. plug the battery into one side of the switch (I did the right side, but it doesn't really matter), then attach a power cable from the receiver board to the switch.
now, all you have to do is screw the lid on and power on! here is a cable management guide:
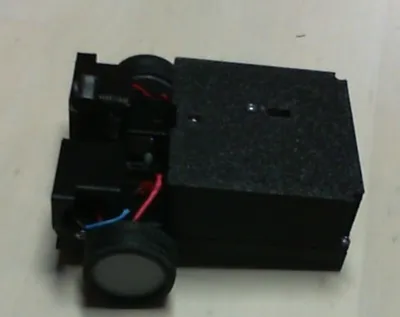
zip tie the sides of the servo wires to itself, see the picture:

this makes it so it isn't too tall.
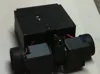
Placement of components: do whatever what works for you, but I did this:


pair it up to a controller and start winning!
filaments used: Tinmorry Black PETG-CF, Polymaker Black TPU 95A.
Honest ratings is appreciated because it provides feedback on how to improve my next models.
Documentation (1)

License
You may create derivative works based on this object, provided that all such derivative works are published exclusively on the MakerWorld platform and include proper attribution to the original creator. You may not share, upload, host, distribute, or publish this object—or any derivative work of this object—on any other digital platform, marketplace, or distribution channel. Commercial use of this object and any derivative works is strictly prohibited. This includes, but is not limited to, selling, renting, sublicensing, or using the object in any context in which you receive monetary compensation or other financial benefits.
Comment & Rating (13)