
Most Annoying Gift Box Ever Made V2 !


Print Profile(2)

Description
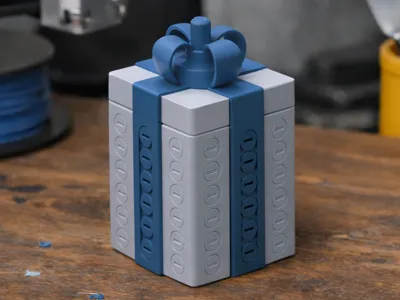
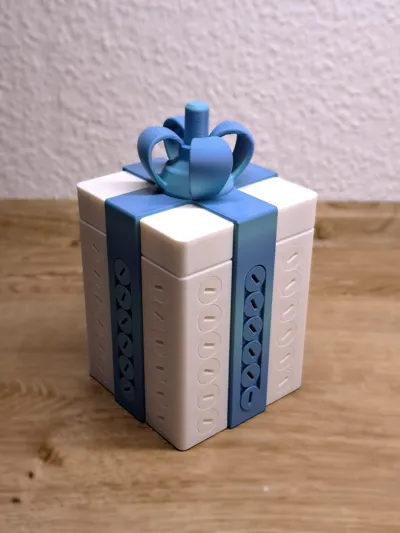
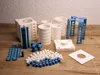
Version 2 is finally here! I always wanted to do a next version of my first model https://makerworld.com/en/models/1499109-most-annoying-gift-box-ever-made-12min-to-open#profileId-1568029, add some new features and solve some little flaws.
- improved threads
- tool directly part of the box
- you can also use a real flathead screwdriver
- there is a double sided thread cylinder
- there is a labyrinth/puzzle cylinder
- the inner one is big enough to put a gift card in (credit card size)
- and some more minor flaws are eliminated
I printed it on the P1S so I dont know if there will occure any problems with high parts (like the big screws) if you print it on the bed swingers like A1/mini.
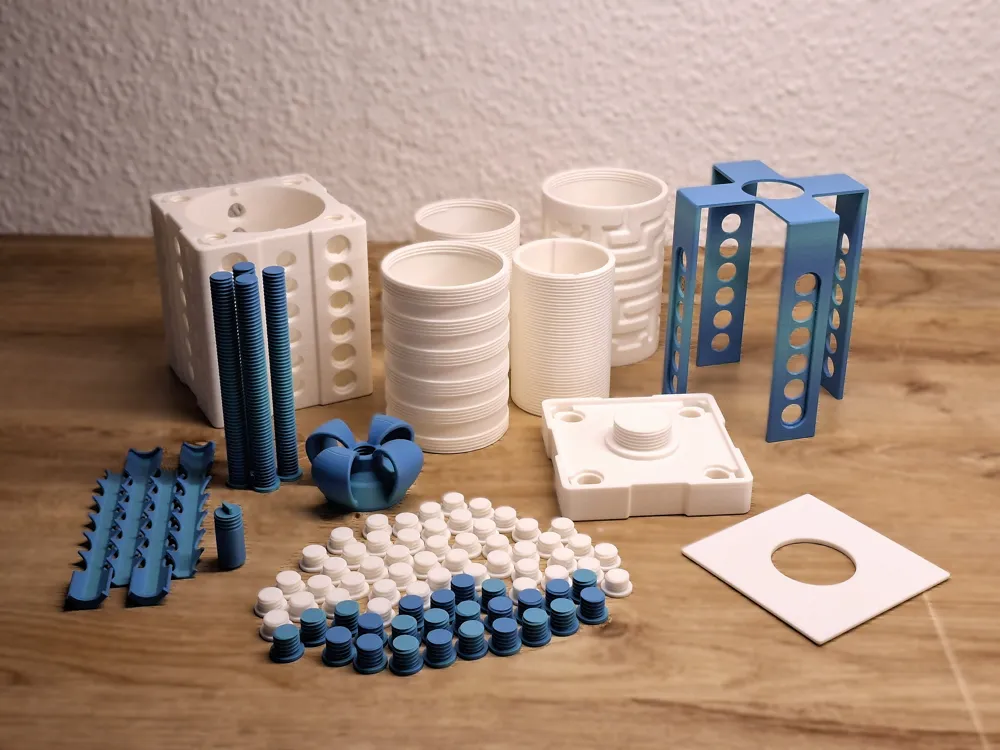
Here is a quick overview how to assemble the box (dissamble it starting from the bottom):
- put your money or gift card in the smallest cylinder and screw it into the next bigger one with the open side pointing inside (right-hand thread)
- screw this into the next bigger one with the open side pointing inside (right-hand thread)
- screw this in the puzzle cylinder with the open side pointing inside (thread sequence: left - right - right - left - right - left)
- Solve the puzzle backwards to get the cylinder into the present box with the open side pointing inside (its easy because you can see where to go)
- Put the lid on top and use the 4 long screws to fix it (2x right-hand thread, 2x left-hand thread) and put the four stripes in.
- Put the plate on top to cover the screws
- Put the ribbon on, and screw all little screws in (36x right-hand thread, 36x left-hand thread)
- Screw the loop on (right-hand thread) and the tool into it (left-hand thread)
- Look forward to the despair! :D
Hints:
- for the last few rotations of the cylinders and screws use the tool
- dont tighten them to much (the weakpoint is the tool-bit)
- the only thing you have to glue is the bit into the tool
- the supports on the ribbon are there to make it stiffer while printing
If I forgot anything feel free to comment your opinion and ideas :)
Documentation (1)
License

You shall not share, sub-license, sell, rent, host, transfer, or distribute in any way the digital or 3D printed versions of this object, nor any other derivative work of this object in its digital or physical format (including - but not limited to - remixes of this object, and hosting on other digital platforms). The objects may not be used without permission in any way whatsoever in which you charge money, or collect fees.


Comment & Rating (254)