
Floating Love Illusion – Valentine’s Day Sculpture
Print Profile(5)
![[original] variable layers, optimised settings.](https://makerworld.bblmw.com/makerworld/model/USfa12e0b7dbecd2/583750712/instance/e8ffdd4efb6aa4b0.jpg?x-oss-process=image%2Fresize%2Cw_100%2Fformat%2Cwebp)



Description
Floating Love Illusion – Valentine’s Day Sculpture
a beautiful moment of love, balance, and connection
Boost Me (for free)
Boosts are fuel for my brain! :)
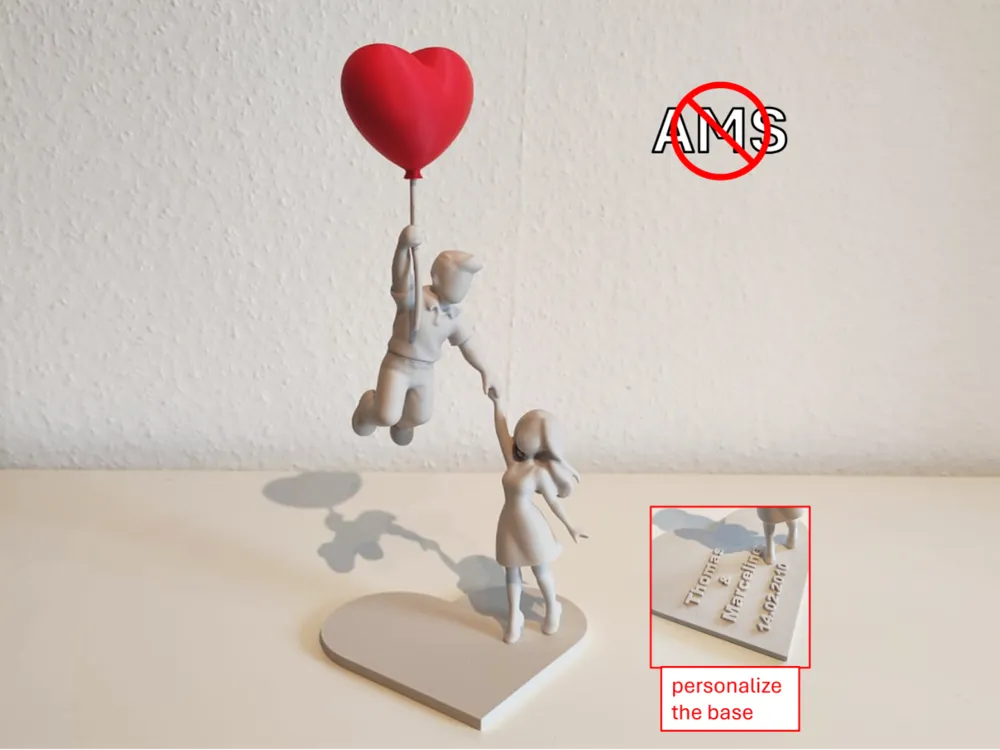
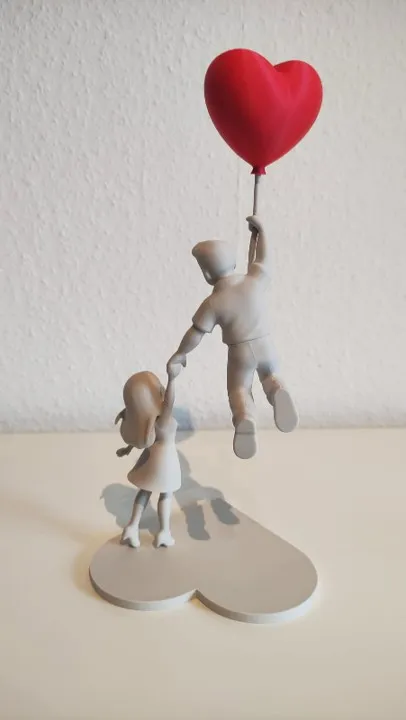
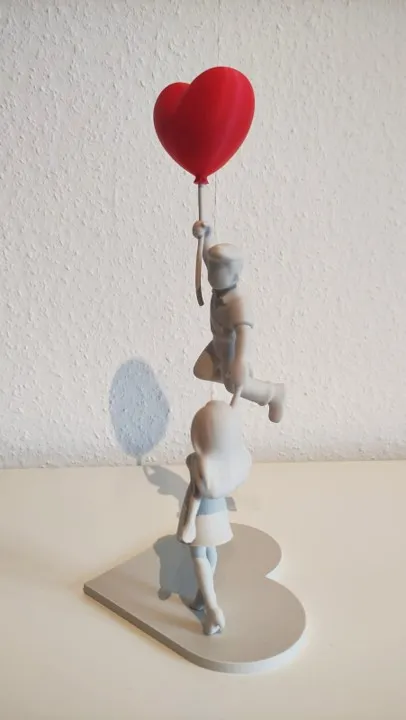
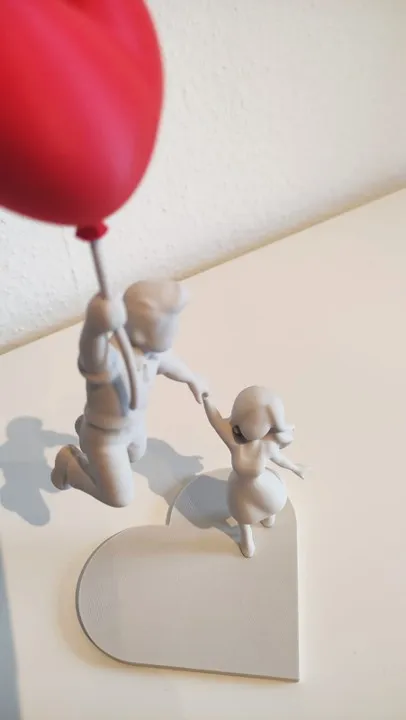
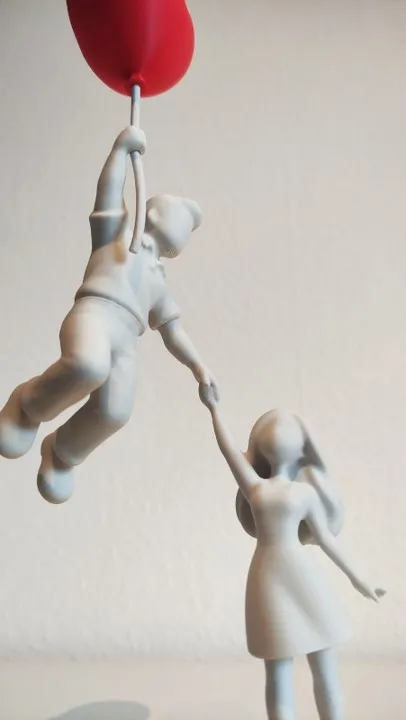
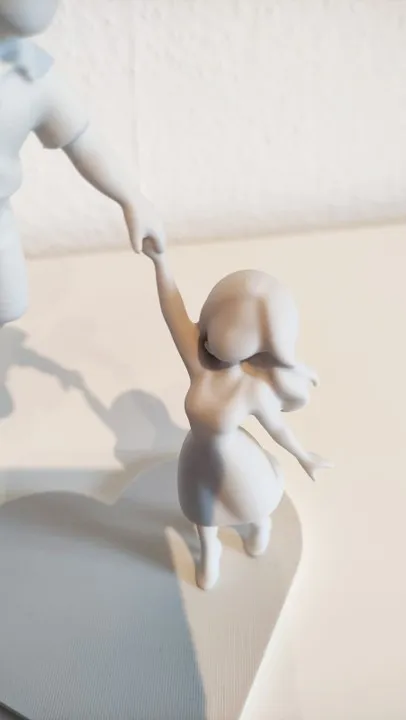
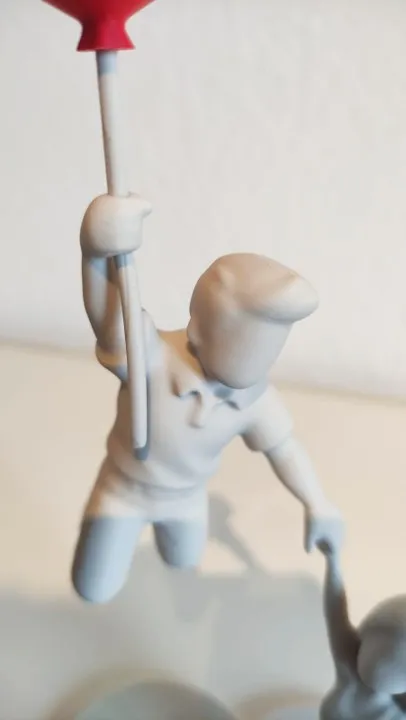
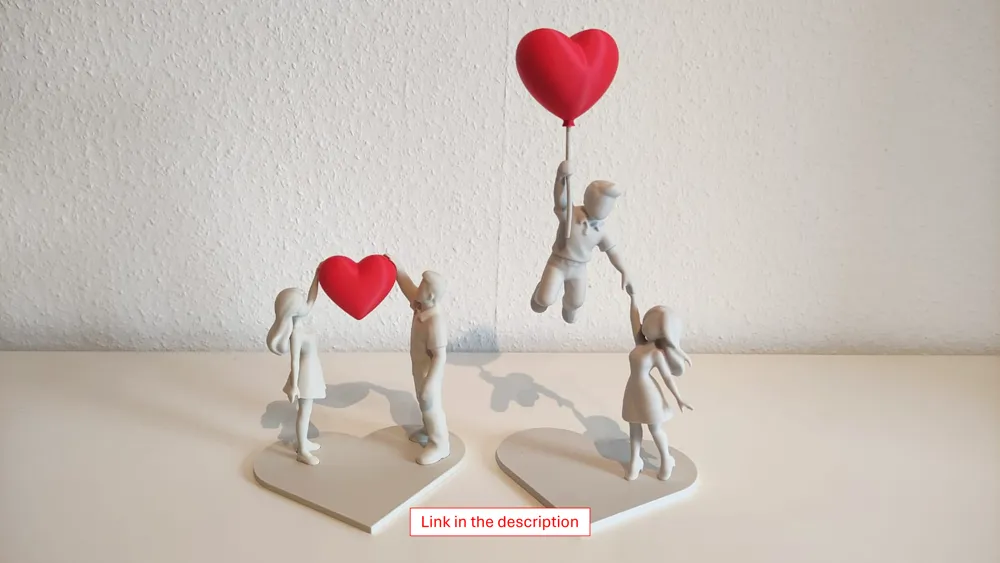
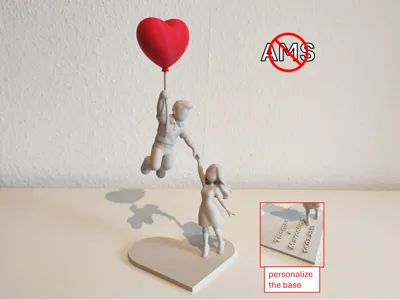
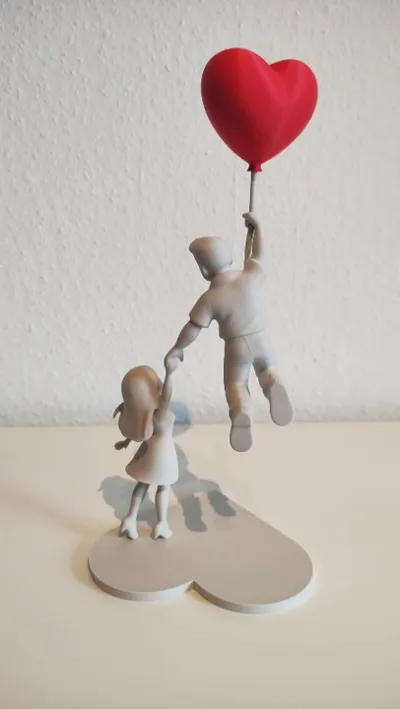
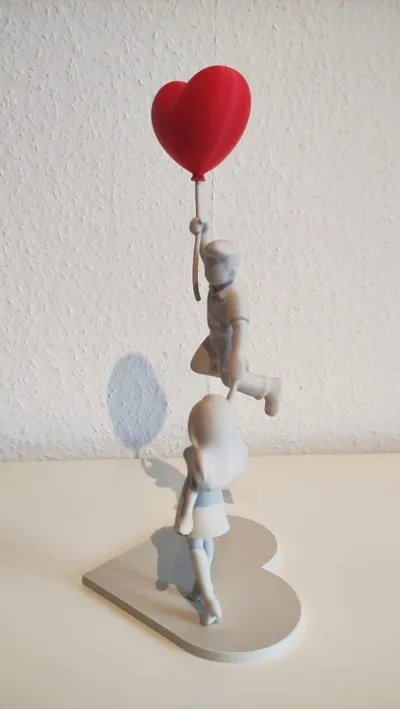
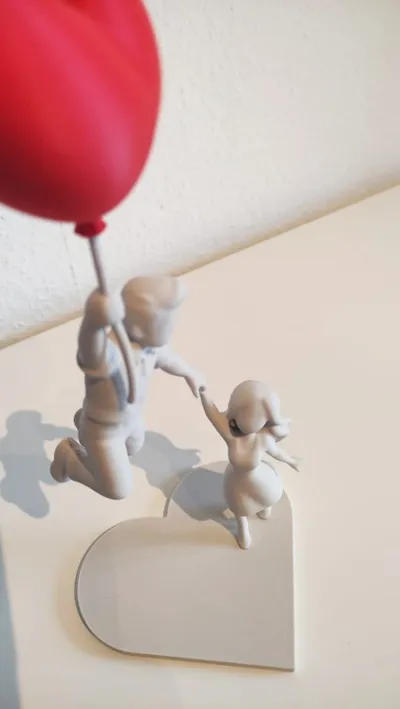
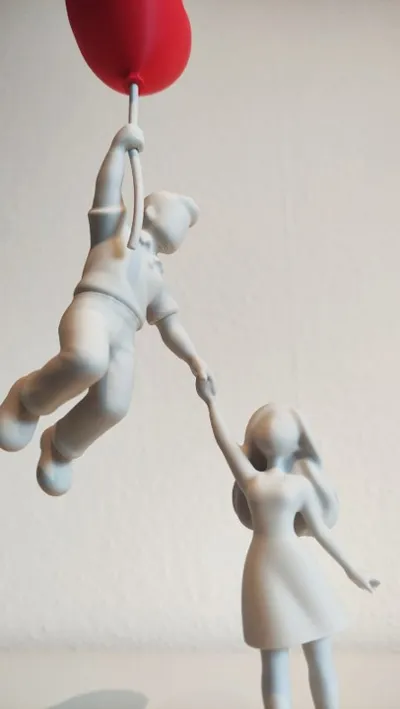
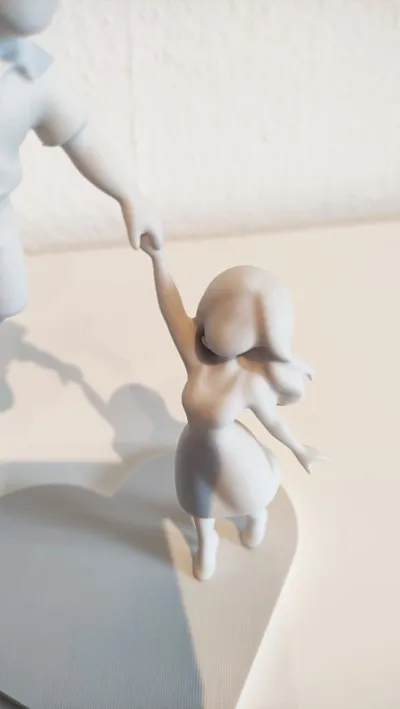
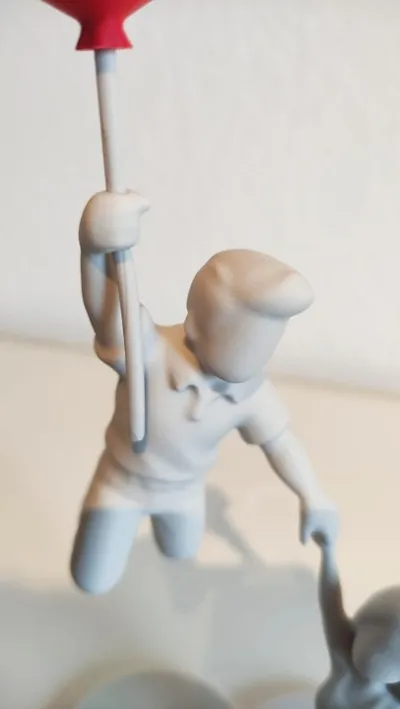
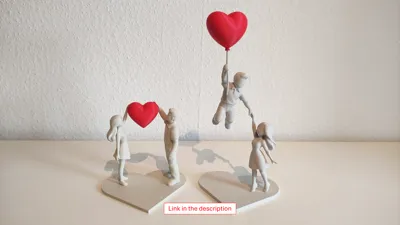
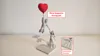
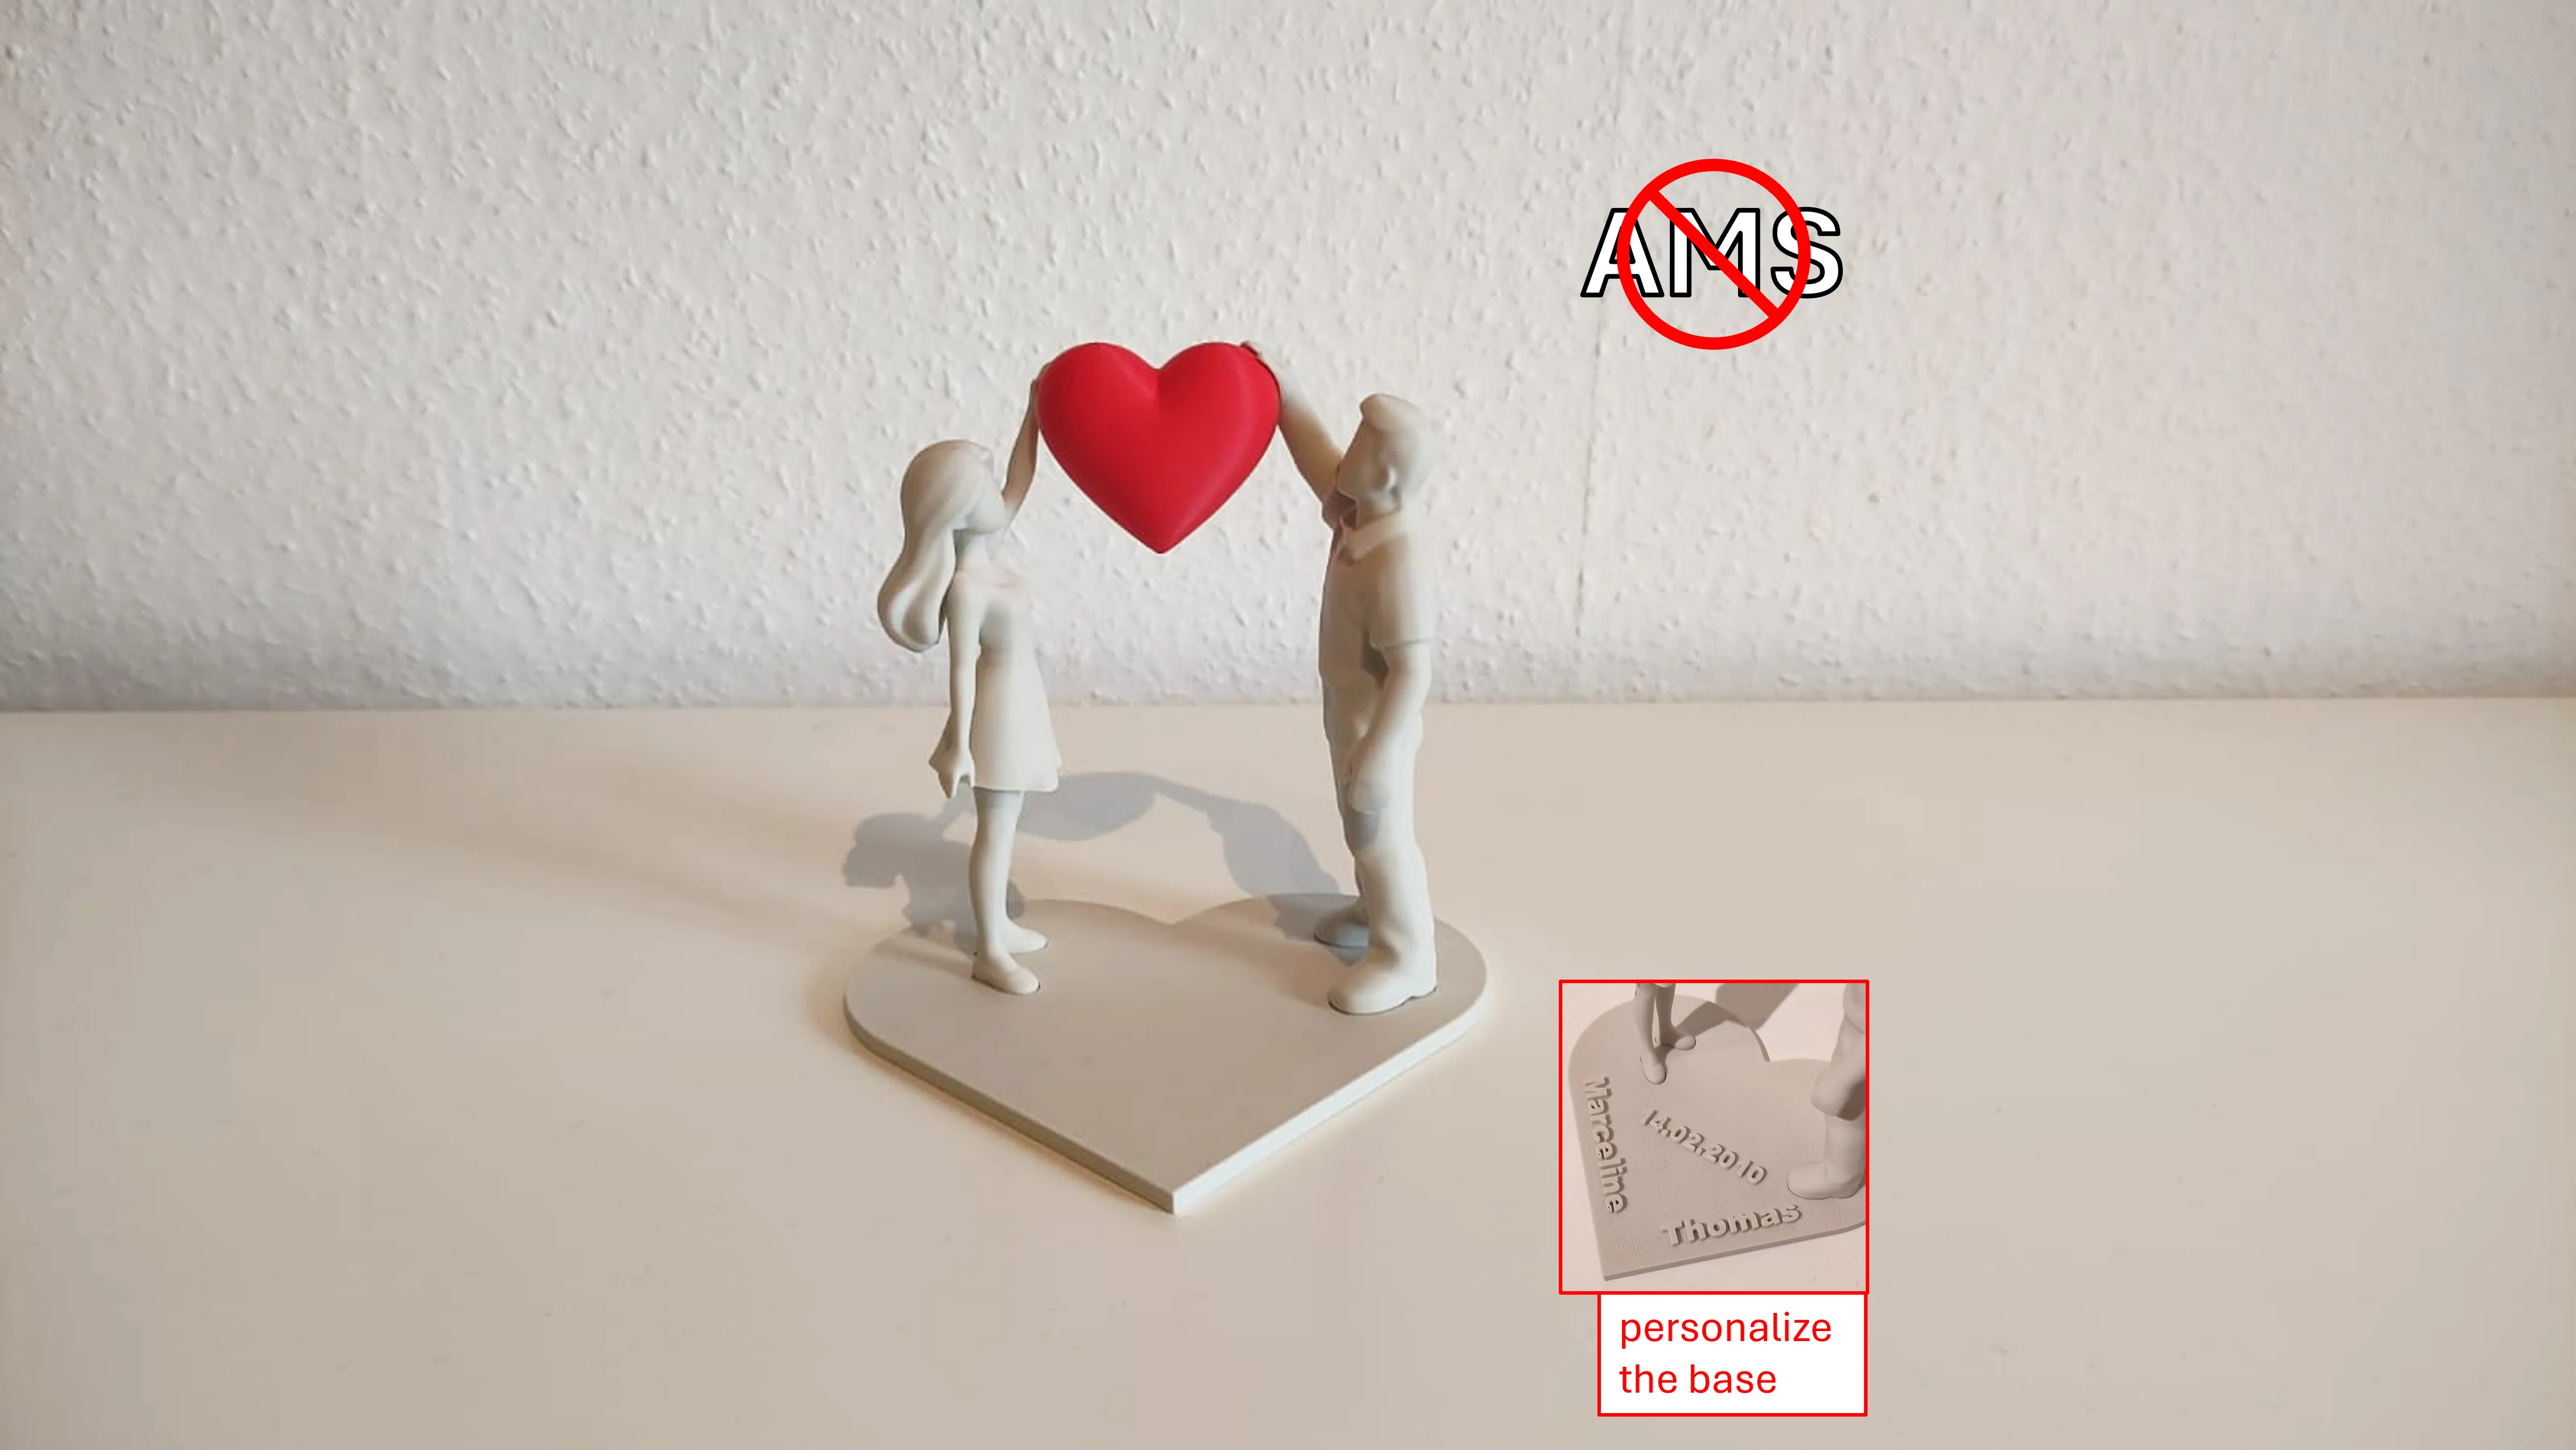
This romantic 3D model captures a beautiful moment of love, balance, and connection. Standing on a heart-shaped base, a man appears to gently float into the air, lifted by a heart-shaped balloon — a timeless symbol of love and emotion. As he rises, he holds the hand of a woman below, creating a touching illusion that leaves the story open to interpretation. Is love lifting him higher, while she keeps him grounded? Or is he so deeply in love that he invites her to rise with him, carried away together by their feelings? The clever floating illusion gives the scene a sense of lightness, motion, and magic. Designed as a decorative piece for the home, this sculpture makes a perfect Valentine’s Day gift, anniversary present, or symbol of love for couples and romantics alike. A heartfelt 3D print that tells a story without words — gentle, emotional, and full of meaning.
The figure measures 25 cm in height when fully assembled.
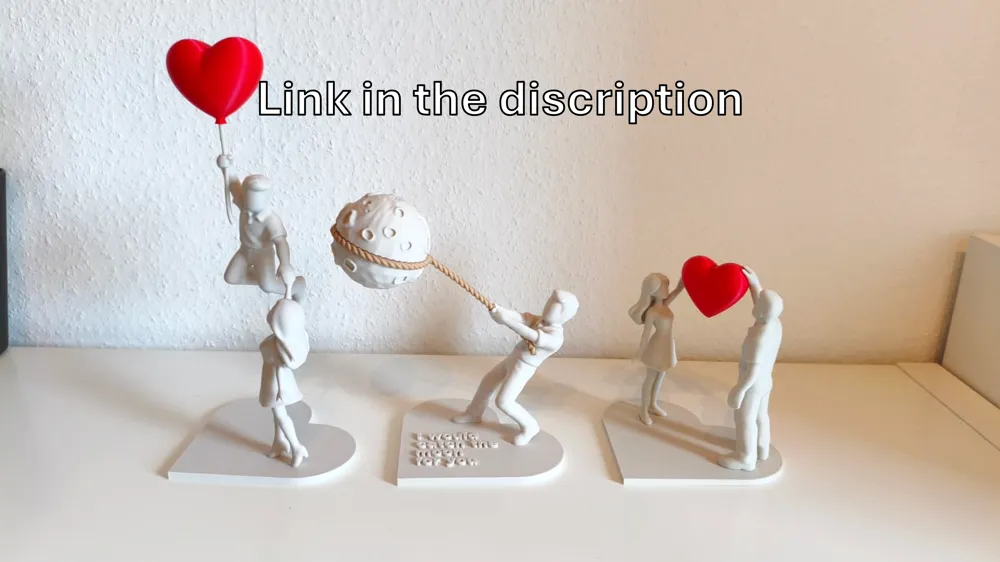
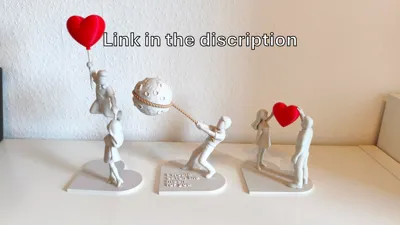
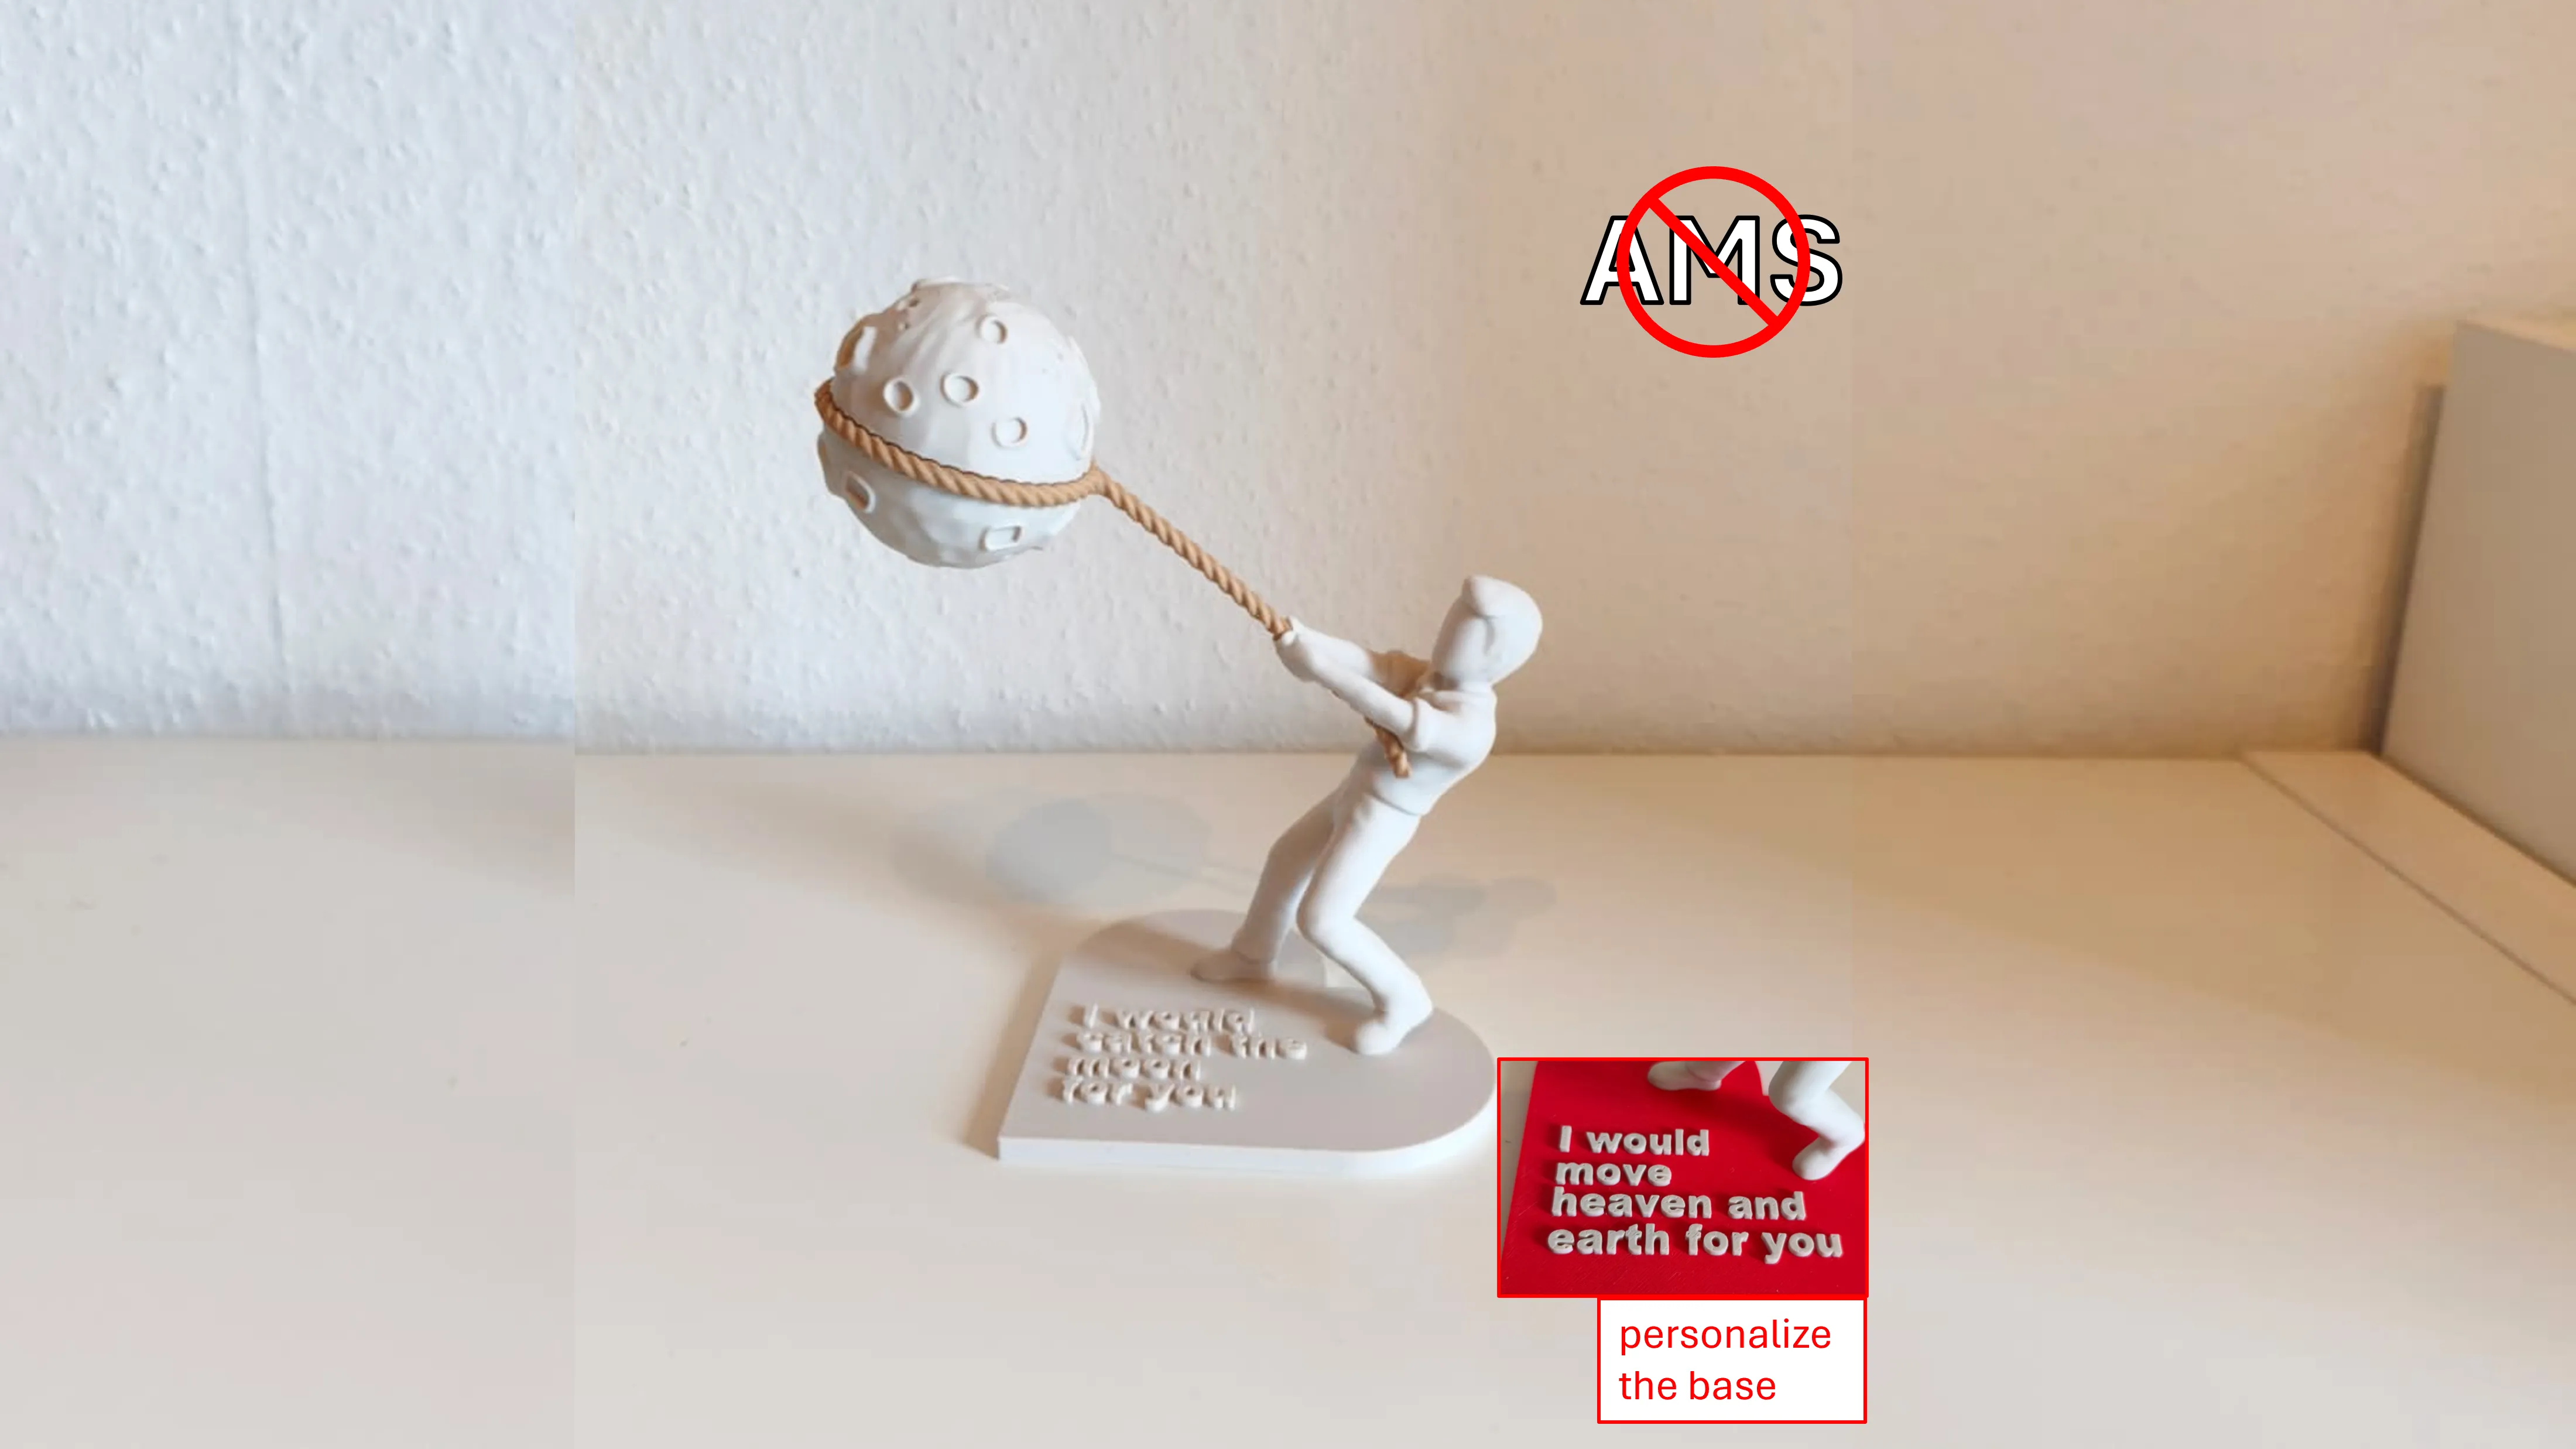
Check out my other Valentinsday model:
The Moon Catcher Illusion – Valentine’s Day Sculpture
Connected by Love – Valentine’s Day Sculpture
Please read before printing:
This model features fine details and delicate structures.
Make sure your print bed is clean and free from dust, grease, or residue to ensure strong adhesion.
Place your printer on a stable, vibration-free surface, and confirm that vibration compensation is correctly calibrated.
Before printing, double-check that your filament profile matches the material and that your bed temperature is properly set.
For more tips on this topic, check out this video on YouTube. video (Youtube).
Print Recommendation:
I recommend printing this Models with the orignal intendet Print Profil: [original] variable layers, optimised settings.
This includes a layer height of 0.12 mm and the upper part of some parts (heads, ballon, etc.) with a layer height of 0.08 mm and hidden seams. The variable layer height and hidden seams is already set in the 3MF file.
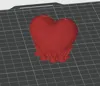
The block-shaped part (prime tower) on the print plate next to the balloon strings is used to ensure that the strings print smoothly, preventing stringing (web-like strands) and rough or bumpy surfaces.
I recommend PLA Matte Bonewhite and the settings in my print profil for a high quality print.
Support Structures:
Be careful when removing the support structures to avoid breaking.
Additional supports have been added to the ballon to minimalize the risk of print errors.
Brim is enabled in the 3MF file for increased print stability.
The Design and my Print Profil is designed with minimal but necessary supports.
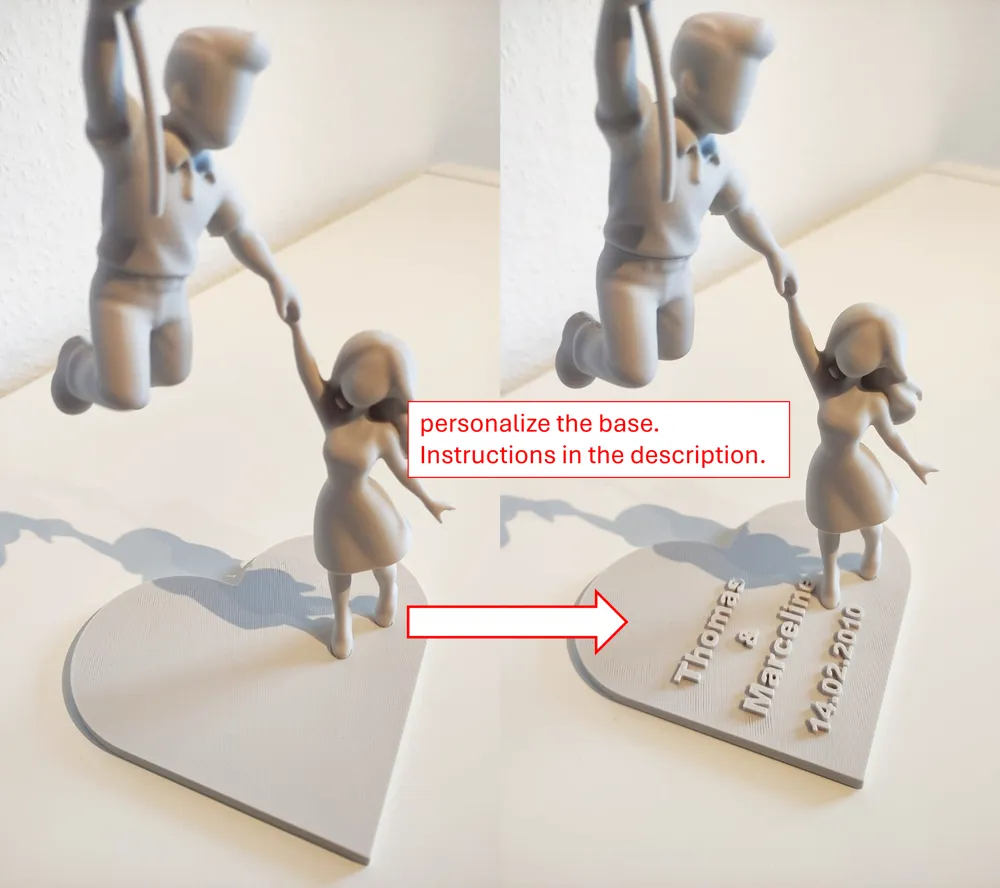
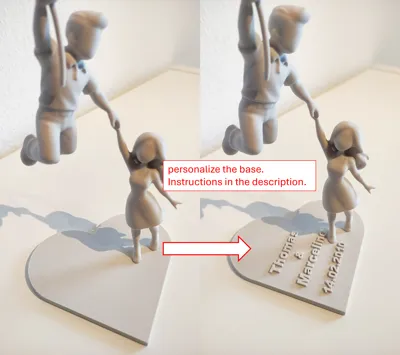
Personalizing the Base in Bambu Studio:
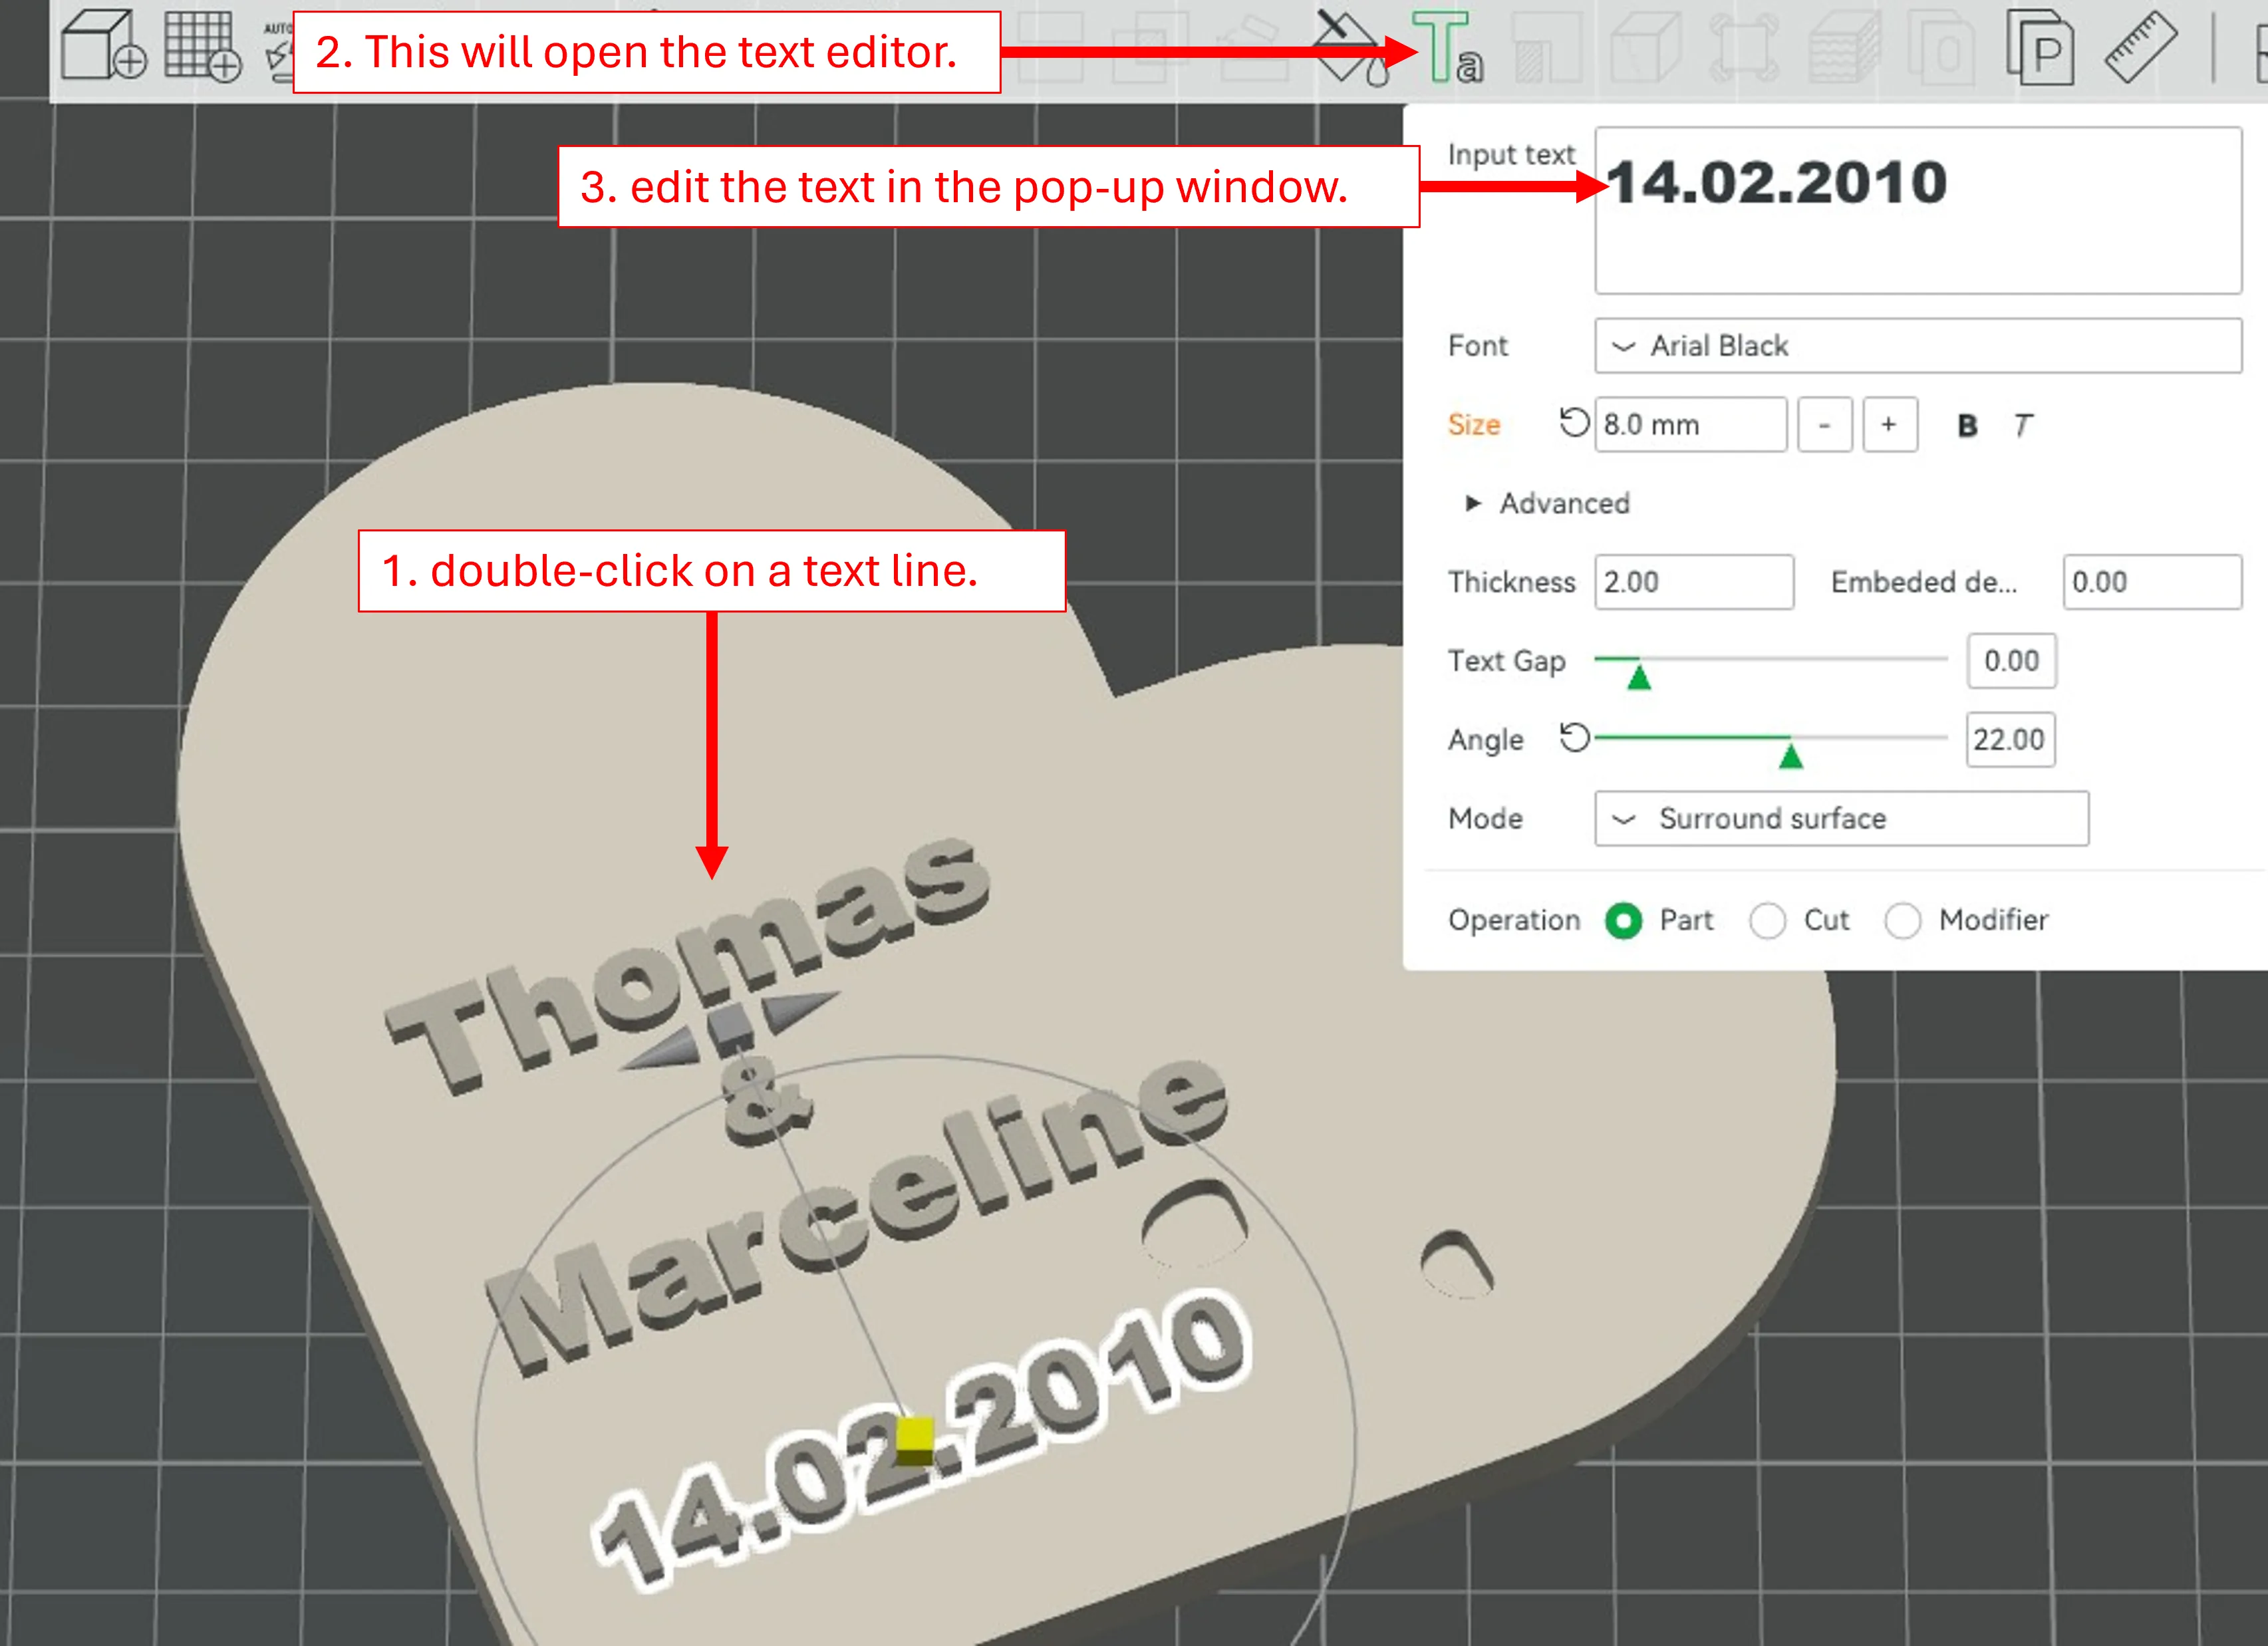
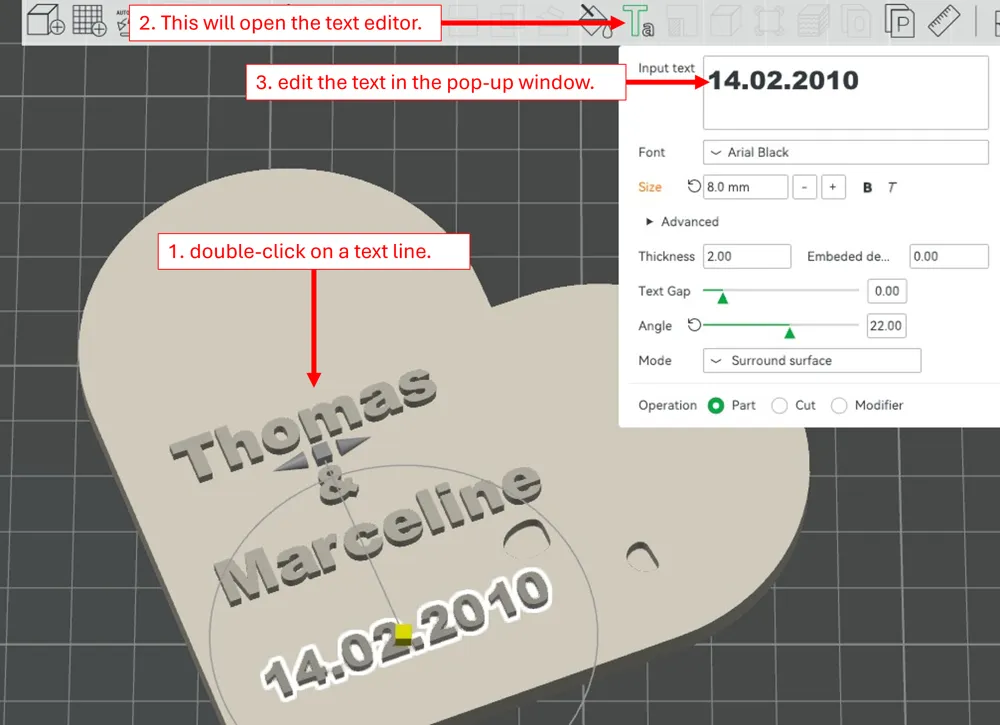
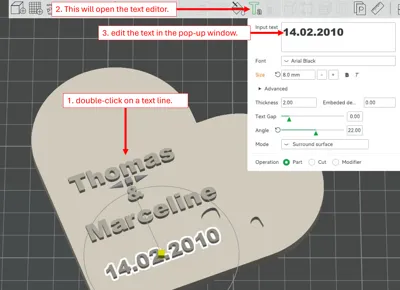
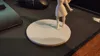
To personalize the base in Bambu Studio, double-click on a text line. This will open the text editor, allowing you to edit the text in the pop-up window.
Each line must be edited individually.
Assemble:
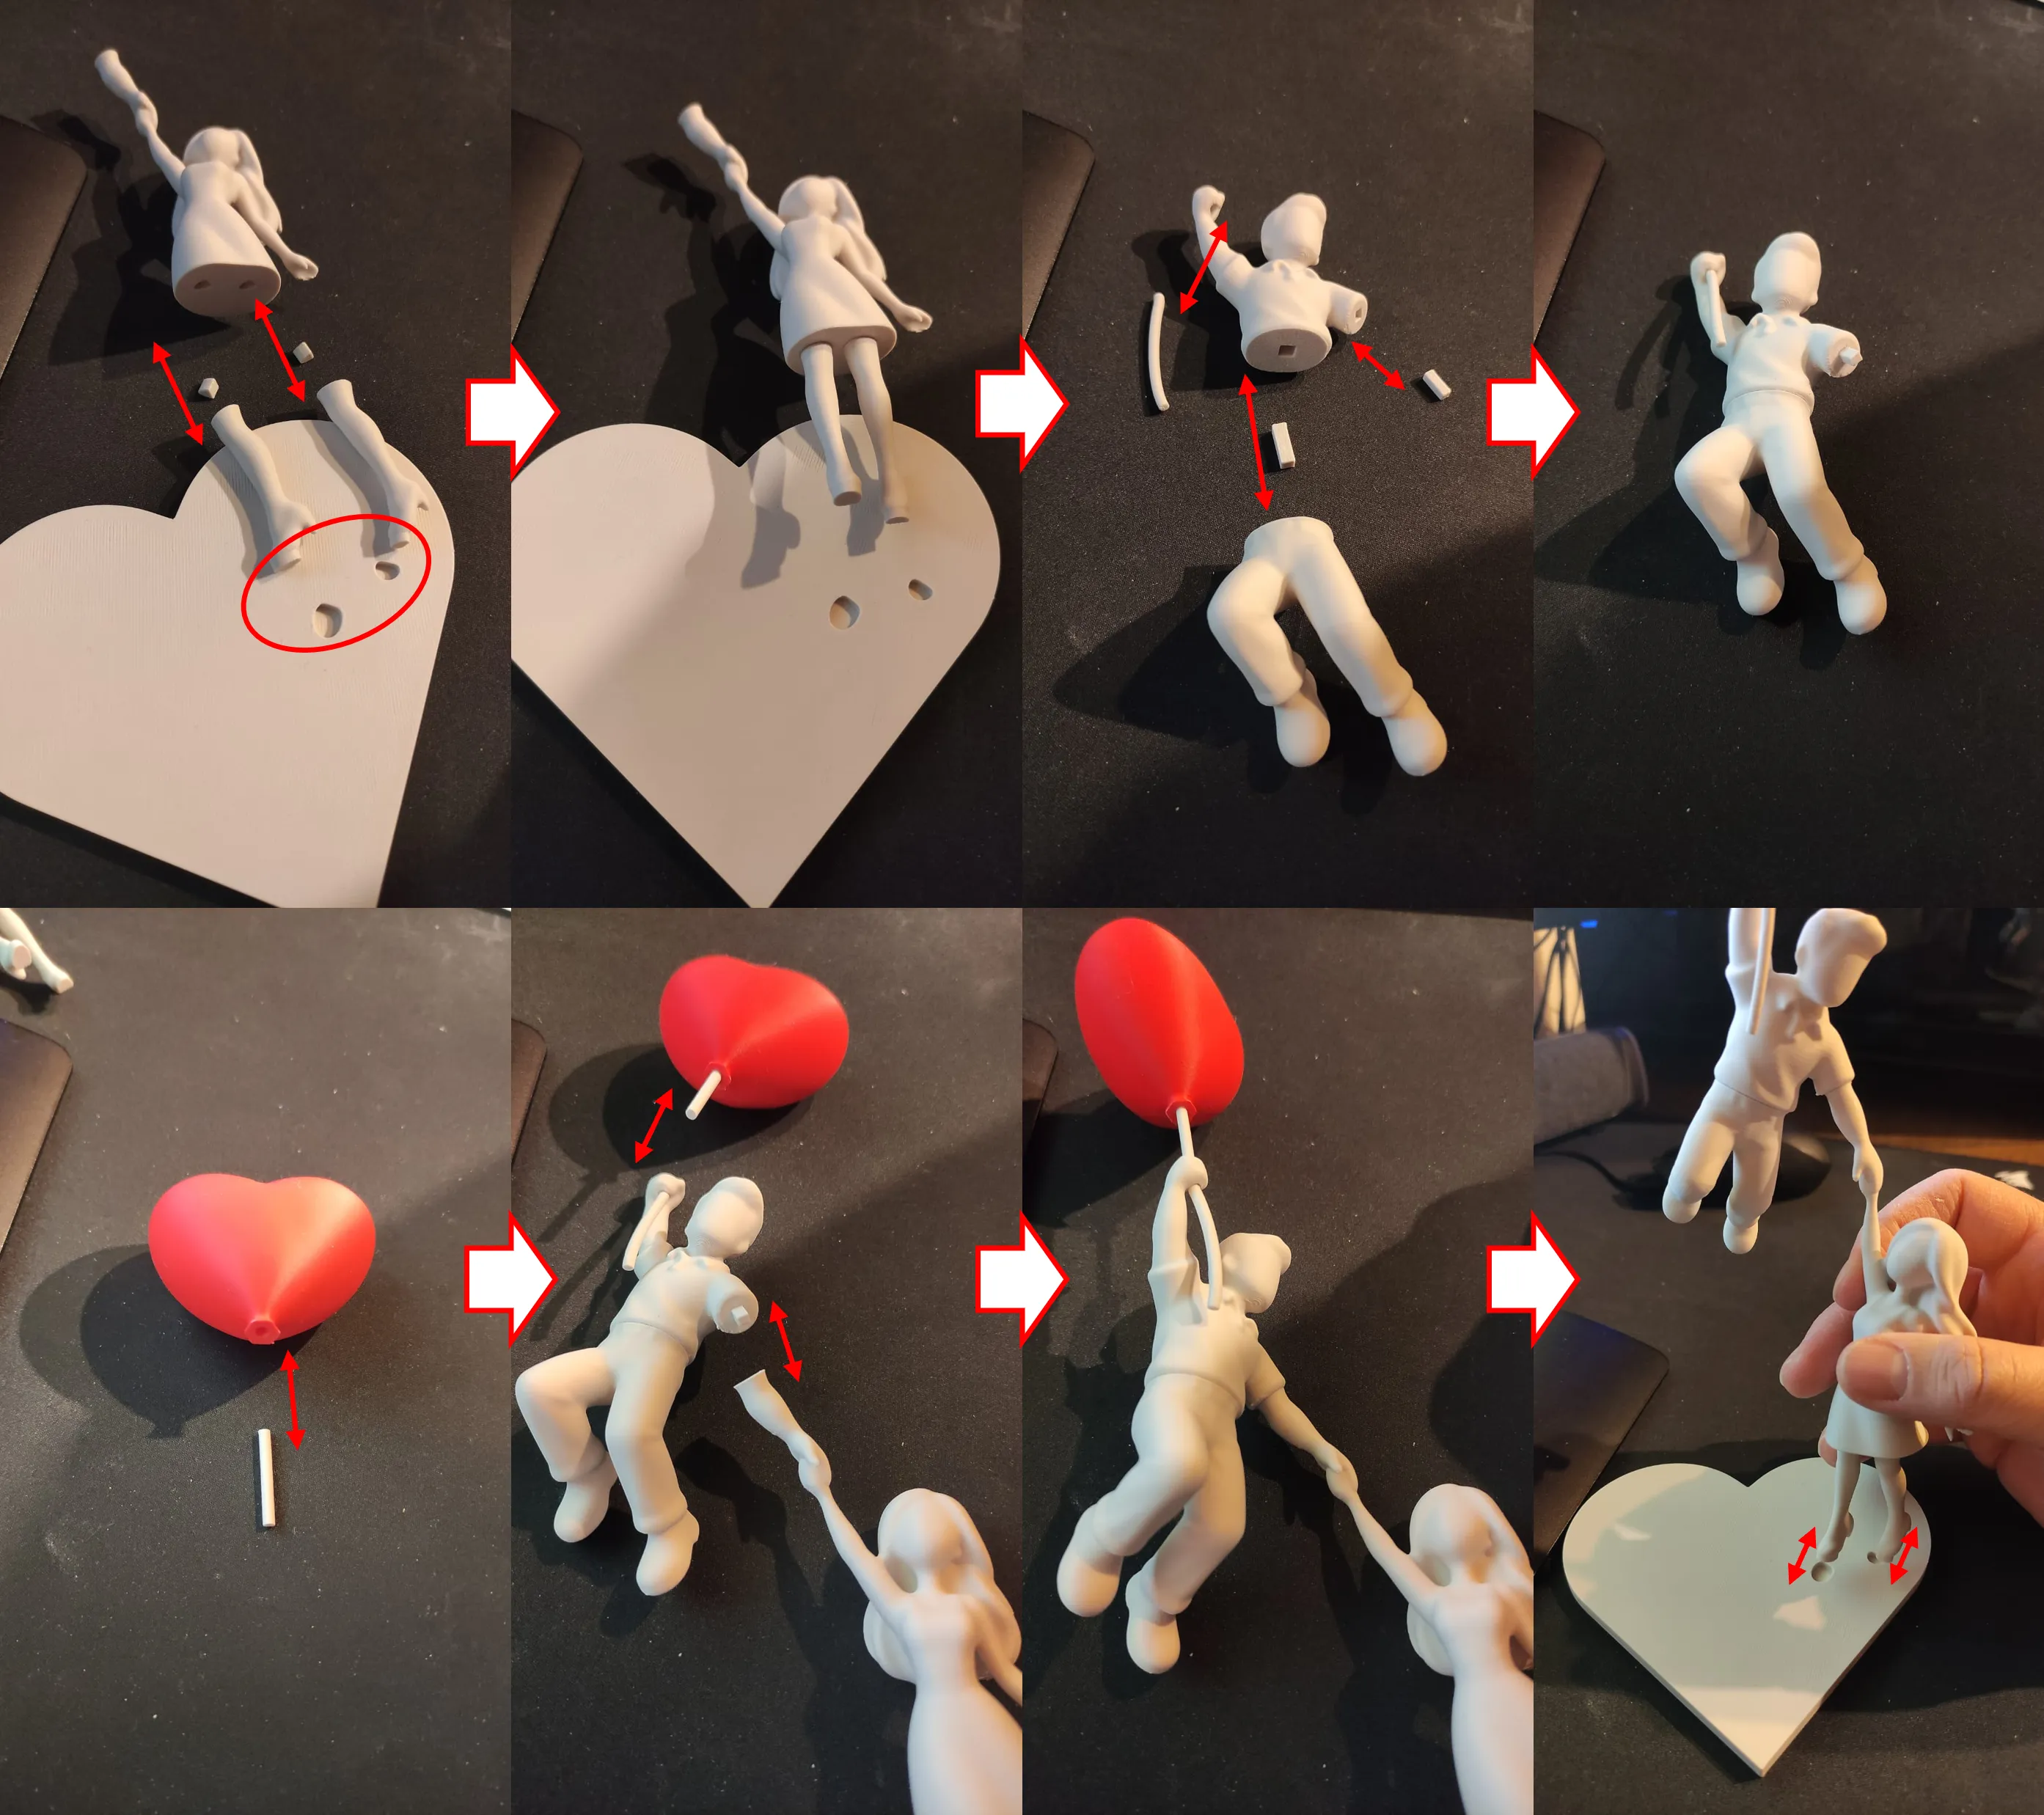
For assembly, I recommend using PLA glue or plastic glue, preferably a fast-drying one.
I personally use German super glue. It dries within a few seconds and creates a very strong bond.
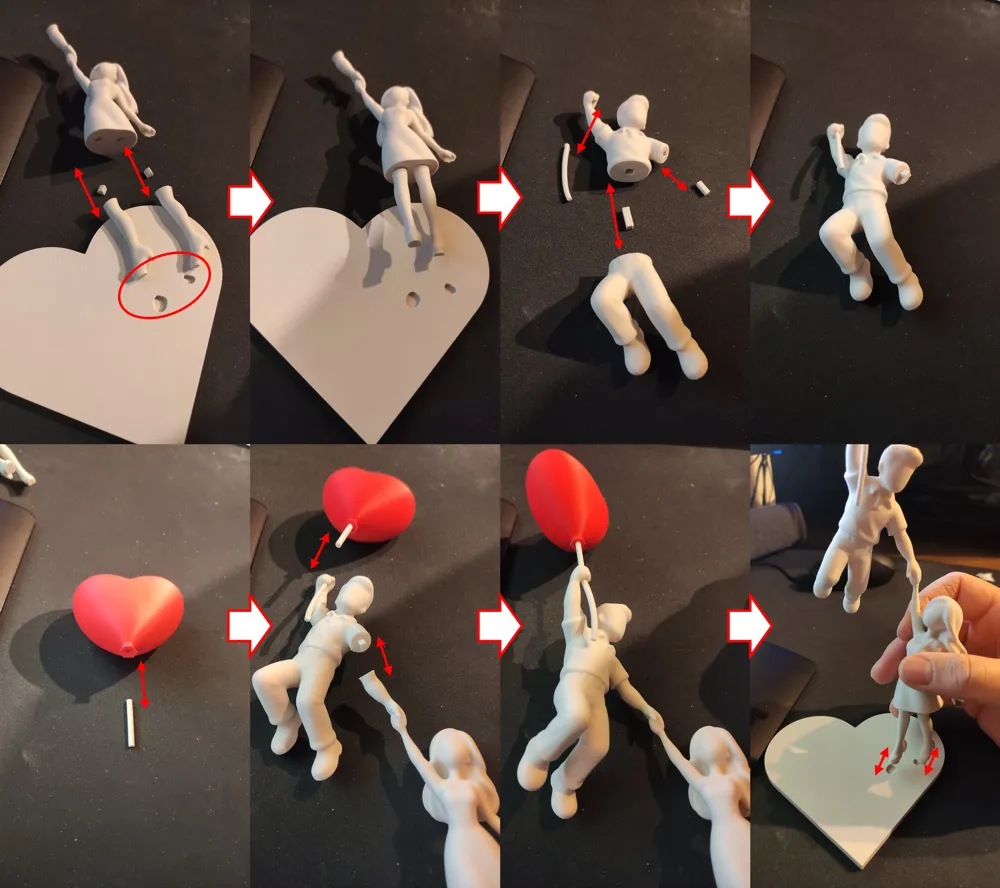
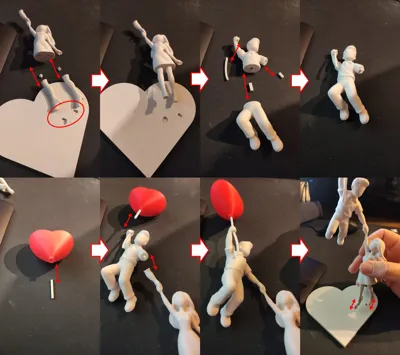
First, glue the leg pins (the short pins) into the openings on the top of the legs. Then attach the legs to the underside of the woman.
The correct orientation of the legs is easy to identify by checking the matching openings in the base. To be safe, you can dry-fit all parts first before applying any glue.
Next, assemble the man. Start by gluing the small square pin onto the arm. Then glue the large pin into the opening on the bottom of the man’s body and attach the legs.
After that, glue the lower string (curved) of the balloon into the man’s hand. You can use the reference image for orientation, but the exact alignment of this lower string piece is not critical and can be adjusted to your preference.
Now assemble the balloon. Insert the straight piece of string into the balloon and glue it in place.
Once this is done, all four parts can be connected: the balloon, the man, the Woman and the base.
I recommend gluing the man’s arm together, and then attaching the balloon. When gluing the balloon, make sure to hold it in position while the glue dries. For this step, fast-drying plastic glue is recommended.
Finally, glue the woman’s feet into the base.
Once this step is complete, the figure will stand securely and can be displayed.
Check out my other Models!
Have fun printing!
License

You shall not share, sub-license, sell, rent, host, transfer, or distribute in any way the digital or 3D printed versions of this object, nor any other derivative work of this object in its digital or physical format (including - but not limited to - remixes of this object, and hosting on other digital platforms). The objects may not be used without permission in any way whatsoever in which you charge money, or collect fees.


Comment & Rating (375)