PATAPON All-Printed Version


Print Profile(5)
Description
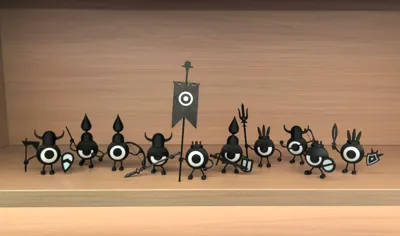
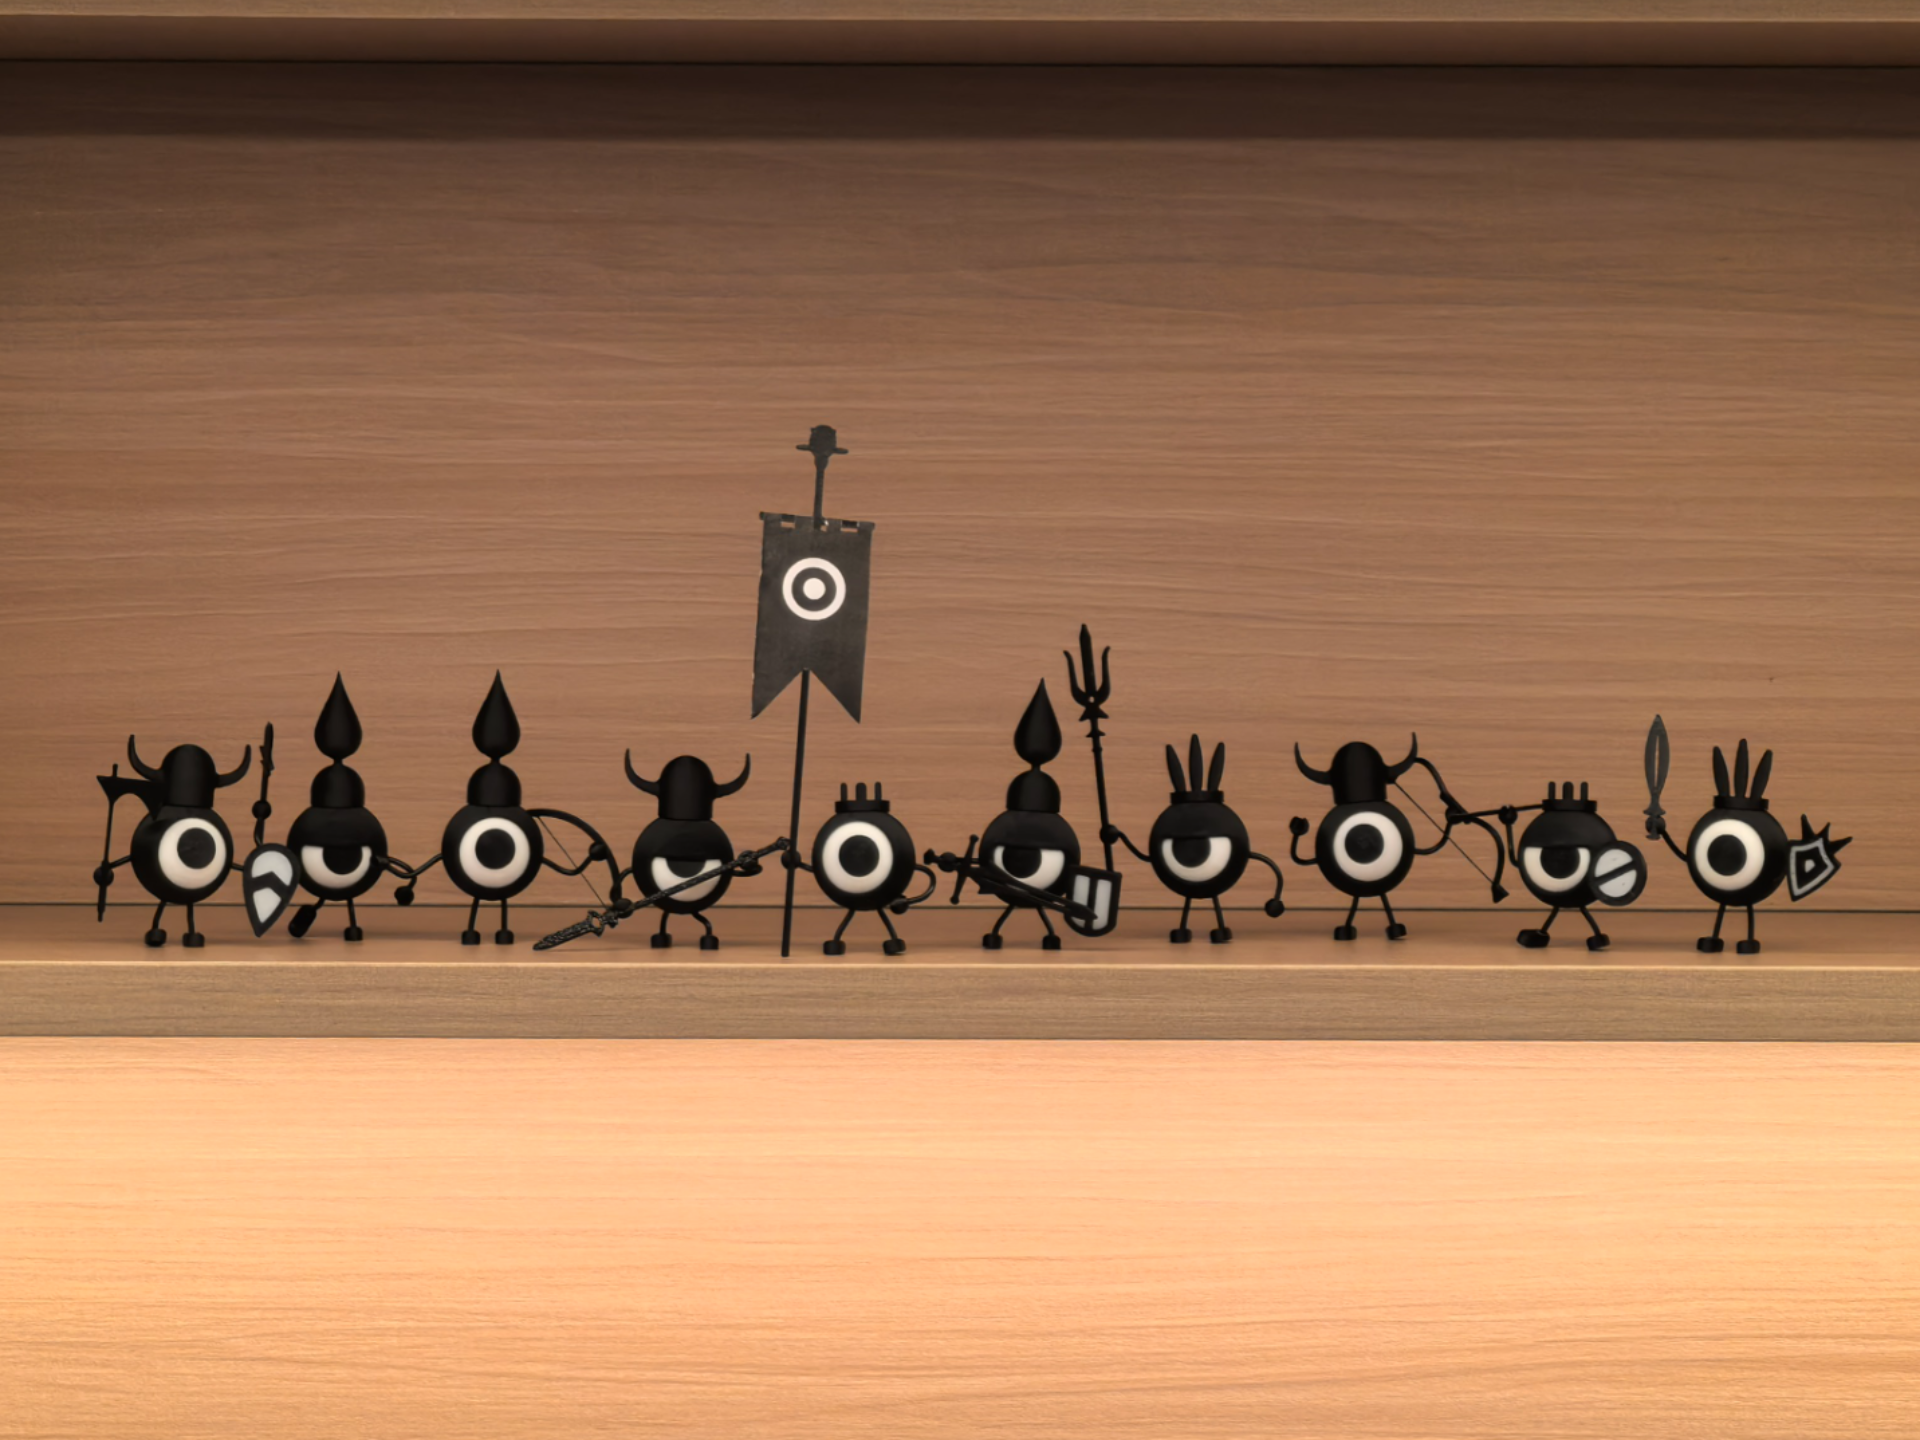
An old game that I really like
Based on Nicezg's design, I made some modifications in different directions. The original author's design requires paper, wires, glue, and magnets. This version can achieve everything with purely 3D printing, no additional auxiliary materials are needed. For the magnetic version, click here to go to the original author's page
In addition to the basic desktop display, an accessory for mounting on the monitor has been added, allowing it to stand on the monitor. My monitor is an LG42C4, which may not be suitable for your monitor. You can leave a message, and I can help you process an accessory for your monitor
 |  |
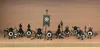
The print profile is for printing 9 small figures, and you need to choose your favorite helmets and weapons
Typical installation instructions:
 | Insert the black eyeball into the white eye socket Note that using the same printing material generally causes no issues If you encounter problems with different materials, scale the black eyeball by 1% larger or smaller |
 | The head back shell has a total of four holes. Two arms and two legs require cutting appropriate lengths of black filament to insert Shorter legs look cuter. Note that the legs must be the same length From the inside, use a soldering iron or nail to melt the tip of the filament. Ensure that the inside does not protrude, otherwise it will affect the rotation of the eyeball. (For PLA, temperature should not exceed 110 degrees) Repeat 4 times to ensure that the connections for the legs and arms do not come loose |
  | Encase the eyeball with the front and back shells, keeping the top protrusions aligned Gently melt the connecting seam with a soldering iron at 90 degrees. Do not heat for too long Also, ensure the top edges do not deform. This prepares for the subsequent installation of the hat |
 | Process the foot part at the lower end of the leg as shown in the figure. Similarly, touch the lower end of the filament with a soldering iron to slightly enlarge it. The foot just needs to not fall off |
 | Carefully insert weapons, battle flags into this slot on the hand. For bows, be especially careful with the bowstring, do not touch it at all. Some weapons might be a tight fit, try different angles, do not use brute force |
 | Insert the arm filament into this slot on the hand. Note that the tip of this part of the filament needs to be relatively flat. If it feels not tight enough after insertion, slightly melt the filament tip and reinsert it Shield insertion is handled similarly. Note that the shield and hand are one piece |
 | Snap the hat onto the top. Be aware that the hat will be quite tight, and the various branches are quite fragile. If the head shell is aligned, aim and press firmly to surely install it. If it cannot be pressed in, it is likely due to the front head shell not being aligned. You can try printing the hat enlarged by 1% and reattempt For this part, the hat and head shell default to using the same printing material |
Finished, celebrate, show off your cool photos
Printing considerations: Before mass production, please print a single one first to ensure assembly is problem-free before printing in bulk.
Comment & Rating (5)