
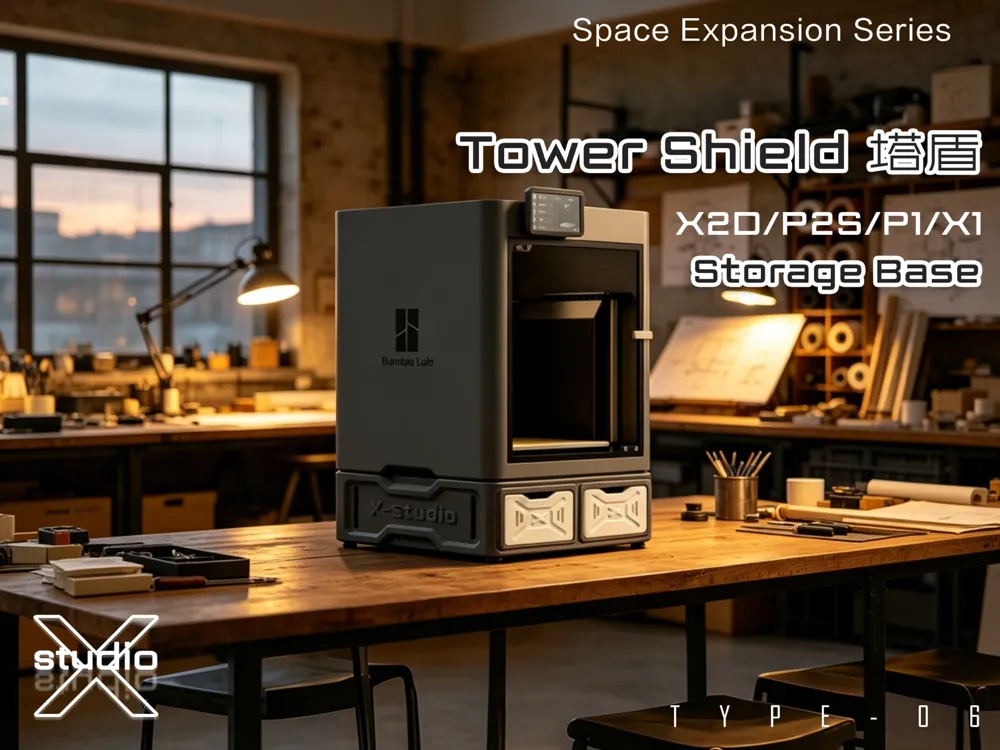
X2D/P2S/P1/X1 storage base - Space Expansion Series 《Tower Shield》
Print Profile(10)


Description
New Model Release
Stackable Box
(Click text link to view)
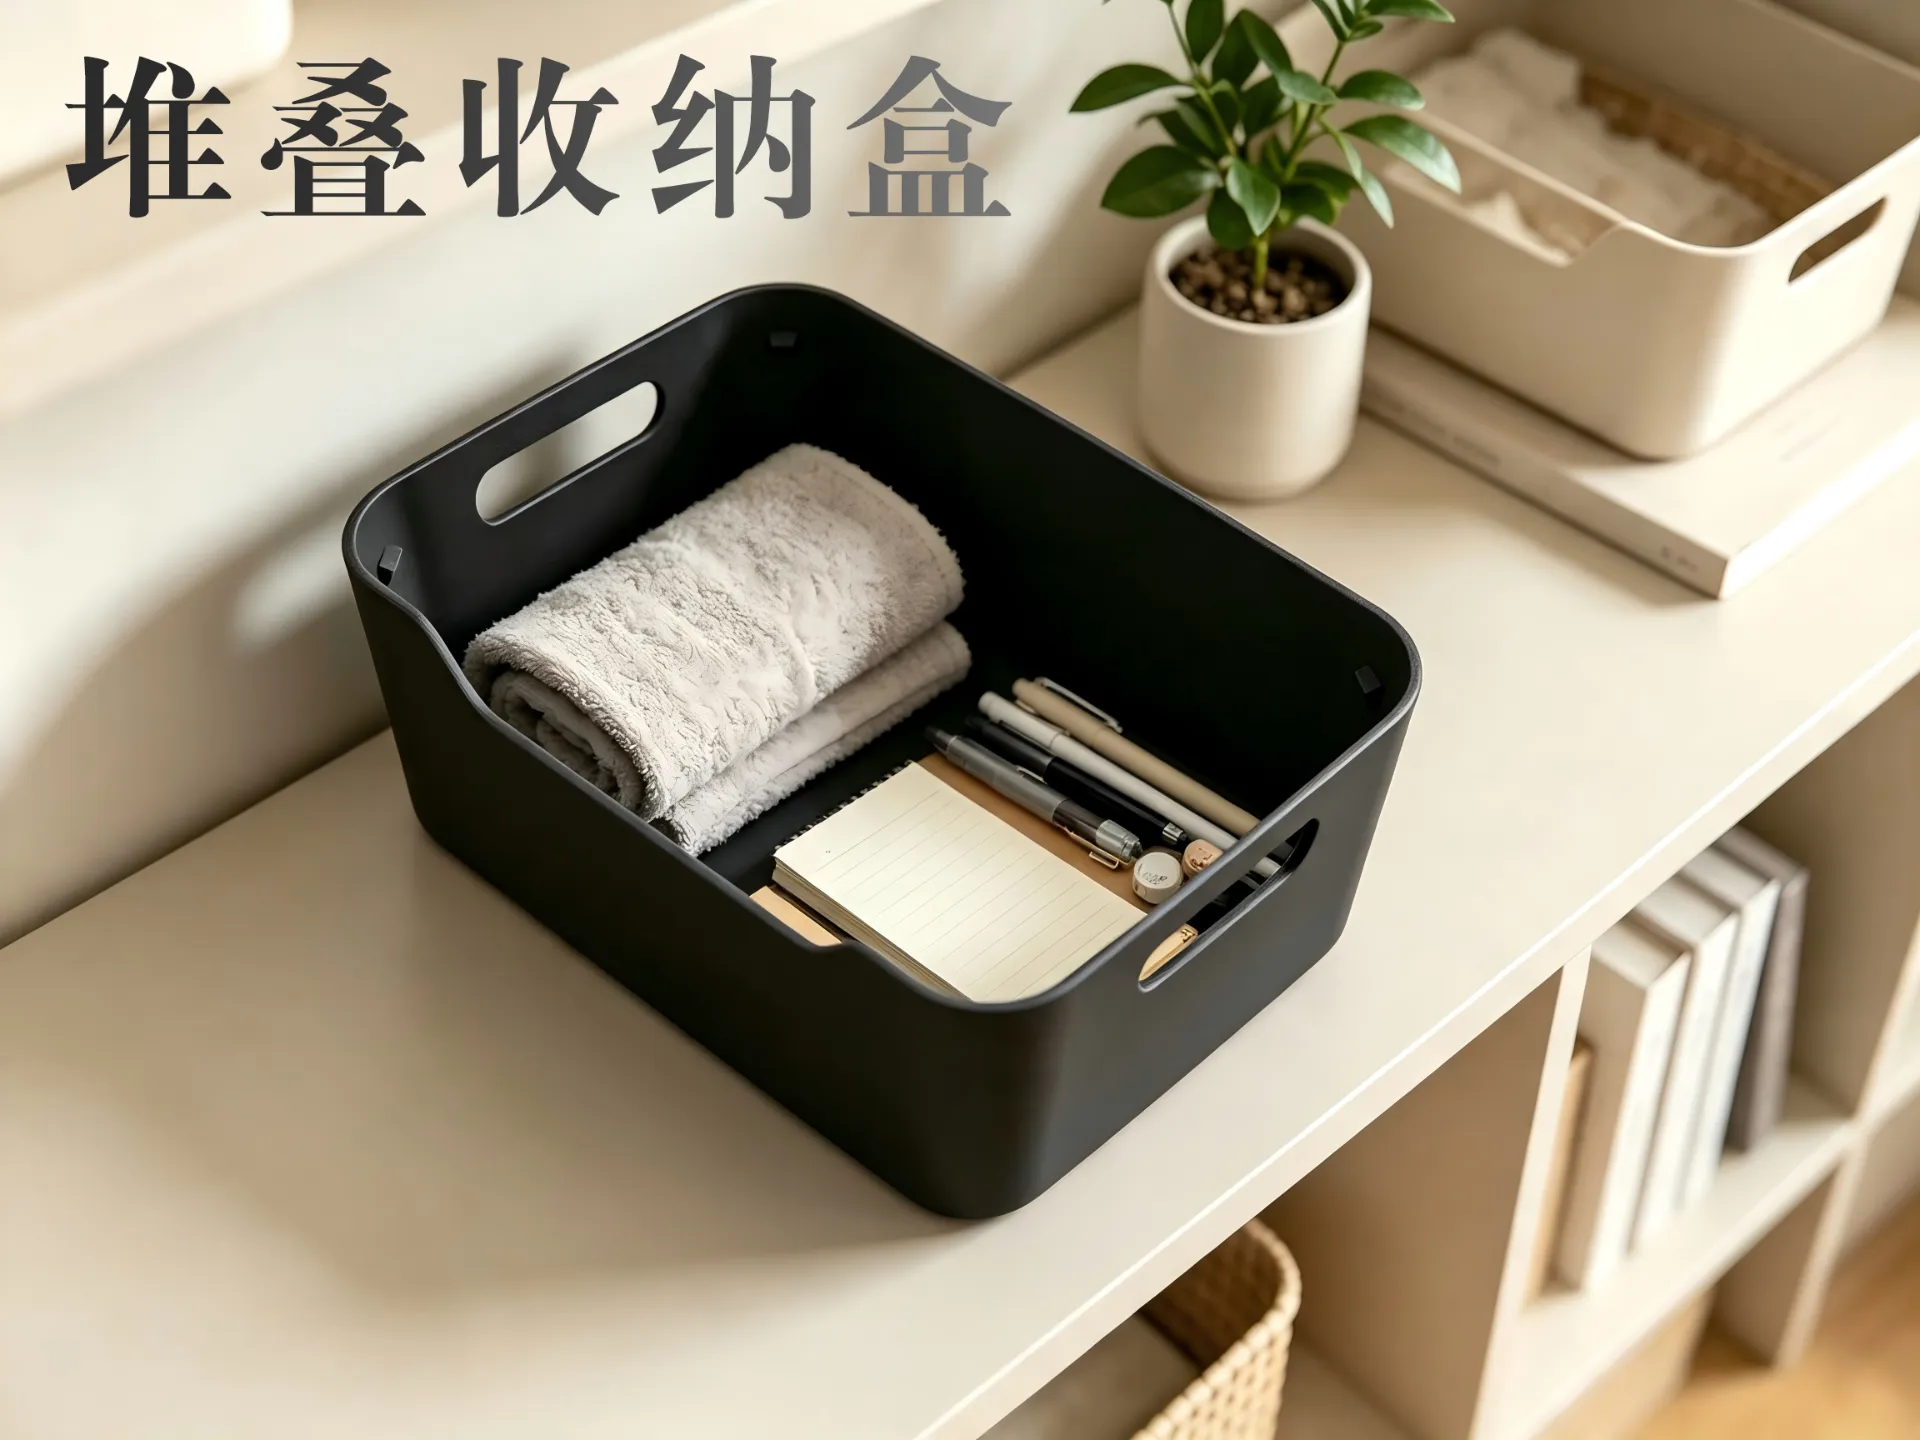
"The Giant Tower" Stackable Storage Rack/Organizer
(Click text link to view)

Update Log
2026.07.05
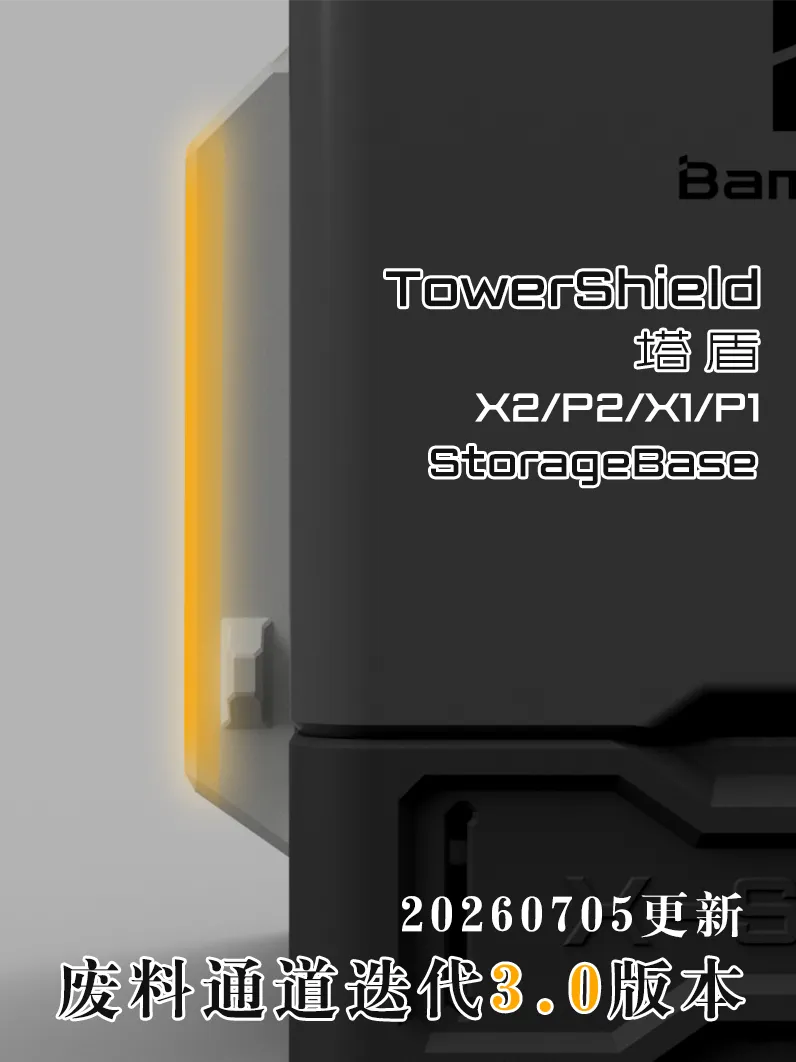
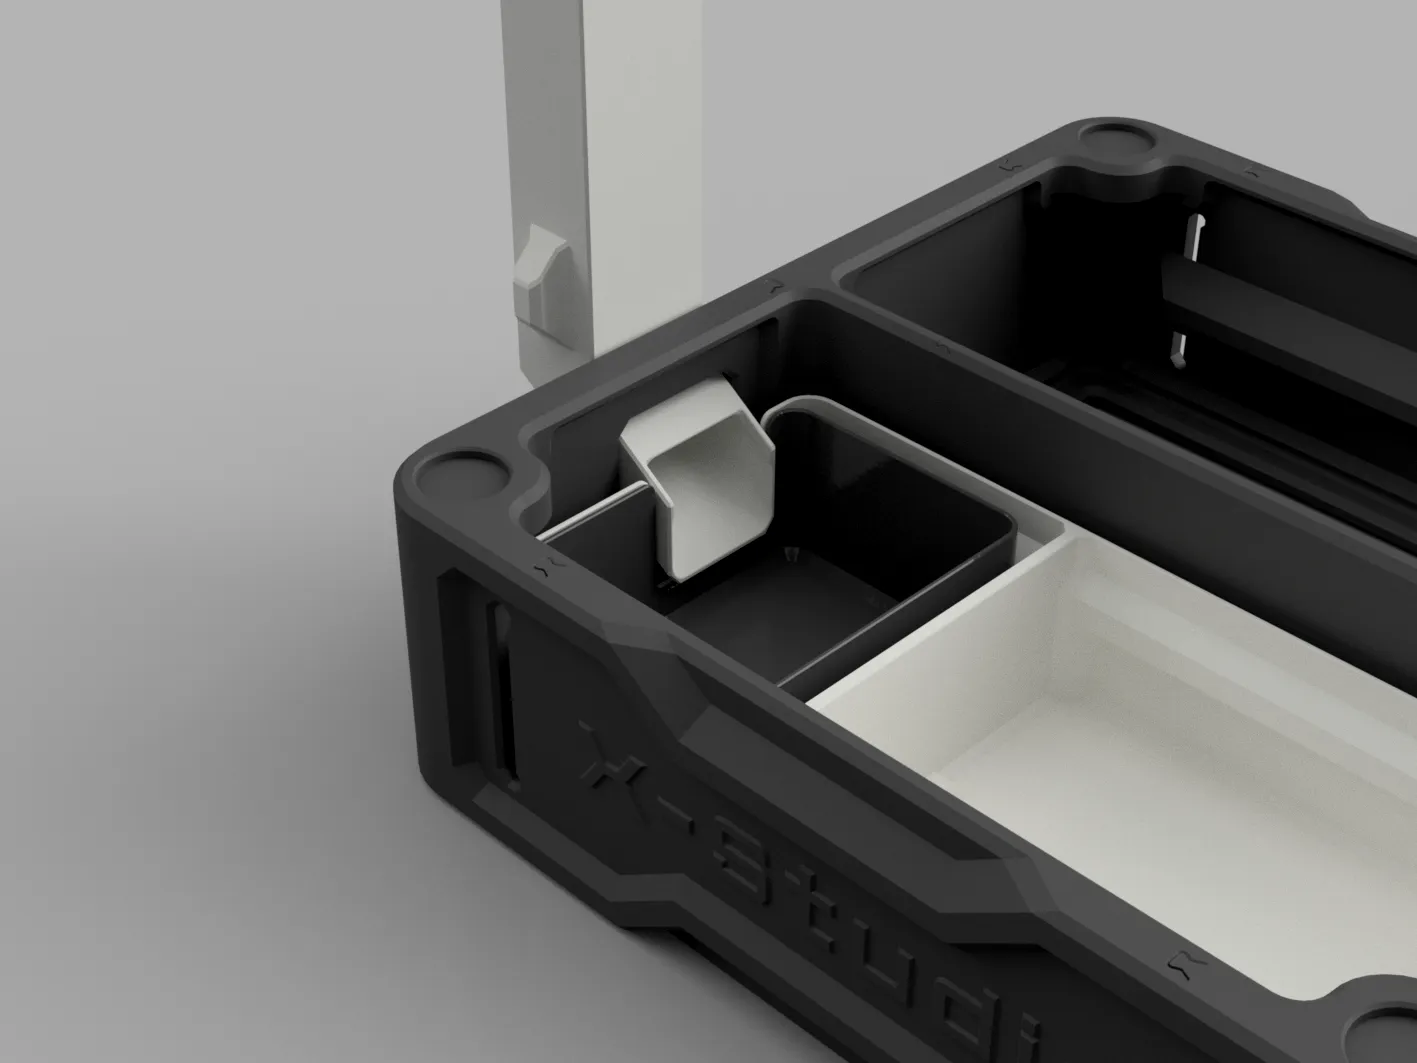
Update: The waste channel has been iterated to version 3.0, increasing the overall thickness of the channel, adjusting the internal space to improve flow, thereby enhancing waste passage; the top of the outlet has been changed to semi-open and its length shortened, reducing the probability of outlet blockage. This update only applies to the built-in waste box
2026.06.18
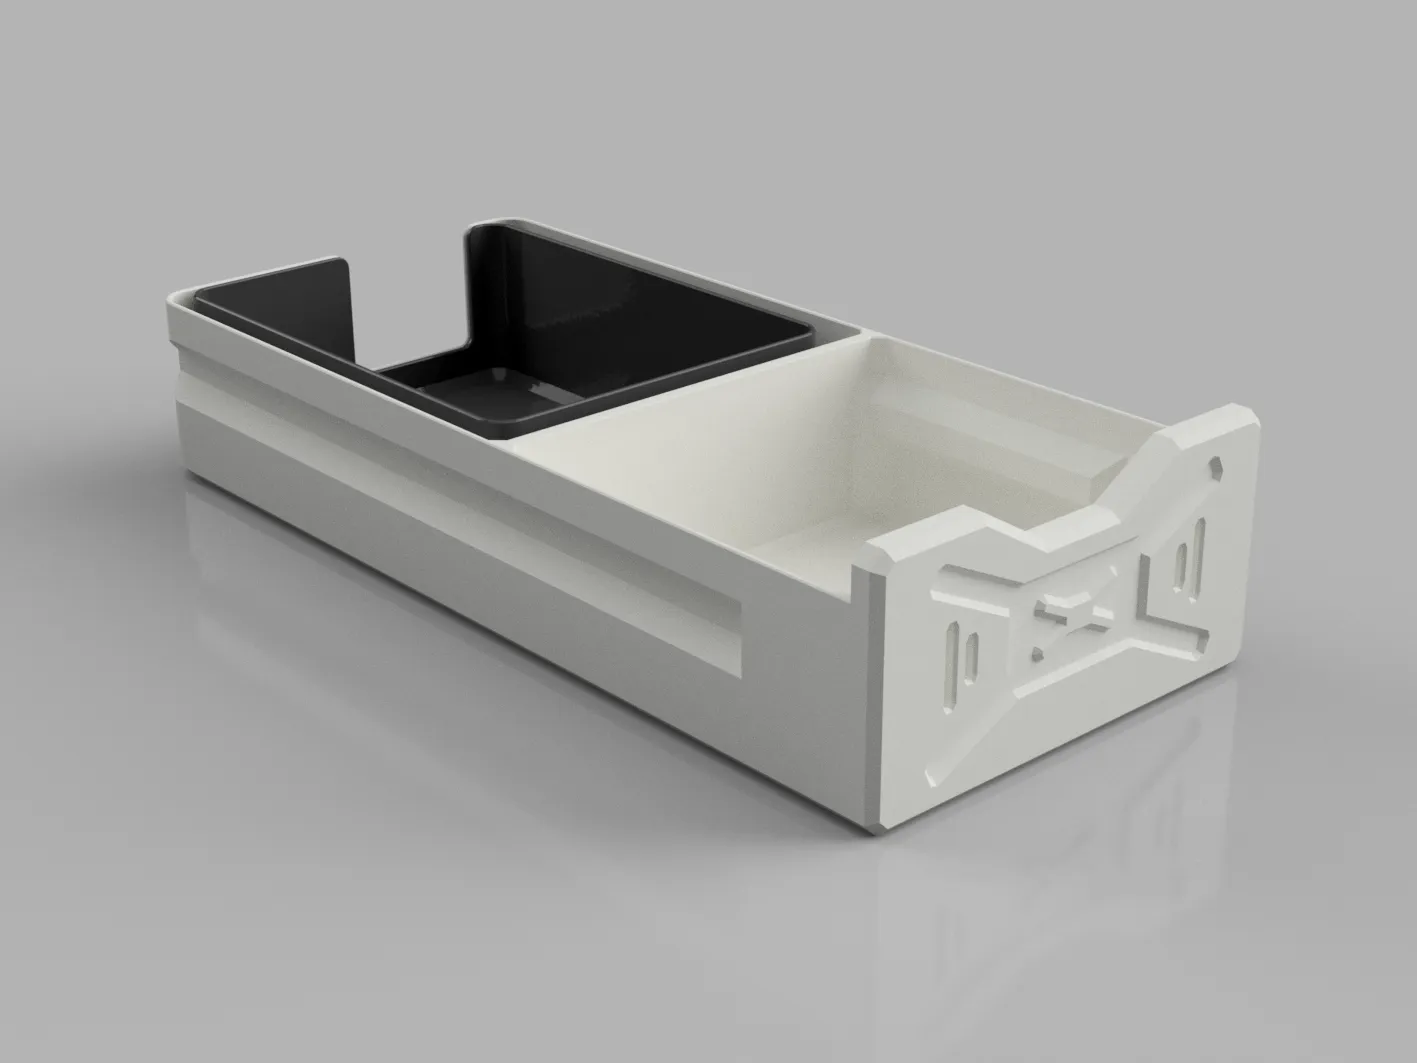
Added: Following requests in the comments, a "large opening with large waste box" version of the drawer has been added as "Accessory 8 - Large Opening with Large Waste Box". Those who need it can go for it. Thank you all for your continued support, feel free to make requests in the comments, and I will do my best to fulfill them
2026.06.05 Update
Added: As requested in the comments, a "build plate storage module" has been added to the new configuration - "Accessory 7 - Build Plate Storage Module (Standard Version)". One standard storage module can hold 4 build plates, and this module supports multiple stacking. Friends can print as needed (printing parameters are built-in, so there's no need to worry about parameters resetting when switching printers, please print with confidence)
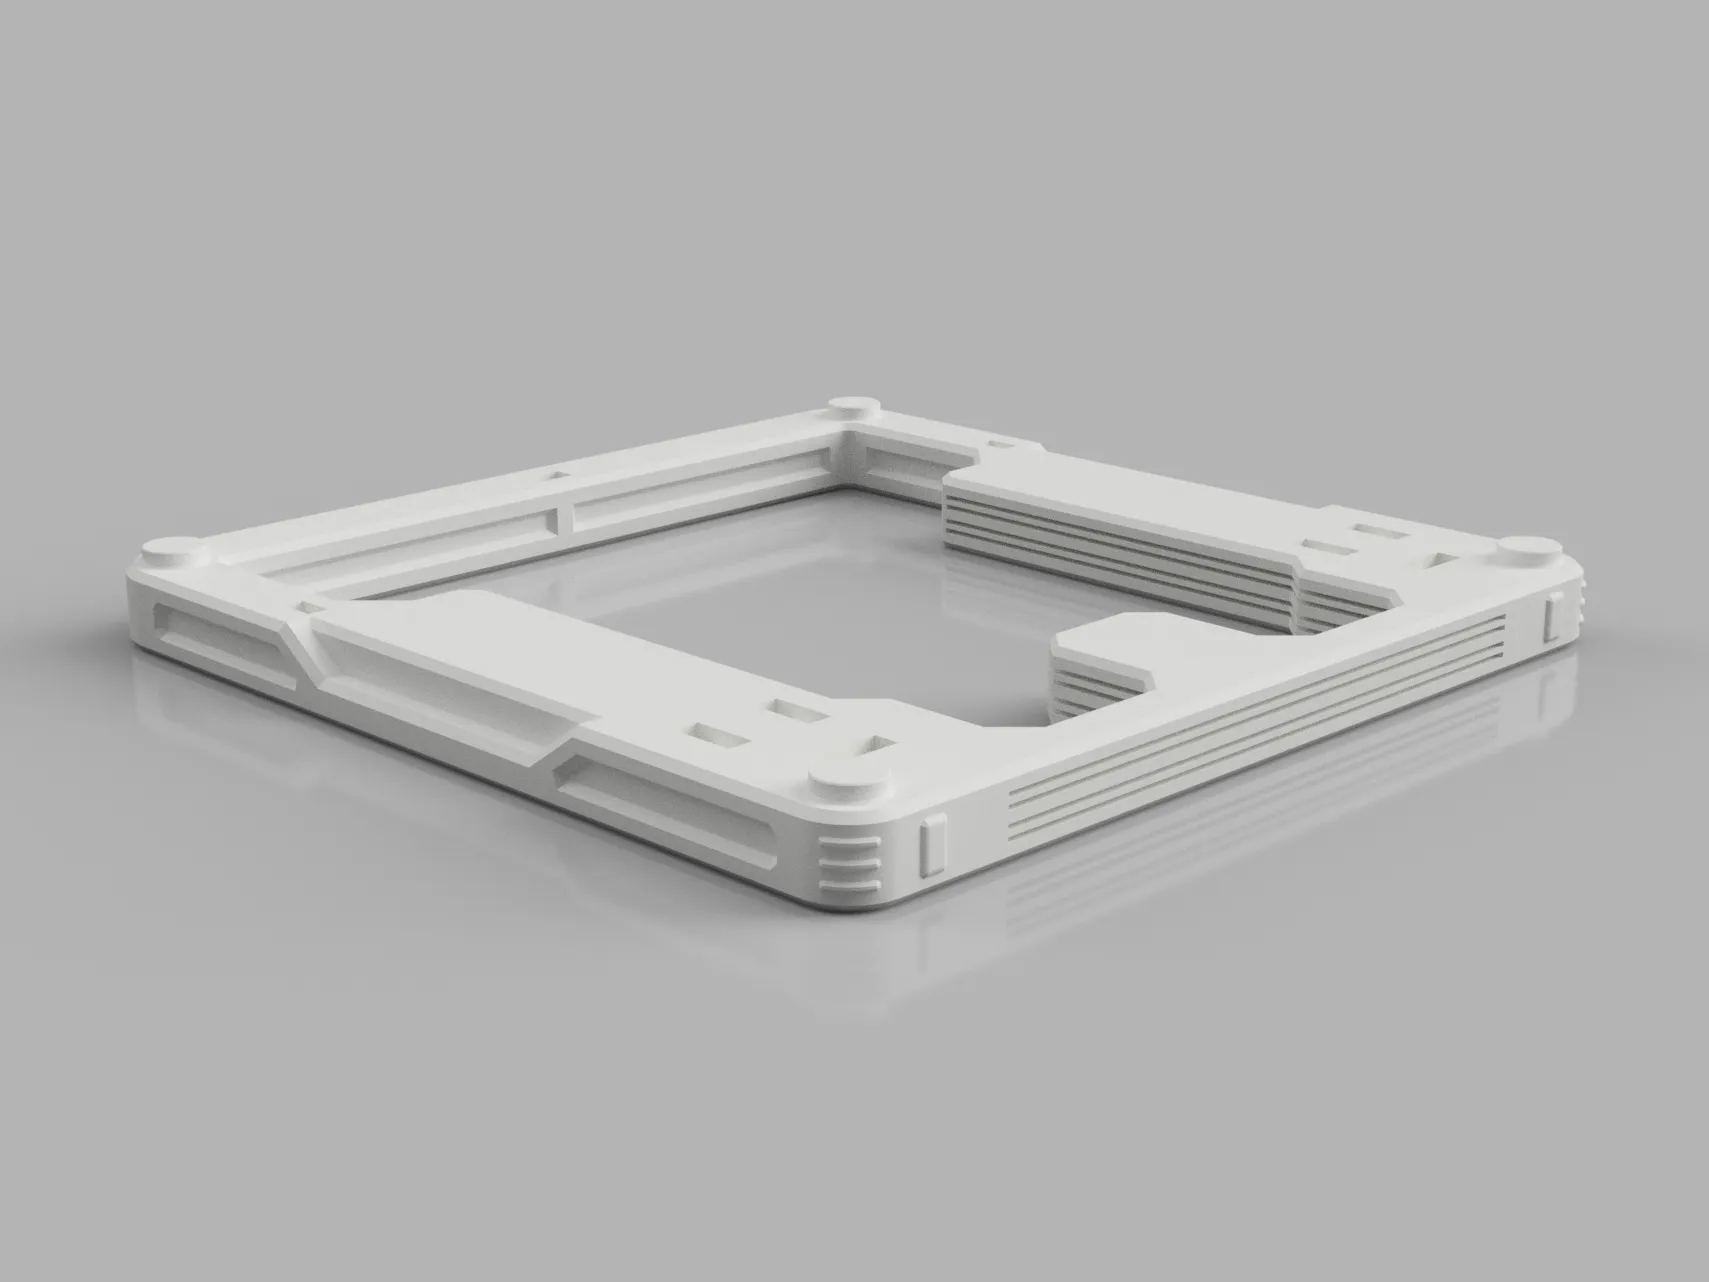
2026.05.22 Update
Optimized: Modified the classification logic for main body and accessories, and renamed some accessories to make their purpose clearer and easier for everyone to find and download
Optimized: Wrote the latest parameters into the "model object", so you no longer need to manually enter parameters. Even if parameters are reset due to switching printers, it will not affect printing
2026.05.20 Update
Optimized: Adjusted parameters to solve the stringing issue in hollowed-out parts, further improving printing stability, though printing time has increased
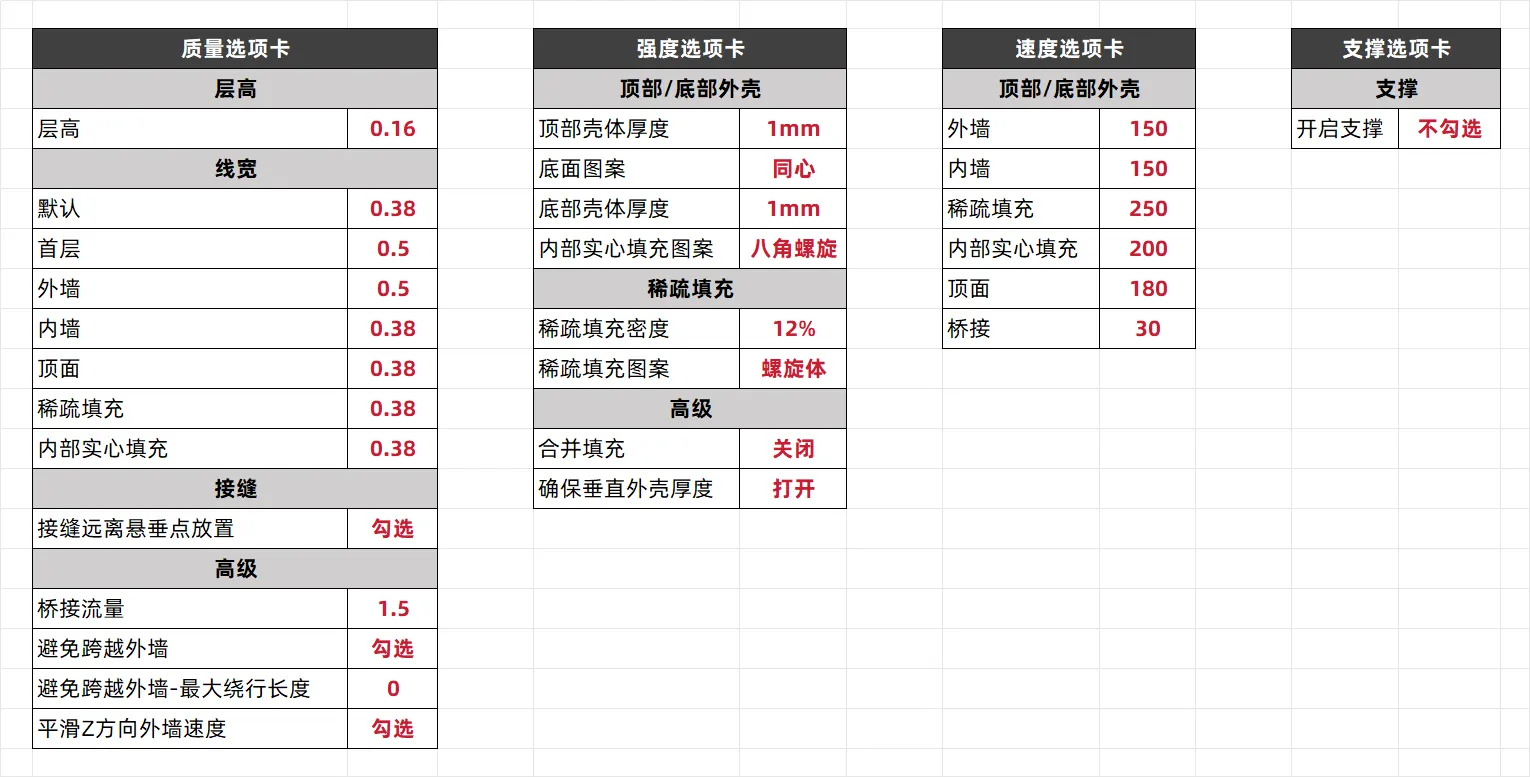
Other: As requested in the comments, key parameters are now publicly displayed to help those who cannot find the corresponding parameters fill them in themselves. Details are shown in the figure below (based on 0.2 standard parameters, only parameters that need adjustment are listed; parameters that do not need adjustment are not listed and can be left as default)
2026.05.15 Update
The issue where only one printer model could see the sliced file (3MF) has been addressed by an official response and has now been fixed. All printer models can now see the corresponding sliced file (3MF)
2026.05.12 Update
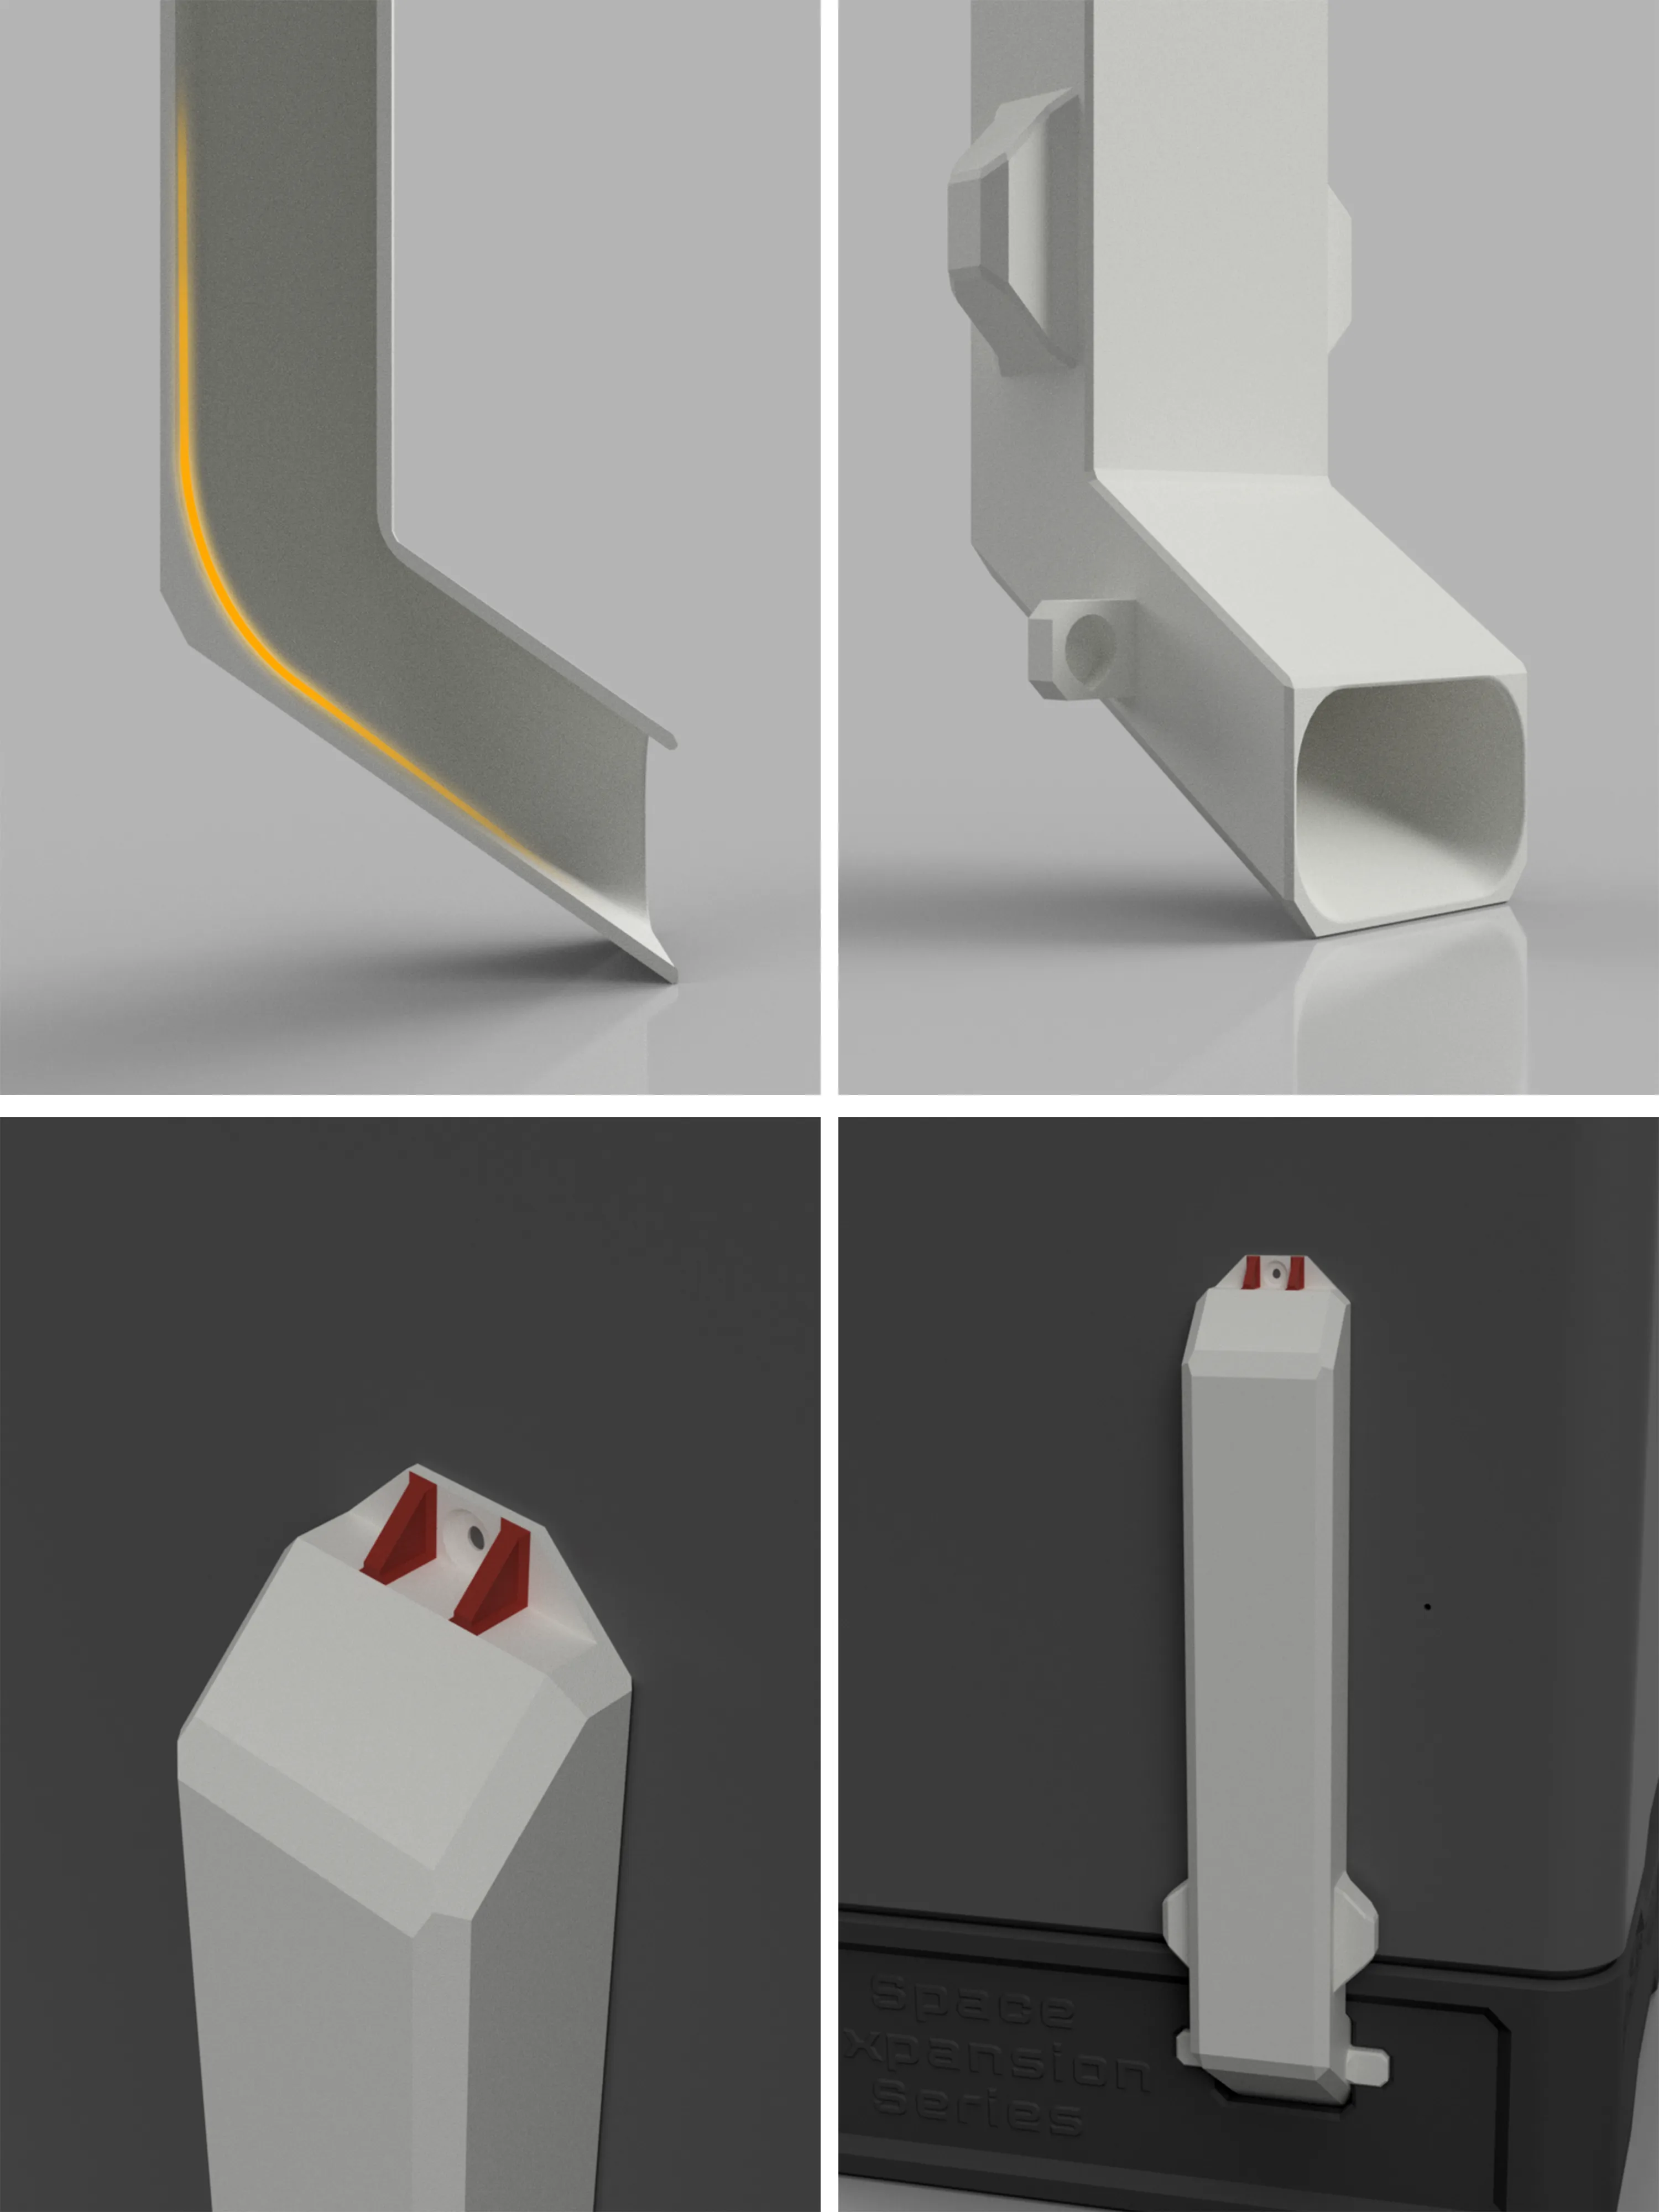
Iteration: The built-in waste channel has been upgraded to version 2.0. This version maintains the original appearance while changing the interior of the channel to rounded corners, forming a slide shape, further reducing friction and making waste discharge smoother
Optimized: Added 2 reinforcing ribs to the waste channel's fixing holes, fixing the issue of easy breakage near the screw holes
2026.05.09 Update
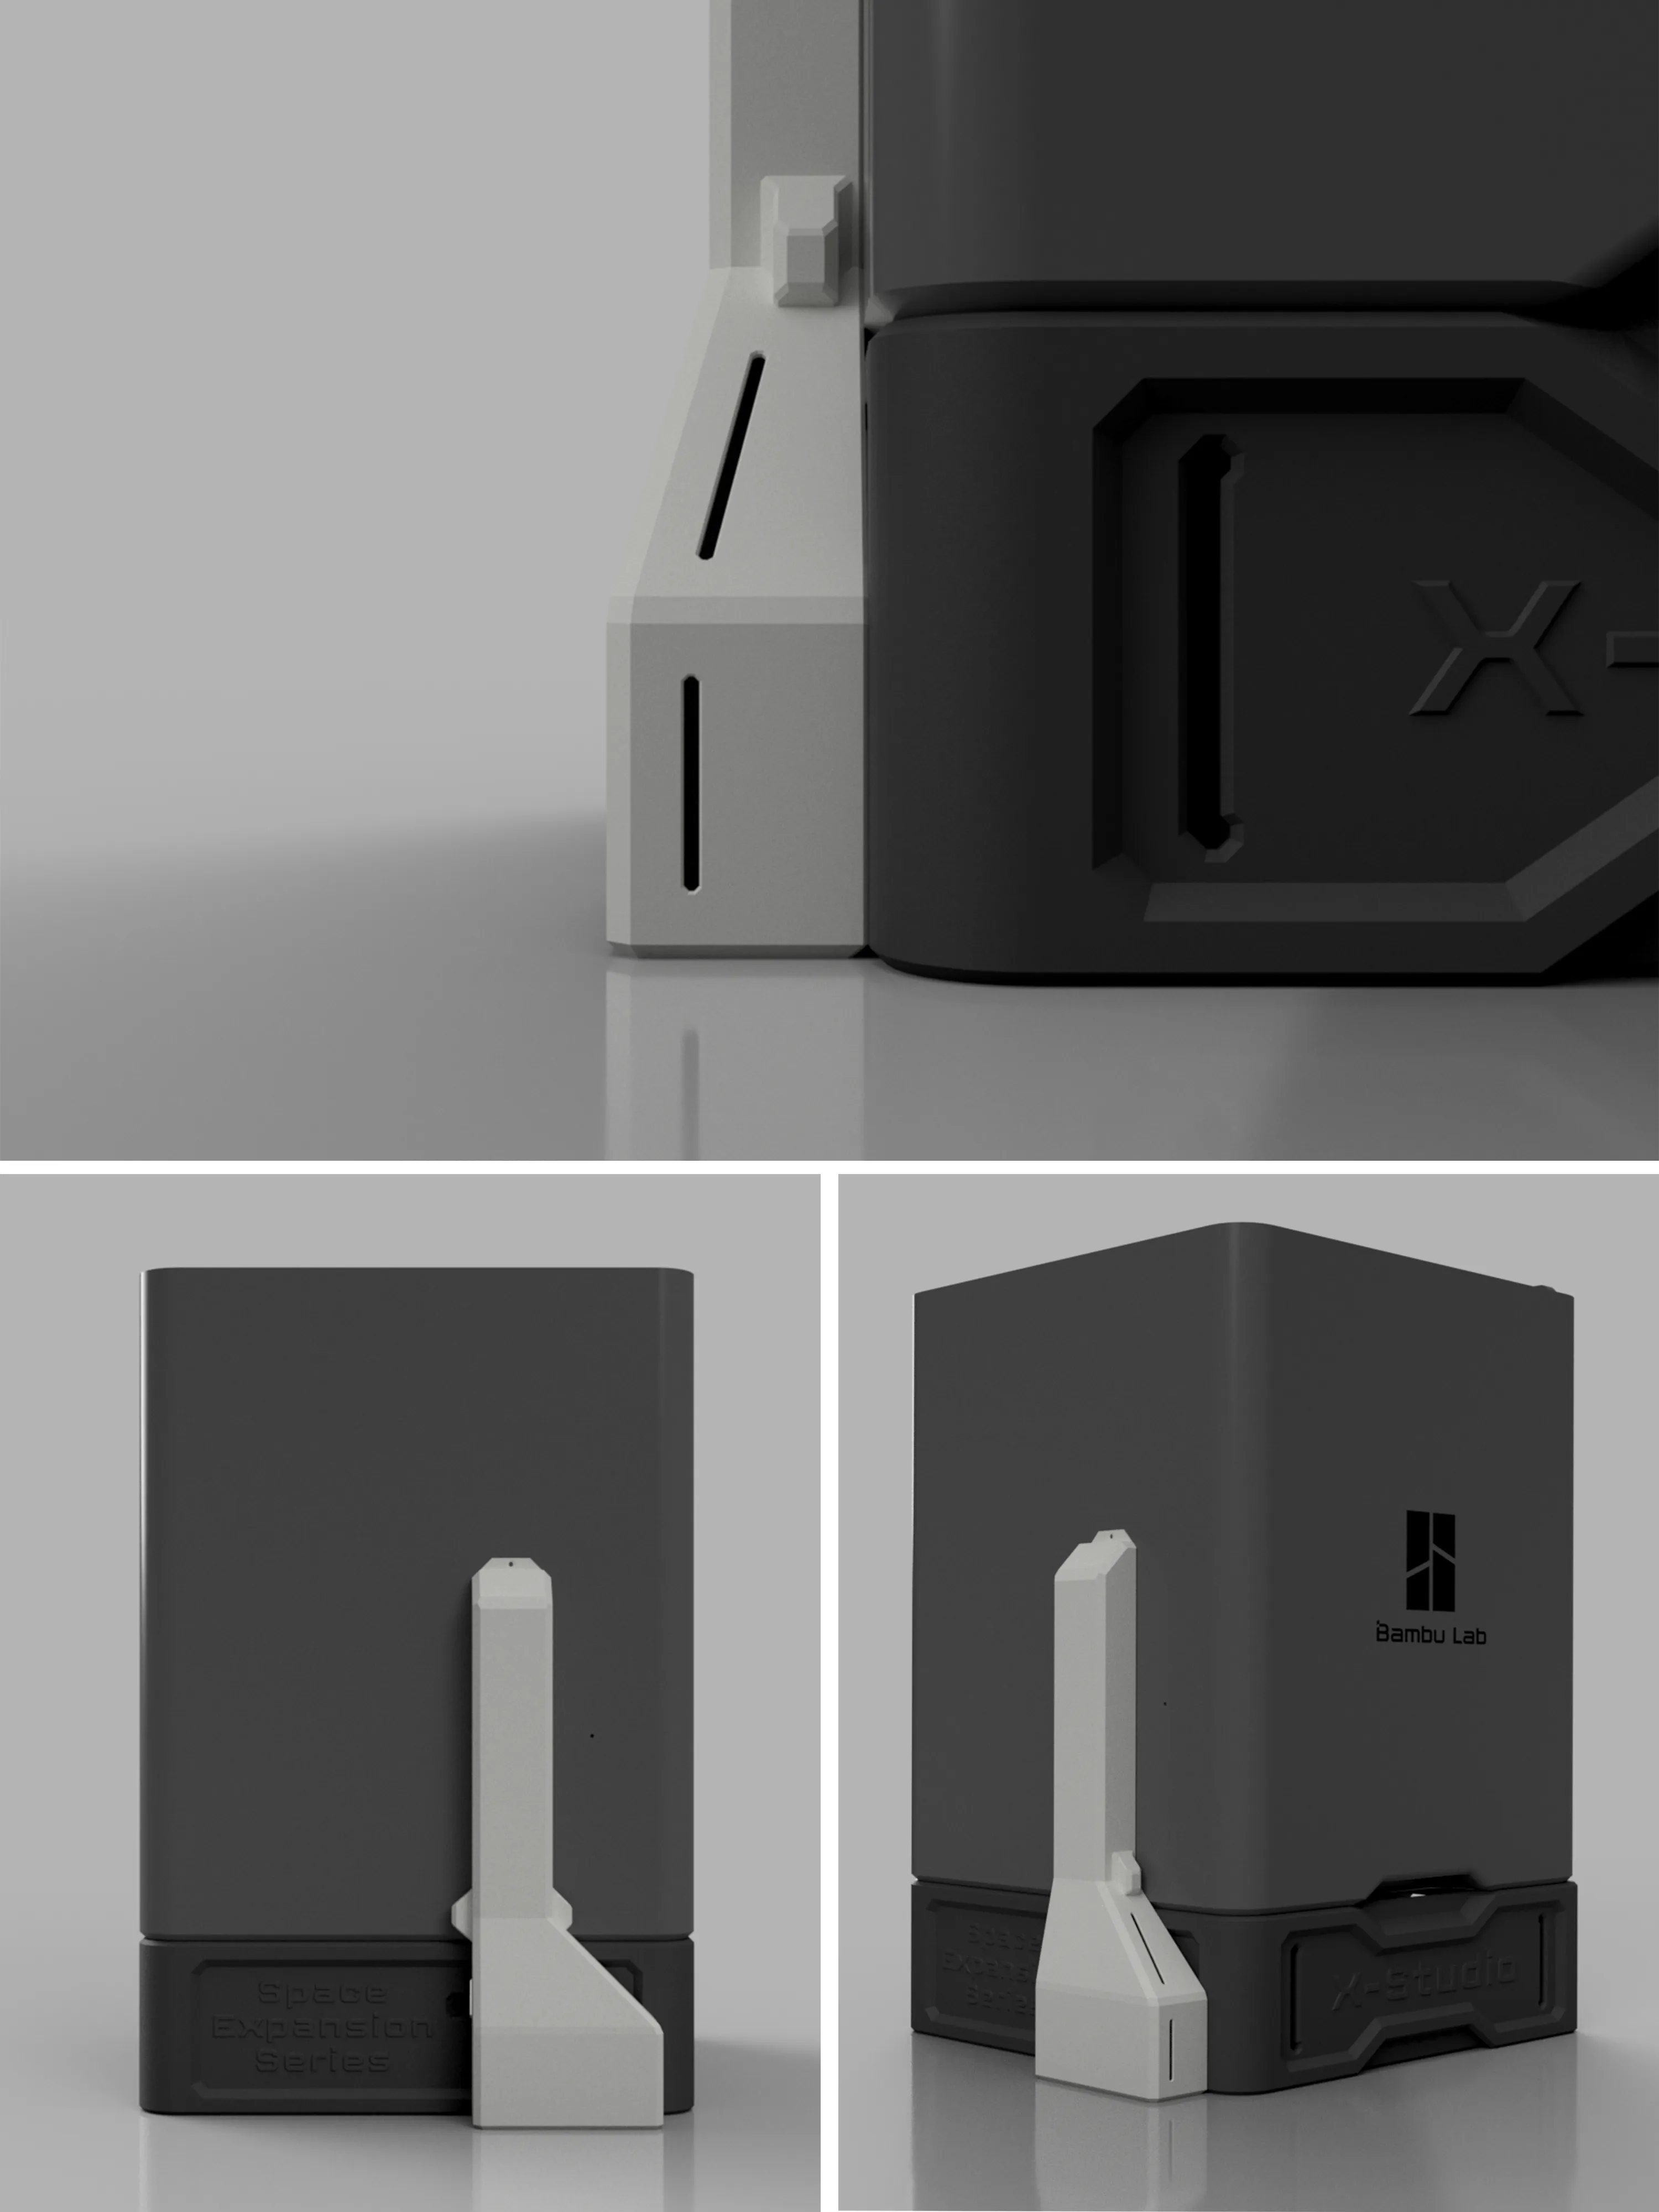
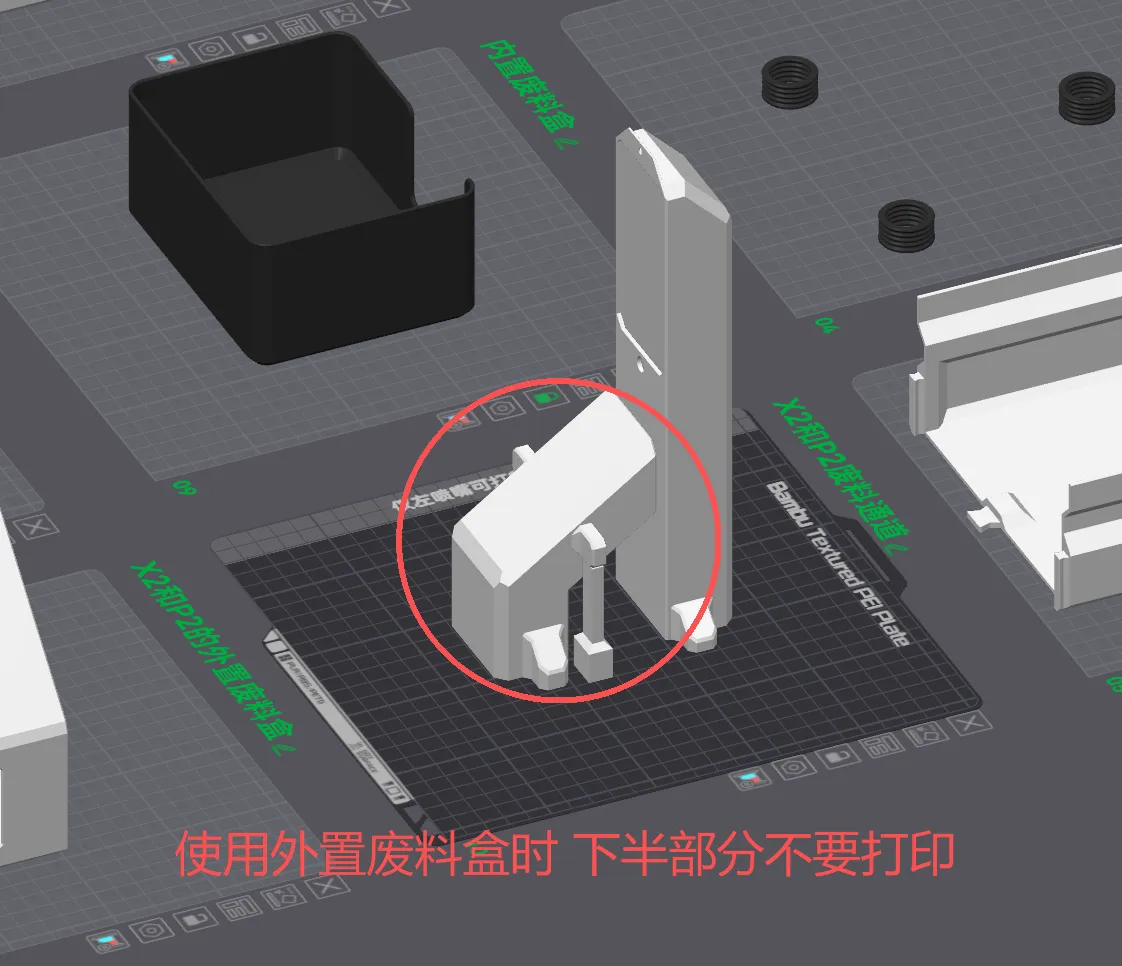
Added: External waste box to eliminate waste channel blockage, with an observation slot to monitor waste levels at any time; when using this component, do not print the lower part of the waste channel, nor the drawer with the built-in waste box, just print two identical drawers without the built-in waste box
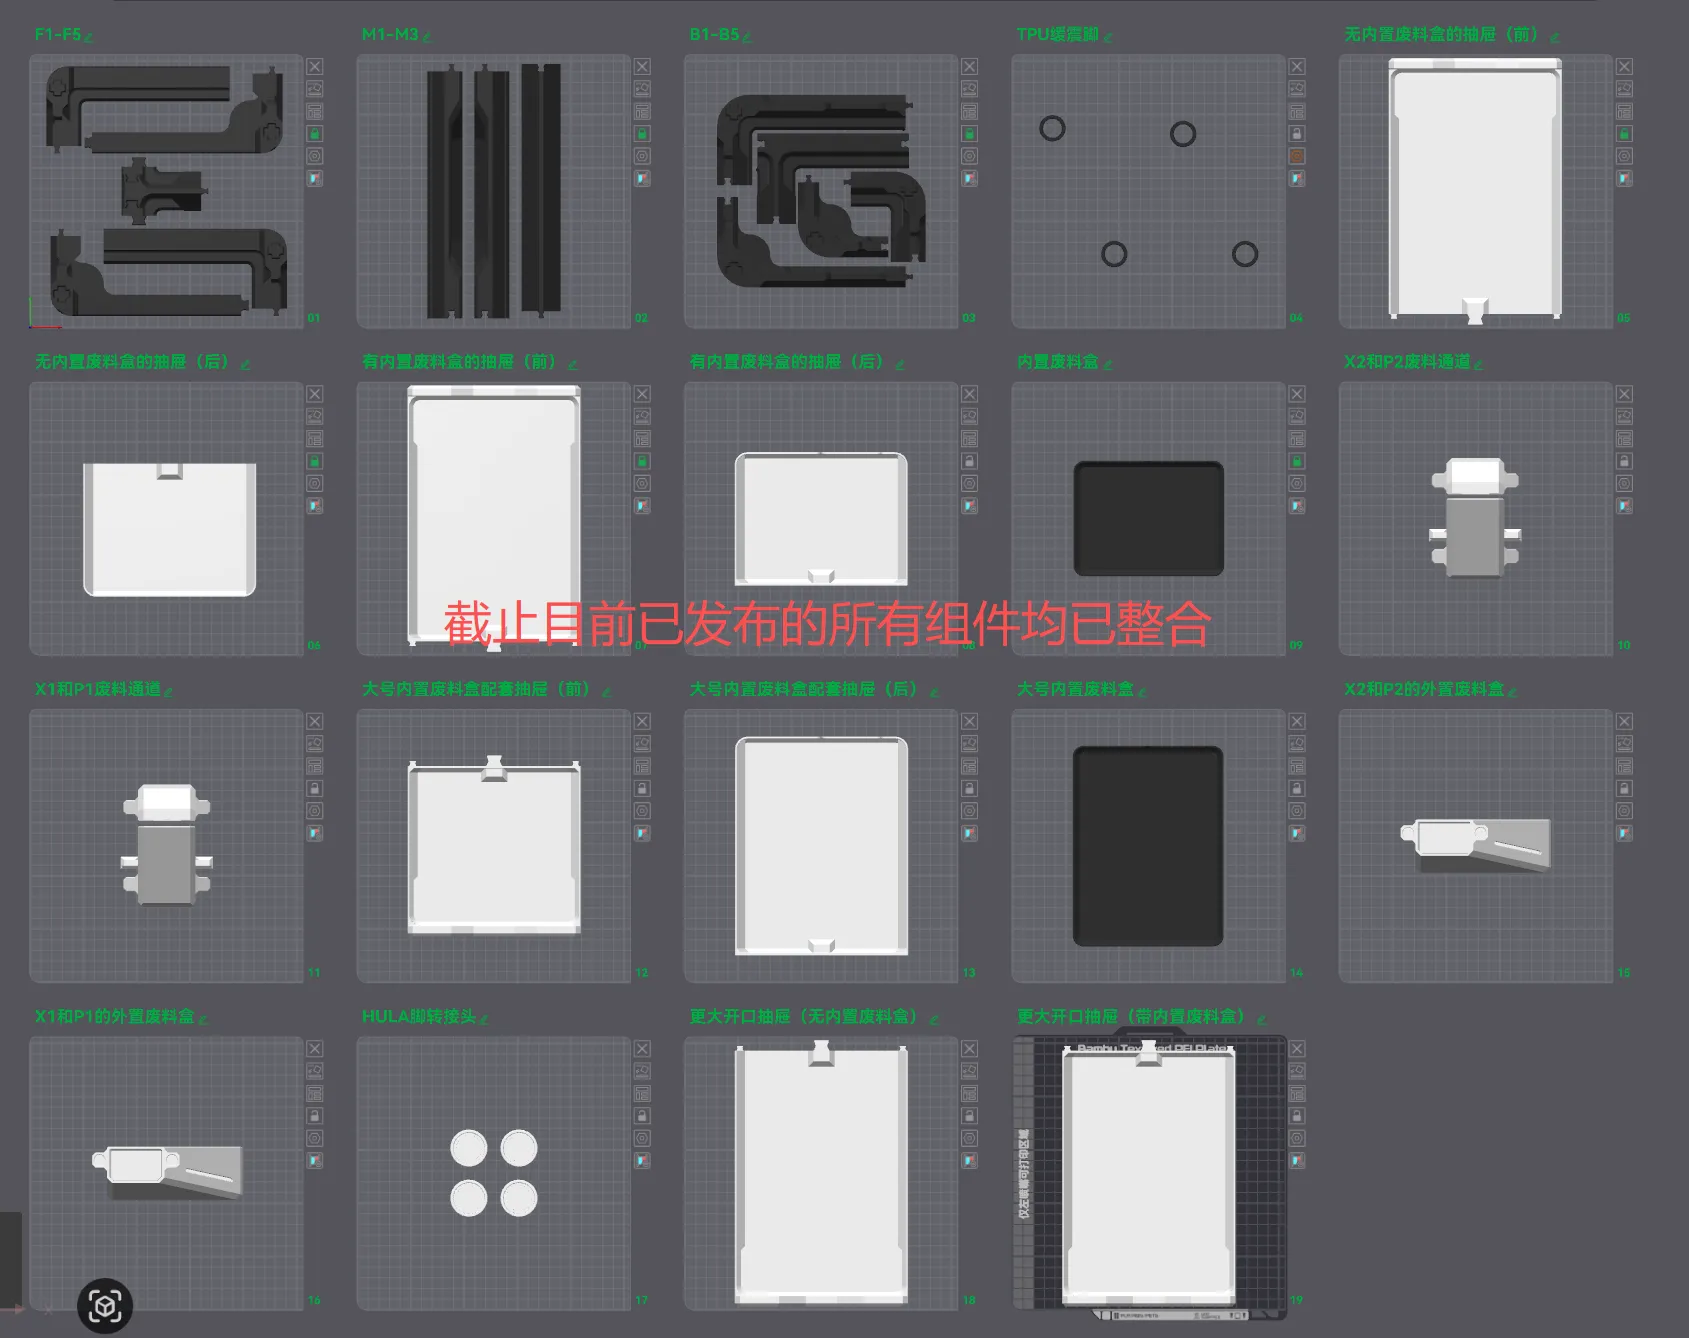
Optimized: Integrated all components into a single 3MF
Optimized: Improved plate arrangement description to avoid confusion
Note: Tried using X2D as the default machine for slicing to upload the 3MF. The result is that now only X2D can see the download configuration. So, regardless of your printer model, please go to the "All" tab to download the 3MF file. The models are complete, and all components for all printer models are included. Please bear with me, everyone
2026.04.22 Configuration Notes
Many users in the comments section have reported that X2D/X1/P1 printer models, other than the P2S, cannot see the print profiles. Here is a unified response. The reason is currently unknown. Users of other printer models are requested to directly download the P2S version. The models are identical; just be careful not to reset the parameters when switching printers. If they have already been reset, please re-download and manually enter the parameters into your settings. Currently, no other solution has been found. Apologies
2026.03.20 Optimization and Fixes
Update: Optimized the opening position of the rear part of the left drawer and the waste box, avoiding interference with drawer pulling after the waste channel outlet extension
Fix: Urgently fixed the issue with the length of the lower part of the waste channel in v0318
2026.03.18 Integrated Waste System Optimization
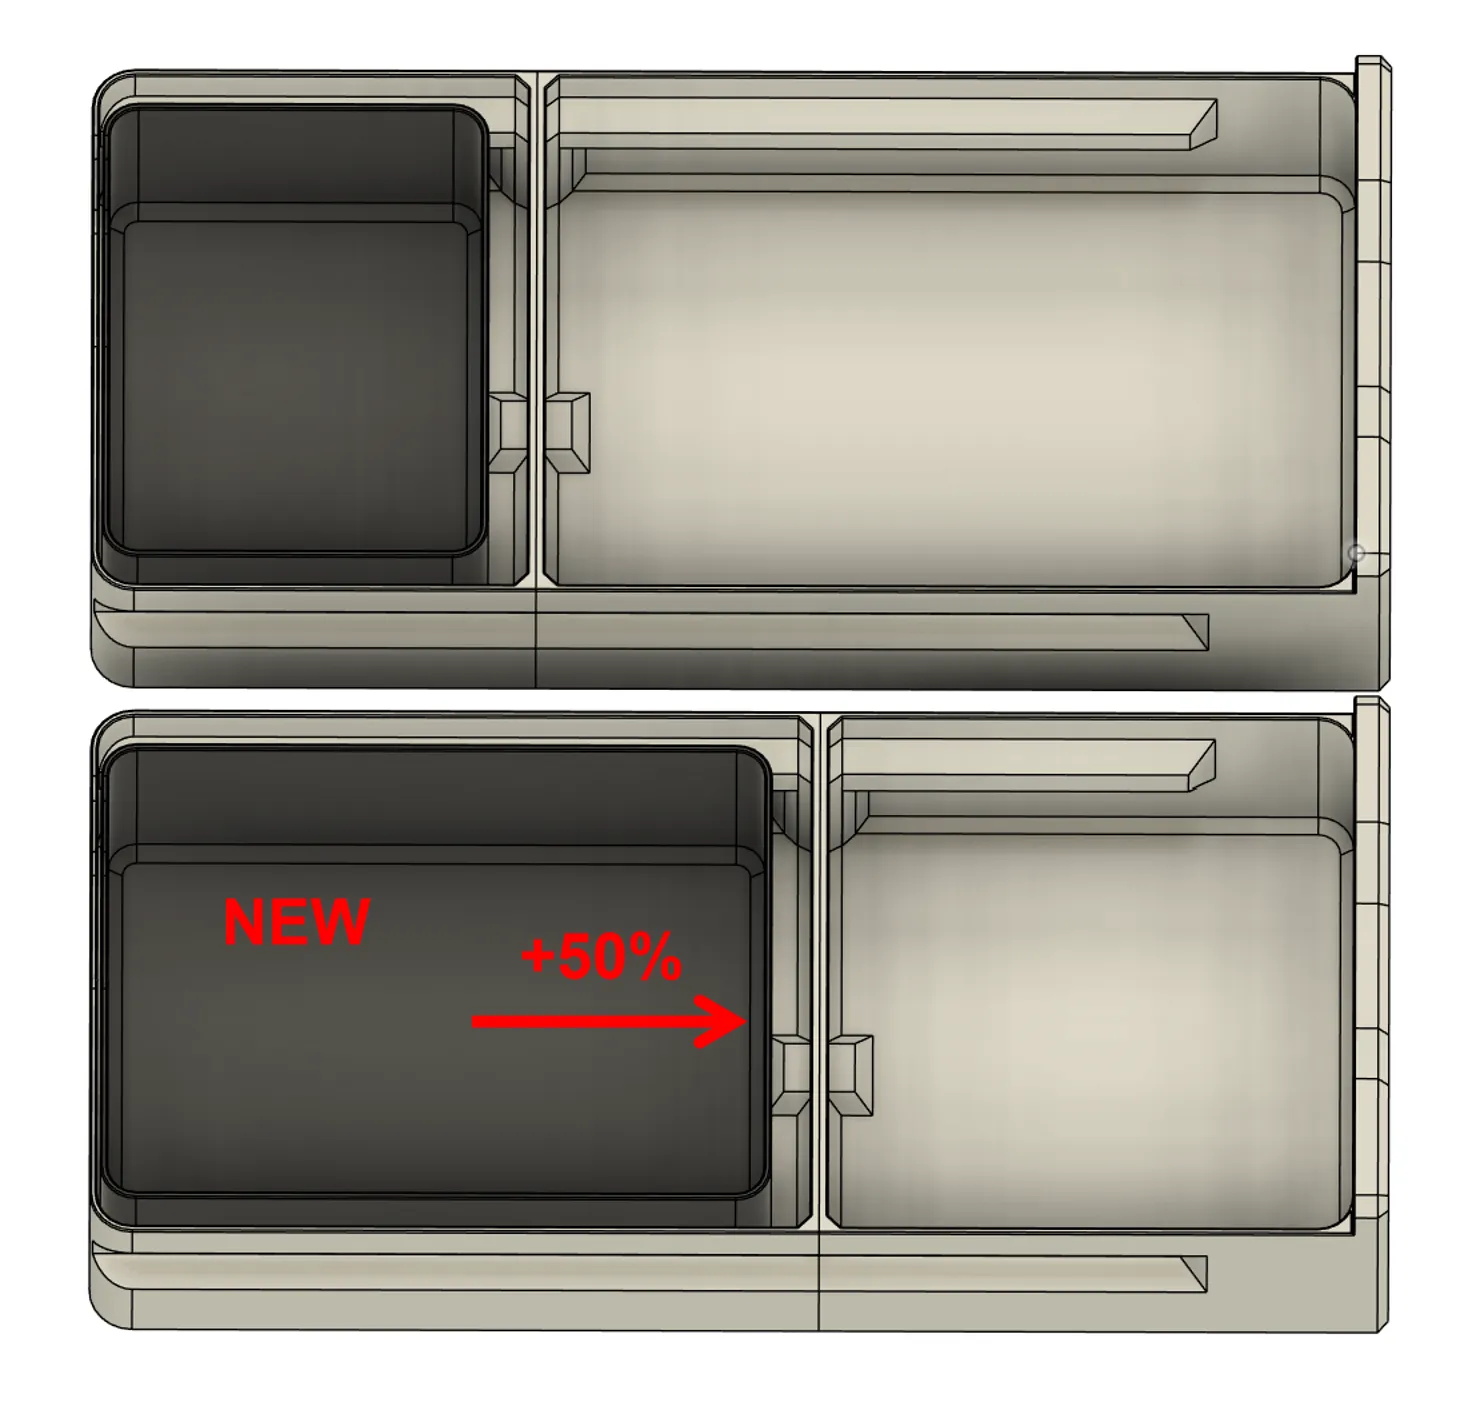
Update 1: Larger waste box (1.5 times capacity) and matching drawer. This version is suitable for users with high-intensity multi-color printing
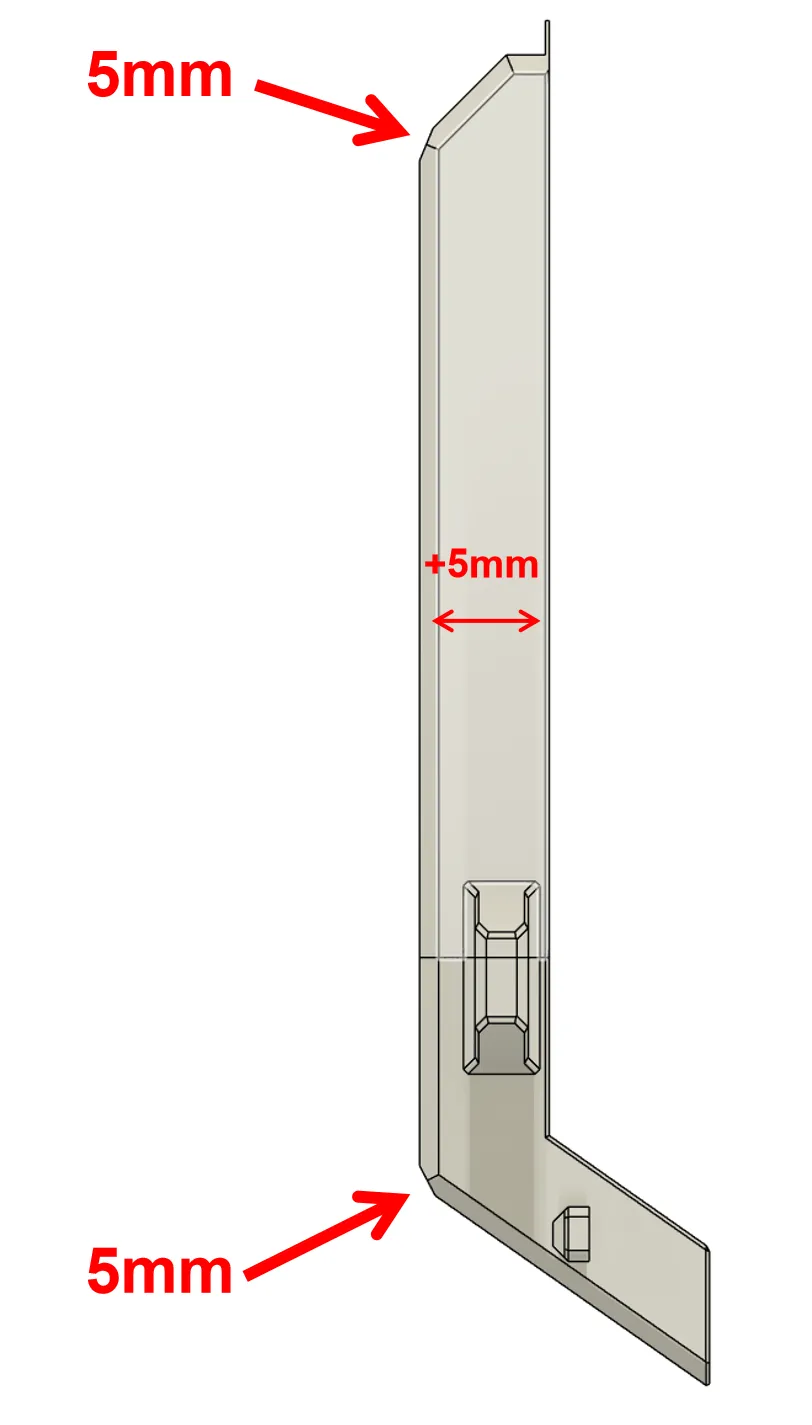
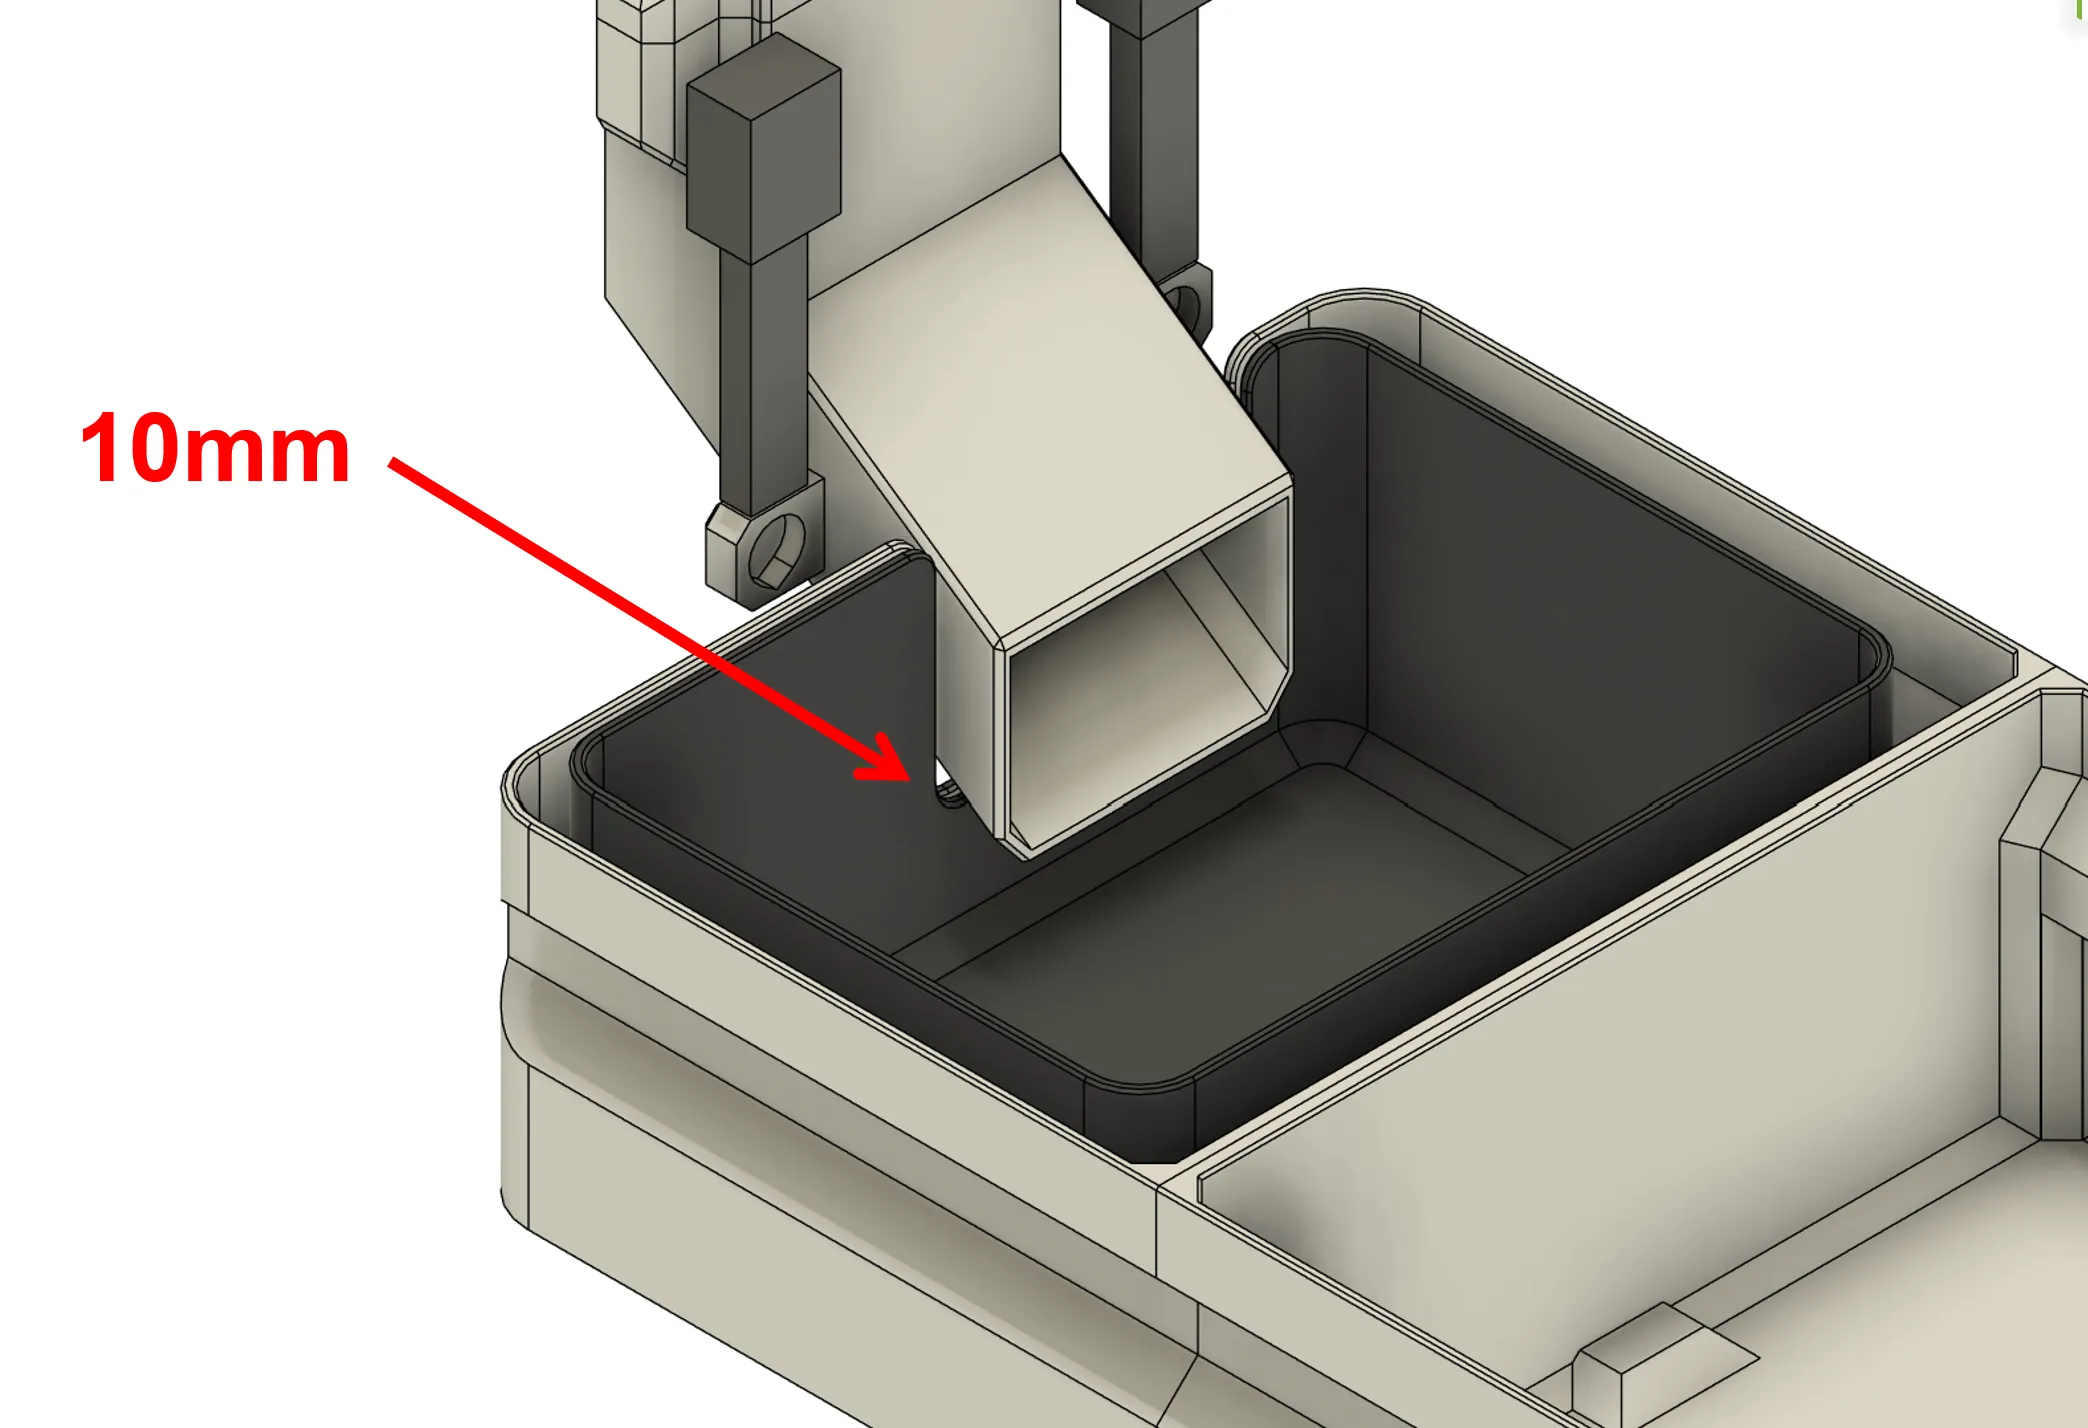
Update 2: Optimized the integrated waste channel system to allow waste to reach the waste box more smoothly. The outlet is extended by 10mm, the waste channel is thickened by 5mm, and a 5mm small chamfer is added at the corners
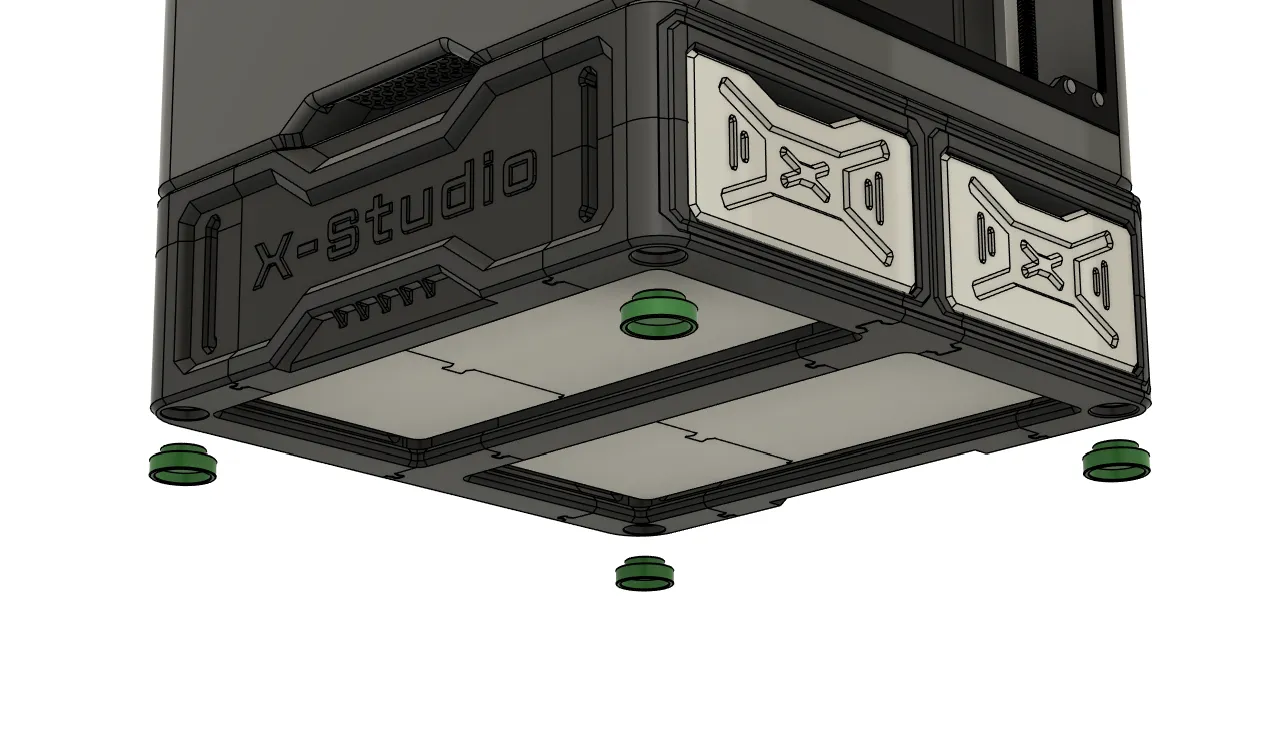
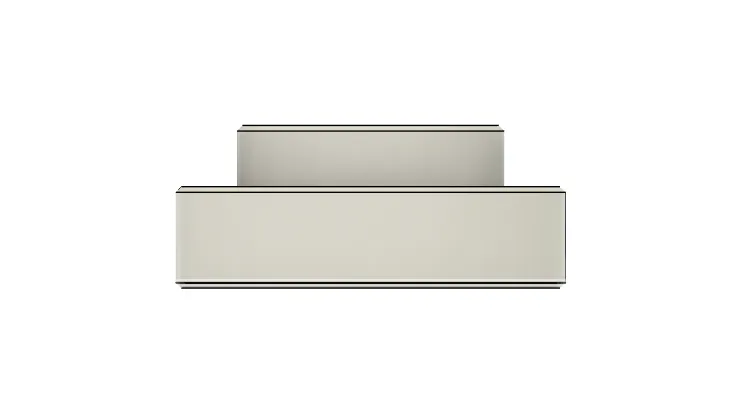
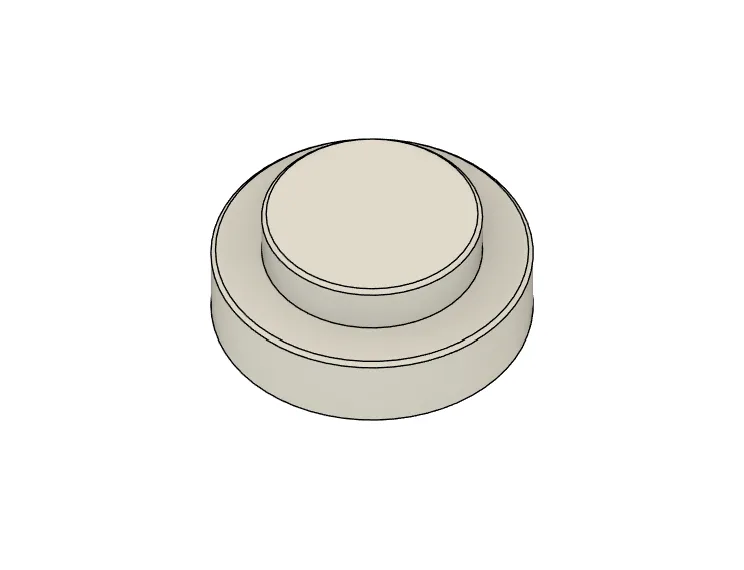
2026.02.25 Now supports HULA feet
More than one friend in the comments section has expressed a desire for HULA feet compatibility. Friends who need to install HULA feet just need to attach an adapter to the bottom (if using HULA feet, there's no need to print my shock-absorbing feet)
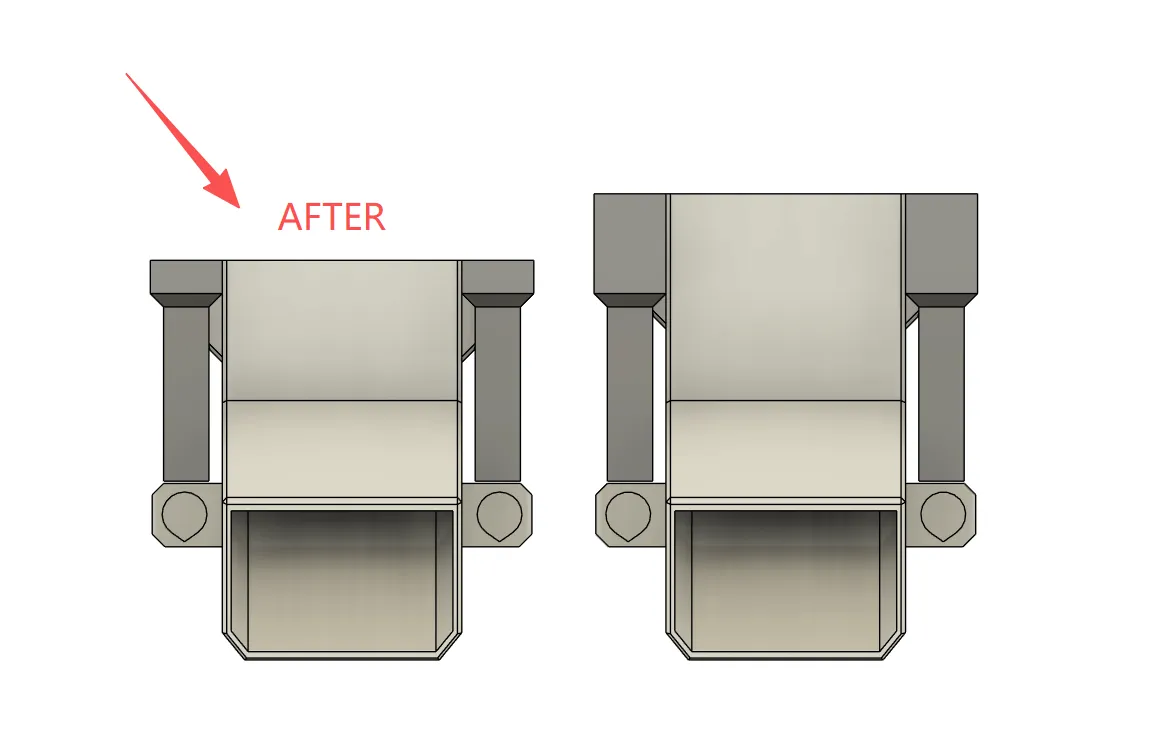
2026.2.10 Fixed the P1/X1 poop chute mismatch issue
Thanks for the feedback in the comments. The P1/X1 poop chute length was mismatched. It has now been urgently fixed and re-uploaded. You will need to re-print the shorter part. Apologies
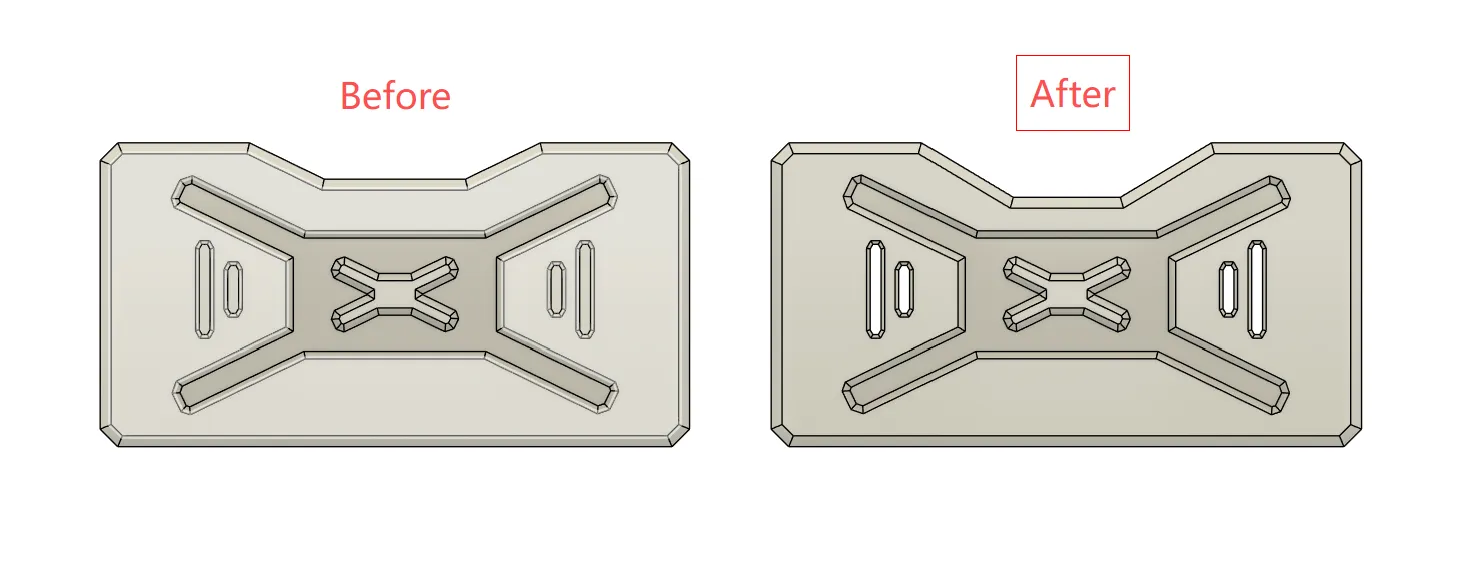
2026.02.02 Updated a drawer with a larger opening
As suggested in the comments, a drawer with a larger opening has been updated and uploaded. Those with thicker fingers can try printing this version. Only the front section has been modified; the rear section can use the original version
2026.01.28 Matching P1S/X1E poop chute
The P1S/X1E poop chute has now been updated to match
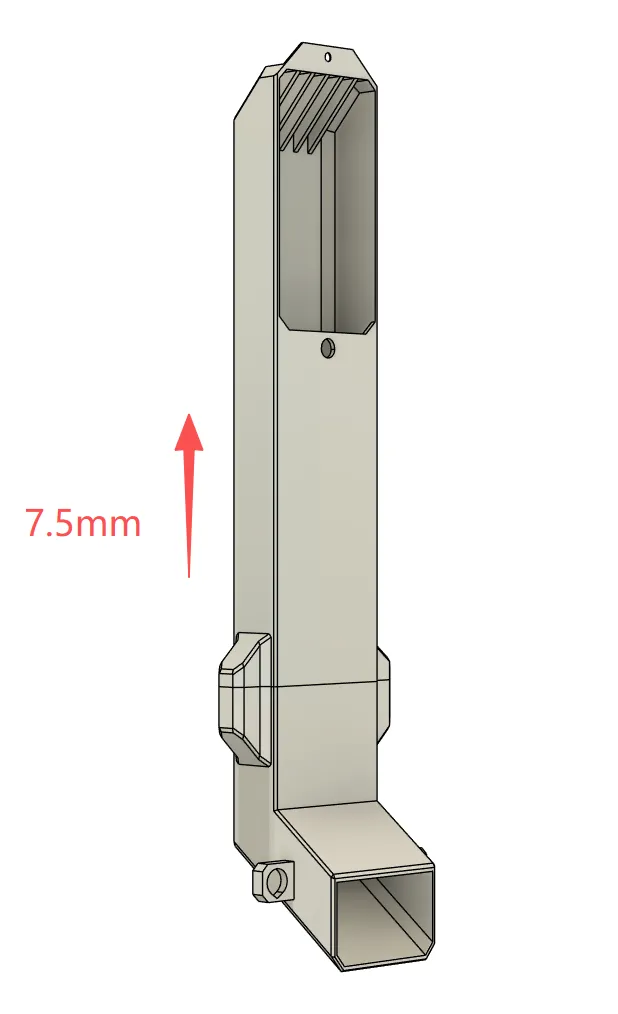
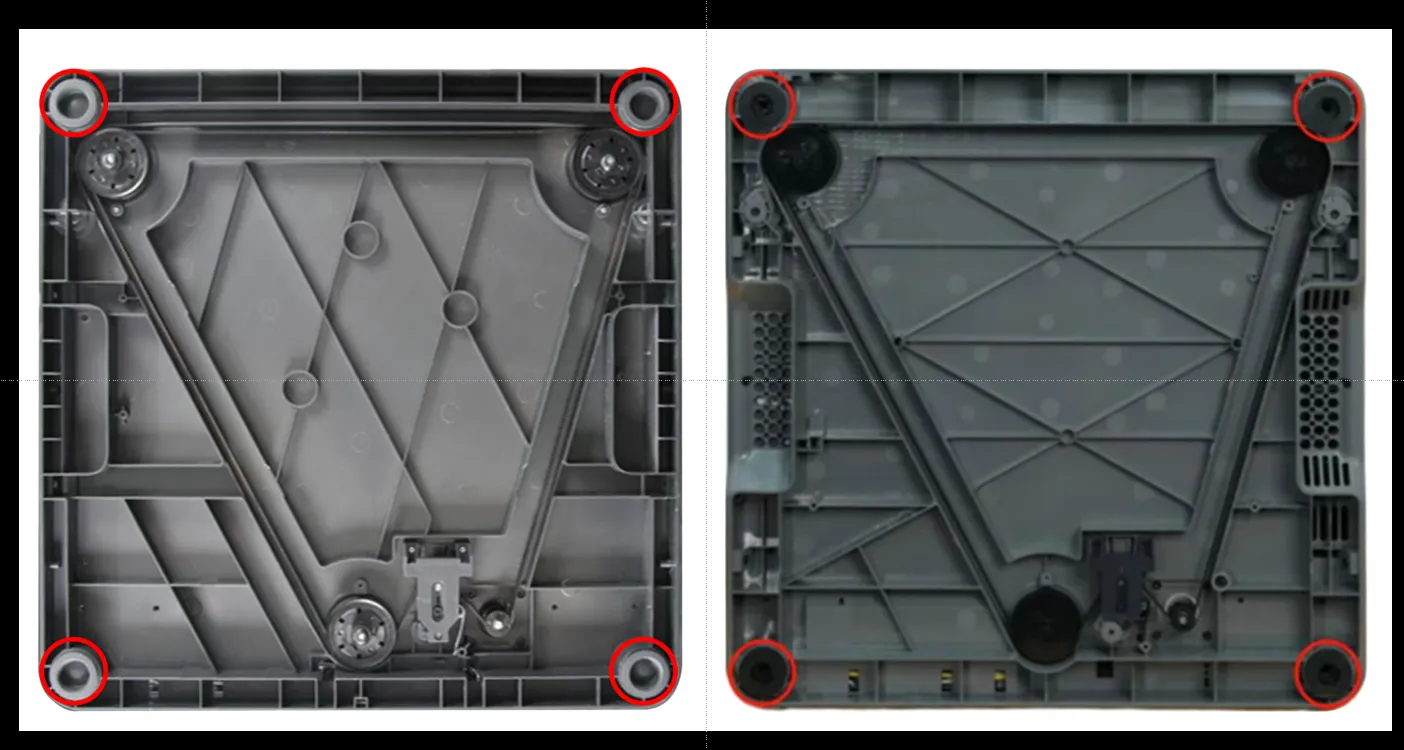
2026.01.28 Confirmed compatible with P1S/X1E and subsequent updates
1. It has been confirmed via support ticket that the foot size and hole spacing of P2S and P1S/X1E are identical, so compatibility with P1S/X1E is now confirmed. Please print with confidence

2. Additionally, through comparison, the poop discharge opening positions of the three are slightly different. I will update the matching poop chute in the short term. P1S/X1E users, please do not print the poop chute from the 3MF file yet
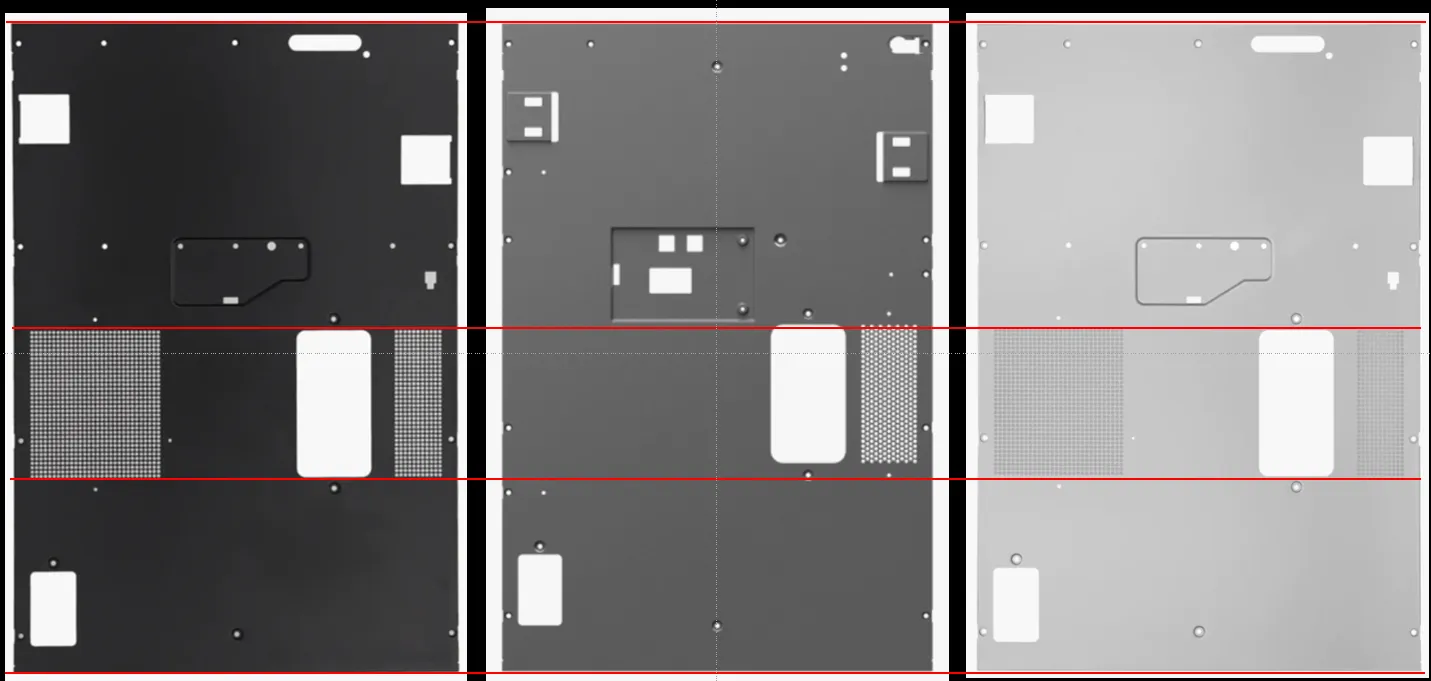
2026.01.27 Now compatible with P2S official external exhaust
Please re-download the 3MF file. Please do not print the previous version of the poop chute. The new chute only requires one screw, is compatible with the official external exhaust, saves more material, and saves 4 magnets
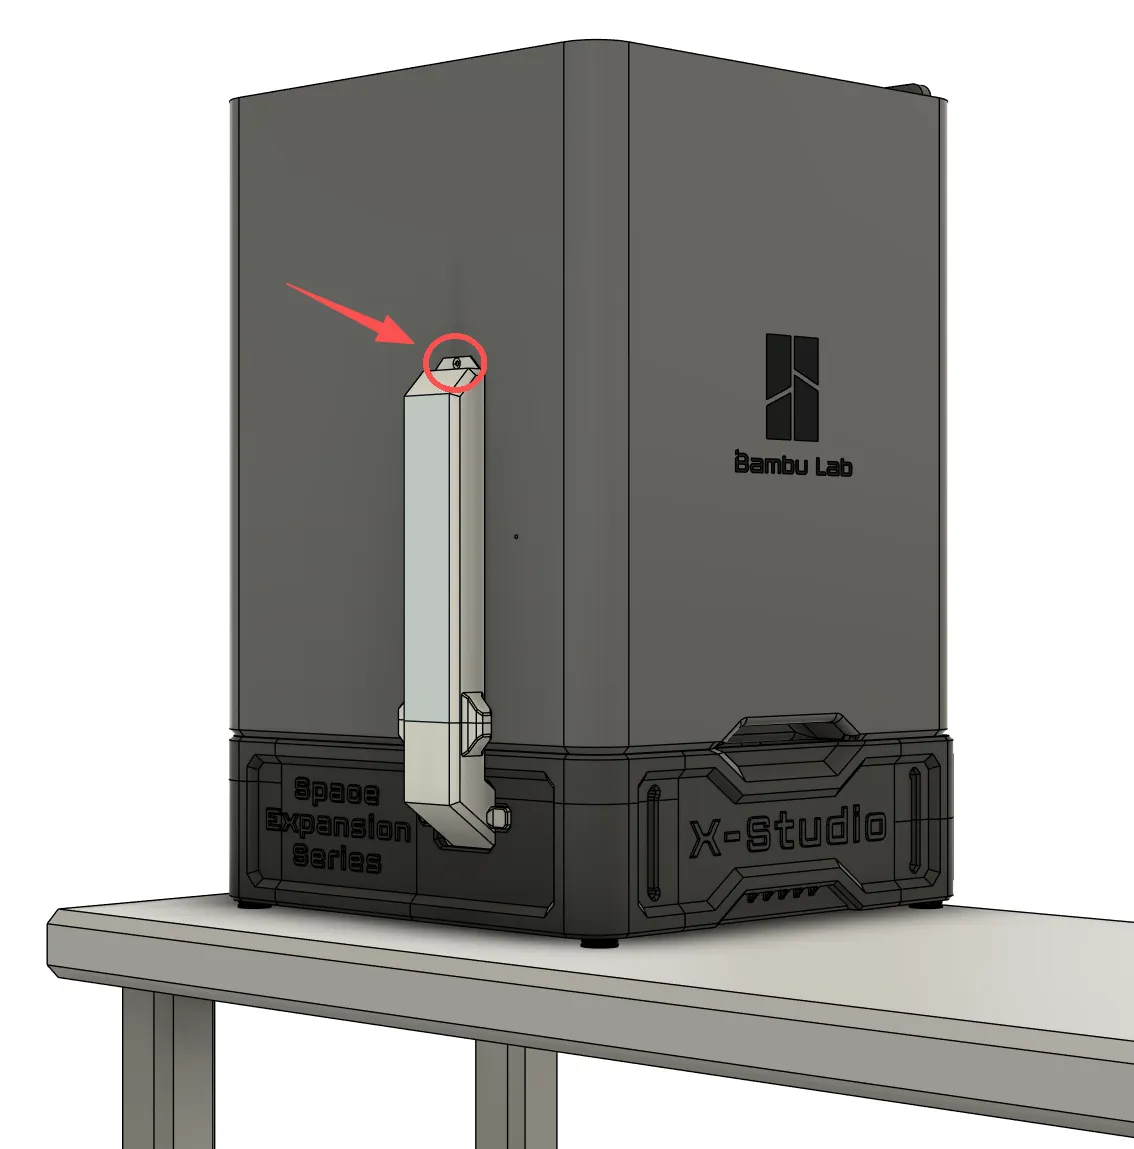
The following is the main text
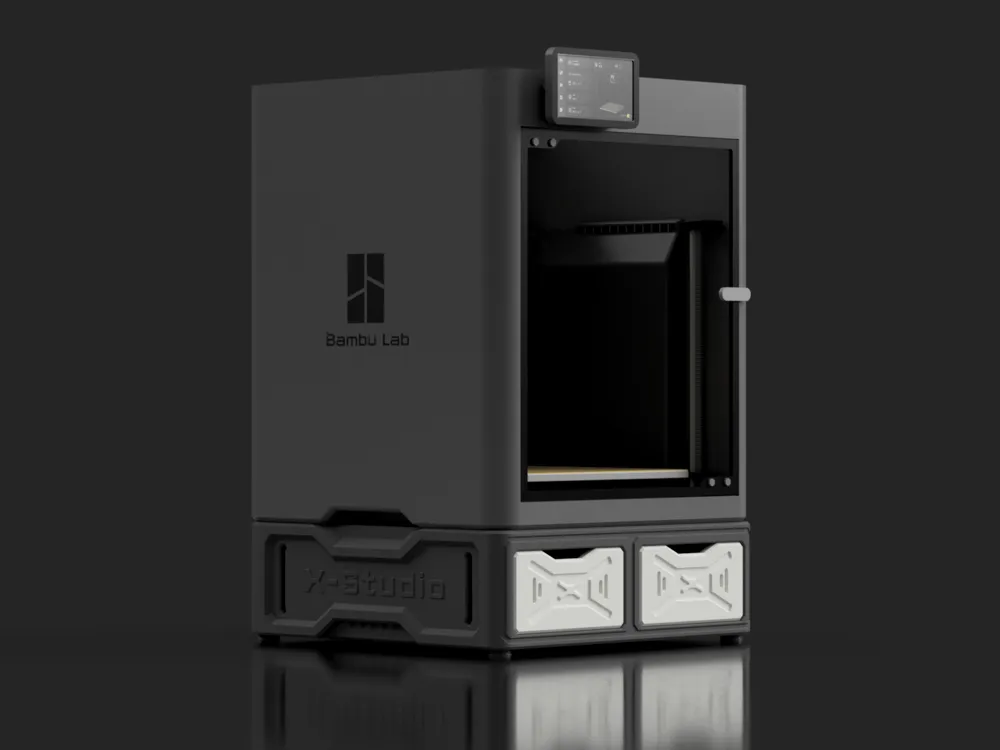
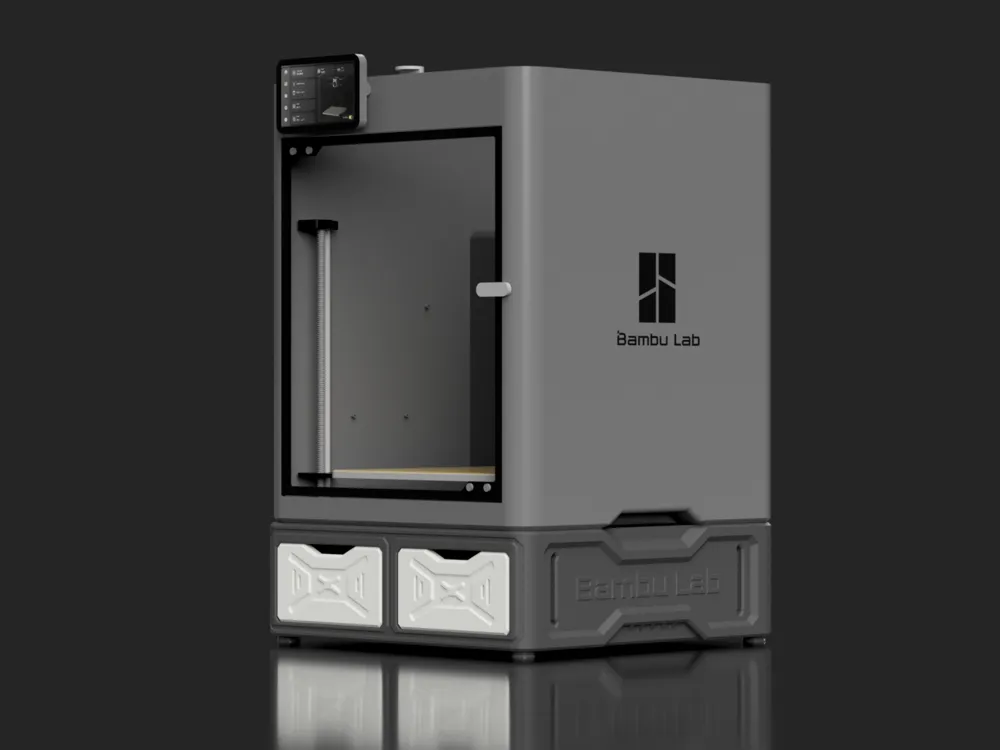
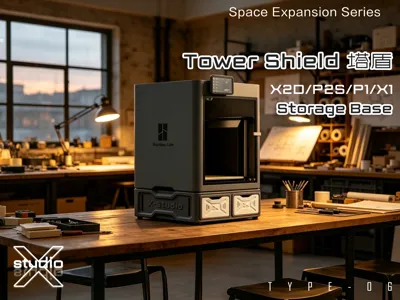
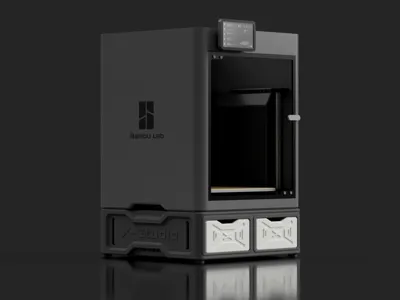
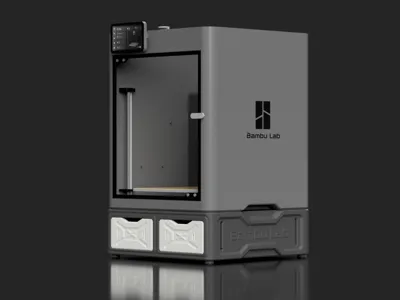
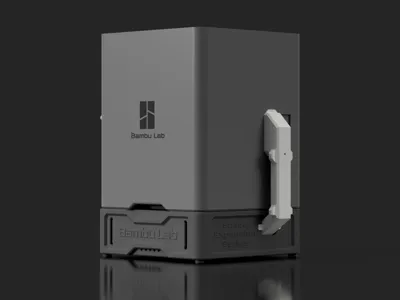
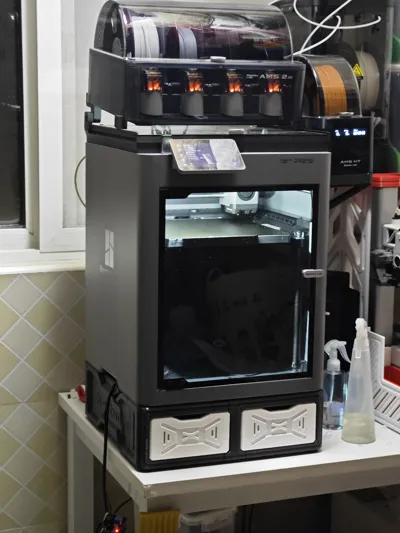
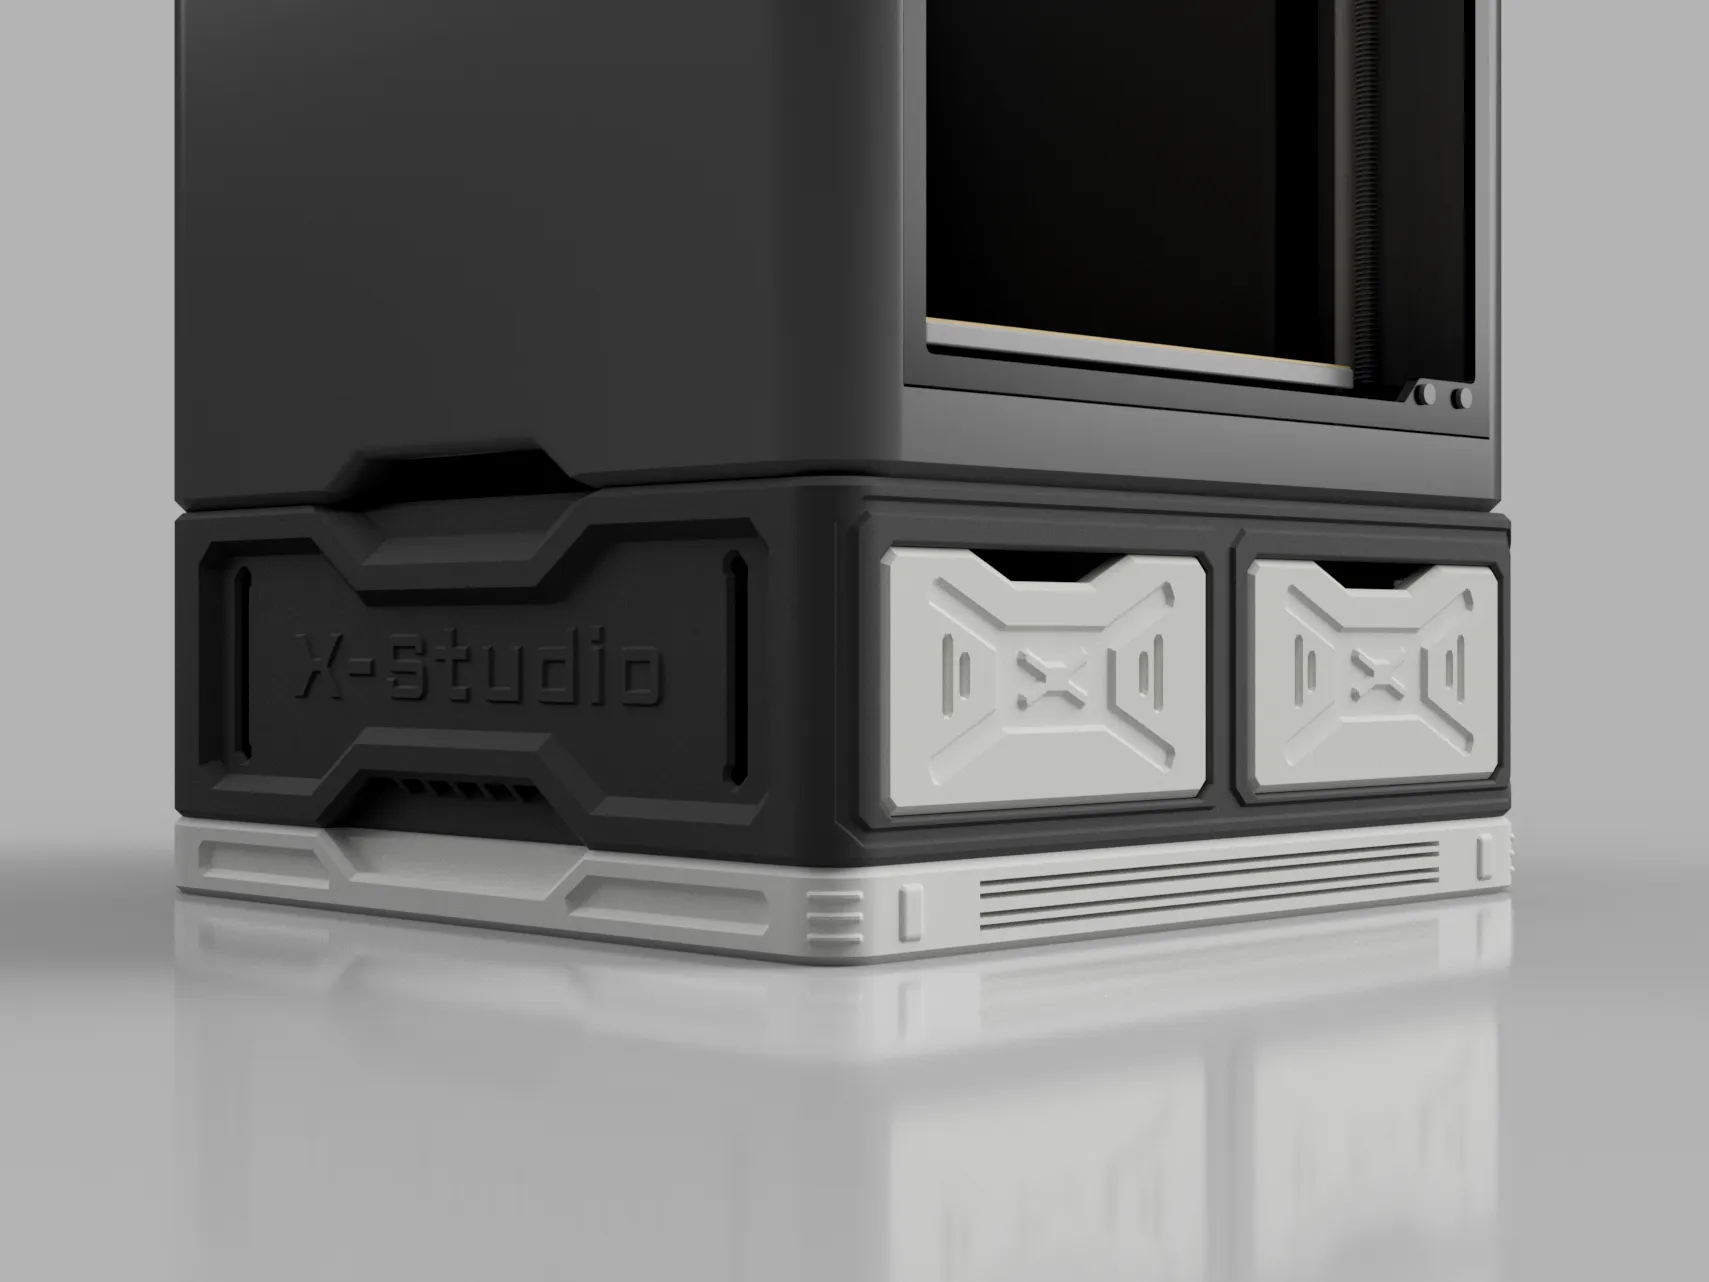
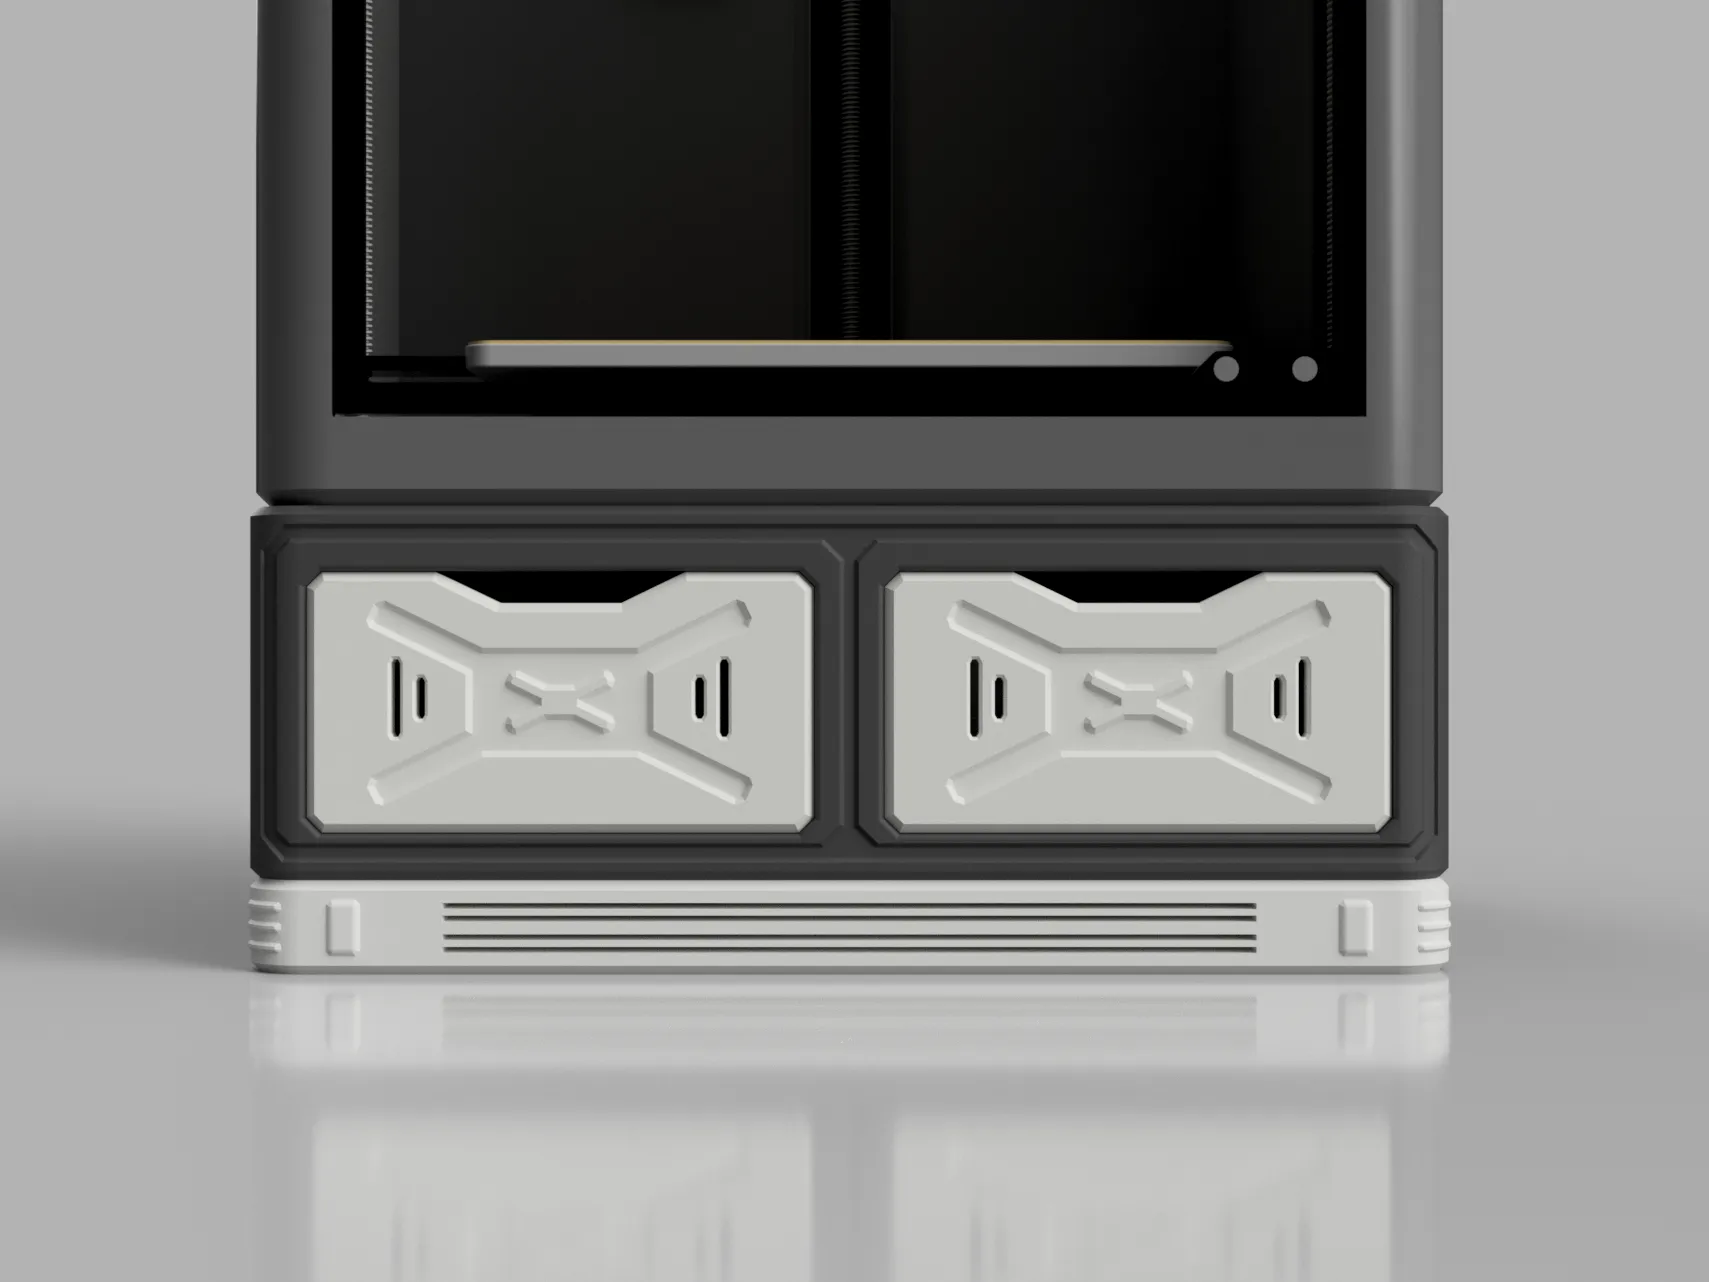
Space Expansion Series — "Tower Shield" X2.P2.X1.P1 Storage Base officially released
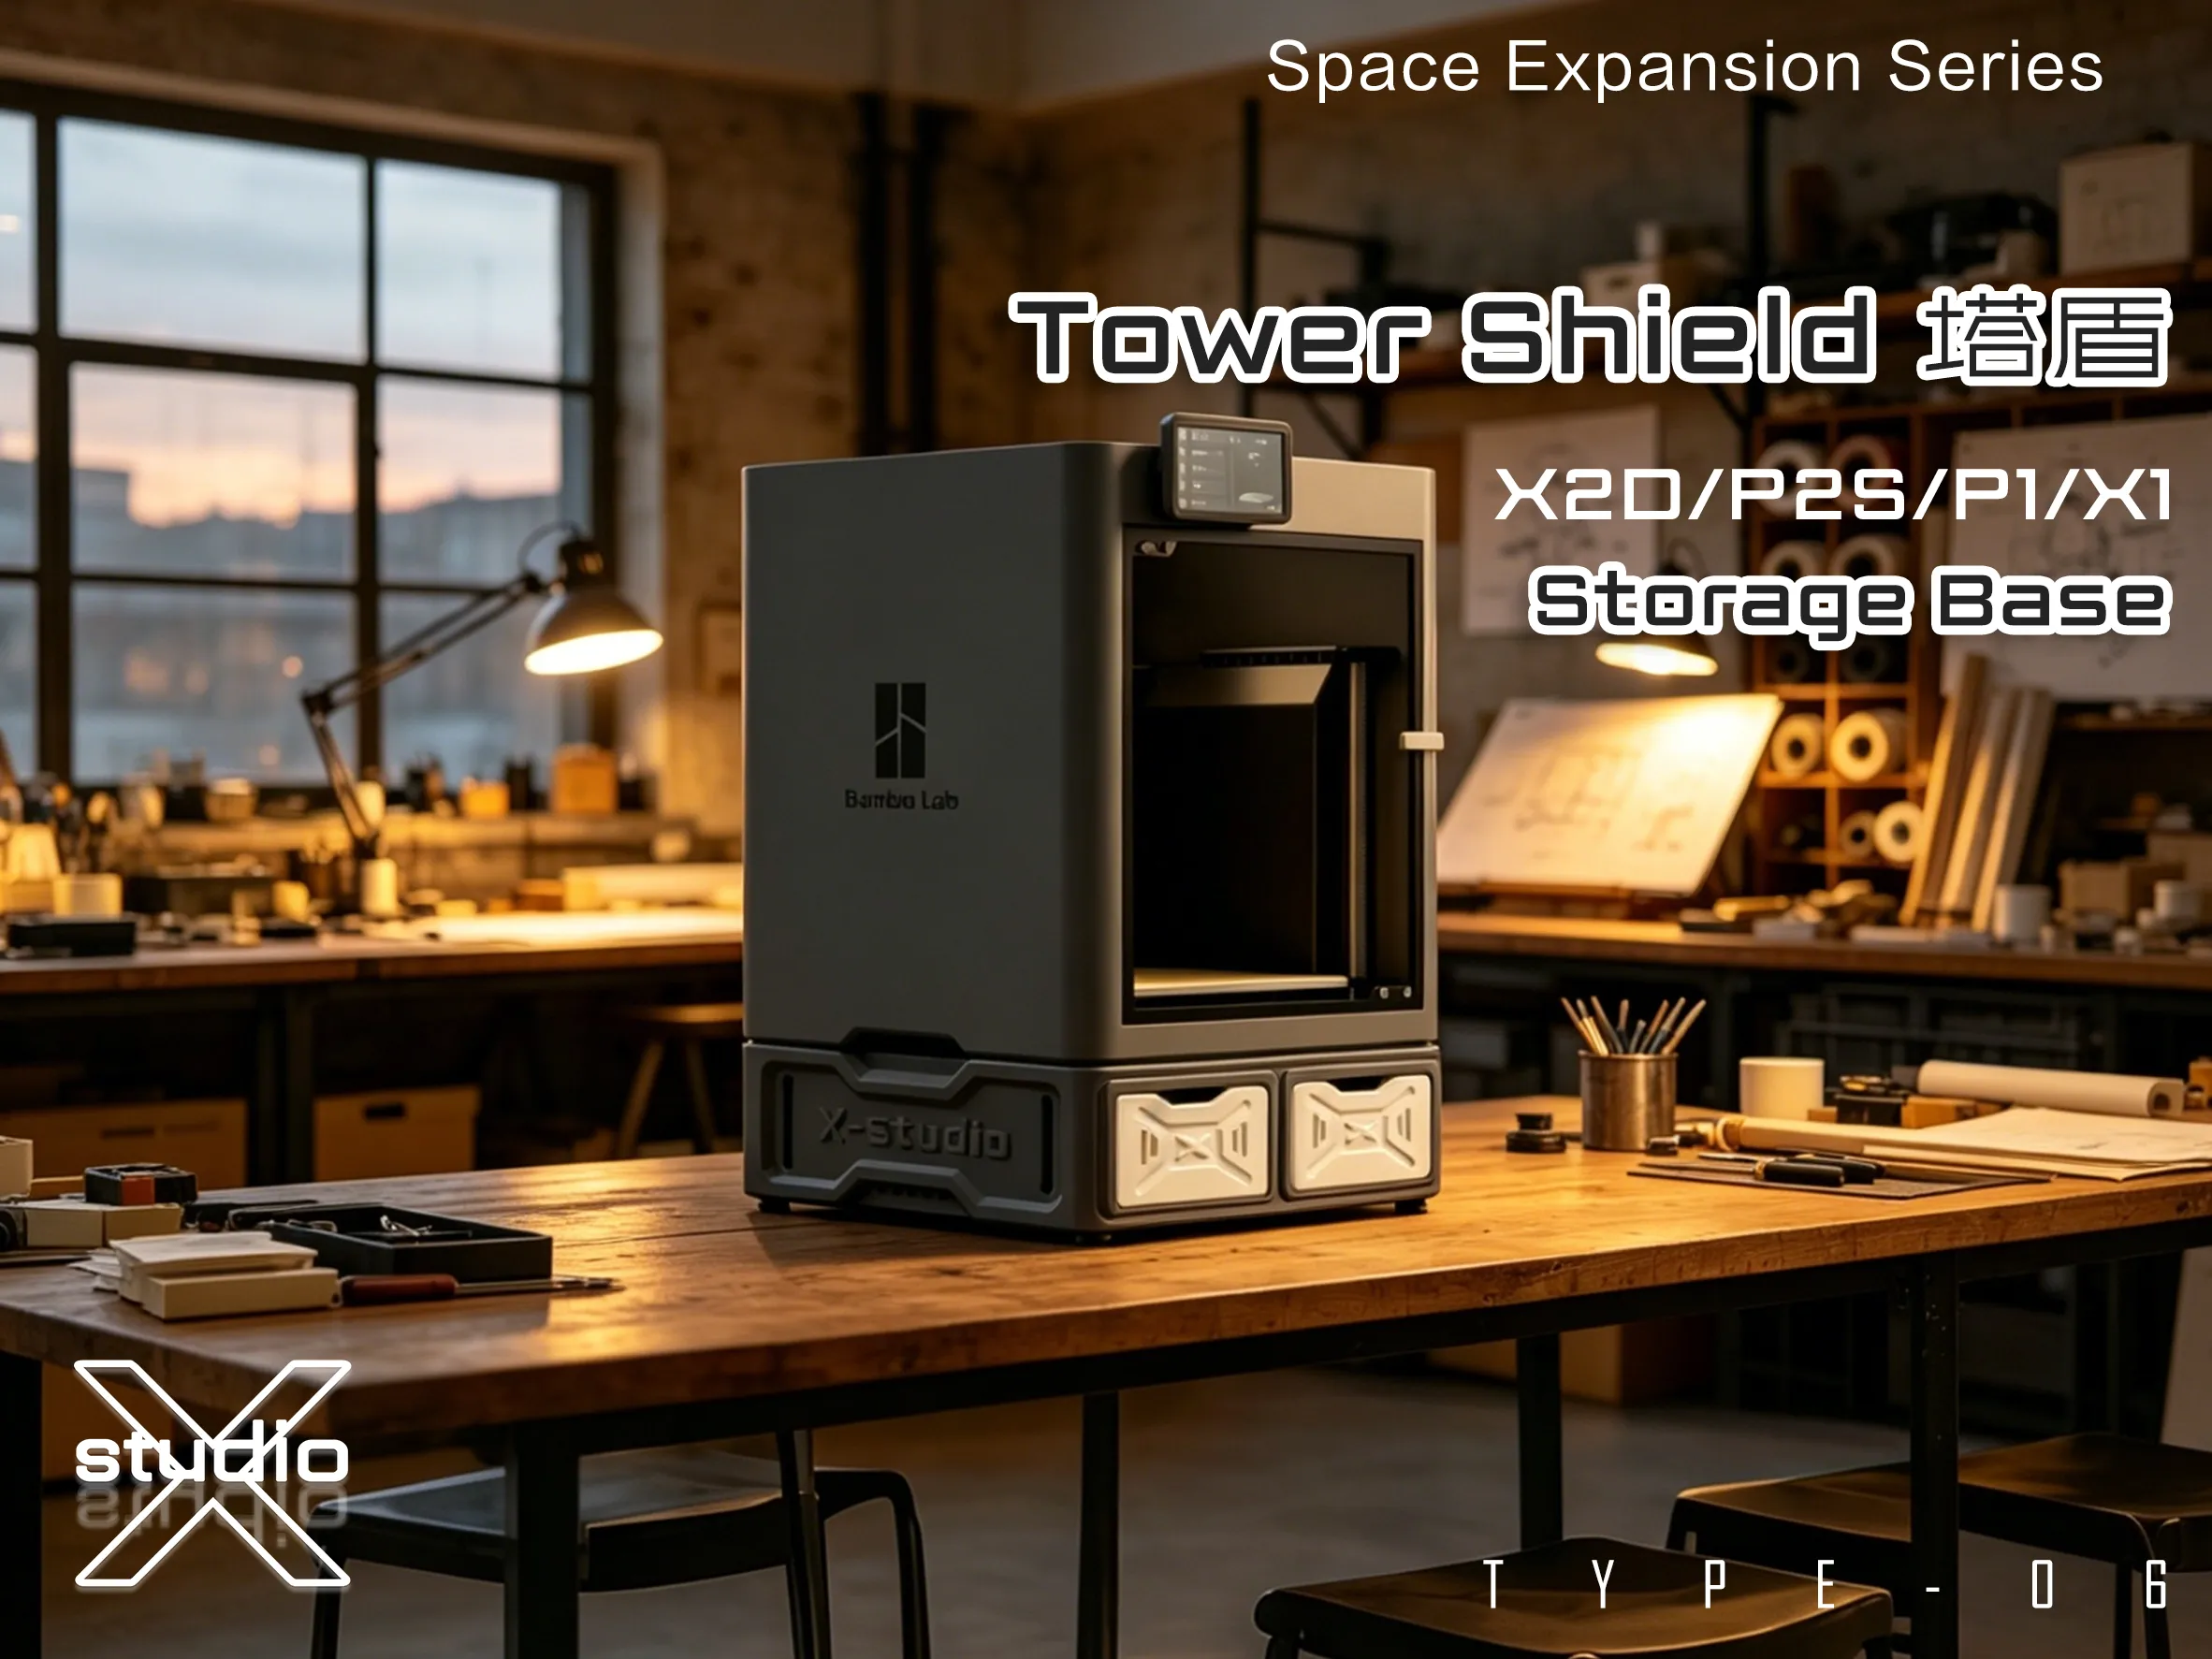
Highlight Features
- Supports X2D/P2S/P1/X1
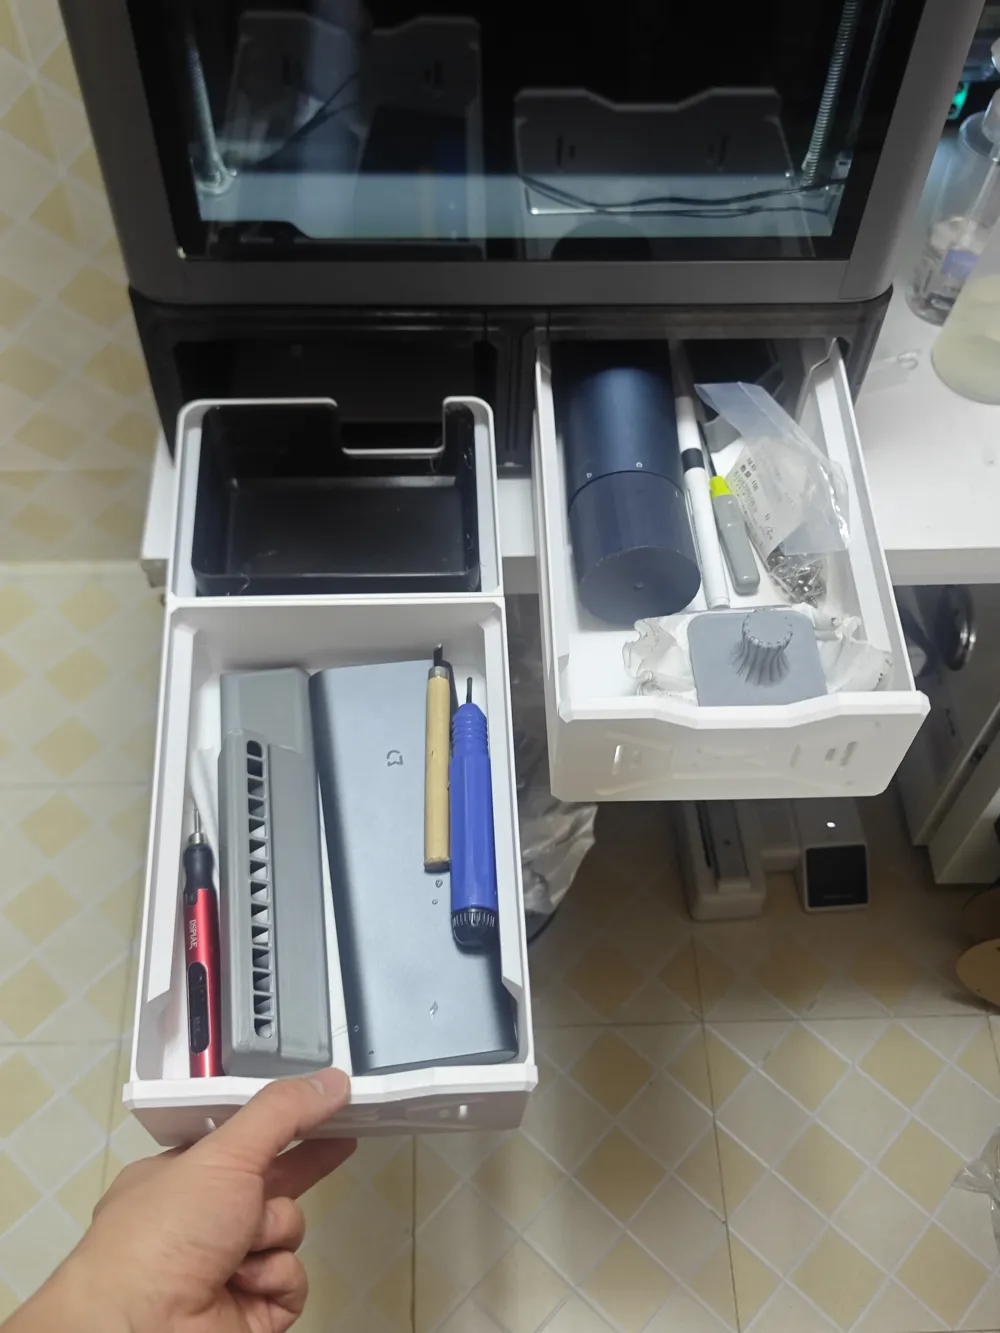
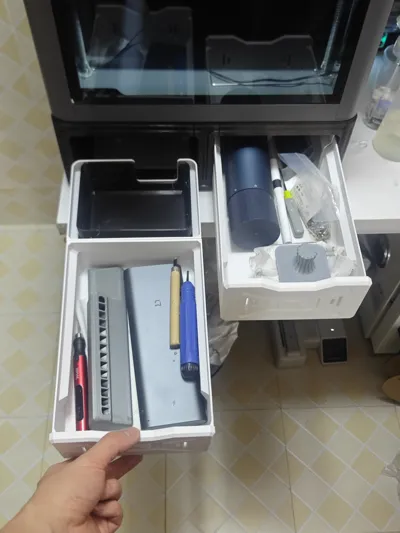
- Super large space, stores everything
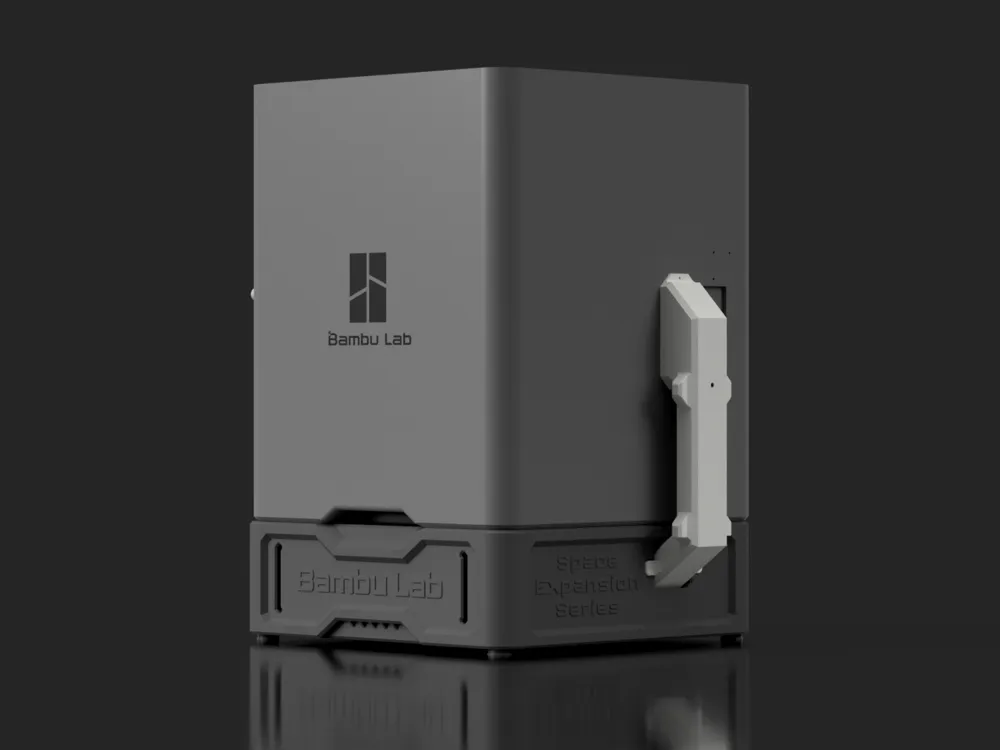
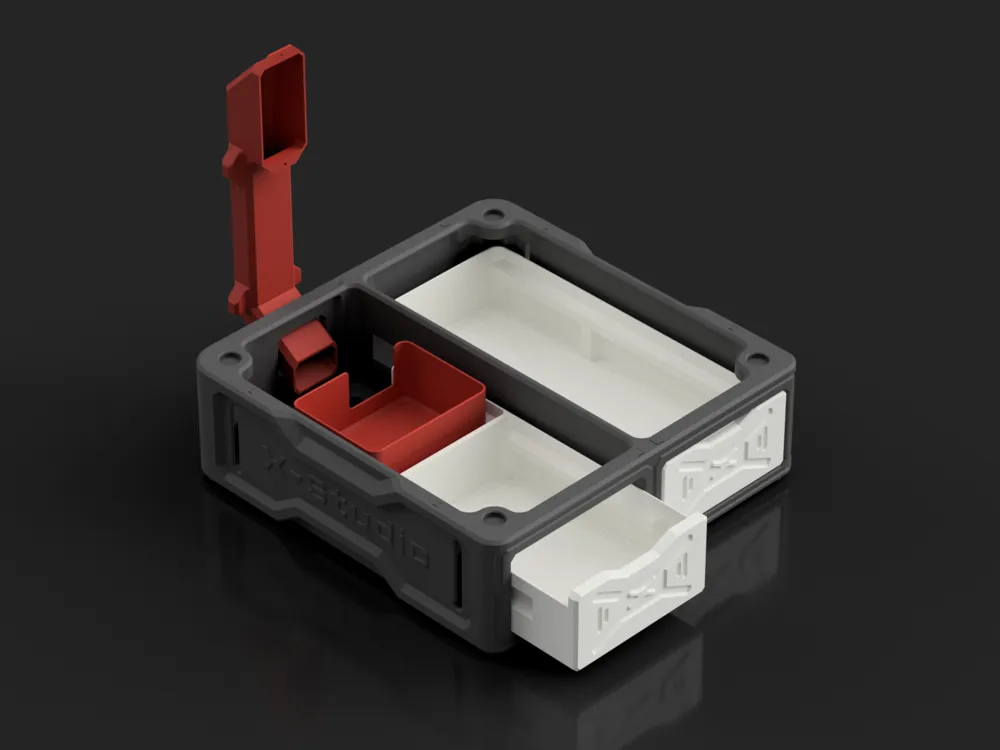
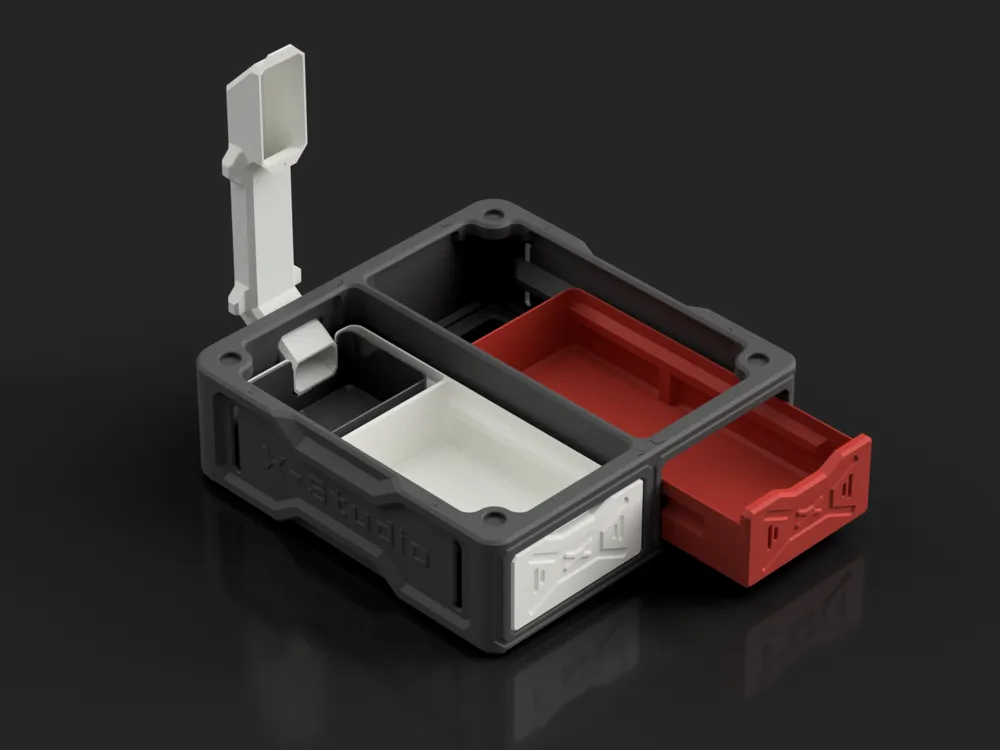
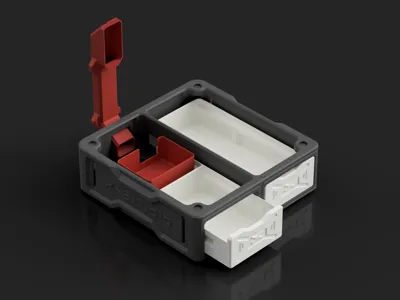
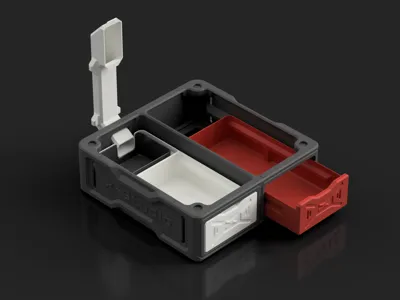
- Built-in poop chute, separate poop box
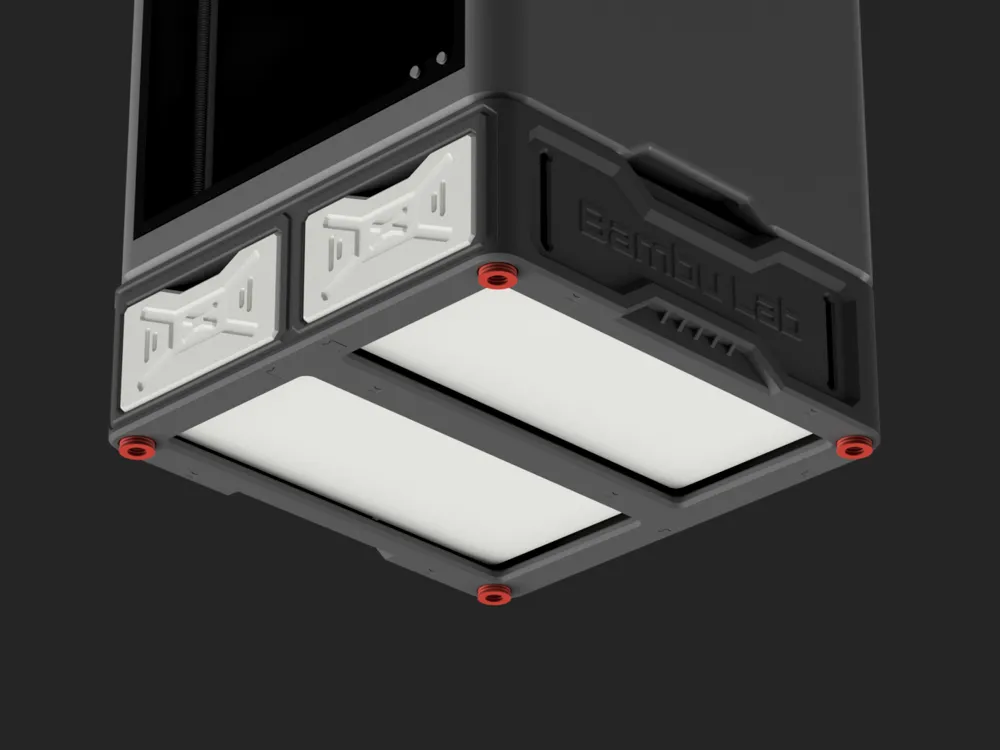
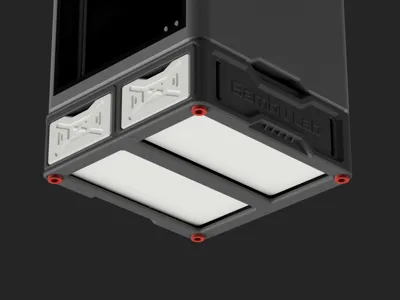
- Machine-matching TPU shock-absorbing feet, ensuring machine stability
- No supports needed, no waste
- Hardware only requires magnets (10mm diameter * 4mm thick or 10mm diameter * 3.5mm are both fine, 8 pieces)
- Ultra-detailed manual, simple installation only requires glue
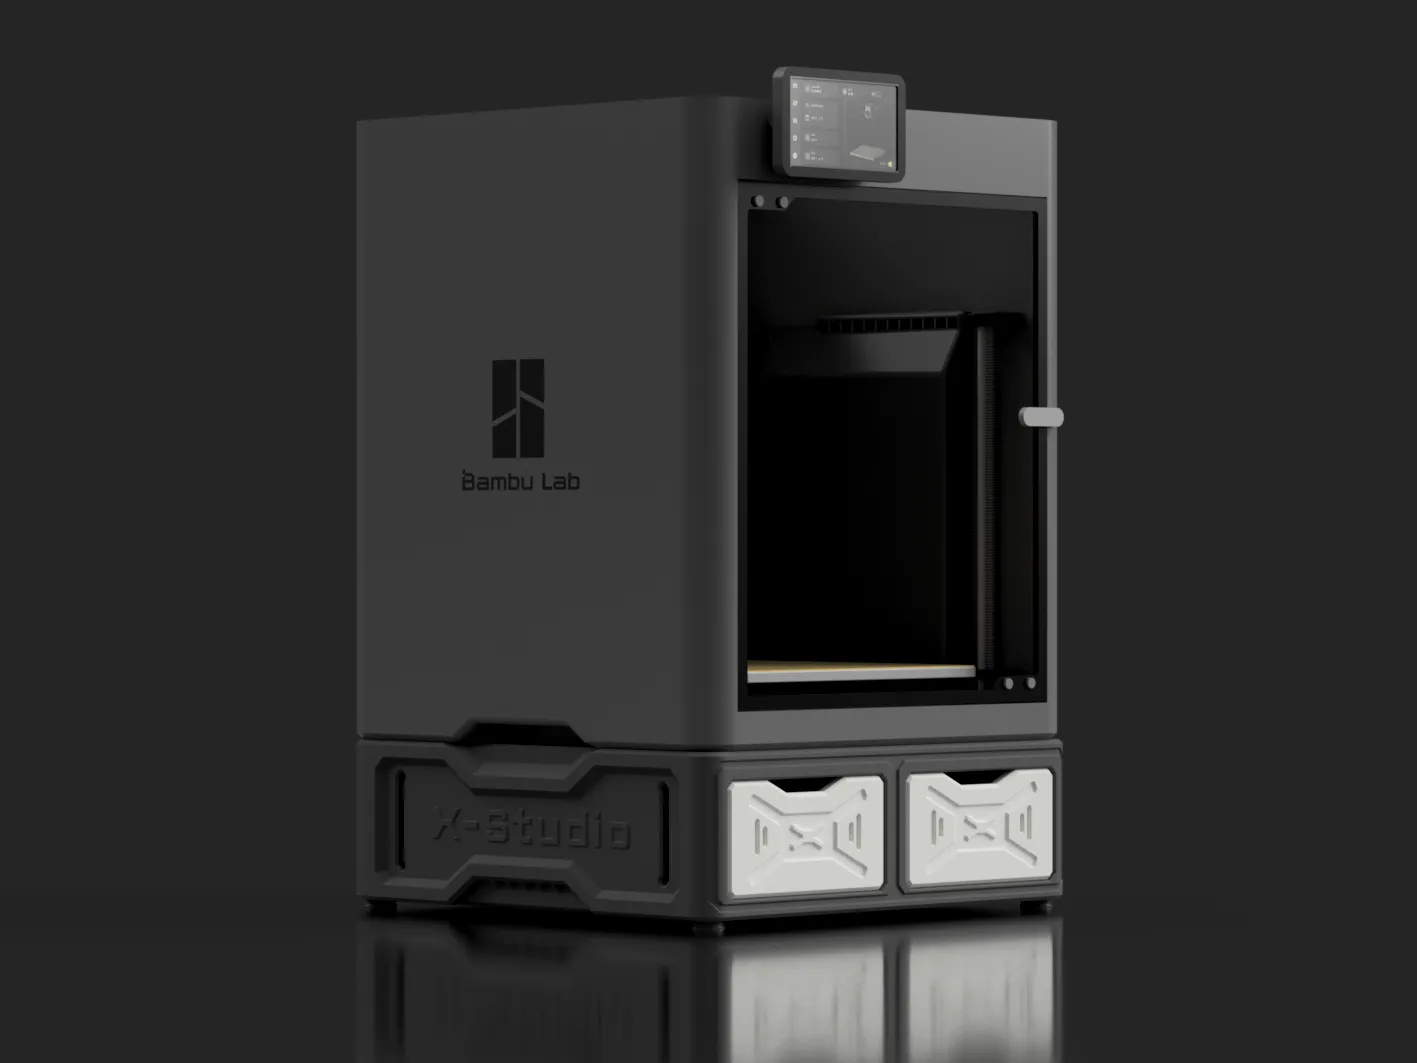
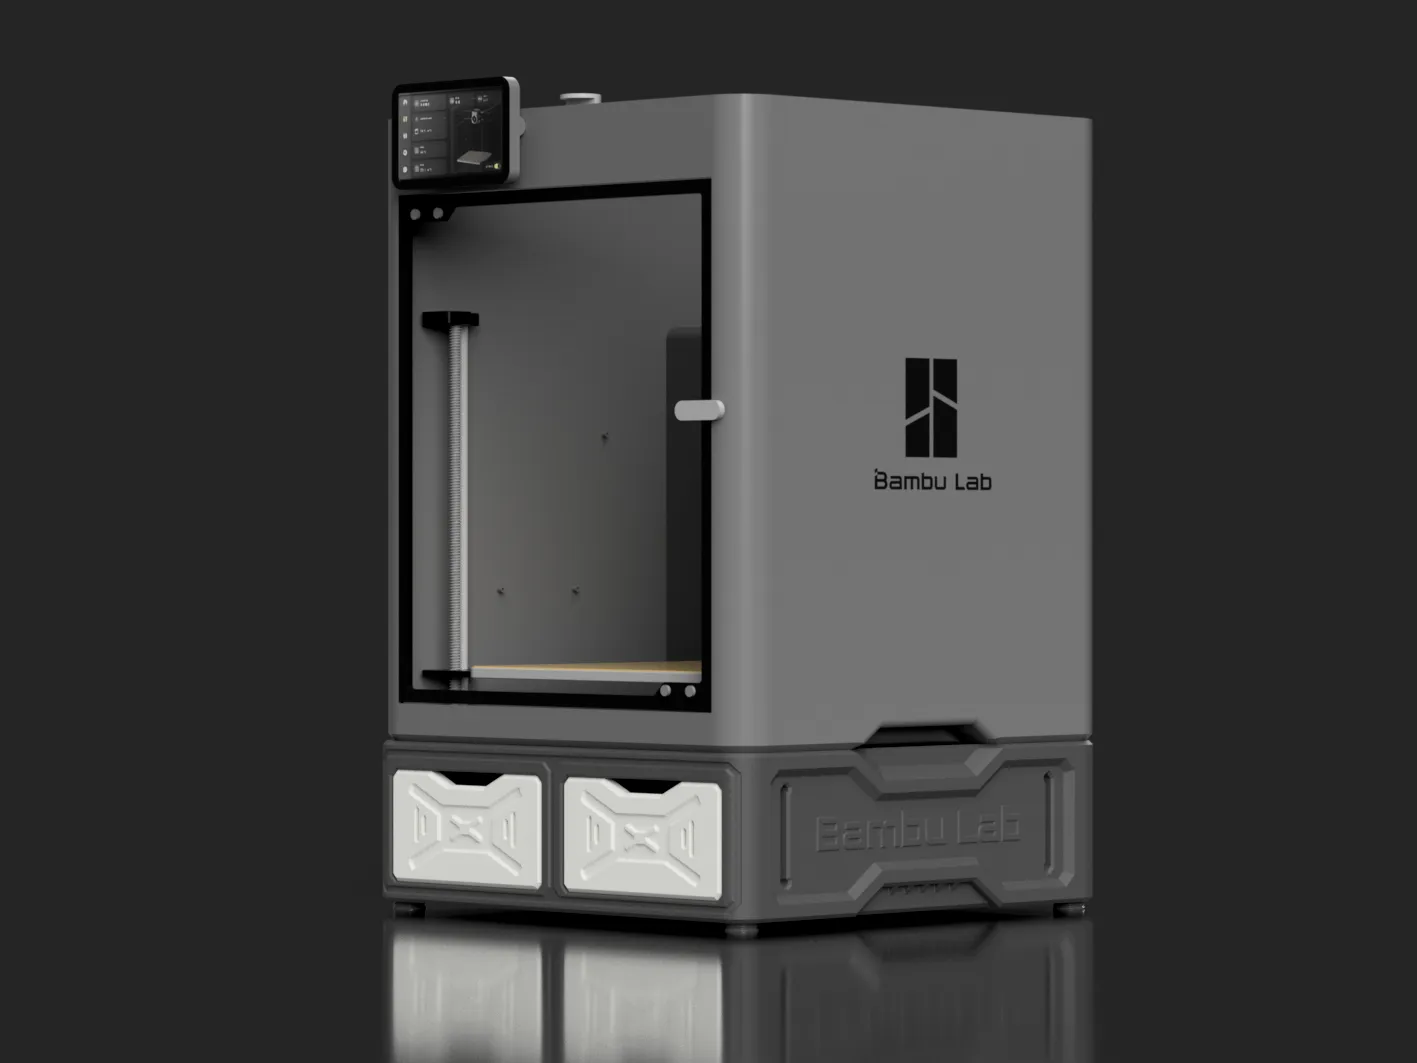
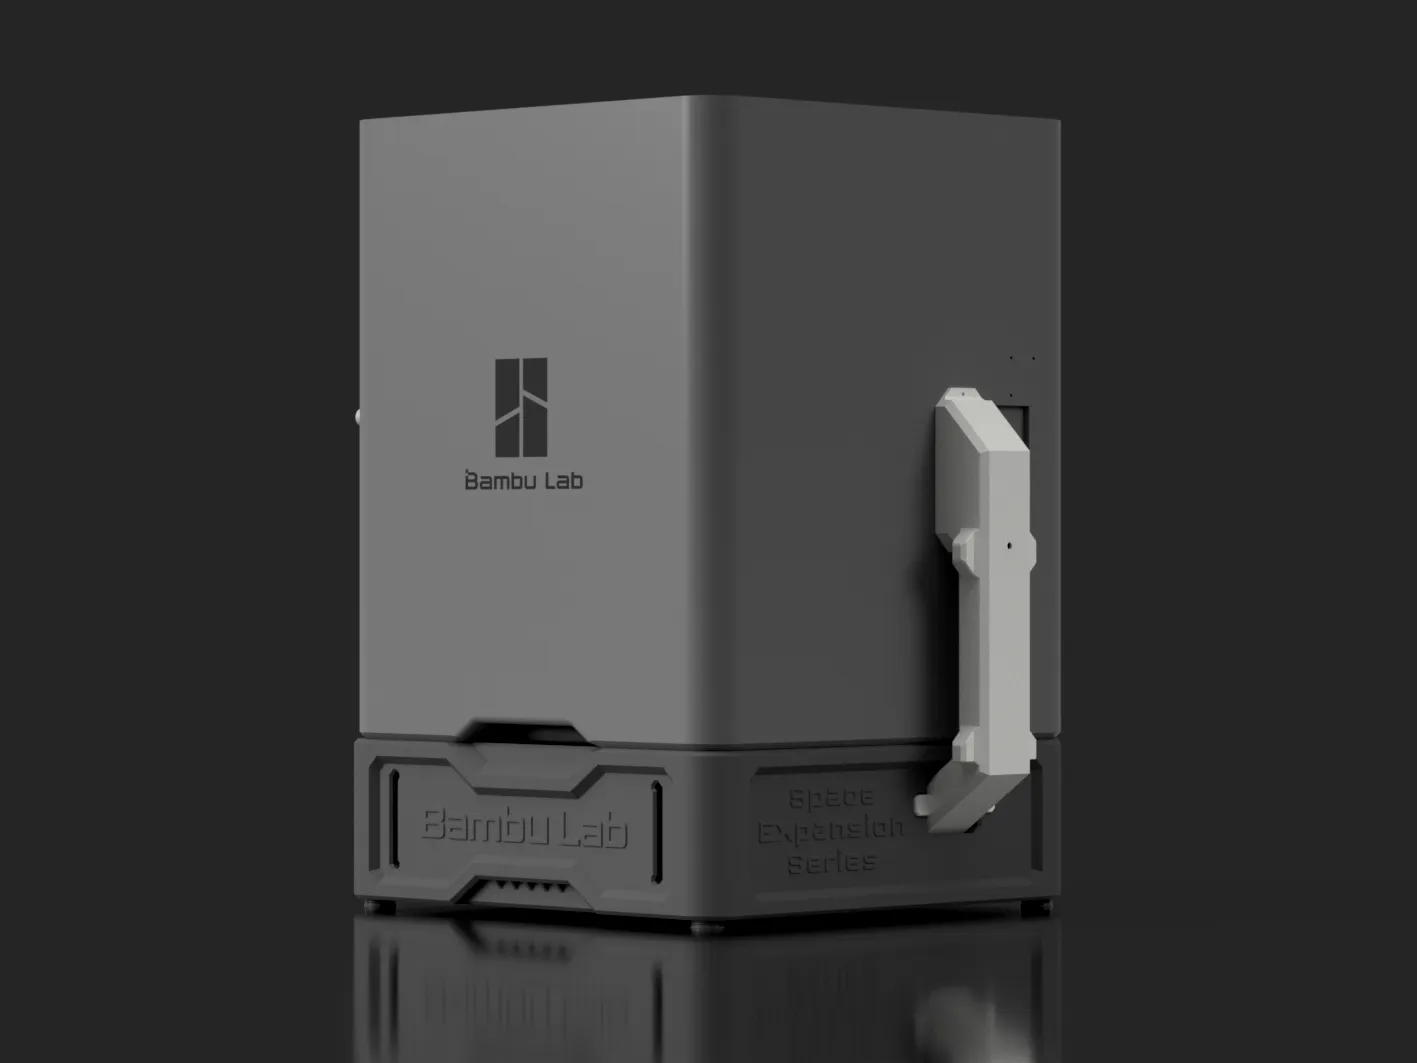
Model Introduction
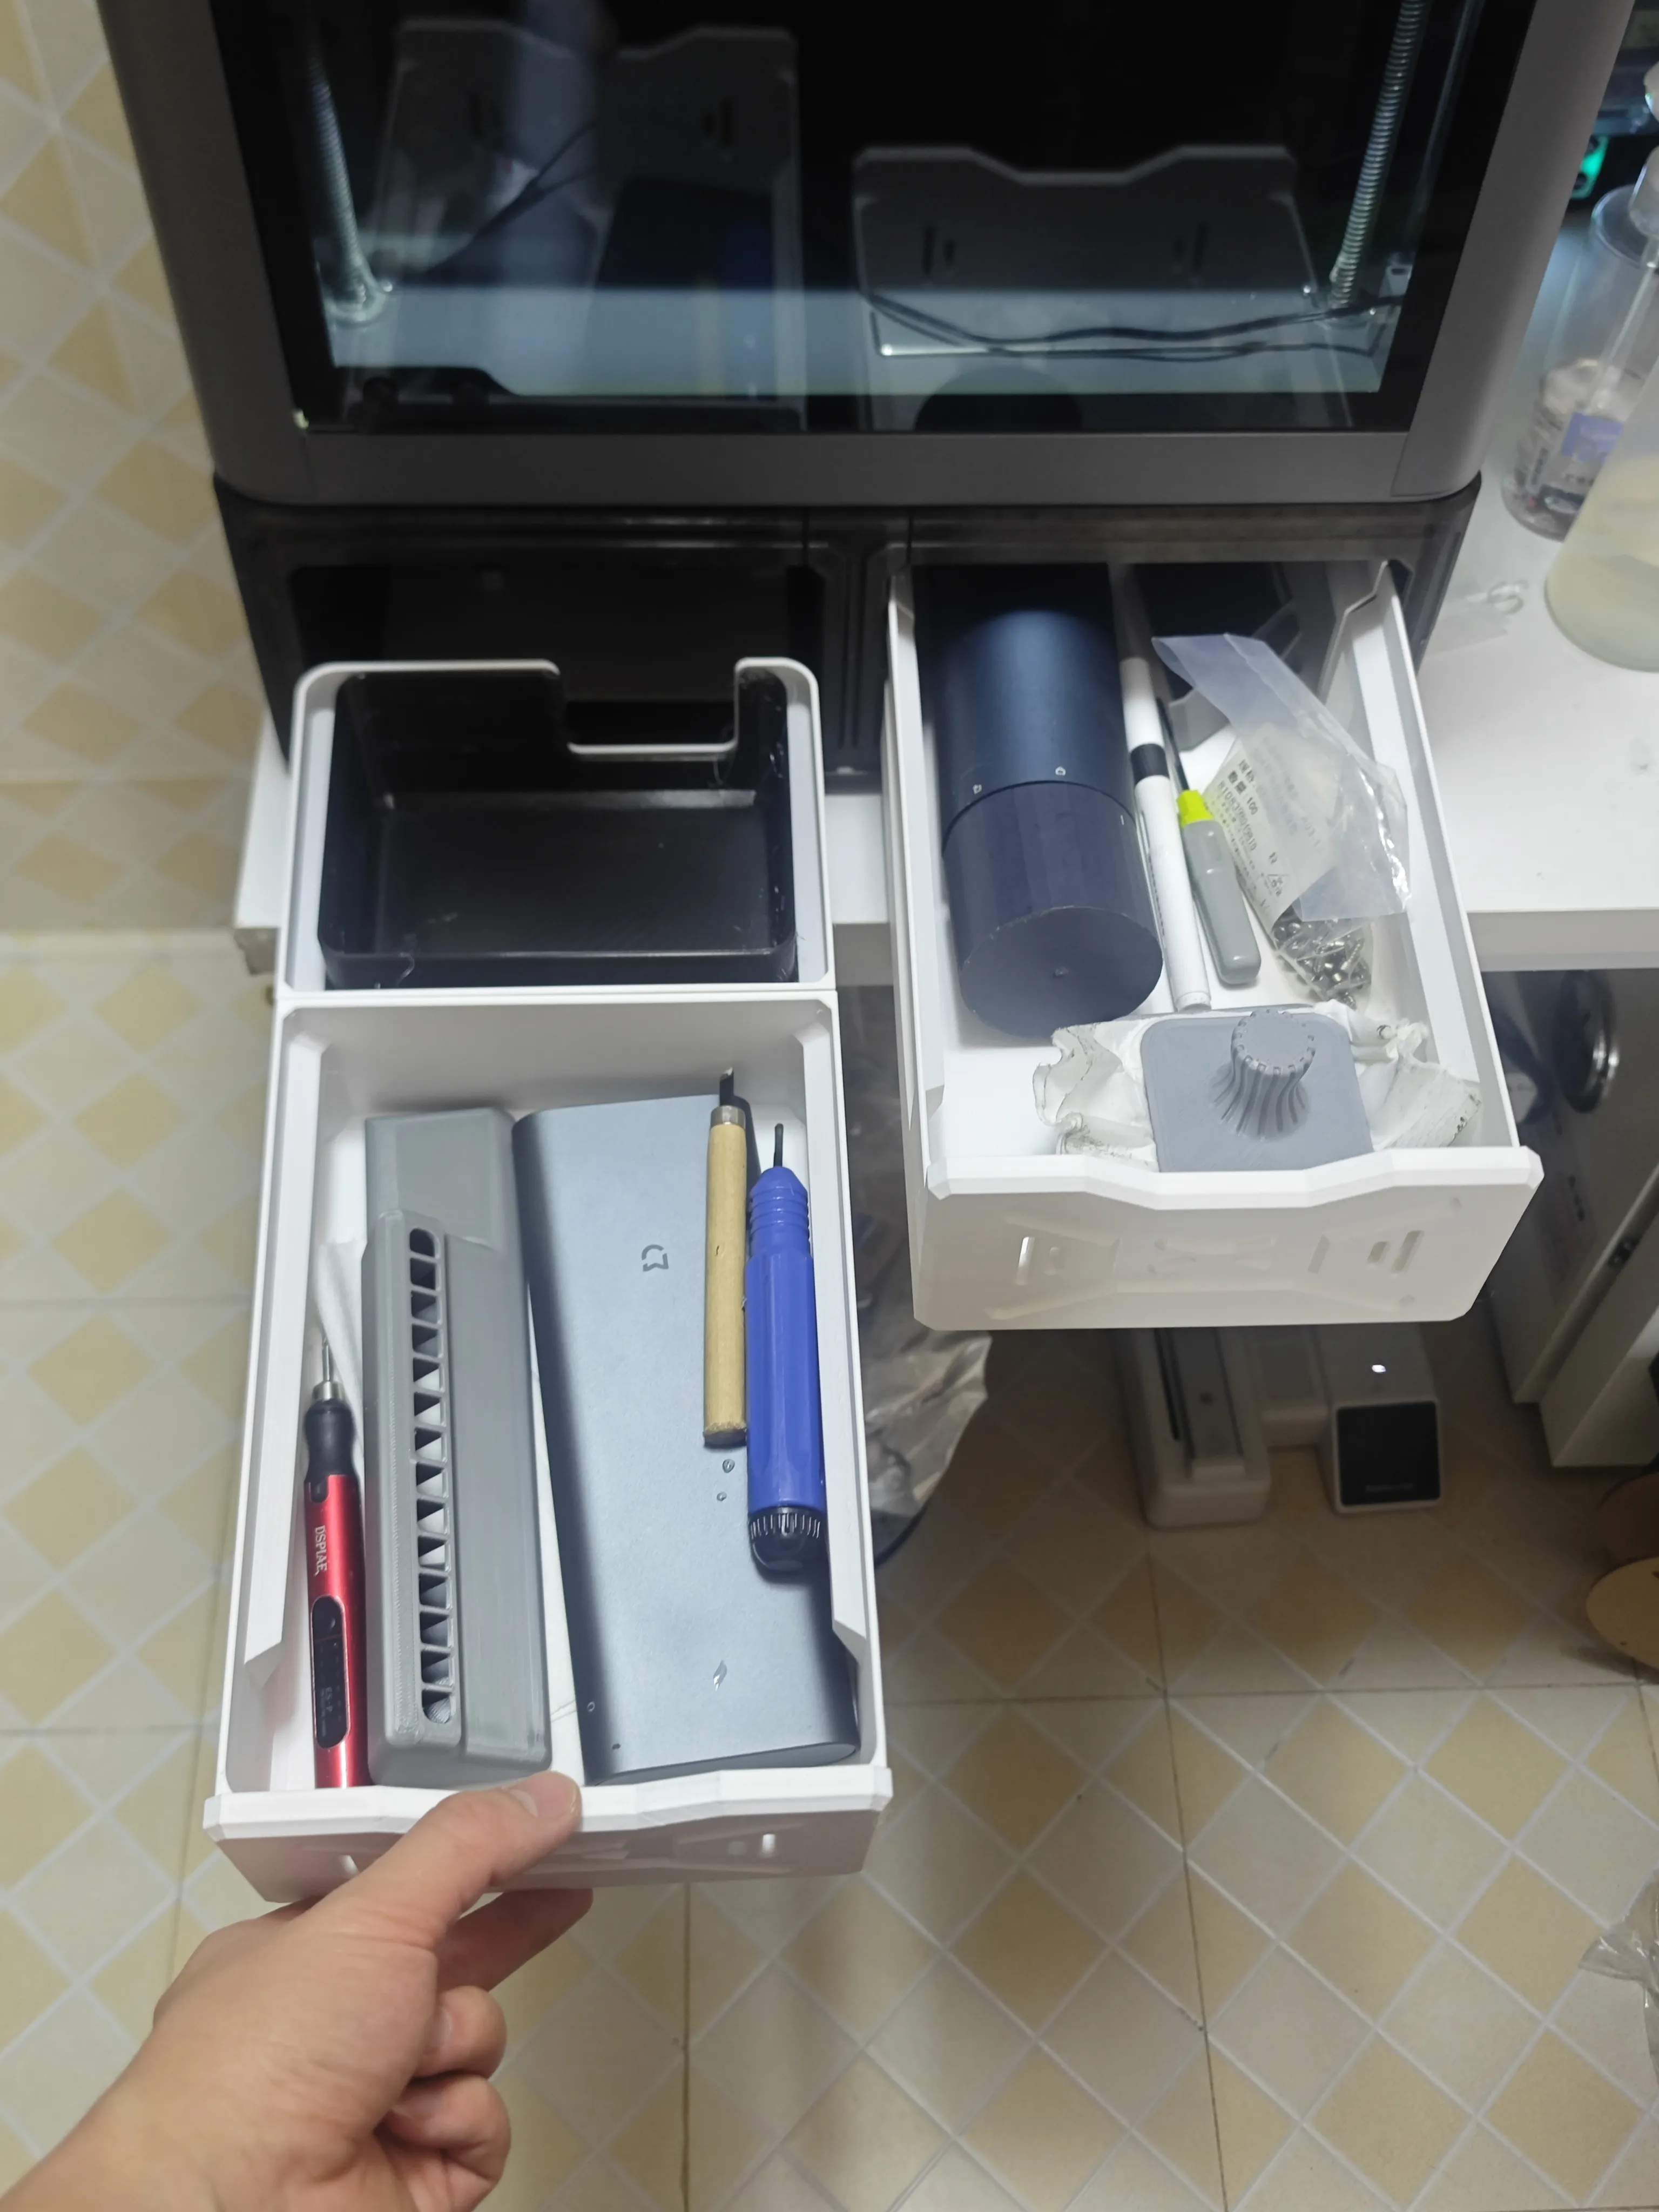
- The model consists of 5 parts: the base, 2 super large drawers, the poop chute, and TPU shock-absorbing feet
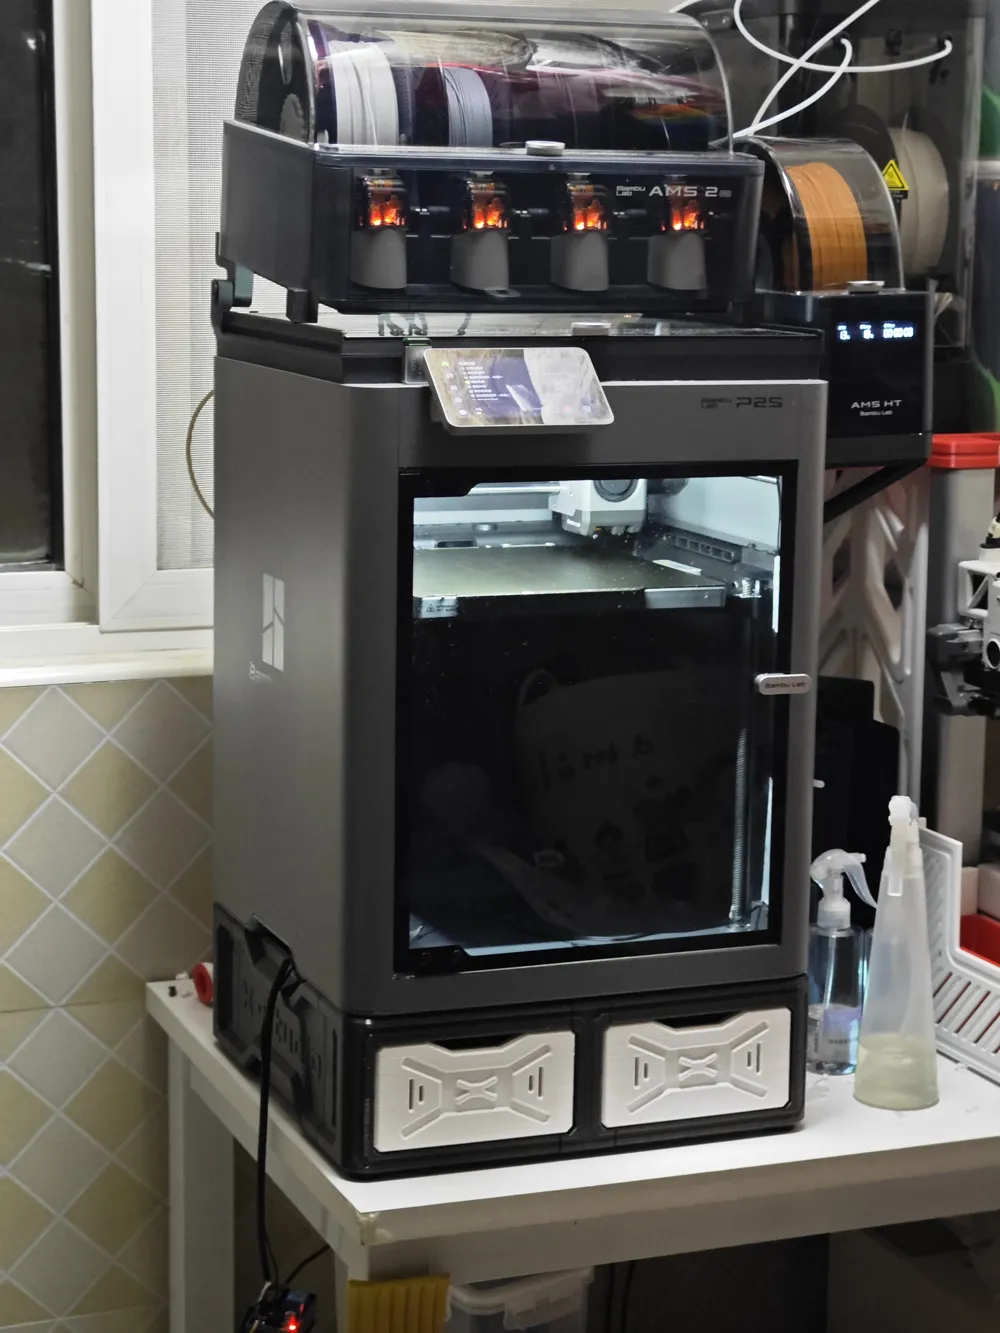
- Developed entirely based on P2S, fits perfectly after installation
- I will provide detailed installation instructions; please read the printing instructions carefully before printing
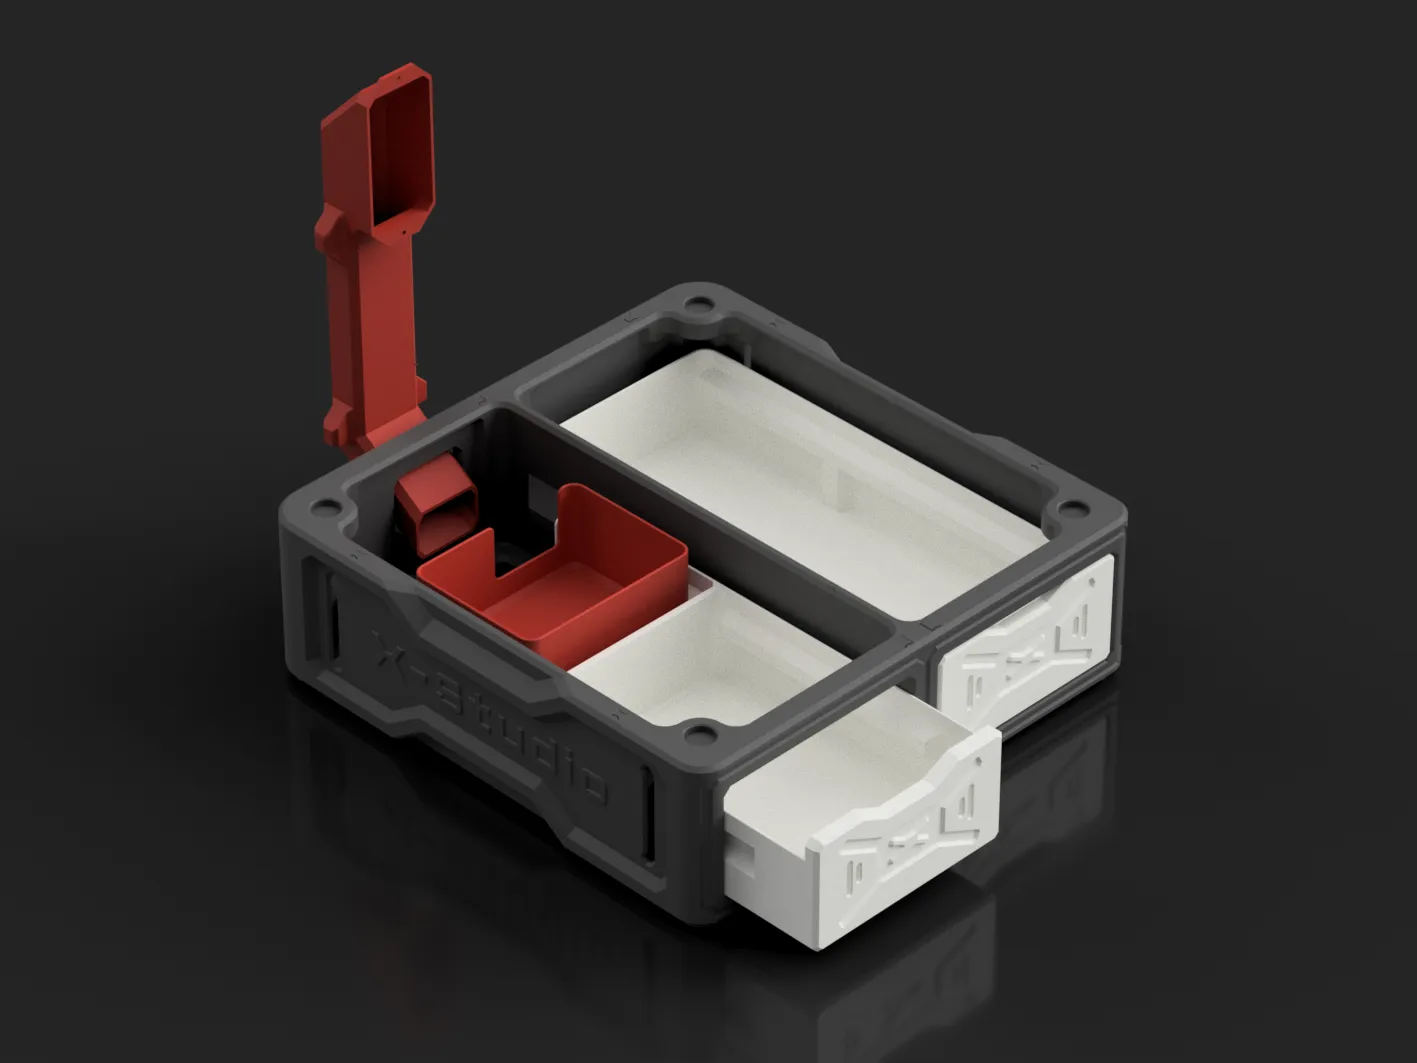
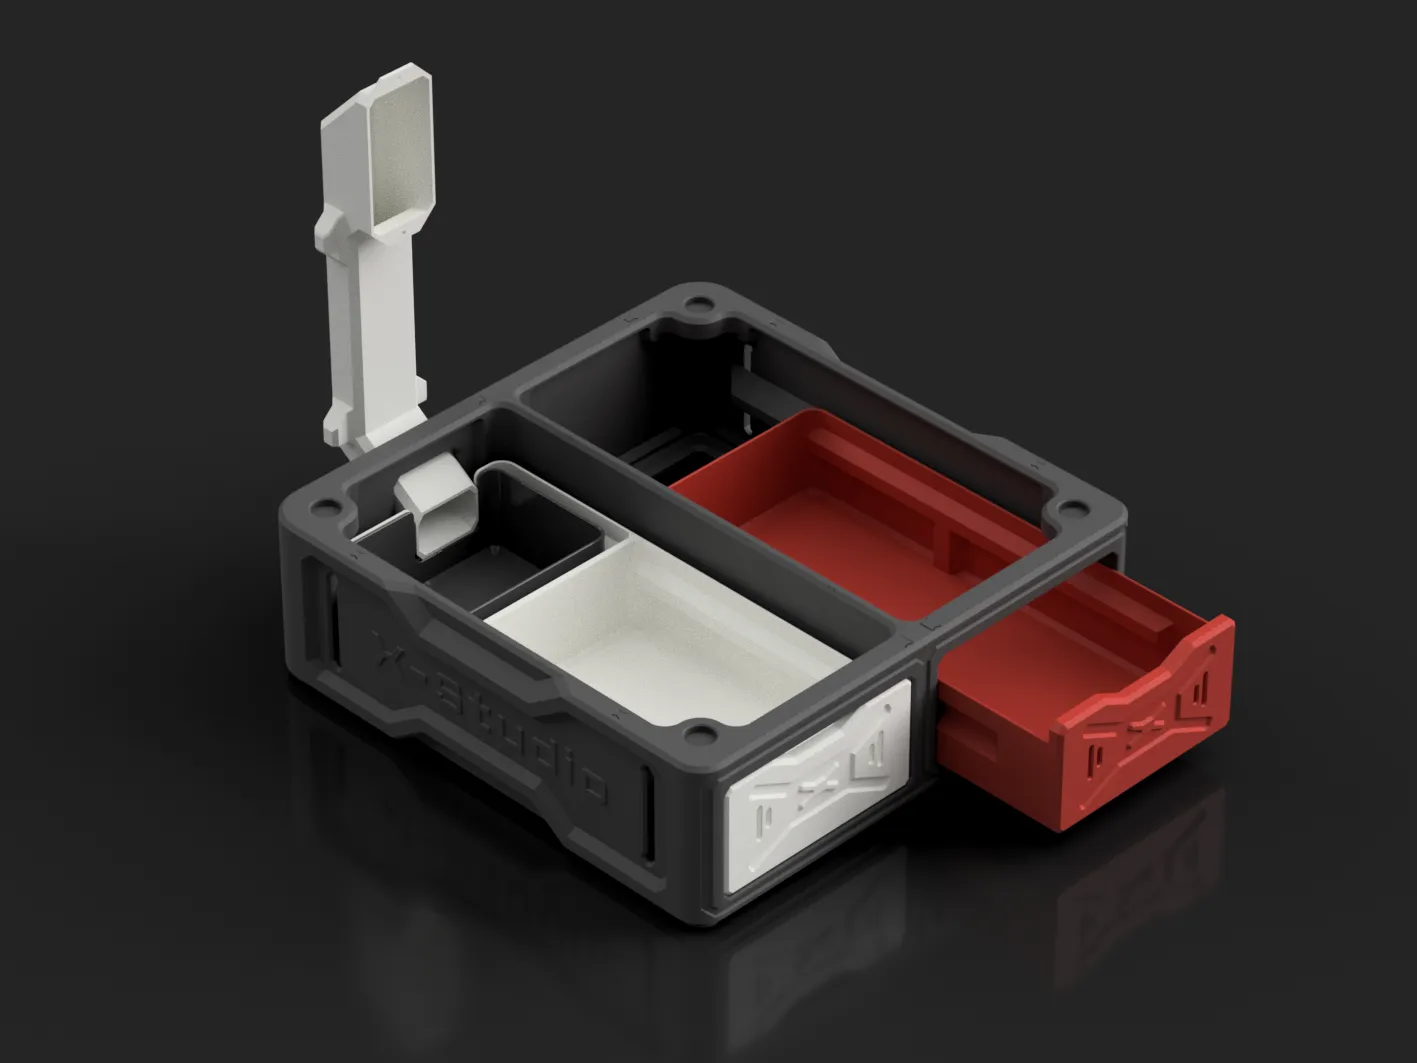
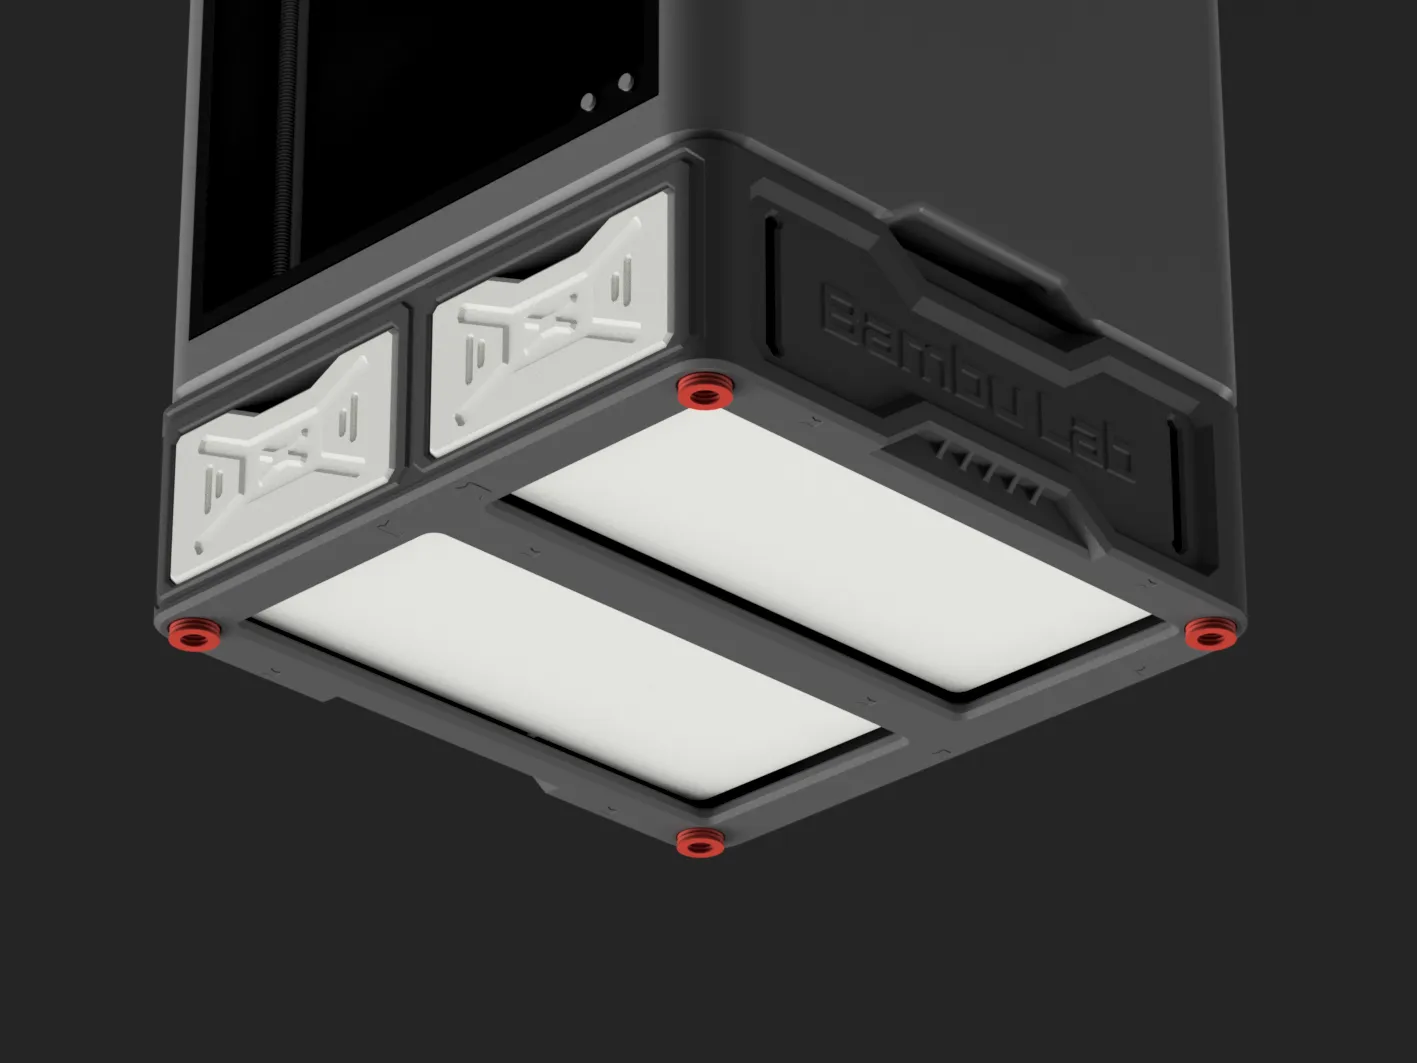
A quick preview, I will subsequently release an active chamber temperature control component for P2S, which will integrate the official left auxiliary fan and 220V 600W active chamber temperature control
Printing Instructions
- There are many large models in this work. Although P2S is an enclosed printer, it does not have active chamber heating. There is still a certain risk of warping in winter. To prevent print failure, I have made corresponding adjustments to the print parameters, please do not change them arbitrarily
- TPU shock-absorbing feet are recommended to be printed with 85A or 90A for better results. It currently defaults to 95A HF, which is easier to print and faster. However, 85A, 90A, or 95A can all be used normally
- It defaults to PETG HF for printing. If you are concerned about warping, you can also use PLA with lower shrinkage, but the corresponding printing cost will also increase
- In addition to the parameters, to avoid print failure as much as possible, all users must complete the following tasks before printing
- Clean the build plate
- Apply glue
- Do not open the chamber door during printing
- Do not blindly increase the filament cooling parameters
- Increase bed temperature by 5 degrees
- Ensure filament is dry (even newly opened filament should ideally be dried once)
- If slight warping occurs, it's fine; a 1-2mm error will not affect assembly (don't strive for perfection too much, ease up on yourself)
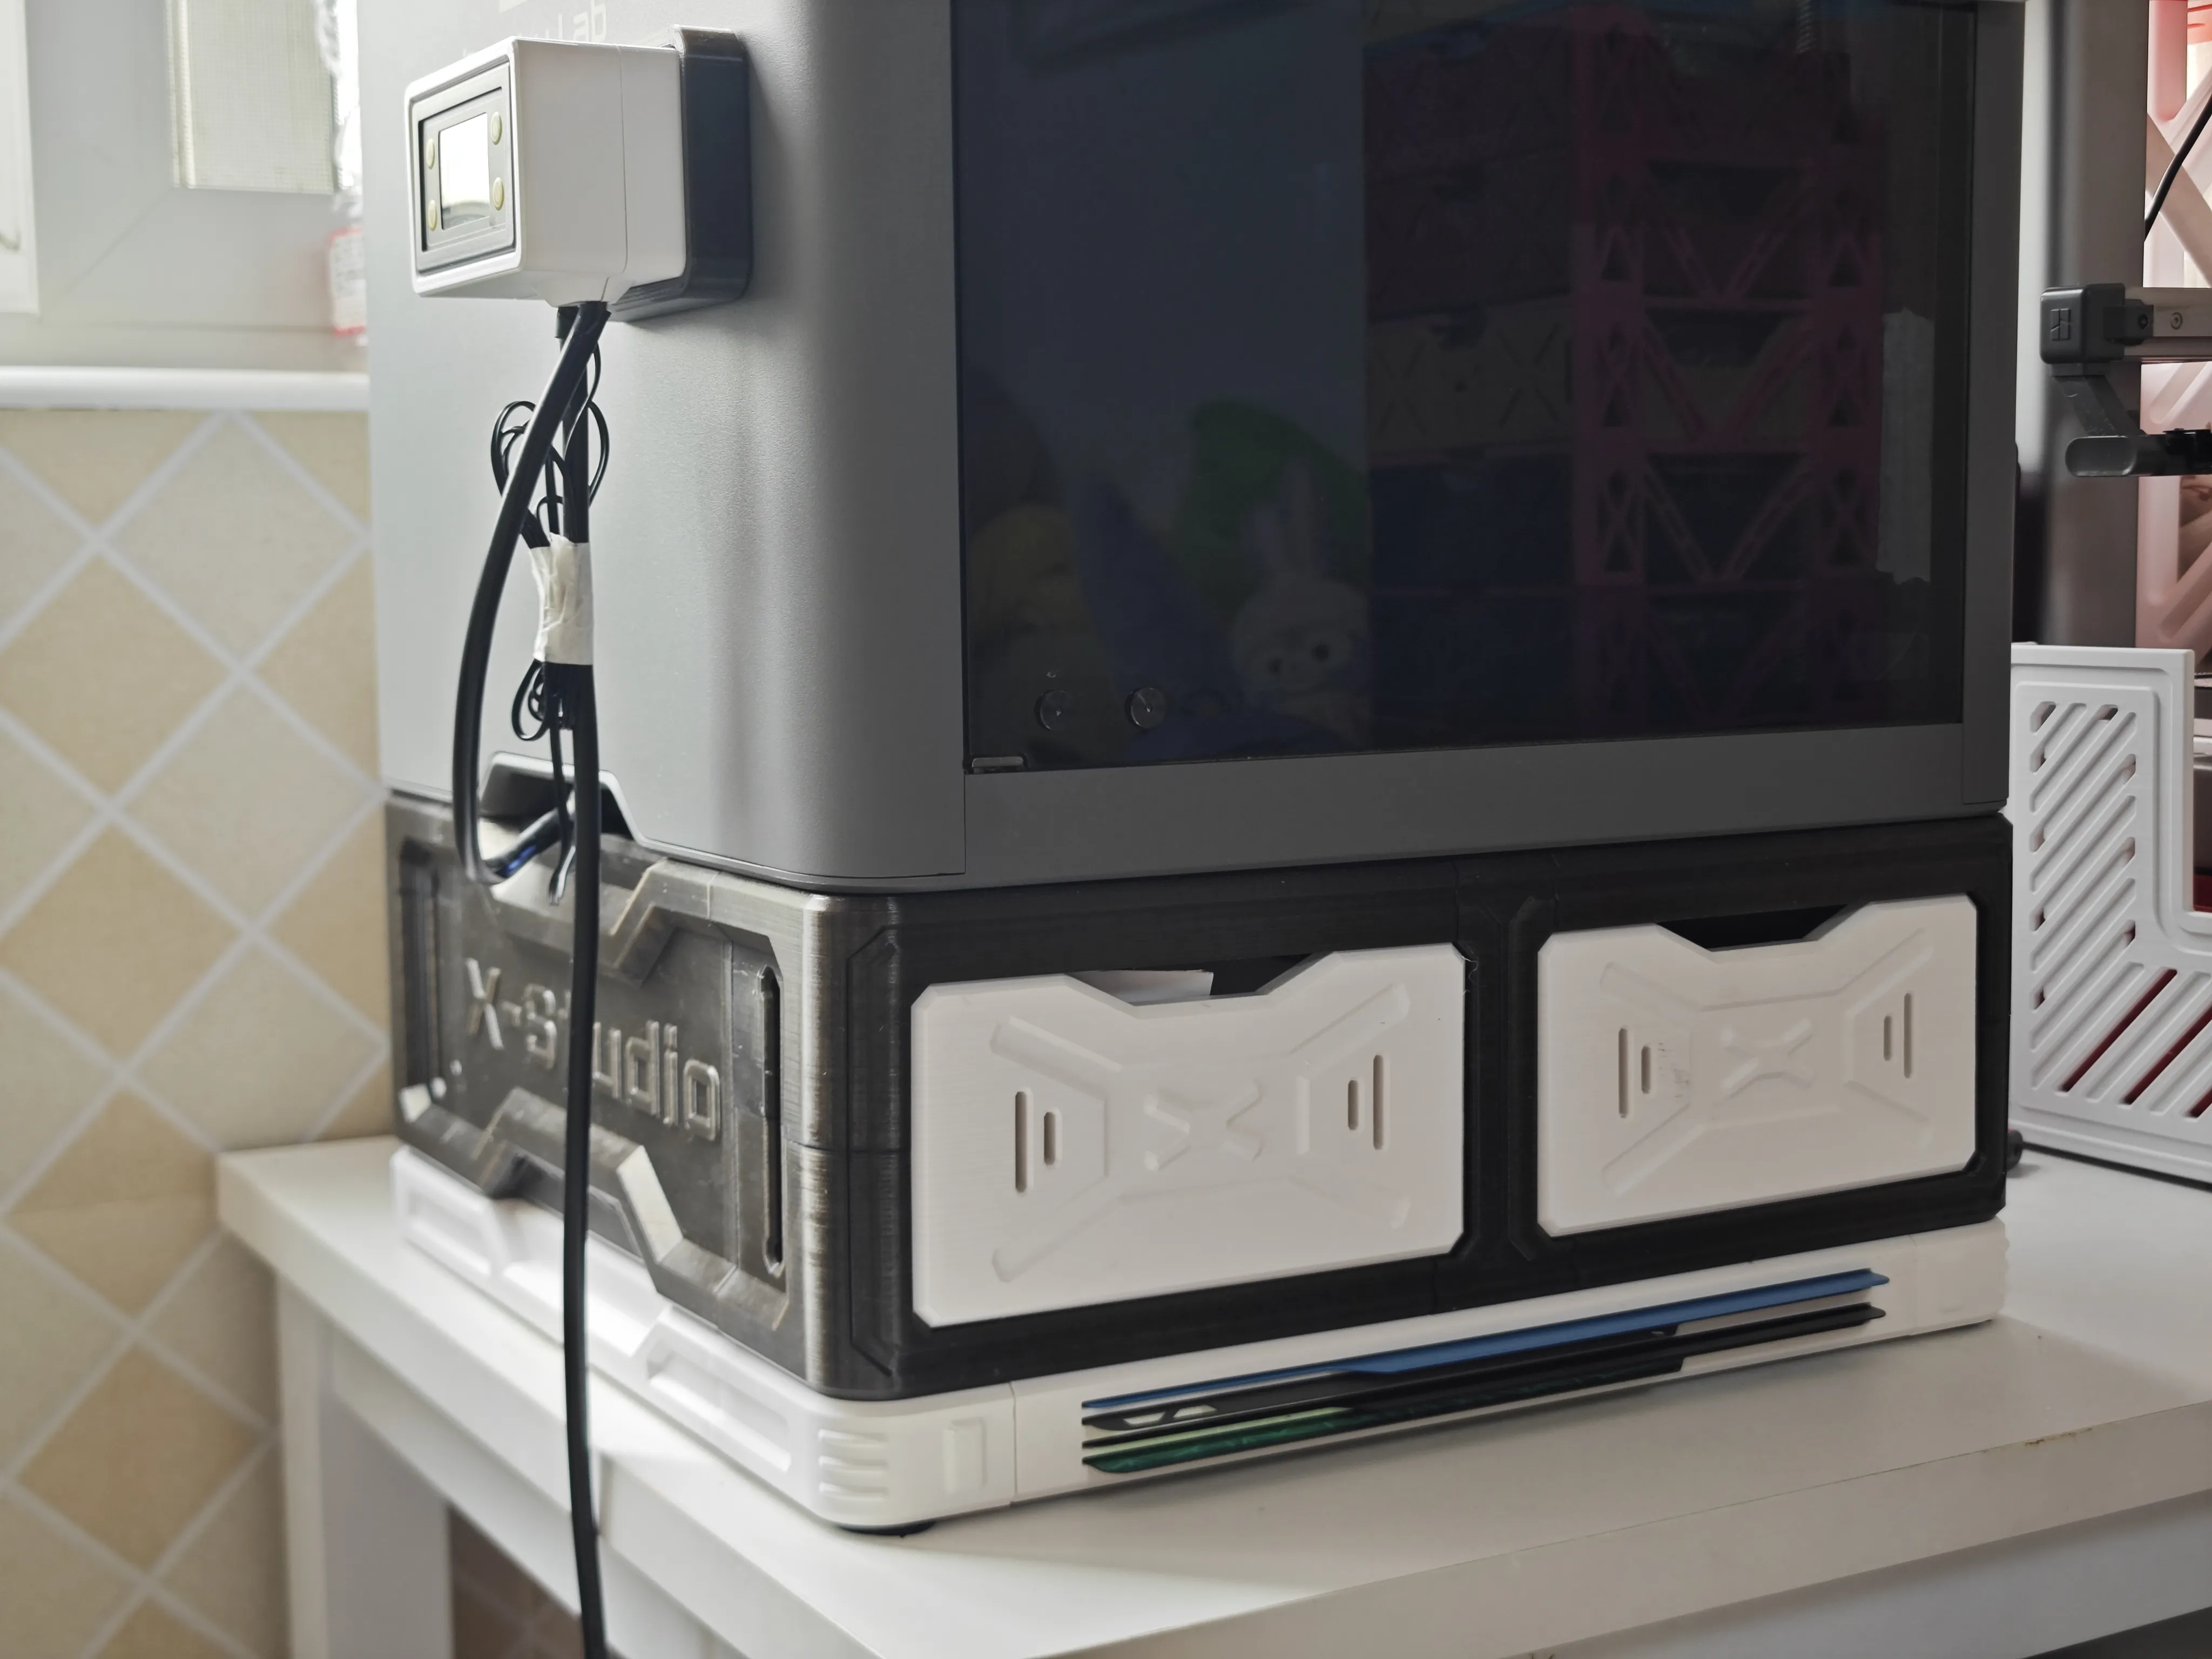
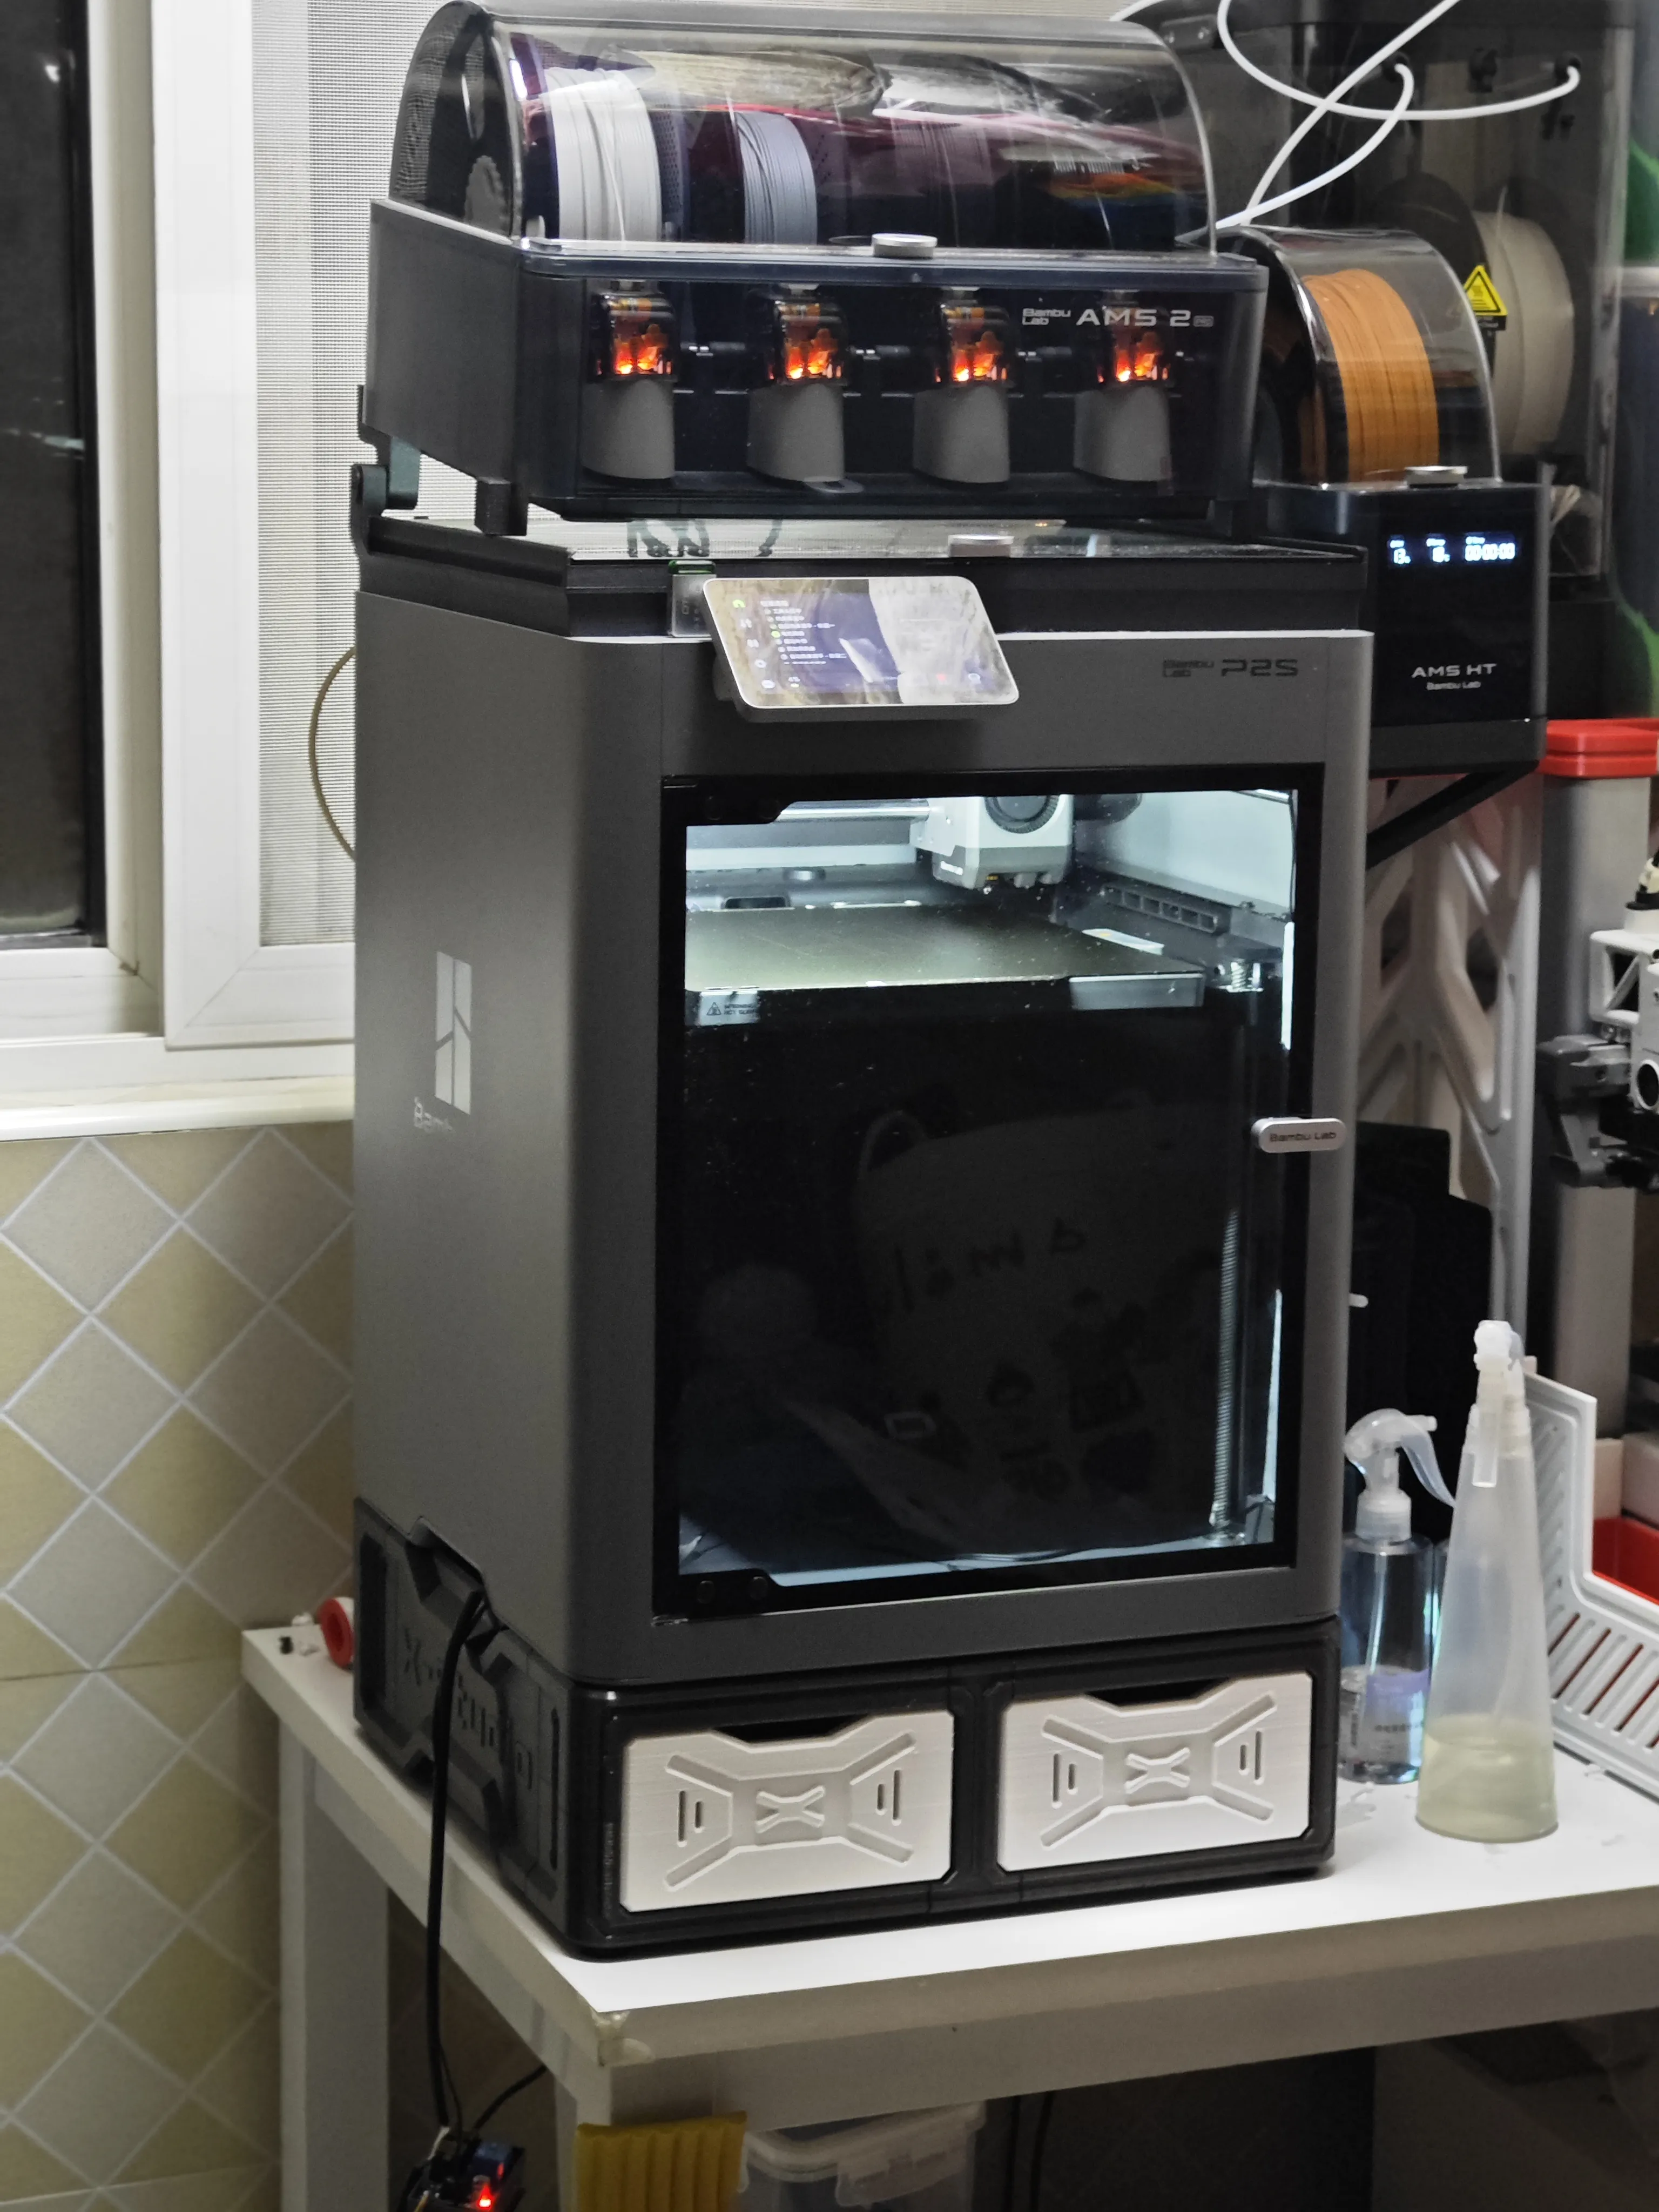
Finally, attached are the actual product images, with a PDF version available for download
Documentation (3)
License

You shall not share, sub-license, sell, rent, host, transfer, or distribute in any way the digital or 3D printed versions of this object, nor any other derivative work of this object in its digital or physical format (including - but not limited to - remixes of this object, and hosting on other digital platforms). The objects may not be used without permission in any way whatsoever in which you charge money, or collect fees.


Comment & Rating (365)