
Print Profile(1)

Bill of Materials









Description
Hello my Friend and Welcome to my Page :) Have Fun with the choosen Model and let me know what you think after Printing it in the Comments. I appreciate every Feedback and hope you find something usefull for yourself. Enjoy
Hey my Friends,
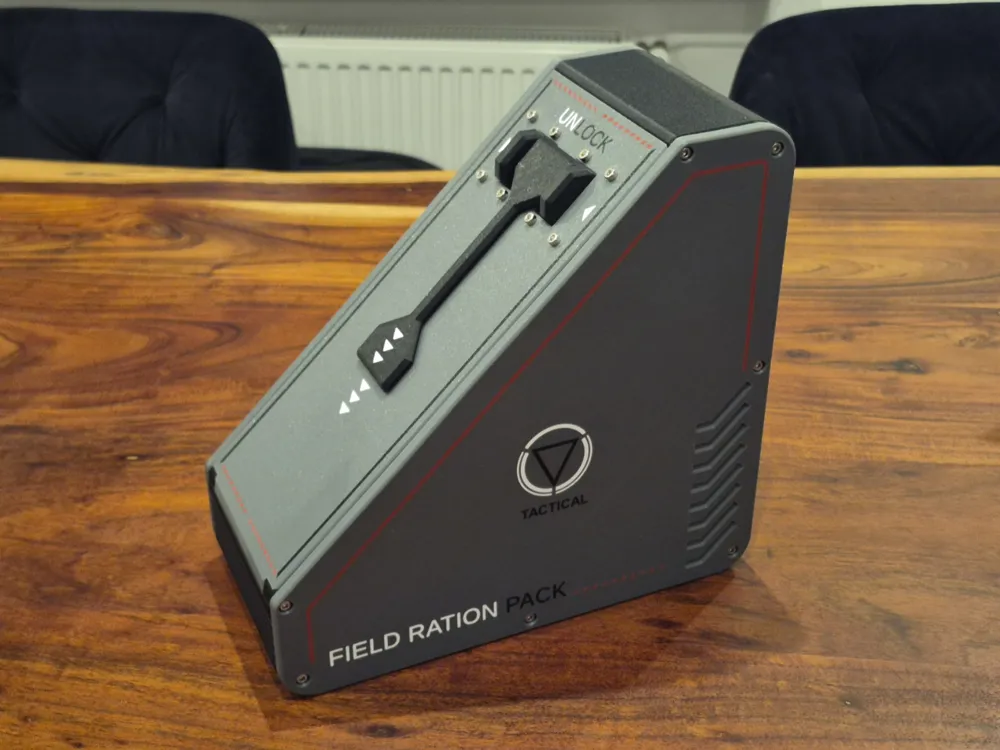
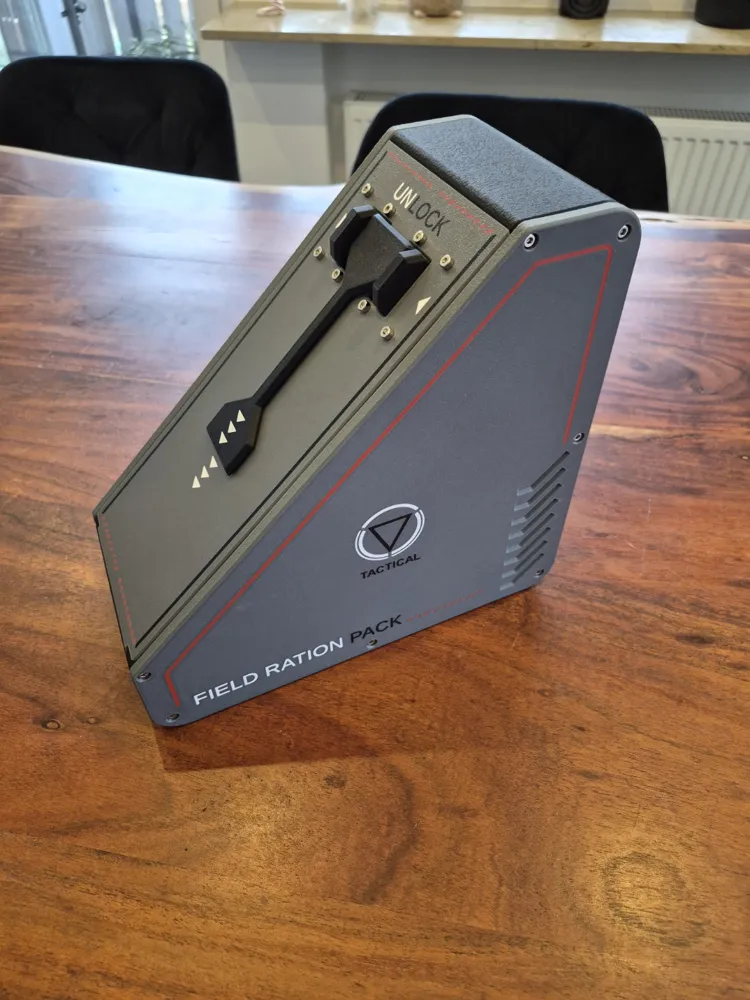
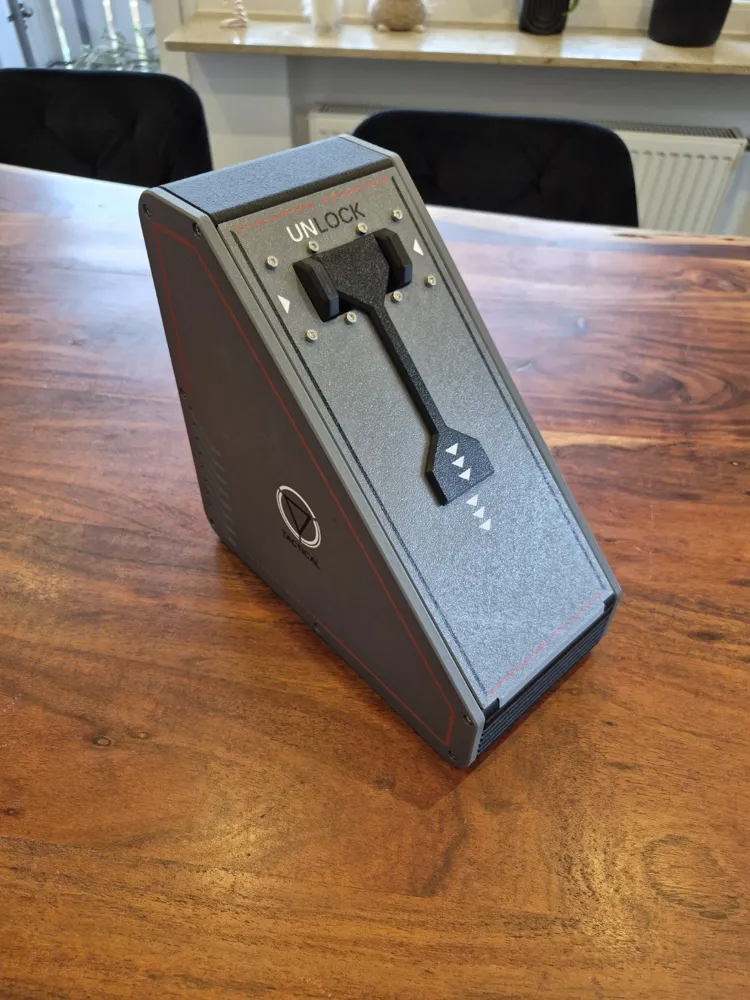
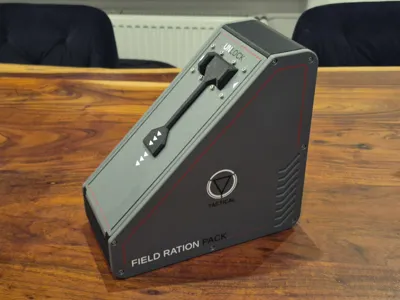
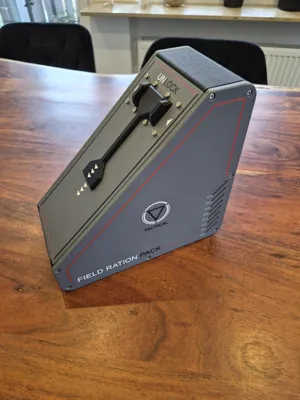
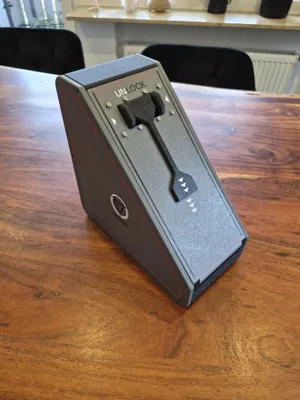
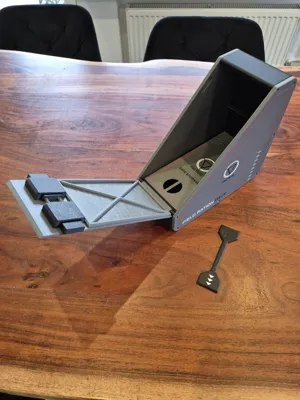
Long Time no see but now i am Back with a little Projekt for you :) Since i am very into Science Fiction and love Spaceships, the Universe and some Sort of Future Military stuff, i wanted to have a Lunch Box which shows my dedication. And here it is, the Scifi Lunch Box.
Currently i am Developing my Skills in Fusion and building things, so i wanted to give you a Projekt with a little assemble. Not just printing but a bit more of a Projekt. To achieve the Quality in the Pictures, you need some additional Parts to build this. I list them in the BOM at the end of this Page and also list them here. You will need the following parts to assemble this Box:
22x Heated Brass insert M3 x 5 x 4mm
20x M3 x 12mm
2x M3 x 20mm
2x Coil Spring 0.5 x 5 x 20mm
4x Round Magnet 5x2mm
Additional, when printing the inner Extra Storage Casing you need:
4x Round Magnet 5x2mm
I printed mine in PETG-HF because of Durability and heat Resistance when travelling in cars and stuff. Also, it is a bit more Rugged and not as stiff as PLA. If you want to, you can use PLA of course. I will add a extra Printprofile for PLA.
Assembly:
Take the big middle Piece and lay it on its side. Melt in the heated inserts with a soldering Iron. You need to melt in 14 inserts in total. 7 on each side.
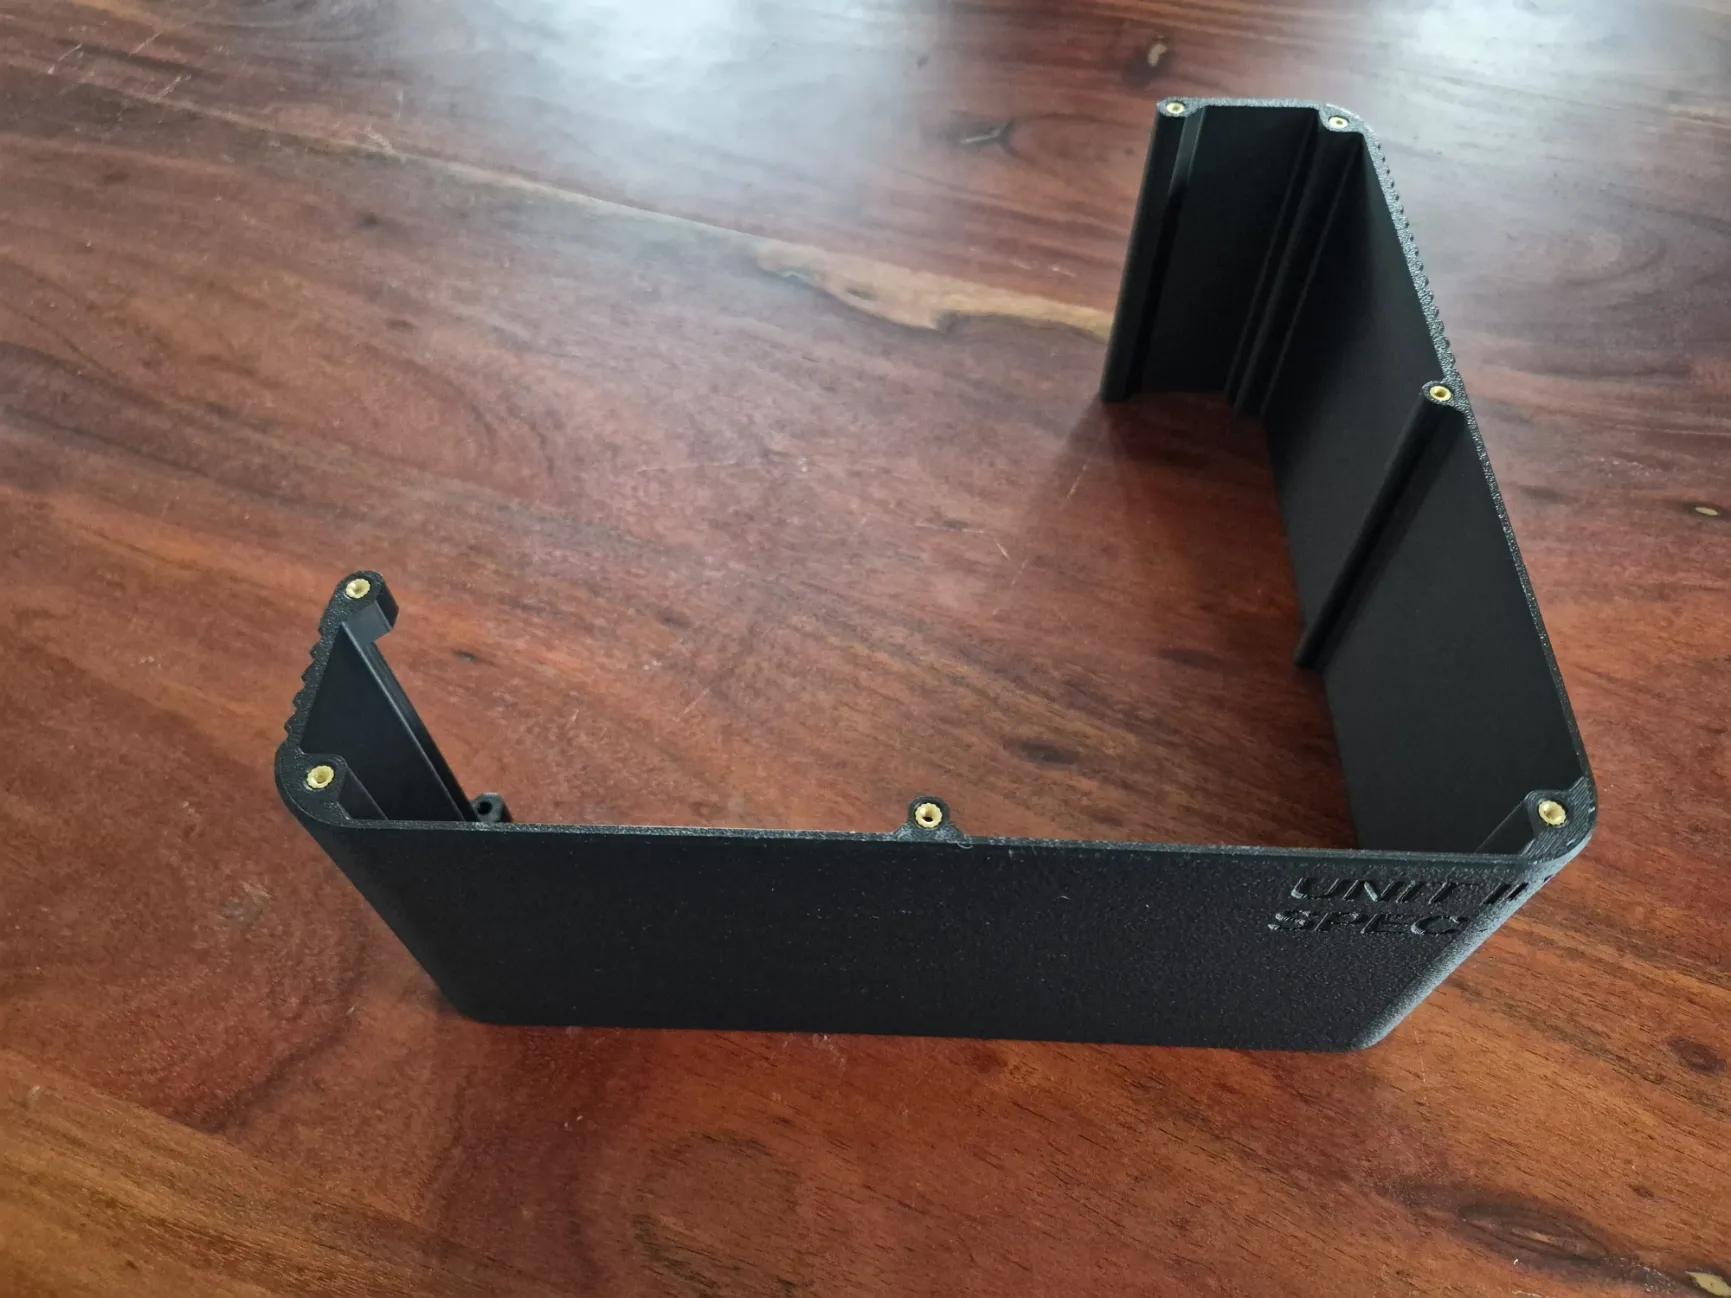
2. Take the first sidewall and screw it onto the middle piece. You need 6 M3x12 screws and one M3x20 screw. The M3x20 goes in the Front where the door will be located. It acts as a Hinge pin when screwed all the way in. So dont tighten this screw in this step. You need this screw to be loose when putting the door in.
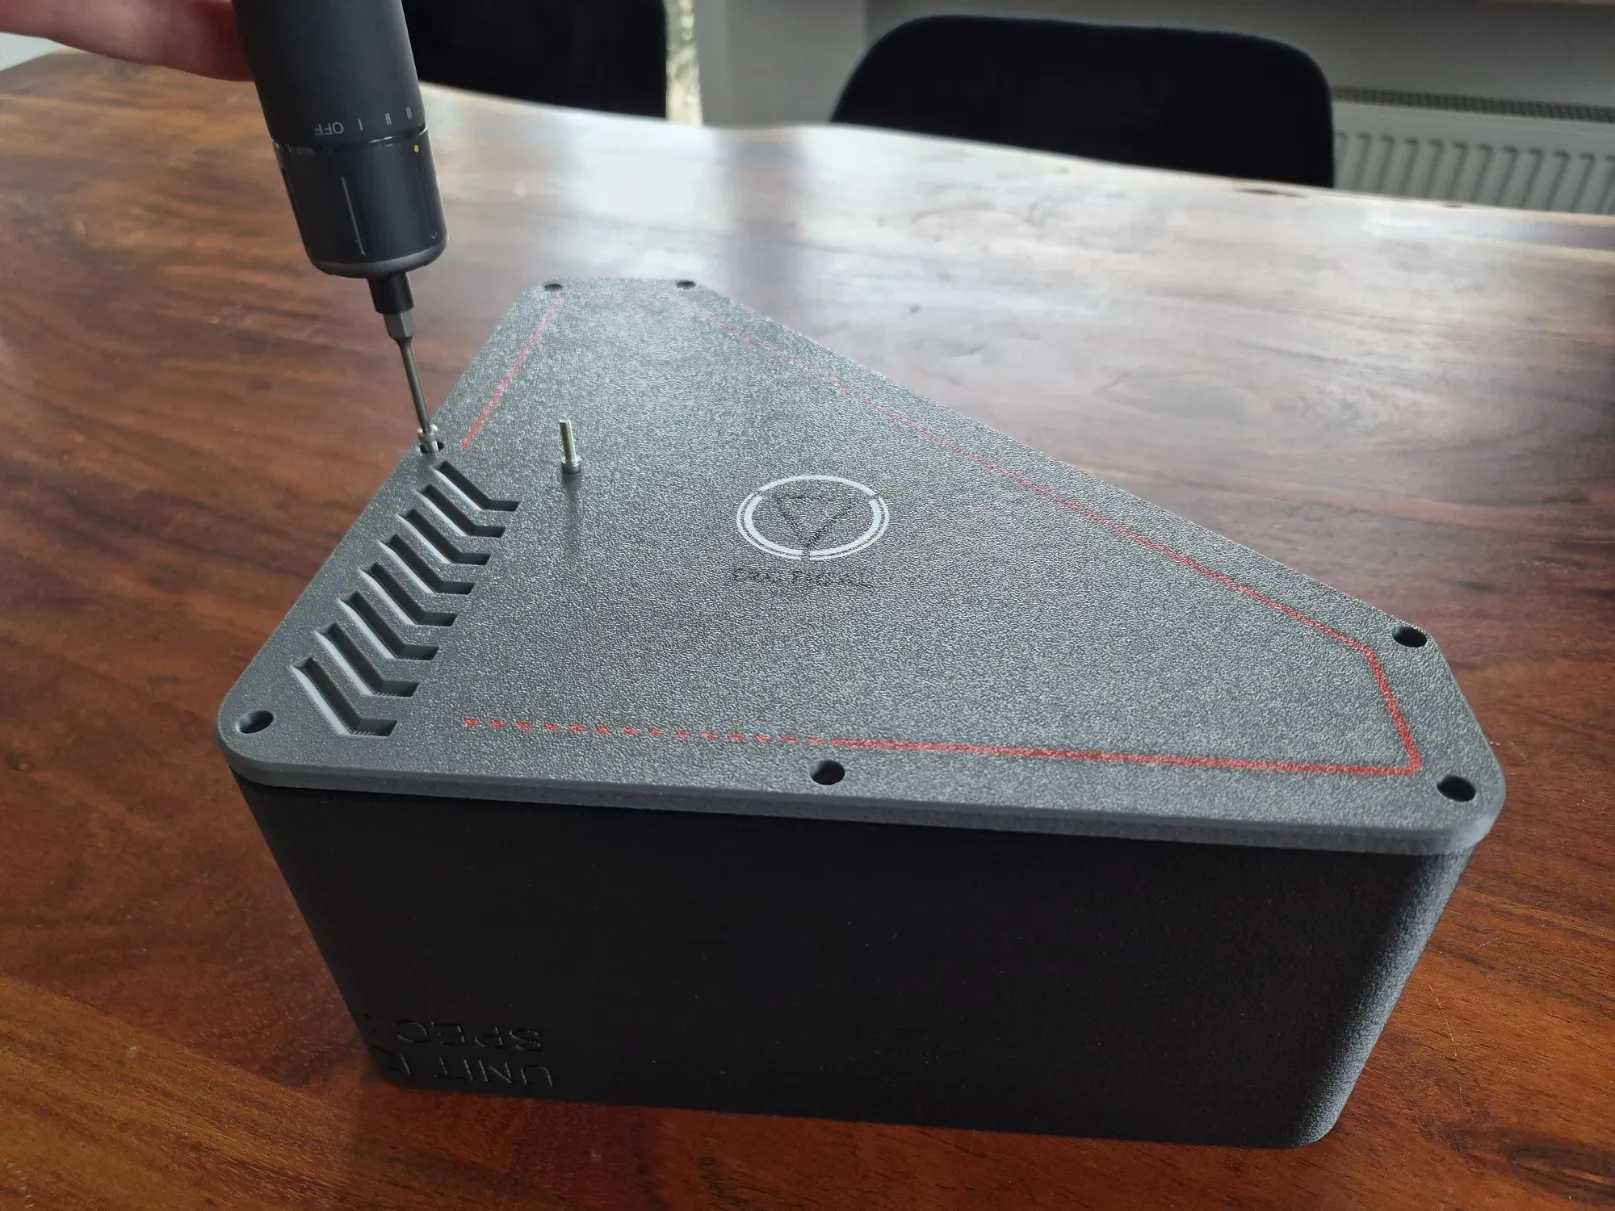
3. Take the door piece and put the two 5x2mm magnets in. Make sure they are oriented the same way. Then put the door piece in the Slit in front of the Box and tighten the first M3x20 Screw to hold the door in place.
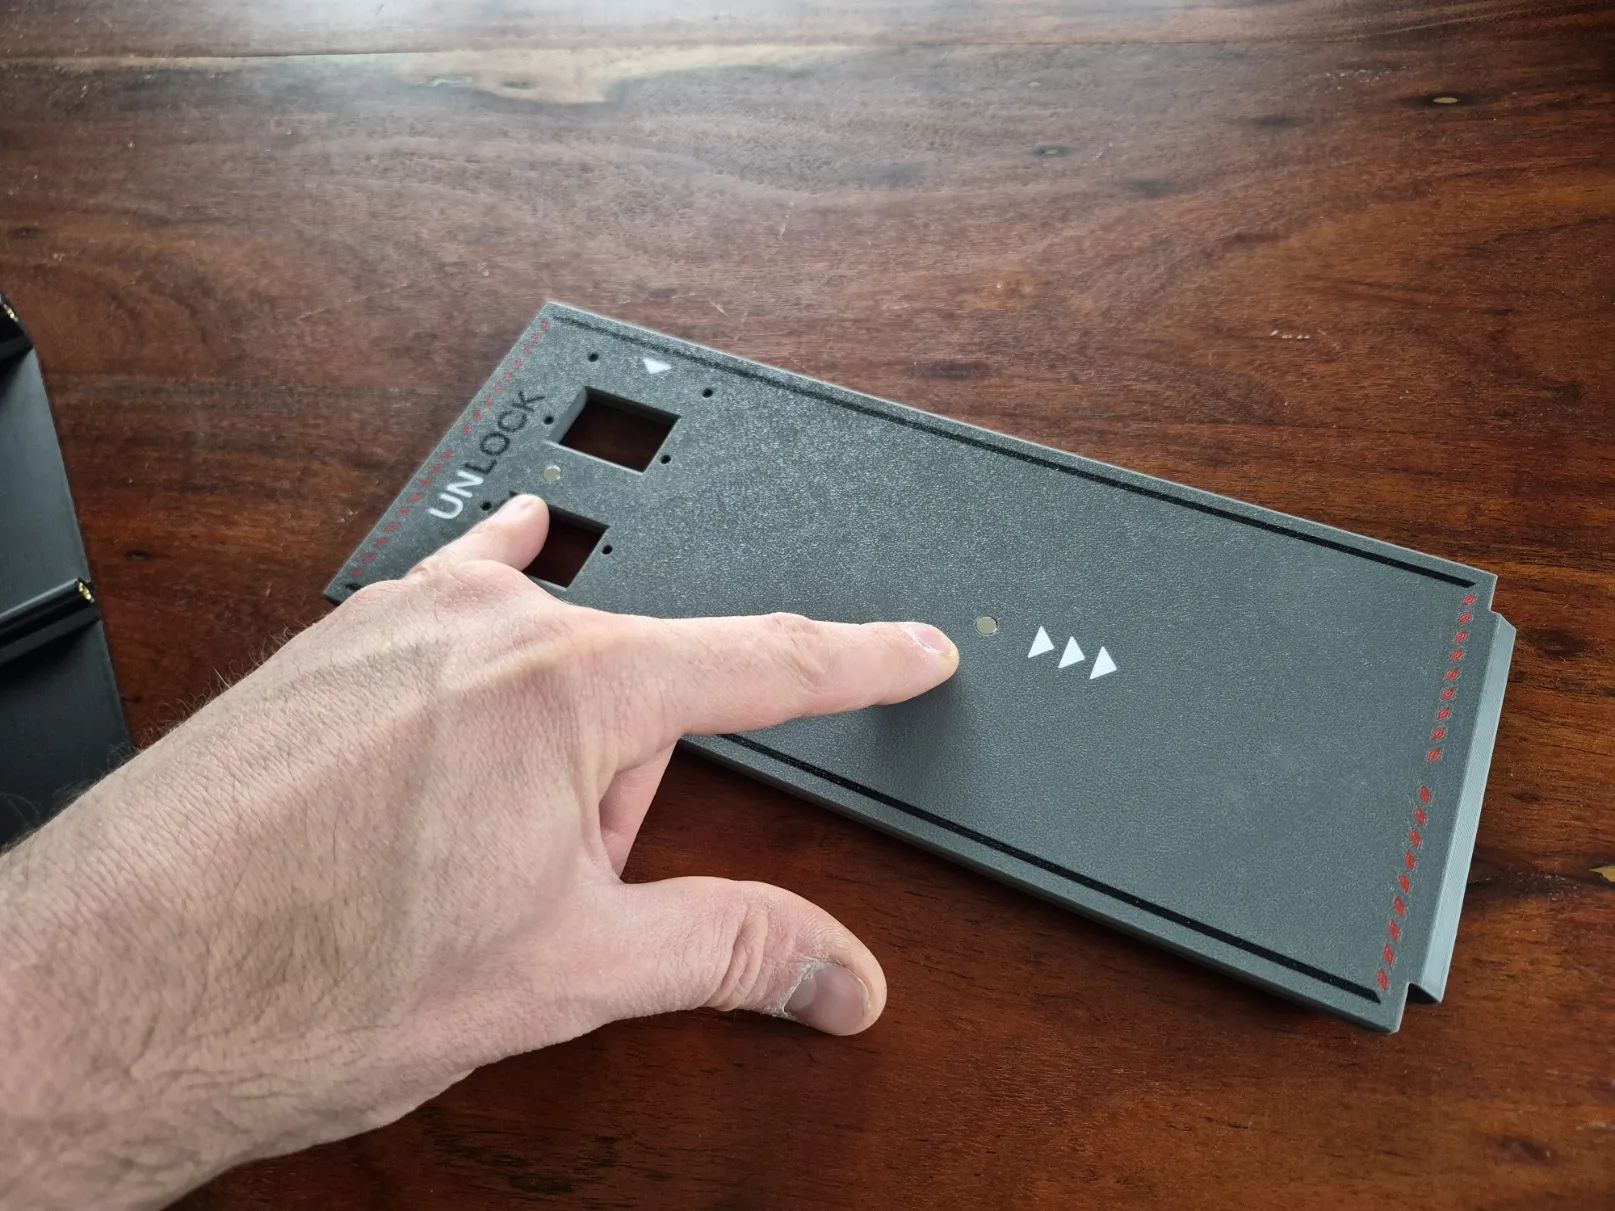
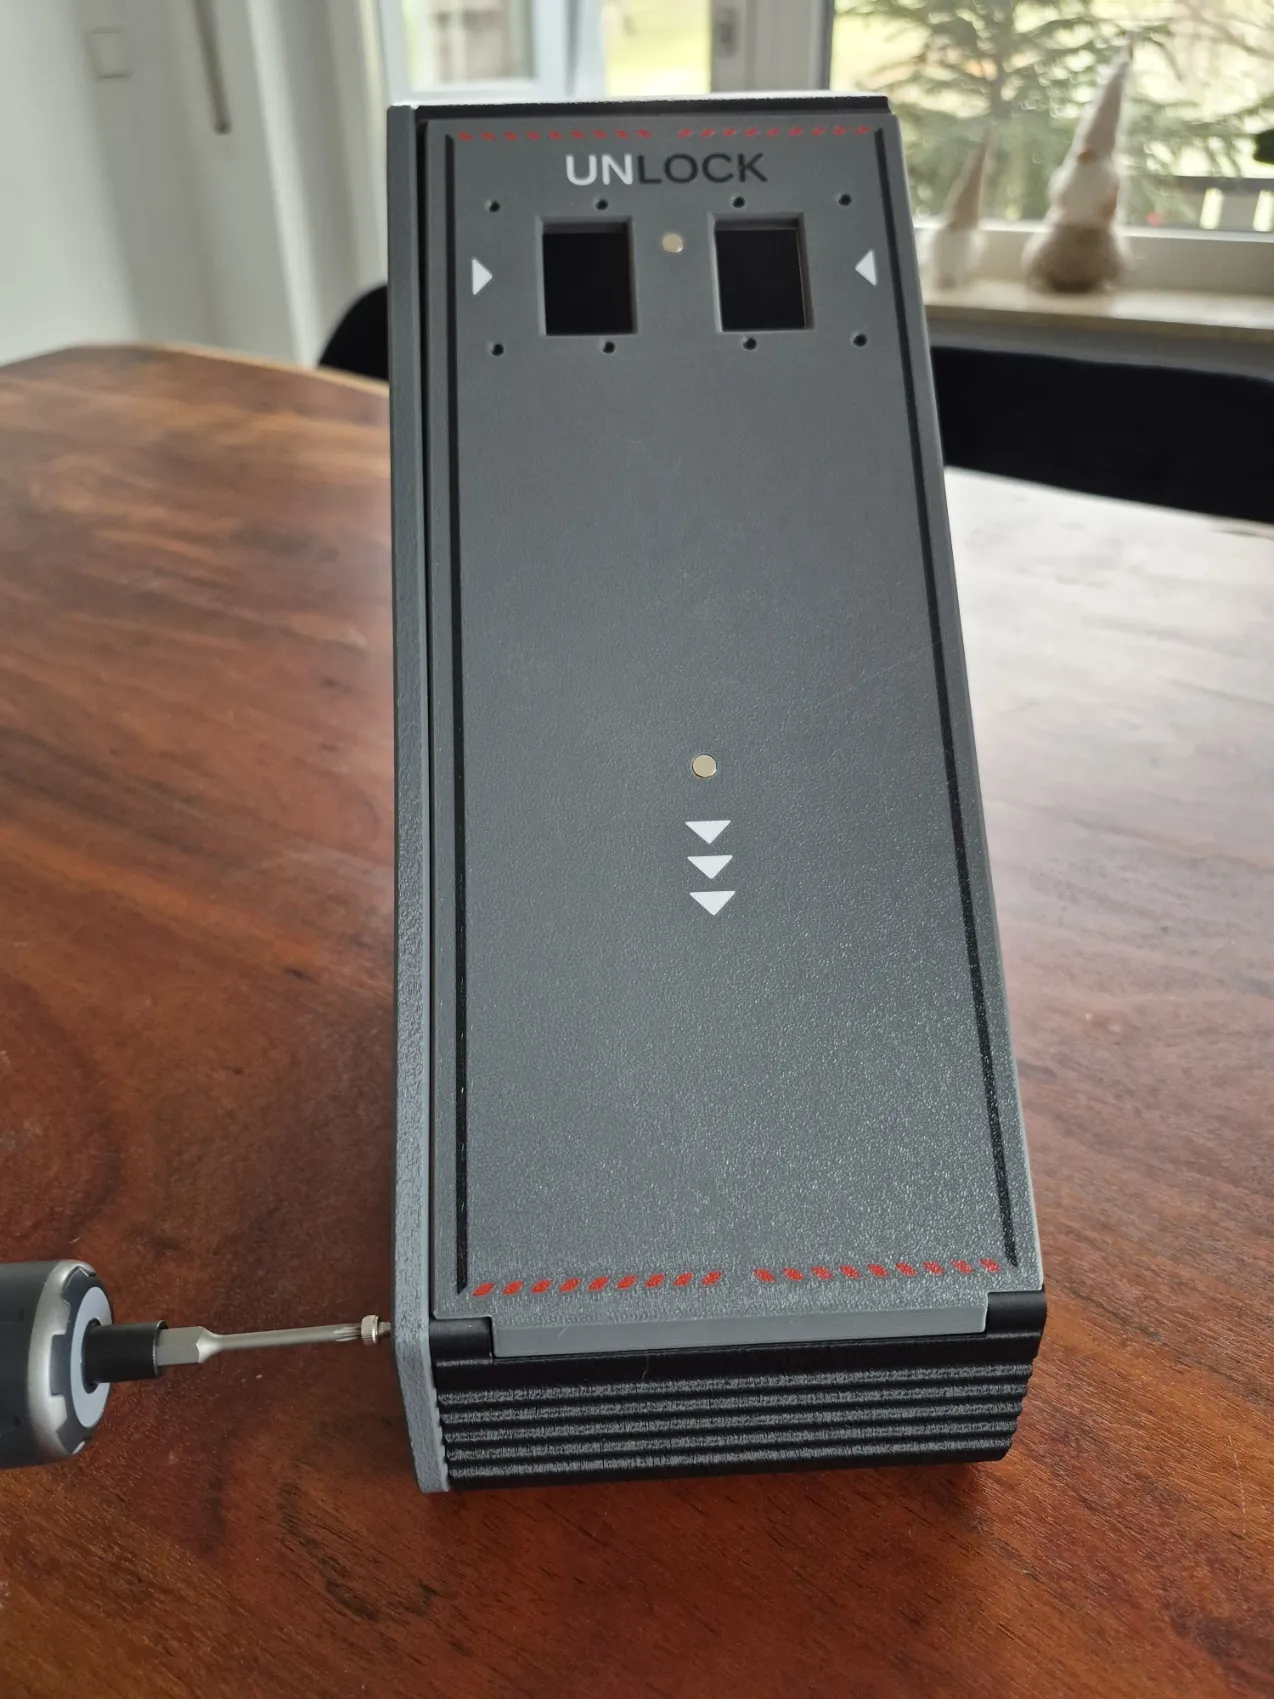
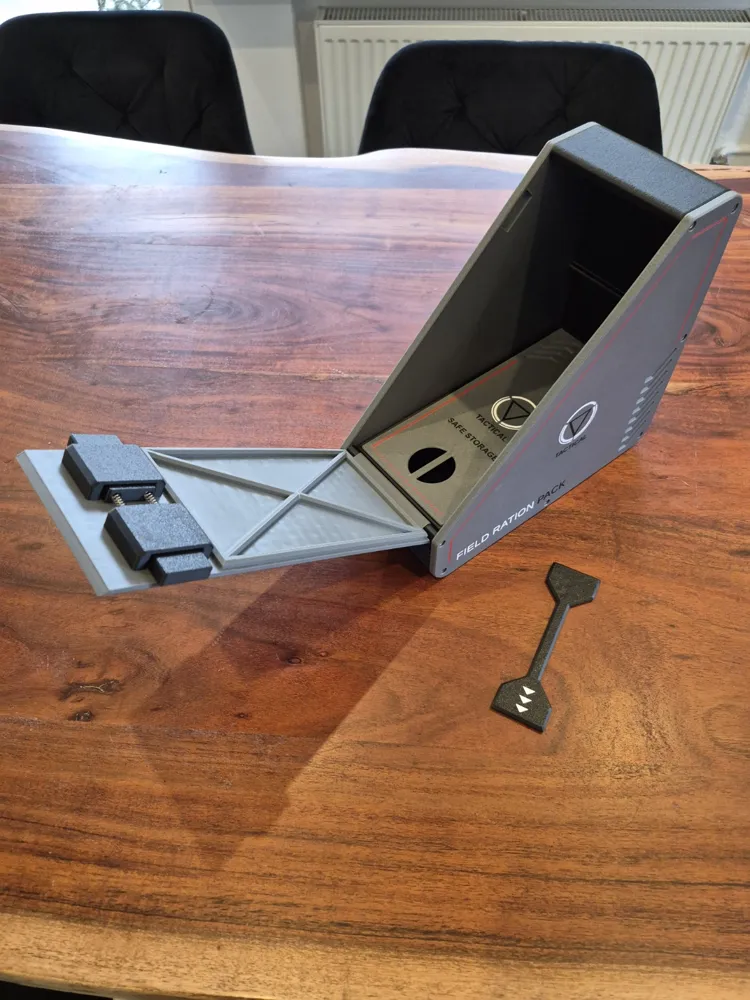
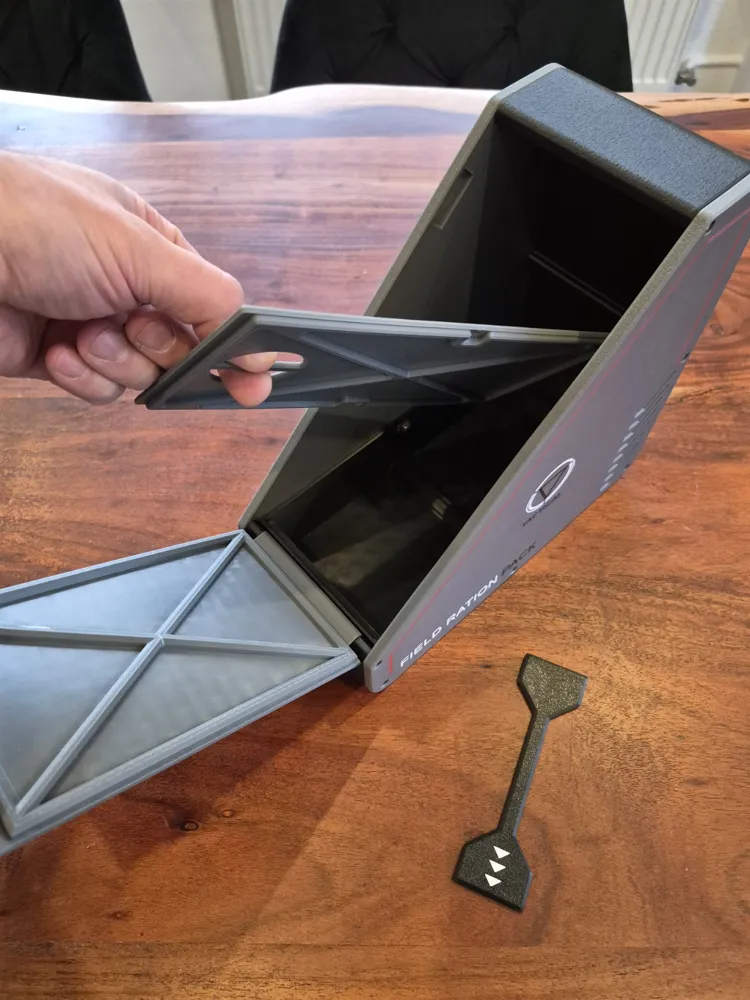
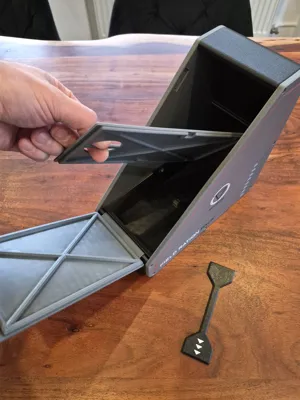
4. Take the inner Extra Storage Part (if not used, skip this Part) and put in another two 5x2mm Magnets. Make shure that they are oriented the same way. Then slide the Boxpiece into the main body of the Lunchbox from its open side as shown in the picture.
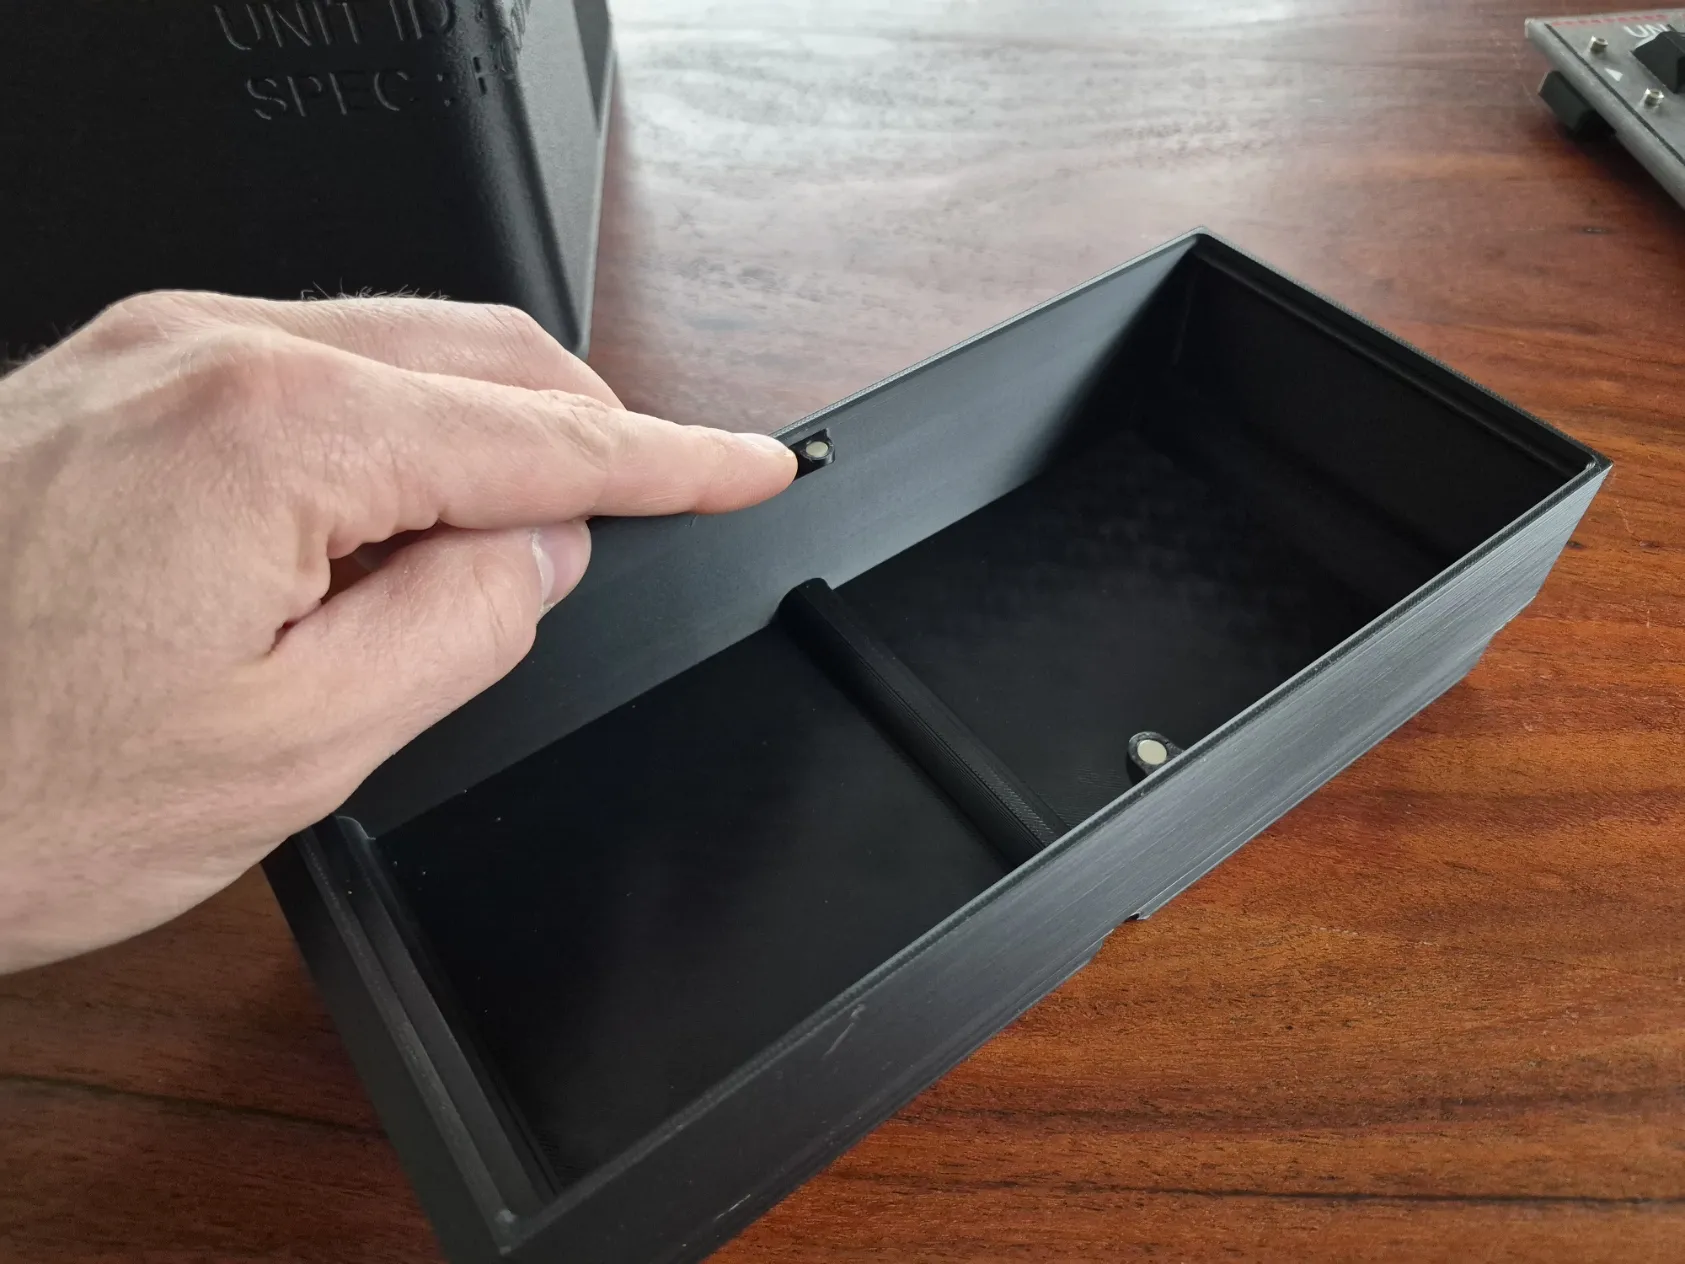
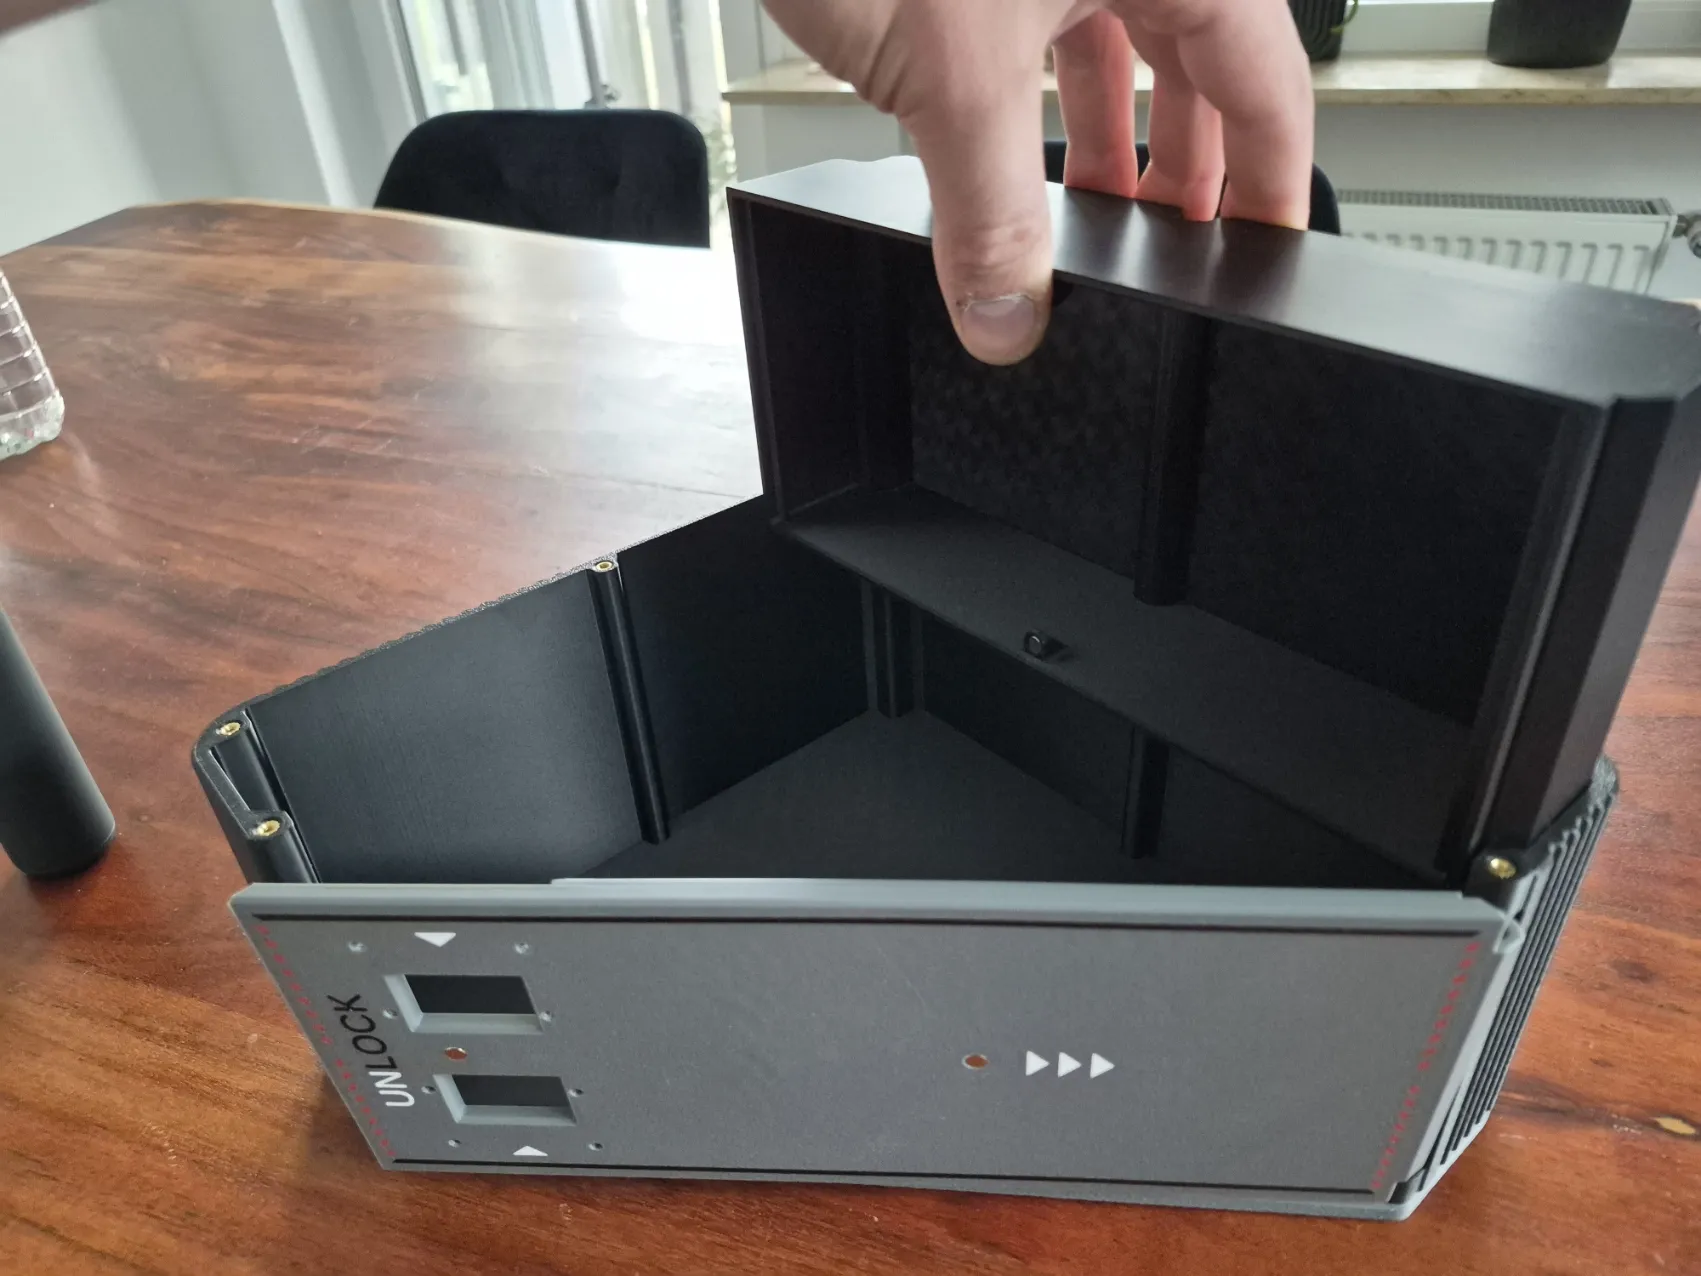
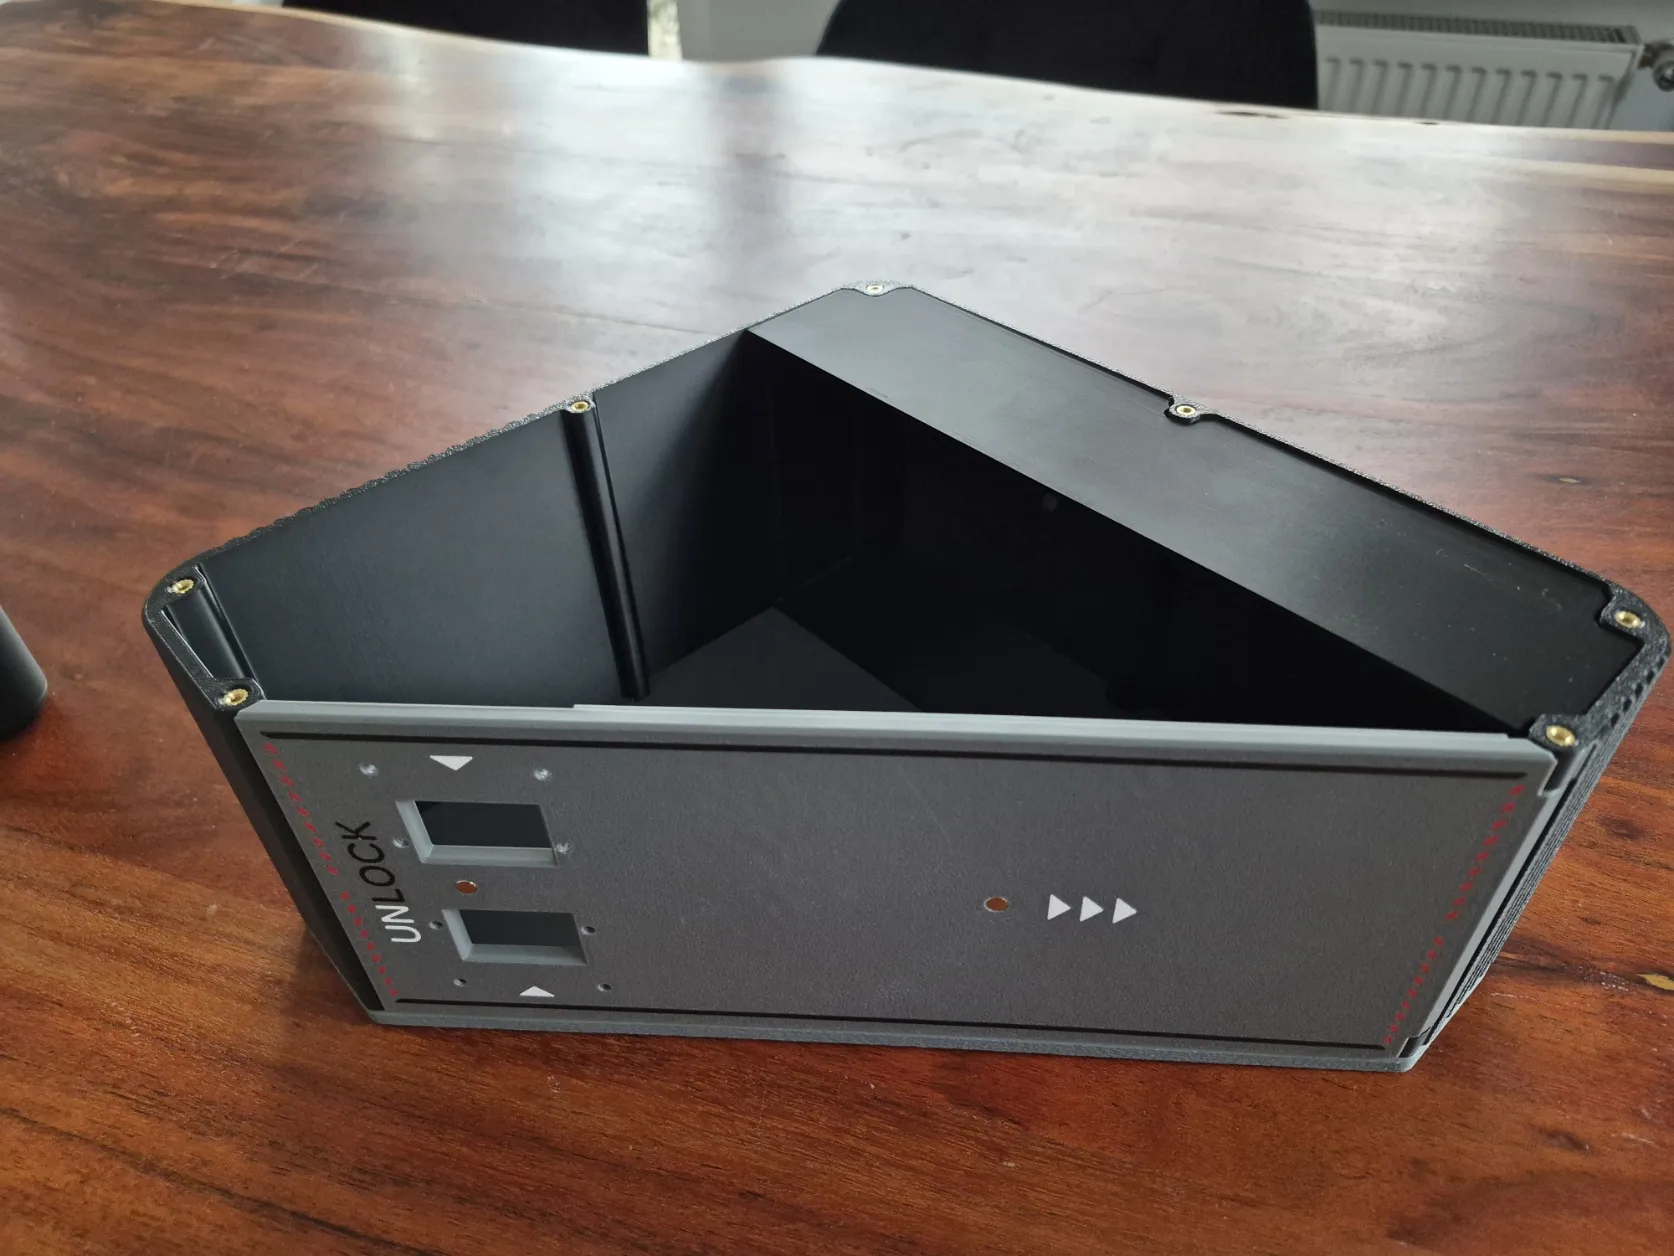
5. Take the second Sidewall piece and screw it onto the main Body. Same screws as at the first sidewall. Make sure to put the M3x20 screw in the Front hinge hole to keep the door in place.
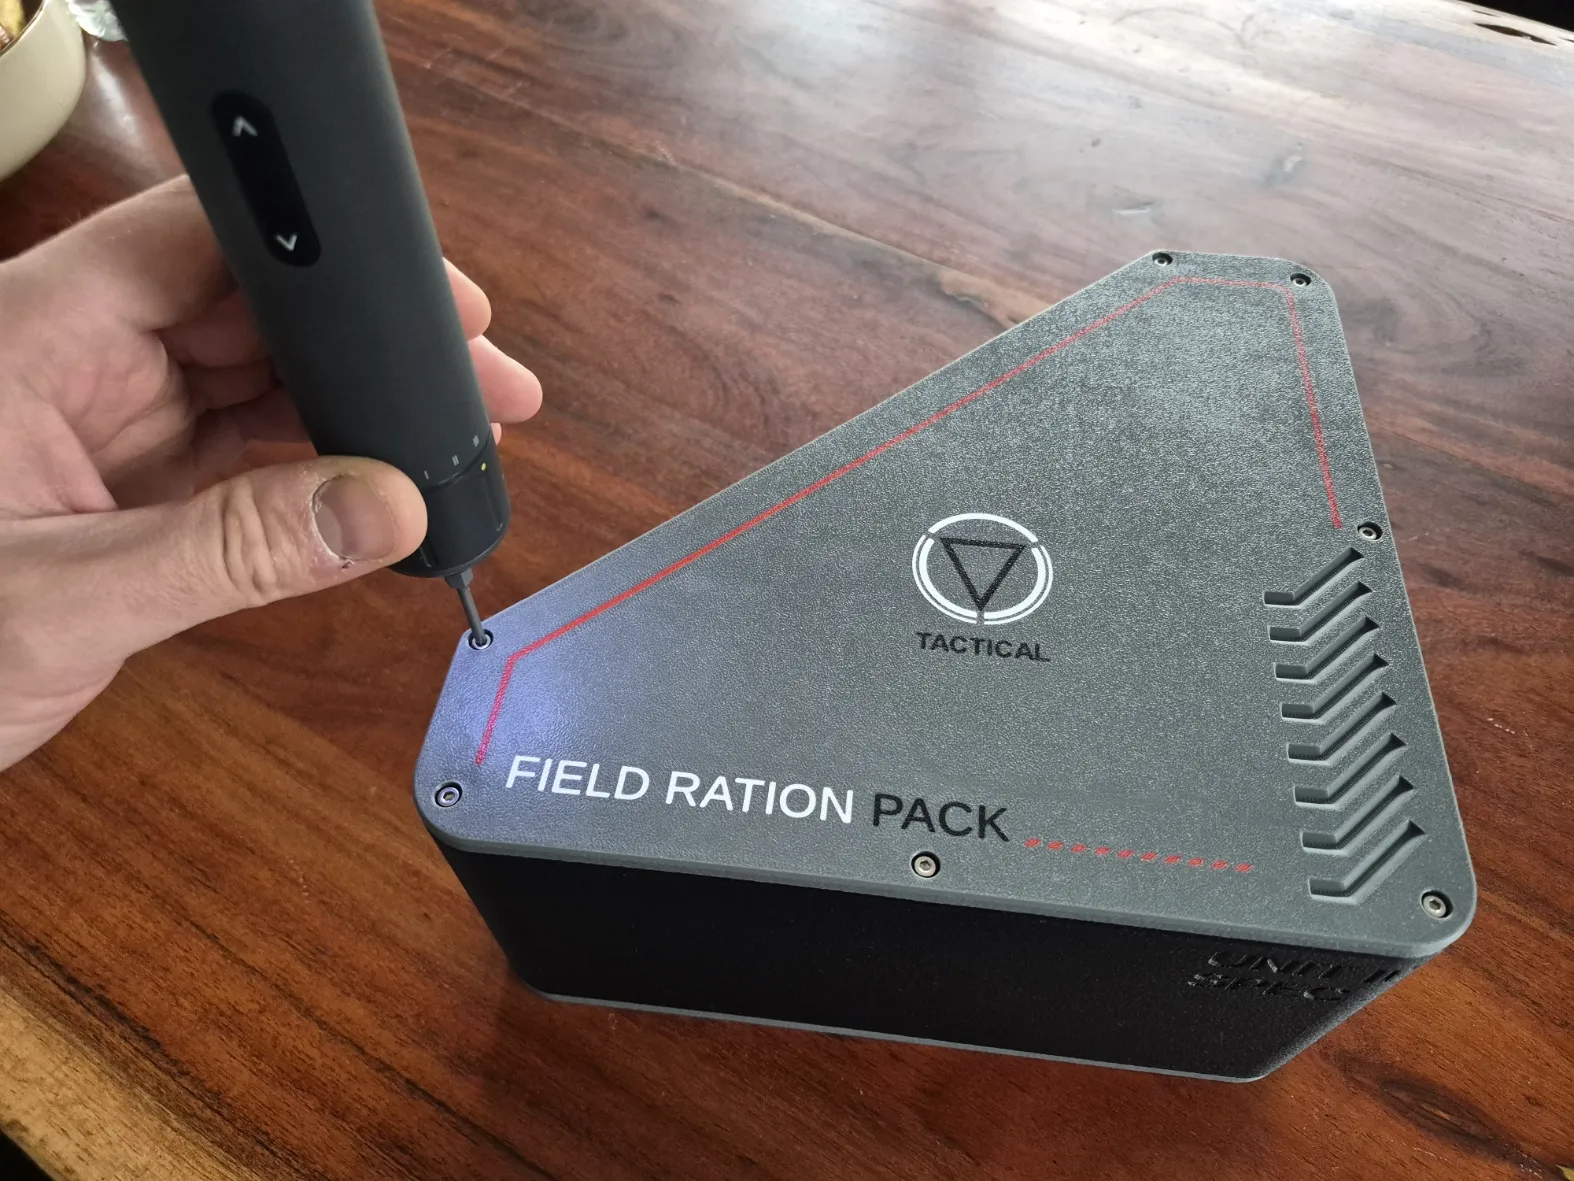
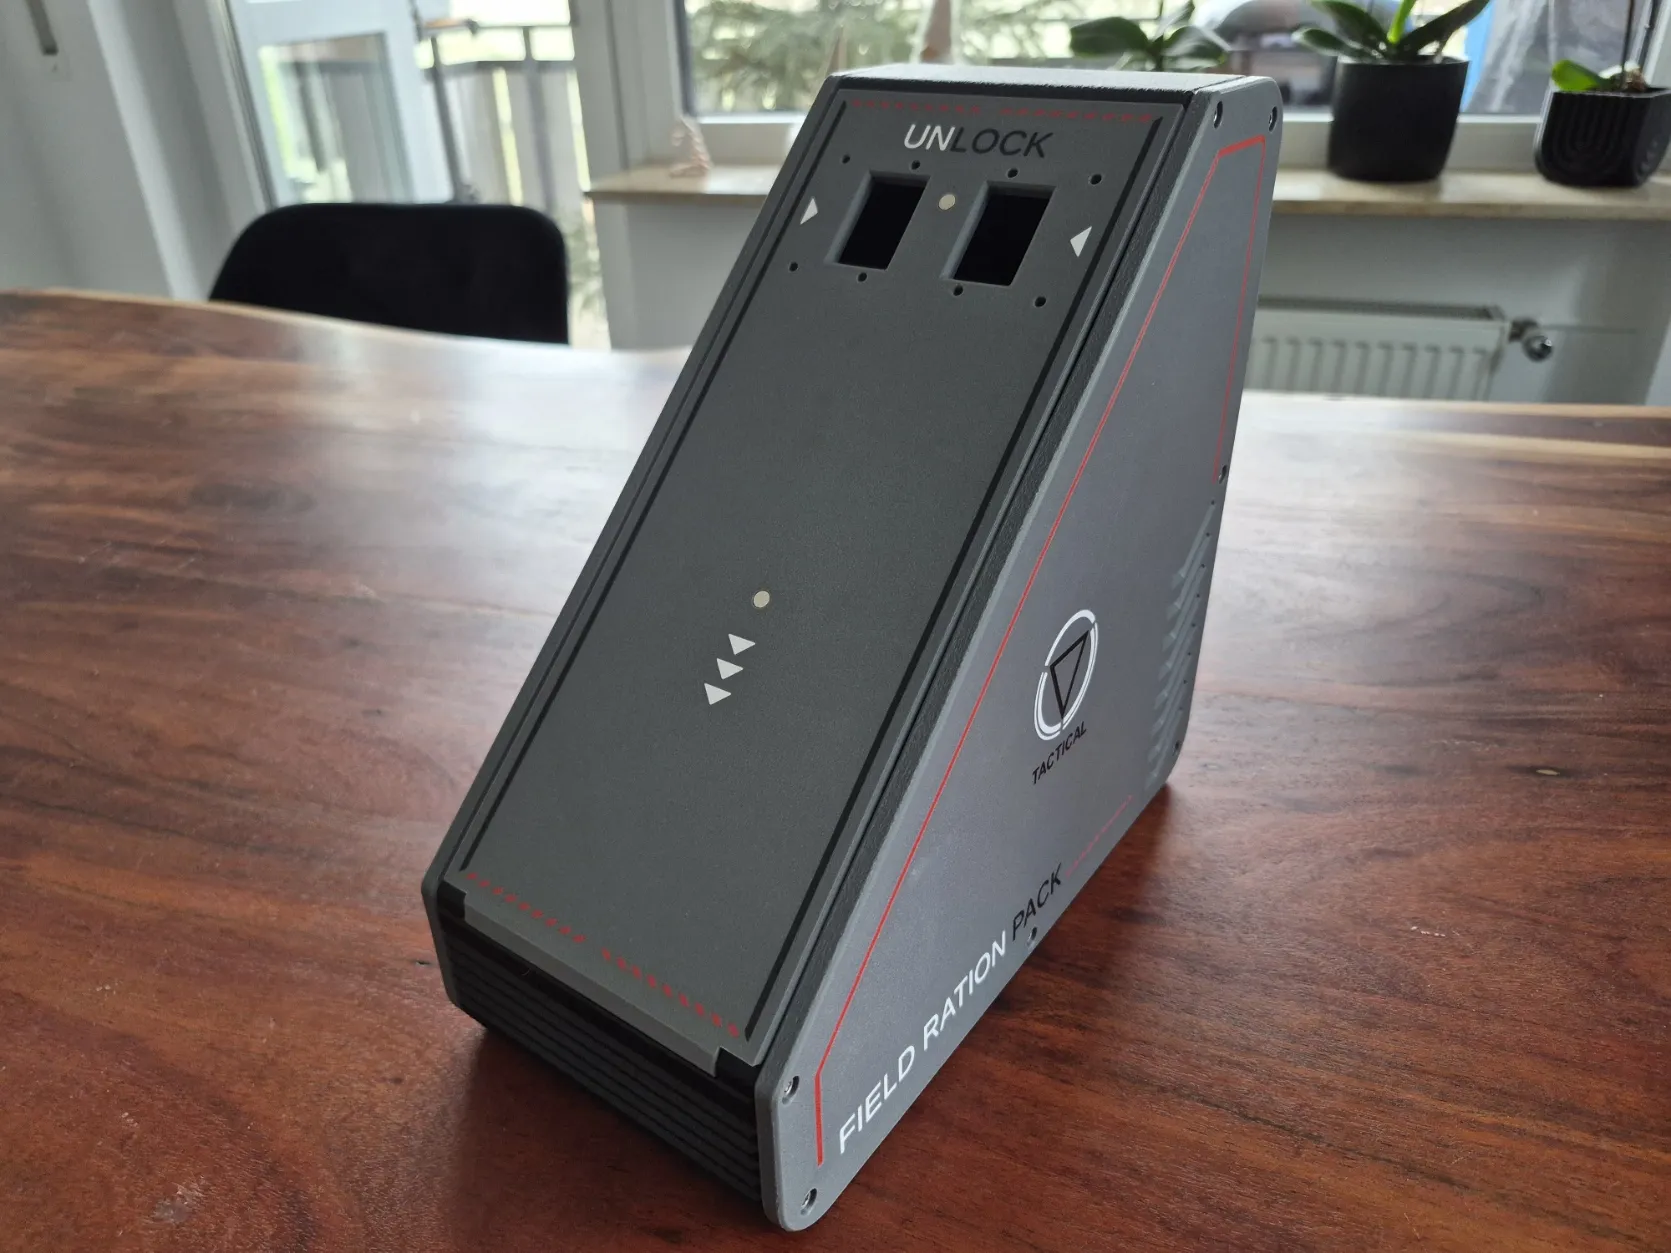
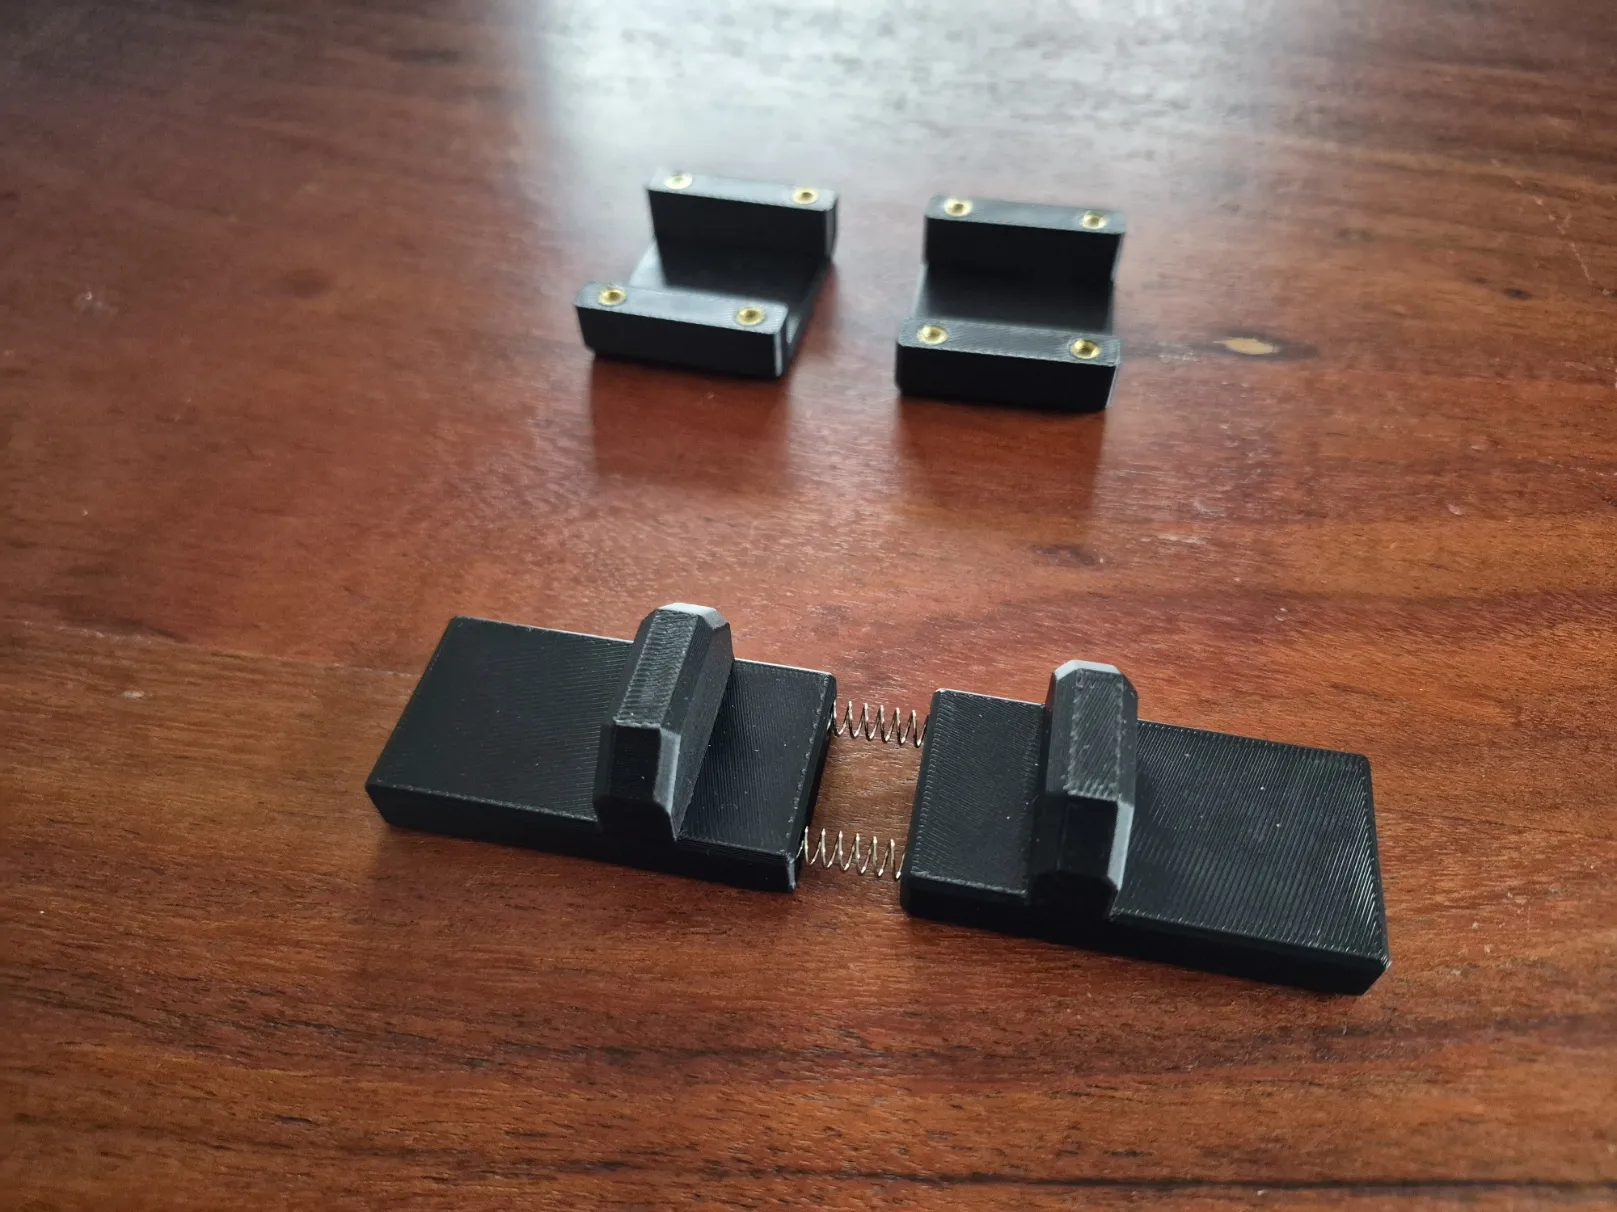
6. The Main body is ready. Now we build the closing mechanism. First, take both 5x20mm Coil Springs and put them into the holes in the brackets. Then, put both brackets together and lay them in the opened door. After doing so, melt the 8 remaining heated inserts into the clamp brackets for the closing mechanism as shown in the picture. Take 8 M3x12 screws and screw the brackets onto the door. Make shure that the sliders are freely moving.
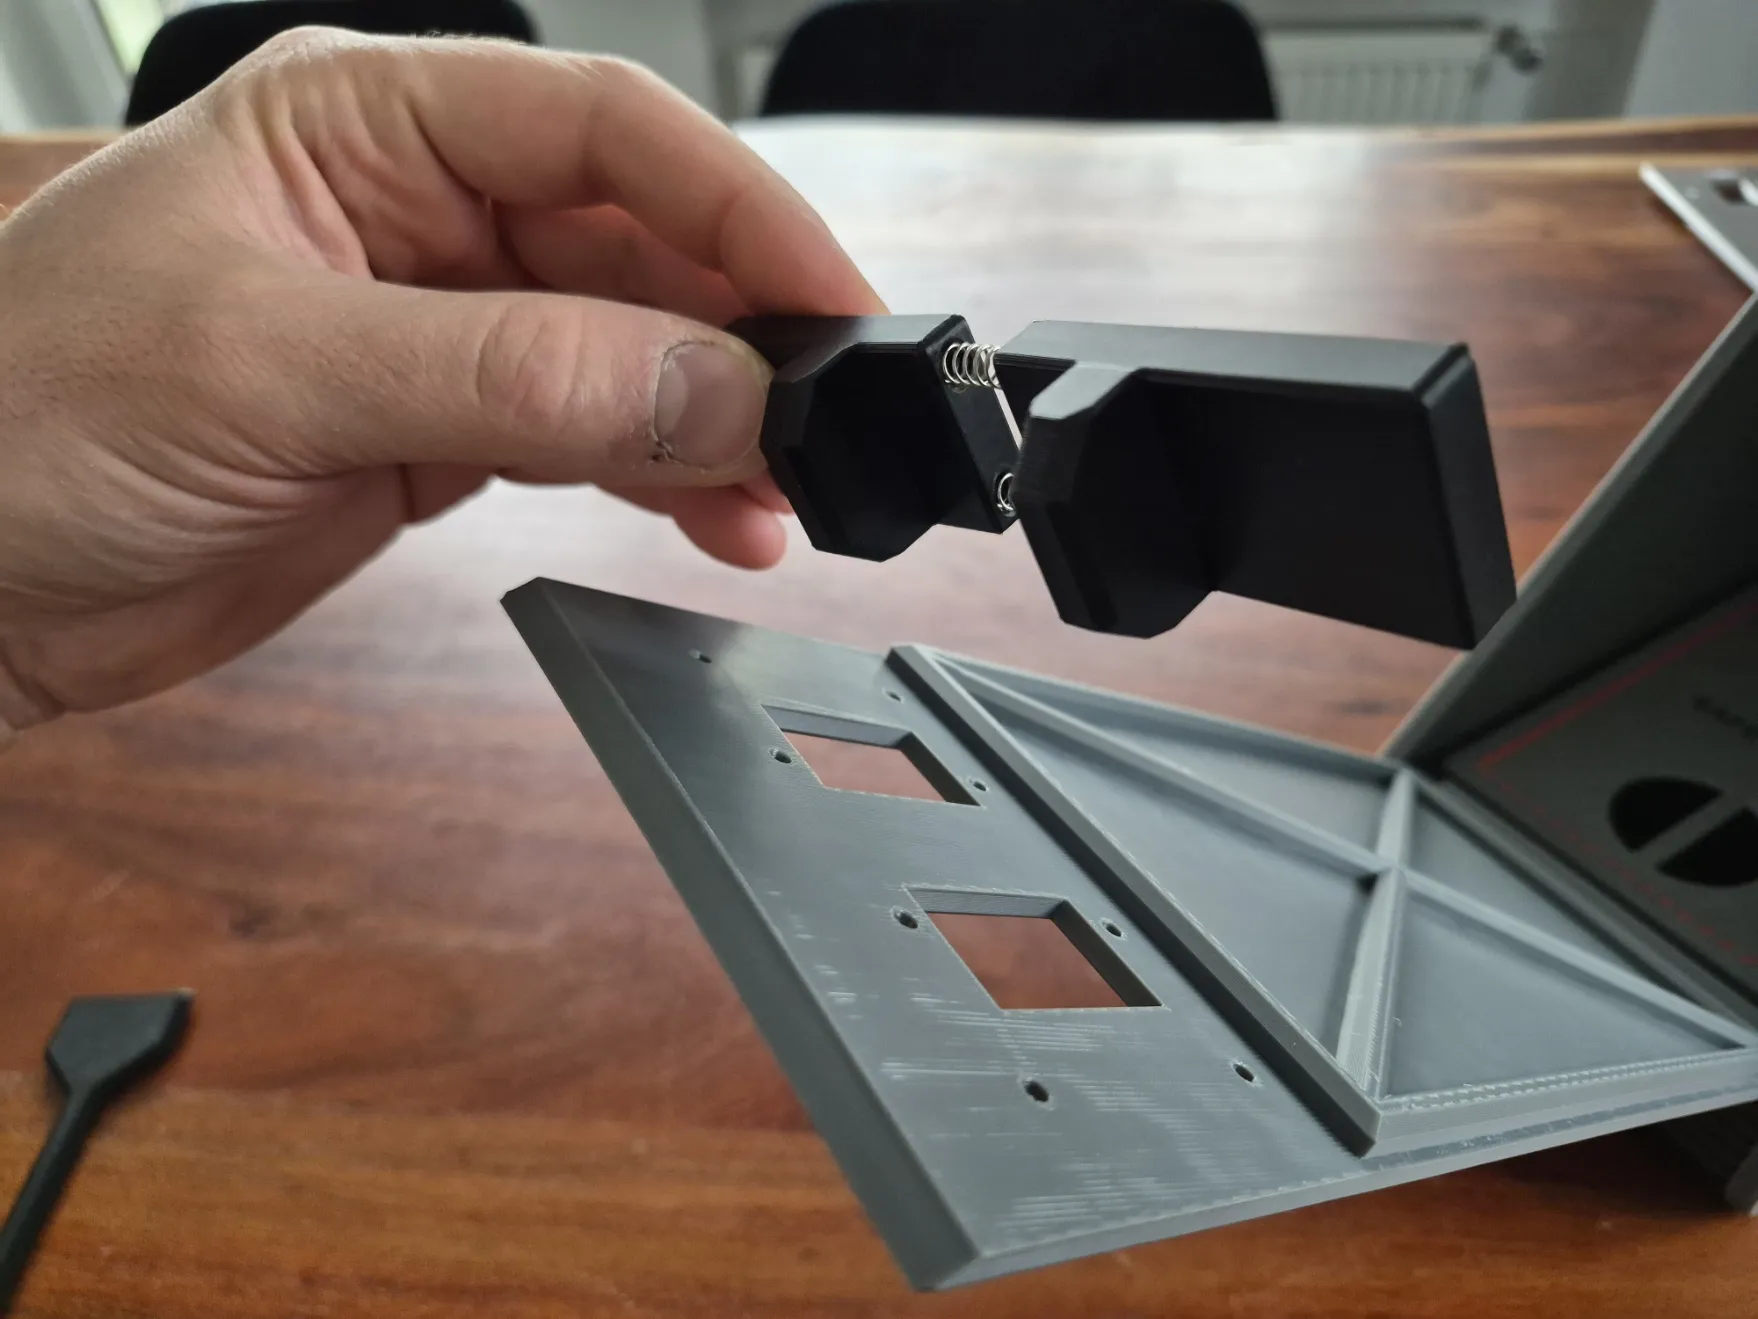
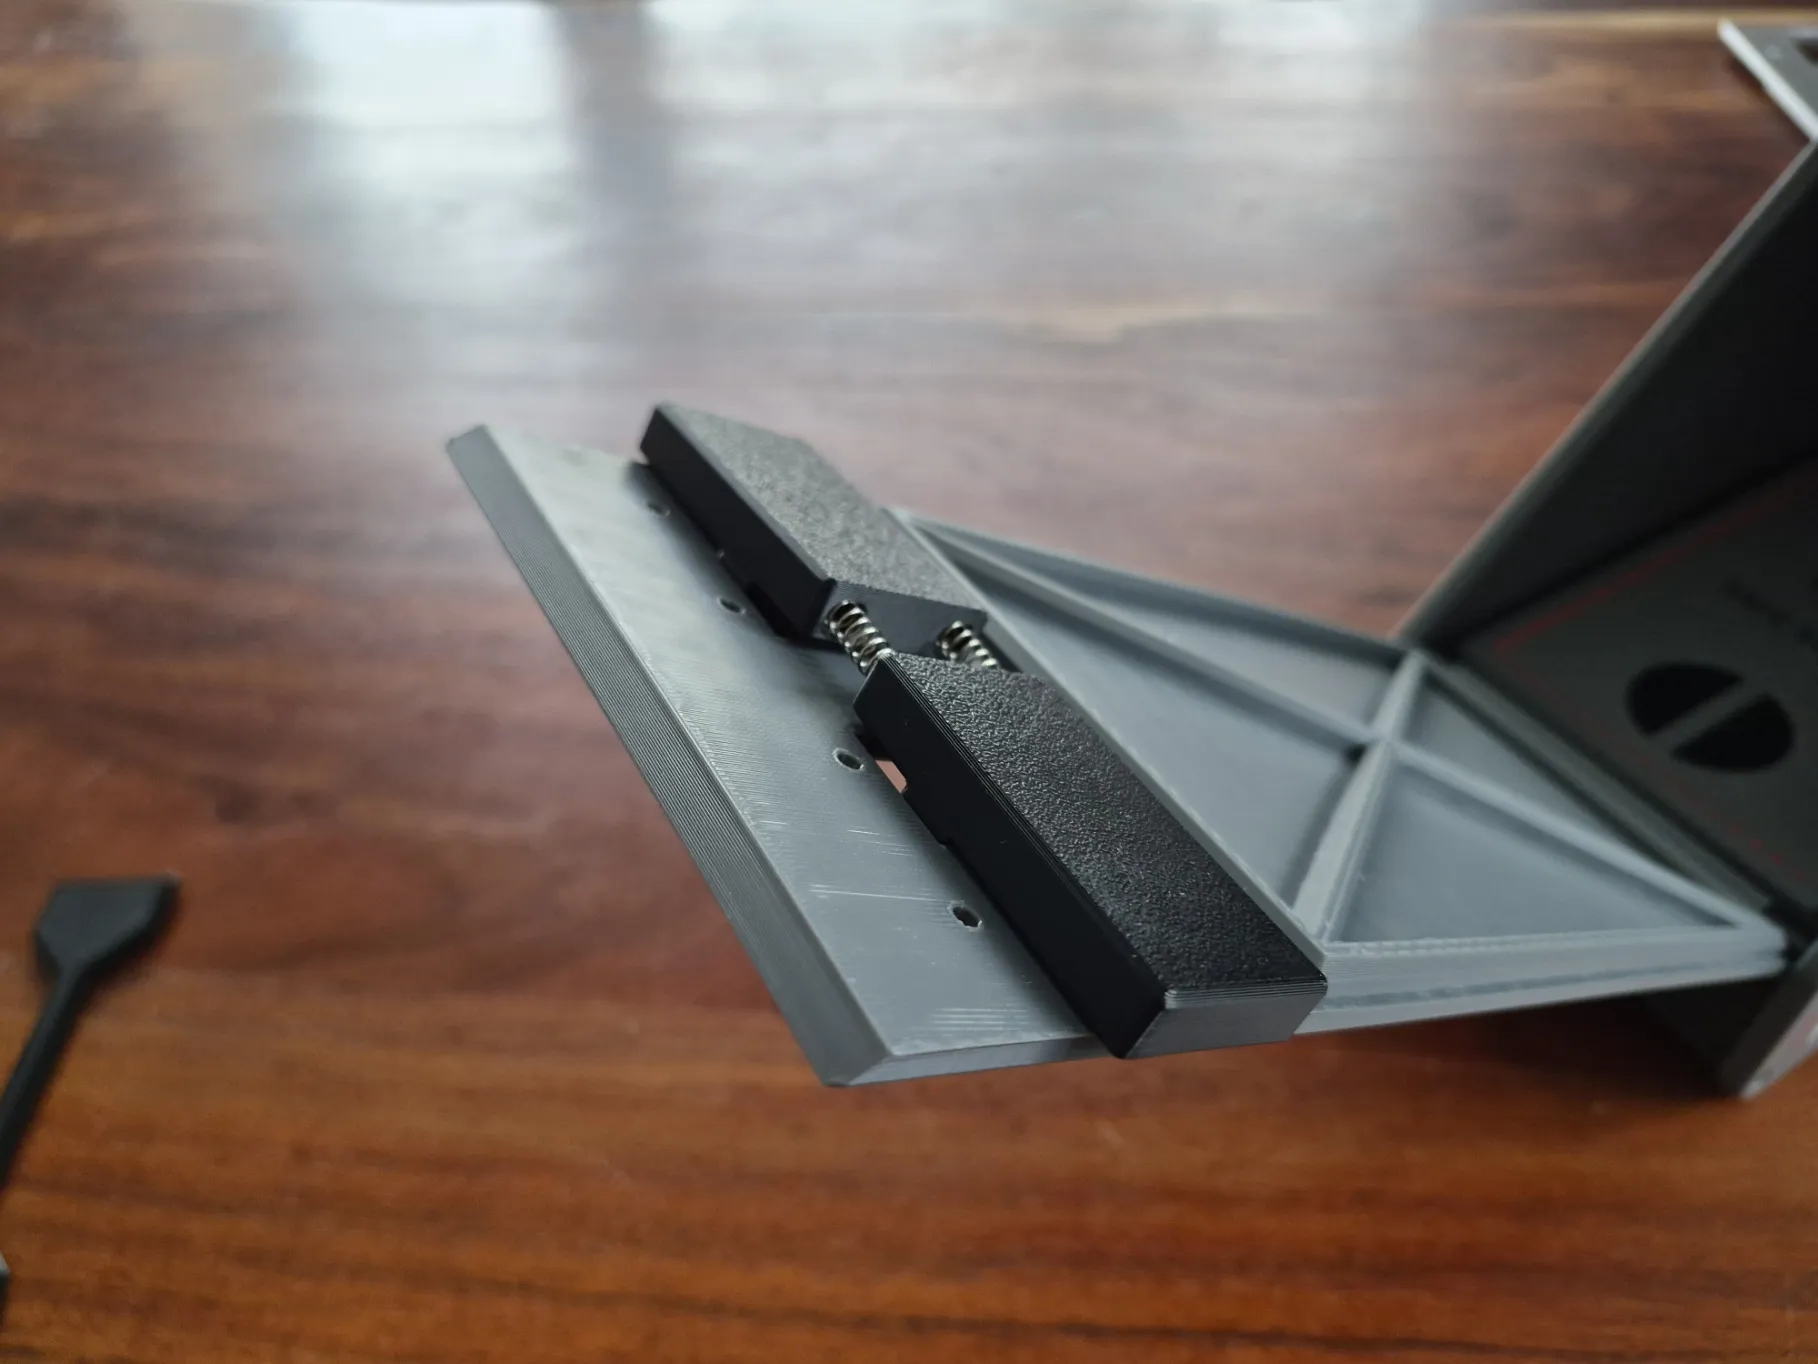
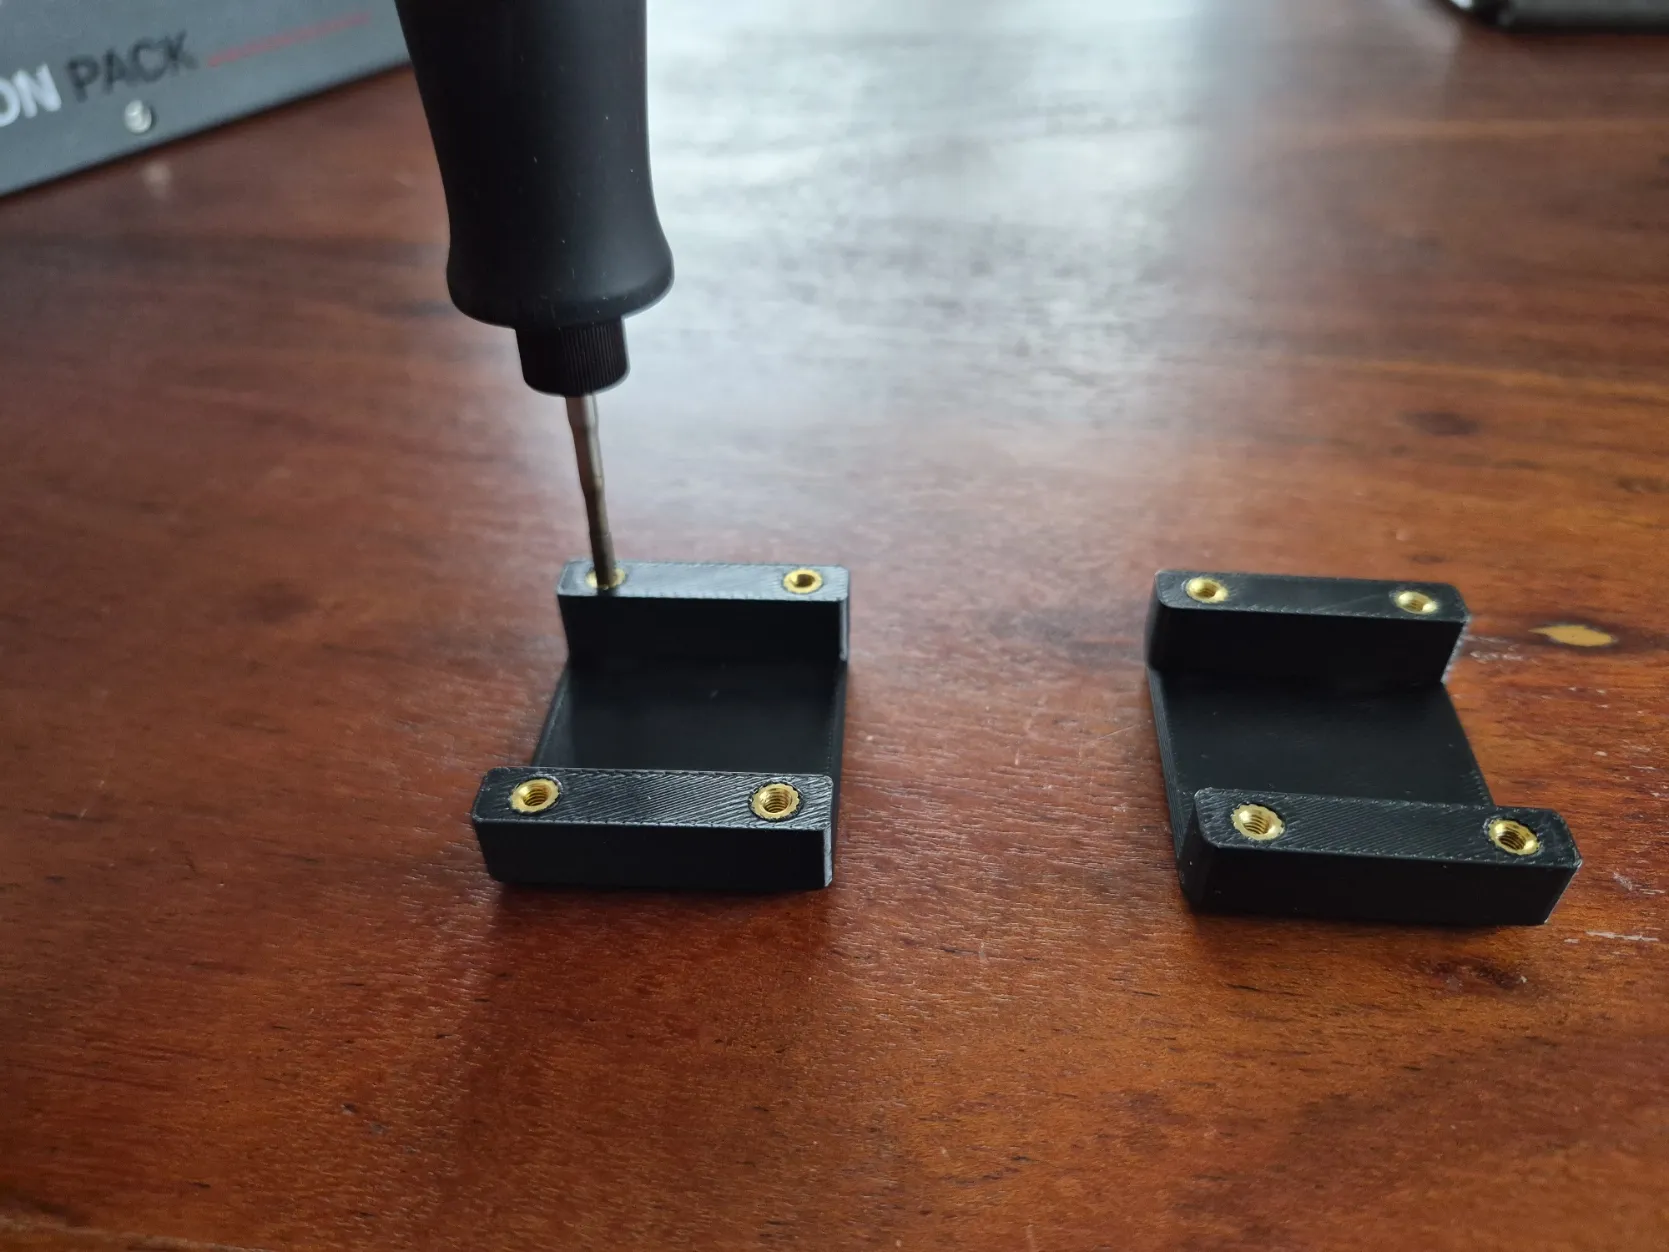
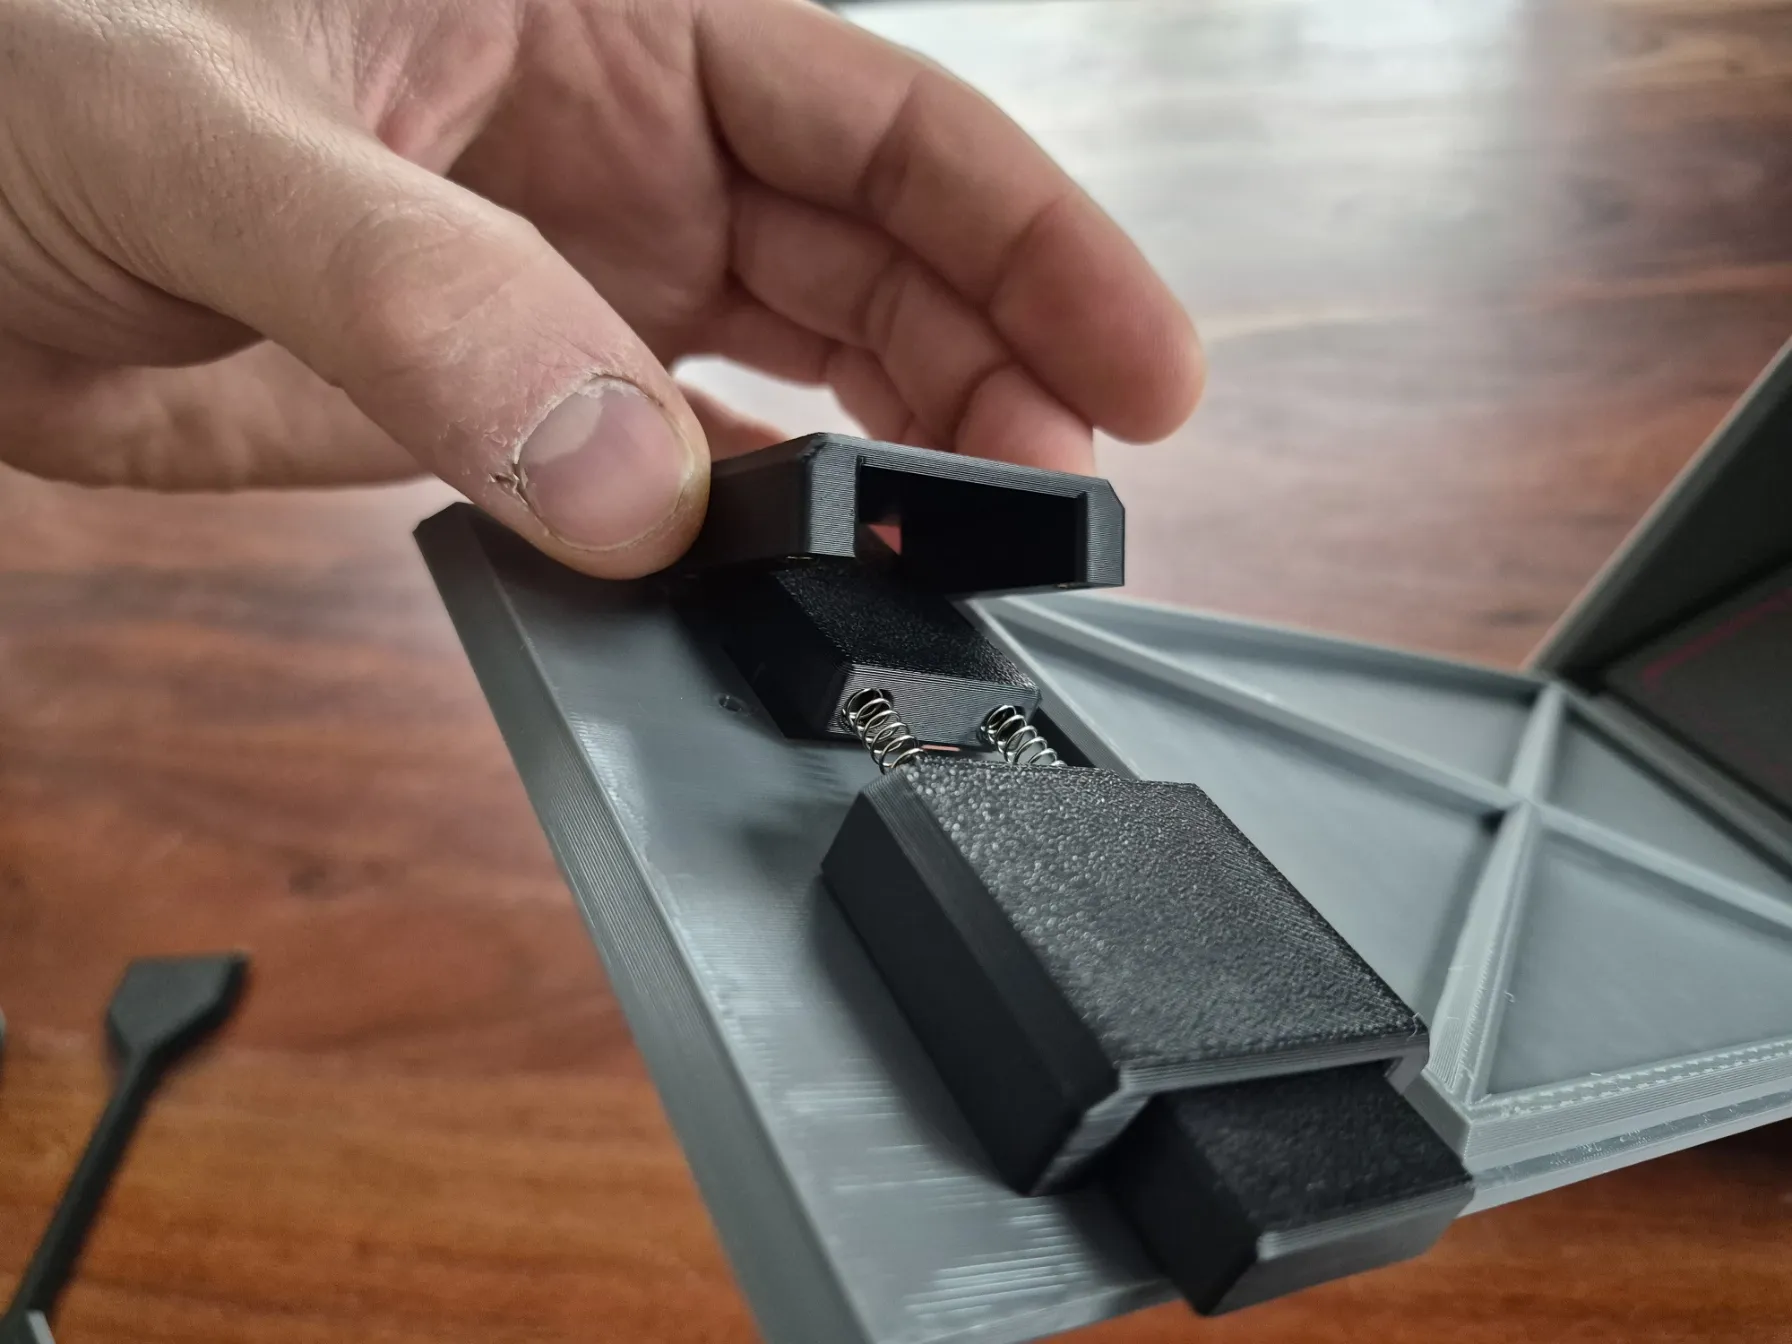
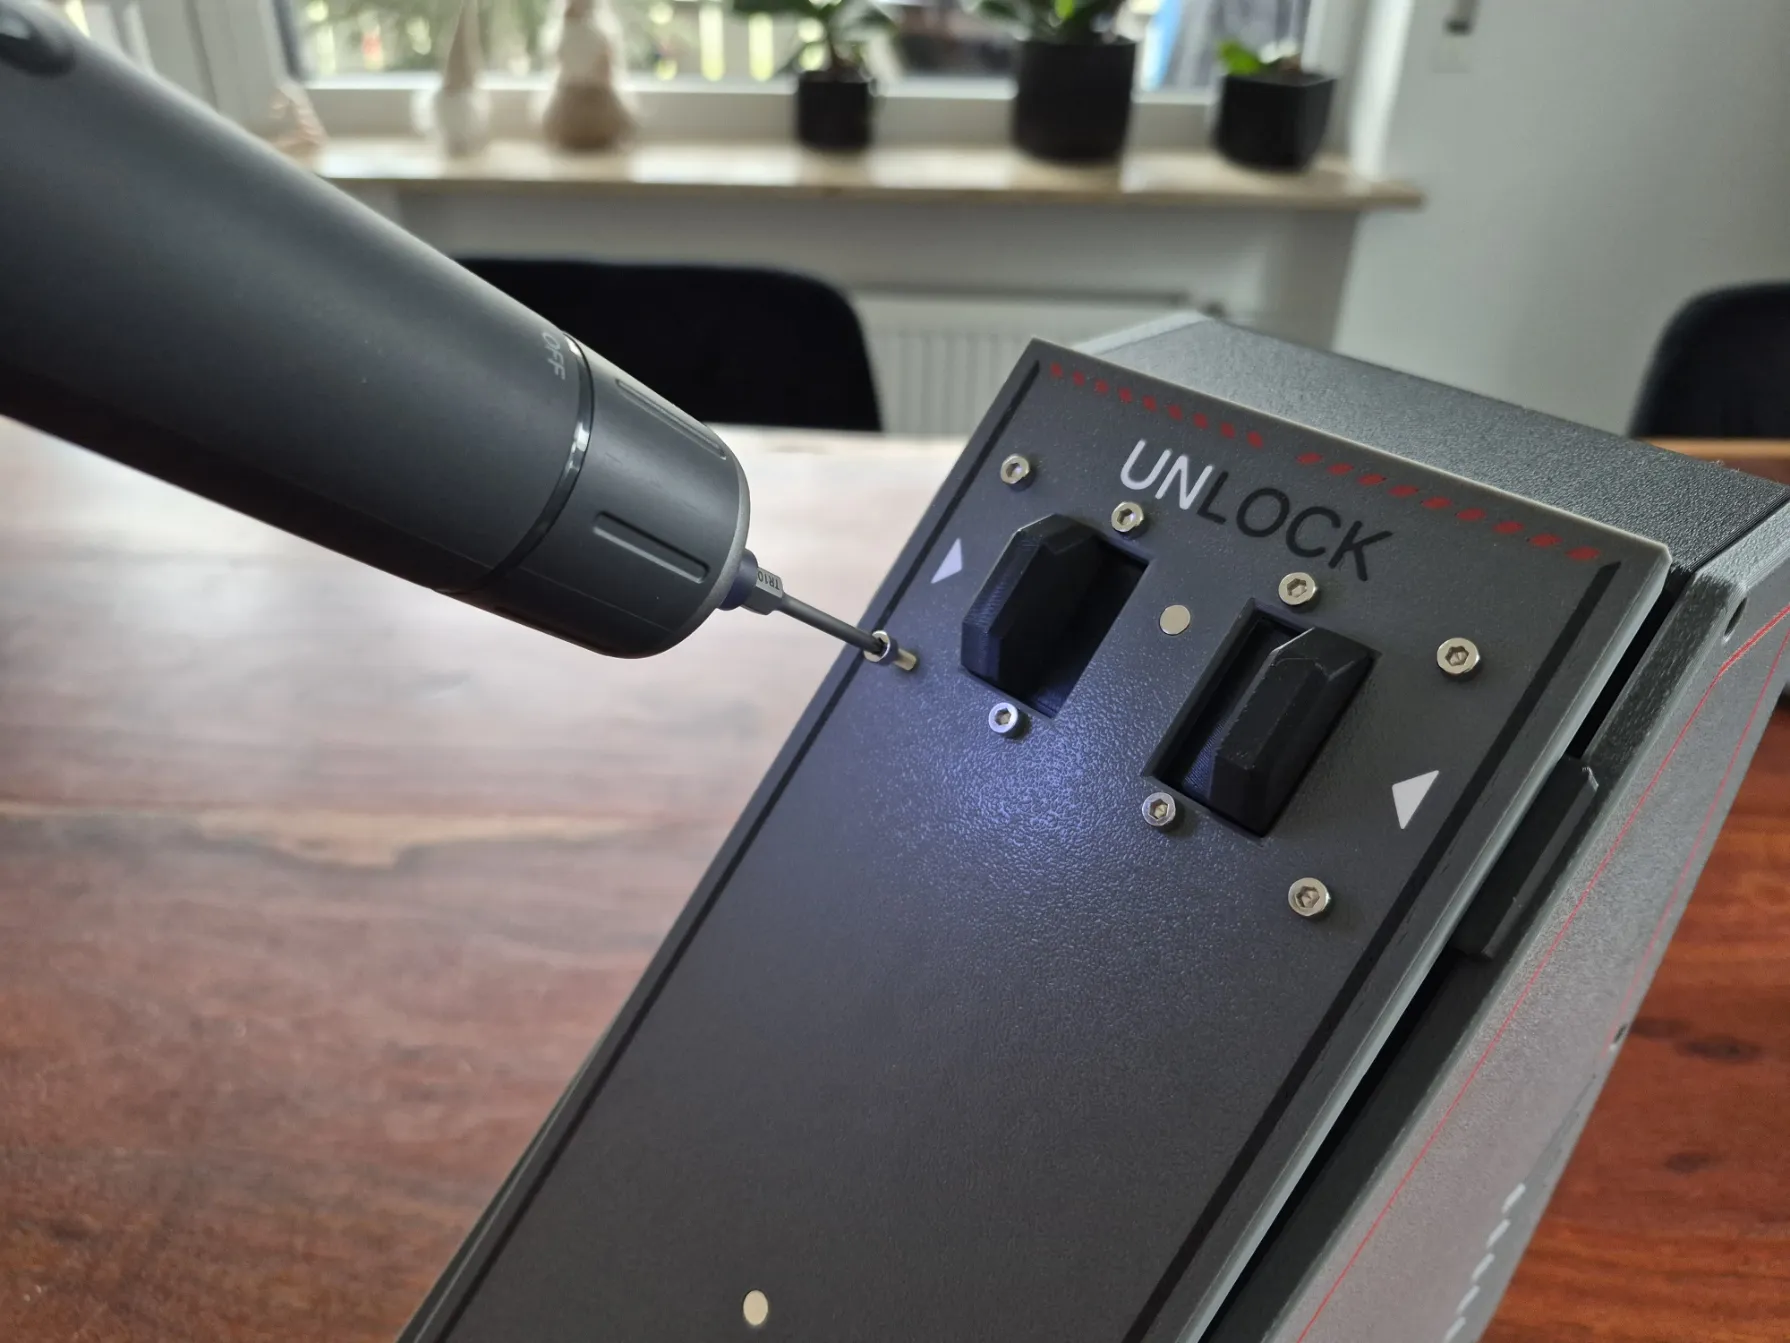
7. Take the inner bottom piece for the Extra Storage Compartement (if not used, skip this part) and put in two 5x2mm Magnets. Make shure they are oriented to get attracted by the two magnets on the inner Box housing.
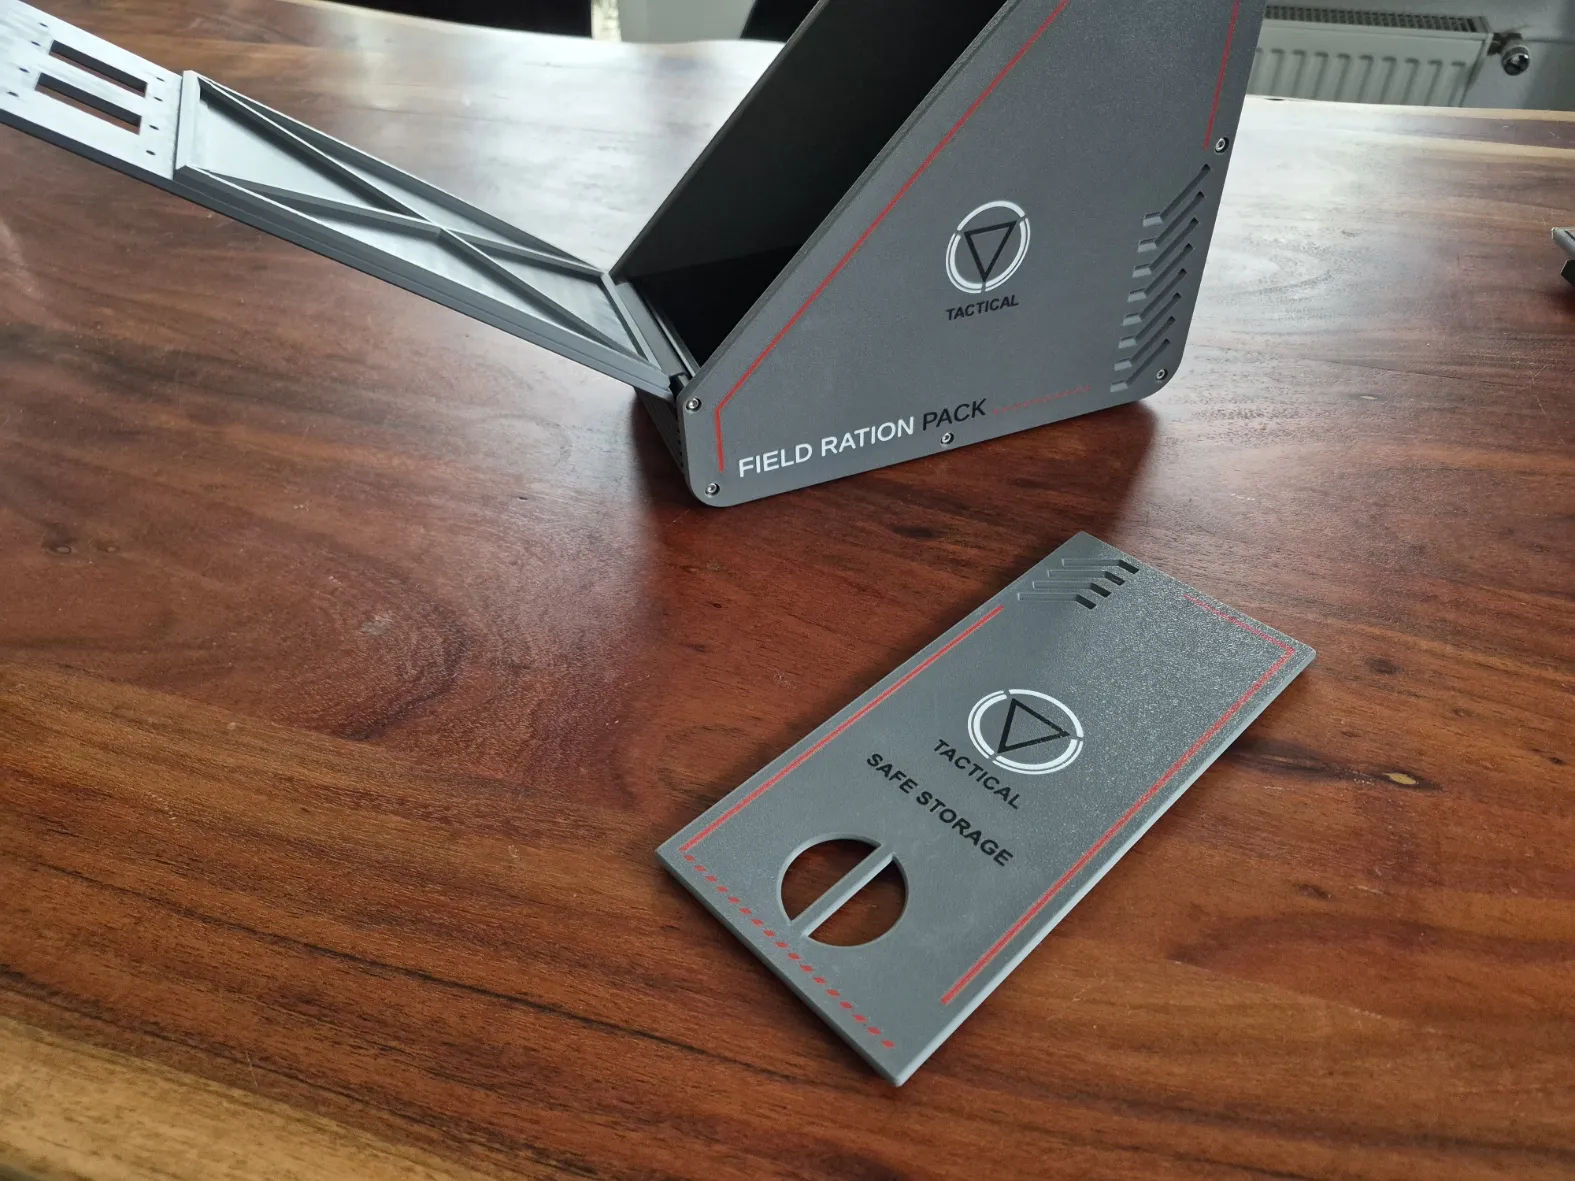
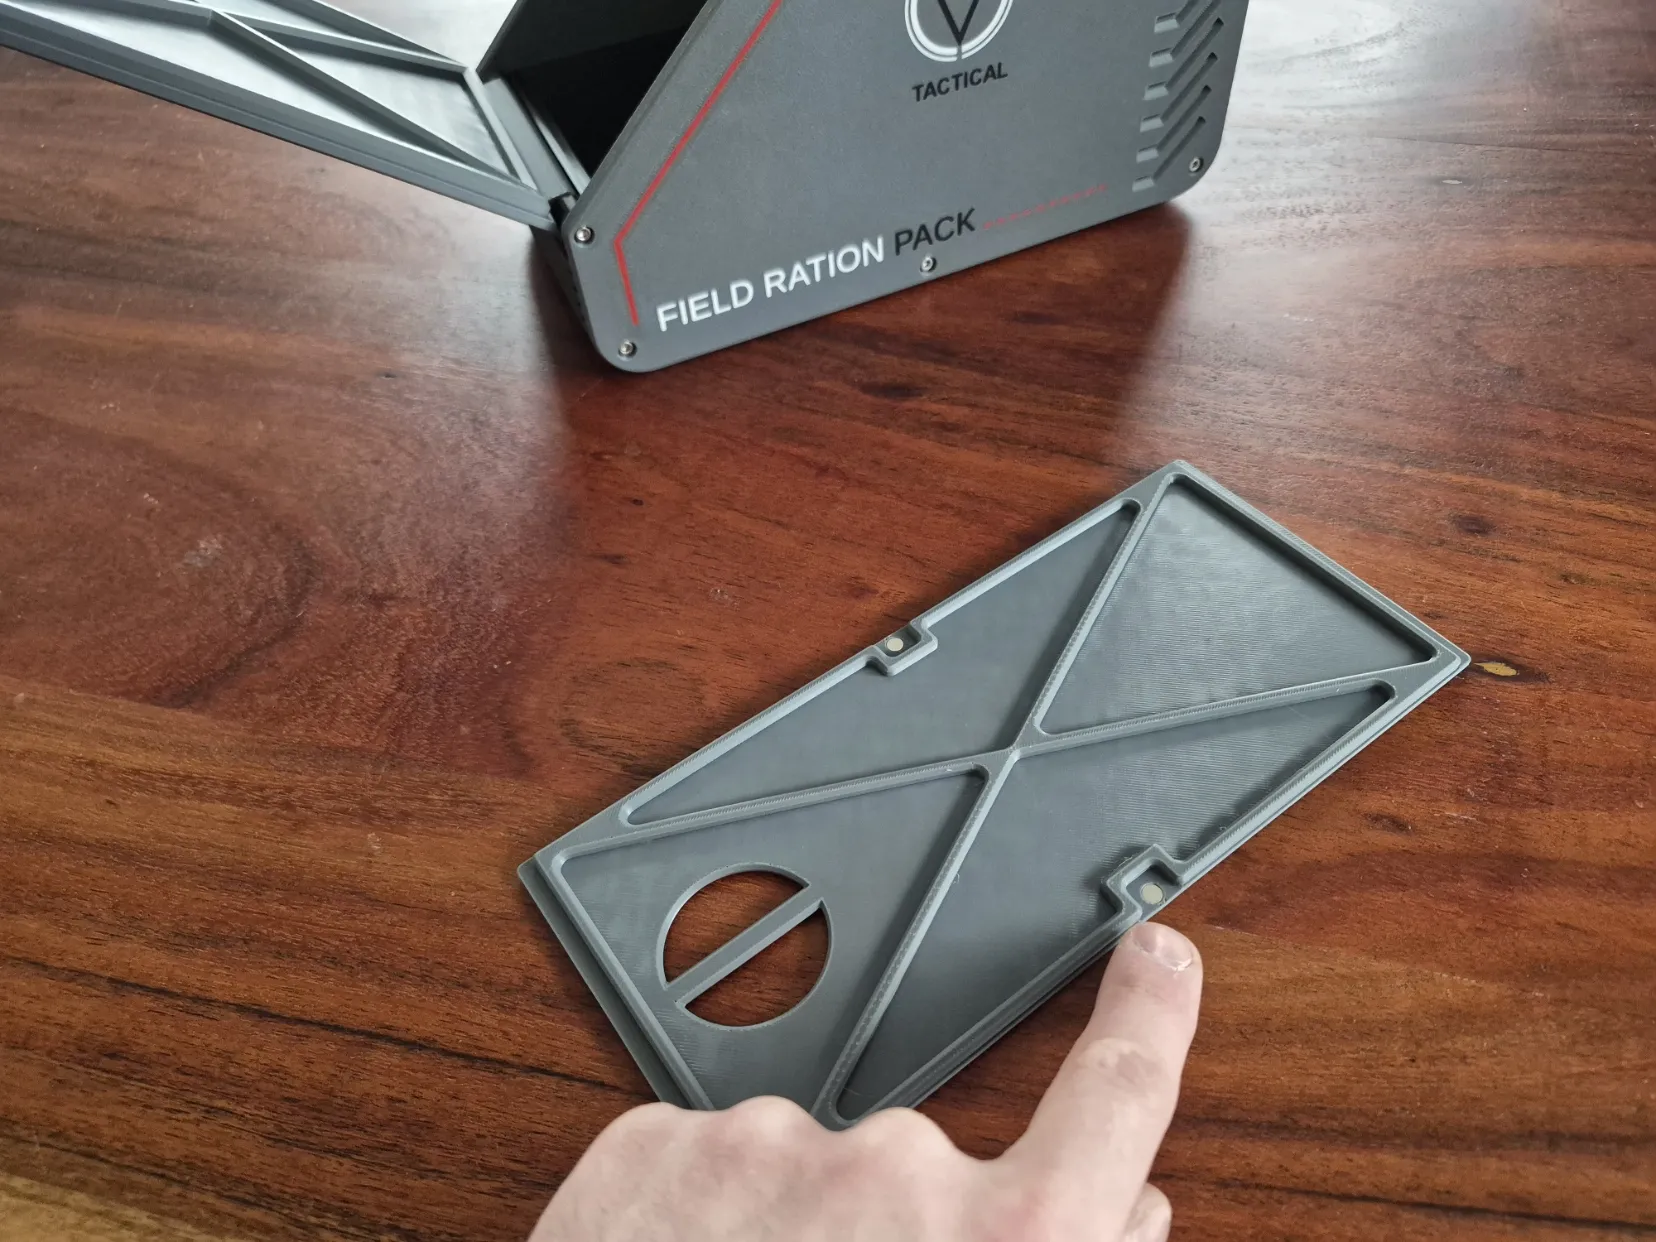
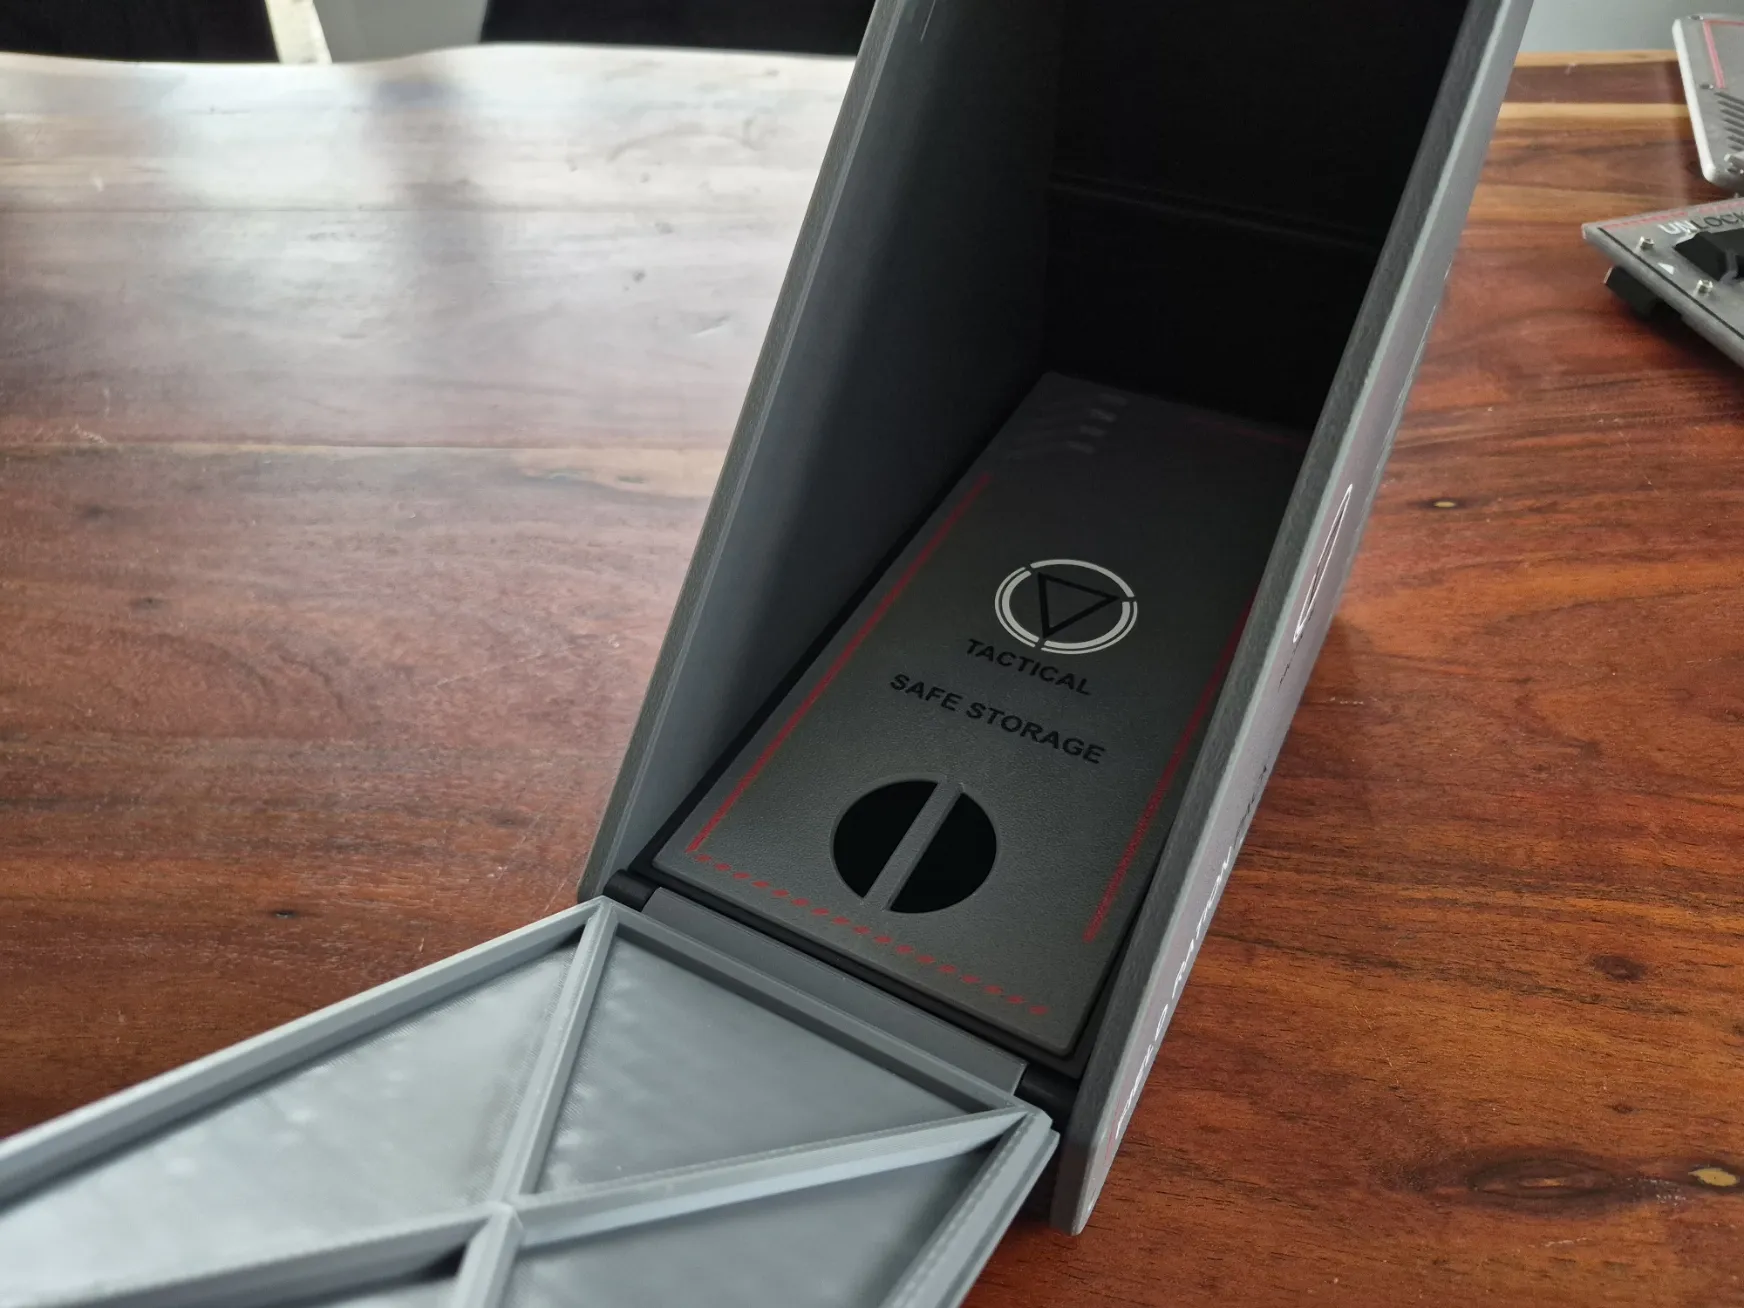
8. Close the door, the closing mechanism should hold the door shut now. Take the last remaining piece and put in two 5x2mm Magnets. Make shure they are in the right orientation to get attracted by the two magnets which are already embedded in the door. After doing so, put it onto the door. This piece will help to hold the door close when in an bag or backpack. To open the door, remove this bracket and push the sliders to the middle as indicated with the arrows on the door. Voila, there is youre Scifi inspired Lunchbox.
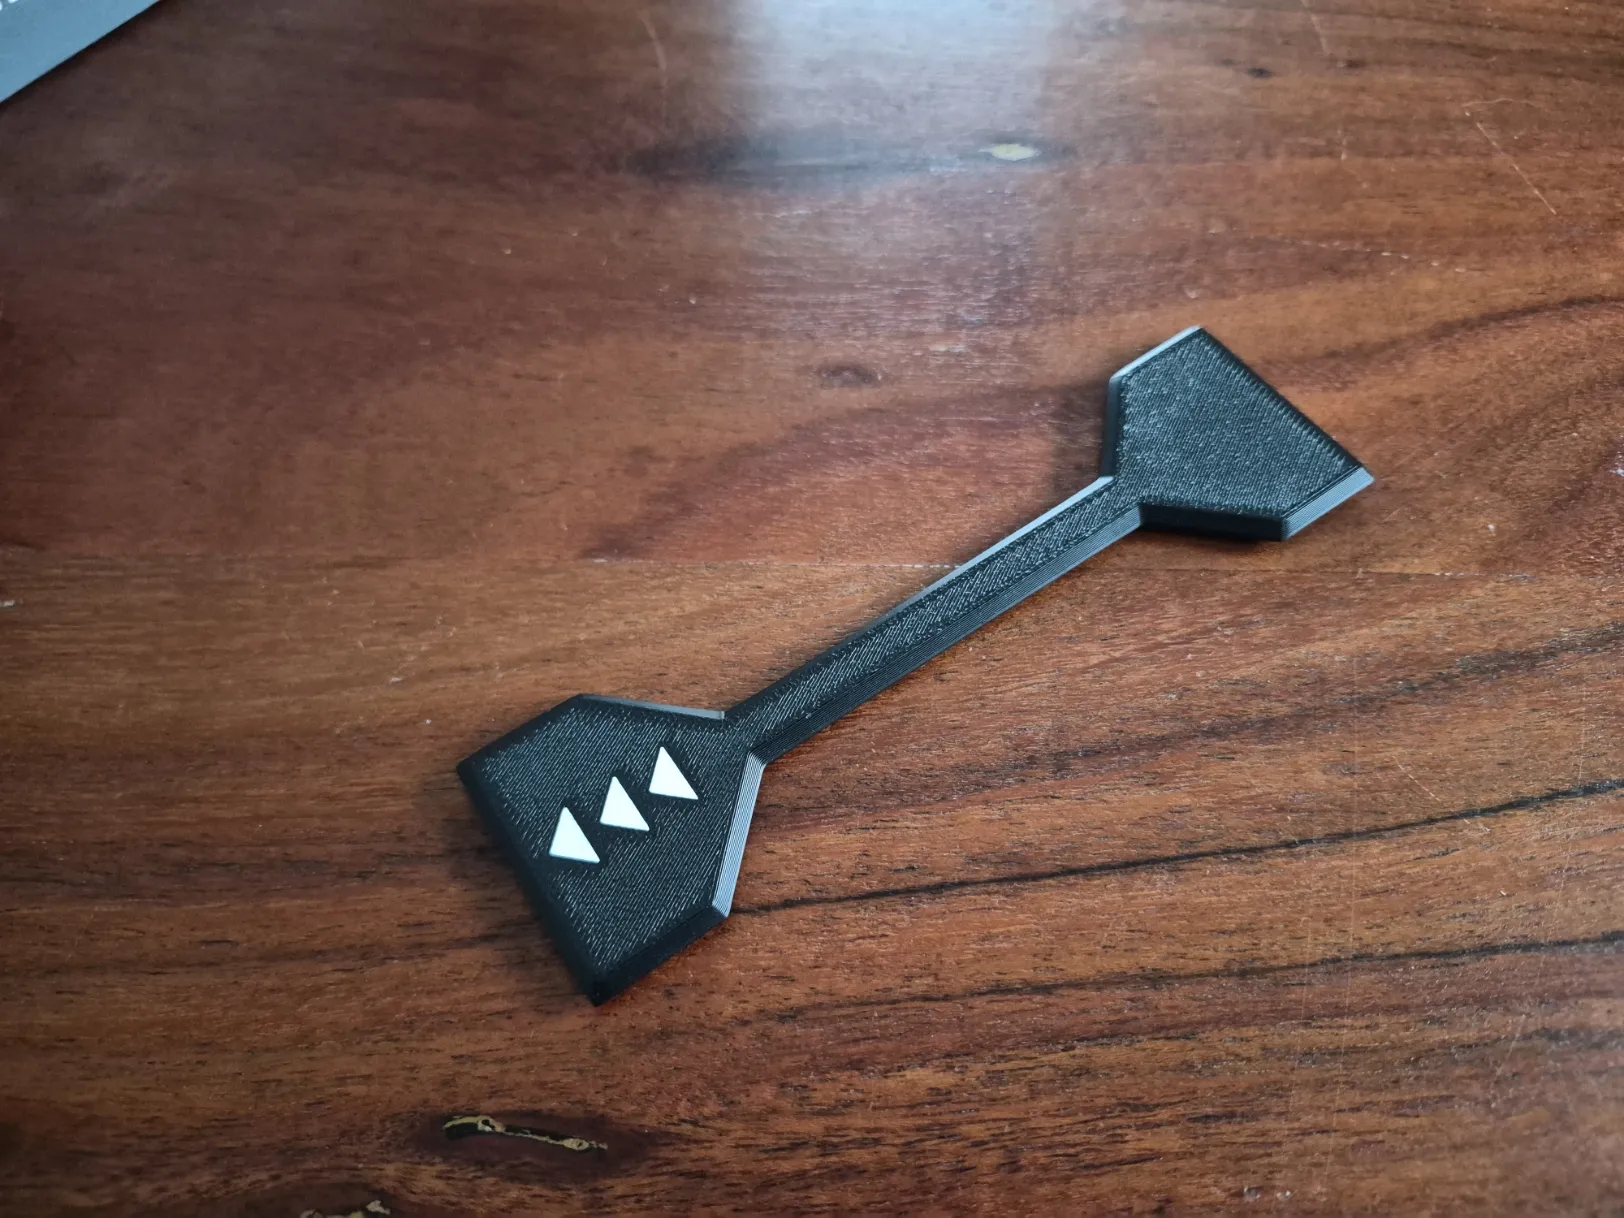
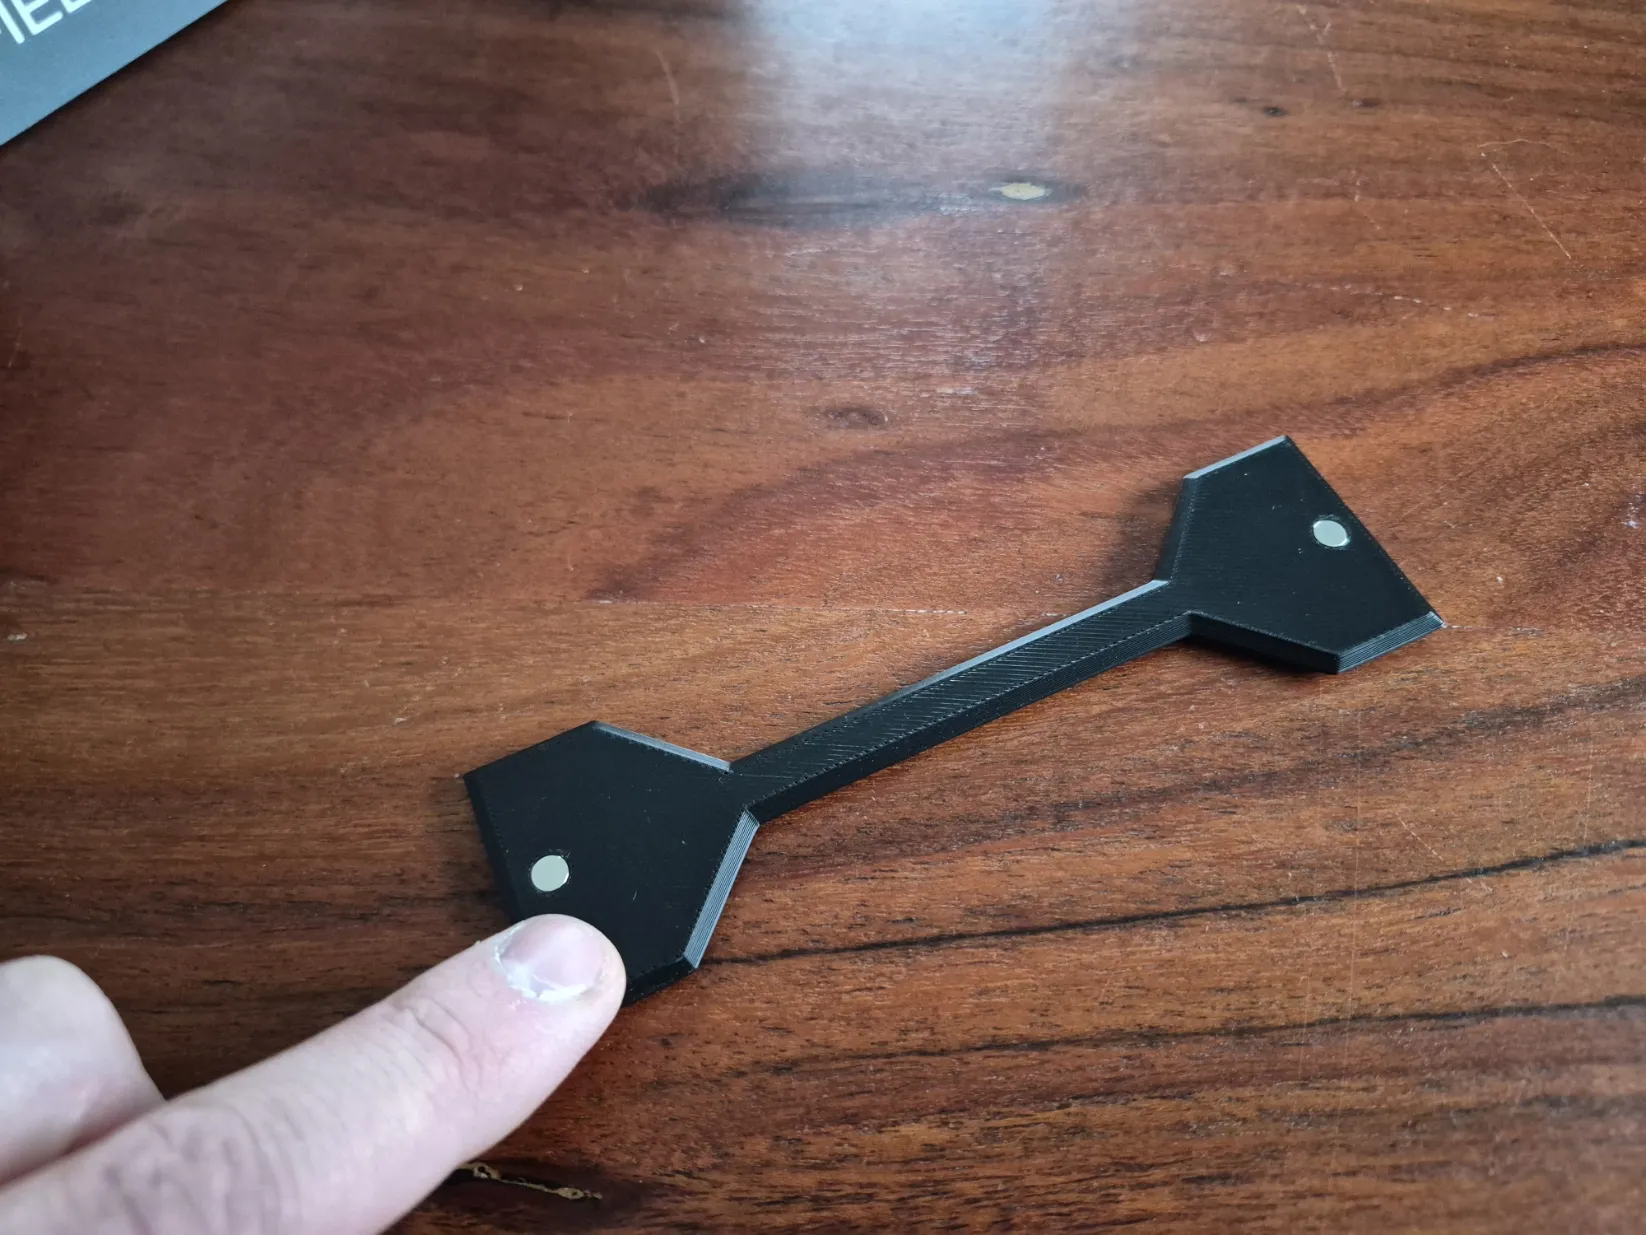
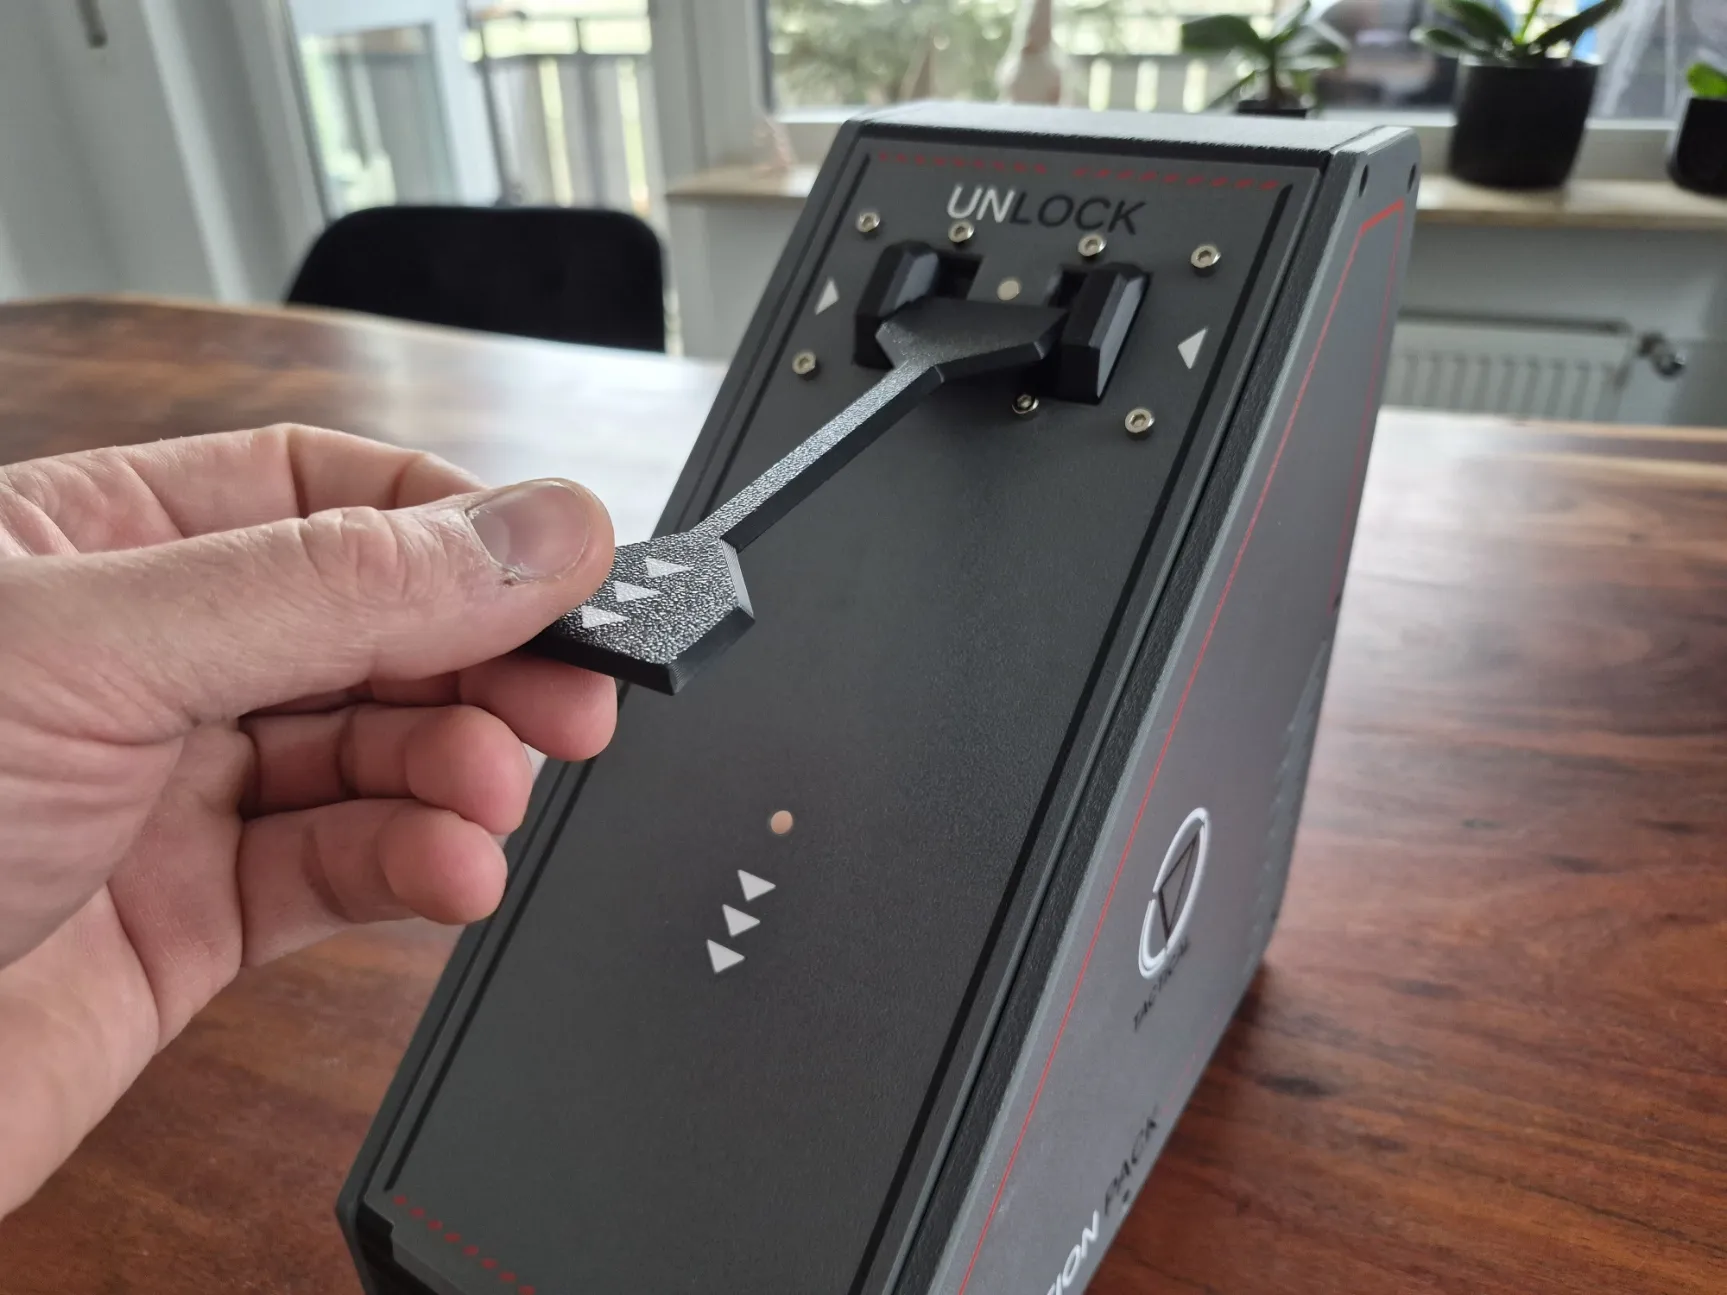
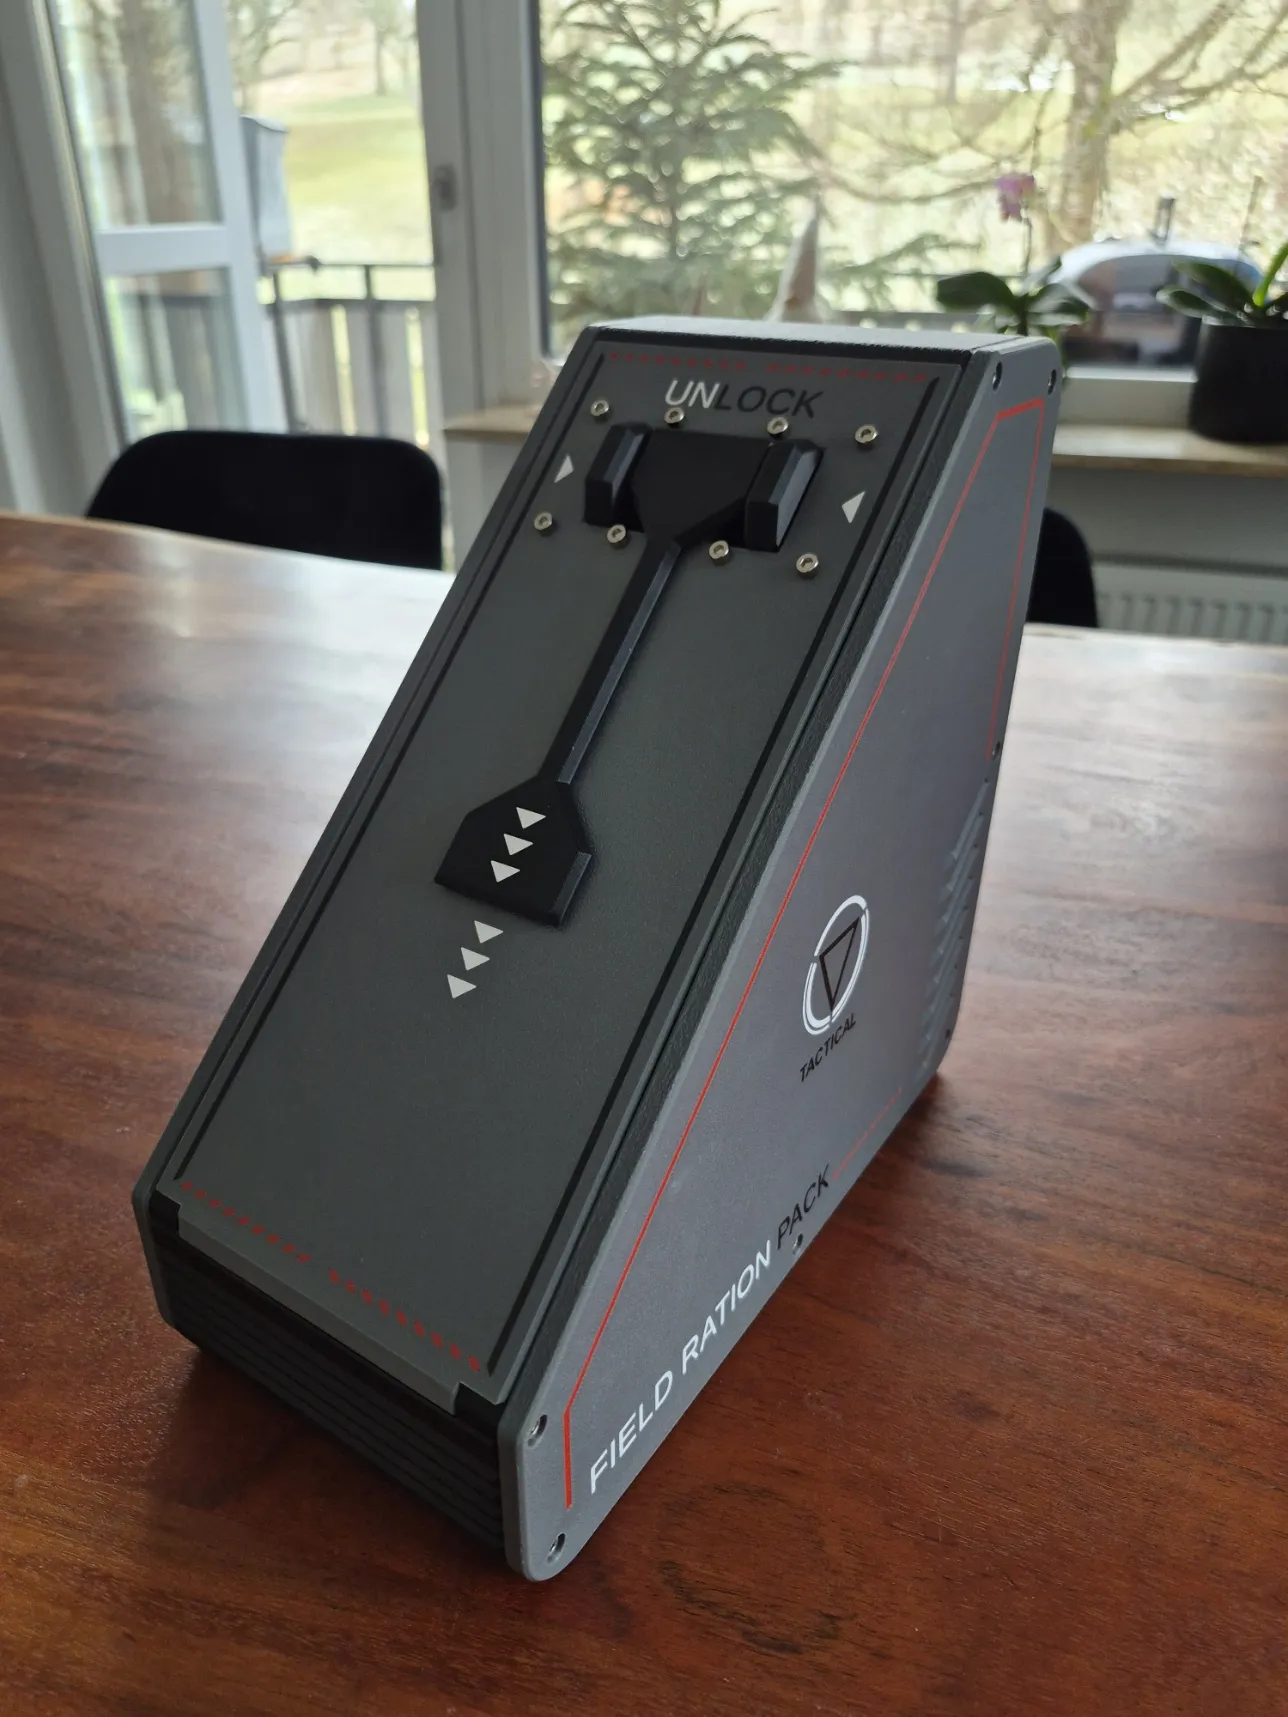
Thats it, youre now ready to go and take youre lunch or any other stuff with you. For Work, for School or any other Activity which requires some Scifi artefakt :) Have fun with it and let me see some cool Makes in the comments.
License

You shall not share, sub-license, sell, rent, host, transfer, or distribute in any way the digital or 3D printed versions of this object, nor any other derivative work of this object in its digital or physical format (including - but not limited to - remixes of this object, and hosting on other digital platforms). The objects may not be used without permission in any way whatsoever in which you charge money, or collect fees.


Comment & Rating (6)