
1/64 Diorama: Loft Garage
Print Profile(4)
Description
(Model for personal collection only, not for commercial use)
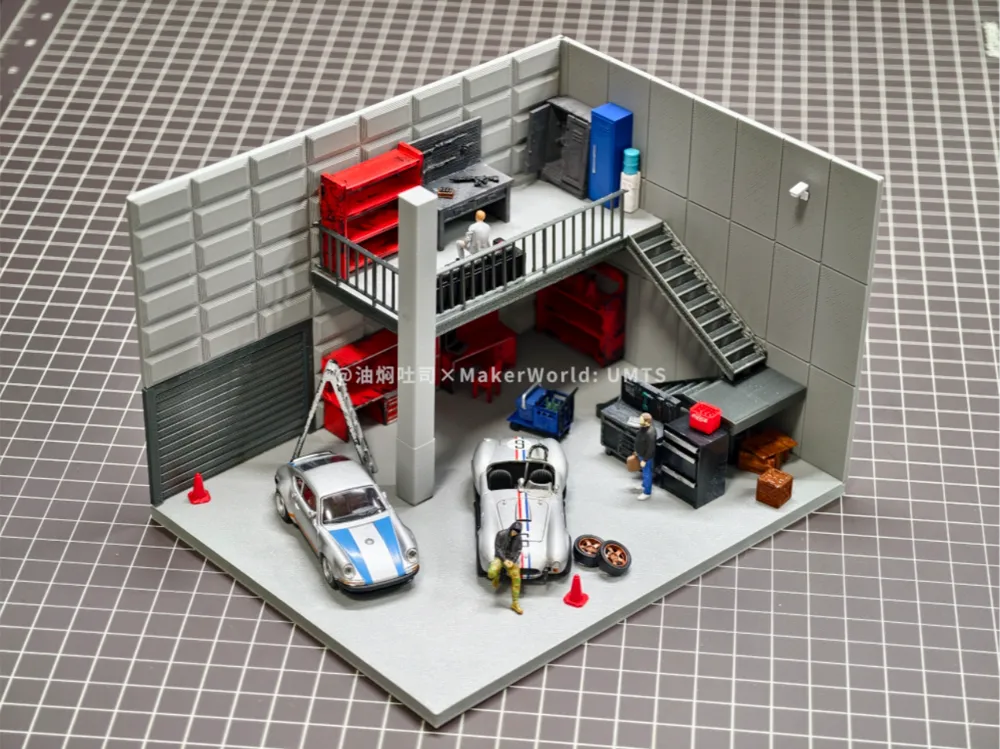
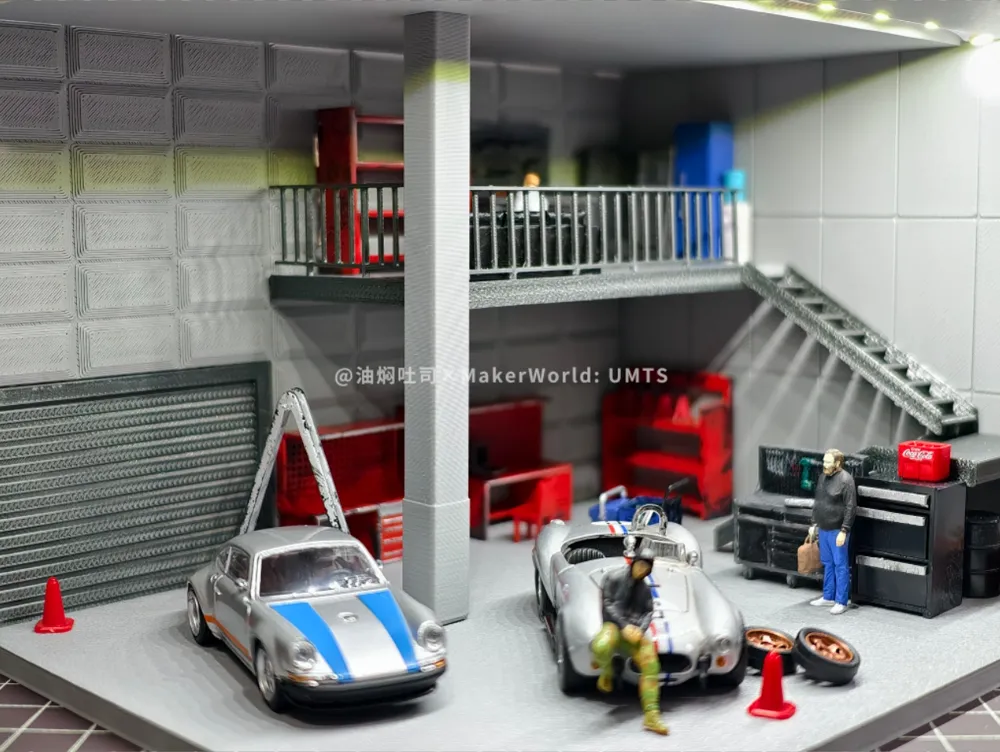
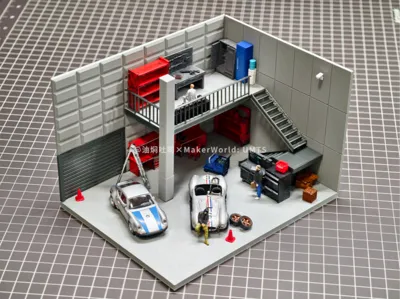
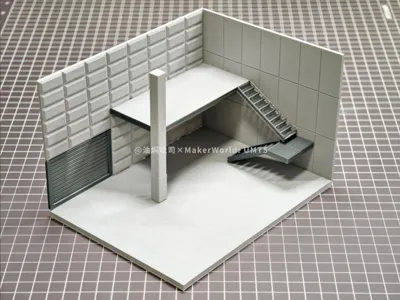
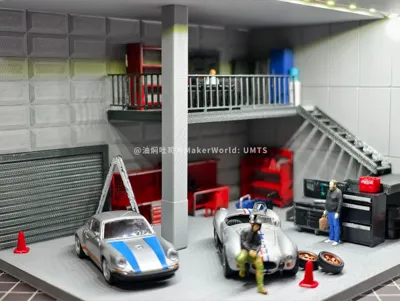
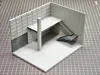
A loft garage scene, suitable for scale car model enthusiasts
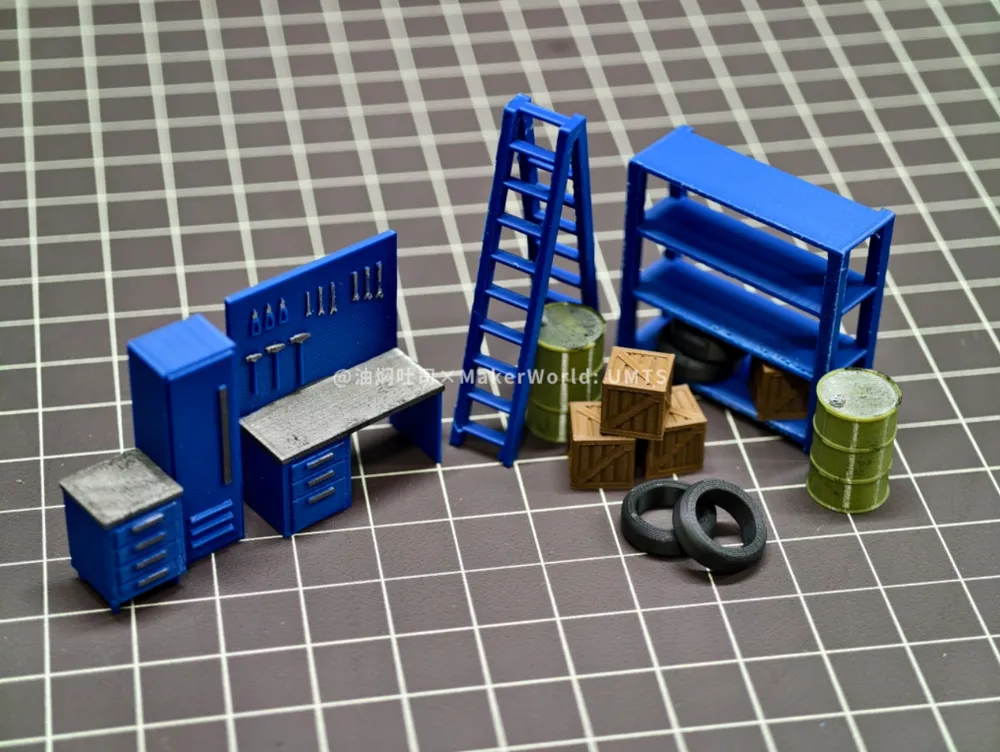
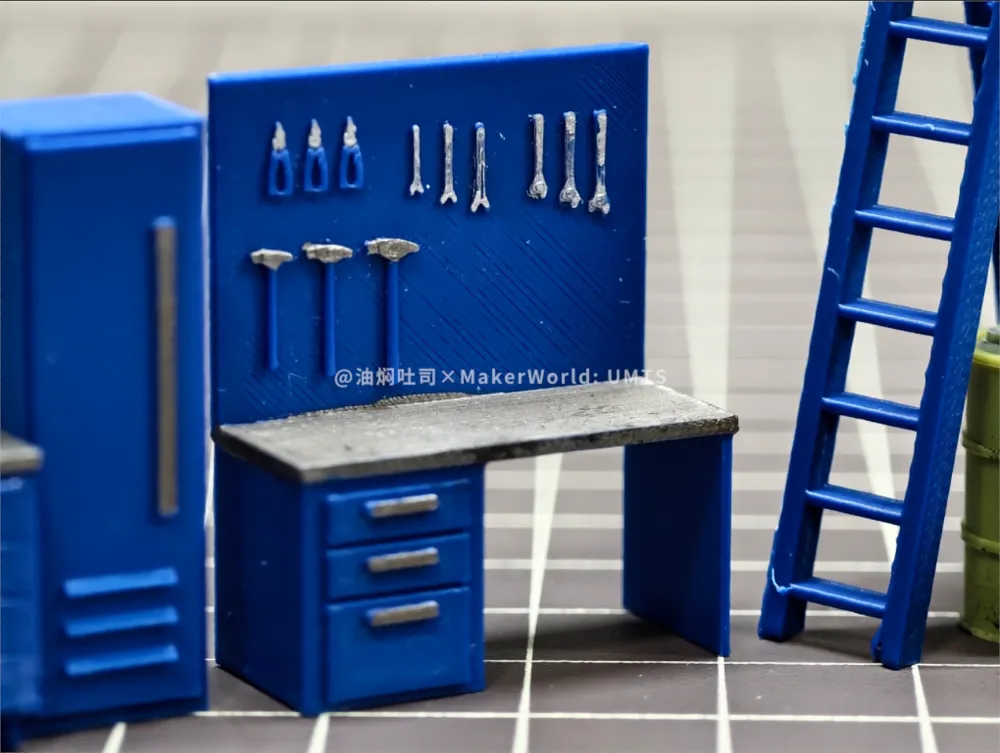
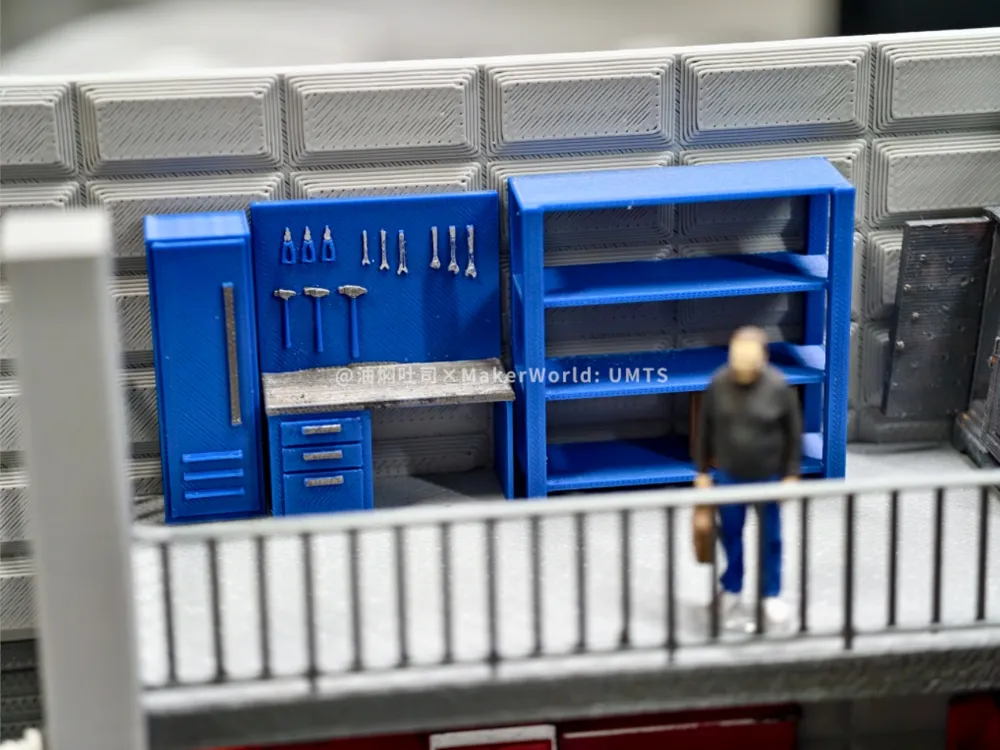
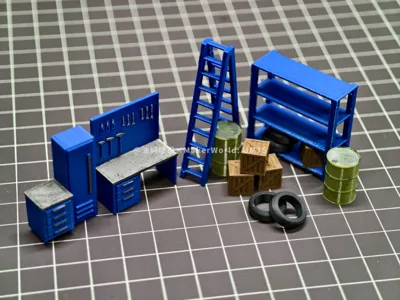
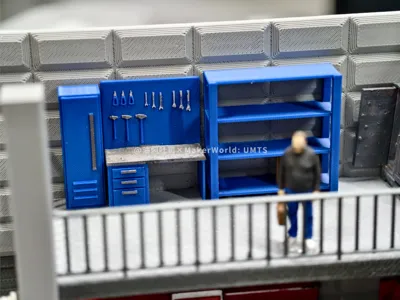
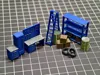
(Tool benches, shelves, boxes, and other props are currently being tested, print profiles are being uploaded continuously... remember to check back if you collect them~)
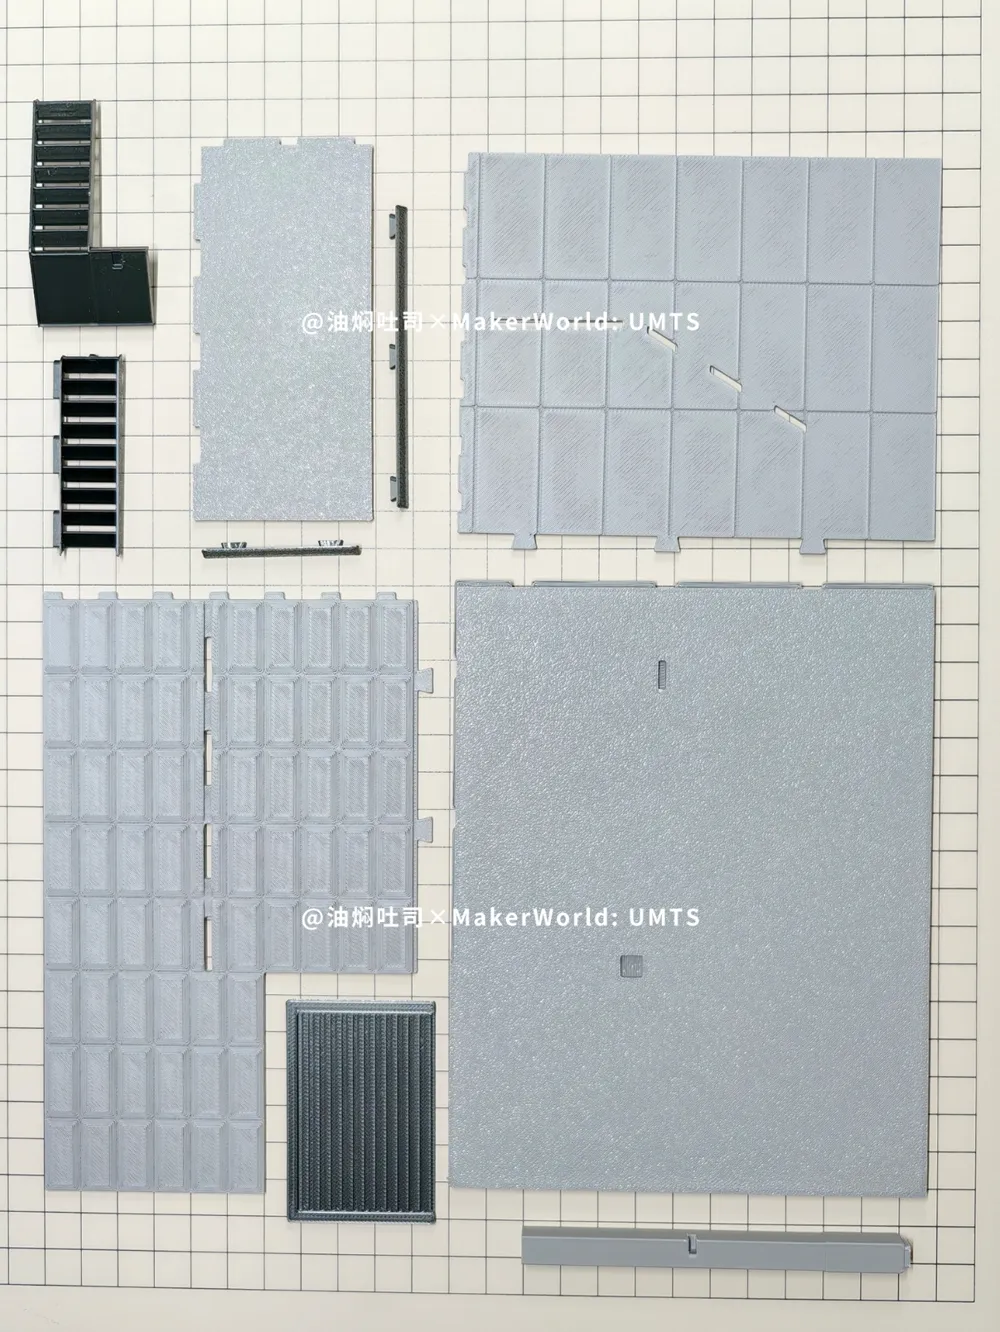
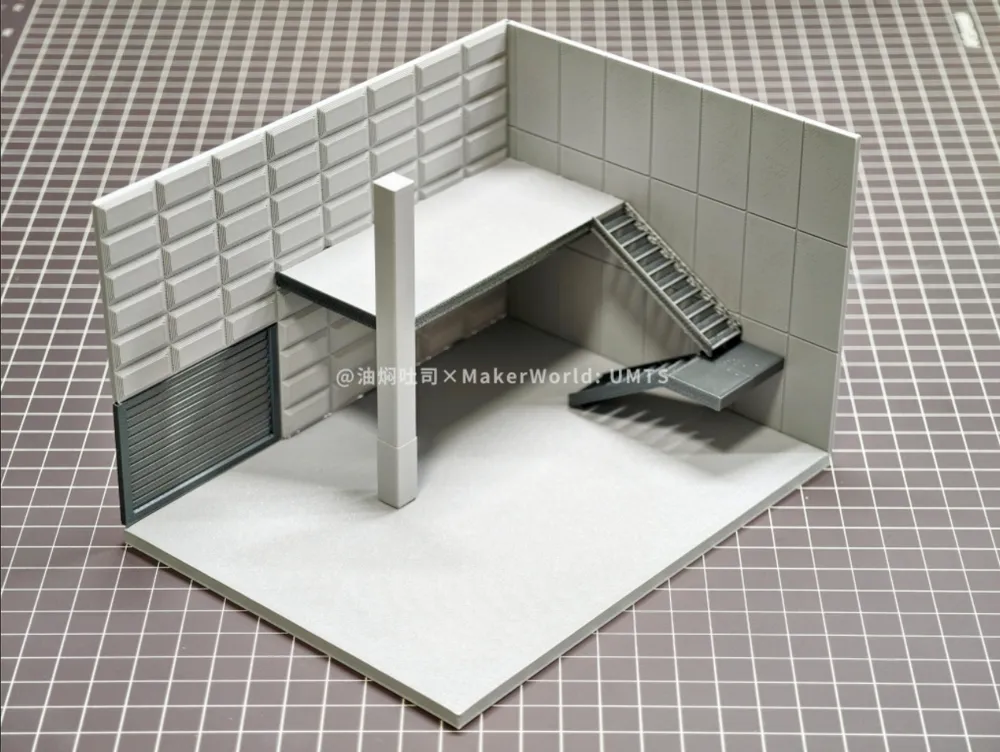
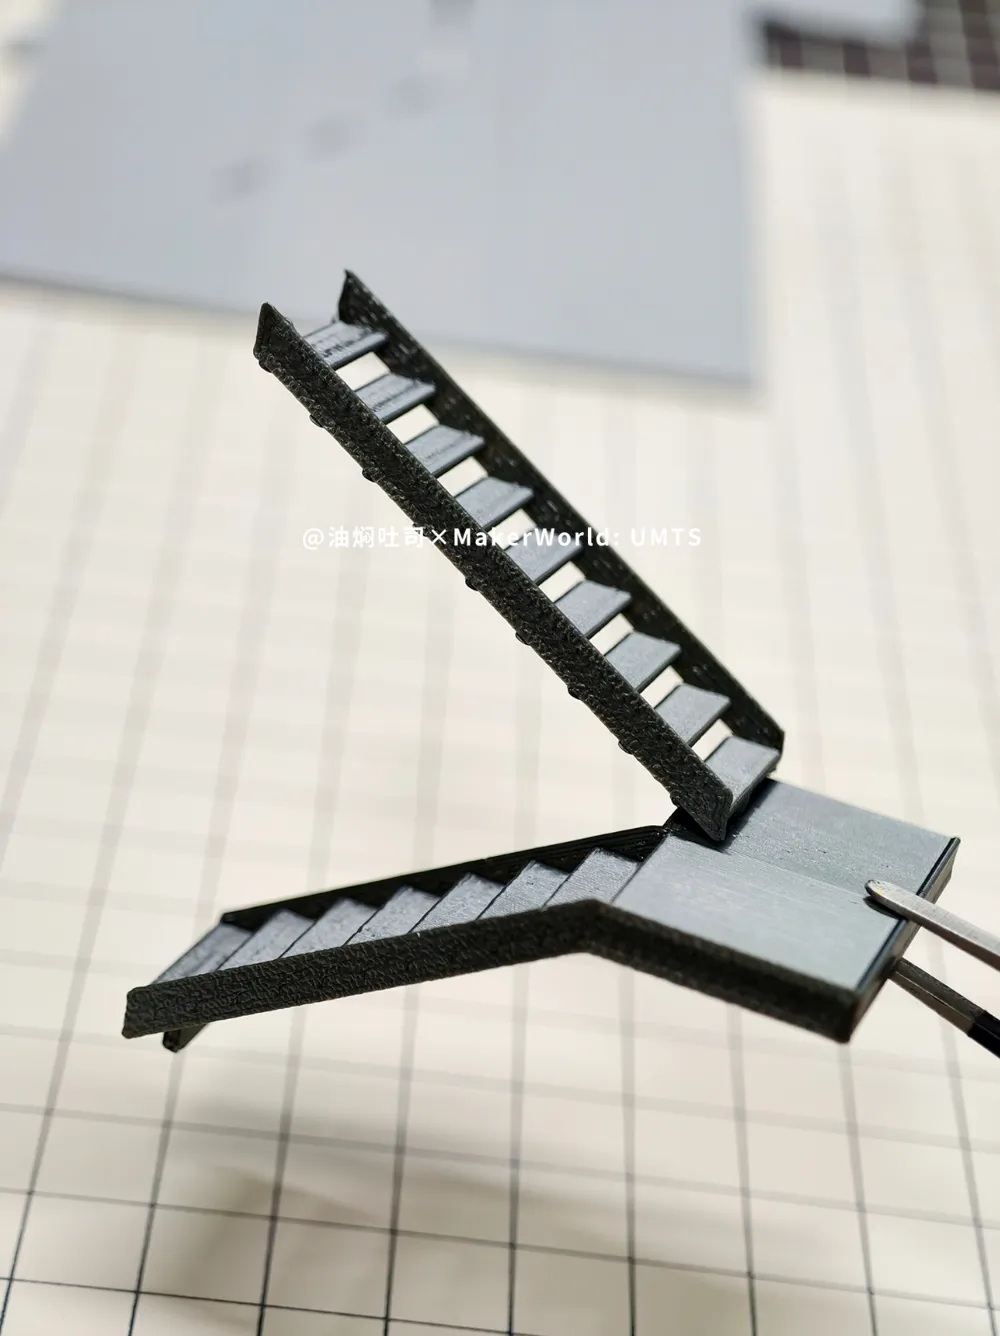
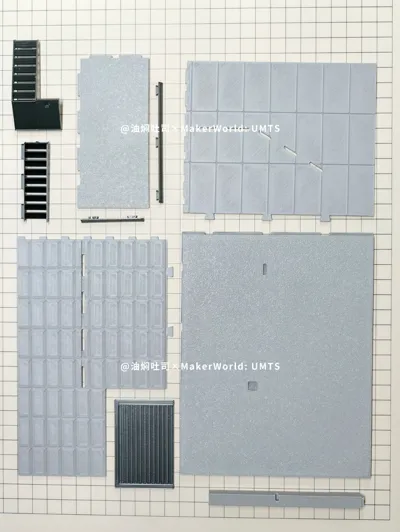
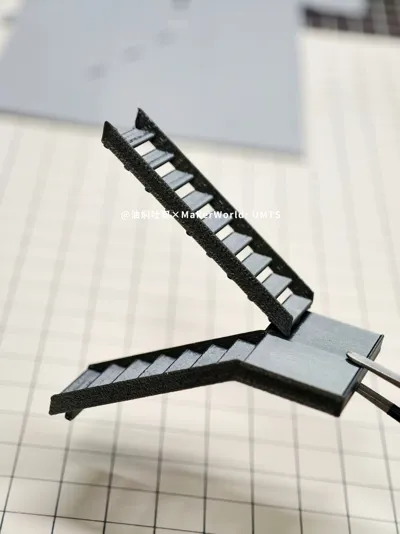
1. Walls, stairs, floor, and some parts are connected using mortise and tenon joints (modified, see 1.31 modification notes for details), it is recommended to reinforce with glue, just follow the diagrams for installation
The mortise and tenon joints are not scaled up, if they feel tight during installation, just align and tap them into place
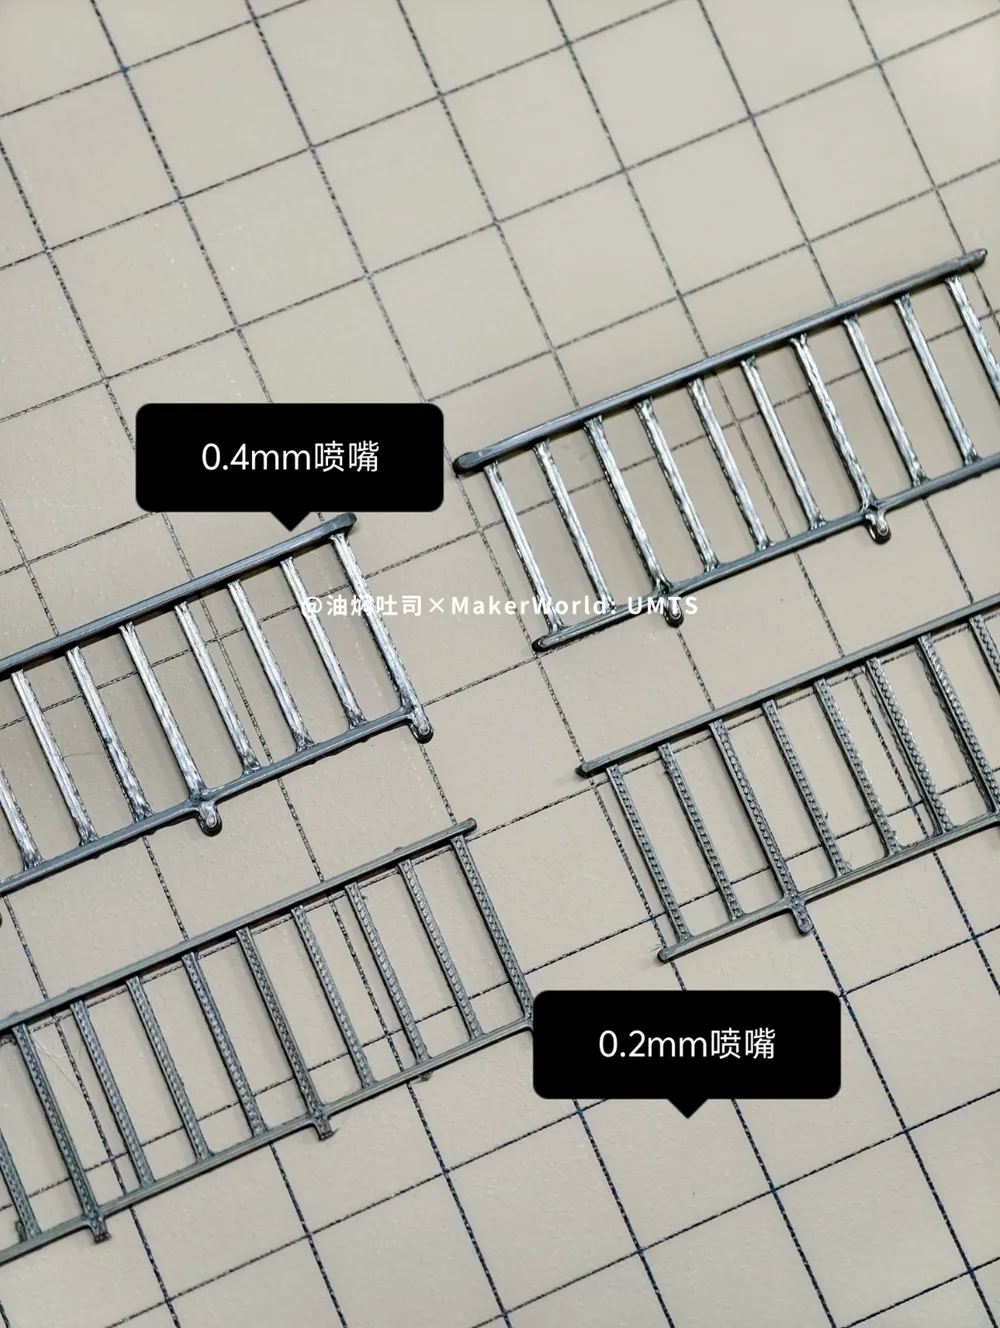
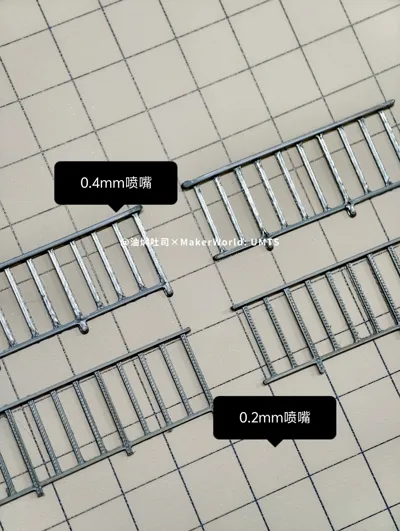
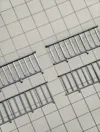
2. For the railings, use a 0.2mm nozzle, please print the second profile (tested, 0.4mm also works, but is very rough)
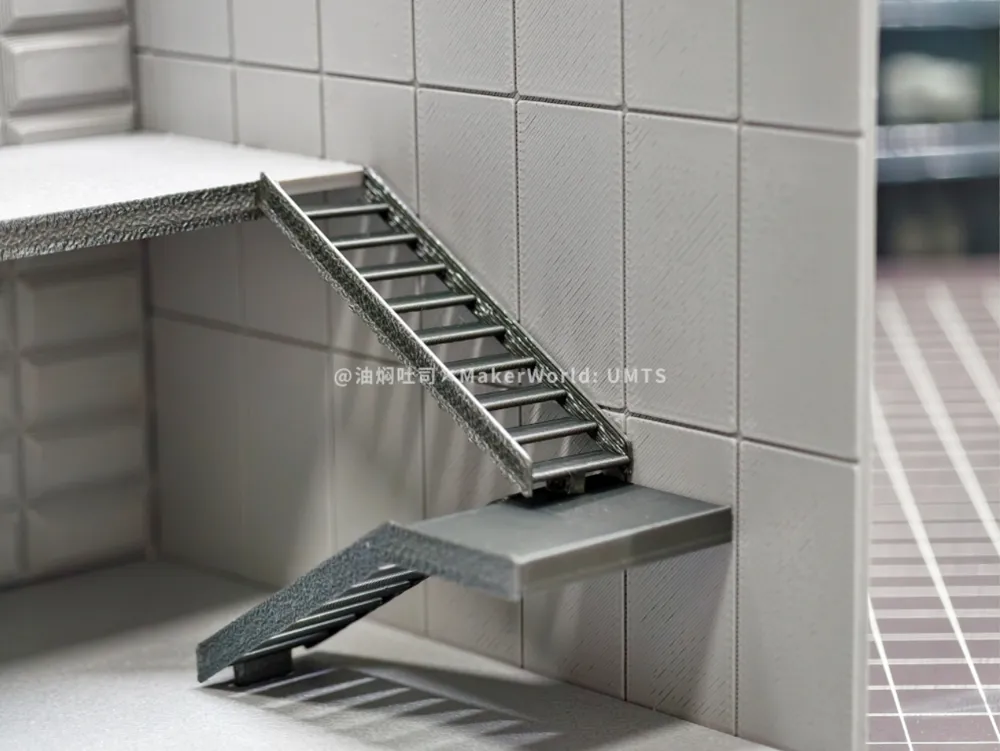
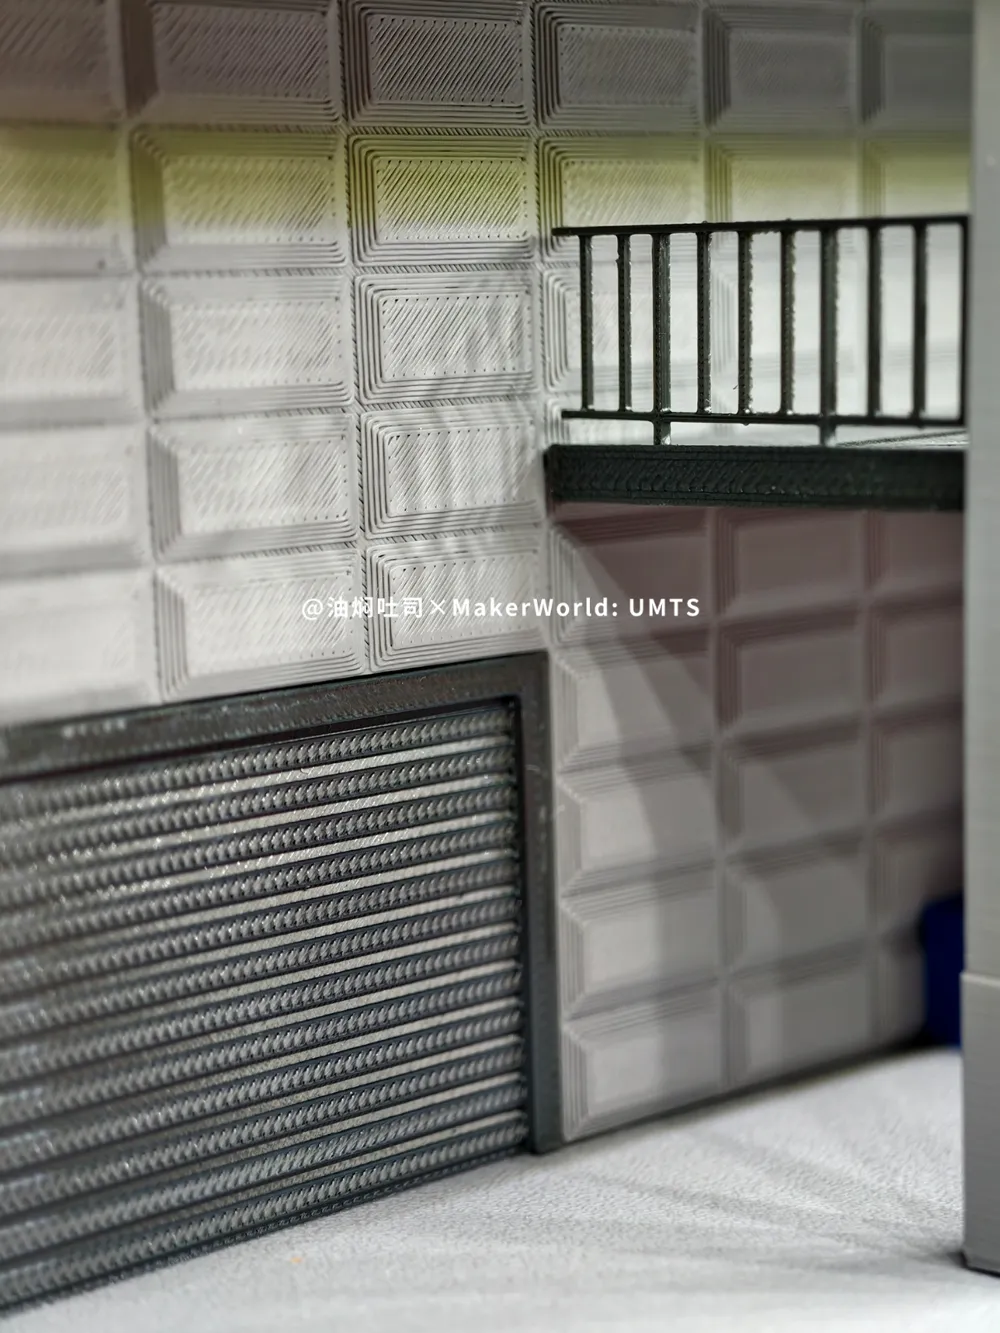
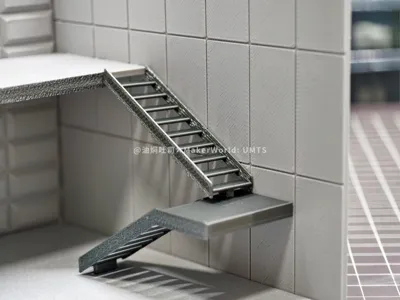
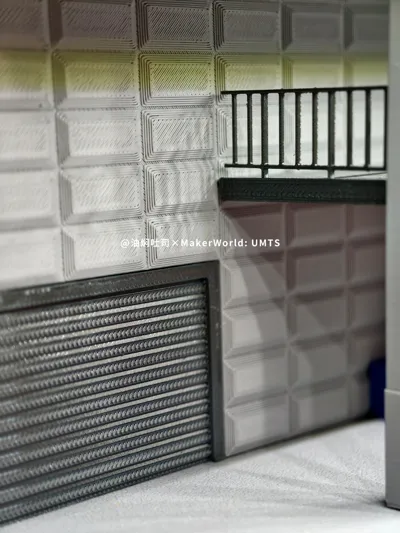
3. For the roller shutter door, stairs, and decorative strips, I directly used PLA Silk filament to achieve a metallic look
4. The stairs use tree supports, definitely do not change them!!! (Regular supports are frustrating to remove)
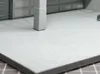
5. The base is printed upside down (to hide top surface patterns, large-area ironing can easily fail, the texture of the PEI plate works well as floor details, if you can accept it)
My watermark is on the bottom of the base, if you mind, please print the "no watermark version base" from the profile
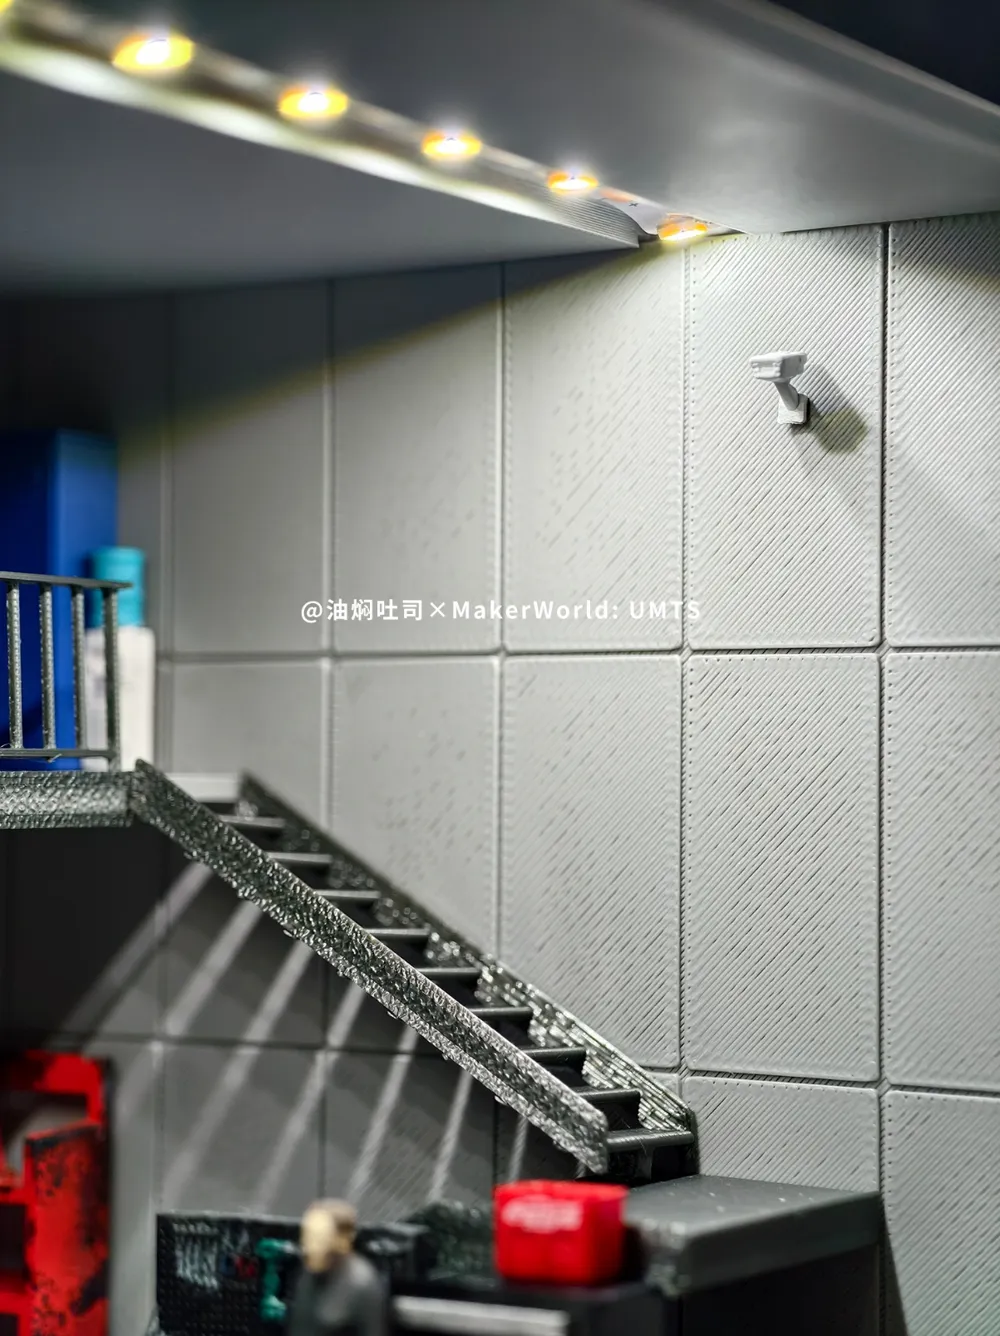
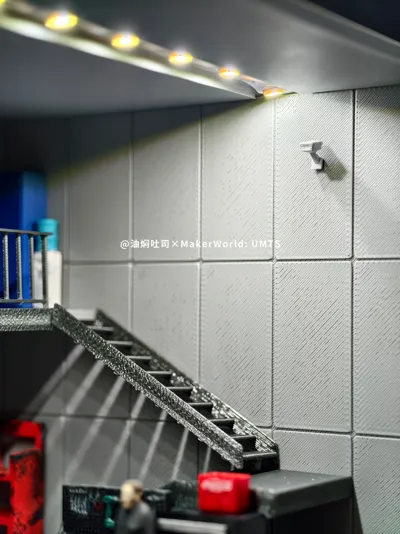
6. The ceiling top cover has a reserved 1cm wide groove for LED light strips, the power cord can be routed out from the notch on the right, print as needed
【1.31 Model Modification Notes】
Some friends reported that the mortise and tenon joints cannot be fitted (sad T_T)
Considering the existence of tolerances and differences in printing results across various machines and filaments,
Therefore, the mortise and tenon joint structure in the main parts has been canceled and replaced with a traditional flat structure,
Players are requested to fix them with glue (everyone who loves 1/64 scale models must be a crafting expert and glue master!)
Parts affected by this modification:
Main wall, side wall, base, pillars (model has been re-uploaded)
Mortise and tenon joints in other areas are still retained, I found them acceptable during actual assembly,
If you have any problems, please feel free to provide feedback, I will continuously optimize it, thank you for your support!
【2.7 Scene Accessories Uploaded】
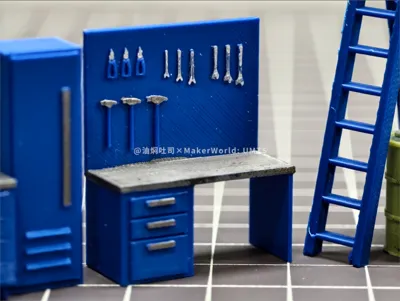
Please check in the print profile, use a 0.2mm nozzle to show details (however, ladders, shelves, and tires can use 0.4mm);
This profile does not require AMS, the images show painted and weathered effects after printing;
The profile contains 1 plate, if different colors are needed, you can split the plate yourself on your computer
License

You shall not share, sub-license, sell, rent, host, transfer, or distribute in any way the digital or 3D printed versions of this object, nor any other derivative work of this object in its digital or physical format (including - but not limited to - remixes of this object, and hosting on other digital platforms). The objects may not be used without permission in any way whatsoever in which you charge money, or collect fees.


Comment & Rating (66)