
Engine fidget - Porsche 911 Boxer Engine
Print Profile(2)
Description
Check my other engine fidget:
https://makerworld.com/en/models/2183126-engine-fidget-honda-k20-engine#profileId-2369711

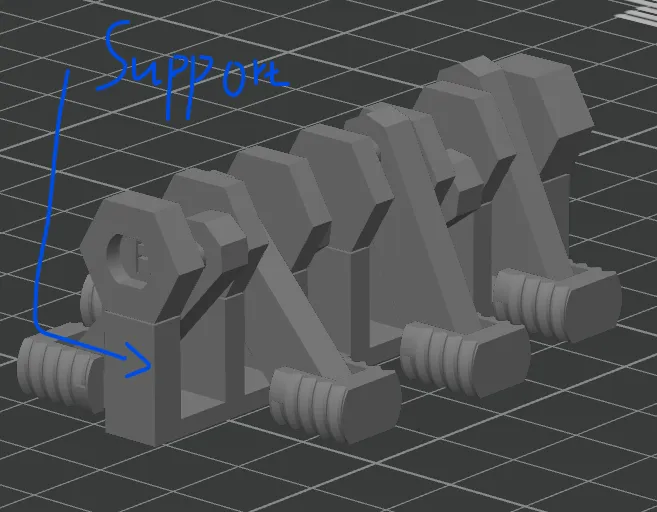
02/18/2026 EDIT: I added a print profile with bambu lab slicer and remove the support i designed in CAD. You can use that profile if keep failing on the crankshaft. Howver i do print both profile for crankshafts and both of them work. i am using X1C with bambu PLA, stock plate and door closed (low room temp in my area). Again, bed adhesion is the key. Make sure use brim, if doesnt work add glue.
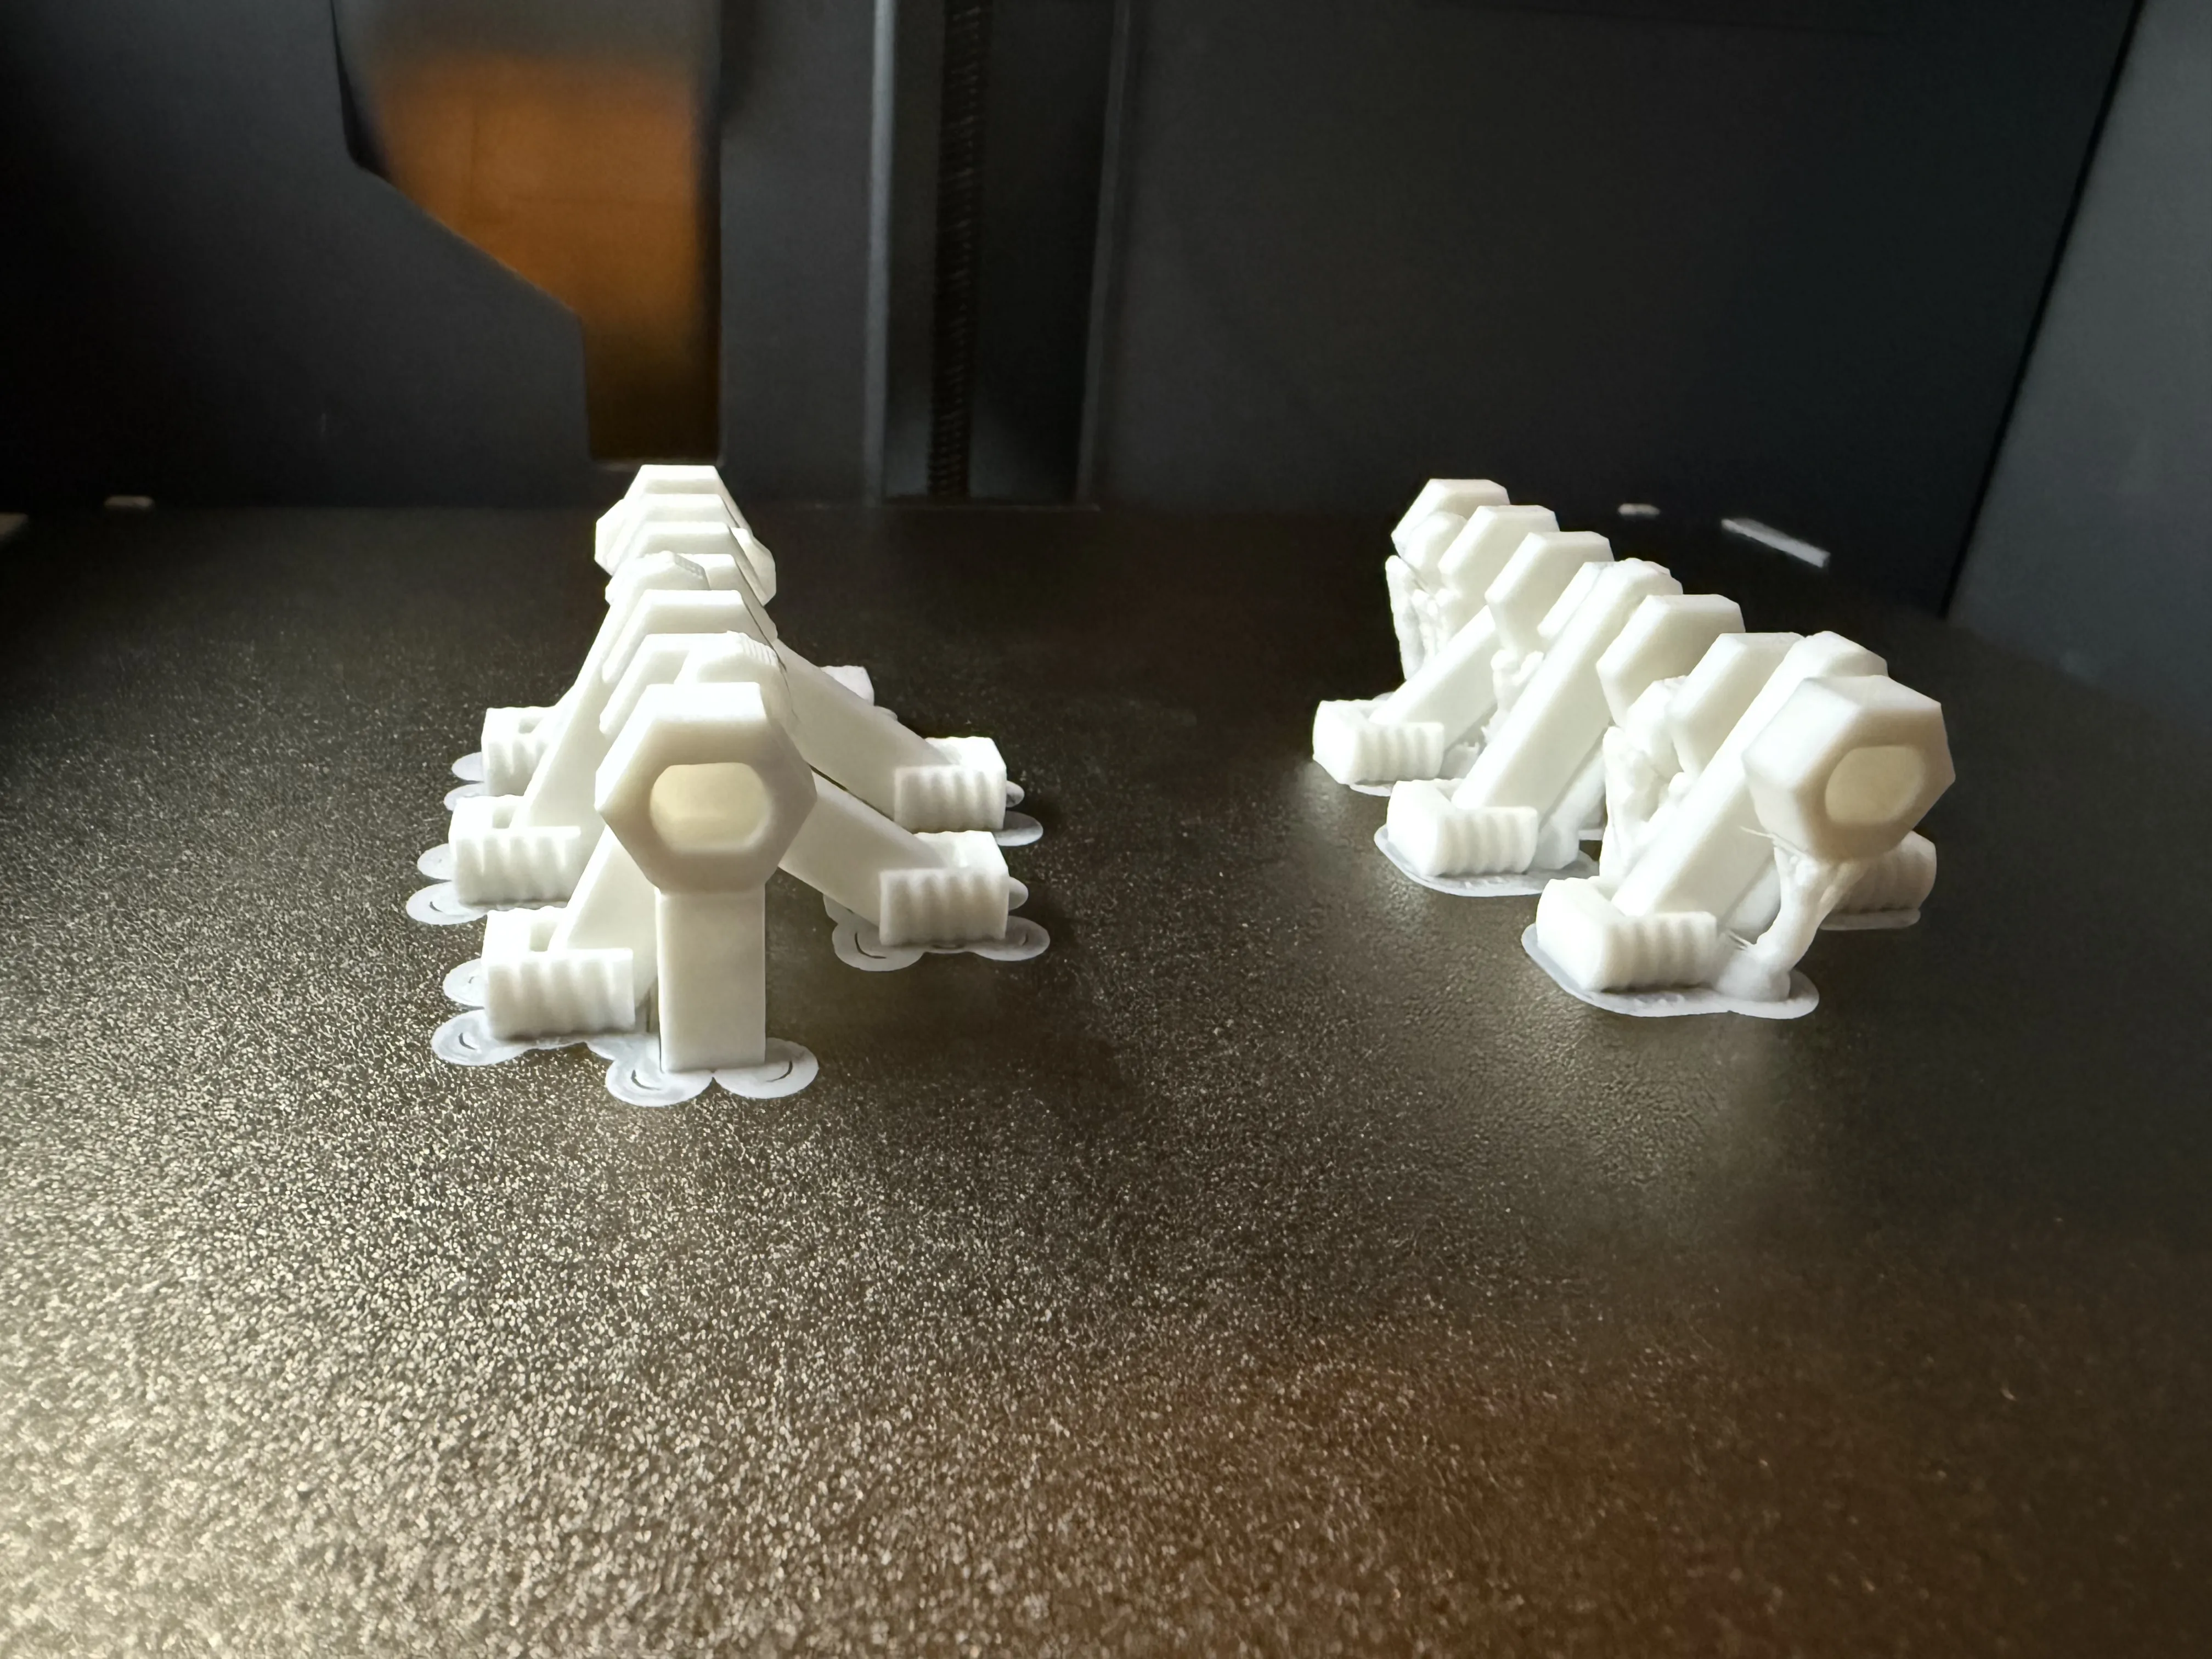
02/16/2026 EDIT: Whoever has difficulty to print the crankshaft, please check the pinned comment. i am working on a more robust design/print profile once my printer is idle.
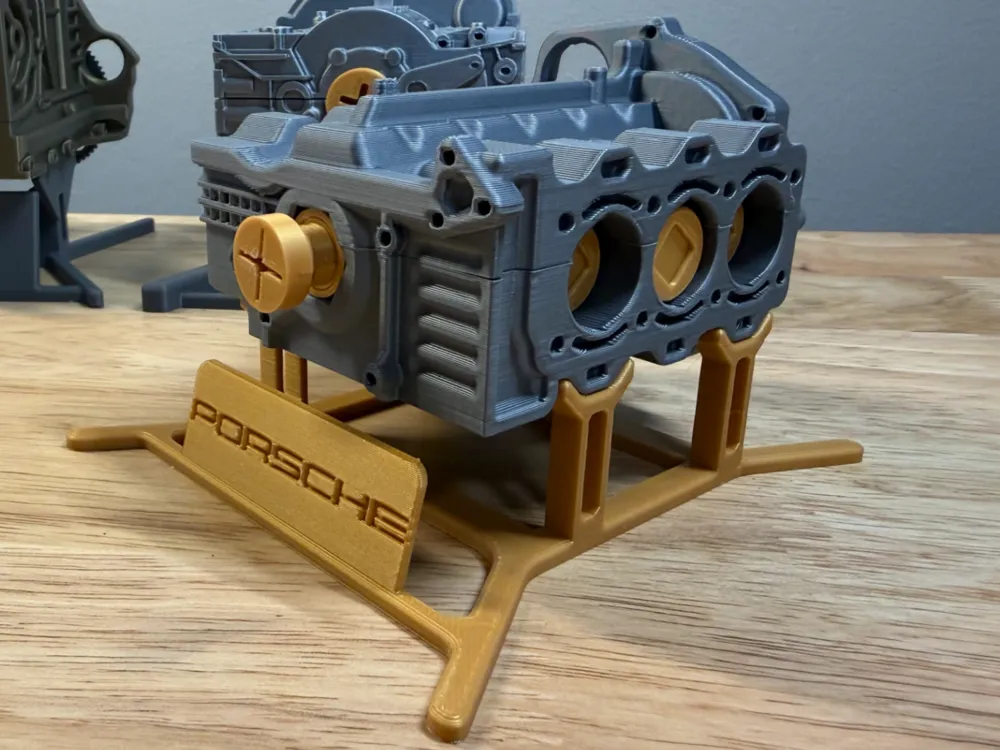
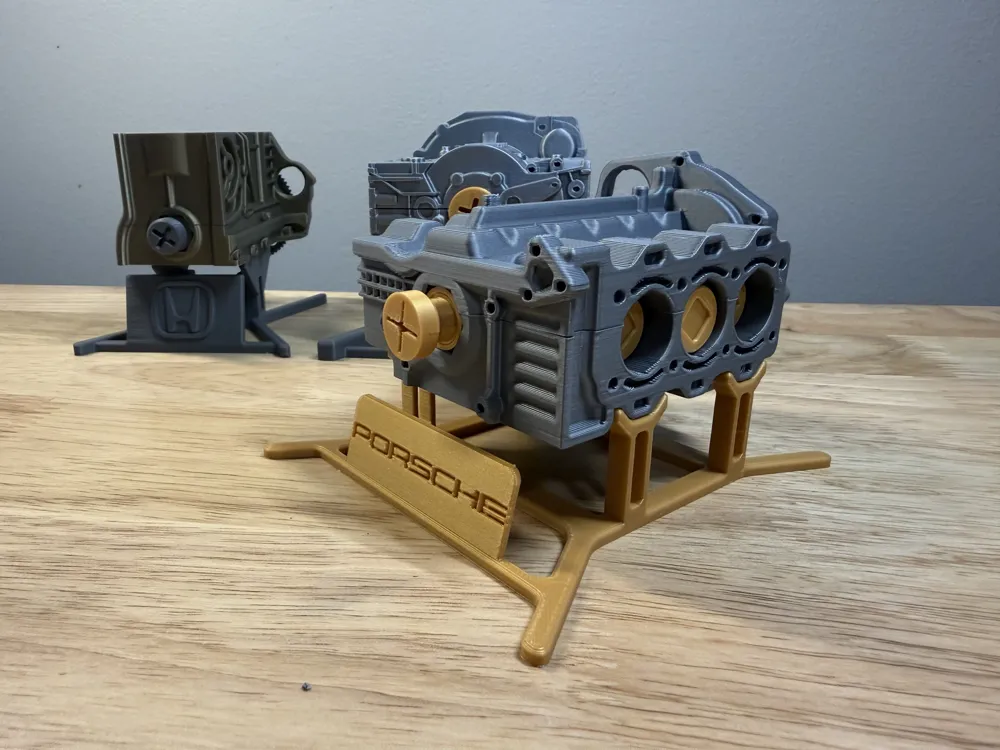
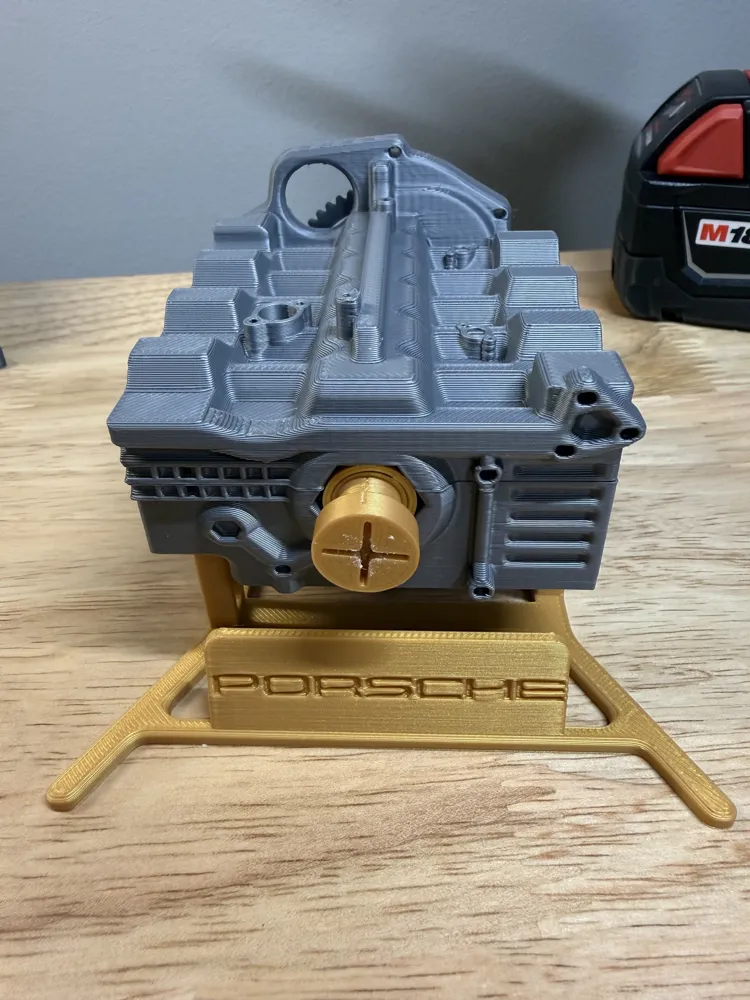
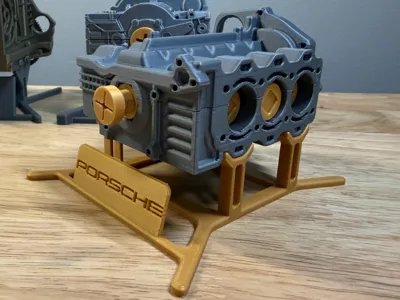
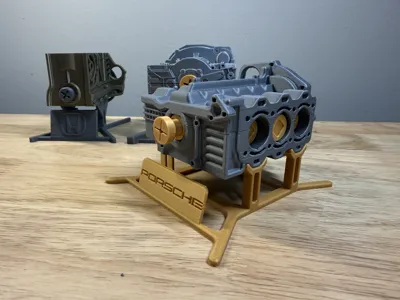
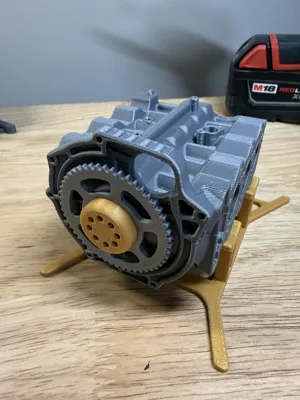
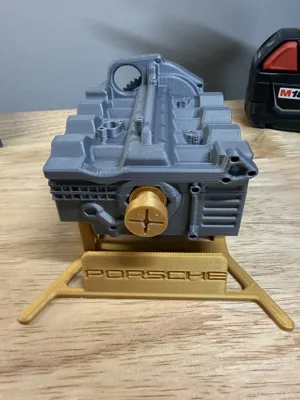
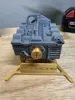
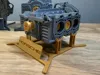
Welcome to my new engine fidget - Porsche boxer 6 cylinder. This model is based on 3.8L flat 6. With the lessons learned from previous two projects, this model is easy to build, robust and smooth.
Boost Me (for free)
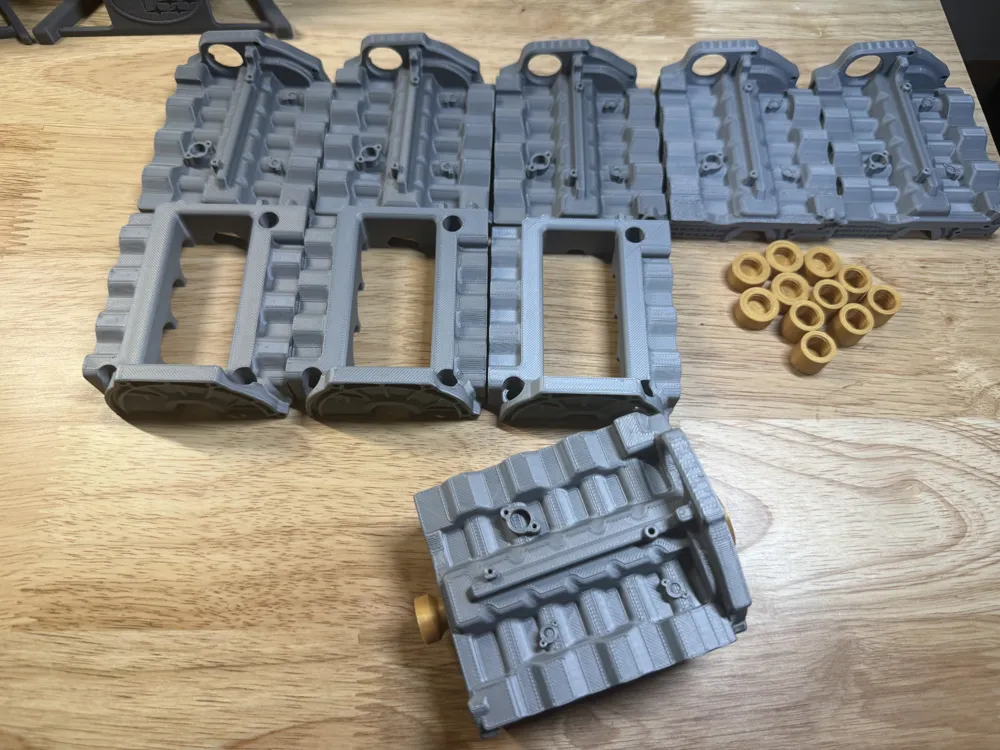
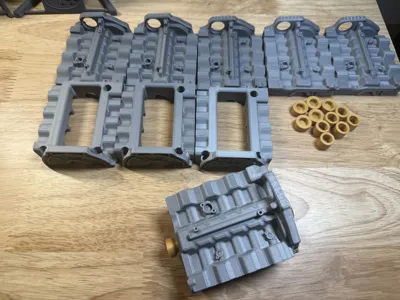
One of the pic shows how many prototypes i have made to achieve the final design.You boosts are the great motivations for me to make next fun model and they are really appreciated!

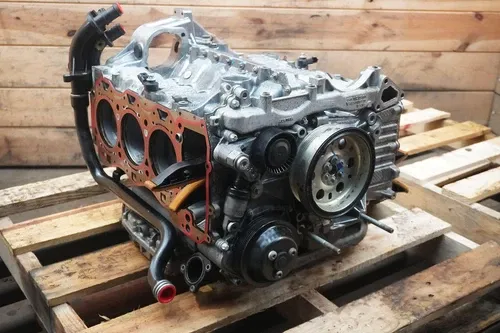
🔥 Mini Porsche Boxer 6 Engine Fidget – A pocket-sized powerhouse for ultimate driving machine! This mini boxer engine fidget is replica of a horizontally-opposed 6-cylinder engine based on porsche MA series.
- BUILT-IN SUPPORT
- NO HARDWARE
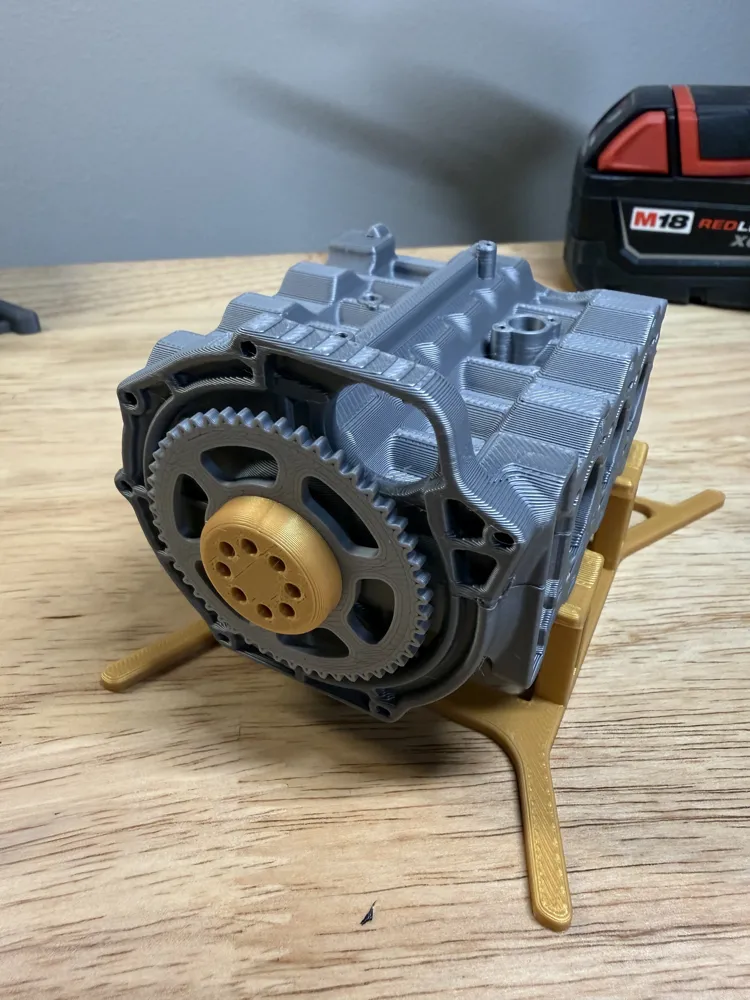
- PRINT IN PLACE CRANKSHAFT ASSEMBLY and detailed engine block.
🛠️ Features:
- Functional piston motion powered by a simple flick or twist

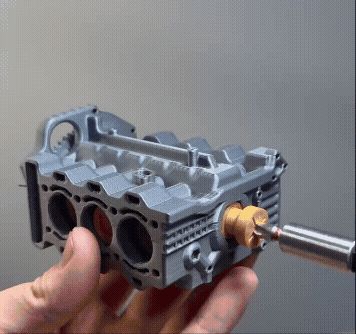
- Driveable by cross head screwdriver (electric drill or impact driver to enjoy the ultimate RPM)
- Compact design that fits comfortably in your palm
- Crafted with precision to showcase the iconic boxer-style layout
- Satisfying tactile feedback and rhythmic movement
🛠️ Print Tips:
- CLEAN THE BED and make sure a good adhesion, especially for crank shaft assembly.
- All settings are set up for PLA. You shouldnt have any problems with PETG, too. If you are confronting with threading issues, try XY hole compensations.
For best results, you can use MR148 metal bearing (8*14*4mm), OR you can print my 8*14*4 double teeth bearing. Link below (make sure use the DT profile);
https://makerworld.com/en/models/1088520-8-14-4-bearing#profileId-1081576
🛠️ Assembly Instructions:
STEP 0:
Take off the support of crankshaft assembly. It's modeled in CAD and you may to use a screwdriver to ply it out. Do this with care.
STEP 1:
Install adapter Fr (shorter one) and adapter Rr (longer one) with crank shaft assembly. i recommend to use glue to make sure then wont seperate during high speed rotation. On crankshaft, one side is noted as “F” which is front side. DO NOT GET THE WRONG SIDE
STEP 2:
Put on all 6 pistons and place the crank shaft assembly at the lwr block.
STEP 3:
Slide bearing on both ends and then thread Fr pulley, interface plate, plate cover with PDF positions.
STEP 4:
Put on the position pin in the cross hole and use connection bolt to connect upr block with lwr block.
DONE! Now you have a butter smooth Flat 6 engine.
Feel free to share your builds, pictures. Your likes, collects, and boosts really helps for the next project! If you want me to make other engines, comment below and if you have the blueprint, that will be better!
Happy print. Any questions, let me know.
Documentation (1)
License

You shall not share, sub-license, sell, rent, host, transfer, or distribute in any way the digital or 3D printed versions of this object, nor any other derivative work of this object in its digital or physical format (including - but not limited to - remixes of this object, and hosting on other digital platforms). The objects may not be used without permission in any way whatsoever in which you charge money, or collect fees.


Comment & Rating (70)