
Magnetic Travel Chess Set
Print Profile(8)
Description
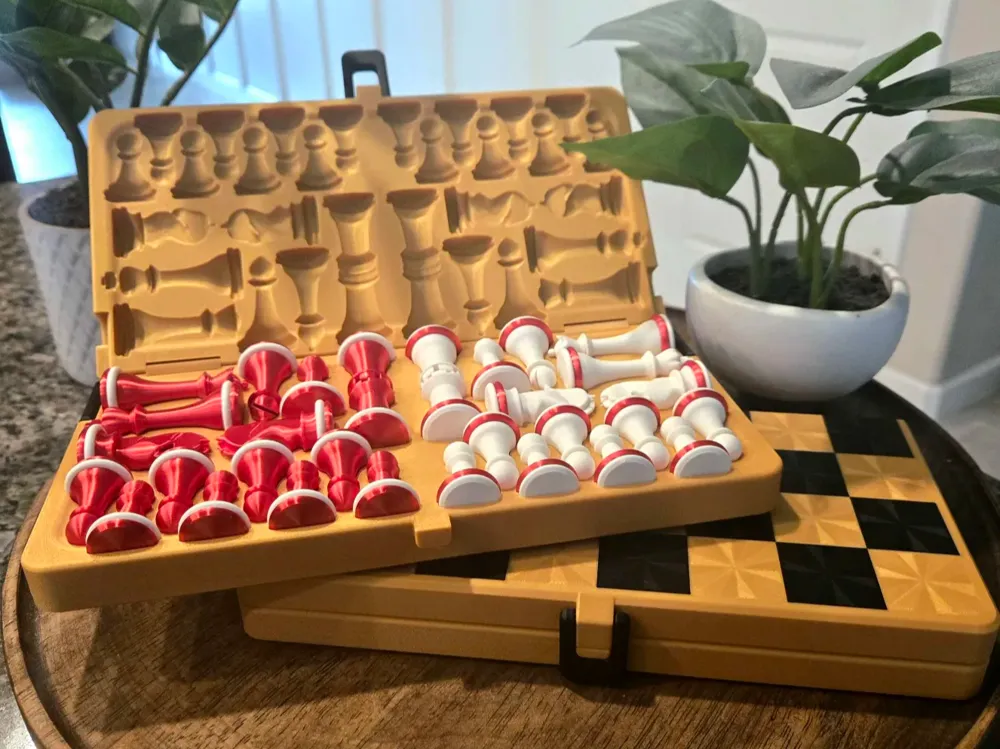
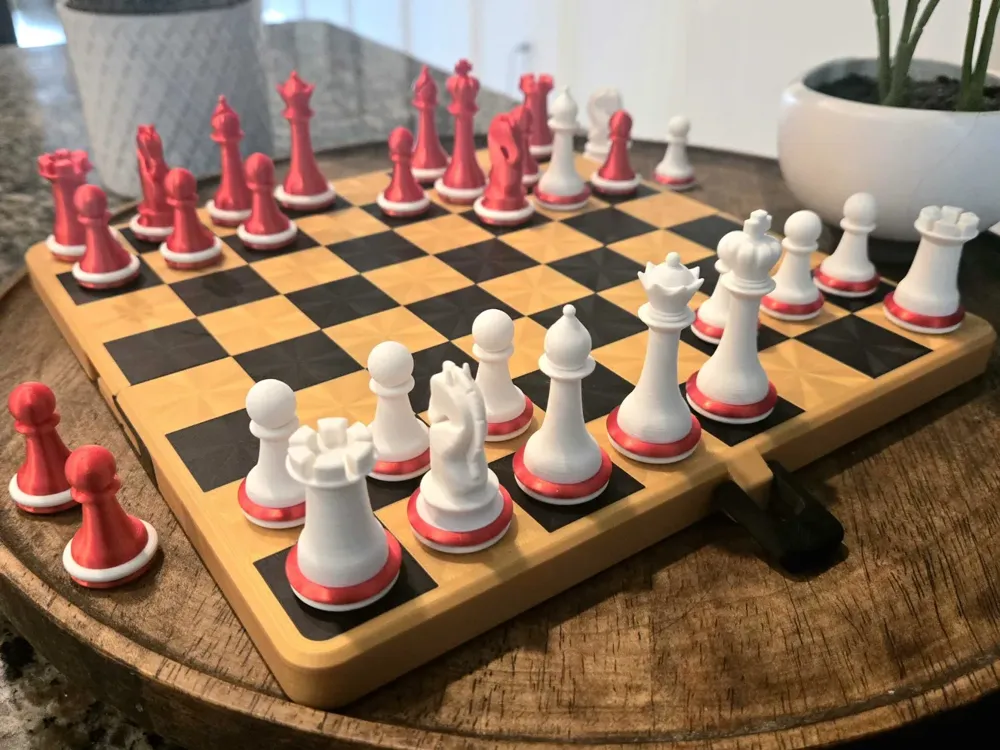
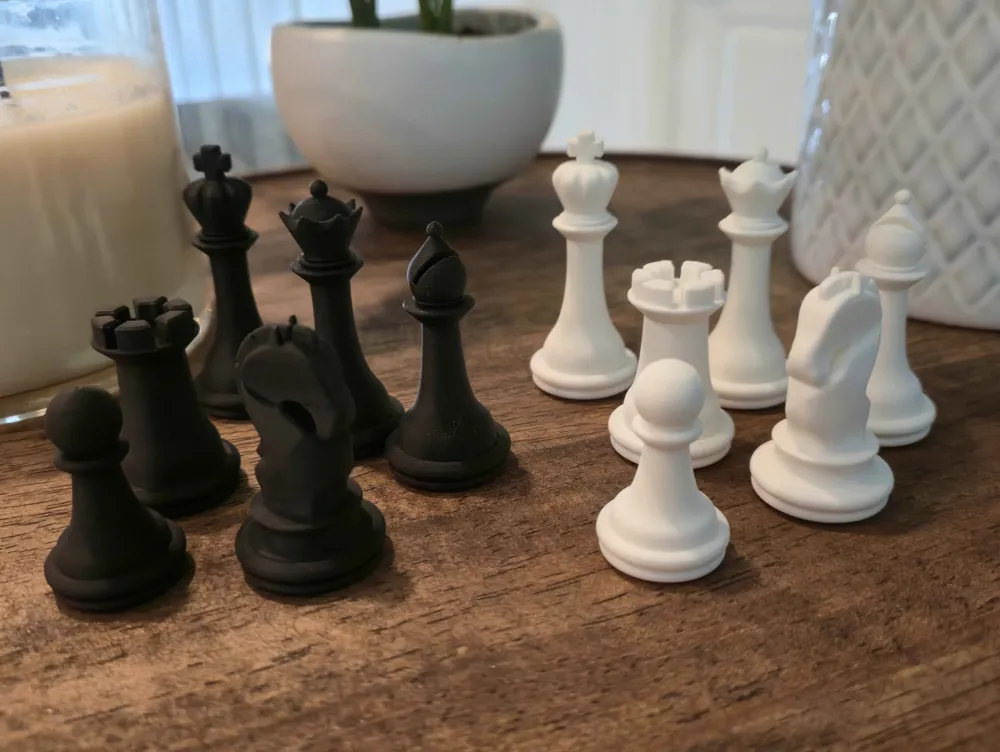
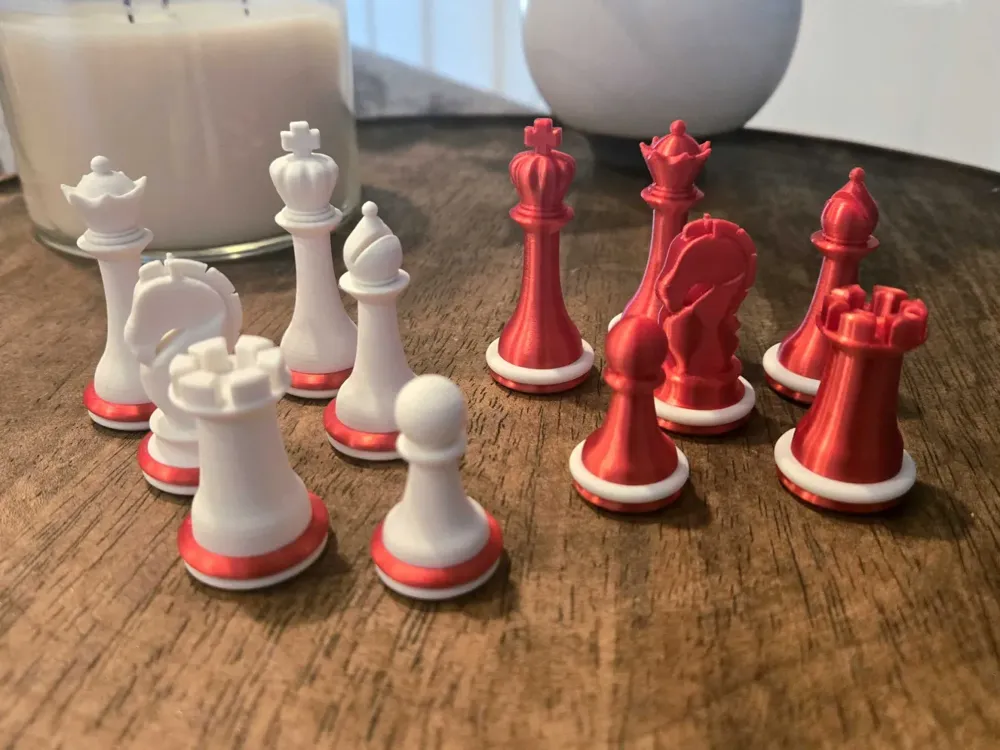
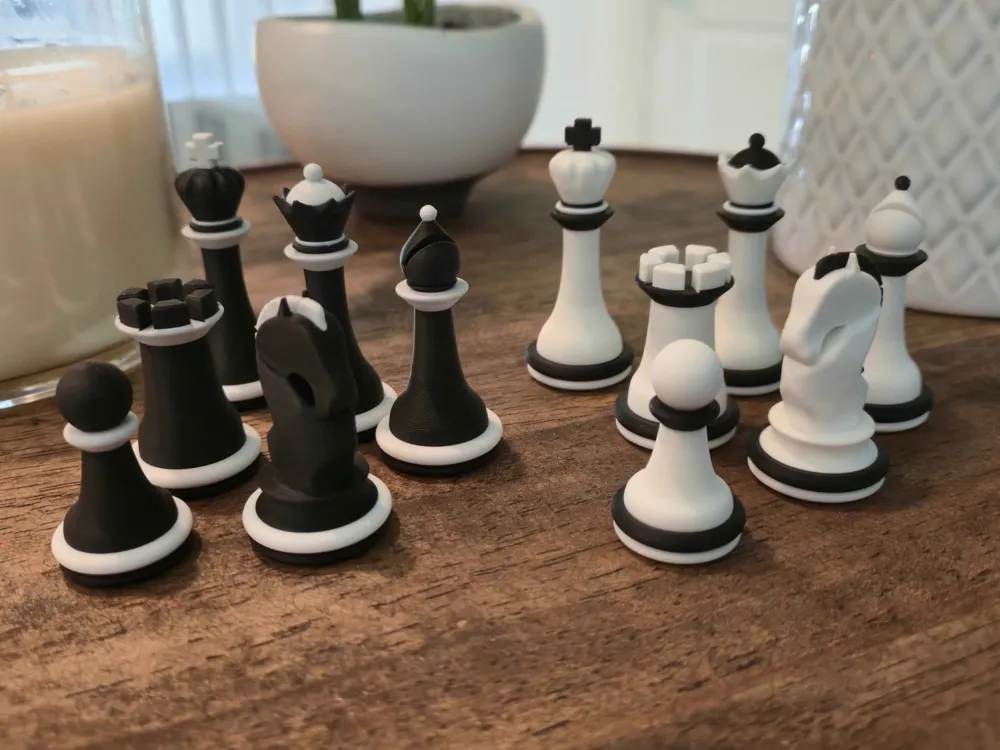
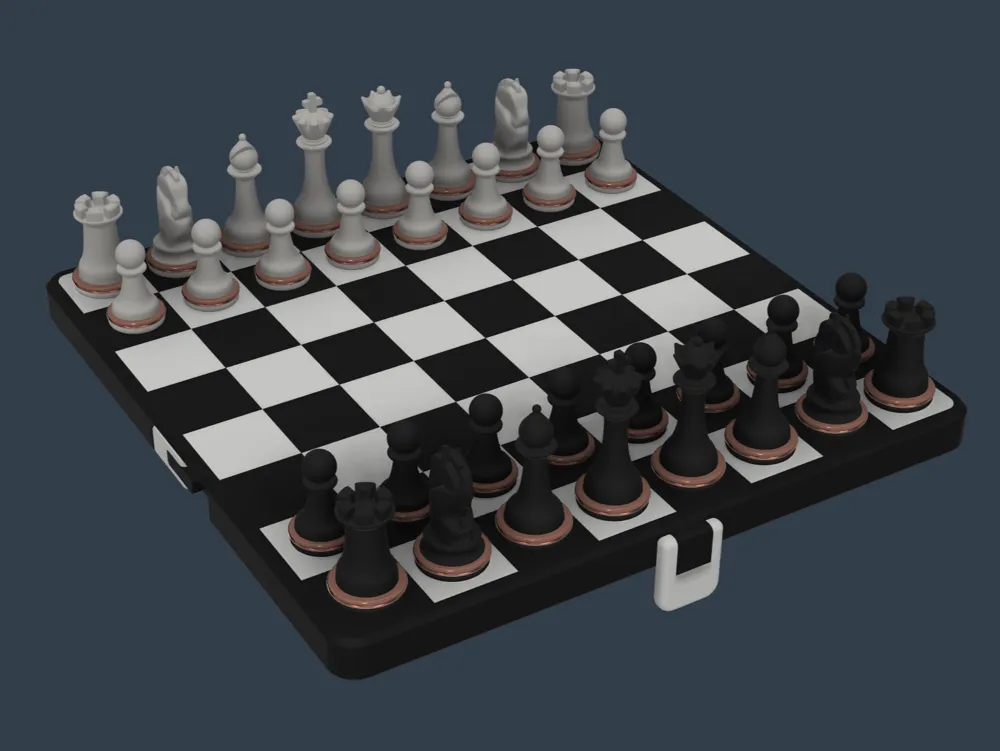
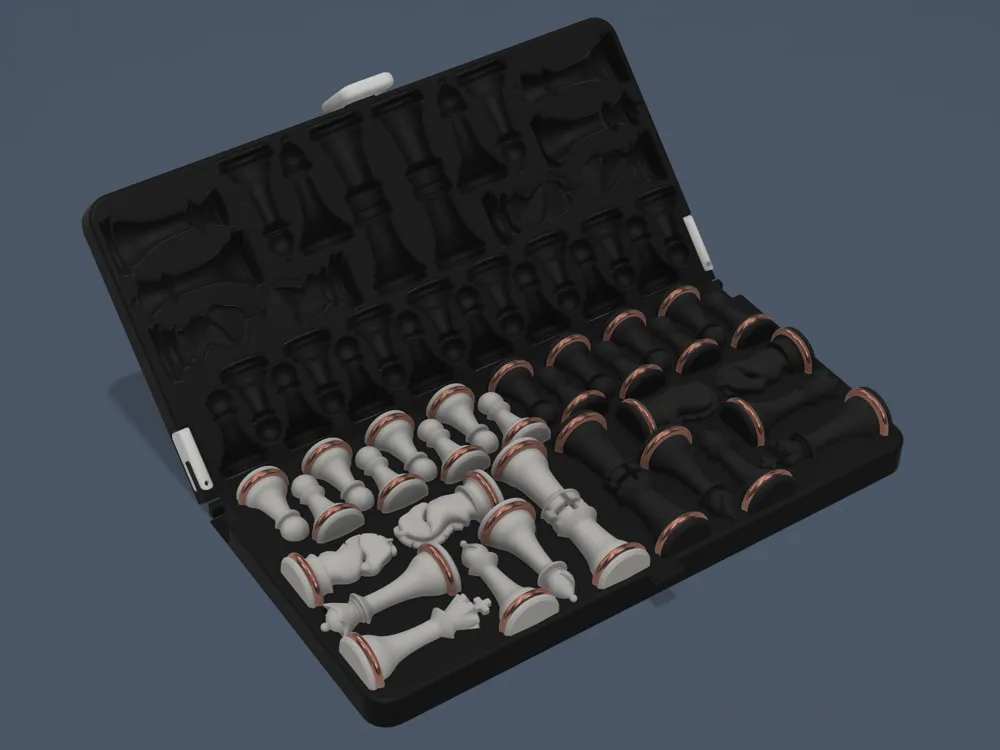
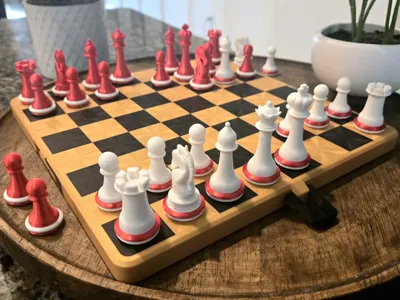
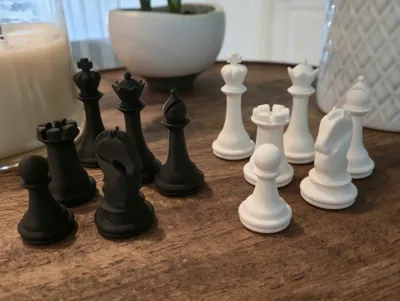
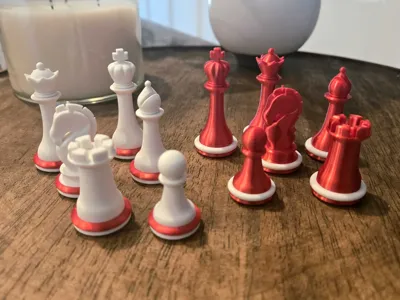
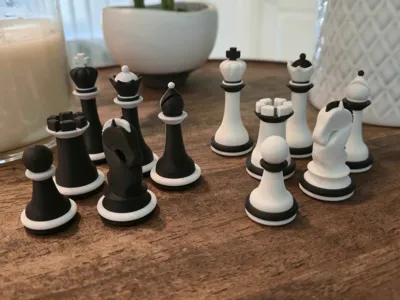
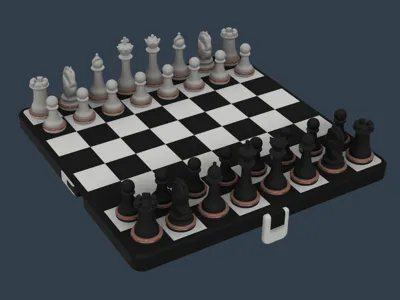
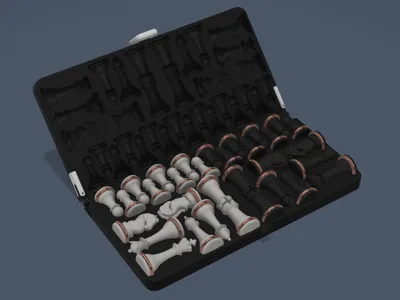
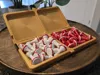
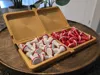
The goal of this design is to make a chess set that doesn't feel like just another plastic toy, but rather a more premium model that you will hopefully like to use for a long time. The model comes with custom-designed chess pieces that fit snugly into custom-designed slots on the underside of the chessboard. When unfolded, the chess set is approximately the size of the bed of the A1, P and X series printers, resulting in a very comfortable size for playing that folds to a portable size for travel. This remix includes spaces for magnets to be inserted mid-print for a magnetic variation of the chess set.
Requires 107 8x2 mm disc magnets.
Boost Me (for free)
If you liked this project, please consider boosting. It's free for you and a dollar for me. Just know that it will go directly back to funding my 3D Printing addiction.
Printing/Assembly
Highly recommended to clean the bed well before printing to prevent warping.
Select one of the chess pieces print profiles available. Note the pieces are printed solid for a more premium feel, but this can be changed if desired by lowering the sparse infill density. The print will automatically pause to allow for the insertion of magnets when needed. If the print profile is a non-AMS variant, there will be additional pauses to assist in manual swapping of the color.
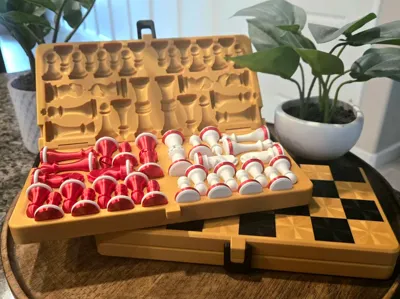
For the chess board print profiles, there are four variants; a chess ‘box’ and chess ‘case’ variant, each with AMS and non-AMS variants. The ‘box’ variant prints faster and can be quickly cleaned up after a game, whereas the ‘case’ variant keeps the pieces neatly organized and visually presentable. Pick whichever one tickles your fancy. Also feel free to experiment with different top and bottom surface patterns!
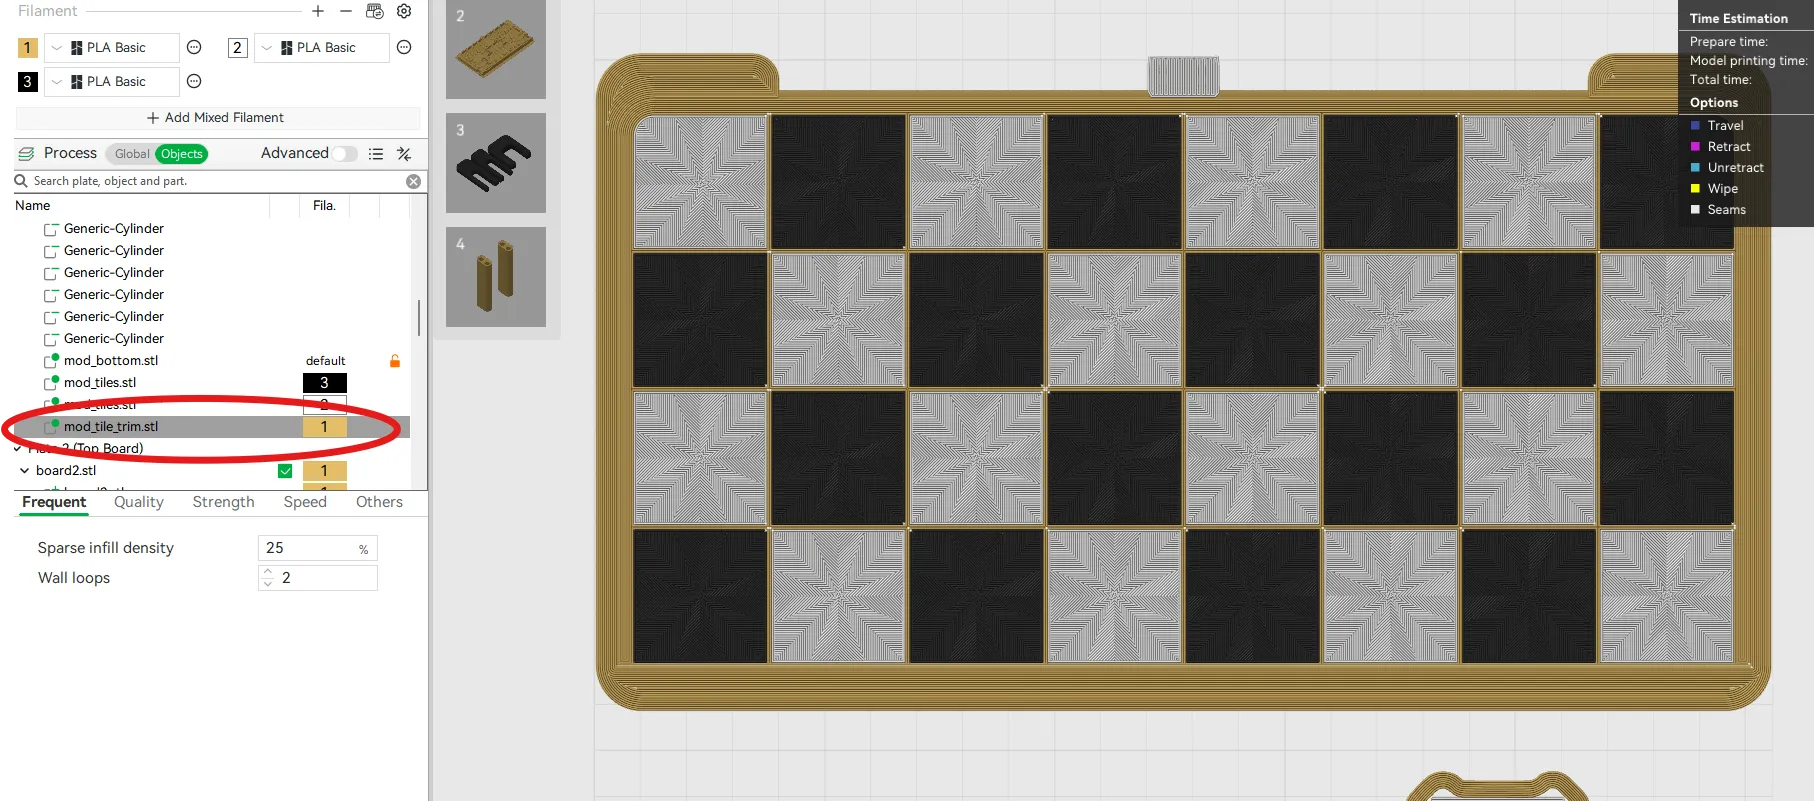
For non-AMS variants of the chessboard, half of the tiles will match the color of the board, while the other half are up to your discretion. If printing a non-AMS chessboard variant, make sure to print the tiles first, as they will be needed during the printing of the board. For the AMS variants of the chessboard, both tiles colors are independently addressable and there is an included tile trim, allowing for a colored trim around the tiles, as shown below. If a trim is not desired, in the slicer go to Objects and scroll to find ‘mod_tile_trim.stl’ (circled in red below) and delete it.
Magnets
For ease of assembly, it is recommended to use a marker to add a dot on the top side of the magnets as the instructions specify orientation of the inserted magnets. From henceforth, the dotted side will be considered the north-side of the magnet.
Beginning with the chess pieces, there is an automated pause for all variants (Layer 21 by default), at which time the magnets are to be inserted north-side facing down.
When the board parts are paused at the stage shown in the image below (Layer 20 by default), insert the tiles with the holes face-up if printing the non-AMS version of the chessboard, ensuring the tiles are flush with the paused print.
For all versions of the chess board, put magnets into each hole, north-side facing up. When done, resume print.
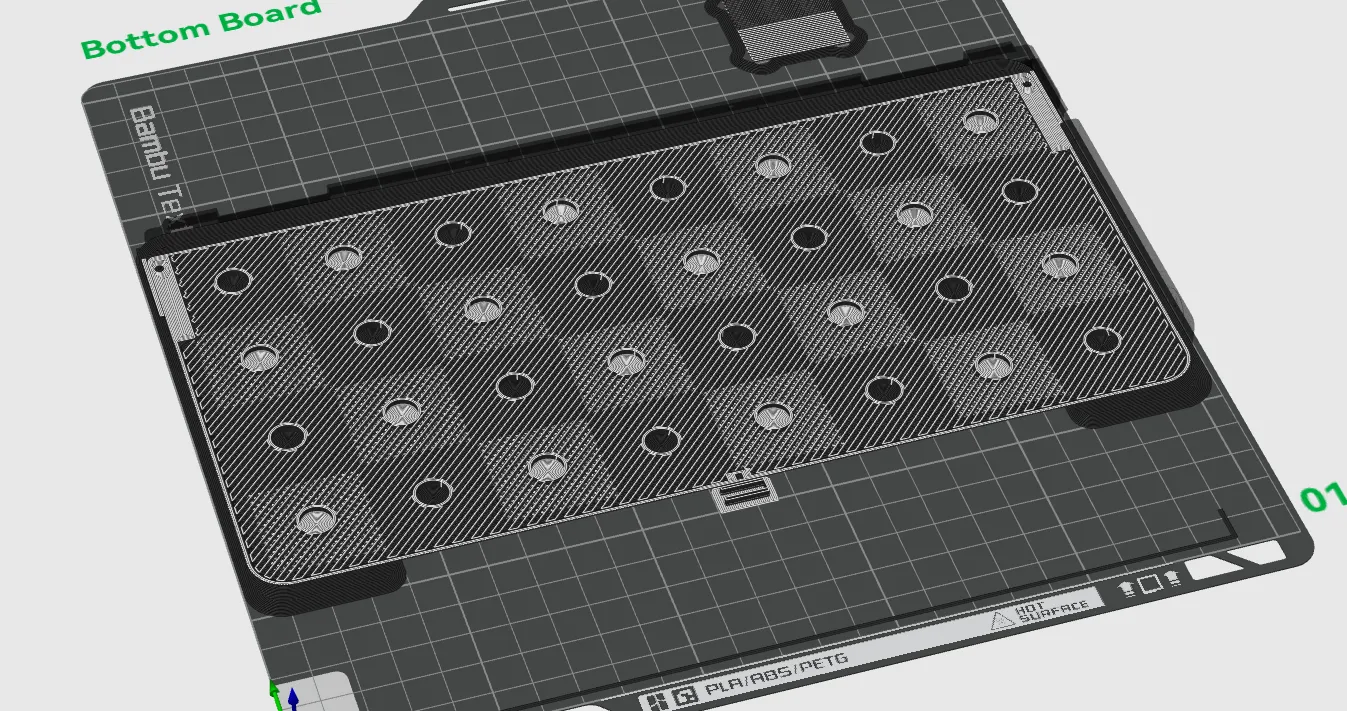
When the bottom board part is paused at the stage shown in the image below (Layer 88 by default), insert a magnet at the location circled in red, north-side facing outwards.
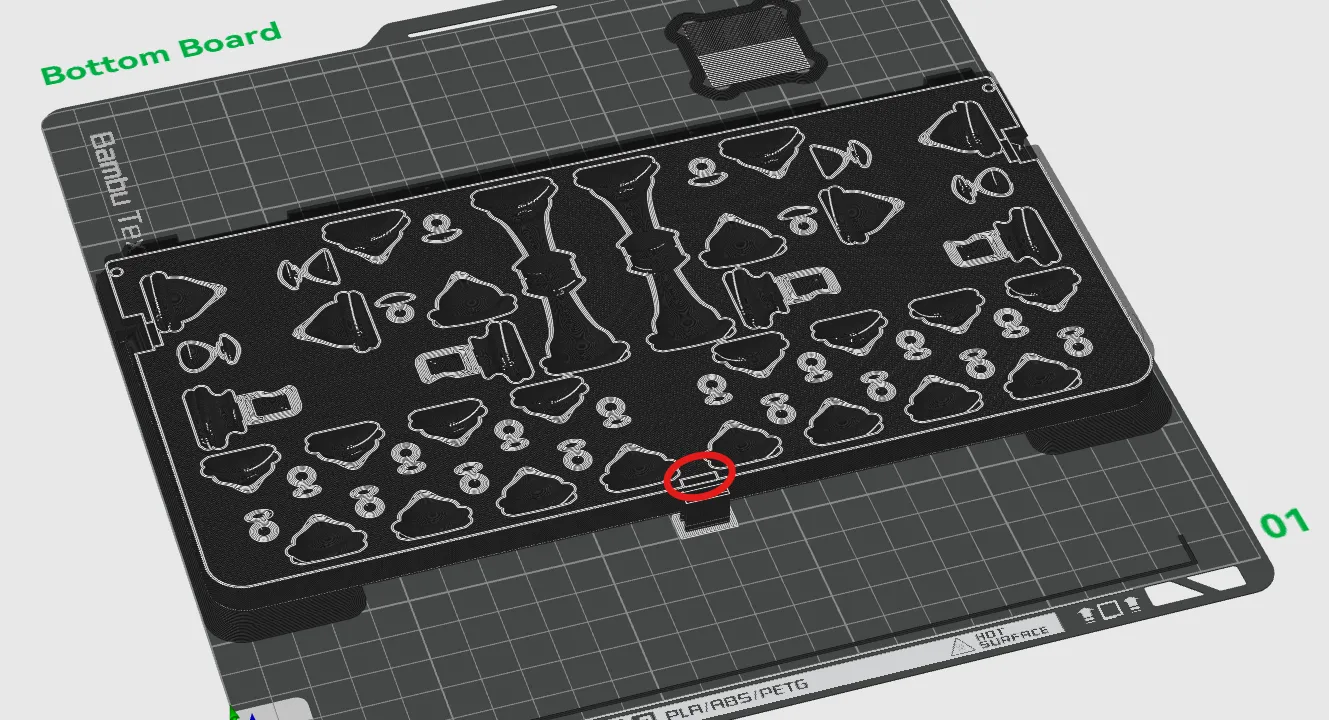
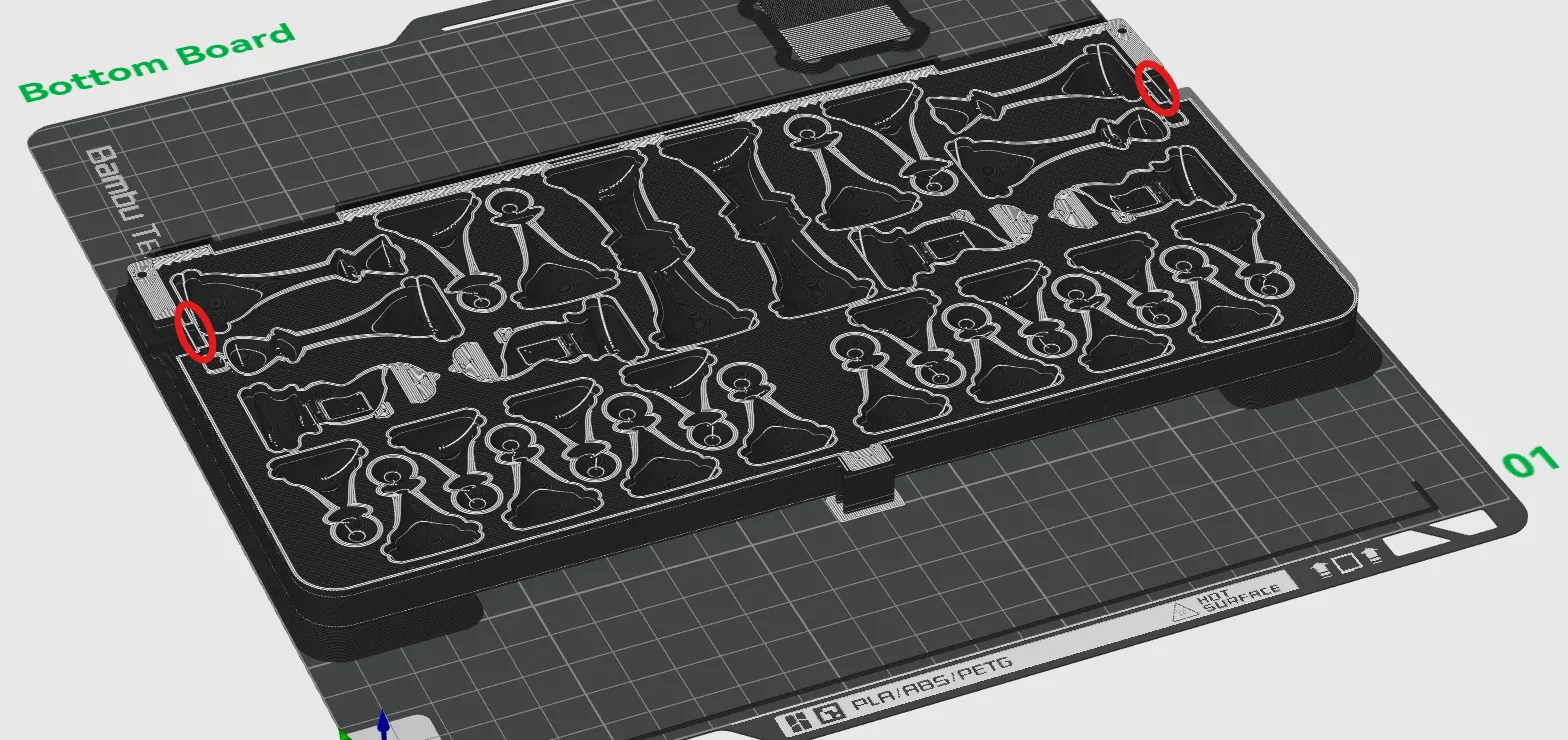
When the board parts are paused at the stage shown below (Layer 103 by default), insert magnets at the locations circled in red, north-side facing outwards for the bottom board and north-side facing inwards for the top board.
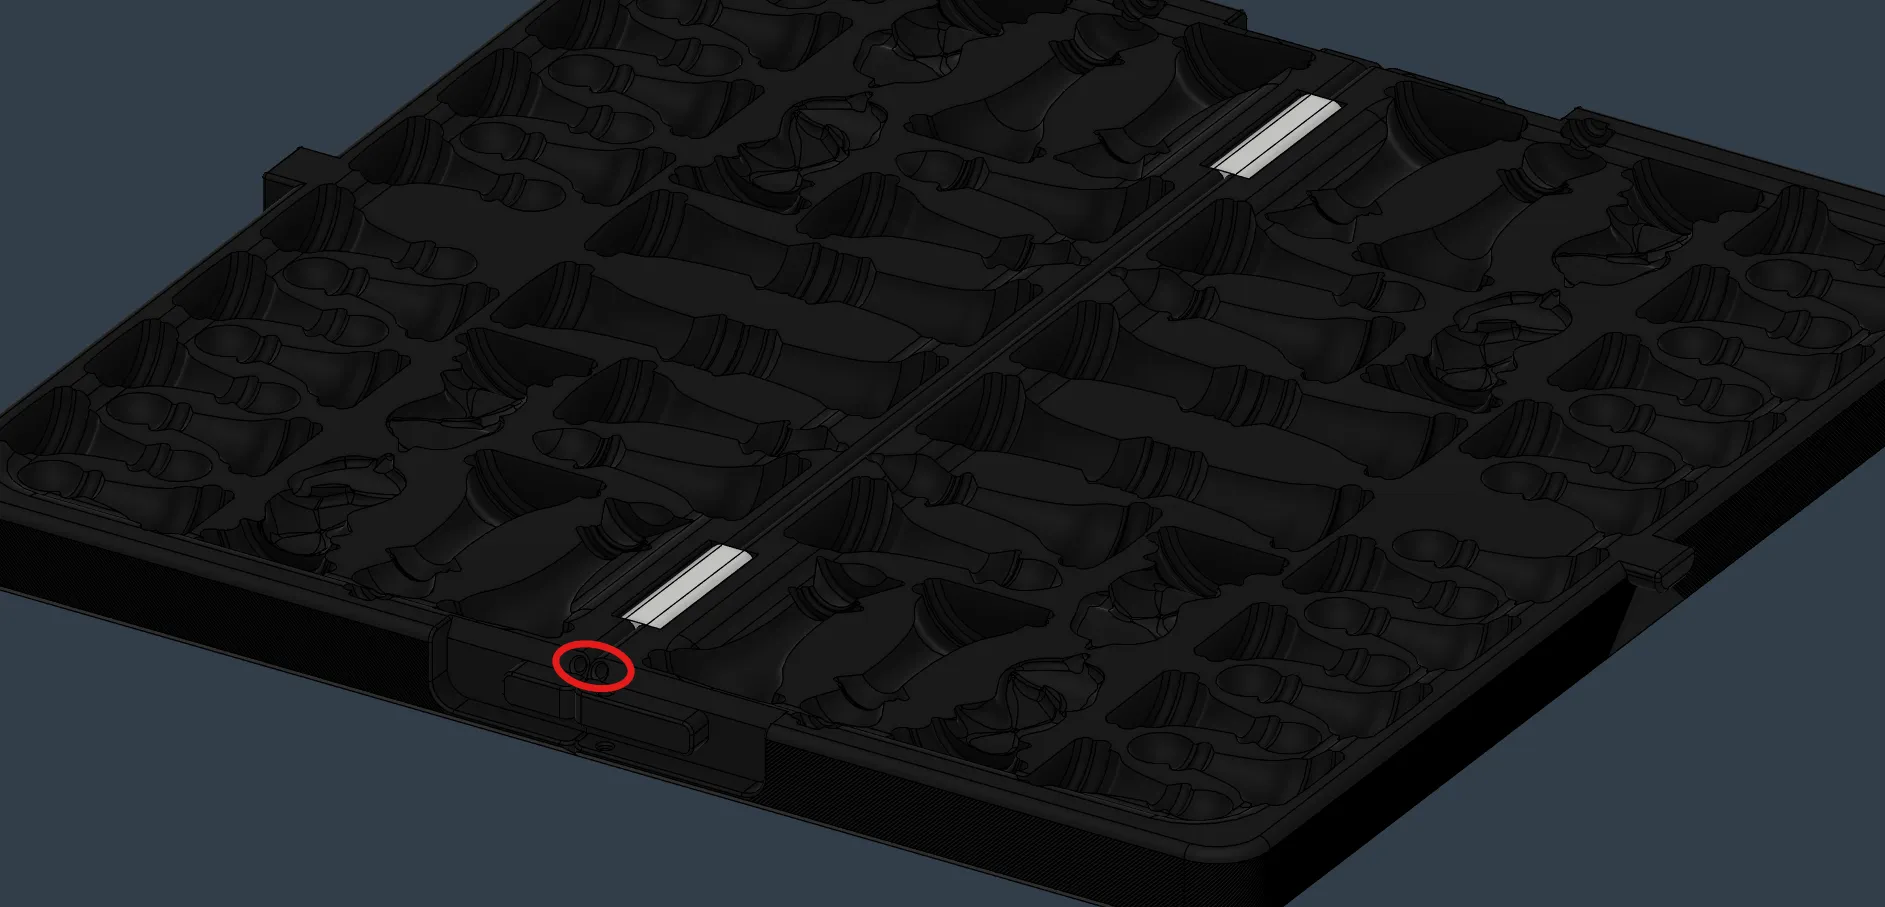
Once both board halves and the hinges are printed, arrange the two board halves and hinges as shown below (hinges shown below in white). Thread a strand of filament through one of the holes circled in red below until the filament is flush at the other end of the board. Cut off any excess filament such that the filament is flush with the board. Repeat this for the other hole.
Latches
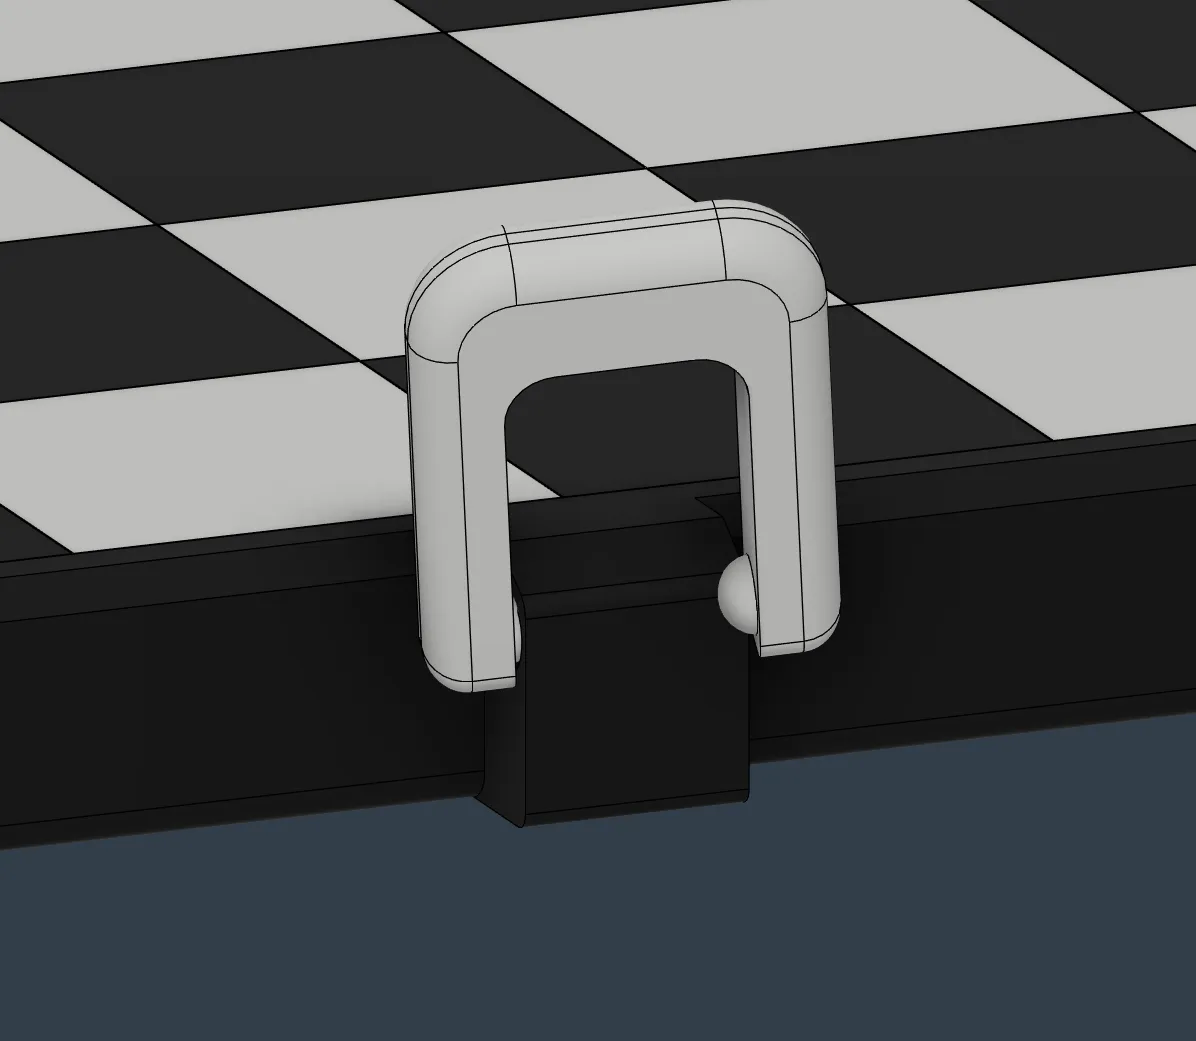
Both side latches and the front latch will require two stacked magnets during printing to help increase the magnetic strength of the latches, inserted with north-side facing up on all three latches. To install the front latch, align one of the bumps on the front latch with one of the spherical dents on the front of the top board half, as shown below, with the bottom printed surface of the front latch facing away from the chess board. From there, manipulate the other end of the front latch to get the bump on the latch properly seated in the dent on the board. This will take some effort.
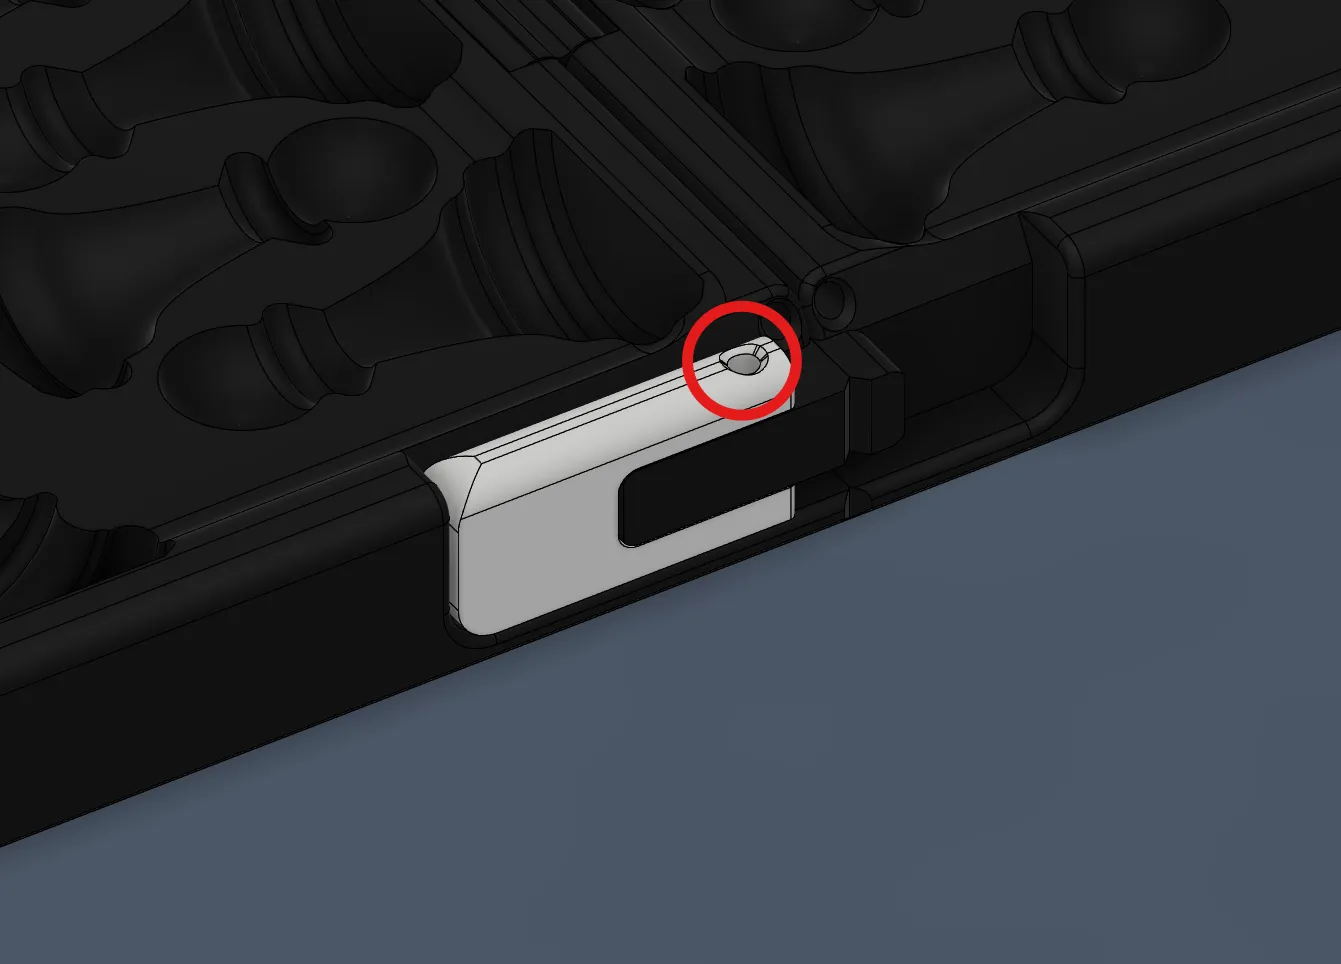
To install the smaller latches, put one latch in the location as shown below, ensuring the rounded edge of the latch is facing upwards. If the latch is being magnetically repelled, swap it out for the other side latch and the new latch should be magnetically attracted. Once in position, thread filament through the hole in the latch, circled in red below, until it can go no further and cut off the excess filament. Repeat this on the other side for the other latch.
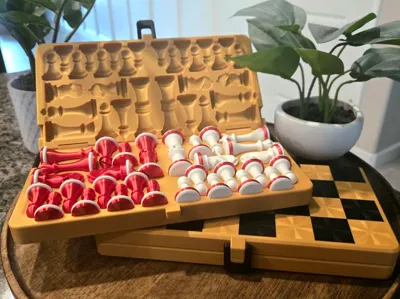
This remix is based on
License

You may create derivative works based on this object, provided that all such derivative works are published exclusively on the MakerWorld platform and include proper attribution to the original creator. You may not share, upload, host, distribute, or publish this object—or any derivative work of this object—on any other digital platform, marketplace, or distribution channel. Commercial use of this object and any derivative works is strictly prohibited. This includes, but is not limited to, selling, renting, sublicensing, or using the object in any context in which you receive monetary compensation or other financial benefits.


Comment & Rating (105)