
Print Profile(2)
Description
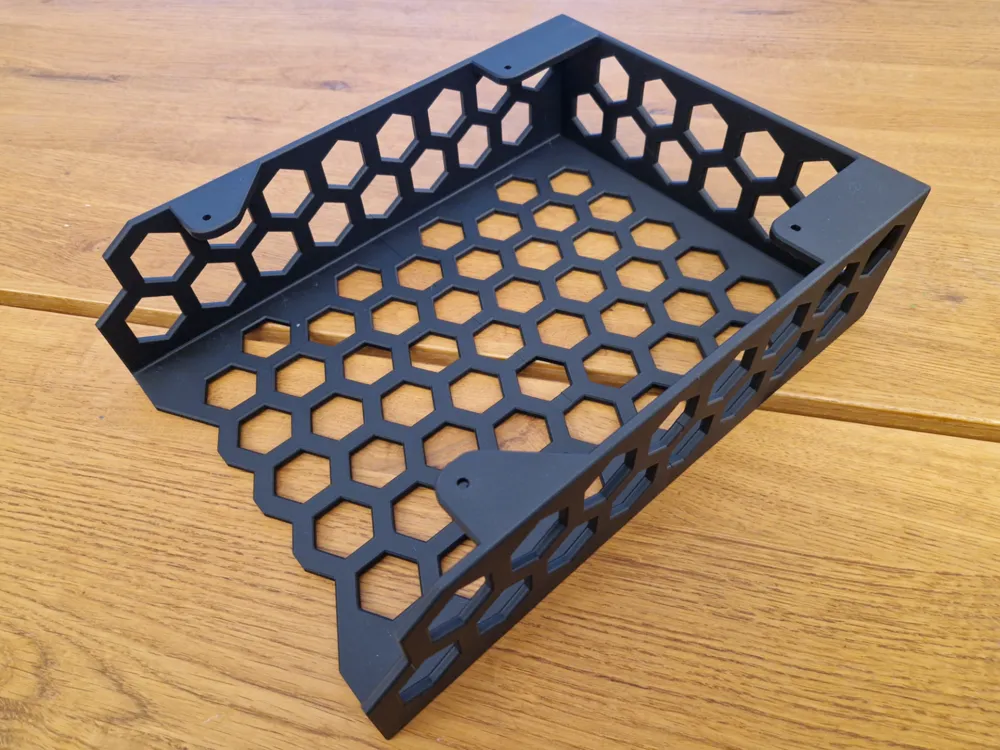
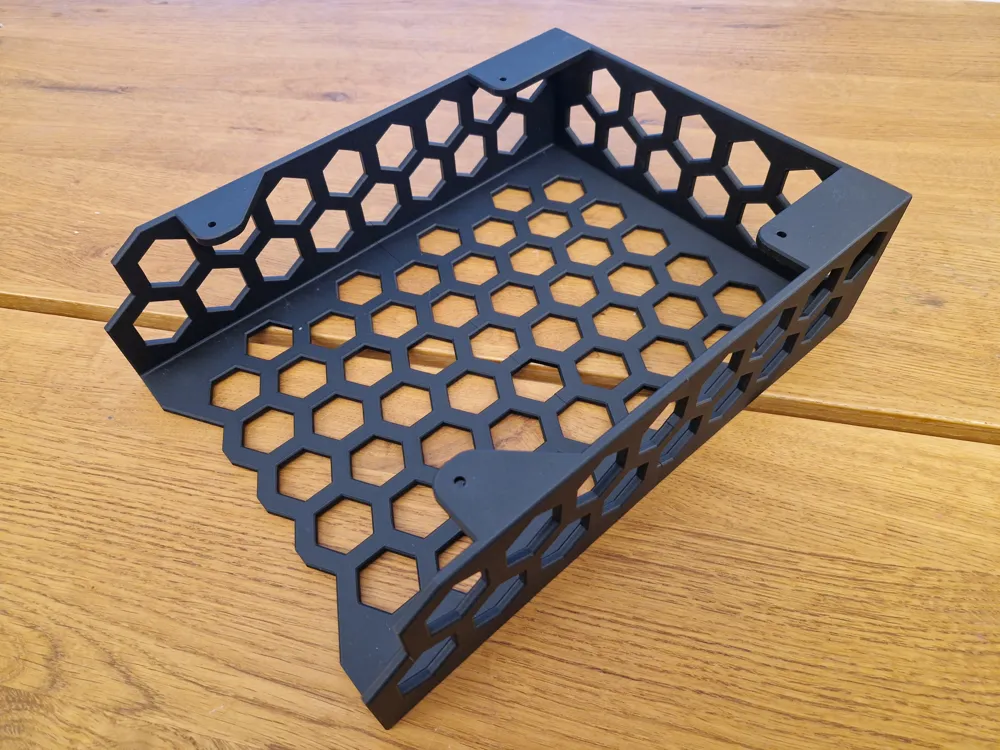
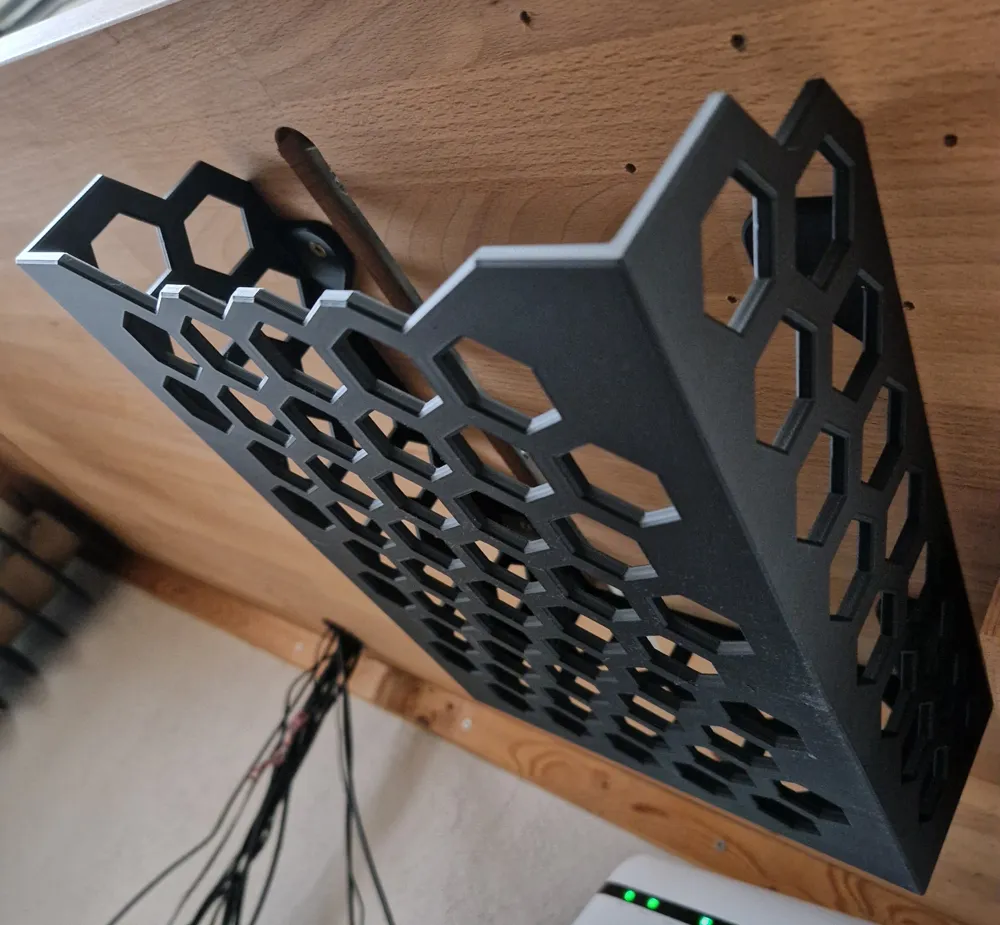
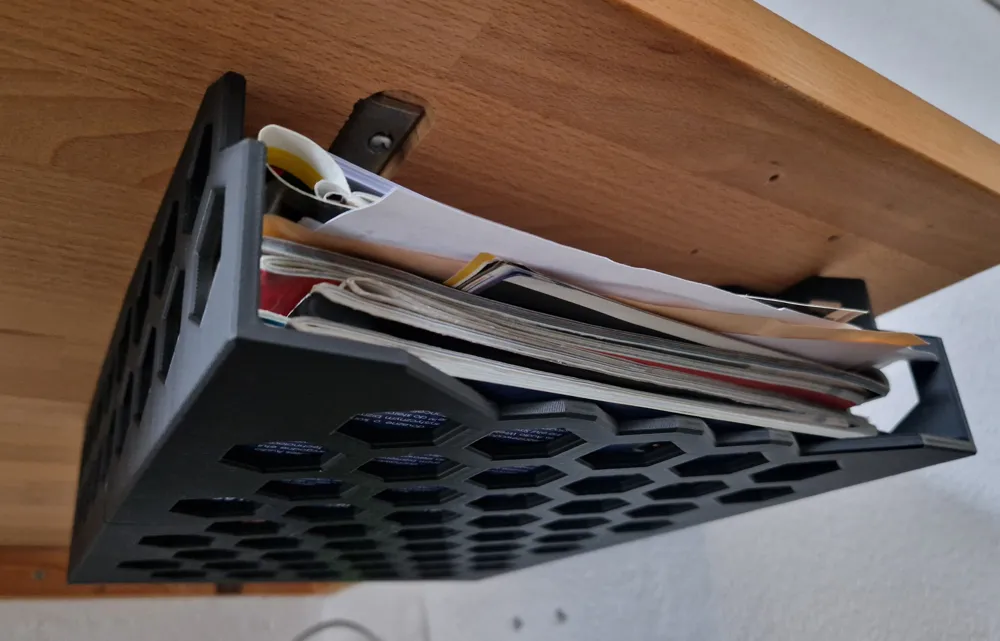
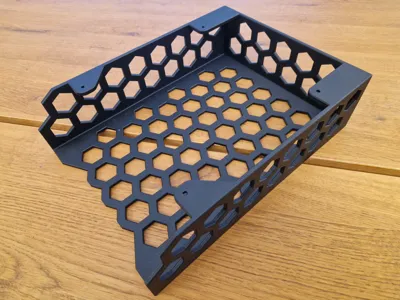
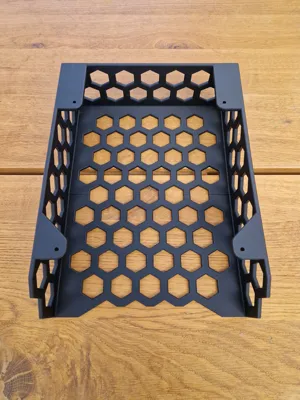
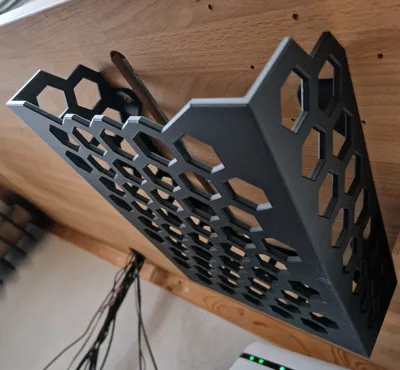
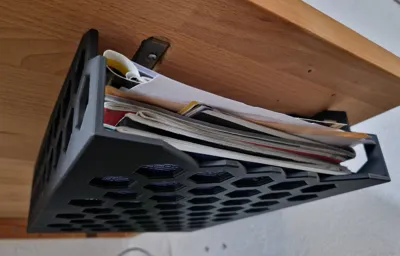
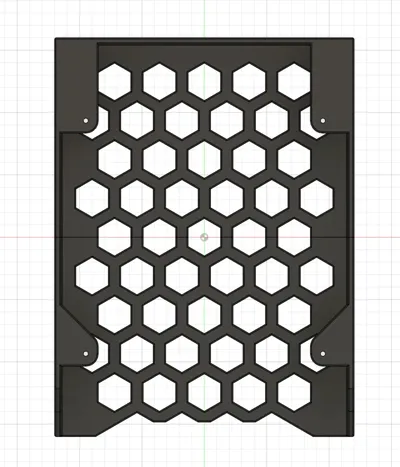
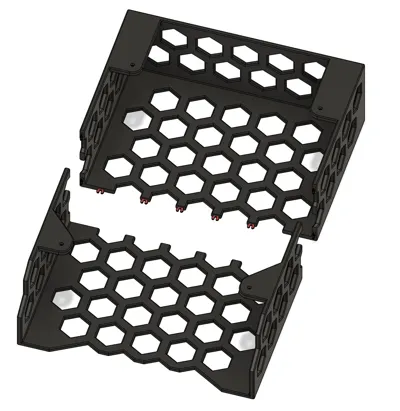
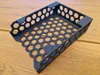
Maximize your workspace with this 3D Printed Under-Desk A4 Paper Tray, designed to keep your documents organized and your desktop clutter-free. By mounting directly beneath your desk, this tray saves valuable surface area while keeping sensitive or frequently used papers out of sight but within reach.
Key Features:
- Sturdy Construction: Engineered to be durable, using approximately 280g of material to ensure it can hold a significant stack of documents without sagging.
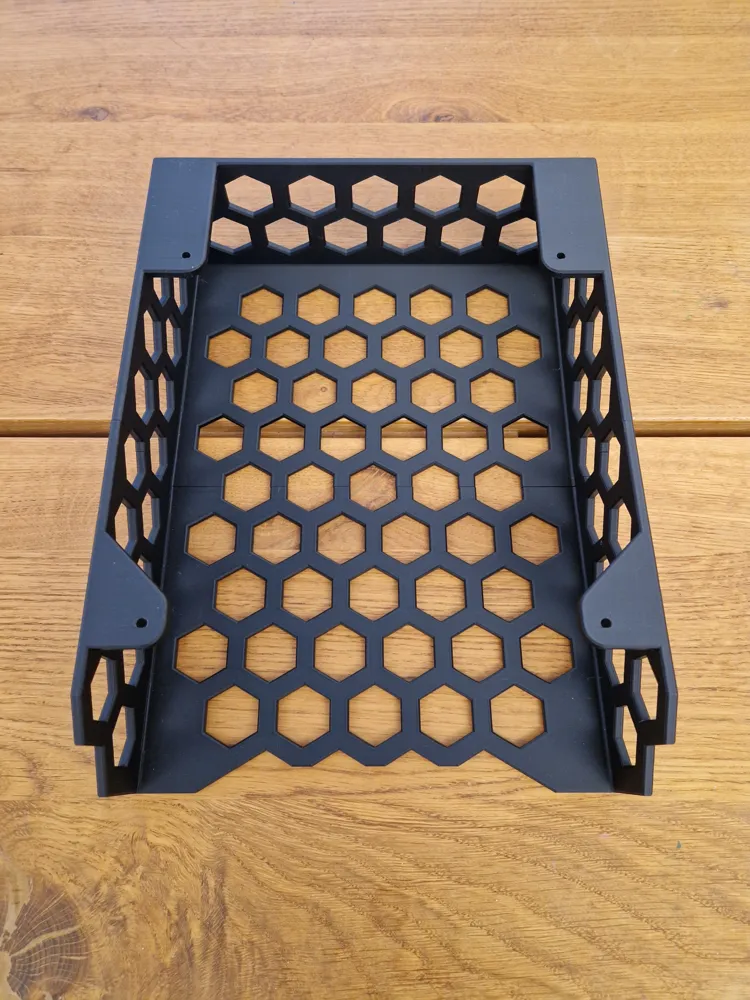
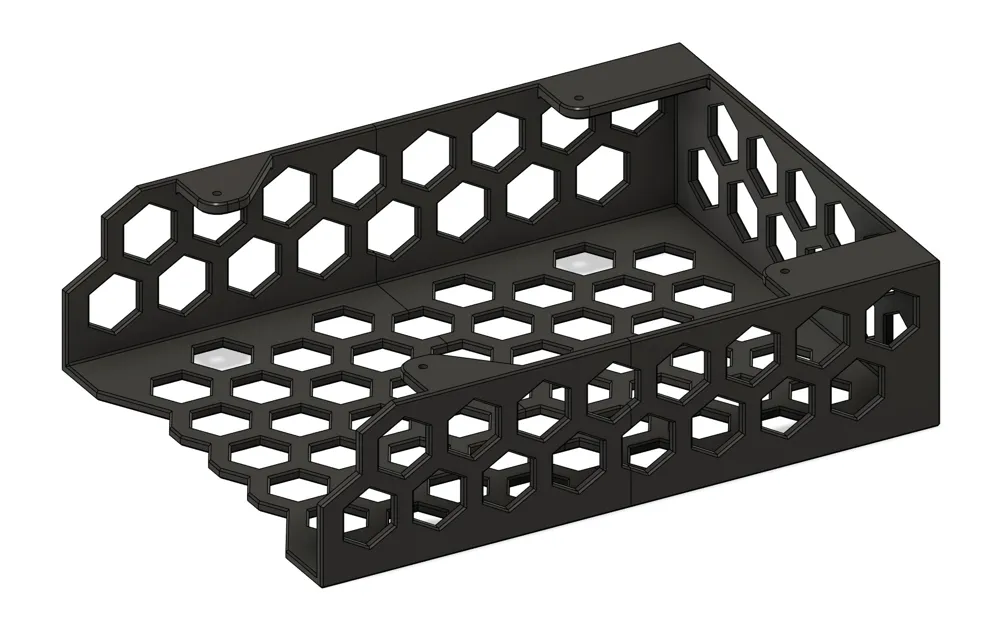
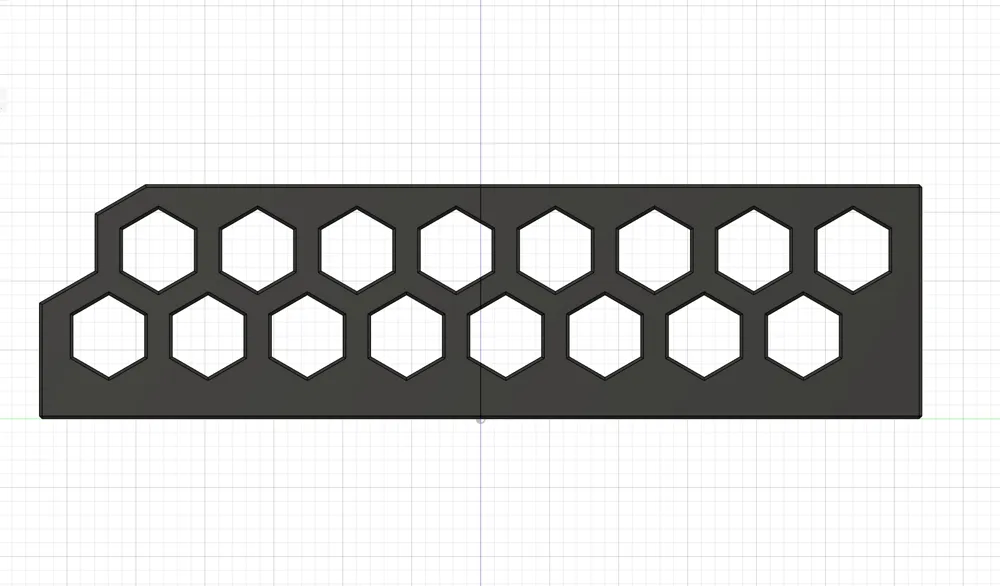
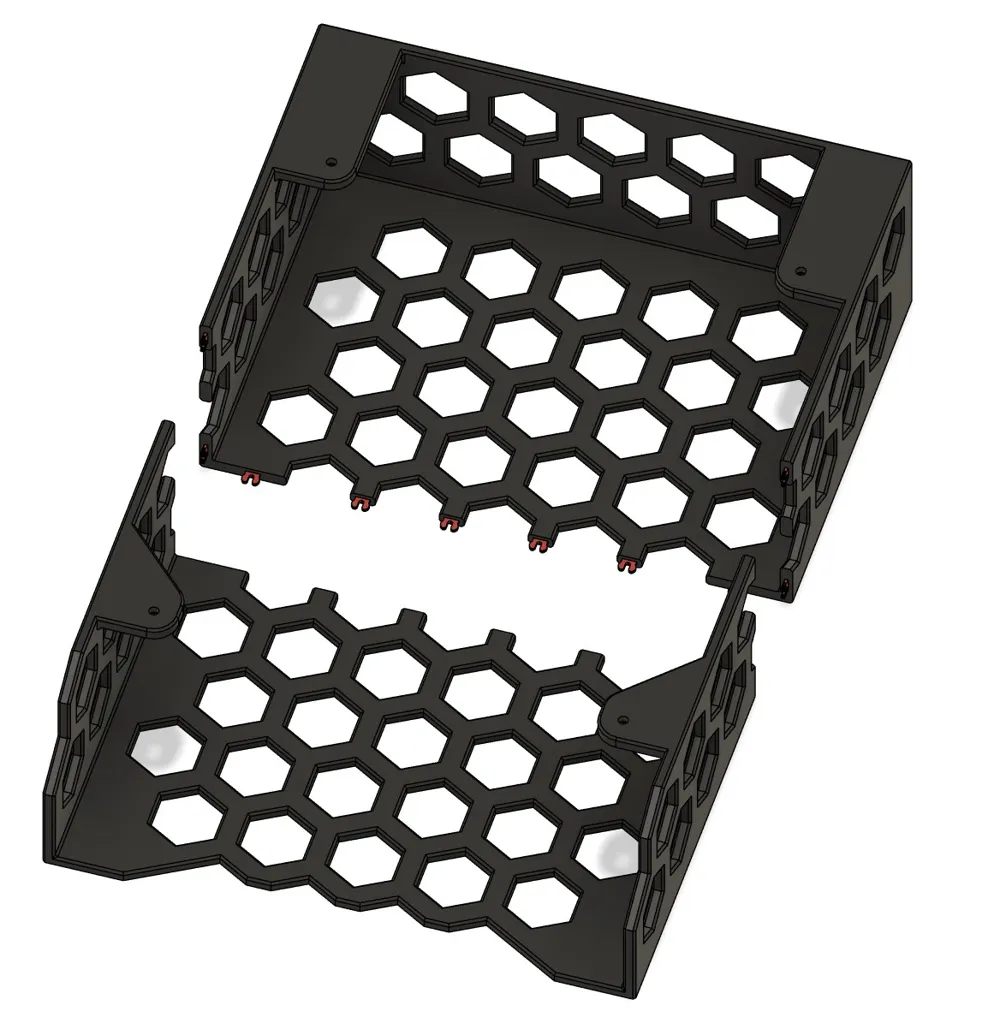
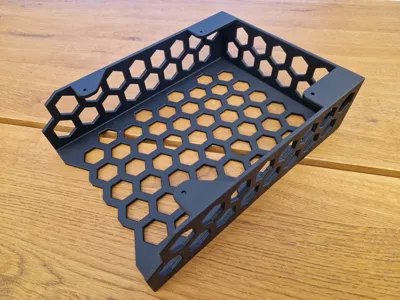
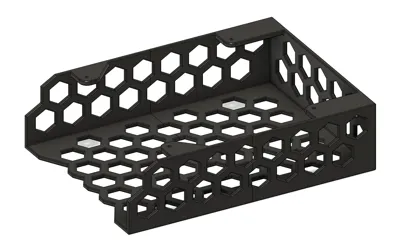
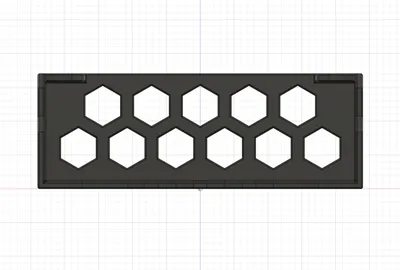
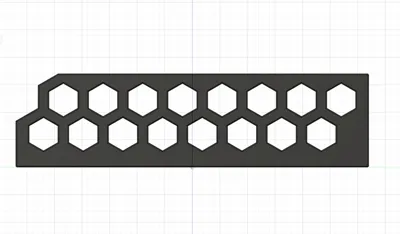
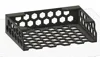
- Hexagonal Aesthetic: Features a modern hexagonal pattern that provides structural integrity while reducing print time and material.
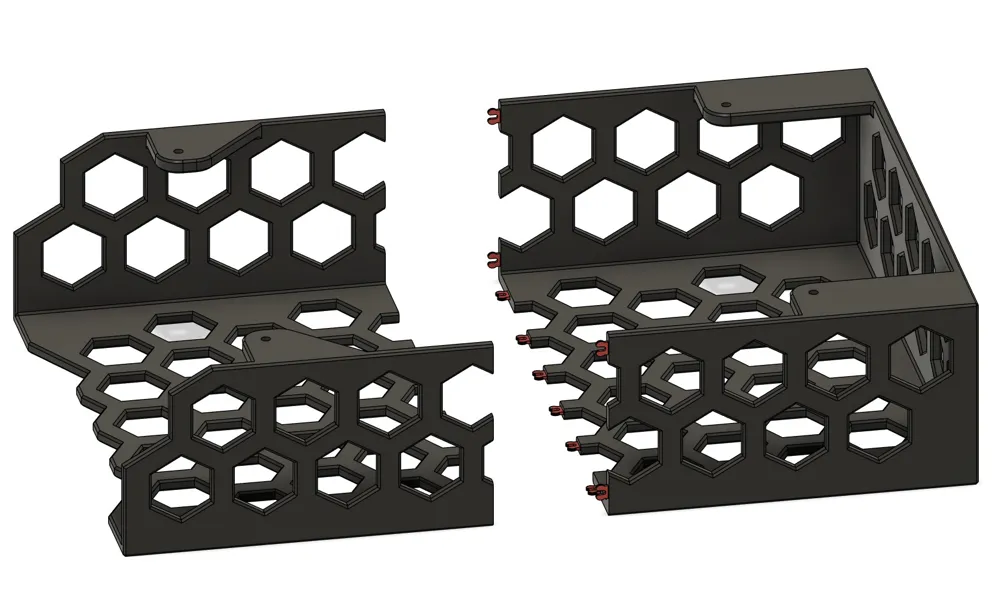

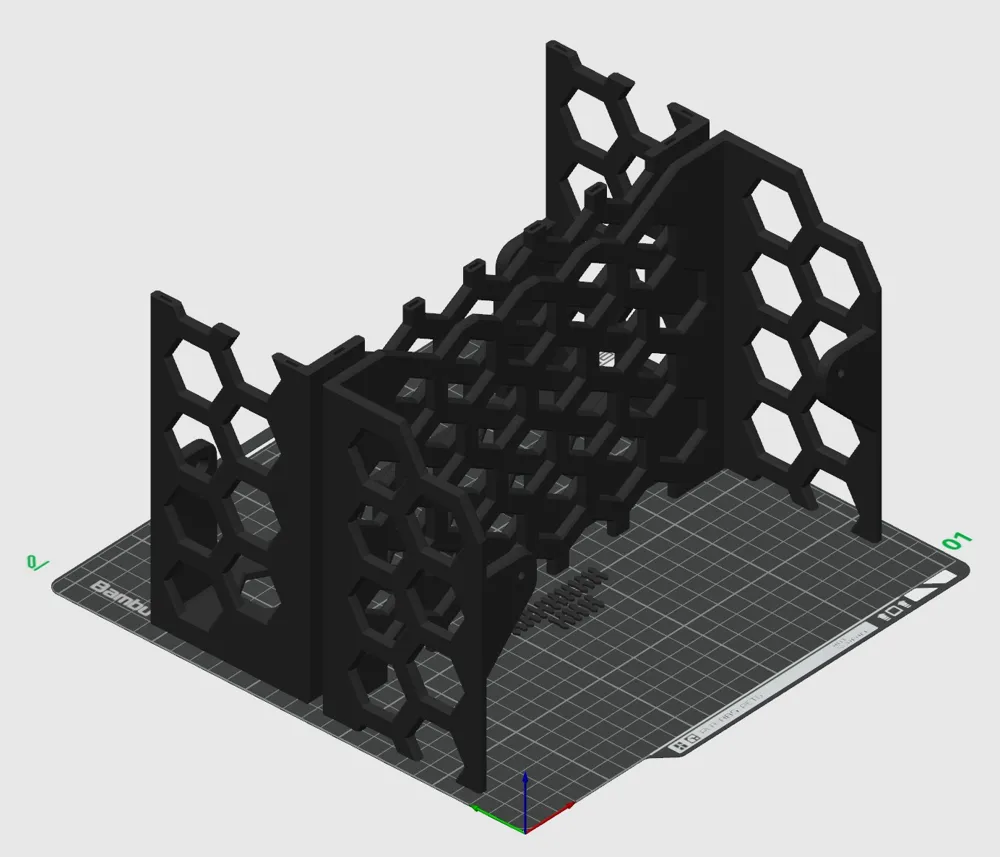
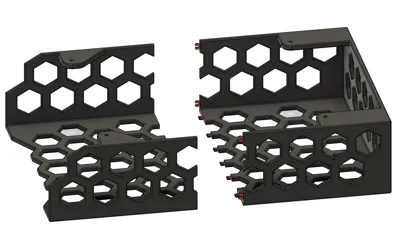
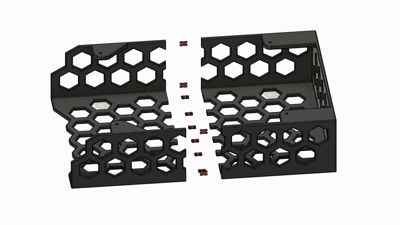
- Easy Assembly: Printed in two interlocking pieces using included connector pins for a secure, seamless fit.
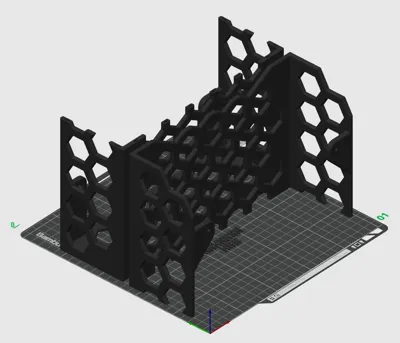
- No Supports: Optimized geometry allows for printing without any supports.
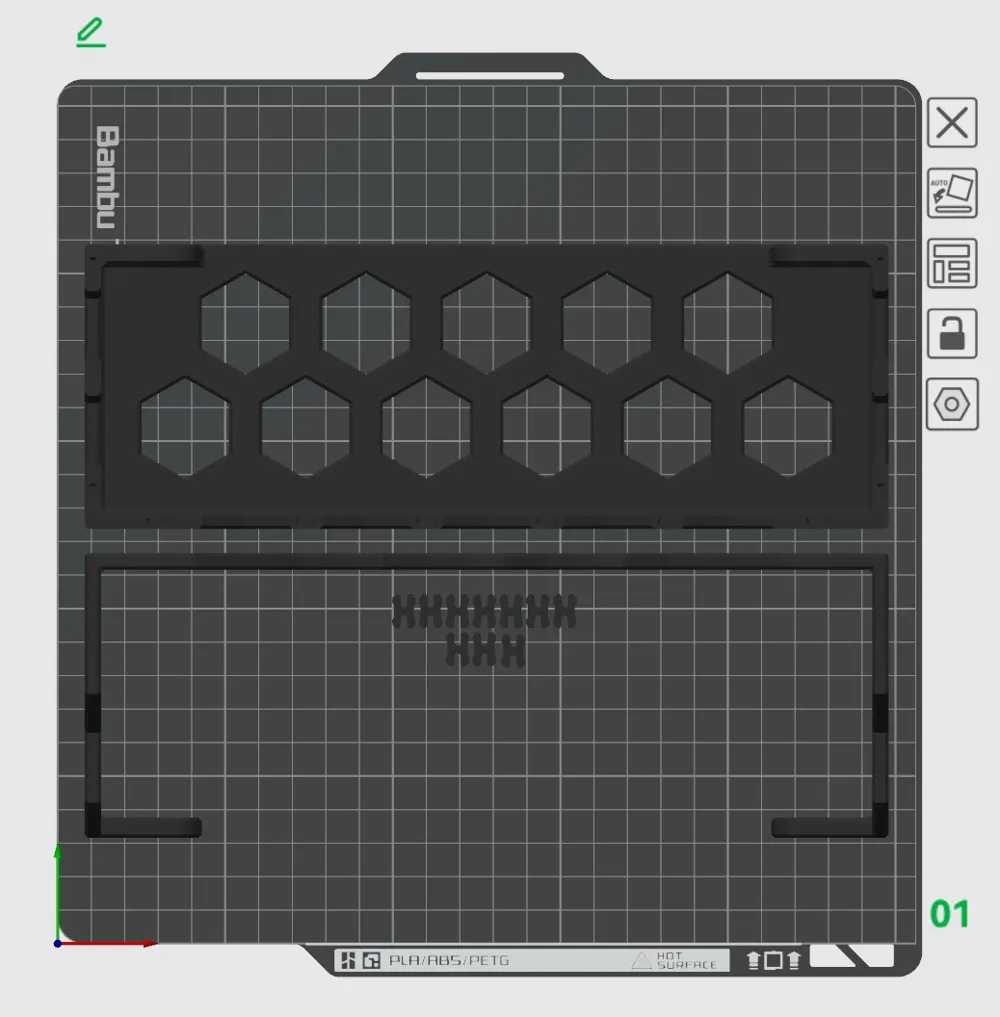
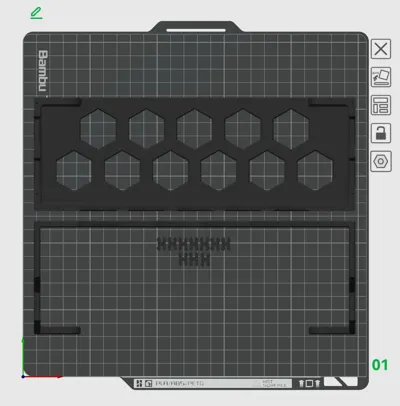
- Single Plate: Both main elements and connector pins fit onto a single standard-sized print bed.
Technical Specifications:
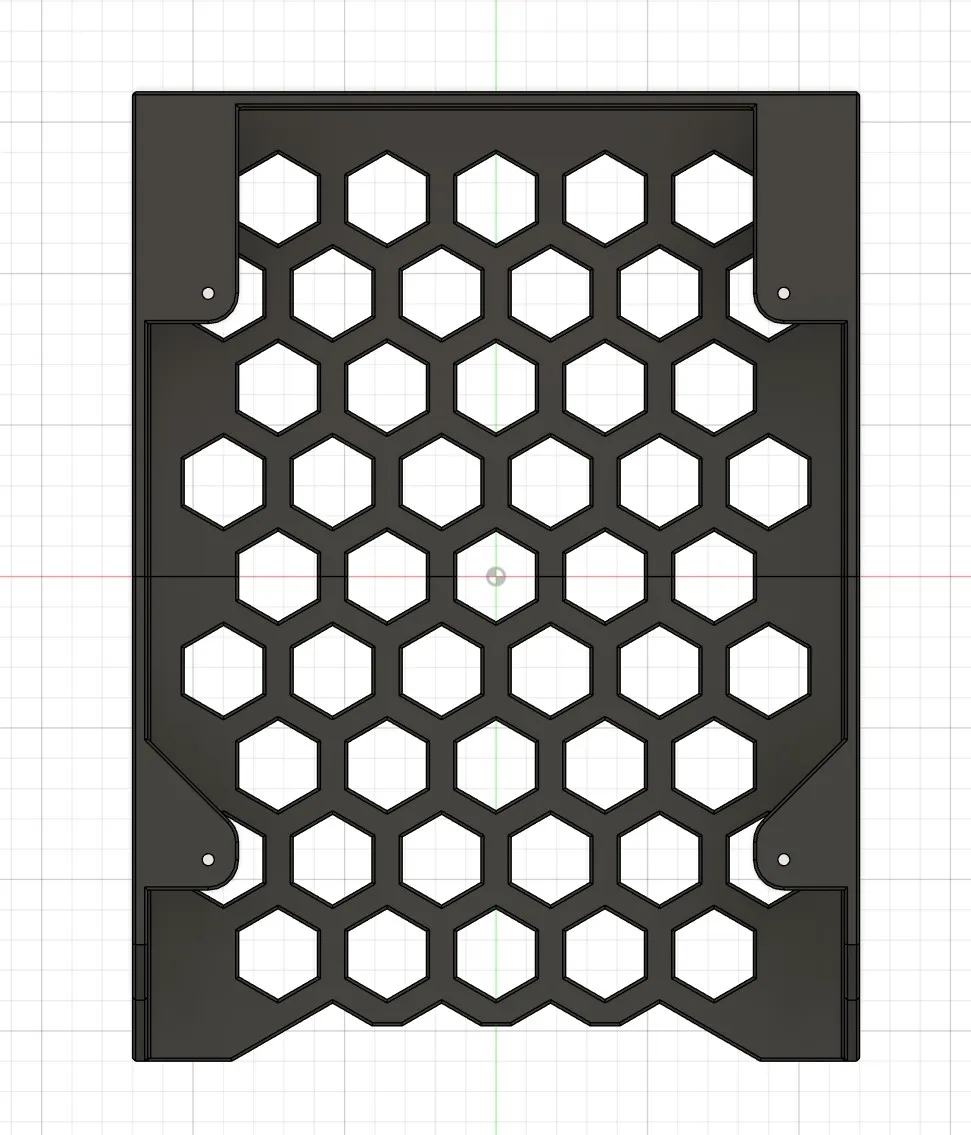
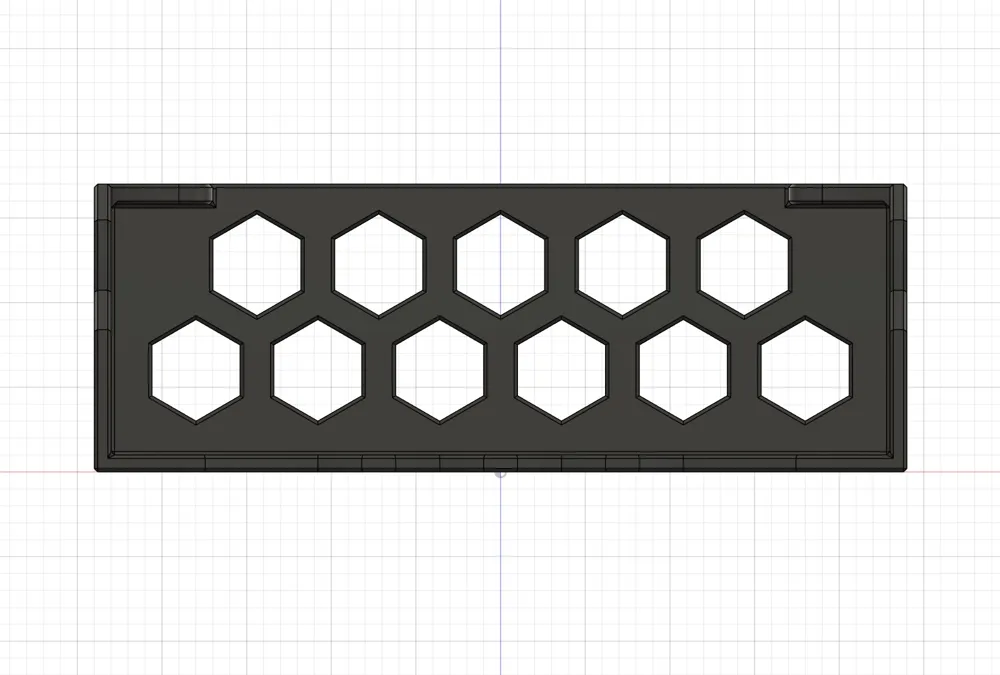
- External Dimensions: 24cm (W) x 32cm (L) x 8.5cm (H)
- Internal Storage Space: 23cm (W) x 31.5cm (L) x 8cm (H) — perfectly sized for standard A4 paper and folders.
- Mounting: Designed for 3.5x25 screws. The mounting holes are strategically placed just above the hexagonal openings for easy screwdriver access.
Assembly instructions:
The connectors are thin and require gentle handling to prevent them from snapping. For the most secure fit, please follow these steps:
- Insert all connectors into the back element of the tray.
- Place the back element flat its back on a stable desk or work surface.
- Align the front part of the tray over the connectors.
- Push down firmly using equal force on all sides. Ensure the piece remains level. Avoid tilting or rotating it while pressing down to ensure the connectors snap into place correctly.
Boost Me (for free)
Boost if you find the model useful.
License

You shall not share, sub-license, sell, rent, host, transfer, or distribute in any way the digital or 3D printed versions of this object, nor any other derivative work of this object in its digital or physical format (including - but not limited to - remixes of this object, and hosting on other digital platforms). The objects may not be used without permission in any way whatsoever in which you charge money, or collect fees.


Comment & Rating (24)