Cress/Propagation Pot with Plant Lamp and Heater


Print Profile(3)

Description
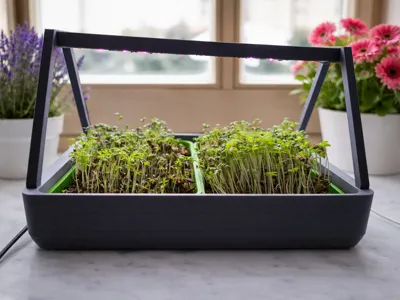
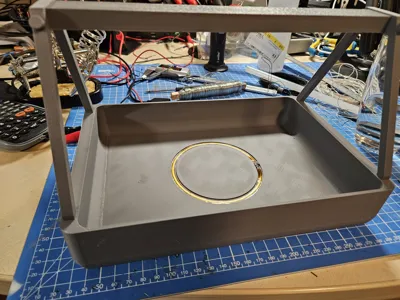
Here is my flower pot with LED plant lamp and heating element, for cress and herbs, and for growing vegetables and plants
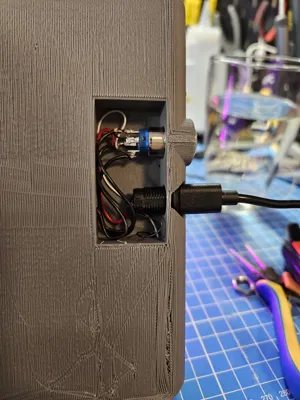
The pot was designed so that all cables are invisibly routed inside the components. Using a switch, either the heating element can be switched on/off, the light can be switched on/off, or both - depending on preference and wiring. I wired it so that the LED is always on and the heating element can be switched on/off with the switch. As a switch, I used a 12mm switch with an LED ring to see if the heater is currently on or off.
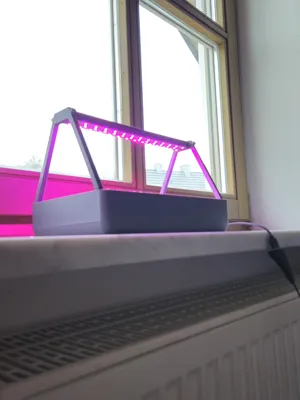
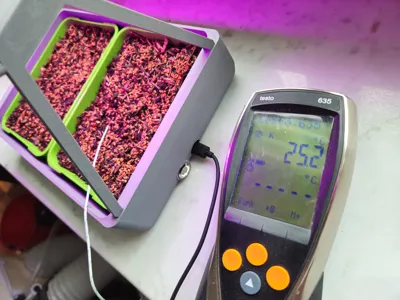
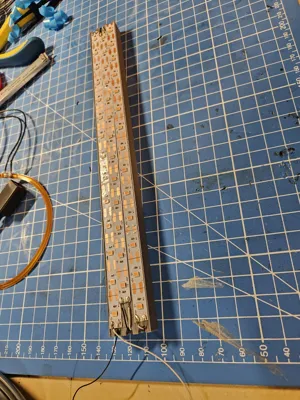
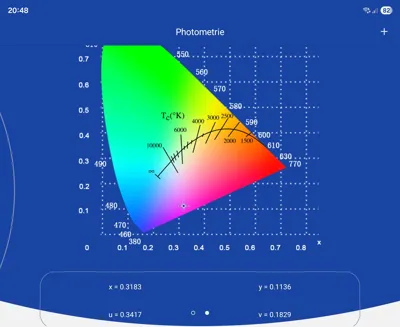
P.S. the LED I used is cheap Chinese crap and definitely not a full-spectrum LED for plants. I measured the LED and it is only a magenta-colored LED (see last picture)… You should look for something better and higher quality here! The model is for 8mm wide LED strips.
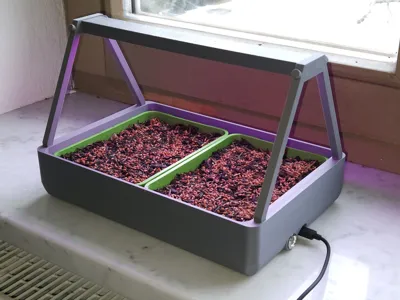
Two “Romberg Cress Growing Kits” fit into the pot. (Link below)
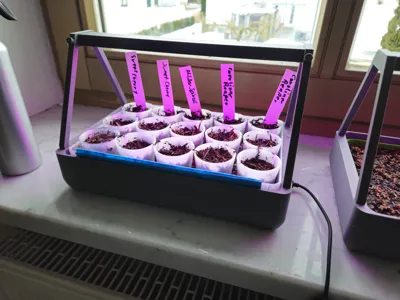
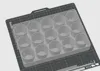
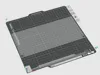
Alternatively, the print profile also includes a suitable tray that can be used instead. And there is another print profile for a special “seedling tray” to grow individual plants.
In my version, the pot is operated via a USB Type-C power supply on a 5-volt basis. The power supply used requires an output power of 2 A.
To prevent the heating element from getting too hot, I used a (actually) 12-volt heating element for car rearview mirrors with an outer diameter of 92mm, which then only emits approx. 8 watts of heat output instead of 20 watts. I was thus able to achieve a perfect temperature of 25 °C. Although the heating element is “self-adhesive,” it must also be glued in with superglue or contact adhesive, as it detaches again when heated.
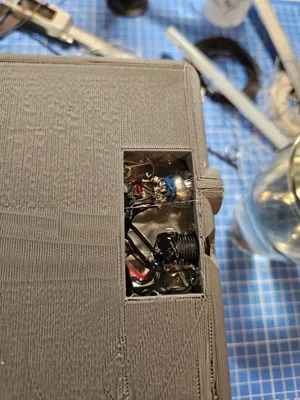
For space reasons, the switch and the USB socket are only plugged in and not screwed. They are secured by “potting” the recess in the base with hot glue, silicone, or resin. I used hot glue.
The print profile also includes “lids” with which the pot can be covered on two sides. The lids are primarily intended to block excessive sunlight and to retain heat somewhat better in the pot, not to maintain humidity in the pot.
Used components and accessories:
- Cress Growing Kit: https://www.chili-shop24.de/chili-zucht/kraeuter-samen/kresse/13076/kresse-anzucht-set?c=1568
- Heating element: https://www.conrad.de/de/p/thermo-tech-polyimid-heizfolie-selbstklebend-12-v-dc-12-v-ac-20-w-schutzart-ipx4-o-92-mm-1594189.html
- USB Type-C socket: https://www.amazon.de/RUNCCI-YUN-wasserdichte-Typ-C-Buchse%EF%BC%8CUSB-C-Buchse-Panelmontage-mit-Muttern-Sicherungsplatte/dp/B0CDBZZQBZ/ref=sr_1_6?__mk_de_DE=%C3%85M%C3%85%C5%BD%C3%95%C3%91&crid=1ZOK8ES5ZU9F1&dib=eyJ2IjoiMSJ9.k0NMsIVykZZw_rmgw-8opRNjm8LN8n1PVSHb9lIYie328N6EplwnKQCSA0uNXe-36YCBLkQ4yj_c90hxm4UIErEEg1AV-iossvYzr11pTO7T3V24VYop0_iuPDXvdLfUIpy8Yn6c7l6kH1m0uQ_r27DGNNlBLLKrmn89YQMwGnajivtPgRkj_QzizTJr4vHXHTU99jn-YD9hkJjZPMEkUwoiq0p8Cc8Ffi9PpRaUkm4.mLiYvTV1Mfto0cNc-lKN0kLIJEl2anUMlpO12dVeO-g&dib_tag=se&keywords=USB+c+Buchse&qid=1769261163&sprefix=usb+c+buchse%2Caps%2C160&sr=8-6
- Switch: https://de.aliexpress.com/item/4001291695467.html?spm=a2g0o.order_detail.order_detail_item.3.7a386368yL3Pql&gatewayAdapt=glo2deu
- LED (DO NOT BUY!): https://de.aliexpress.com/item/1005008926528556.html?spm=a2g0o.order_list.order_list_main.16.6def5c5f2dAG9F&gatewayAdapt=glo2deu
Making the component waterproof: https://www.3djake.com/diamant-polymer/dichtol-am-hydro
I am available for any questions.
I would be delighted to see a comment with a photo of your print!
Comment & Rating (3)