
Flexi Arm - Universal

Print Profile(4)
Bill of Materials


Description
Boost Me (for free)
Support my work by giving this model a Boost :)
Flexi Arm
Designed for your needs.
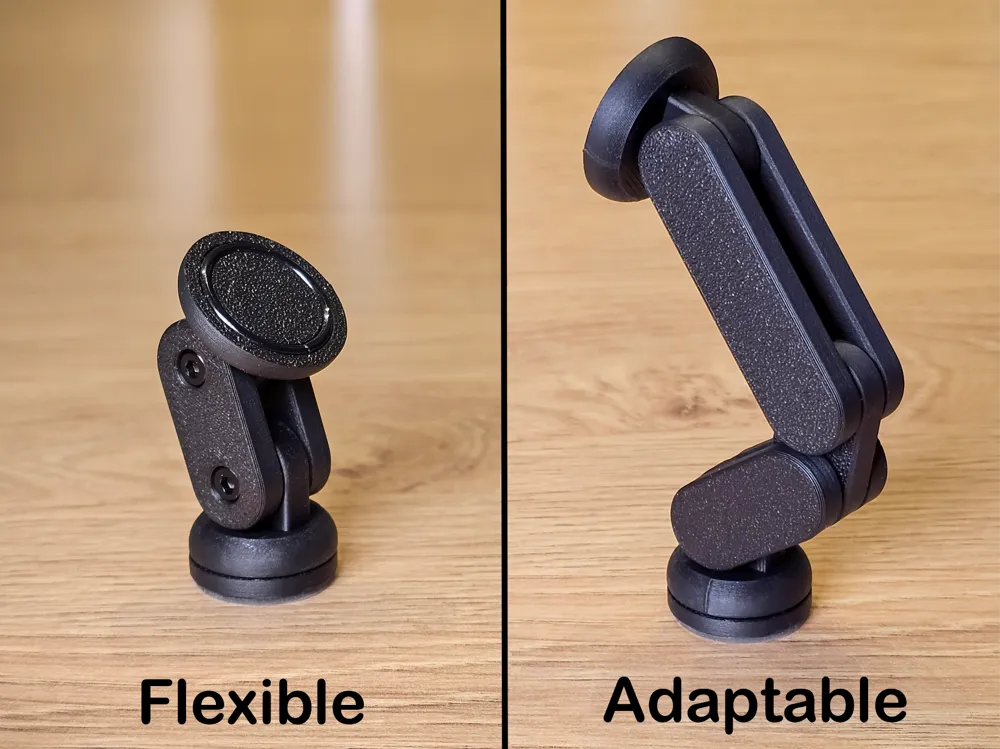
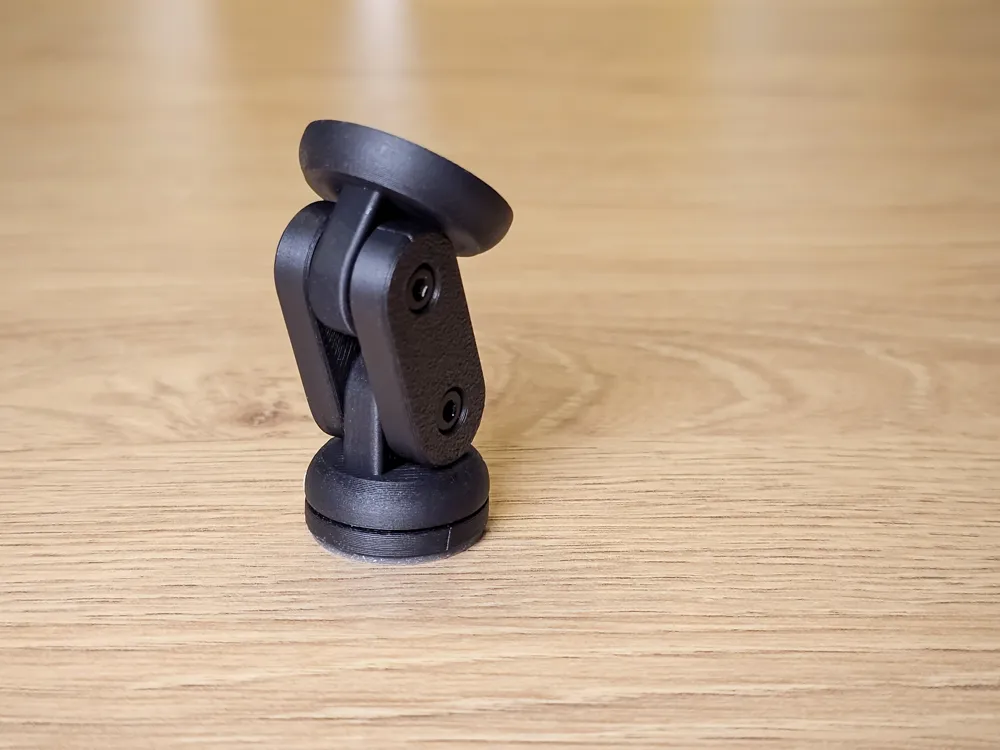
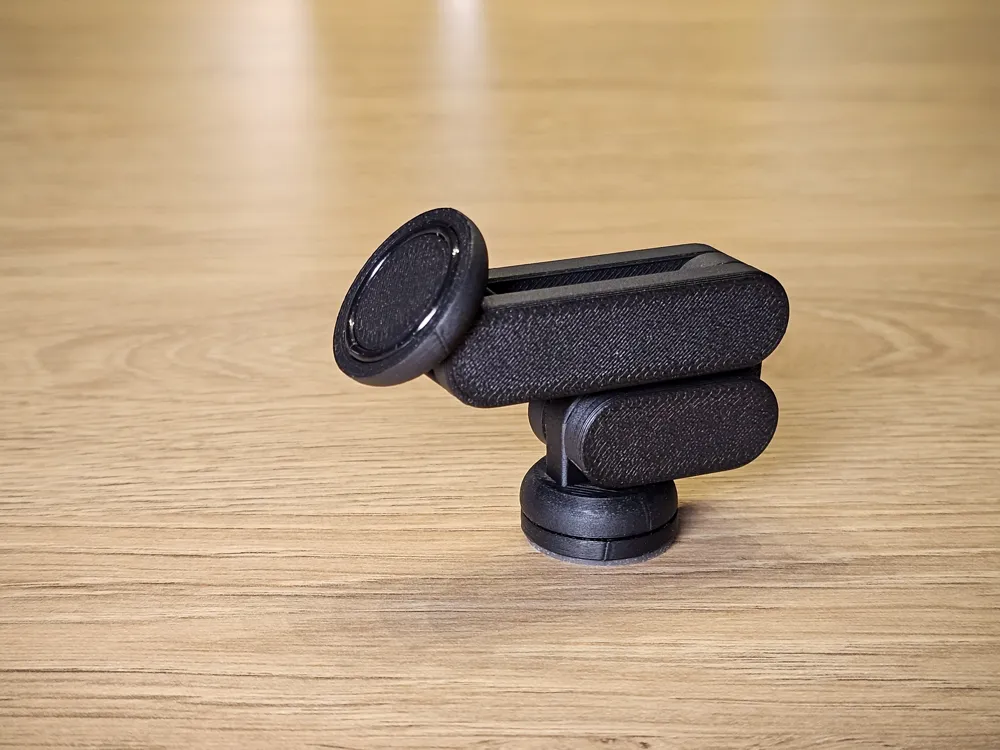
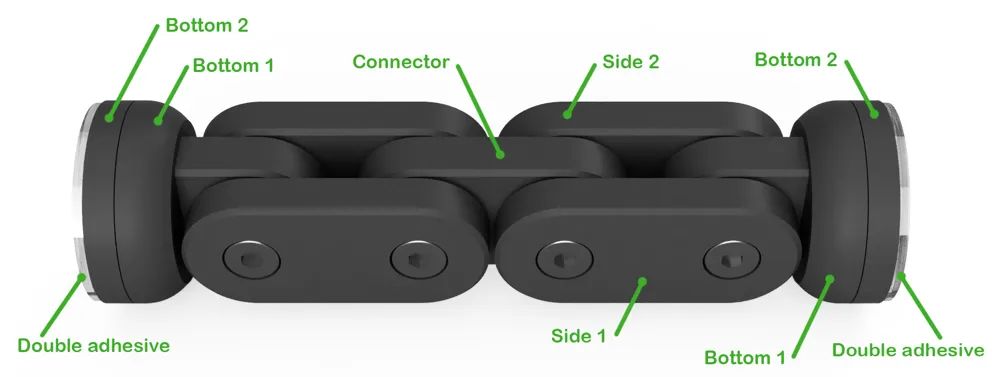
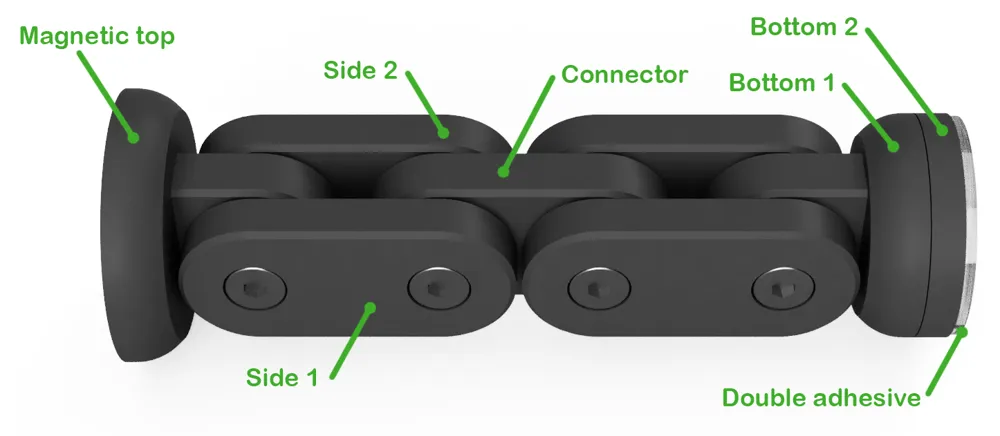
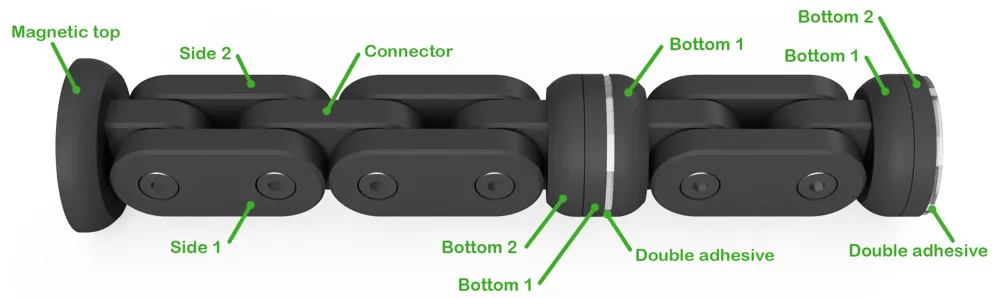
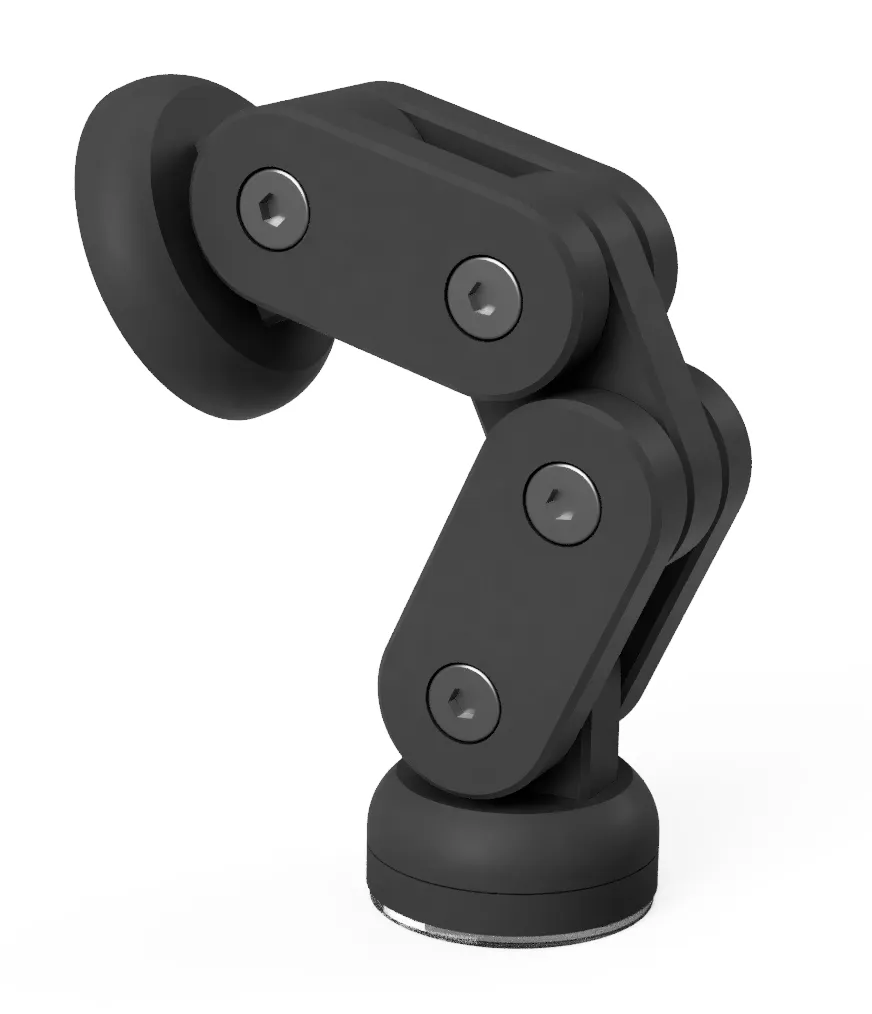
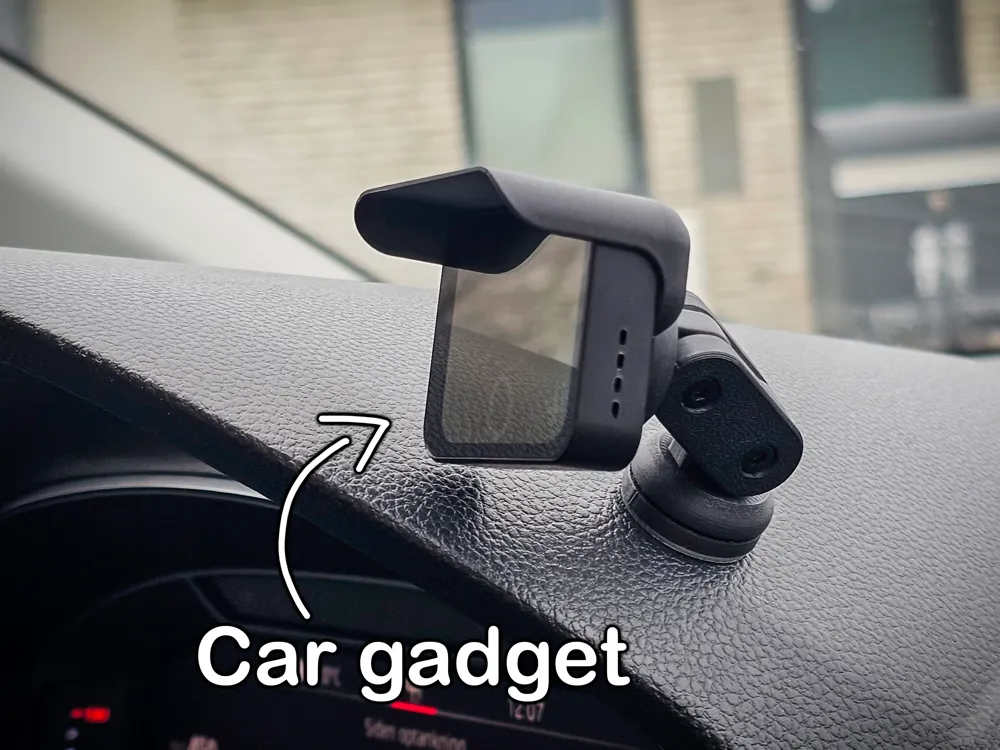
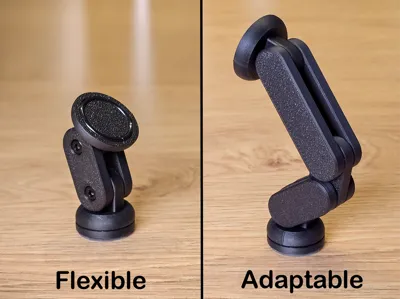
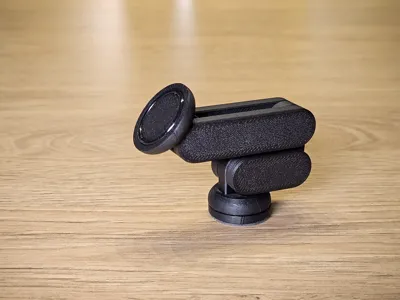
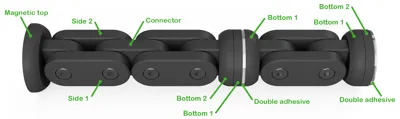
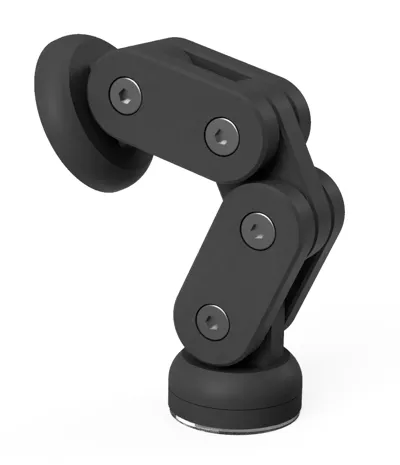
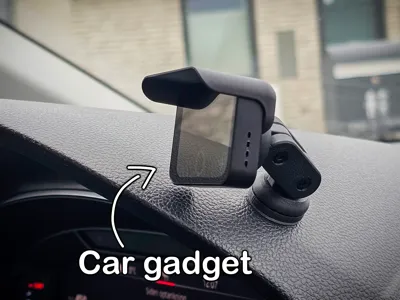
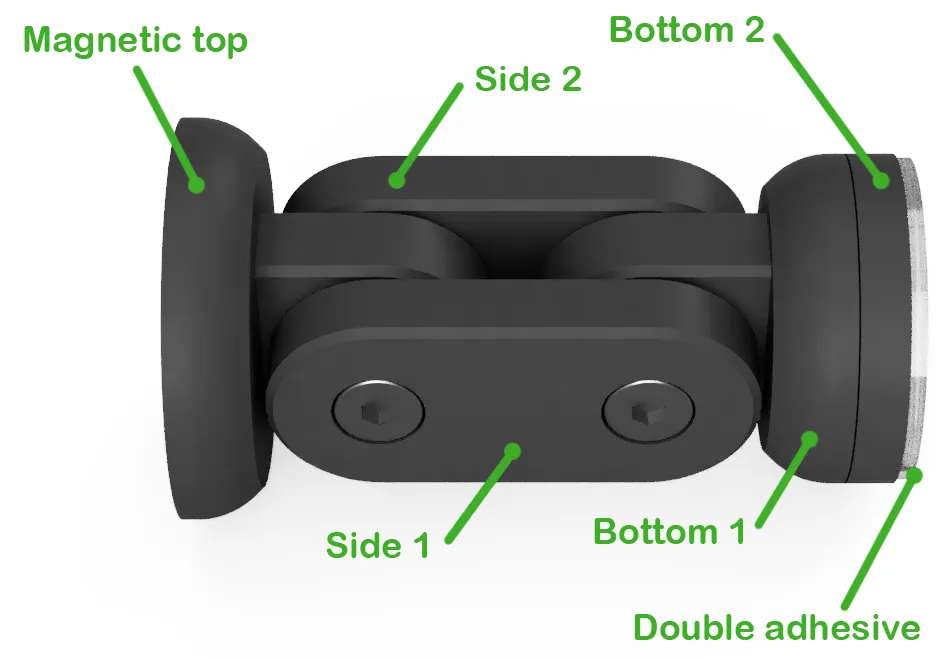
The Flexi Arm can be combined in many ways, and can be used in many scenarios.
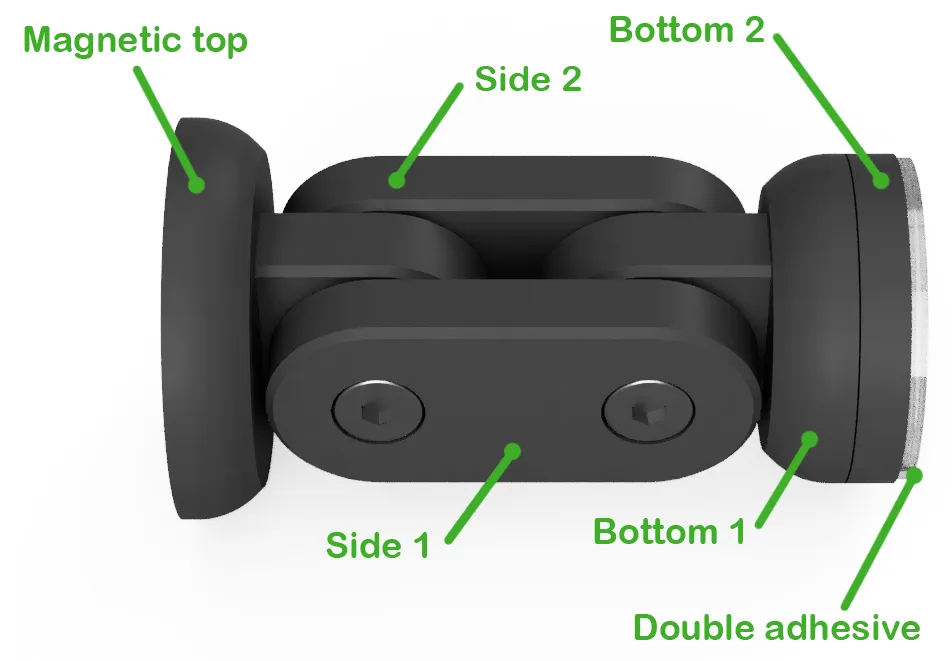
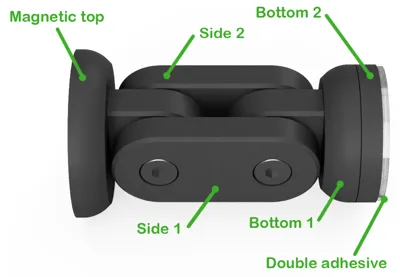
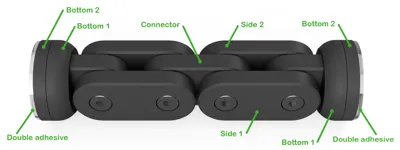
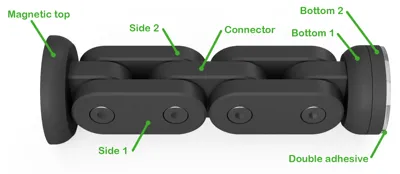
With a magnet in one end, and double adhesive in the other. Or maybe double adhesive in both ends?
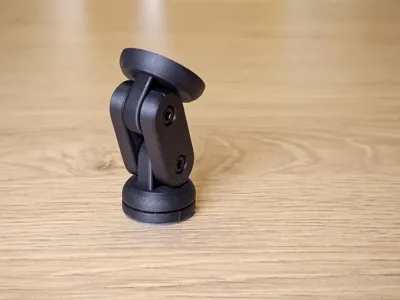
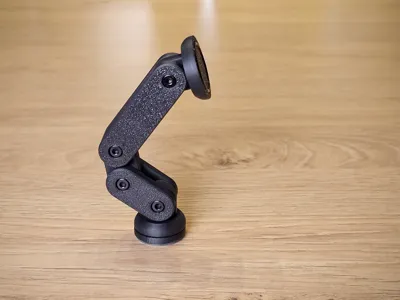
One joint, or 4 joints?
Combine it to your needs. (check video at the bottom)
In between every surface its possible to mount some standard 1,75 soft TPU filament, Alltho TPU is not mandatory,
it is recommended as it gives much better friction adjustments.
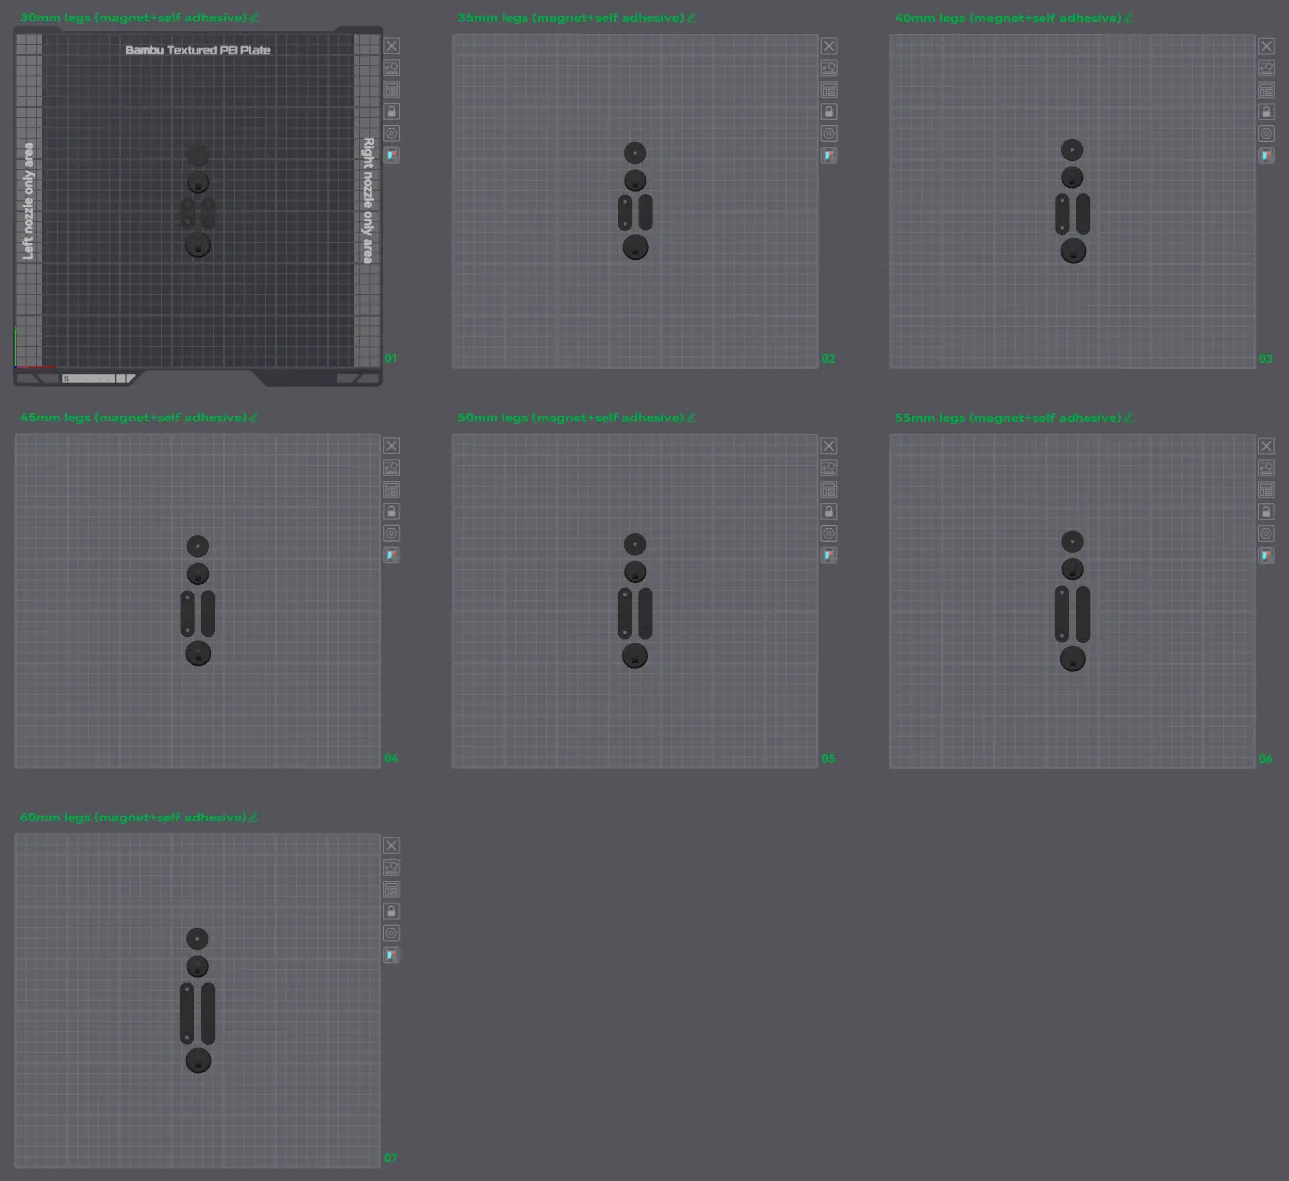
There are 7 different side lengths, 30, 35, 40, 45, 50, 55, 60 mm
You will find 4 different print profiles, one is a Builder profile, where one of each parts is shown.
Here you will have to delete the parts you dont want, and copy the parts you do want.
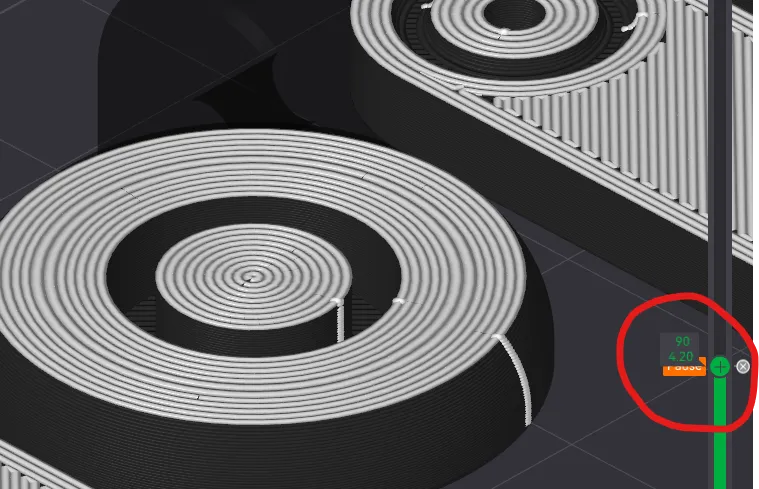
When you slice be sure to check that the pause is still active. (Check video at the bottom)
The 3 other profiles is pre-arranged, with 7 plates (one for each side length)
The difference between the 3 plates are the ends, (Magnet ind both ends - Adhesive in both ends - Magnet on end, adhesive other end)
The magnet used is a ring type, that has a 12mm outer diameter, 8,5mm hole (1,75 wall) and 4mm thick.
The one i used is bought in Bauhaus, and can be found HERE, another magnet with same measuements can also be used.
The print will pause at a certain time, here you will have to place the magnet, and hit Resume print afterwards.
(remember to place the magnet right side down)
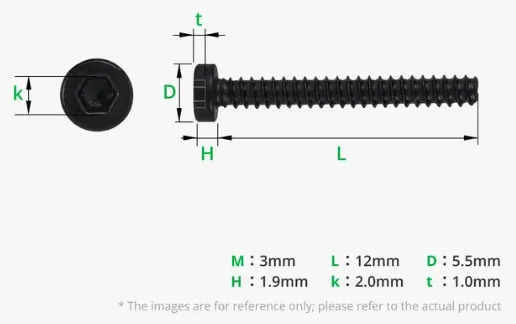
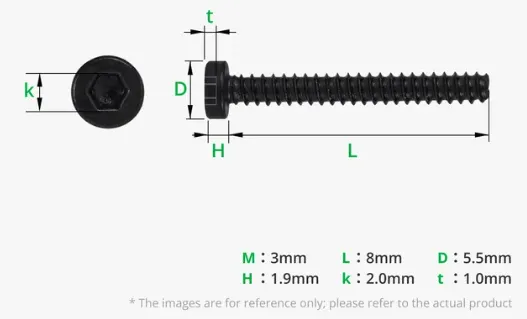
Besides the magnet, you will have to get some double adhesive, and some scews.
Double adhesive is 20x1mm Nano washable gel adhesive, and can be found here Amazon.com and Amazon.de
The screw types is pictured below.
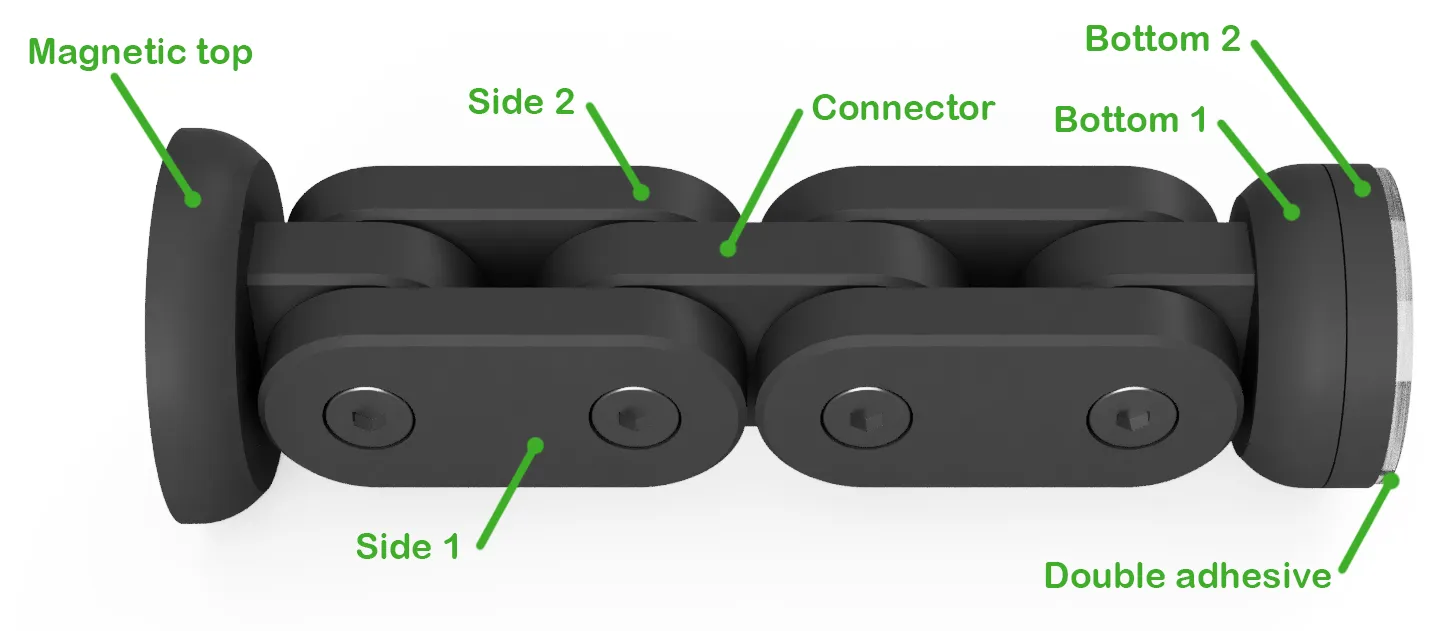
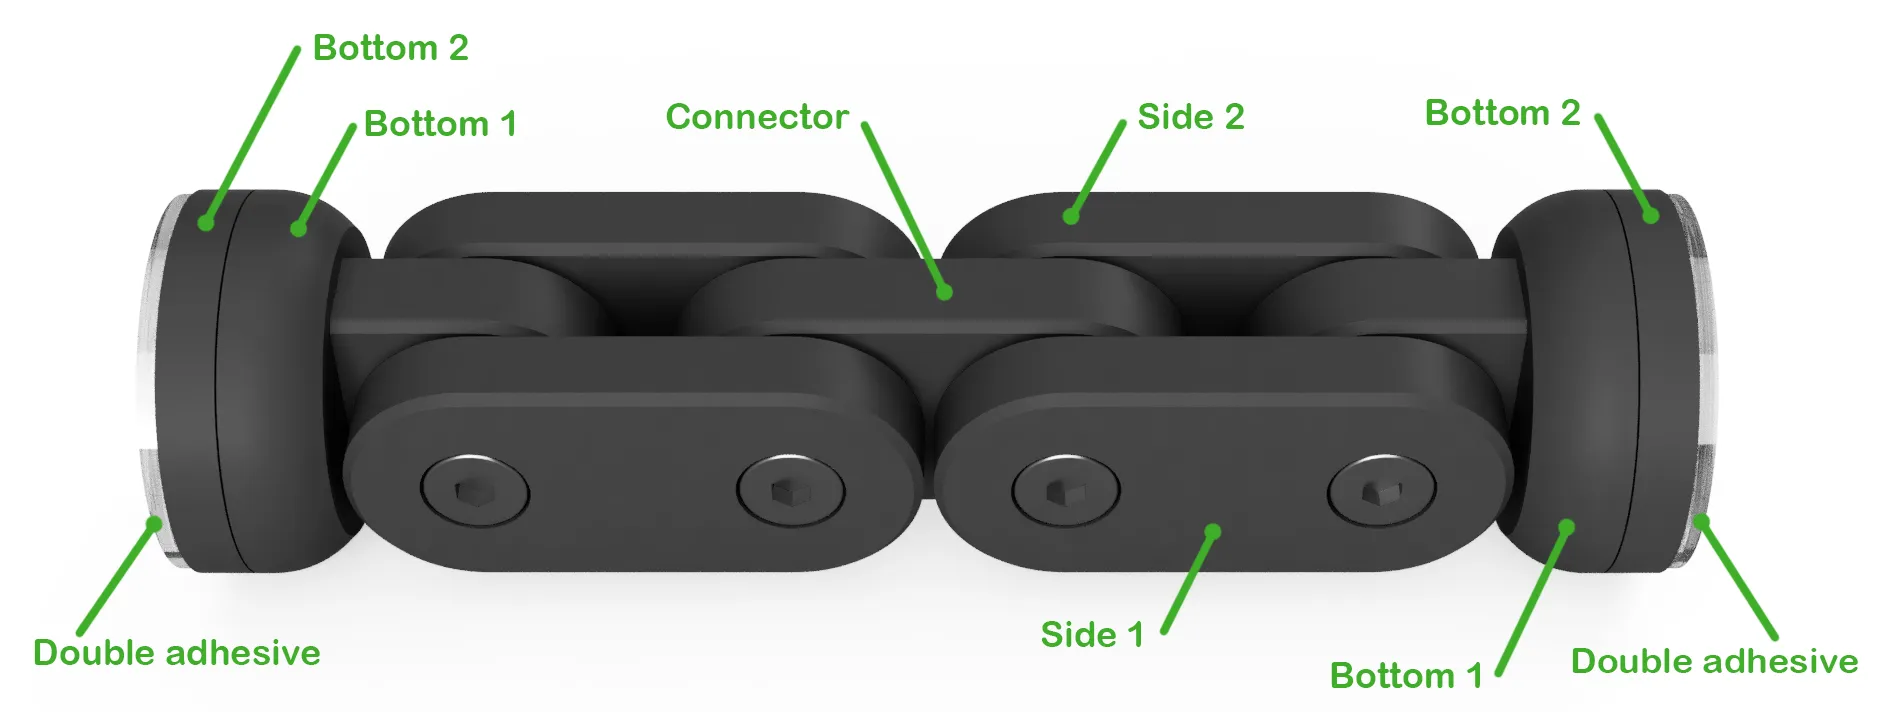
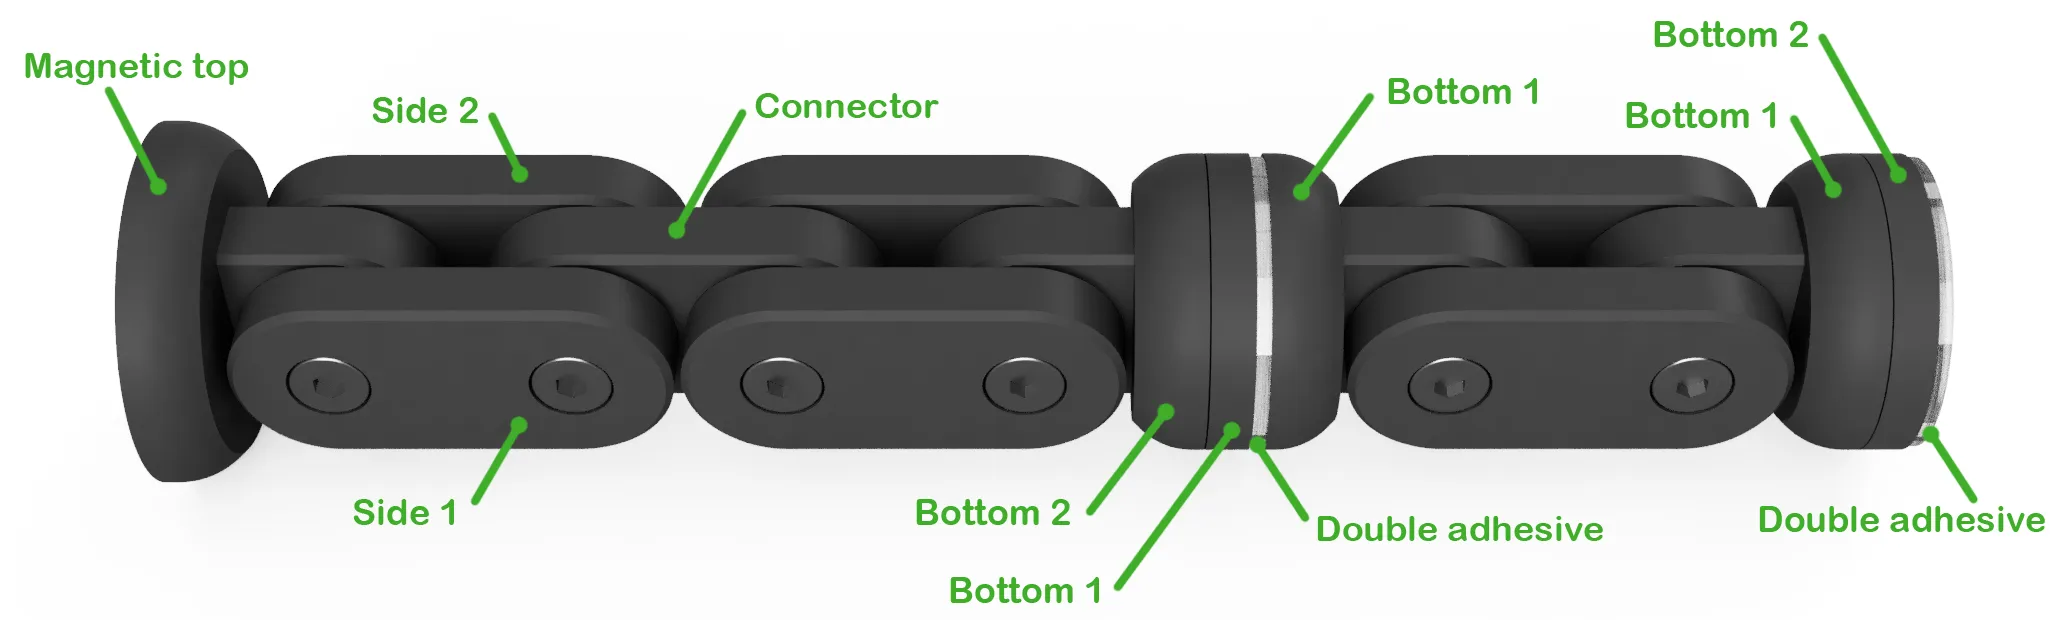
Examples of combinations is shown below.
Check out some of my other models !
(Click on the images to jump over to the model)
License

You shall not share, sub-license, sell, rent, host, transfer, or distribute in any way the digital or 3D printed versions of this object, nor any other derivative work of this object in its digital or physical format (including - but not limited to - remixes of this object, and hosting on other digital platforms). The objects may not be used without permission in any way whatsoever in which you charge money, or collect fees.


Comment & Rating (40)