Gloomhaven Standee Trays/drawers with case


Print Profile(1)

Description
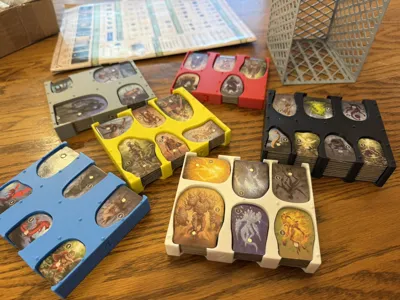
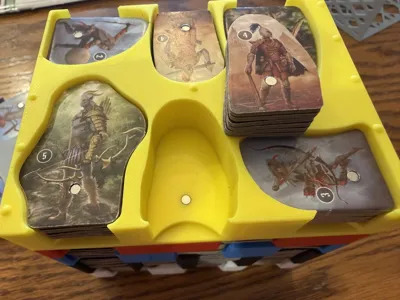
These are trays for the Gloomhaven standees. Each tray is custom fit to four to seven standees. The bottom of each standee slot will accommodate a 3 mm x 2 mm circular magnet (the magnets I used were actually 1.77 mm thick), if you are willing to spend the time to place magnets in each standee. (See notes below.)
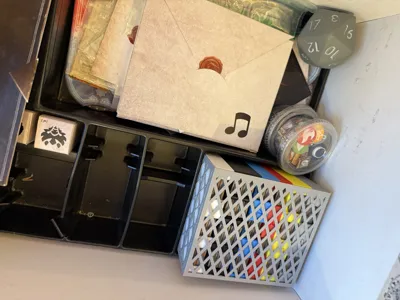
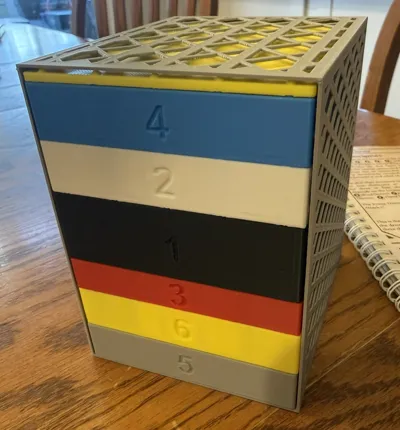
There is also a case to hold the six trays, which fits nicely in the box as shown.
I set the “Print sequence” to “By object” (rather than “By layer”). The greatly speeds the print process when there are more than one color per tray. No supports required. I used .2 mm layer height and a 0.4 mm extruder.
Here is the list of standees by tray: (I print this and slip it folded into the side of the case.)
| Name | Tray |
| Living Bones | 1 |
| Forest Imp | 1 |
| Black Imp | 1 |
| Deep Terror | 1 |
| Ooze | 1 |
| Giant Viper | 1 |
| Vermling Scout | 1 |
| Earth Demon | 2 |
| Flame Demon | 2 |
| Frost Demon | 2 |
| Night Demon | 2 |
| Sun Demon | 2 |
| Wind Demon | 2 |
| Cave Bear | 3 |
| Harrower Infester | 3 |
| Savvas Lavaflow | 3 |
| Savvas Icestorm | 3 |
| Inox Shaman | 3 |
| Living Corpse | 4 |
| Living Spirit | 4 |
| Cultist | 4 |
| Rending Drake | 4 |
| Spitting Drake | 4 |
| Vermling Shaman | 4 |
| Stone Golem | 5 |
| Lurker | 5 |
| Ancient Artillery | 5 |
| Hound | 5 |
| Bandit Archer | 6 |
| Inox Archer | 6 |
| City Archer | 6 |
| Bandit Guard | 6 |
| Inox Guard | 6 |
| City Guard | 6 |
Notes about magnets:
Inserting magnets into the trays and the standees is an optional and tedious process.
- Buy a 3 mm drill bit (very uncommon the United States).
- For each stack, carefully mark one one of the standees where the center of the magnet belongs (using holes in bottom of tray).
- When drilling standees, they should be placed snuggly between two pieces of wood to avoid blowout.
- Make sure you get the orientation of the magnets correct.
- I used epoxy to hold in the magnets, by first applying a thin bead to the perimeter of each hole using a toothpick before inserting the magnet. Wipe quickly with a paper towel to remove excess epoxy.
- This will take a lot longer than 5 minutes, so if you are using 5-minute epoxy, expect to mix a new batch repeatedly.
I'm really glad I did this - it's a huge aid to keeping everything organized.
Comment & Rating (0)