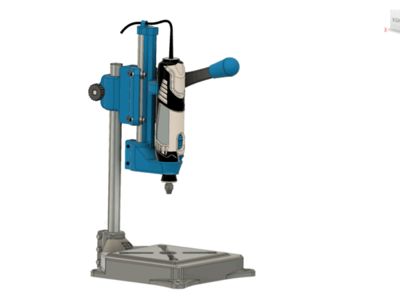
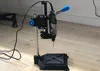
DREMEL Drill Press (Very strong and precise)


Print Profile(2)

Description
Boost Me (for free)
Nothing beats the original. Copied (Remixed) a lot but now available directly from the designer here at Maker World
For only 5€ and a spool of filament, you can build yourself a serious DREMEL Drill Press and be VERY proud at the result!
Using cheap bearings this is a very easy and FUN build of a very robust and precise lineair guidance system.
Design features:
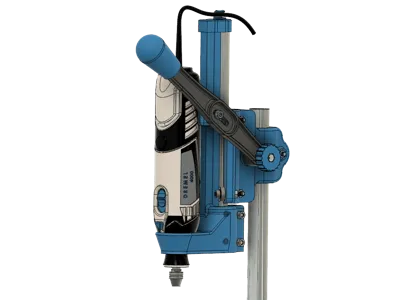
- Easy and fast DREMEL placement.
- Almost 10cm Drill clearance.
- Ajustable Hight
- Lockknob to fixate lever.
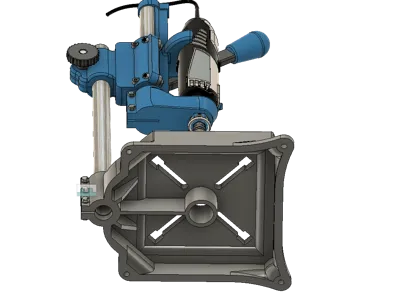
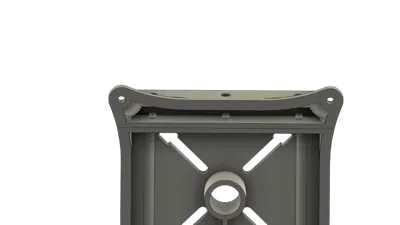
- Big stable and sturdy ground plate. (Need a 25cm X 25cm printbed. Working on a smaler version witch will fit on a 22cm x 22cm Ender3)
- Easy to assemble, no special tools required.
- Simple but very accurate vertical guidance with bearings. 100% without play.
Added holder for Dremel 3000
Included universal base with STEP file so you can design a holder for your own Mini Drill
BOM:
Tube or Pipe
For the steel pipe I used 22mm steel pipe 1.4mm thick. It's very cheap and common so easy to find in your local DIY shop. Here they use it for central heating.
Pipe Nominal Bore 1/2 inch (DN 15 mm), Outside Diameter 21.34 mm should also work!
Cut 2 pieces:
35cm and 25cm.
Socket Hex Head
M5 X 20 (4X)
M5 X 15 (1X)
M5 X 30 (2)
Hex head
M5 X 45 (1X)
M5 X 25 (1X)
M5 X 30 (5X)
Other
M5 Nuts (13X)
M5 Washers (13)
6 Bearings 16 X 5 X 5 (Outsite / Insite / Thickness) Ali-Express
3D Printed Parts
I use regular PLA. It's very stiff and strong. Make sure you print with minimum of 5 top, bottom, outer and inner layers.
Assembly instructions follow beneath. Have fun with this build and please give me likes and a boost as appreciation for my work.
Post-Printing
Requierments
Make sure you have al the parts ready and printed before the fun start!

Start by mounting the 35cm tube into the base
Use 3 x M5 X 30 Bolts..

Do NOT tighten the bolds to much. No need for that.
Step 2
Assemble the Vertical guide with the bearings. Please note the gaps for nuts...


Do not tighten the yellow arrow bolts yet. You can use them to tighten the bearing grip on the steel pipe. The blue arrow point to a slot for a M5 nut. Not in the picture.

Assemble the short pipe in the DREMEL holder.

Insert the DREMEL mount pipe in to the vertical guide. You need a bit of force for that. Glue the top cap with cable guid in place.

Assemble the lever with some glue and montage it onto the press. Note that with the big knob you can fixate the Dremel and adjust the motion resistance so the Dremel will stay in place. **Note that the Socket Hex bolt is self tapping.** Don't over tighten it!

Almost done. Mount the DREMEL. Unscrew the cap, slide in the DREMEL and put the cap back in place. Tight it firmly. Start drilling...

You add a spring for counter weight of rubber band (Bicycle inner tube) by extending these two bolts
License
You may create derivative works based on this object, provided that all such derivative works are published exclusively on the MakerWorld platform and include proper attribution to the original creator. You may not share, upload, host, distribute, or publish this object—or any derivative work of this object—on any other digital platform, marketplace, or distribution channel. Commercial use of this object and any derivative works is strictly prohibited. This includes, but is not limited to, selling, renting, sublicensing, or using the object in any context in which you receive monetary compensation or other financial benefits.
Comment & Rating (79)