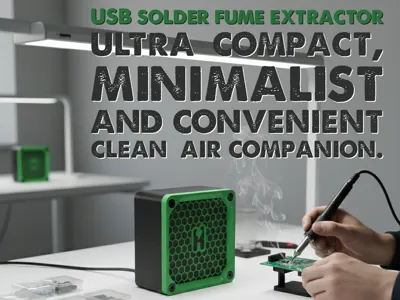
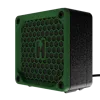
USB Solder Fume Extractor (HEPA + Sponge)


Print Profile(2)

Description
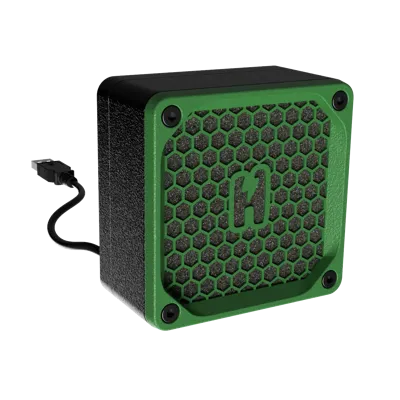
3D Printed USB Solder Fume Extractor (HEPA + Sponge)
Keep your workspace clean and your lungs safe! This is a compact, portable, and easy-to-assemble Solder Fume Extractor designed to be printed entirely on standard desktop 3D printers.
It utilizes a HEPA filter and a sponge pre-filter to capture particulates and extend the life of the main filter during soldering.

Boost Me (for free)
Love the design? Please upload your makes and leave a rating! If you have any questions about the assembly, feel free to leave a comment.
📐 Design Features
- No-Solder Assembly: The rear housing features a dedicated cable port insert. This allows you to route the USB cable through the frame without cutting, stripping, or re-wiring the fan. Just slide it in!
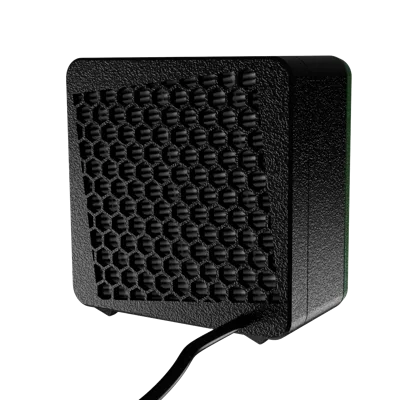
- Compact Footprint: Minimalist design that fits any workbench without being bulky.
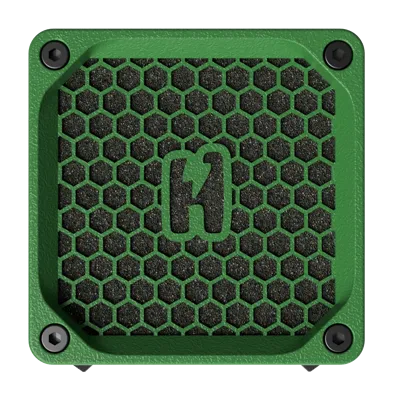
- Dual-Stage Filtration: Uses a sponge pre-filter to catch larger particles and a HEPA filter for fine filtration.
🛠️ Bill of Materials (BOM)
- Fan: 1x 80x80x25mm Axial Fan (5V USB version recommended, but any other voltage will work with the right power adapter).
- Filters: This Filter Set from Amazon (Includes both HEPA and sponge filters).
- Hardware:
- 4x M4 x 35mm Socket Head Cap Screws.
- 4X M4 THREADED INSERT – RX-M4X8.1
- Power: Any USB Power Bank or Wall Adapter.
🔧 Assembly Instructions
- Print the Parts: I printed mine using PETG GF, but PLA will work either. No supports needed!
- Filter Prep: Take the sponge pre-filter and slightly trim the corners with scissors to ensure a perfect fit inside the housing.
- Cable Routing: Pass the USB connector/cable through the rear slot. Use the included small insert piece to secure the cable in place and seal the exit hole. No wire cutting required!
- Stacking: Place the trimmed sponge into the intake, followed by the 80mm fan (ensure airflow is pointing towards the HEPA filter).
- HEPA Placement: Insert the HEPA filter into the rear compartment.
- Secure: Use the 4x M4x35mm screws to bolt the entire assembly together.


License
You shall not share, sub-license, sell, rent, host, transfer, or distribute in any way the digital or 3D printed versions of this object, nor any other derivative work of this object in its digital or physical format (including - but not limited to - remixes of this object, and hosting on other digital platforms). The objects may not be used without permission in any way whatsoever in which you charge money, or collect fees.
Comment & Rating (3)