
Parametric House Siding Mount (Lights, Ring, Etc)
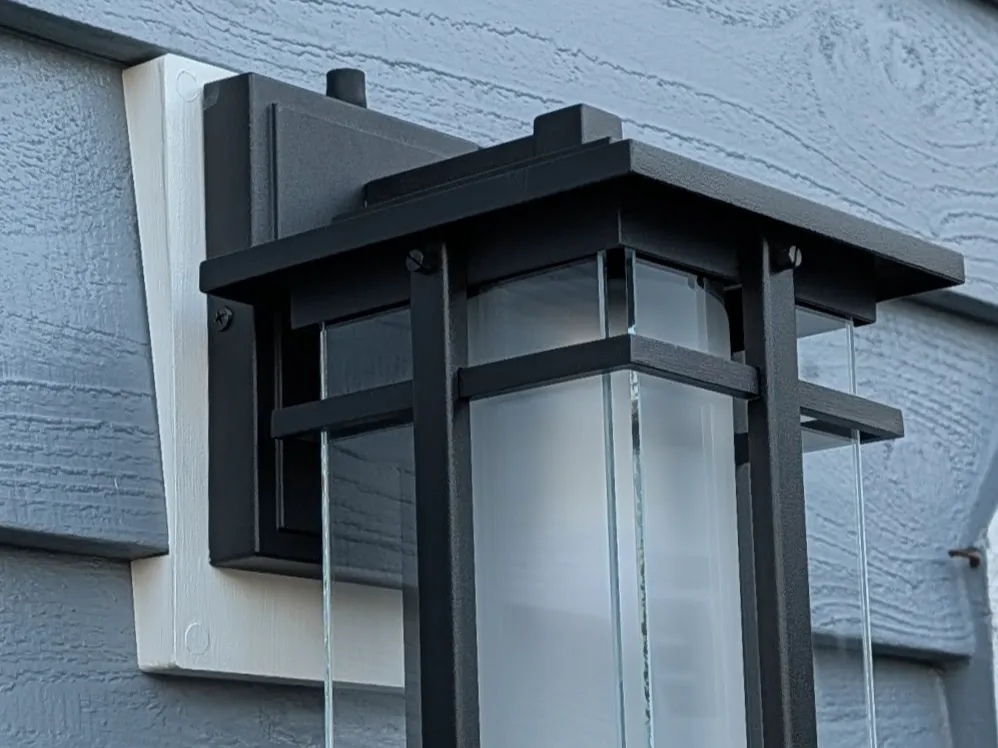
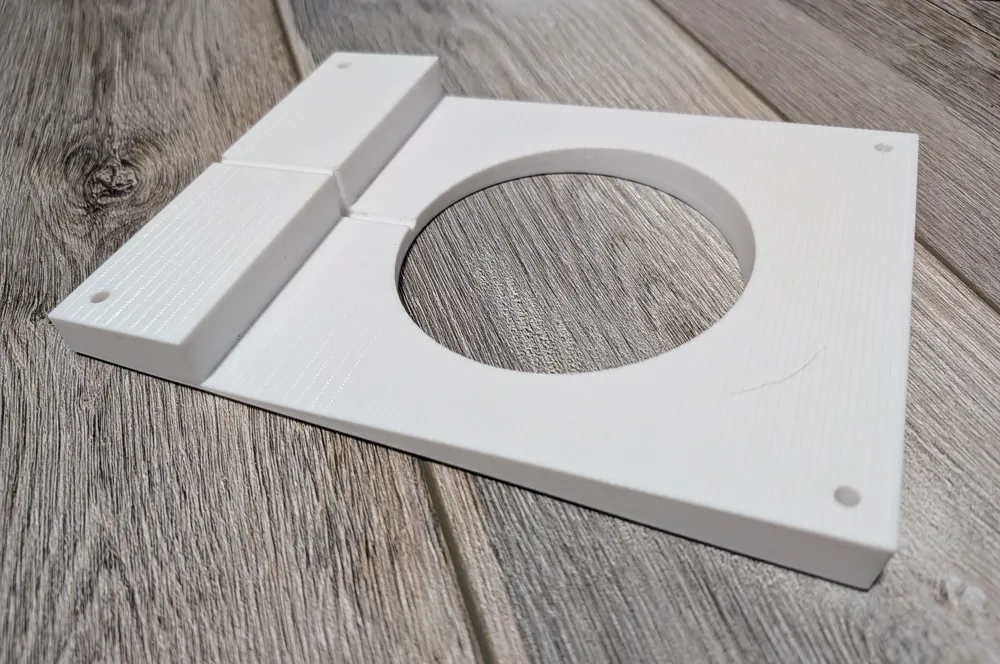
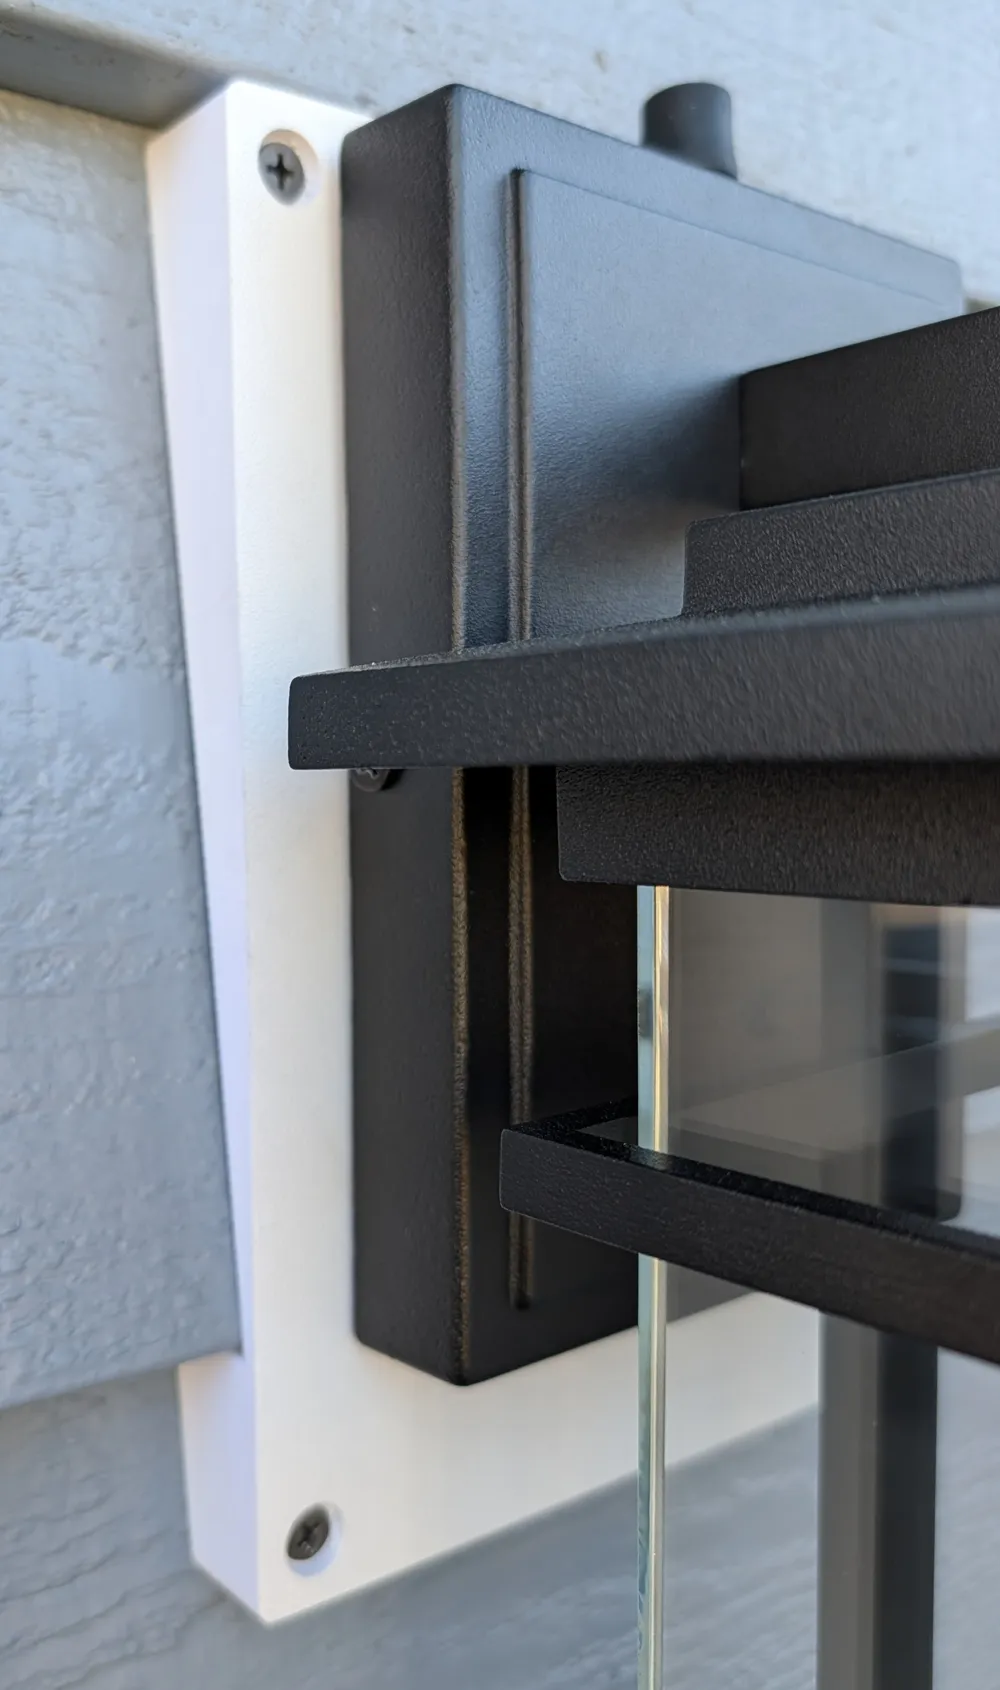
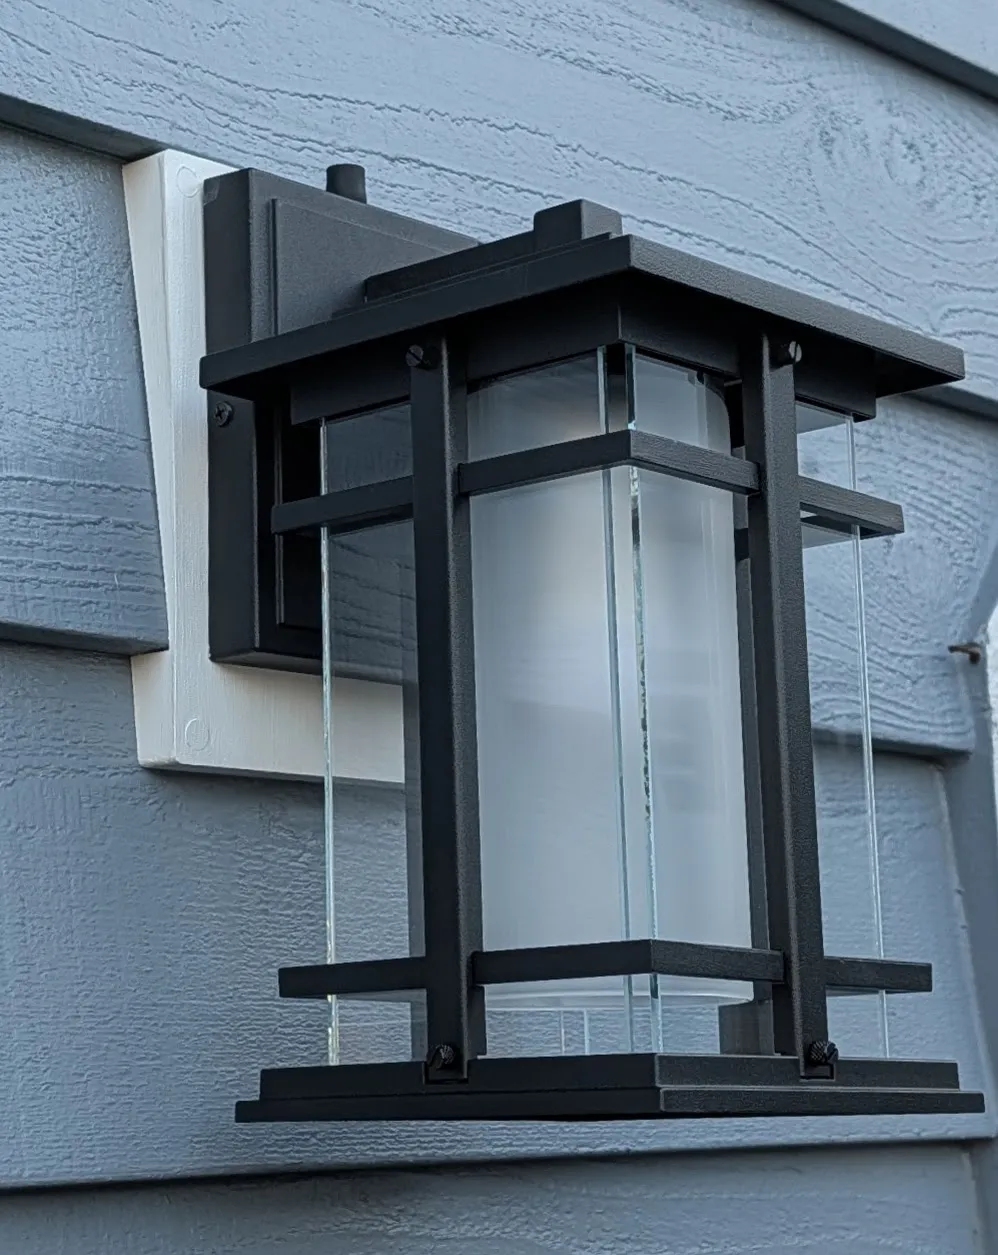
Print Profile(5)
Description
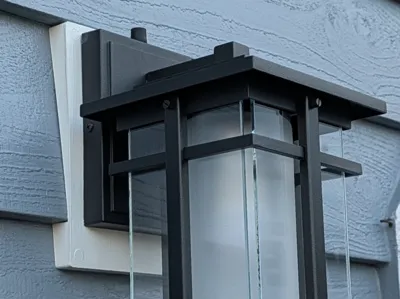
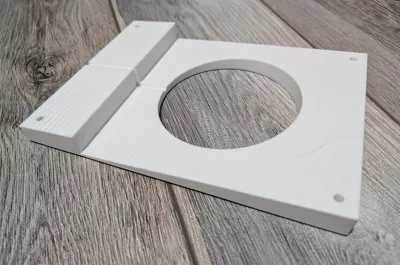
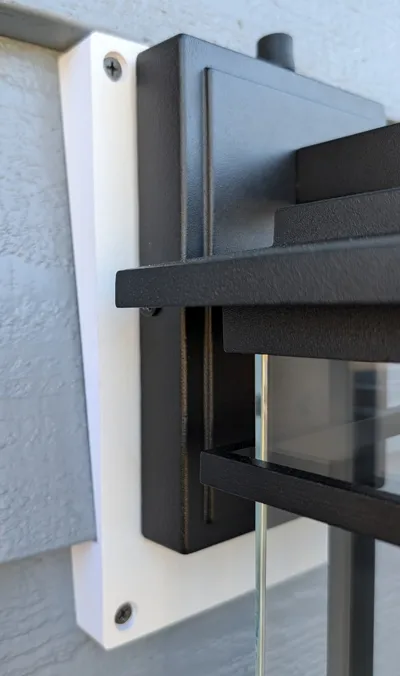
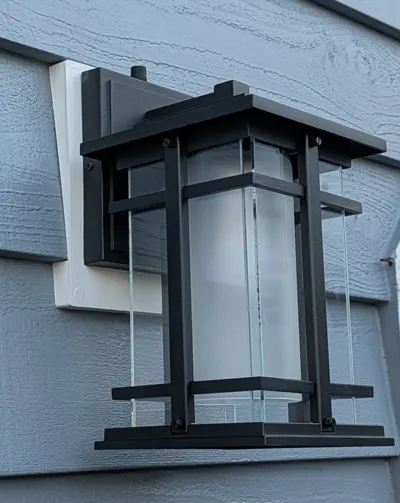
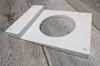
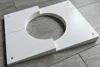
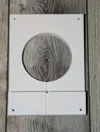
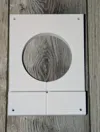
Ultimate Parametric Siding Mount & Junction Box Adapter
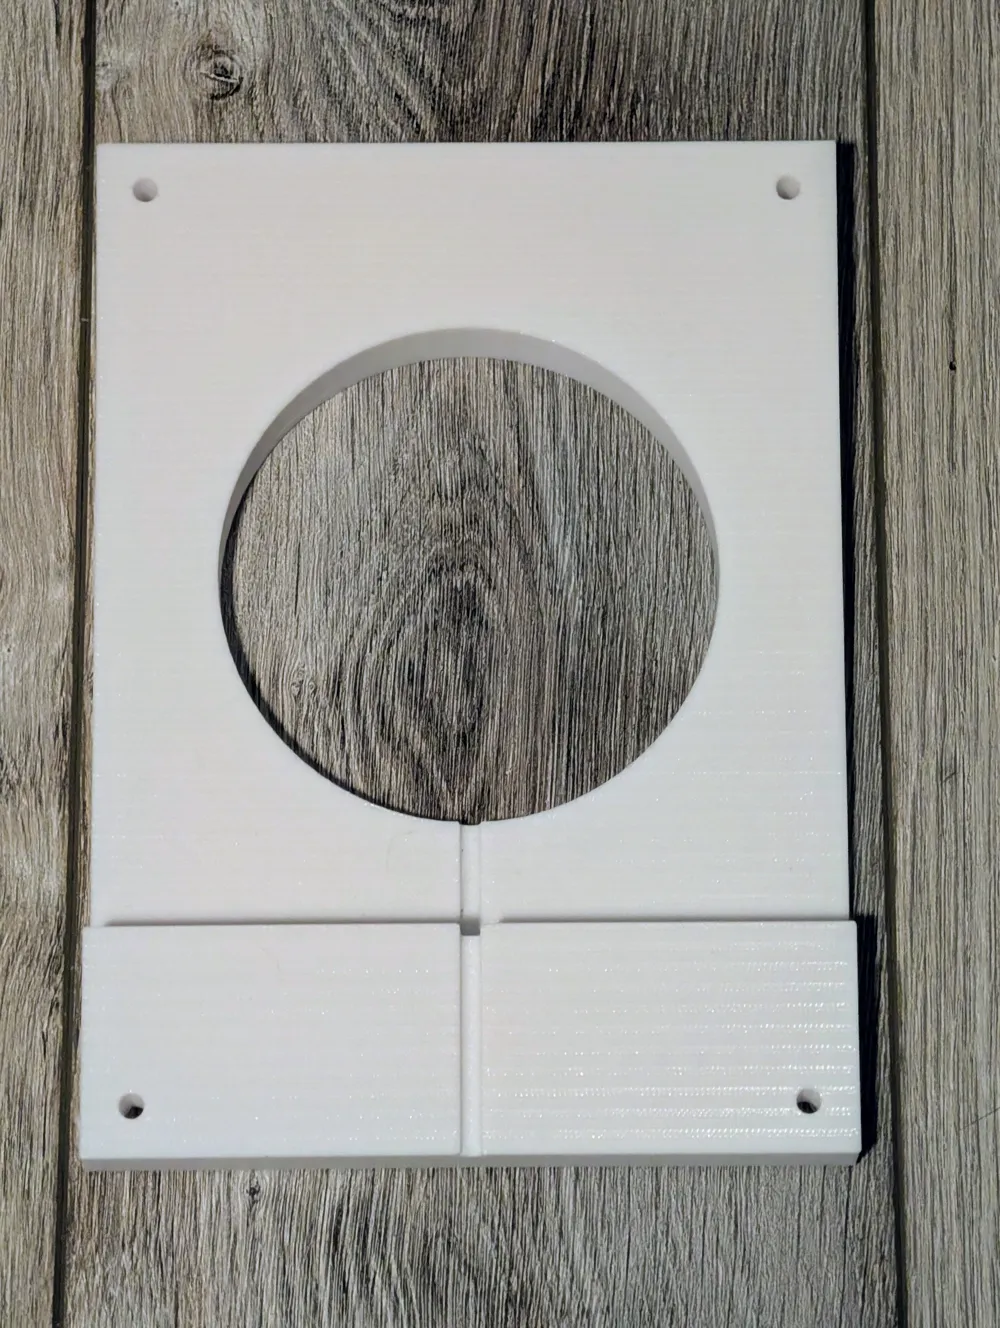
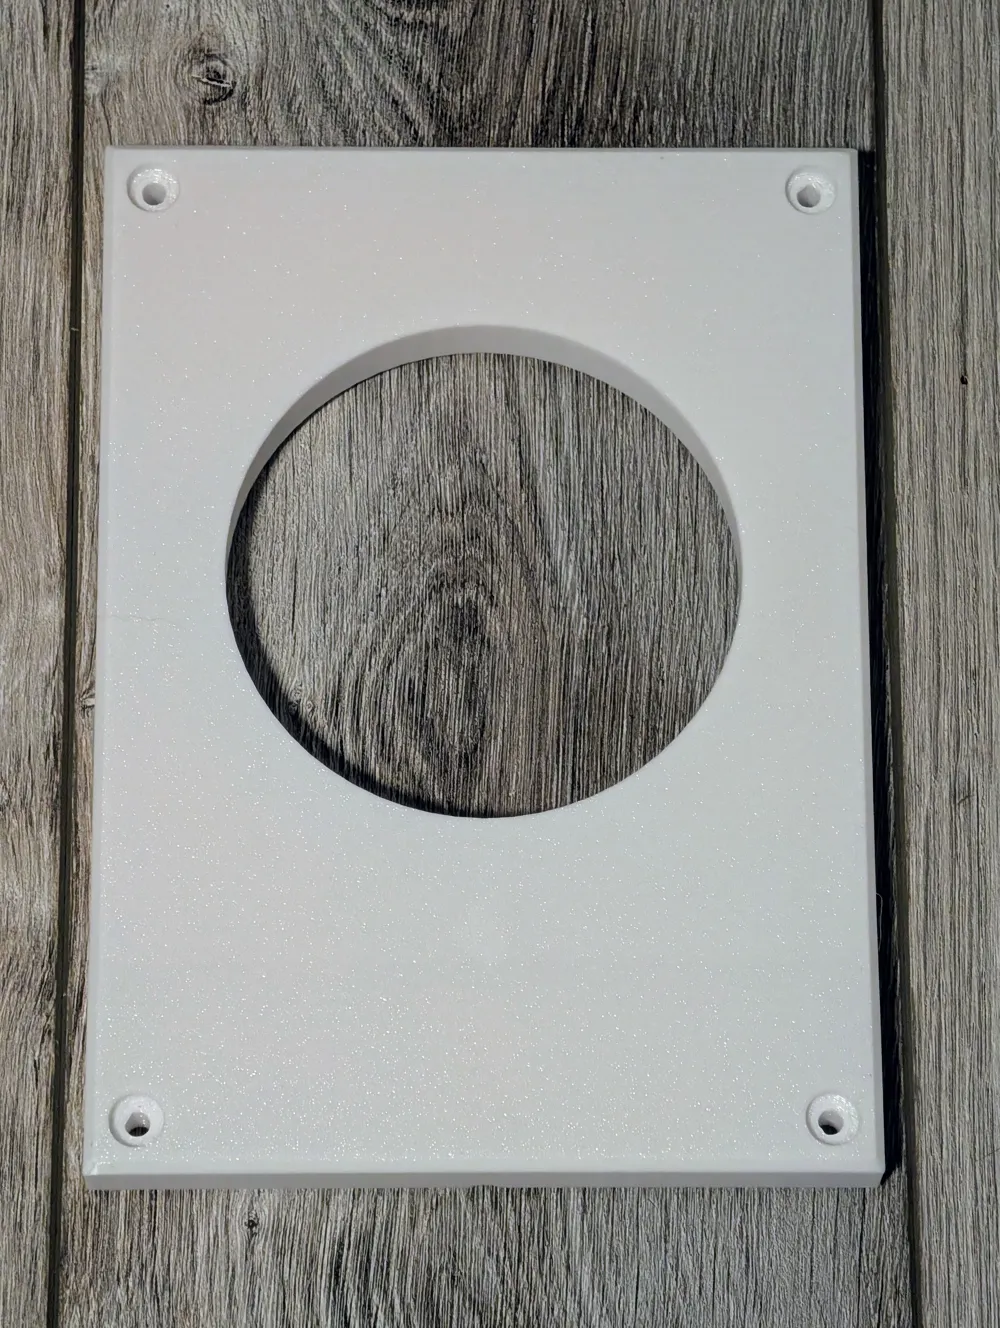
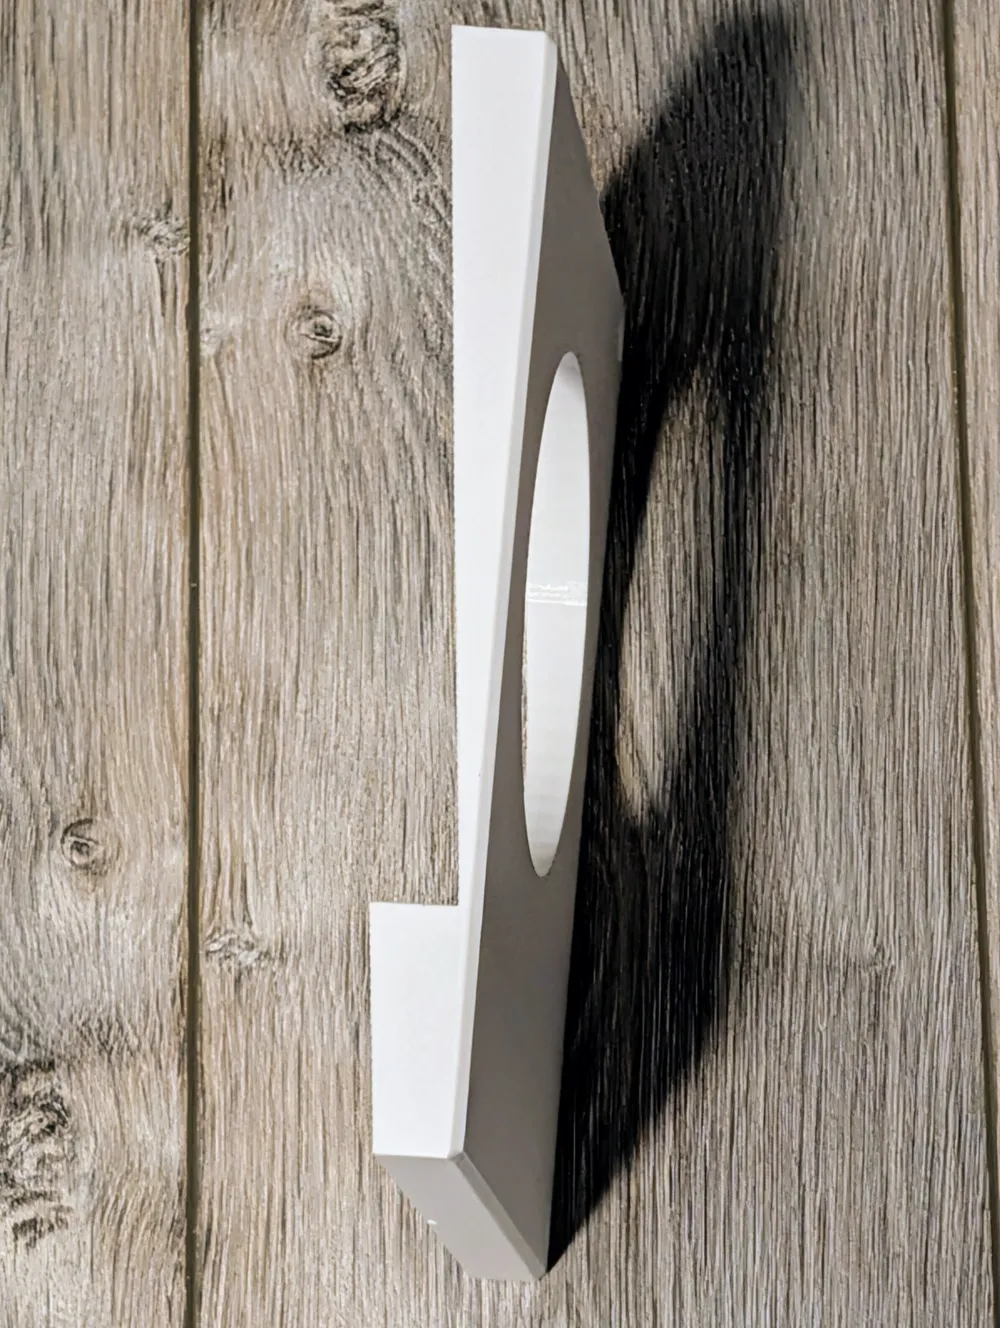
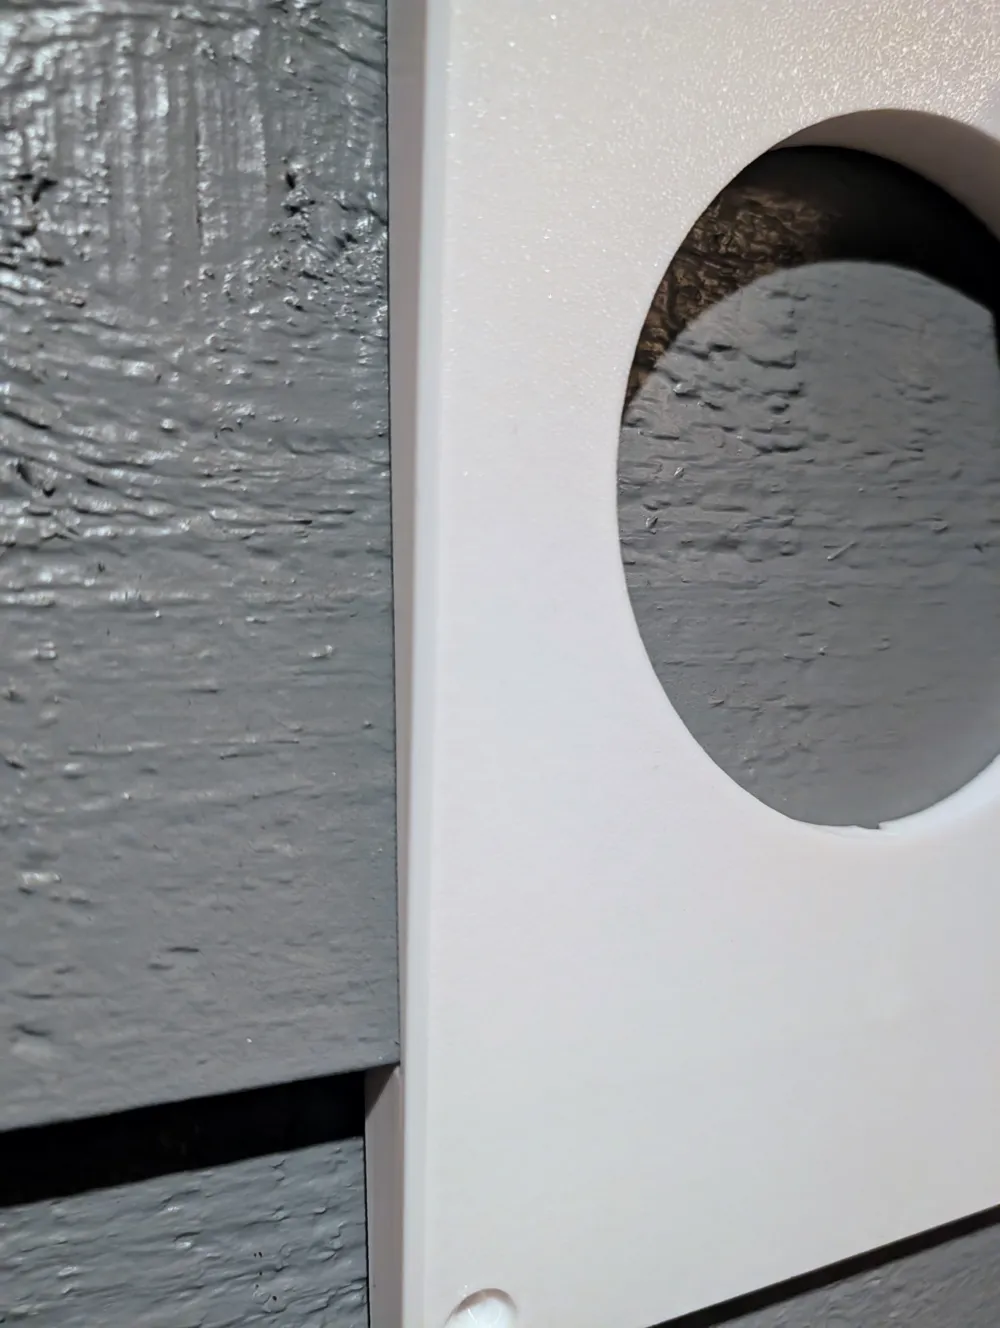
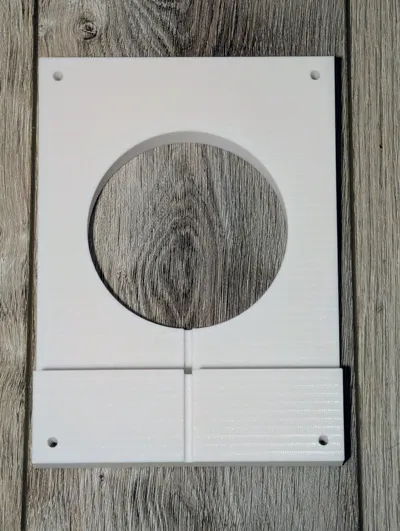
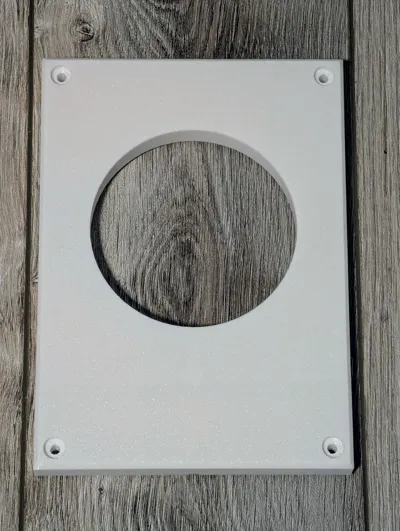
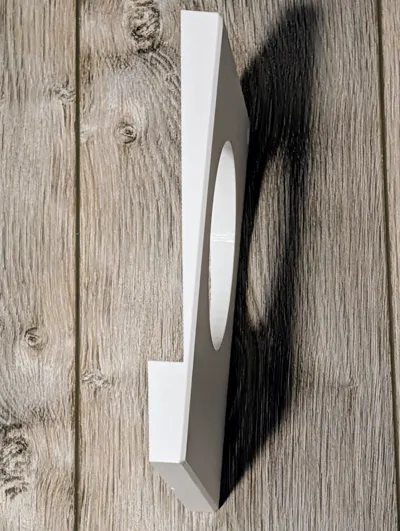
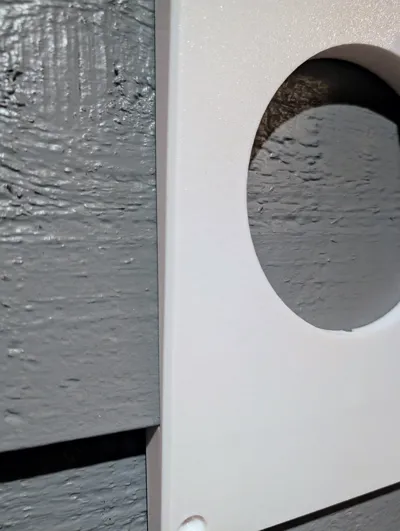
This is a fully parametric OpenSCAD generator designed to create professional, flush-fitting mounts for wood or vinyl siding. Whether you are installing a Ring Doorbell, Govee Light Controllers, cameras, or standard floodlights, this tool generates a mounting block that perfectly contours to your specific siding profile.
🌟 Key Features
- 100% Custom Fit: Input your siding's specific "Lap Distance" and "Step Depth" for a mount that sits rock-solid without wobbling.
- 💧 Smart Conformal Drainage: Unlike simple mounts, this generator calculates the exact angle of your siding and creates a hidden weep hole. This ensures water drains out the back regardless of the siding shape, preventing mold and rot.
- 🔌 Integrated Cable Management: Optional rear channel lets you run wires behind the mount without drilling directly into the wall behind the device.
- ✨ Flush Caps: Automatically generates snap-fit caps to hide your mounting screws for a clean, professional finish.
- Auto-Centering & Print Ready: The model automatically centers itself and flips face-down for the best surface finish on your build plate.
🛠️ Basic Customization Settings
- Support: Enable tree support for the screw cap area. It will print without but will be stringy.
- Plate Dimensions: Size of the block you need.
- Siding Profile: Measure the height of one lap and the depth of the step.
- Cutout: Choose Round or Square for your device's back box.
- Output: Select "Mount & Screw Caps" to generate everything at once.
🖨️ Printing Recommendations
- Material: ASA or PETG is highly recommended for UV and heat resistance. PLA is not recommended for outdoor use as it will warp in the sun.
- Walls/Perimeters: 3 or 4 walls for structural strength (screws will exert pressure).
- Infill: 15-20% Gyroid or Grid.
- Orientation: Print Face Down (the script does this by default). This gives the visible face a nice texture from your build plate and requires no supports.
⚙️ Detailed Customizer Settings Guide
Every aspect of this mount is adjustable. Here is what each setting does:
1. Output Selection
- Show Part: Choose what to generate on the build plate.
- Mount & Screw Caps (Default): Generates the mount and a matching set of flush caps side-by-side.
- Mount Only: Just the main block.
- Screw Caps Only: Useful if you lose a cap and need to print spares.
2. Dimensions
- Plate Width/Height: The total outer size of the block.
- Max Thickness: The thickness of the mount at its thickest point (the "peak" of the siding). Ensure this is deep enough for your mounting screws (20mm is usually safe).
3. Siding Profile (Crucial Step!)
- Siding Lap Distance: The vertical distance from the bottom of one siding panel to the bottom of the next.
- Siding Depth: The depth of the "step" or angle. Place a ruler against the flat part of the siding and measure the gap to the wall.
- Tip: If mounting on a flat wall (brick/stucco), set this to 0.
4. Cutout Settings
- Cutout Shape:
- Round: For standard junction boxes.
- Square: For rectangular electrical boxes.
- None: Generates a solid block with no center hole.
- Diameter/Width/Height: Dimensions of the hole.
- Center Offset X/Y: Moves the position of the cutout (and the start of the drainage channel) without moving the whole mount. Use this to align with an off-center junction box.
5. Edge Treatment
- Edge Style: Choose the profile of the front edges for a professional look.
- Chamfer: Classic 45° flat cut.
- Fillet: Smooth, rounded corners (Apple-style).
- Cove: Decorative concave curve (Classic molding style).
- Step: A clean 90° notched edge (Industrial style).
- Edge Size: How large the edge profile is (e.g., 2mm or 3mm).
6. Drainage / Weep Hole
- Enable Weep Hole: Creates a hidden "zig-zag" channel on the back surface.
- How it works: The channel automatically starts at the center cutout (or where the cutout would be) and routes water down to the bottom edge. It features "Step-Over" geometry to ensure water flows over the ridges of your siding without pooling.
7. Cable Management
- Cable Channel: Adds a vertical groove on the back (wall side) of the mount. Useful if you have a wire running down the surface of the wall rather than coming through it.
8. Mounting Holes & Caps
- Mounting Holes: Uncheck this if you prefer to mount with VHB tape or adhesive.
- Screw Caps:
- Cap Thickness: Default is 1.2mm. This is thin enough to sit flush with the surface but leaves room underneath for the screw head.
- Cap Tolerance: Default is 0.15mm. Adjust this if your caps are too loose or too tight for your specific printer.
9. Printing
- Print Orientation: Leave this set to "Print Mode (Face Down)". The script automatically flips the model 180° to place the visible face on the build plate.
9. Painting
- Krylon Fusion All-In-One spray paint is a great primer on PETG, then paint with normal house paint.
Boost Me (for free)
Enjoying the Generator? I built this to solve a common problem, if it solved yours, a Boost is greatly appreciated (and costs you nothing)! Happy printing!
License

You shall not share, sub-license, sell, rent, host, transfer, or distribute in any way the digital or 3D printed versions of this object, nor any other derivative work of this object in its digital or physical format (including - but not limited to - remixes of this object, and hosting on other digital platforms). The objects may not be used without permission in any way whatsoever in which you charge money, or collect fees.


Comment & Rating (12)