
Thermo Heart w Customizable sign
Print Profile(1)
Bill of Materials


Description
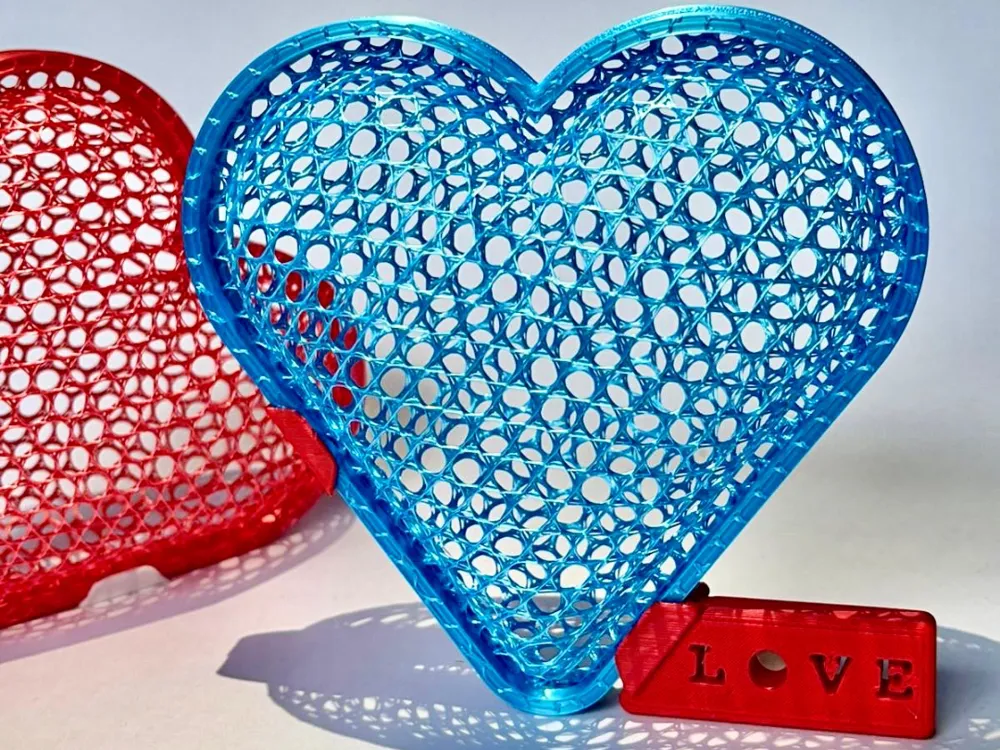
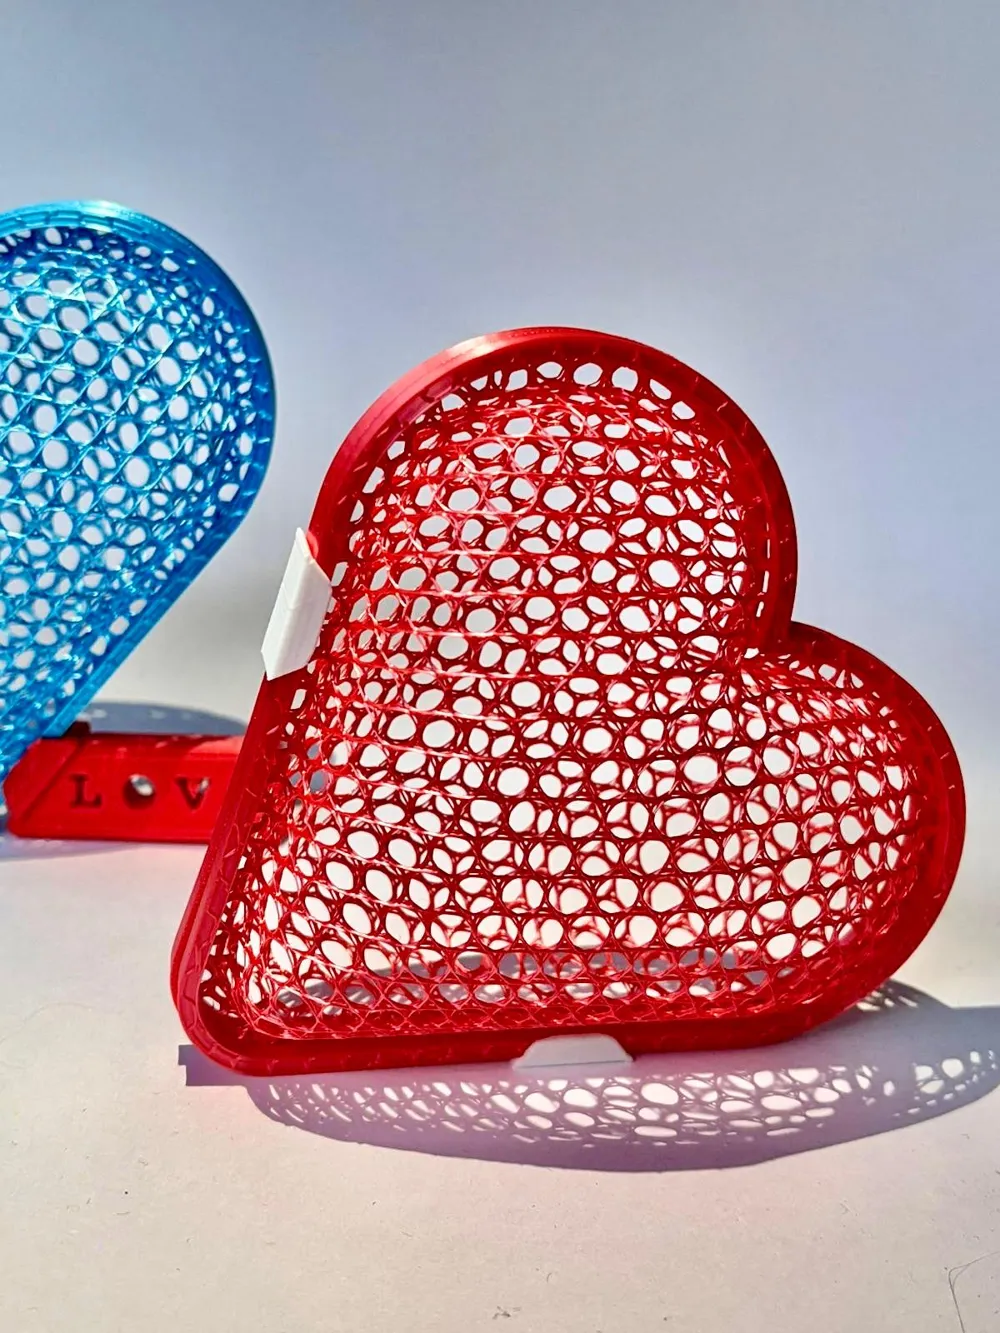
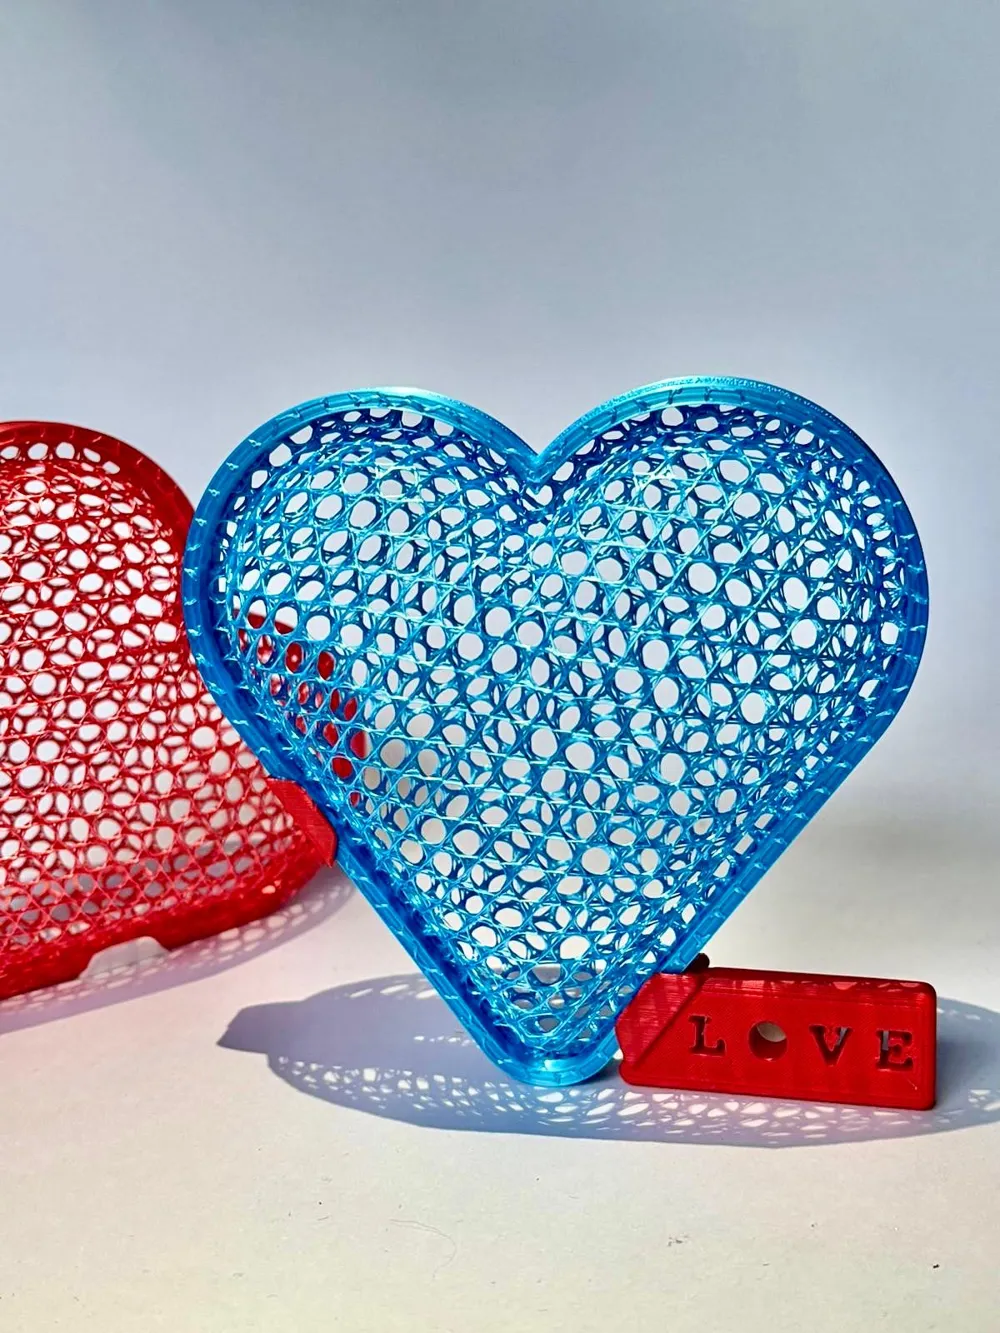
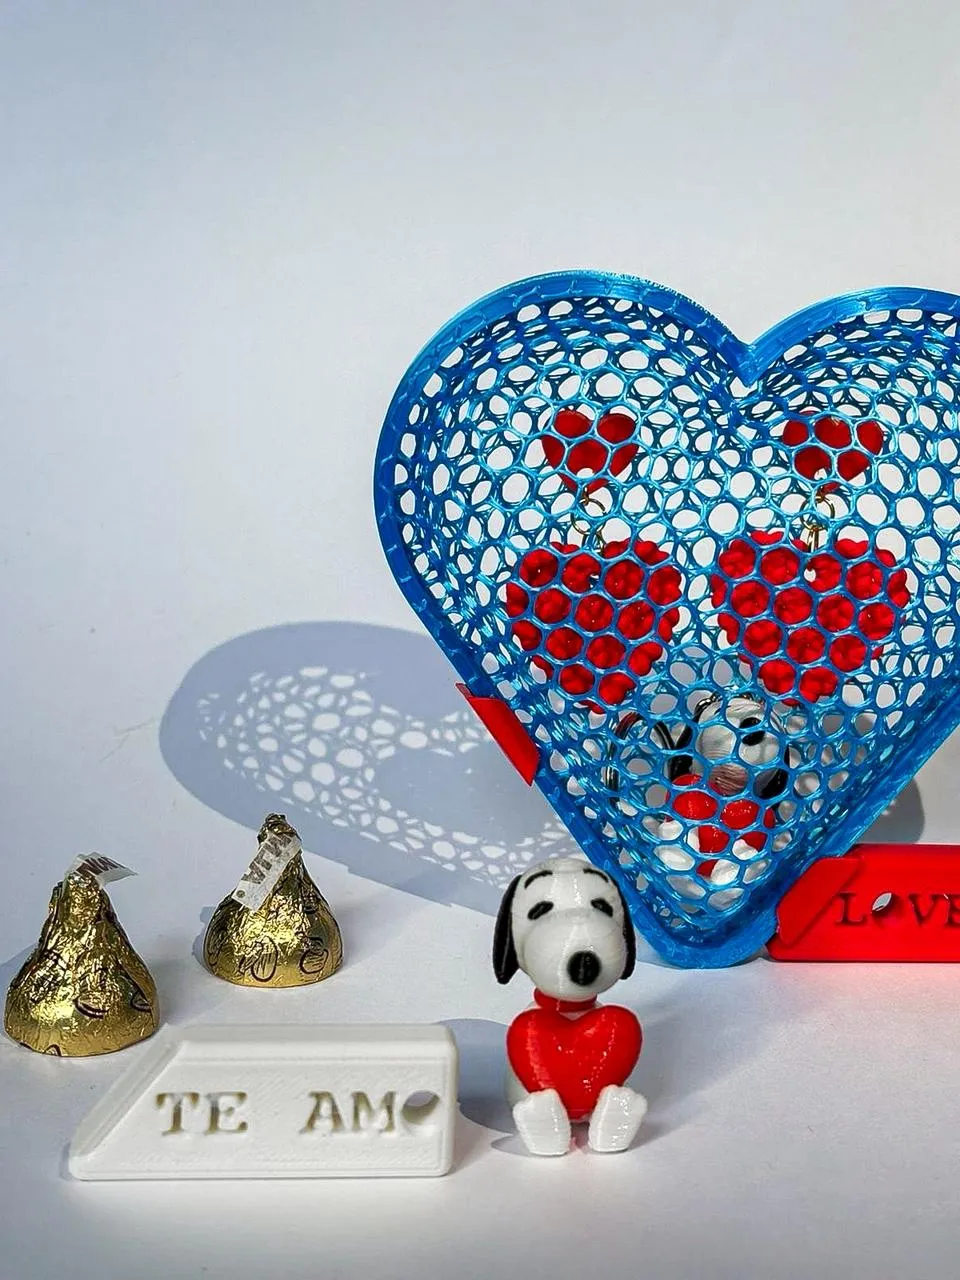
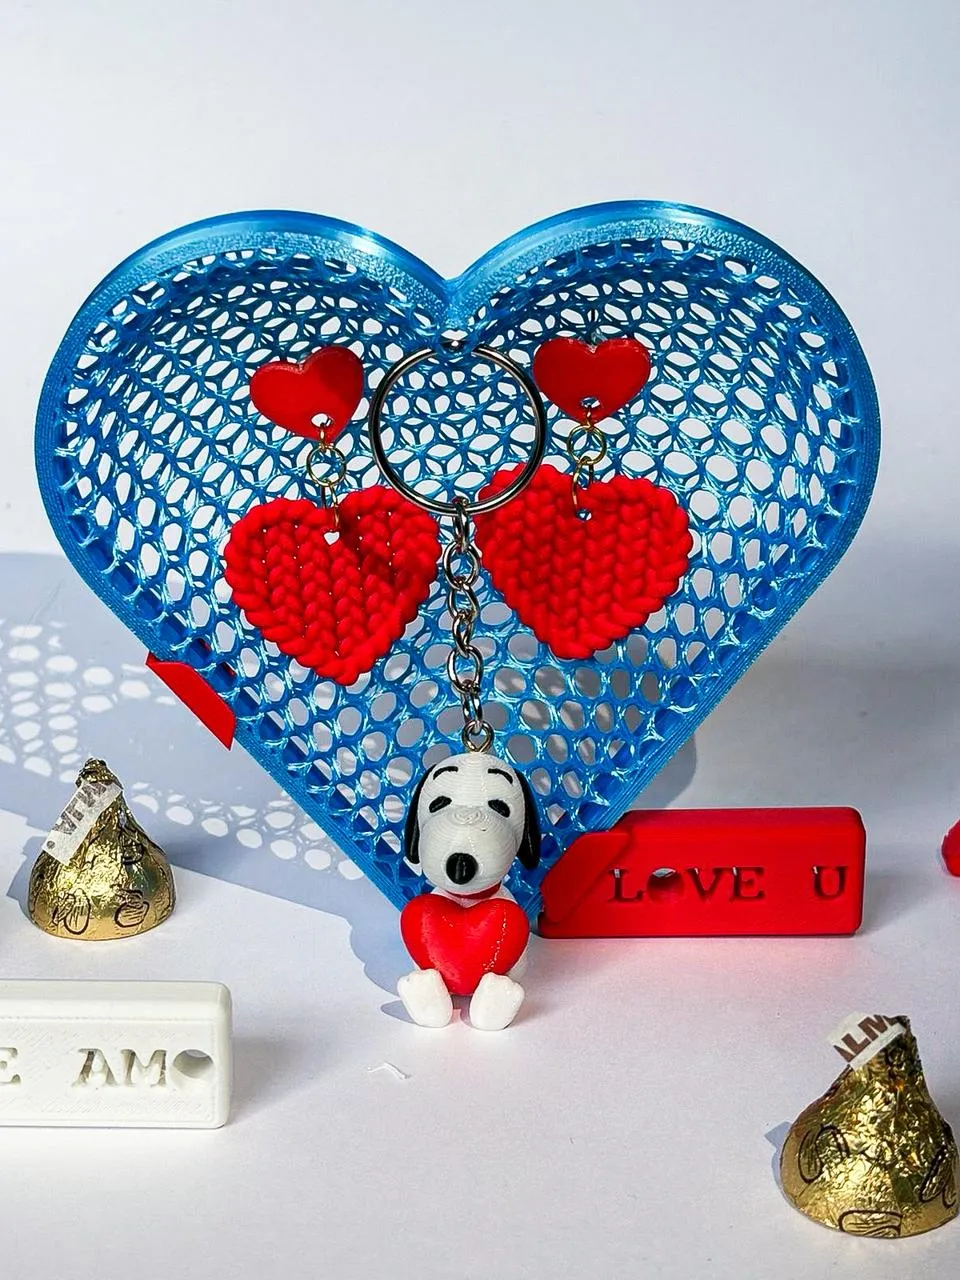
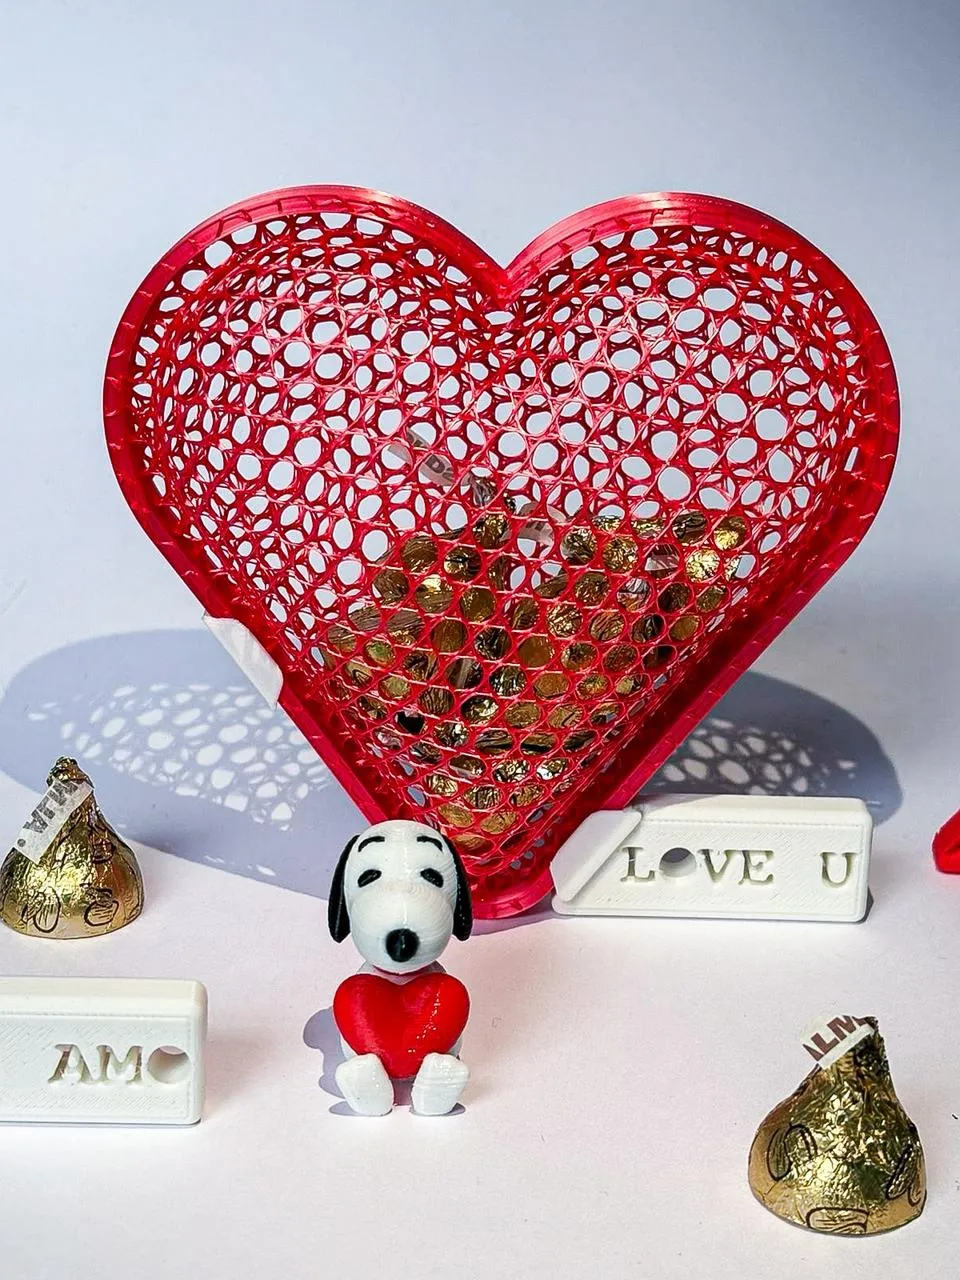
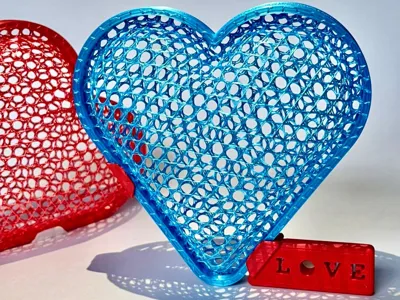
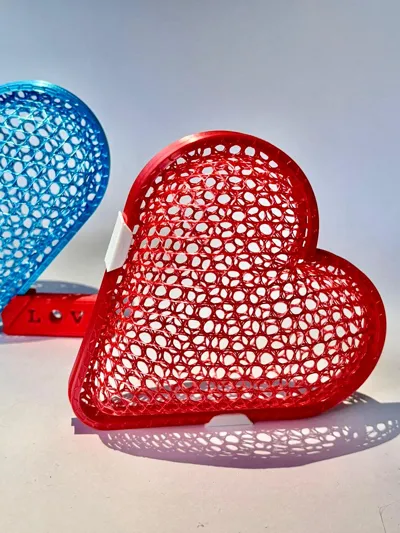
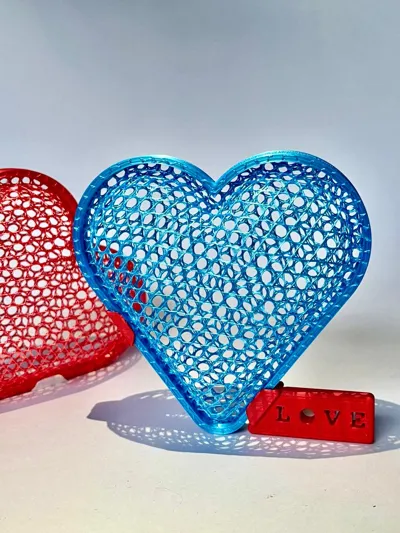
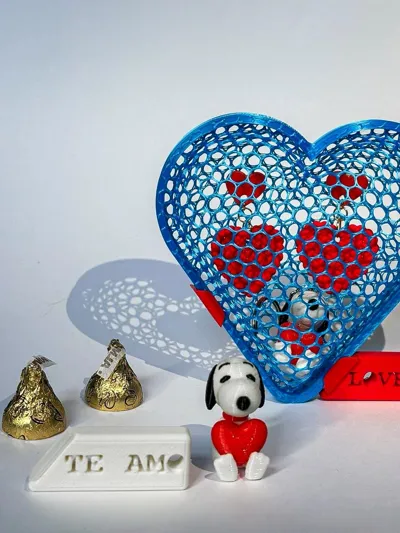
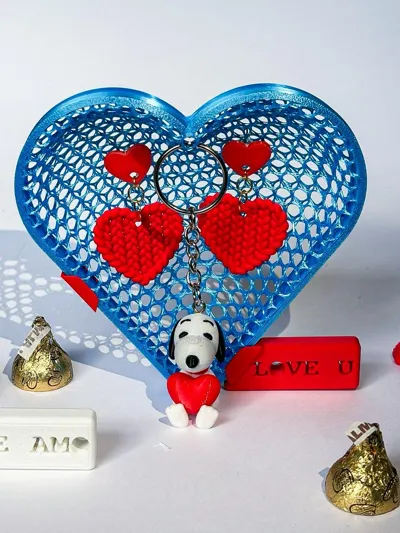
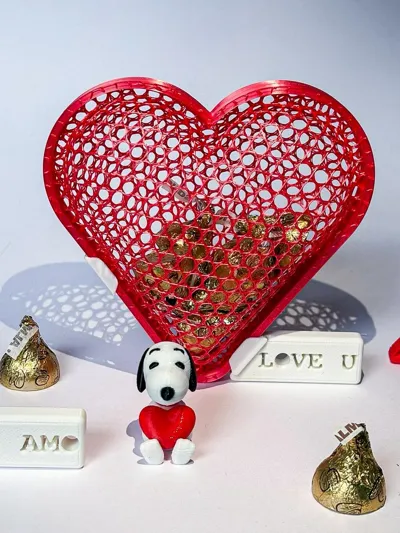
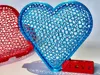
A few weeks ago, I saw Uncle Jessy's video of some pieces made using a thermoforming process that I found very interesting, so I decided to create a heart-shaped container where you can store chocolates or small gifts for Valentine's Day. Even after that, it still works as a home decoration.
A small disclaimer: this model is not intended for sale, but if you think it would work for your business, let me know via DM. If you're just starting out, I'd be honored to help you with your business. Otherwise, wholesale or e-commerce sales are prohibited.
With that clarified, to achieve this thermoforming, you'll need a heat gun or a hairdryer.
- The first step is to place the "thermo heart" piece (PLA recommended) onto the clamp heart (PETG or ASA recommended). Before applying heat, it's important to have the thermo heart base (PETG) ready.
- The next step is to apply heat steadily from about 10-15 cm away, moving the heat gun to prevent the PLA from melting. To check if it's ready, you can touch it with your finger. If it feels flexible like slime, it's done.
- Carefully move the heat gun to the side and quickly press it against the mold to flex the piece.
To achieve this encapsulation effect, you'll need two "thermos heart" pieces. It's up to you whether you use the customizable sign I designed or if you prefer to just use the locking clips, which are much more discreet.
I hope you have as much fun making these hearts as I did, and that you continue printing, learning, and being happy.:))
License



Comment & Rating (35)