
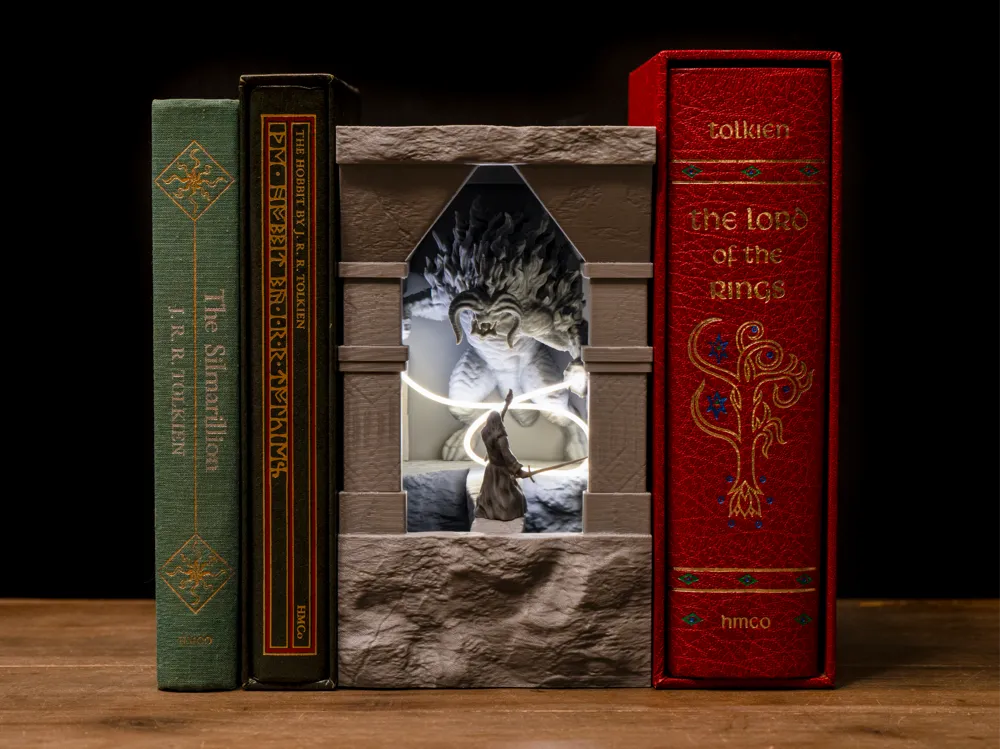
Gandalf vs Balrog Book Nook - Lord of the Rings
Print Profile(6)
Bill of Materials



Description
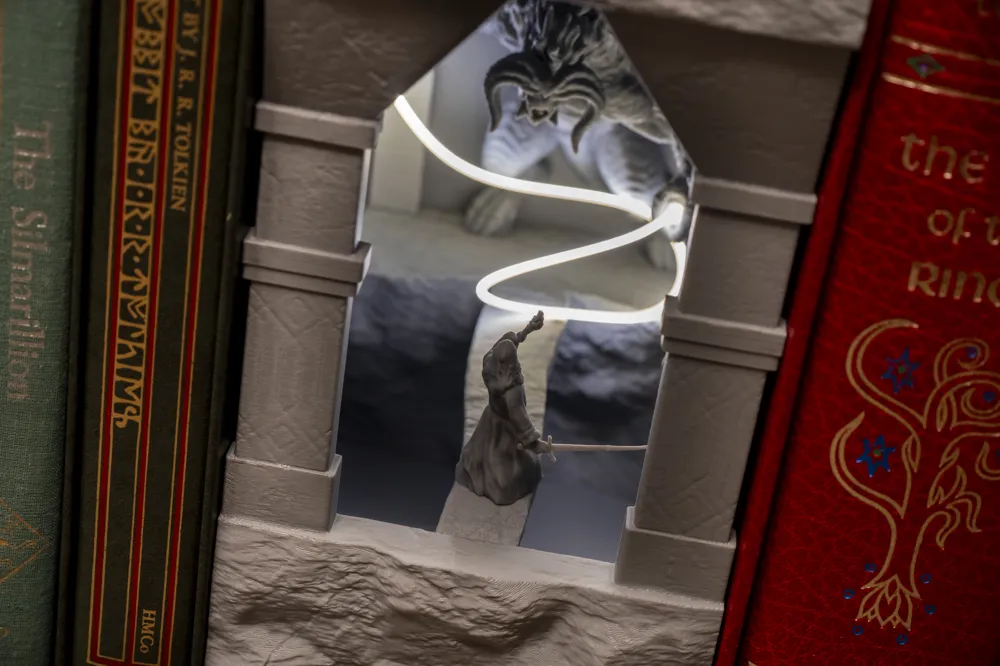
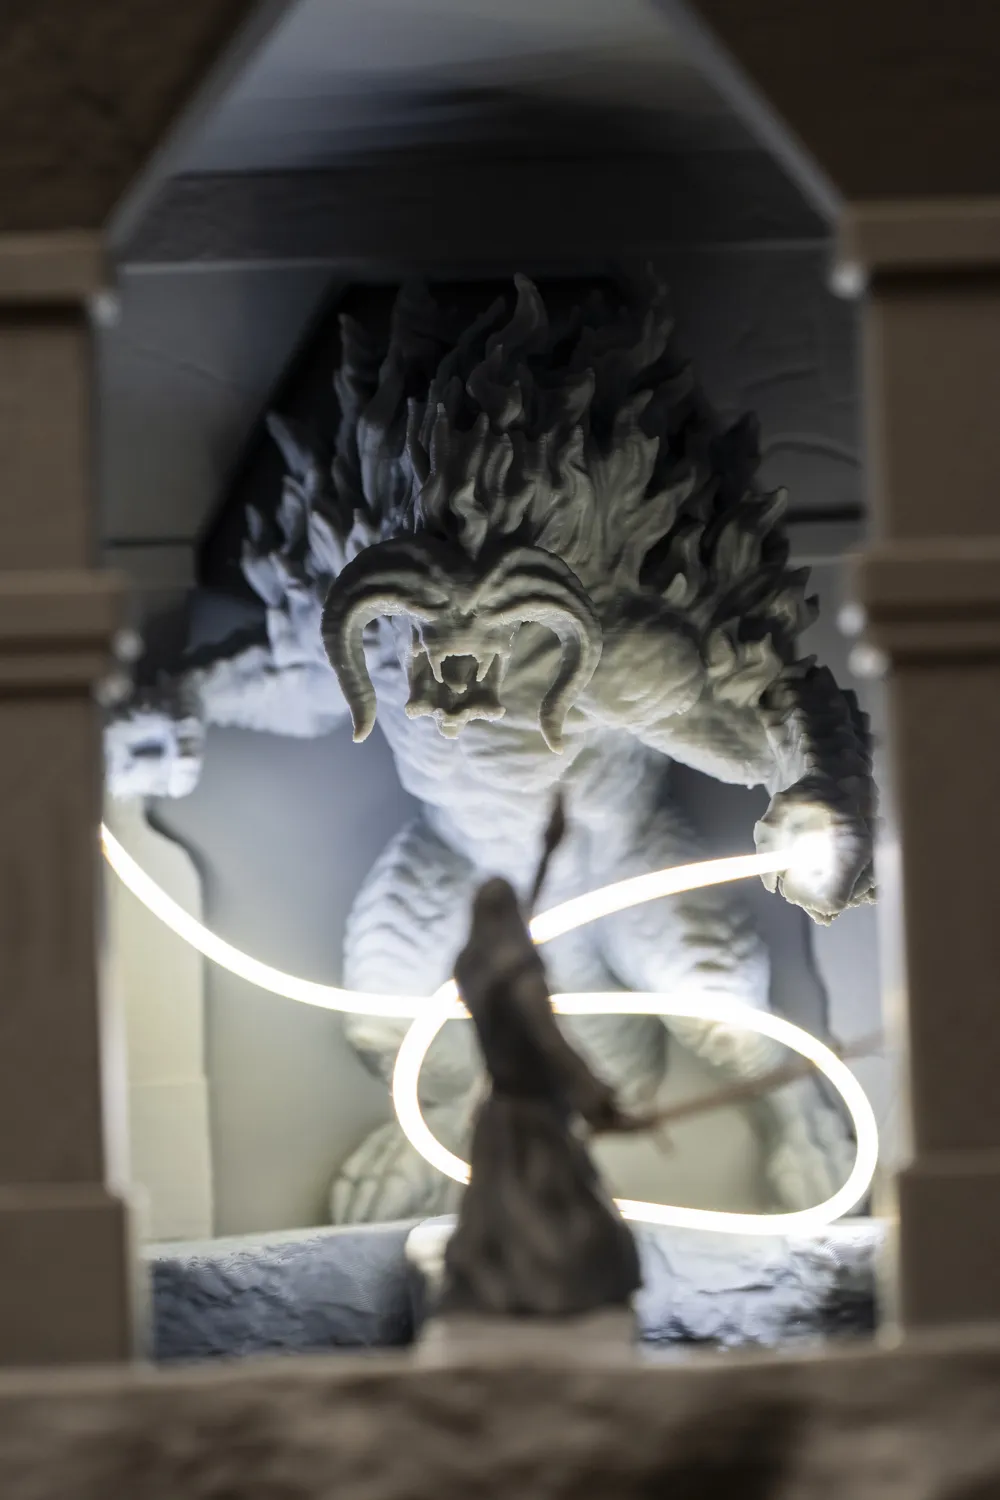
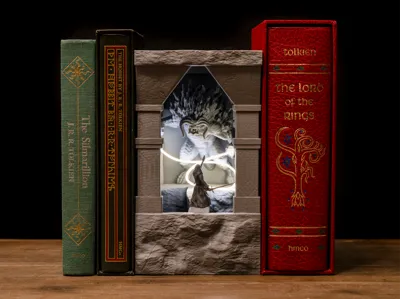
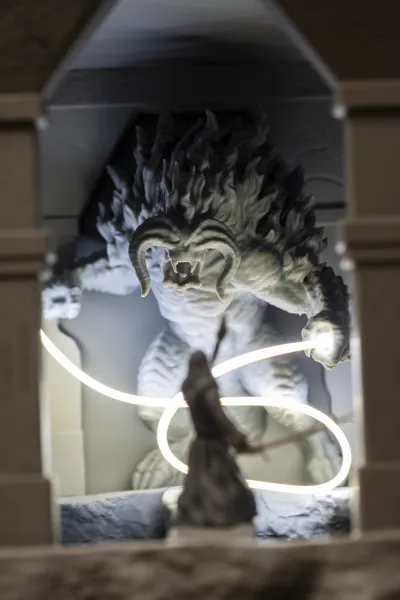
The Balrog reached the bridge. Gandalf stood in the middle of the span, leaning on the staff in his left hand, but in his other hand Glamdring gleamed, cold and white. His enemy halted again, facing him, and the shadow about it reached out like two vast wings. It raised the whip, and the thongs whined and cracked. Fire came from its nostrils. But Gandalf stood firm.
'You cannot pass,' he said. The orcs stood still, and a dead silence fell. ‘I am a servant of the Secret Fire, wielder of the flame of Anor. You cannot pass. The dark fire will not avail you, flame of Udûn. Go back to the Shadow! You cannot pass.’― J.R.R. Tolkien, The Fellowship of the Ring
Boost Me (for free)
Your support is what motivates me and drives me to make models like this one. I appreciate it and thank you sincerely!
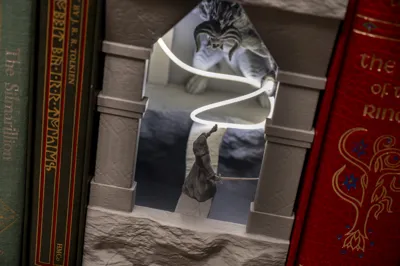
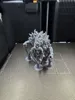
I present to you the culmination of 100+hours of modeling and design work. This model was designed from the ground up to be 3D Printed with an FDM printer and with as few supports as possible. There is NO AI slop here and every detail was carefully thought out. The Balrogs whip consists of a 300mm COB flexible LED filament and is powered by a AA battery box, all available through maker supply via the links below.
*** YOU NEED TO DOWNLOAD ALL 5 PRINT PROFILES IN ORDER TO HAVE ALL OF THE COMPONENTS NEEDED FOR THIS PROJECT
CHANGELOG:
4/11/2026 - Balrog model updated with pre-supported tail. See details below
5/2/2026
Updated front nook print profile to 1.1 for easier support removal
Updated Balrog model to v 2.1 - increased cavity size to better accommodate XA014 adapter
Added PDF Instructions
Lighting:
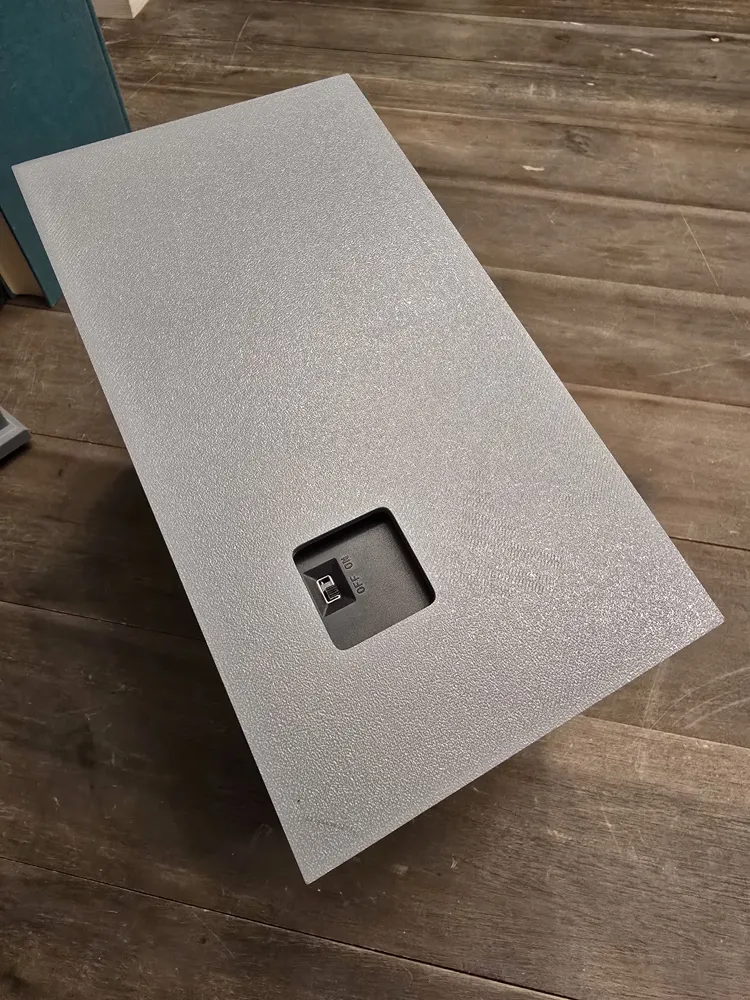
Please scroll down for a list of the components used to achieve the lighting for this model. You can Power this via either the USB adapter cable or AA battery case. You do not need to buy both, unless you want the flexibility.
Considerations: The Flexible COB LED light uses a SH1.0 connector and needs to be converted to a PH2.0 to power it. I included the necessary adapter in the BOM. There are obviously other ways to power / control the lighting on this but the components listed below are the most straightforward.
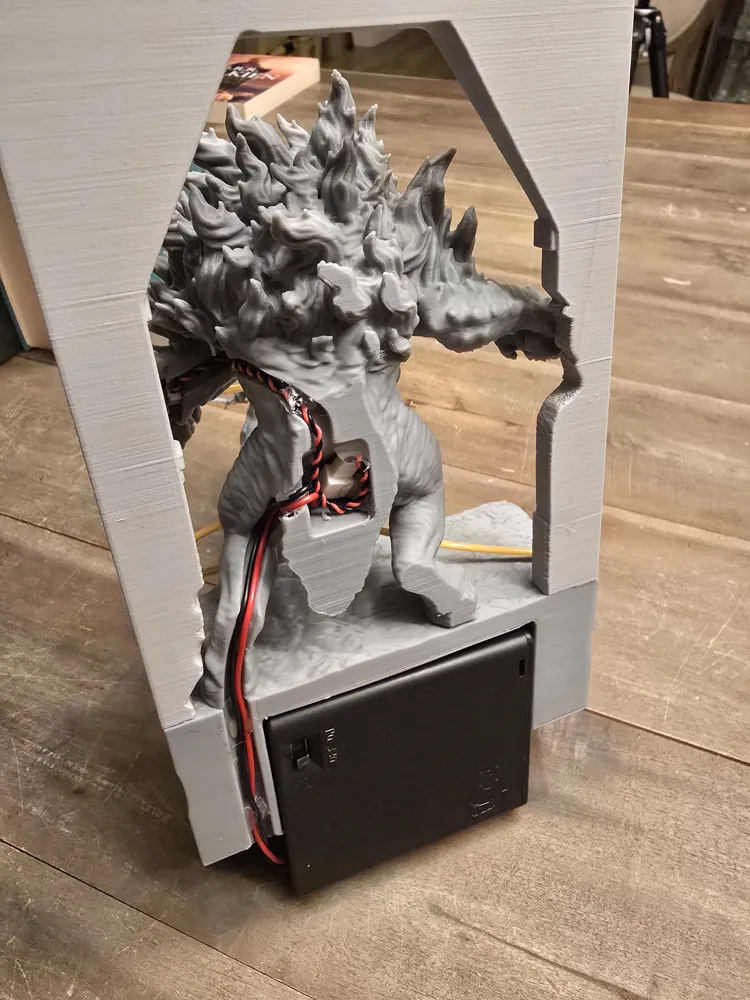
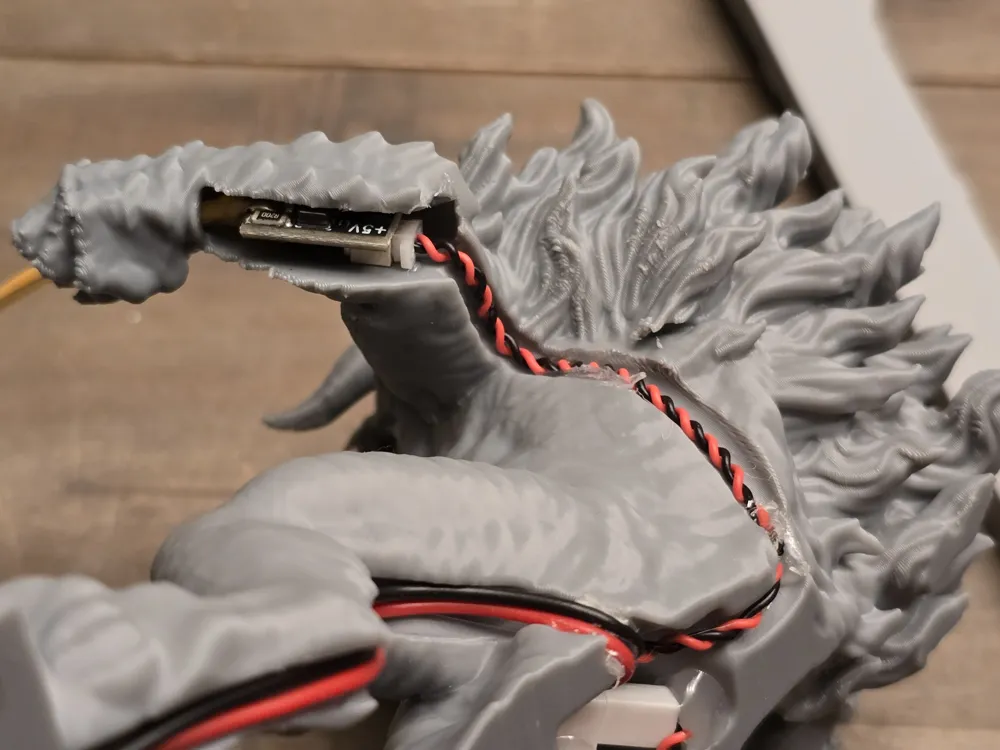
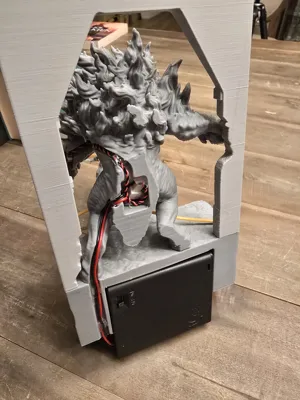
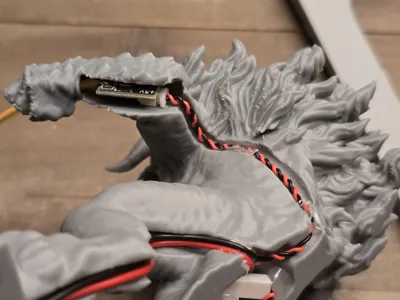
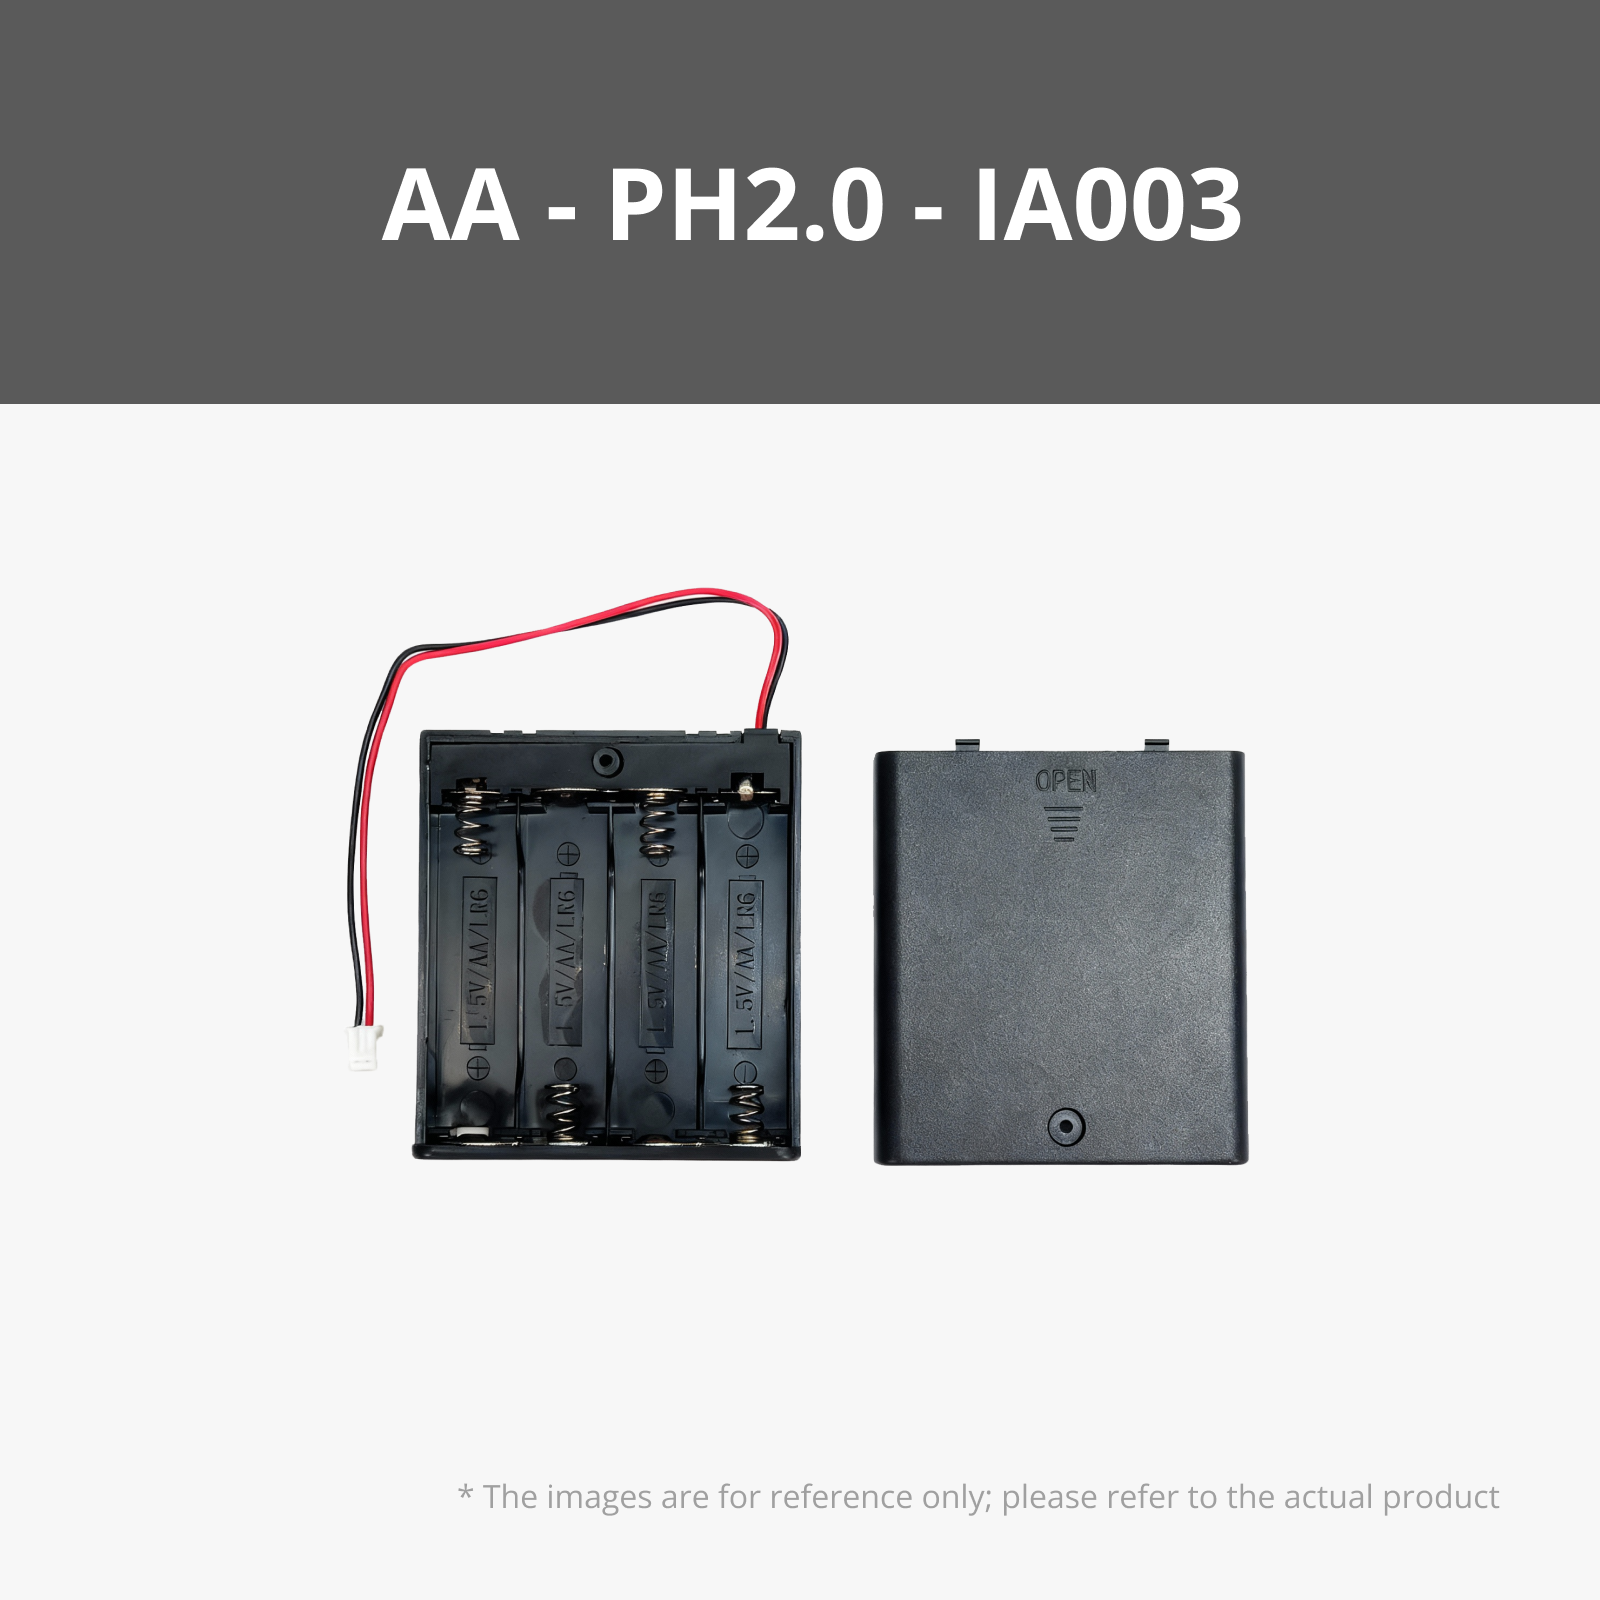
COB LED Filament (KA009) is inserted through the arm of the balrog and connected to a SH1.0 (IC004) 100mm extension wire which is then connected to the SH1.0 to PH2.0 Adapter (XA014). Finally, the adapter is connected to either the AA Battery box (IA003) or USB Cable (IC001).
You can also add a Potentiometer (IA007) to adjust the intensity of the balrogs whip.
Print Profiles Details:
Balrog (V2.1):
- UPDATED - Balrogs tail now comes pre-supported. Model still uses tree supports where necessary but added support on tail helps stabilize the tail before it has a chance to connect to the legs. Should now minimize the chance of failures.
- Increased cavity size to better fit XA014 adapter
- Supports have been carefully painted and adjusted so that they work well and remove relatively cleanlily. Please take care when removing the supports around its horns and head as it is still a delicate model in these areas.
Gandalf:
- I recommend using a 0.2mm nozzle for the most detail possible.
- Gandalf's sword and staff can be printed directly on the build plate with minimal support. I achieved good results with a textured PEI plate but I would suggest a smooth plate if possible.
- His body requires supports for his arms but everything removes cleanly and without trouble.
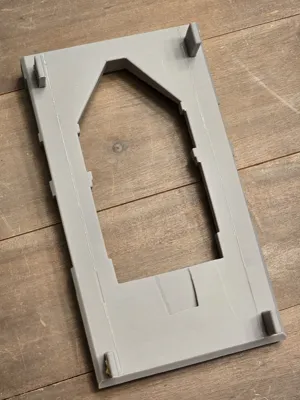
Nook Front Cover (v1.1):
- UPDATED - Pre-modeled supports updated for easier removal
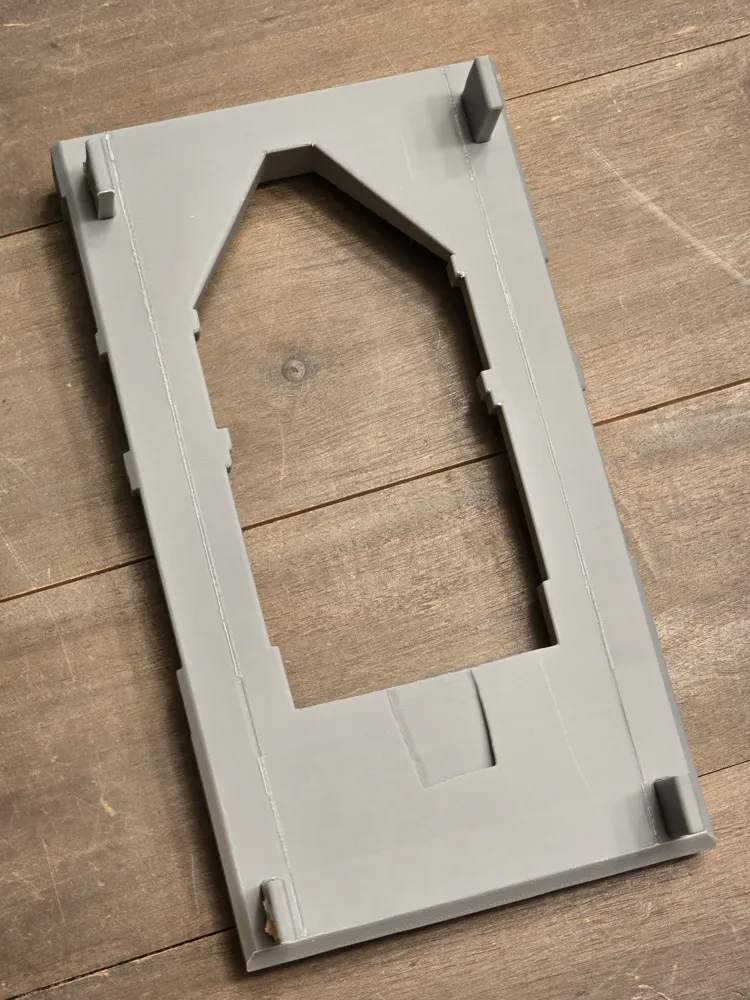
- In order to keep as much detail in this as possible I adjusted the orientation of the front cover to 45 degrees and modeled custom supports for this.
- Removing is relatively straight forward. After you remove the brim, you can bend cut the support in half via a pair of cutters and then bend the supports back and forth until they snap away from the model.
- These supports will leave scares when removed but they are on the back side of the cover and will never be visible
Assembly (SEE ASSEMBLY GUIDE BELOW)
- All major components have connectors that can be pressed and glued into place.
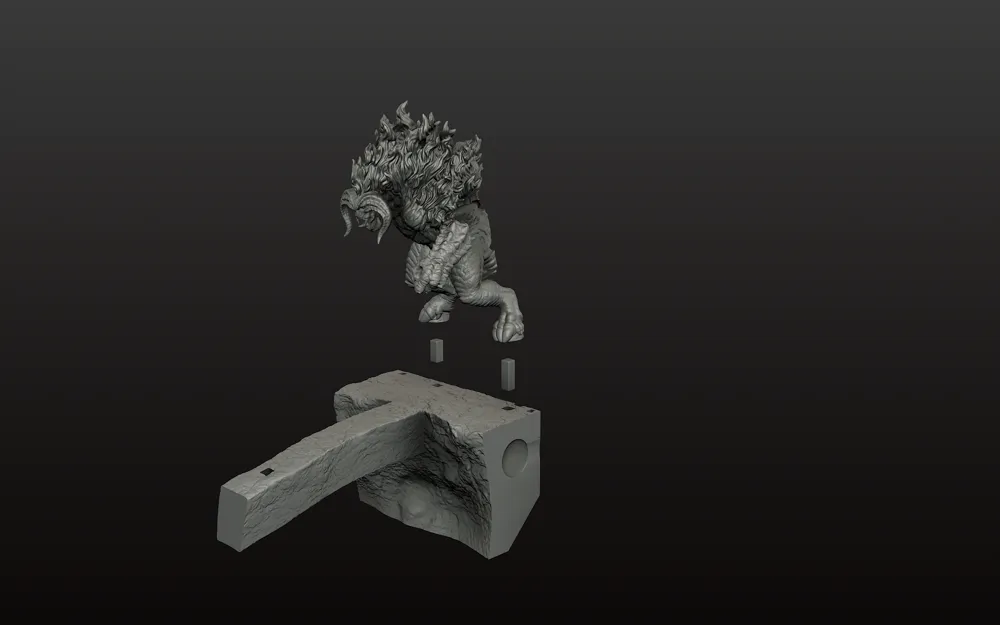
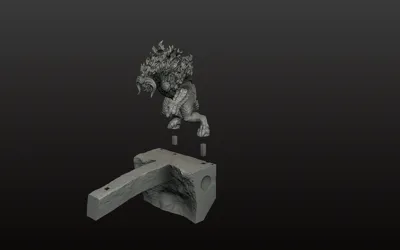
- Install Balrog onto bridge with connectors pins. take note that the left pin is longer than the right.
- Route wiring for LED filament through balrogs arm and install extension cable through pre routed groove in balrog
- I used hot glue to hold the LED filament board in place as well a dab of glue in a few places to keep the wiring nice and neat.
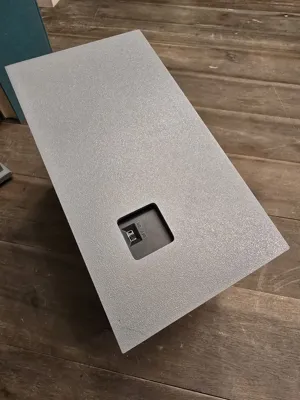
- A small piece of double sided tape to hold the battery box in place will make sliding the bridge into the nook much easier.
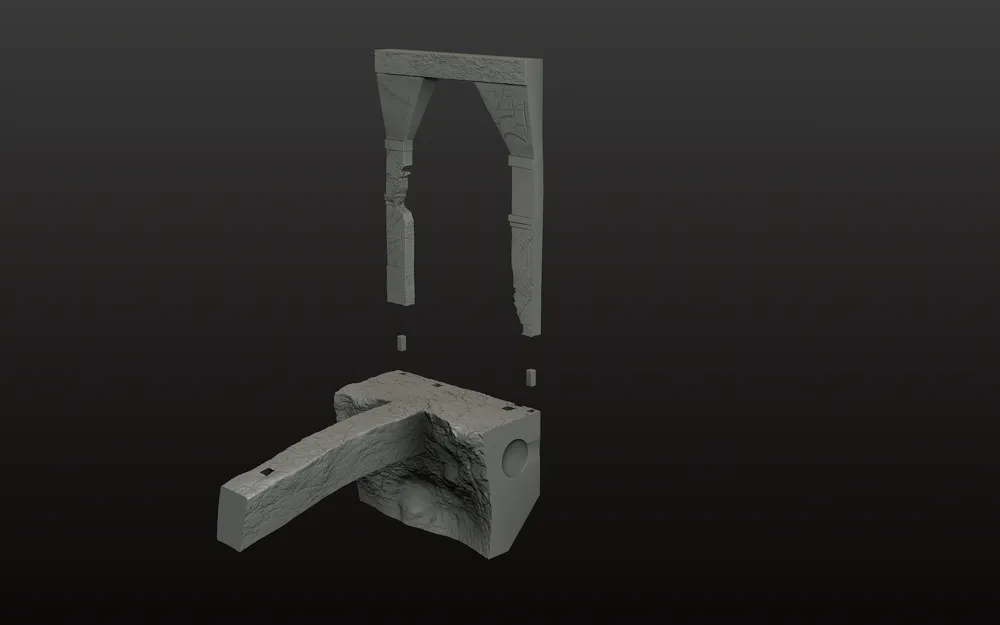
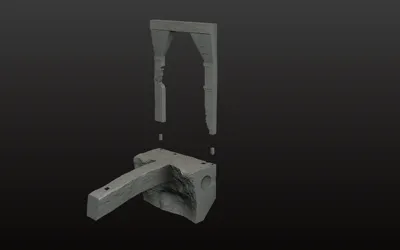
- Install the rear pillar assembly with its 2 pins\
- Using crazy glue, attach Gandalf's arms to his body and then install him on to the bridge with his pin
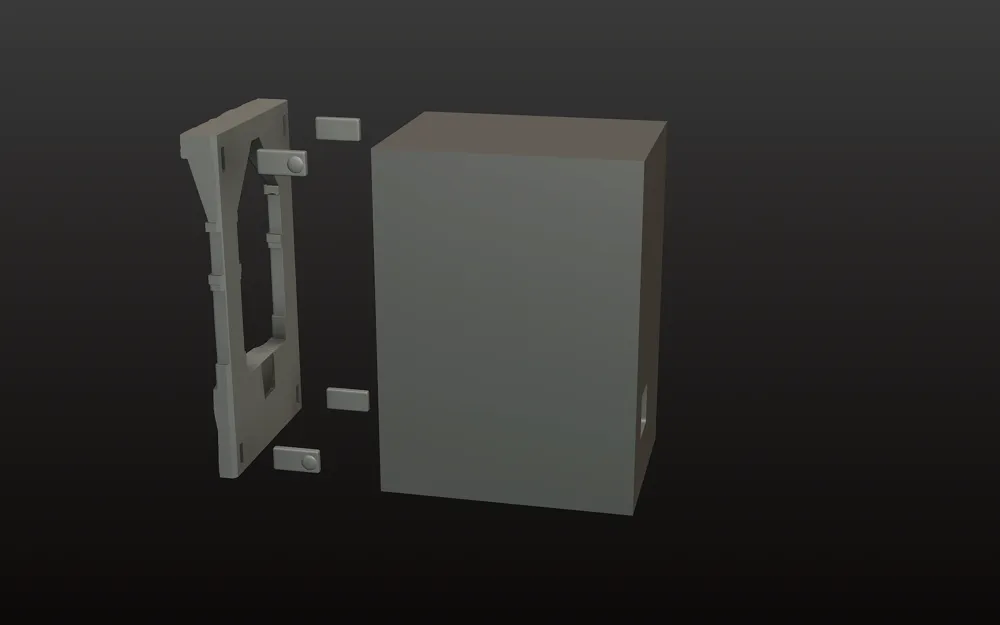
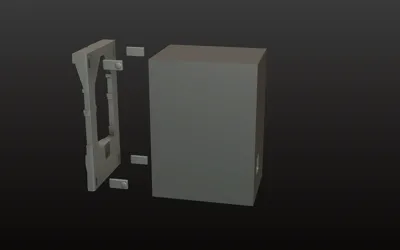
- Slide bridge assembly into nook. The bridge will snap into place and the balrog and rear pillar should sit flush to the back of the nook.
- Glue in the 4 front connector pins into the front cover. The front cover is friction fit into the nook and can be easily removed for maintenance.
Documentation (1)
License

You shall not share, sub-license, sell, rent, host, transfer, or distribute in any way the digital or 3D printed versions of this object, nor any other derivative work of this object in its digital or physical format (including - but not limited to - remixes of this object, and hosting on other digital platforms). The objects may not be used without permission in any way whatsoever in which you charge money, or collect fees.


Comment & Rating (117)