
Bald Eagle Ironcry Crest | Multicolor Multipart
Print Profile(5)
![[MEDIUM] 0.16mm layer, 2-3 walls, 5-30% infill](https://makerworld.bblmw.com/makerworld/model/US43d3e38e76e70d/792523680/instance/39ee55373468fd94.jpg?x-oss-process=image%2Fresize%2Cw_100%2Fformat%2Cwebp)
![[LARGE] 0.2mm layer, 2-3 walls, 3-20% infill](https://makerworld.bblmw.com/makerworld/model/US43d3e38e76e70d/730684438/instance/ff1cbb61c31959fe.jpg?x-oss-process=image%2Fresize%2Cw_100%2Fformat%2Cwebp)
![[SMALL] 0.12-0.16mm layer, 2-3 walls, 10-30% infill](https://makerworld.bblmw.com/makerworld/model/US43d3e38e76e70d/708824892/instance/a900ebe723efec40.jpg?x-oss-process=image%2Fresize%2Cw_100%2Fformat%2Cwebp)

Bill of Materials







Description
Boost Me (for free)
Boost = fuel for the next design! If you’ve enjoyed my work, hit Boost and be part of the creative streak. Also, tap Follow to catch the next drop.
Membership
You can sell physical prints of this model as long as you subscribe to my Commercial License Membership.
- 2026-01-26 updated MEDIUM print profile
- Body
- The tail connection has been slightly smoothed to improve fit
- Less force is now required when attaching the tail to the body
- Pegs
- Peg strength has been improved
- Additional infill has been added locally to peg areas using a Bambu Studio modifier
- This reduces the risk of pegs breaking if removed from their sockets
- Body
- 2026-01-28 uploaded LARGE print profile
- 2026-02-01 uploaded SMALL print profile
- joined beak, tongue and eyes to the head for single piece printing
- attached tips to the talons for single piece printing
- inflated thin parts of the head and the body to make them printable at small size
- head and talons are available in AMS and single-color option
- 2026-08-02 updated MEDIUM and LARGE print profiles
- Resculpted the head in Blender: strengthened all thin/weak areas for much better print reliability and durability
- Updated supports (painted/tested on A1) and refreshed print profiles with the new head
- Head should now print stronger, with less risk of breakage during printing or when removing supports.
- New raw STL files uploaded too: strengthened head + body with improved tail joint (print profiles already include these updated meshes).
- 2026-02-19 Updated MEDIUM print profile
- Support painted on peg areas of body and wings to prevent dipping issues right from the start of the print.
- 2026-02-20 Updated LARGE print profile
- Set to true 100% uniform scale across all parts, much easier for custom scaling now. → Simply apply the same percentage to every part in Bambu Studio and double-check that all percentages match before slicing/printing.
- Support painted on peg areas of body and wings to prevent dipping issues right from the start of the print.
- 2026-04-12 Updated LARGE print profile
- Adjusted the orientation of plate 3’s right wing to fit within the 250mm height limit of Bambu printer’s default settings.
- 2026-04-25 Updated LARGE print profile
- As requested, I’ve added talons with tips to make them compatible for printing with AMS.
- 2026-05-30 Updated MEDIUM print profile
- As requested, I've added AMS options to replace certain parts if preferred or if there are issues with small part assembly or printing.
- [option] head AMS, [option] talons AMS, [option] eyes AMS, [option] beak AMS
- As requested, I've added AMS options to replace certain parts if preferred or if there are issues with small part assembly or printing.
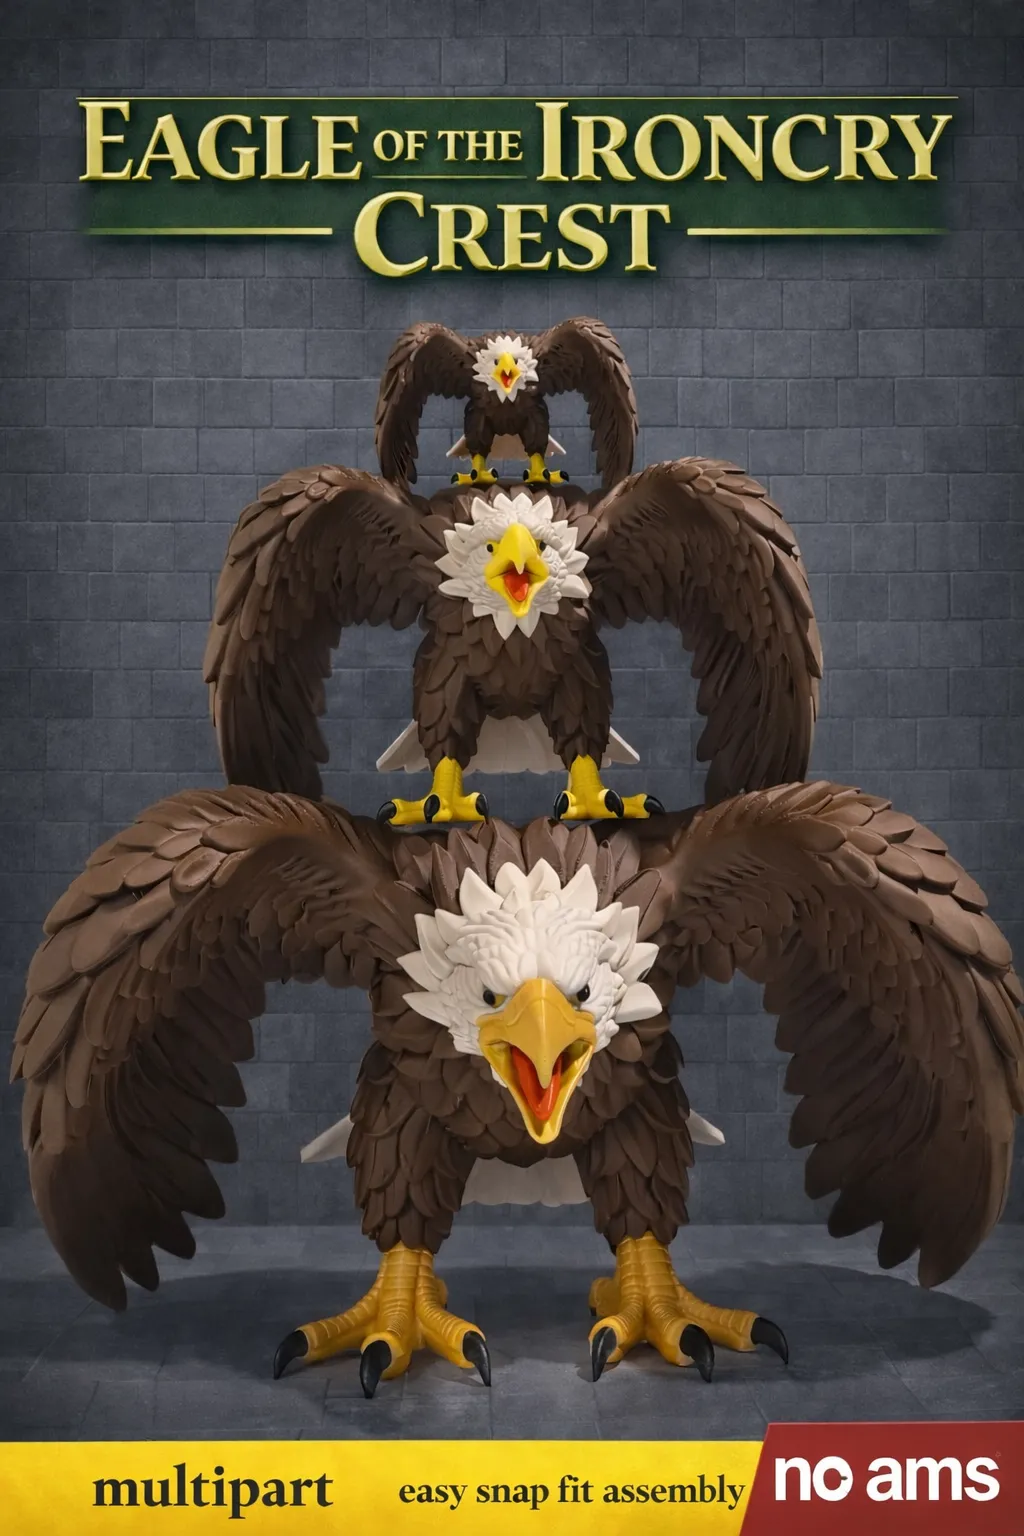
Eagle of the Ironcry Crest
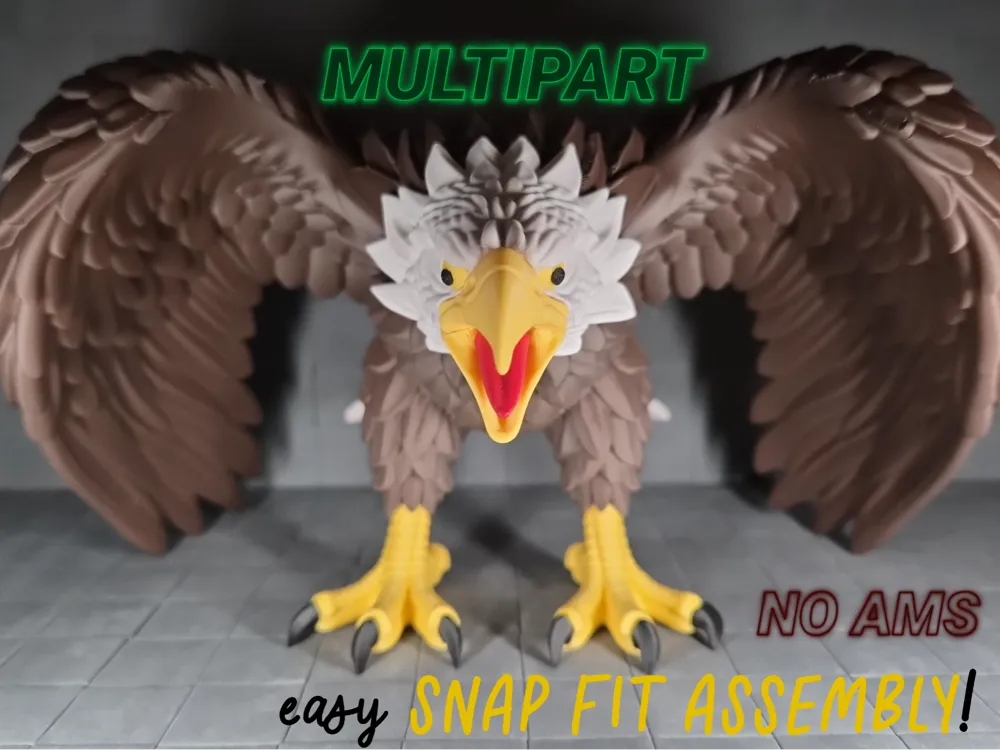
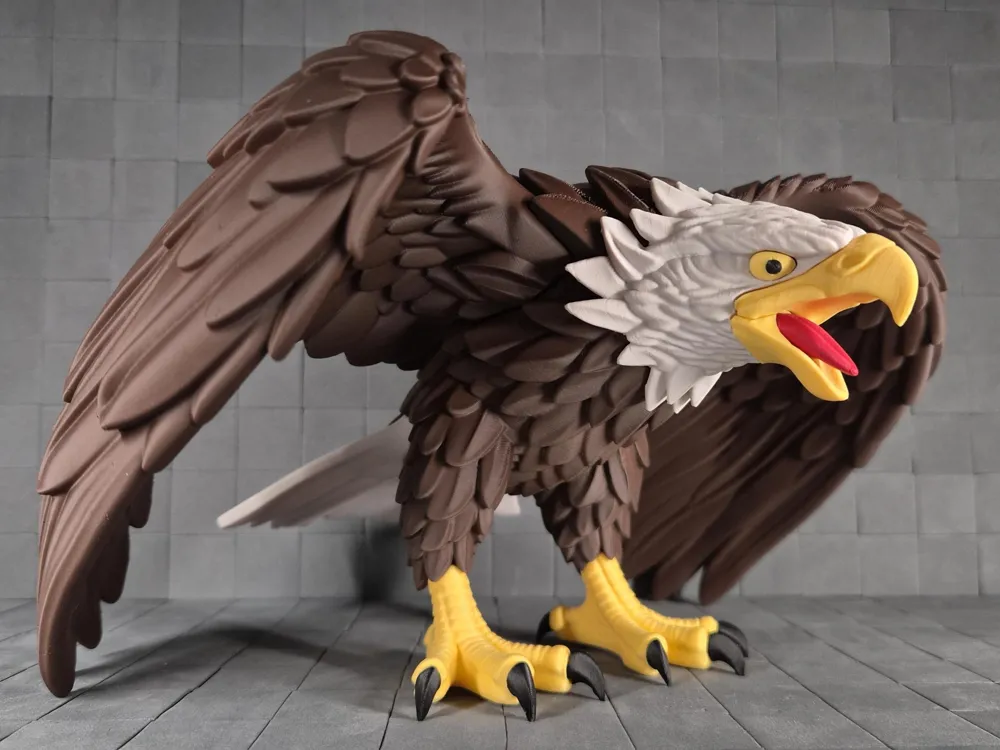
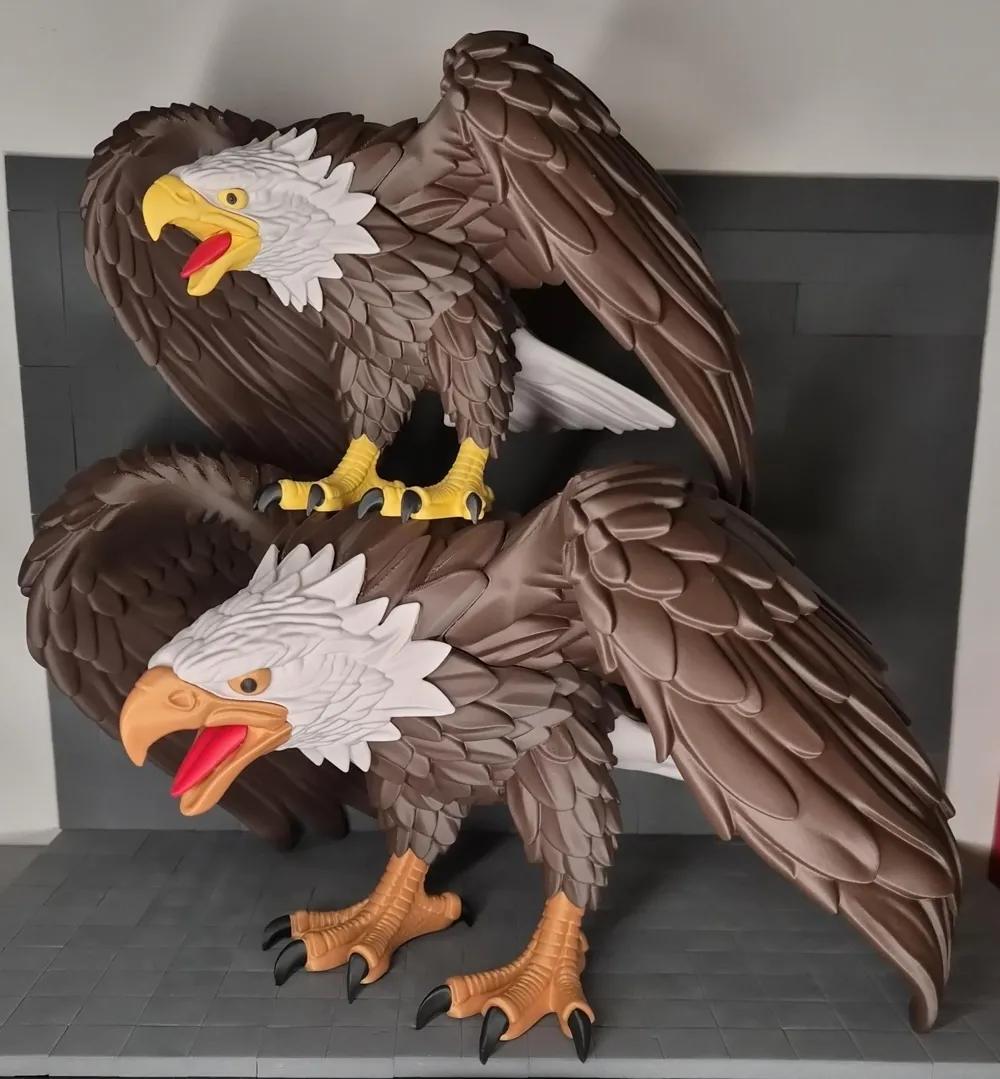
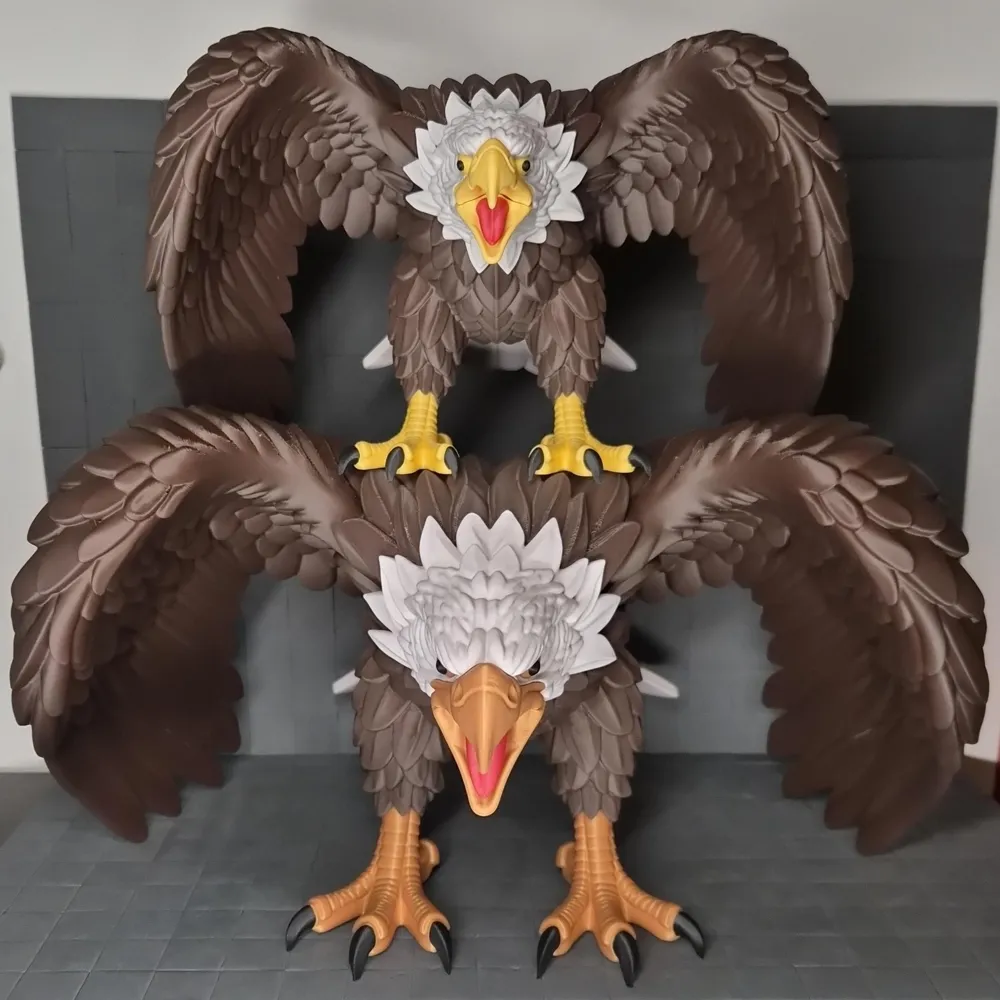
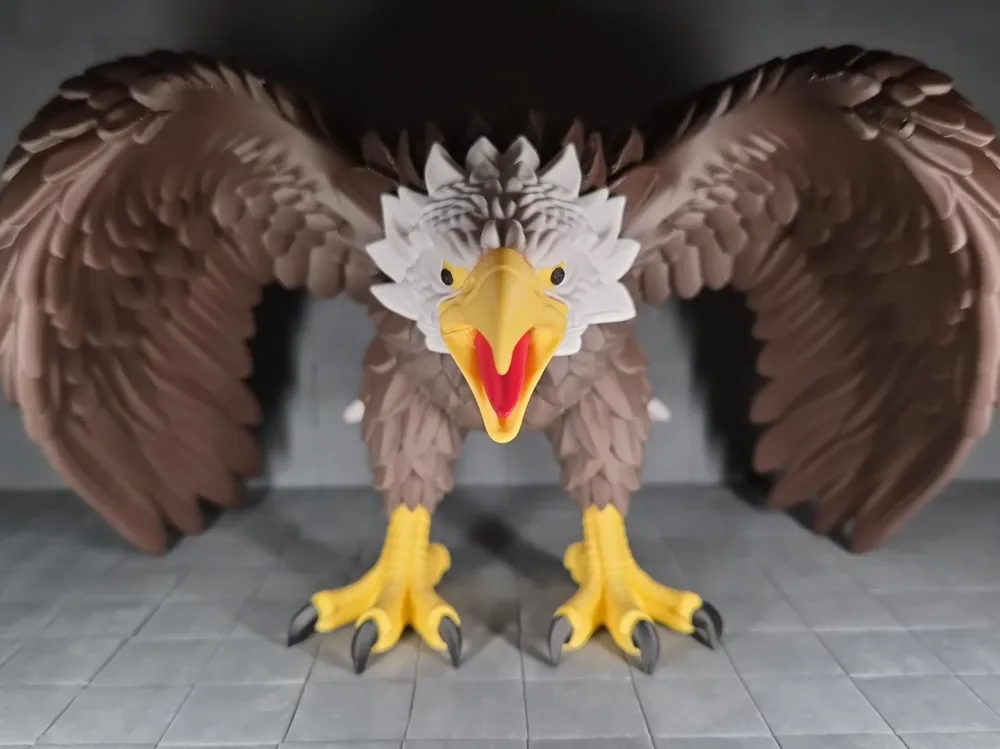
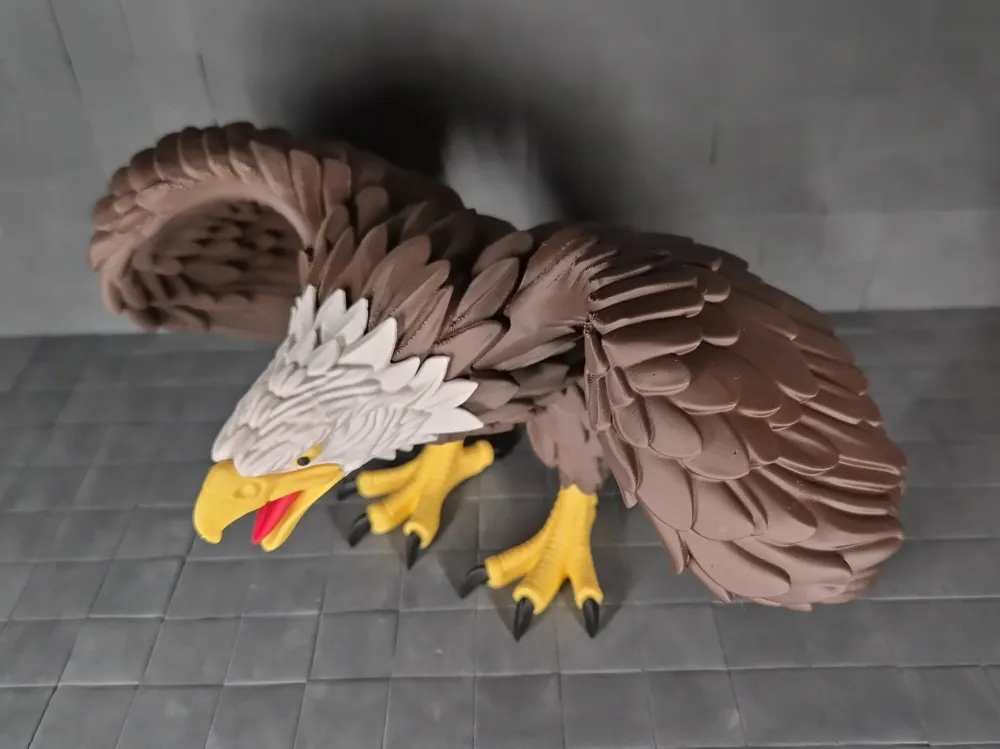
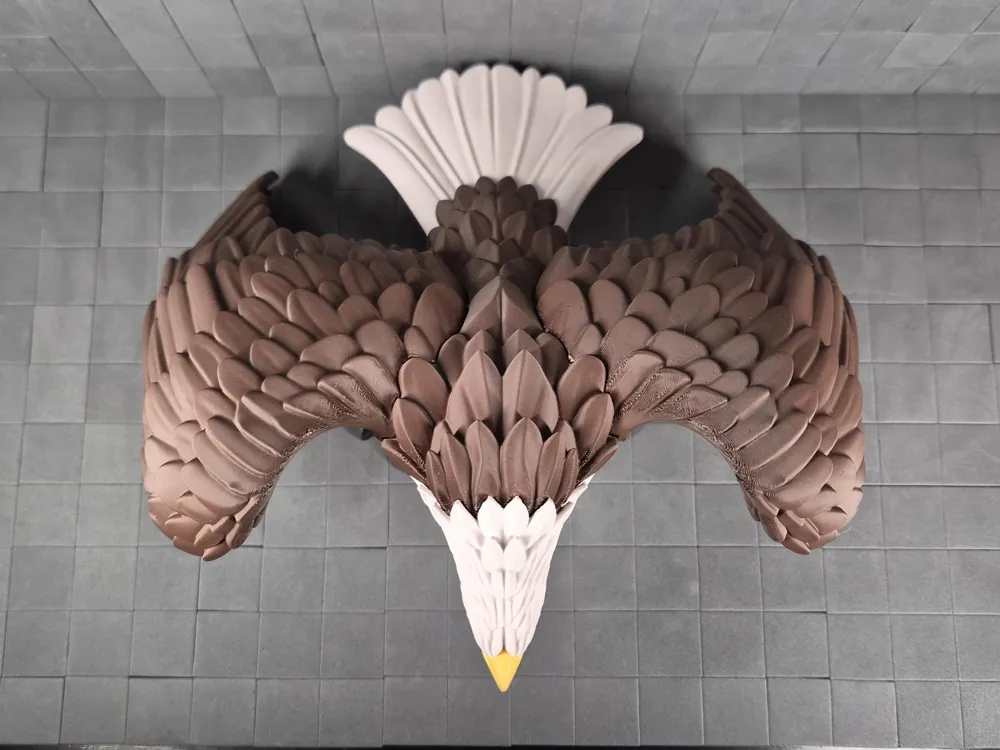
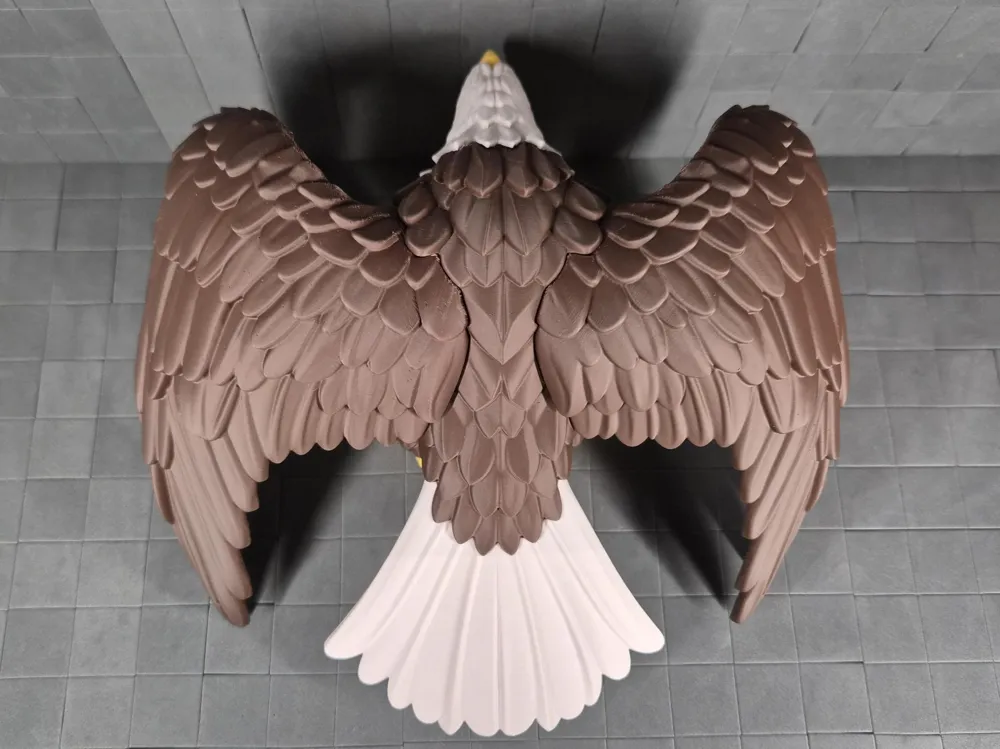
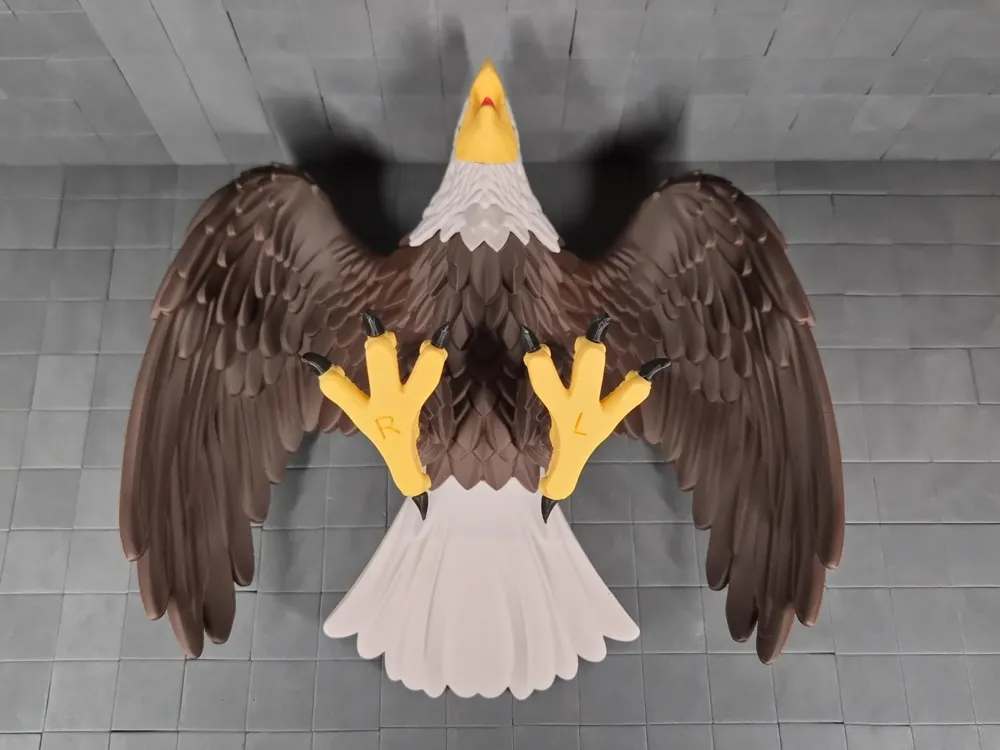
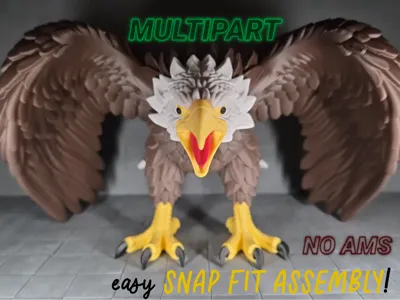
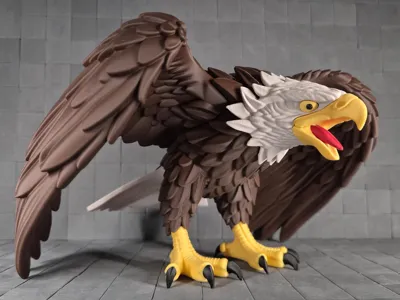
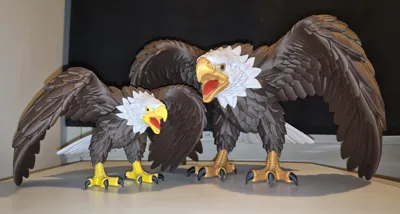
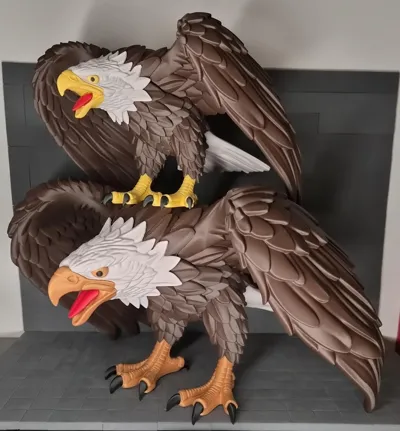
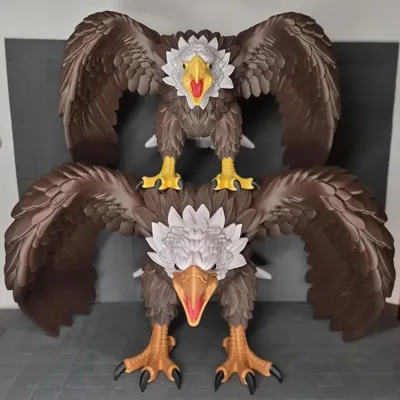
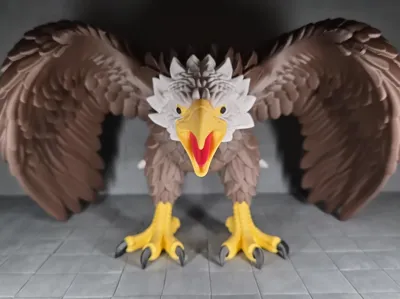
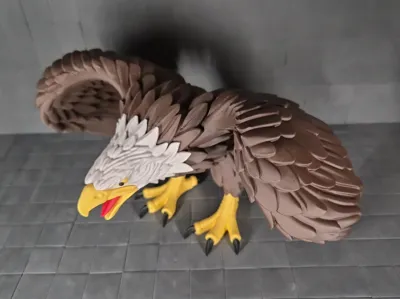
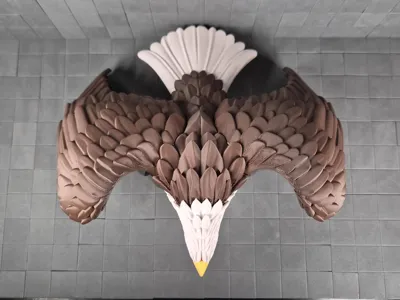
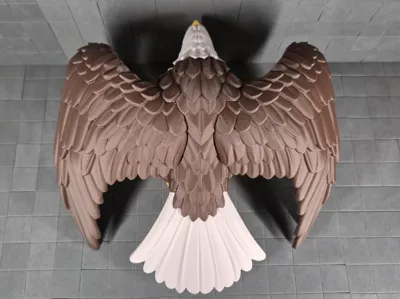
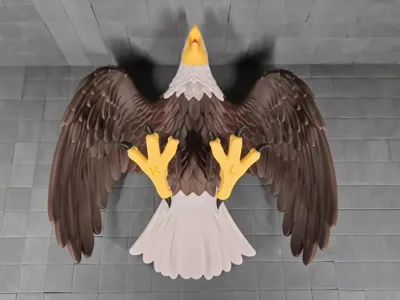
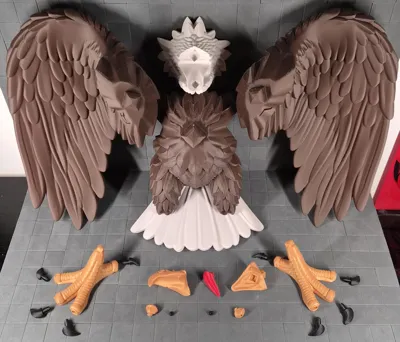
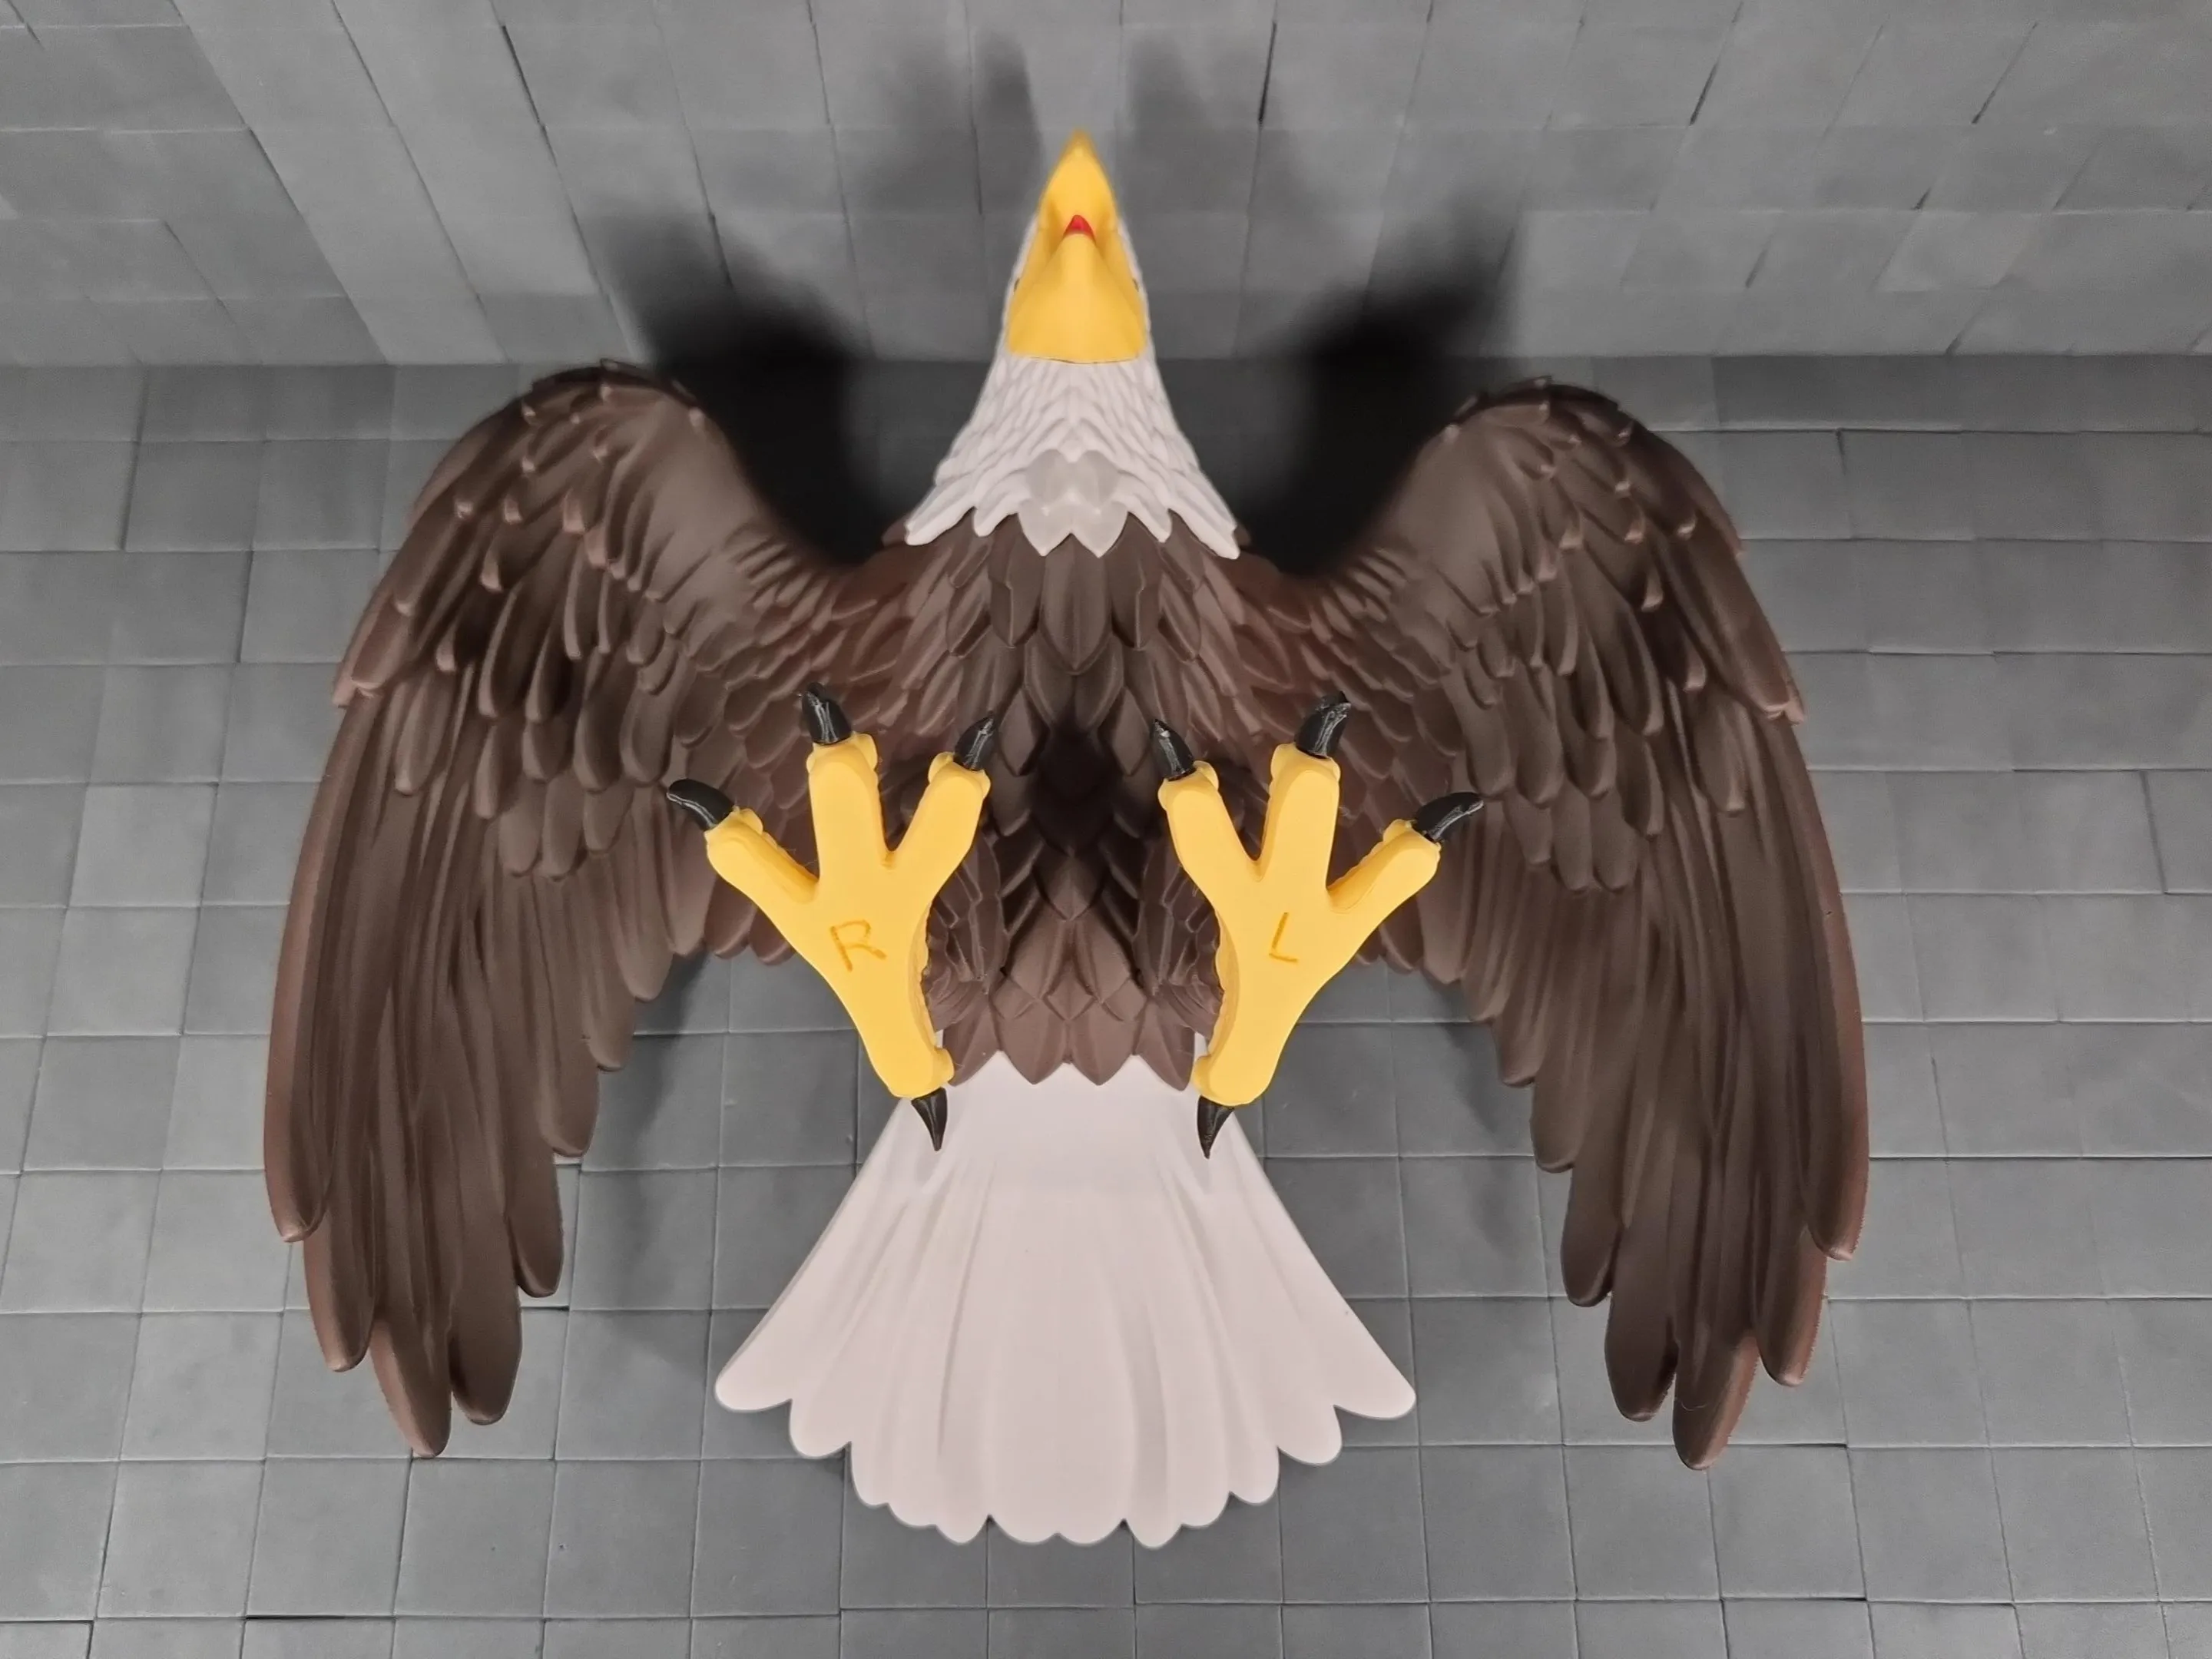
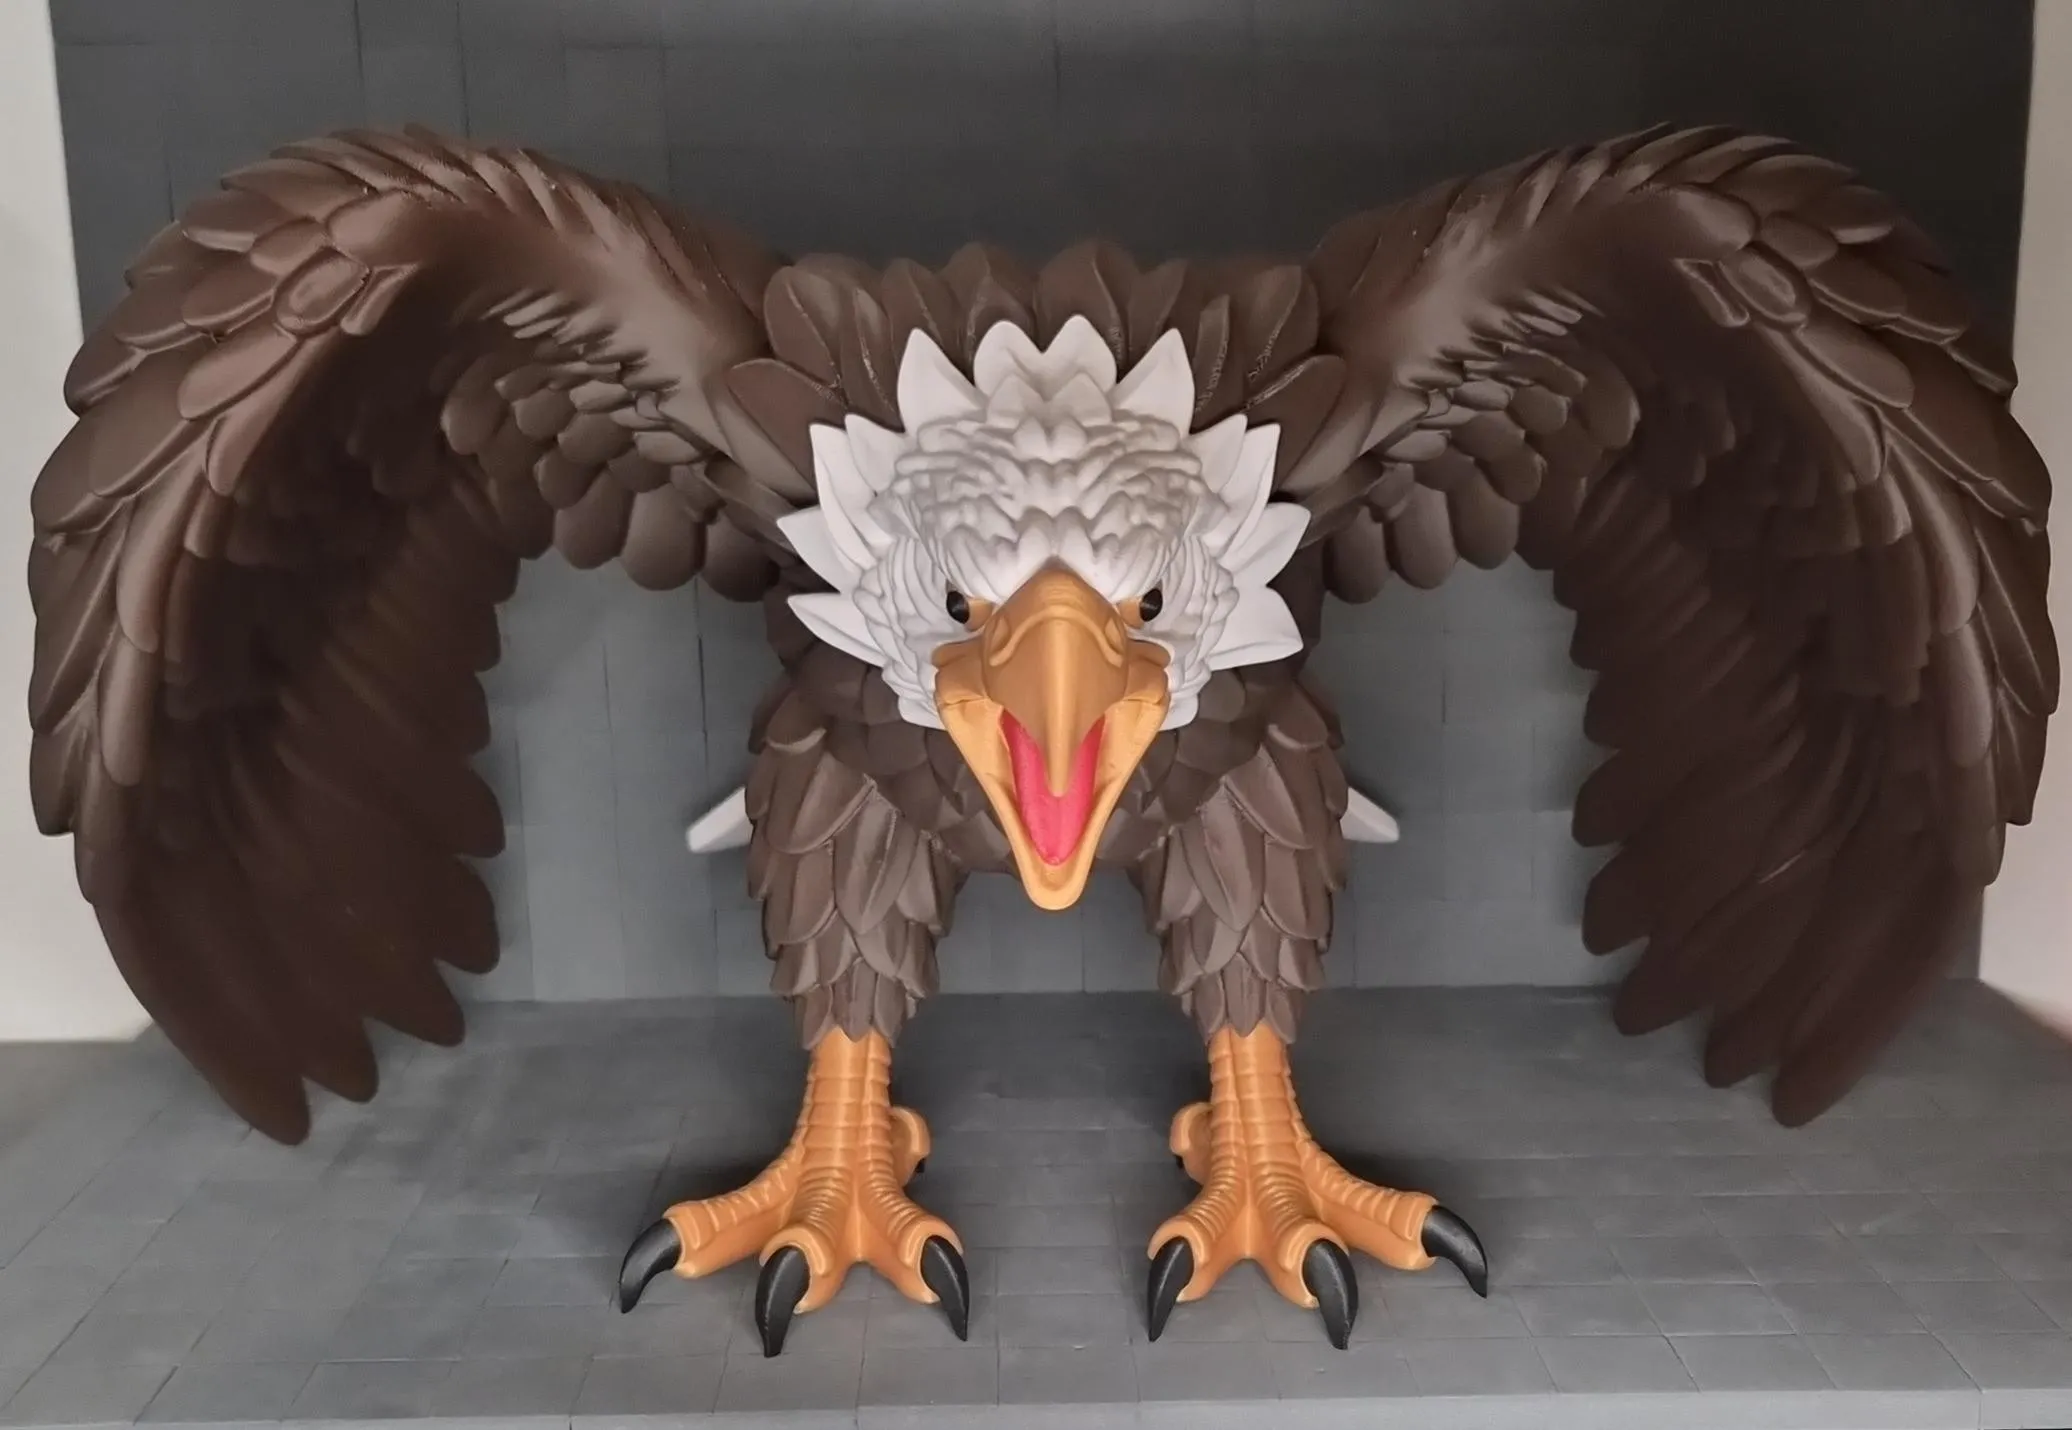
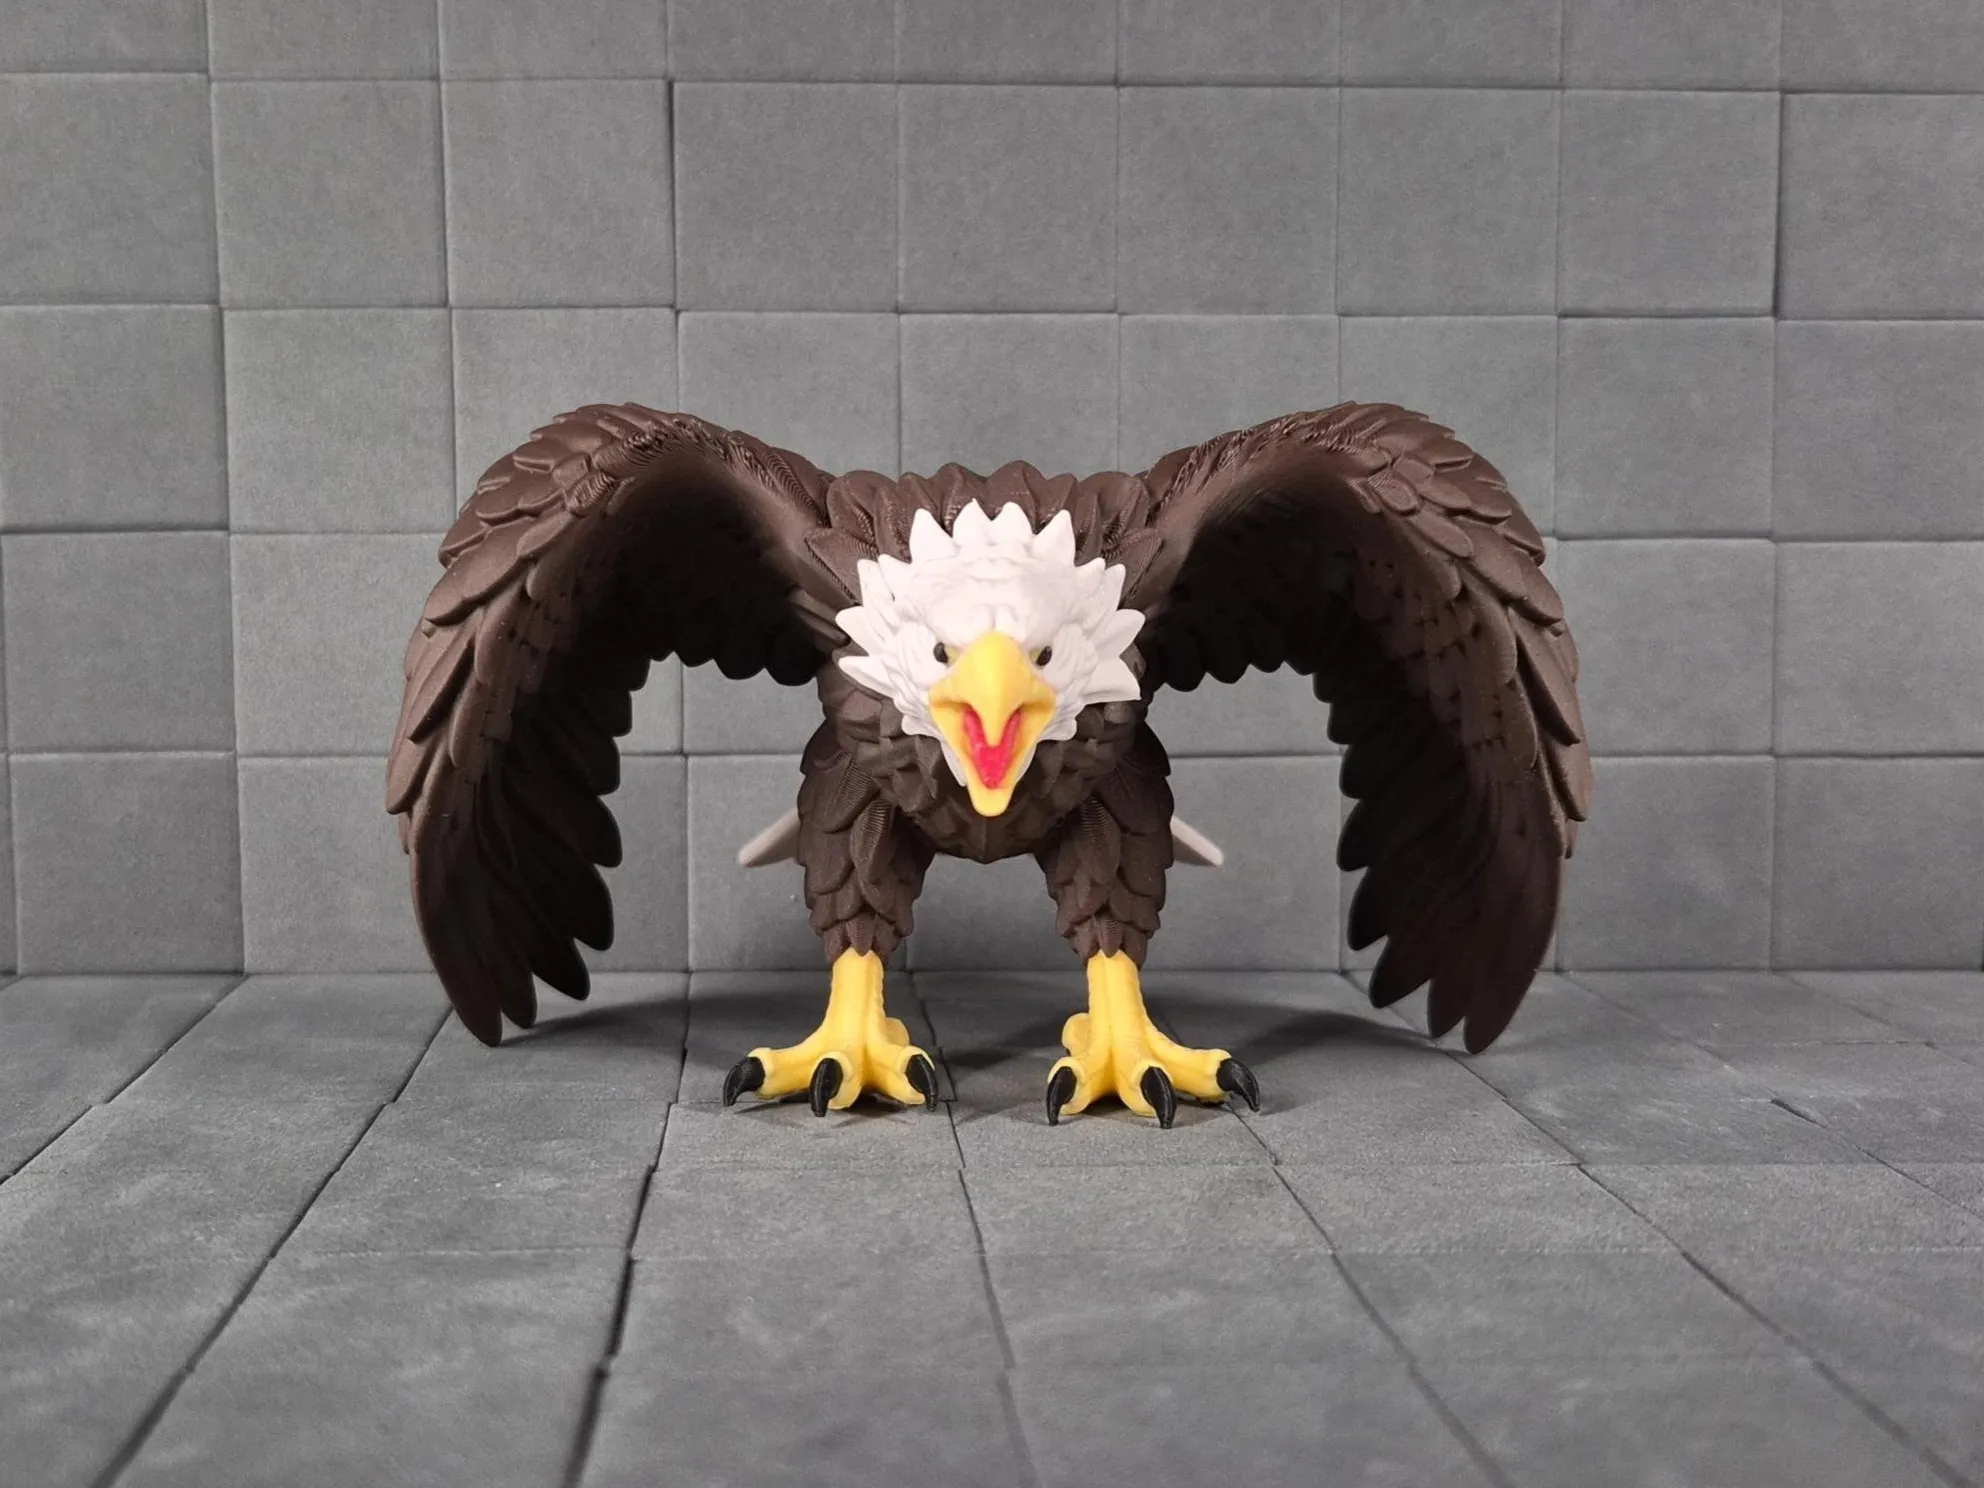
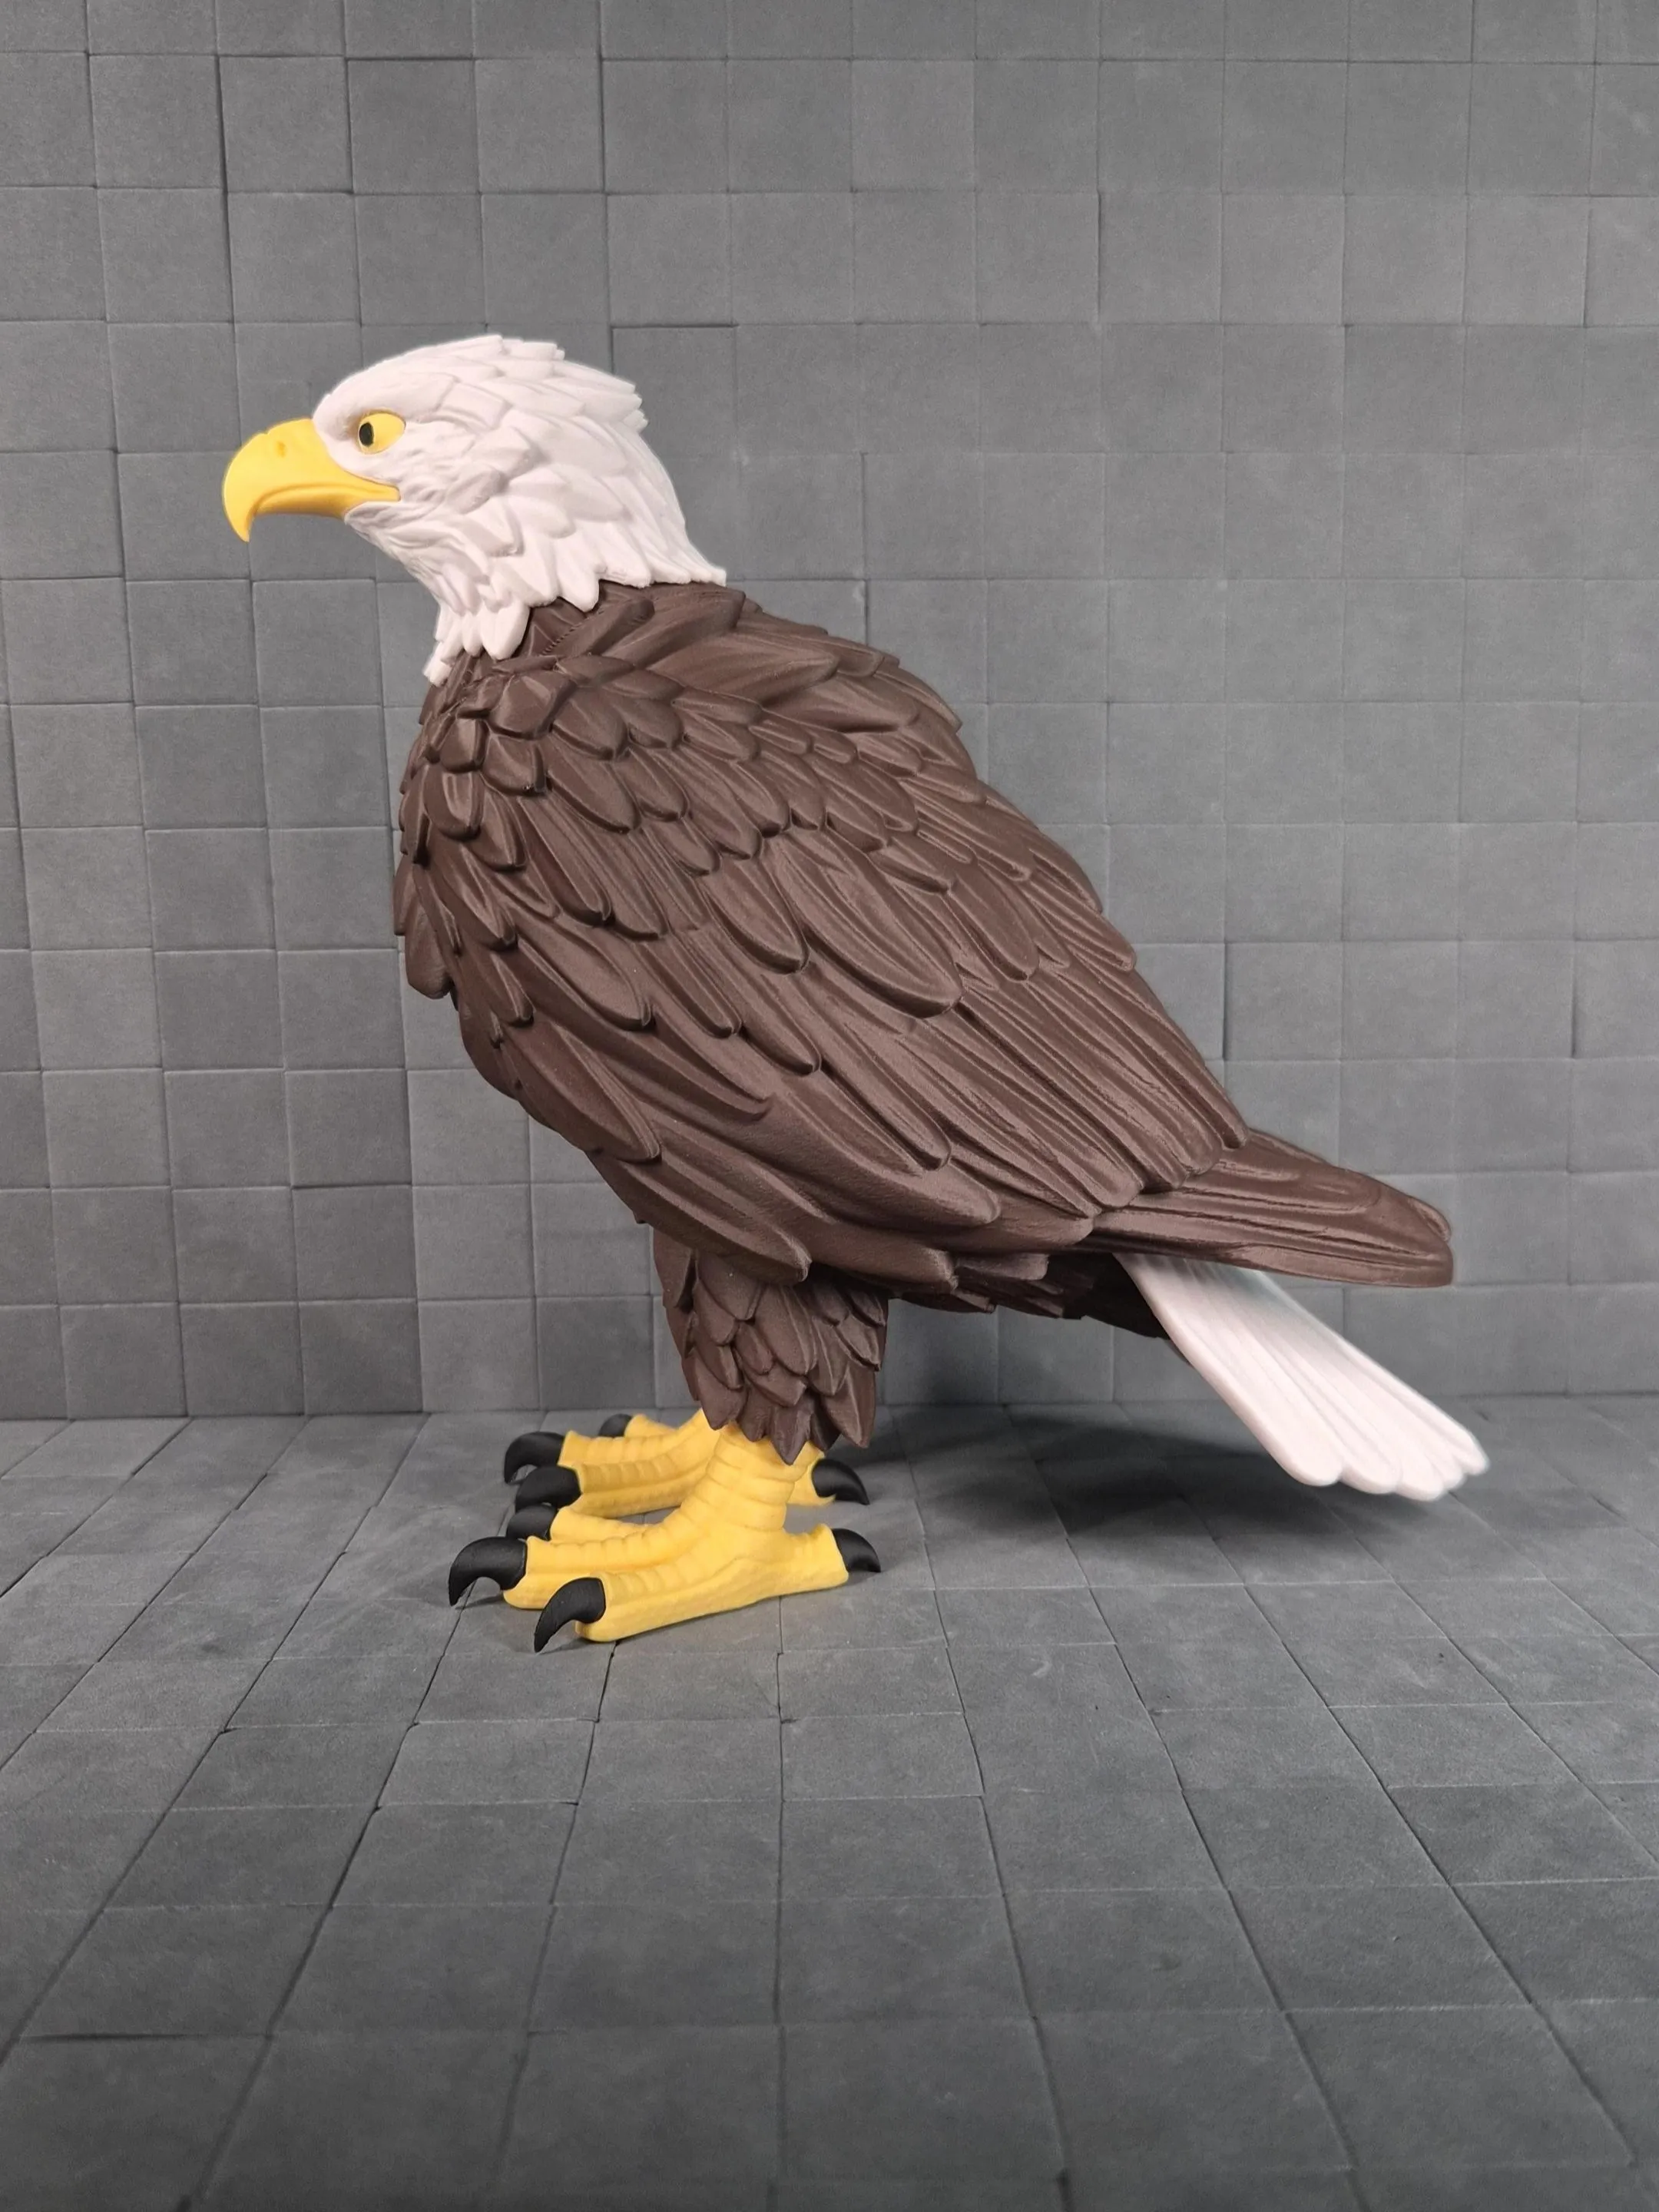
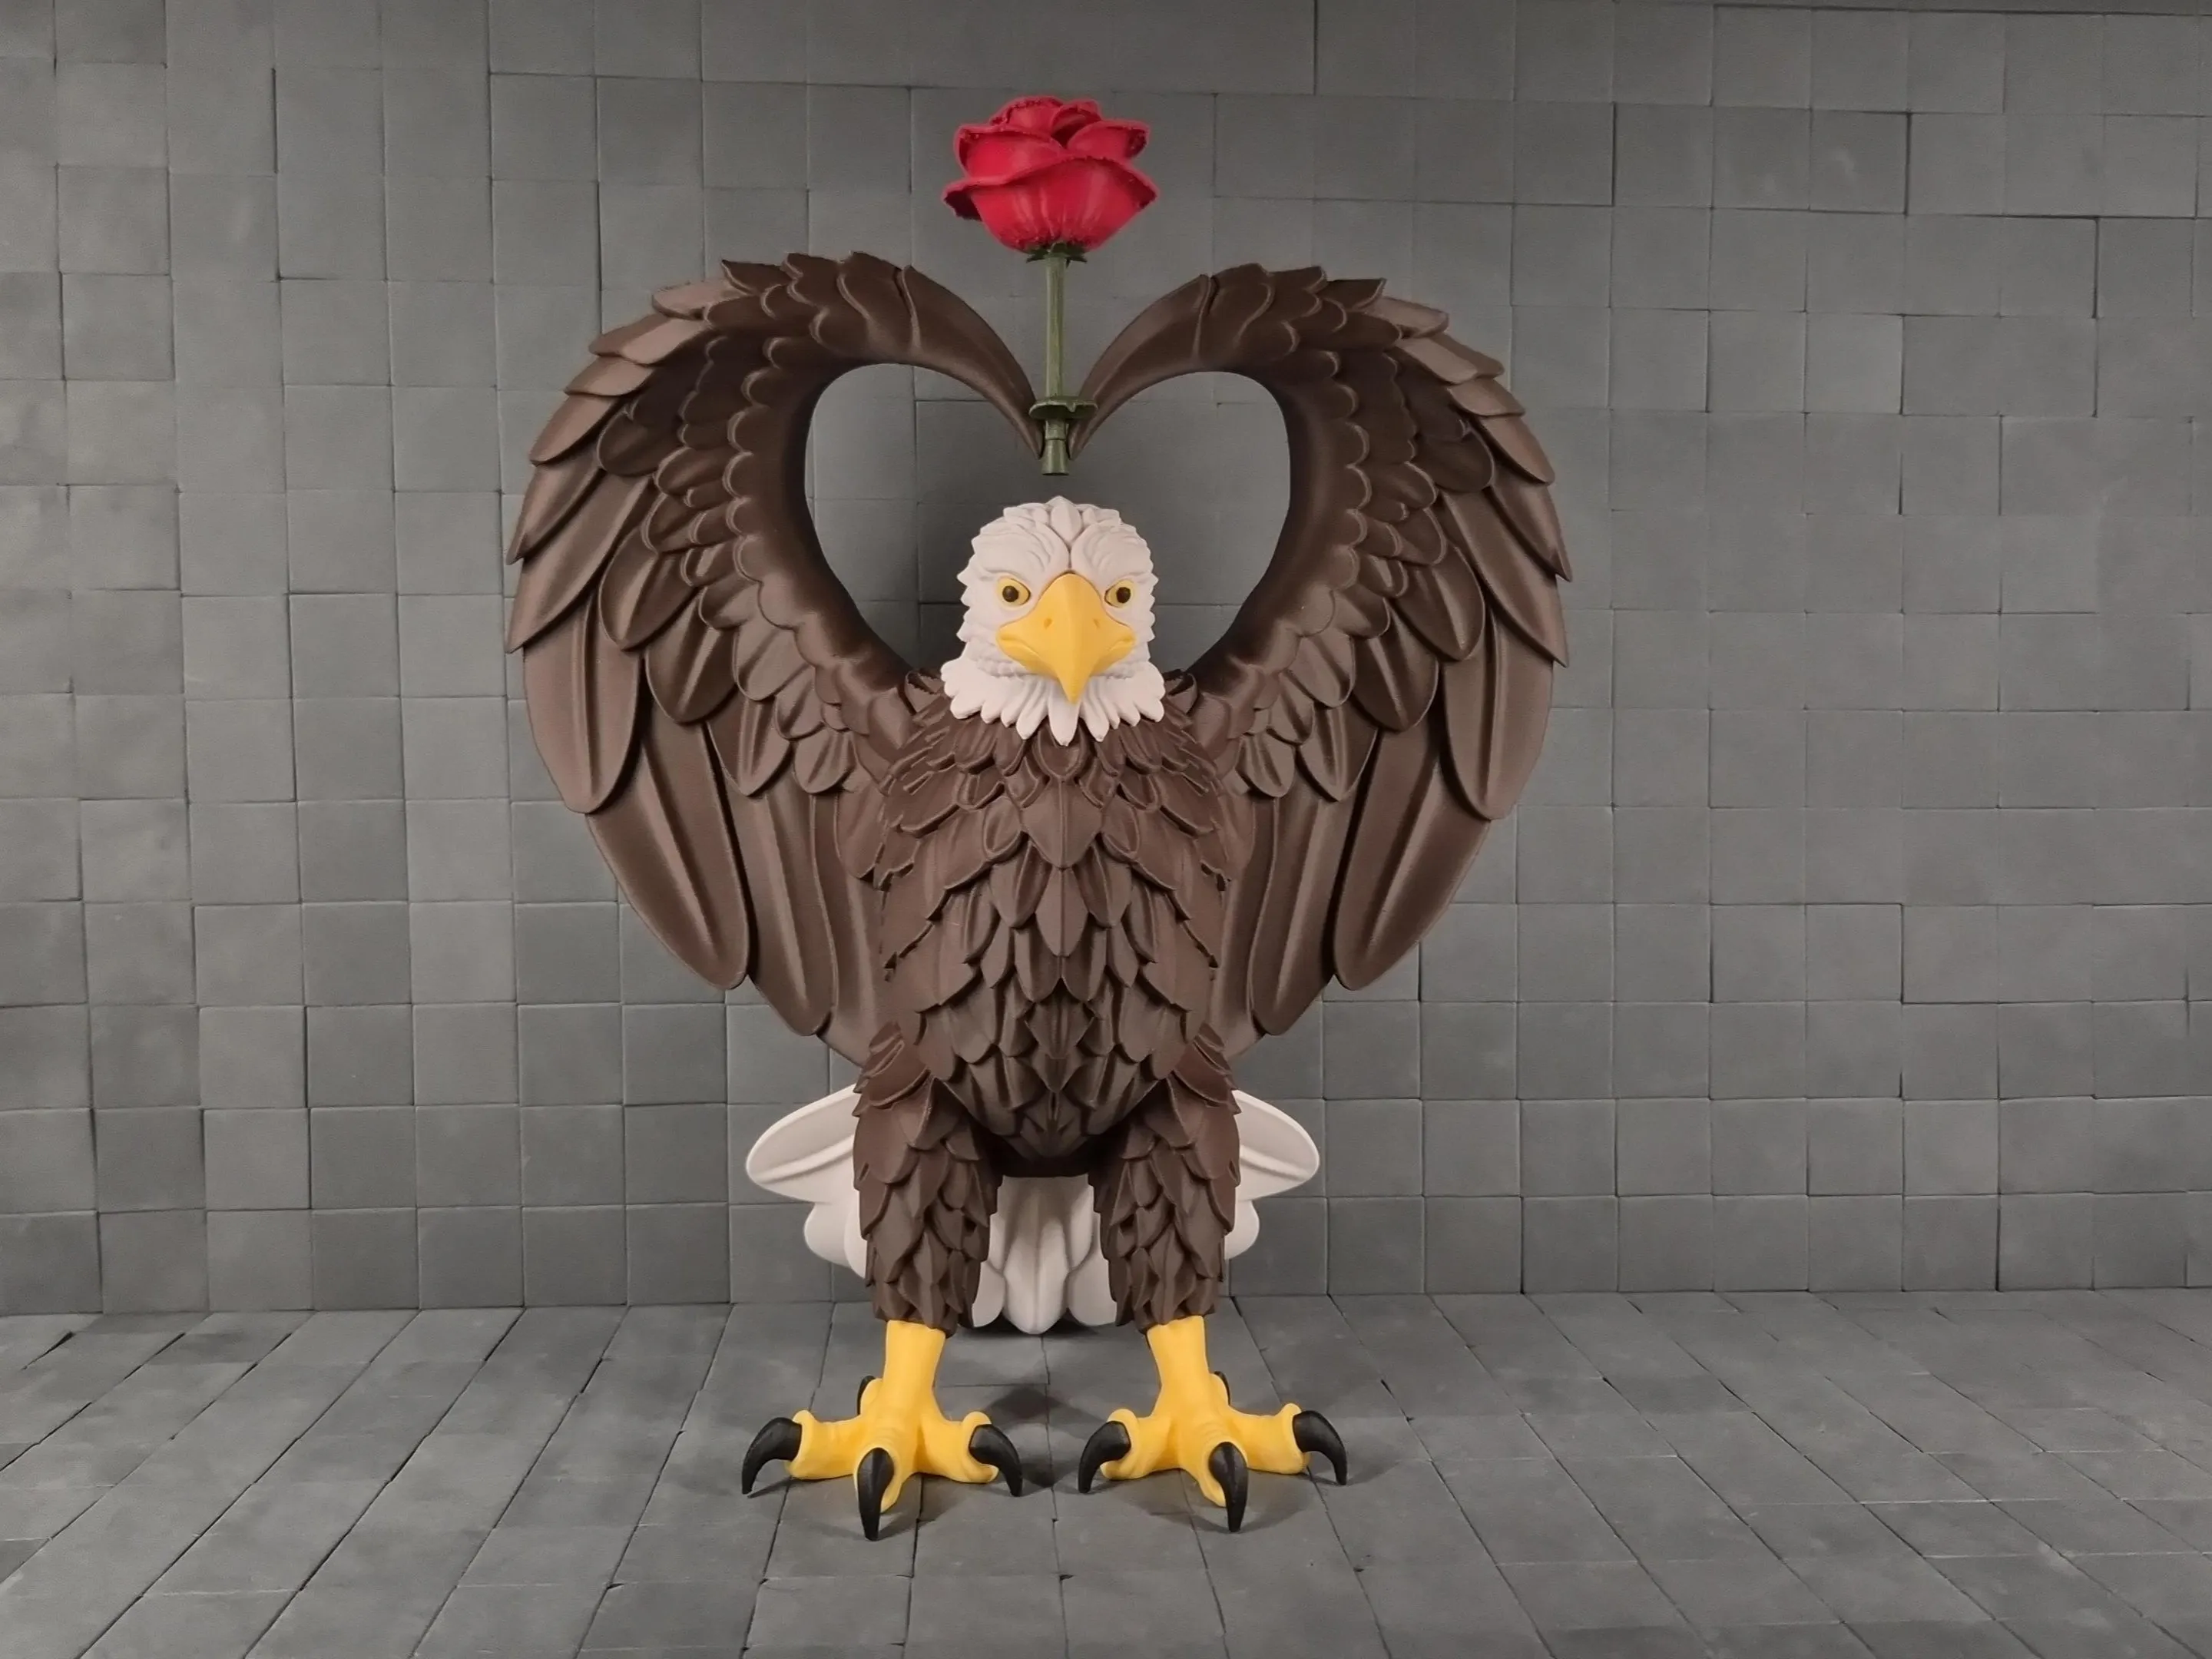
A powerful standing eagle sculpture designed for presence, balance, and clean printing. This model captures a forward-leaning predatory stance with partially raised wings and an open screaming beak, creating a dynamic silhouette without the need for a base or rock.
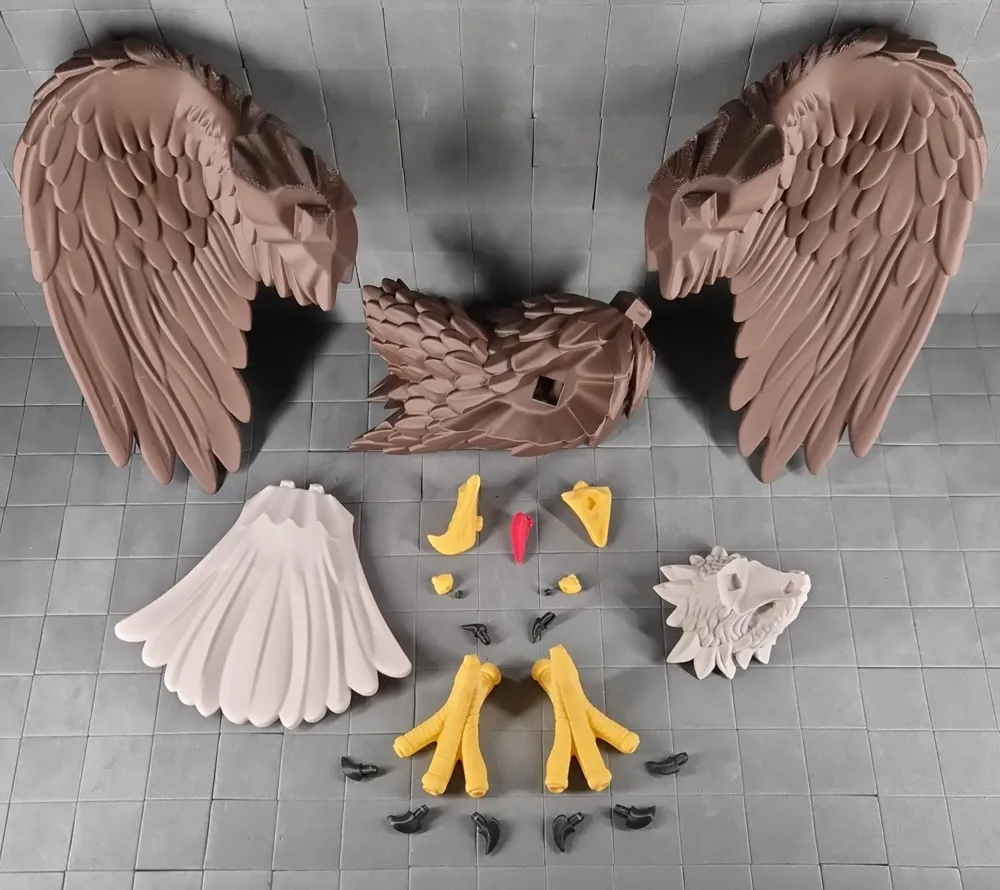
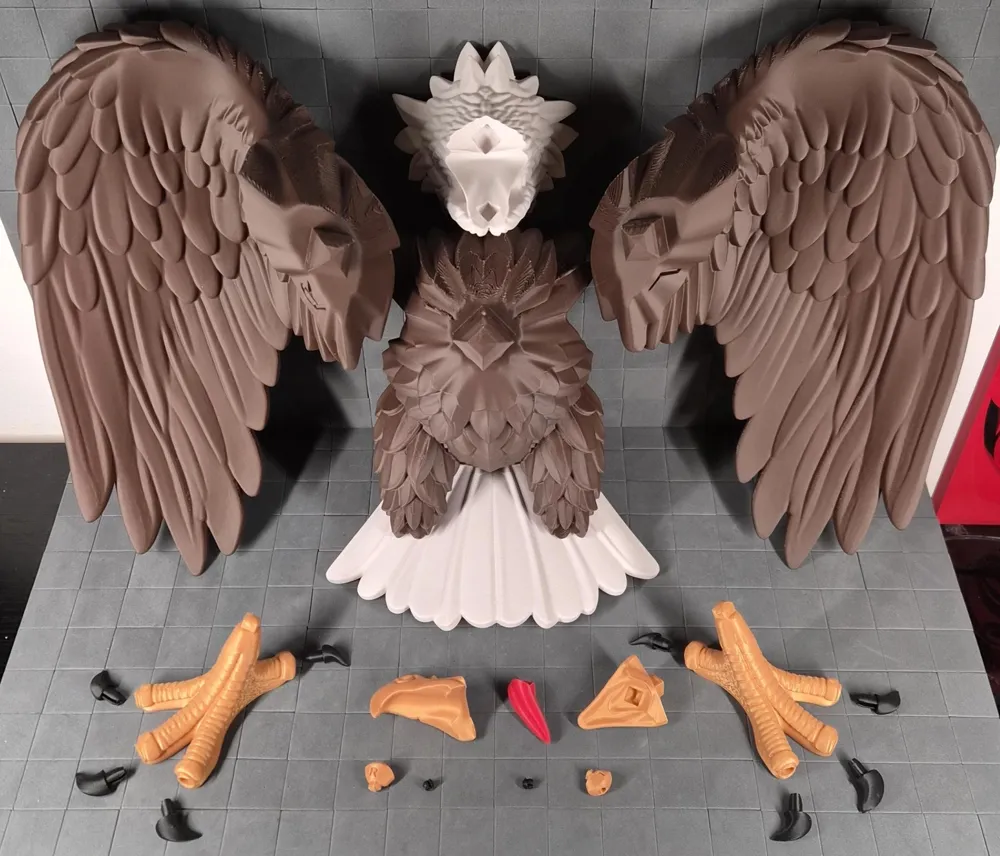
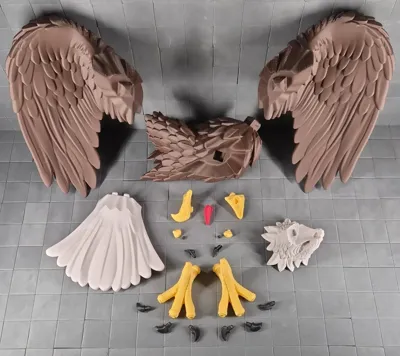
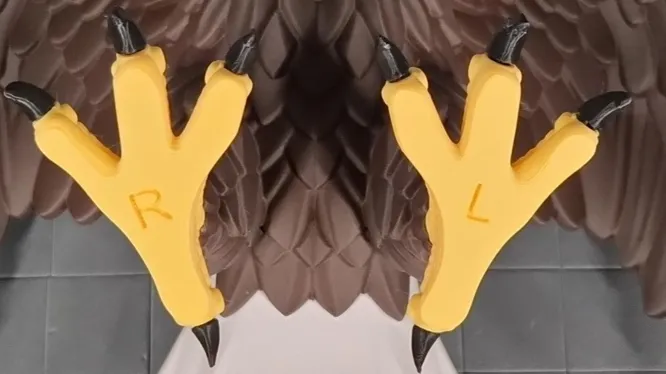
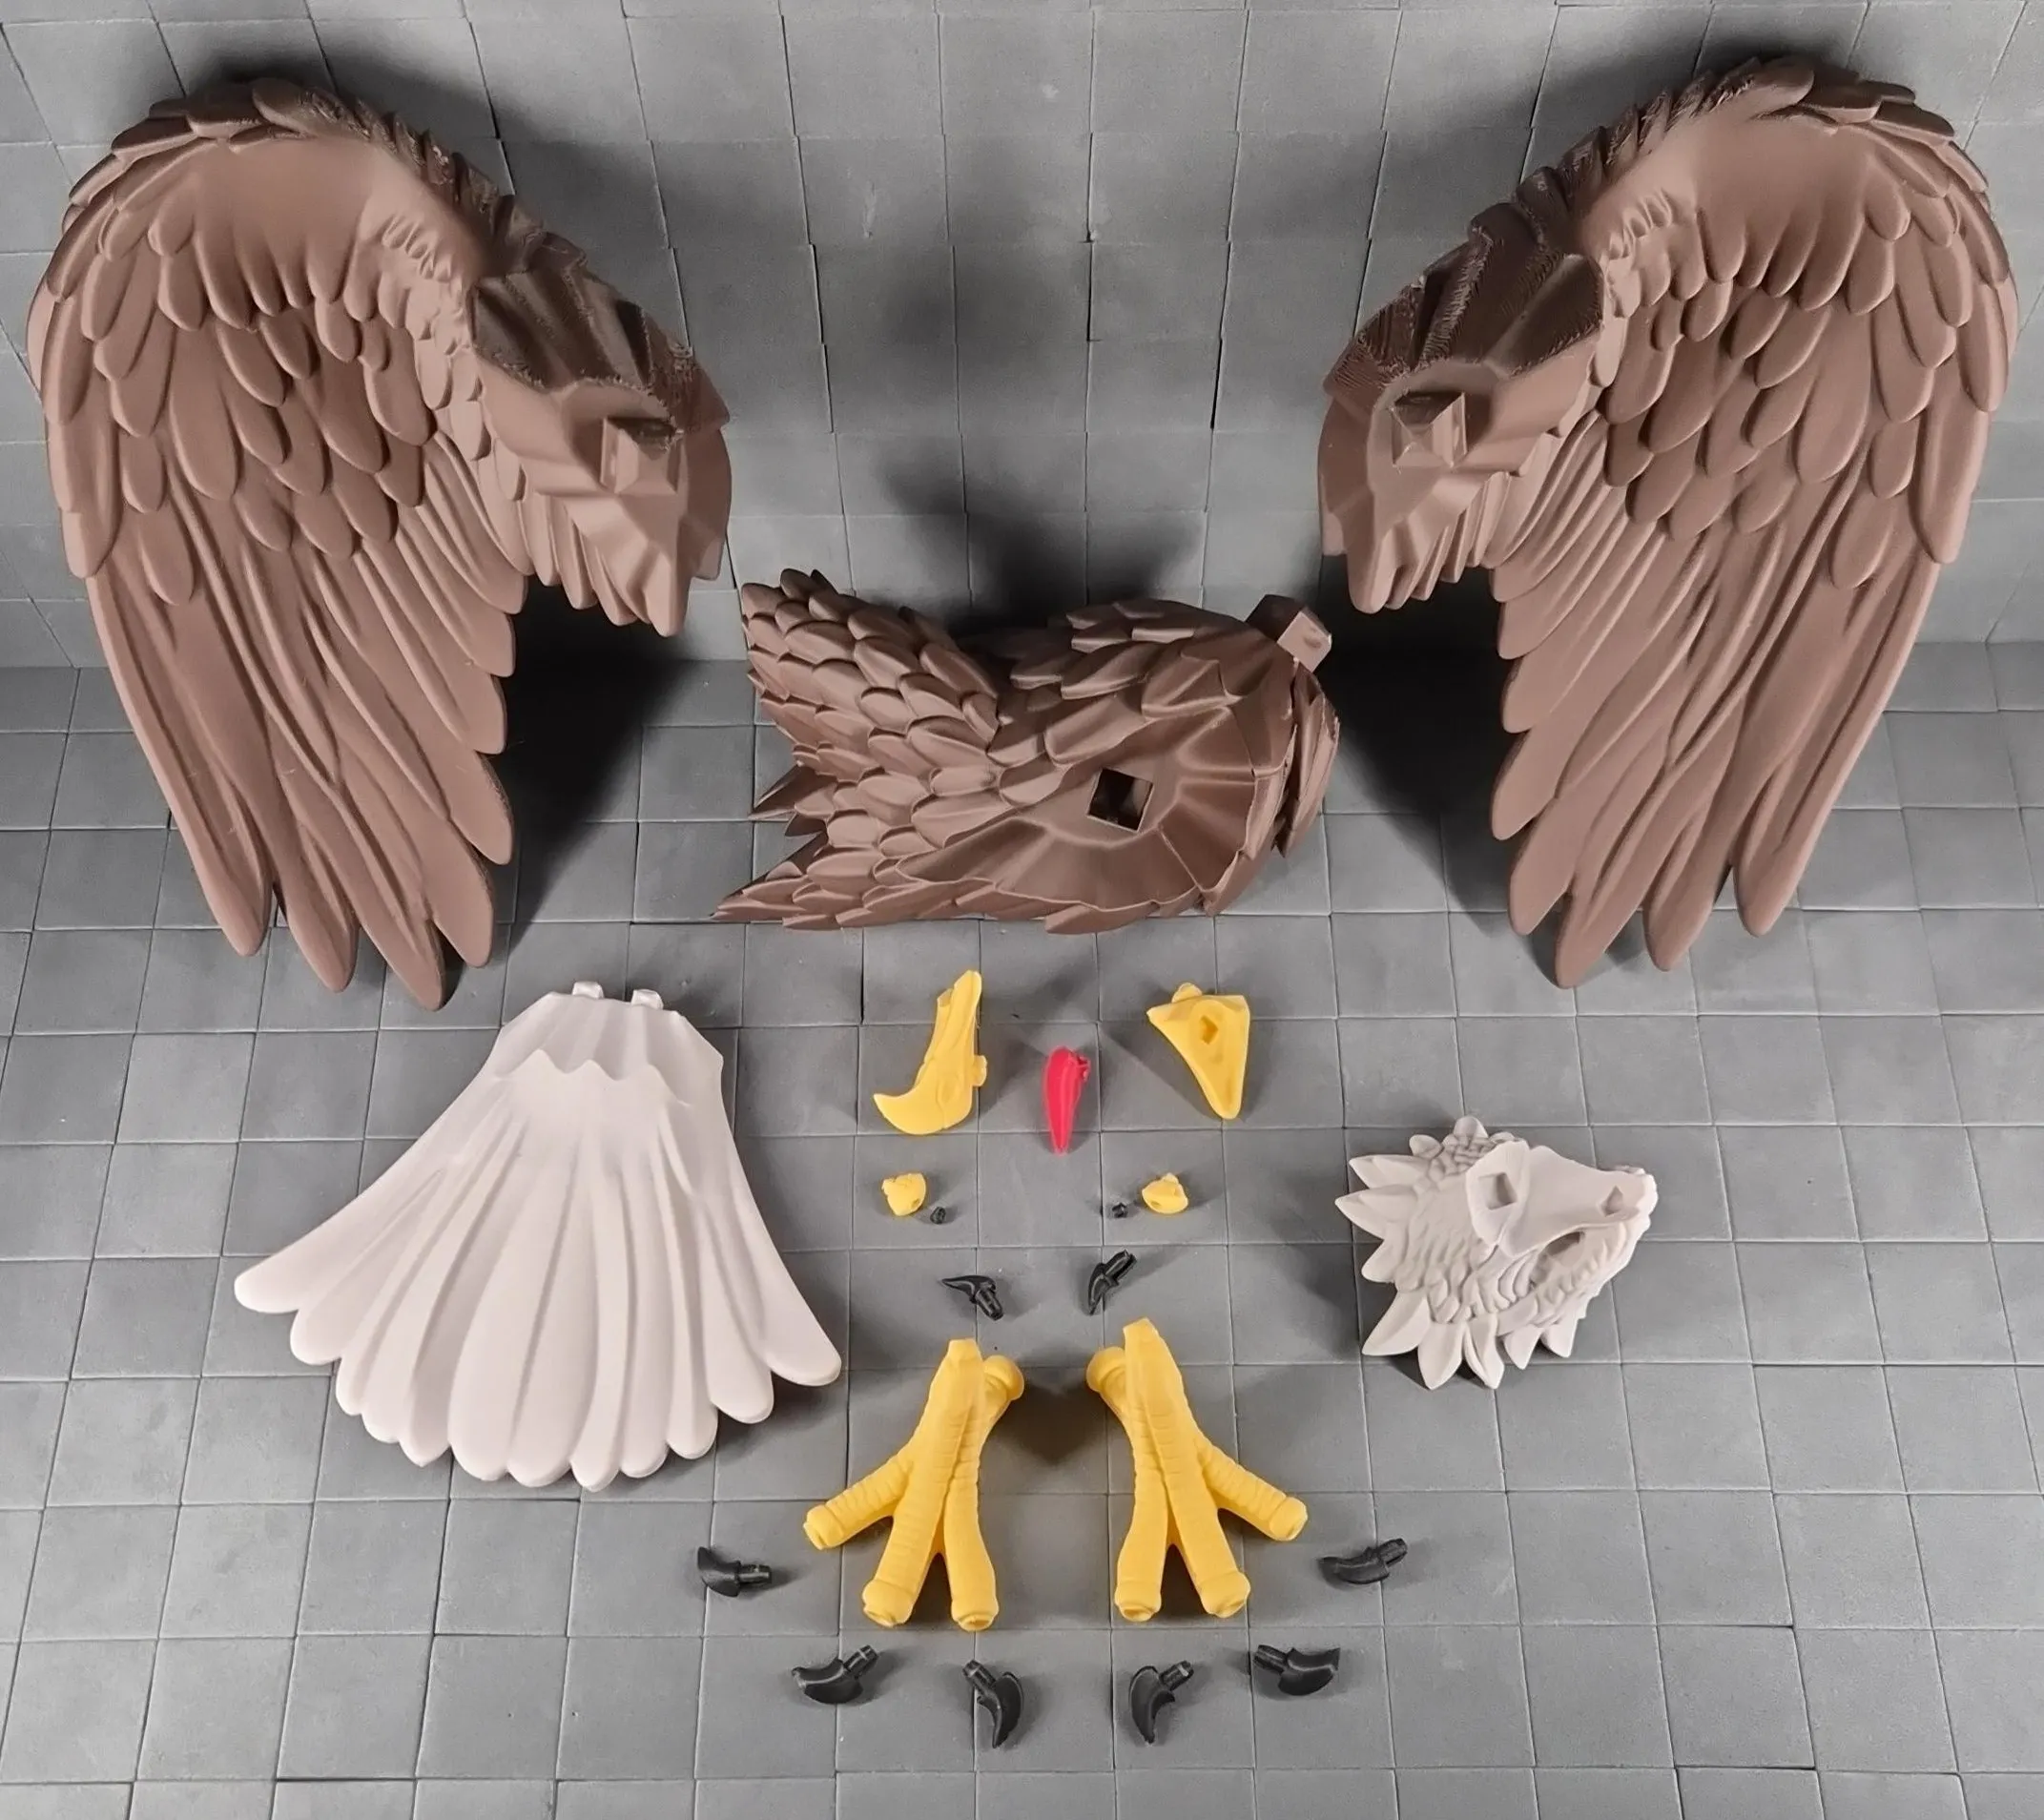
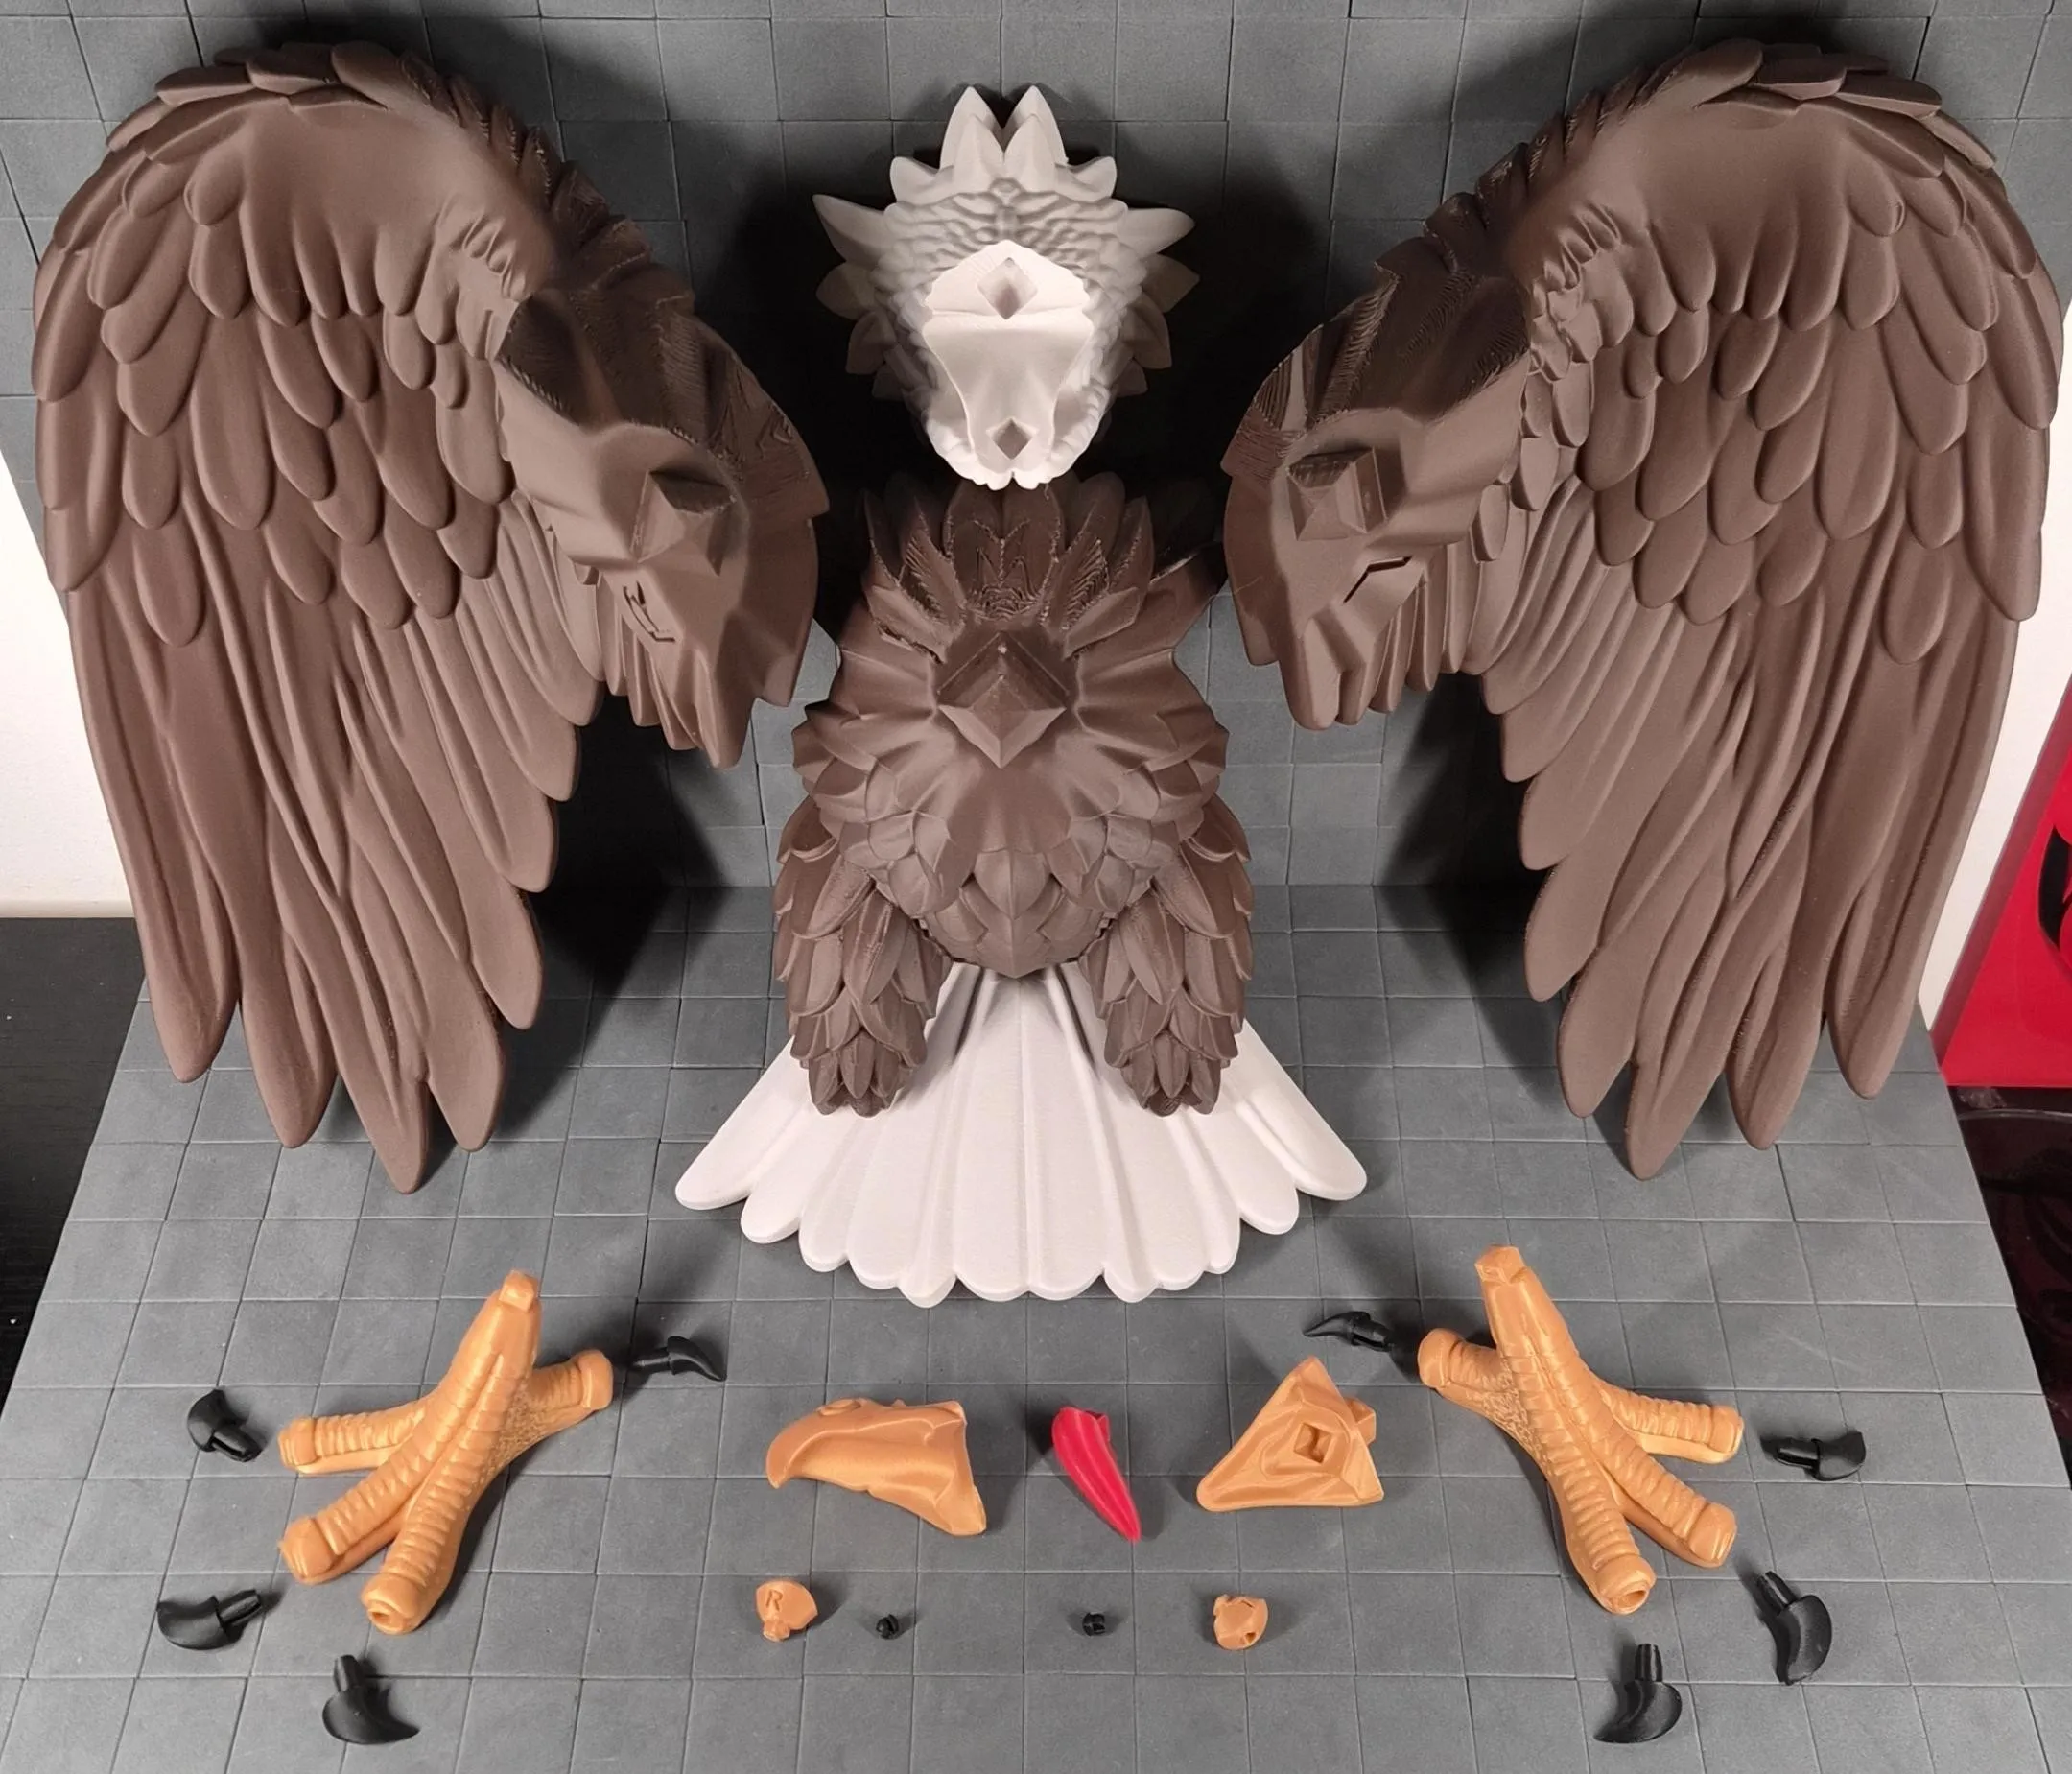
The eagle is engineered as a multipart model for easy printing and assembly without AMS. All major parts use tight snap-fit pegs with embedded text to guide correct orientation during assembly.
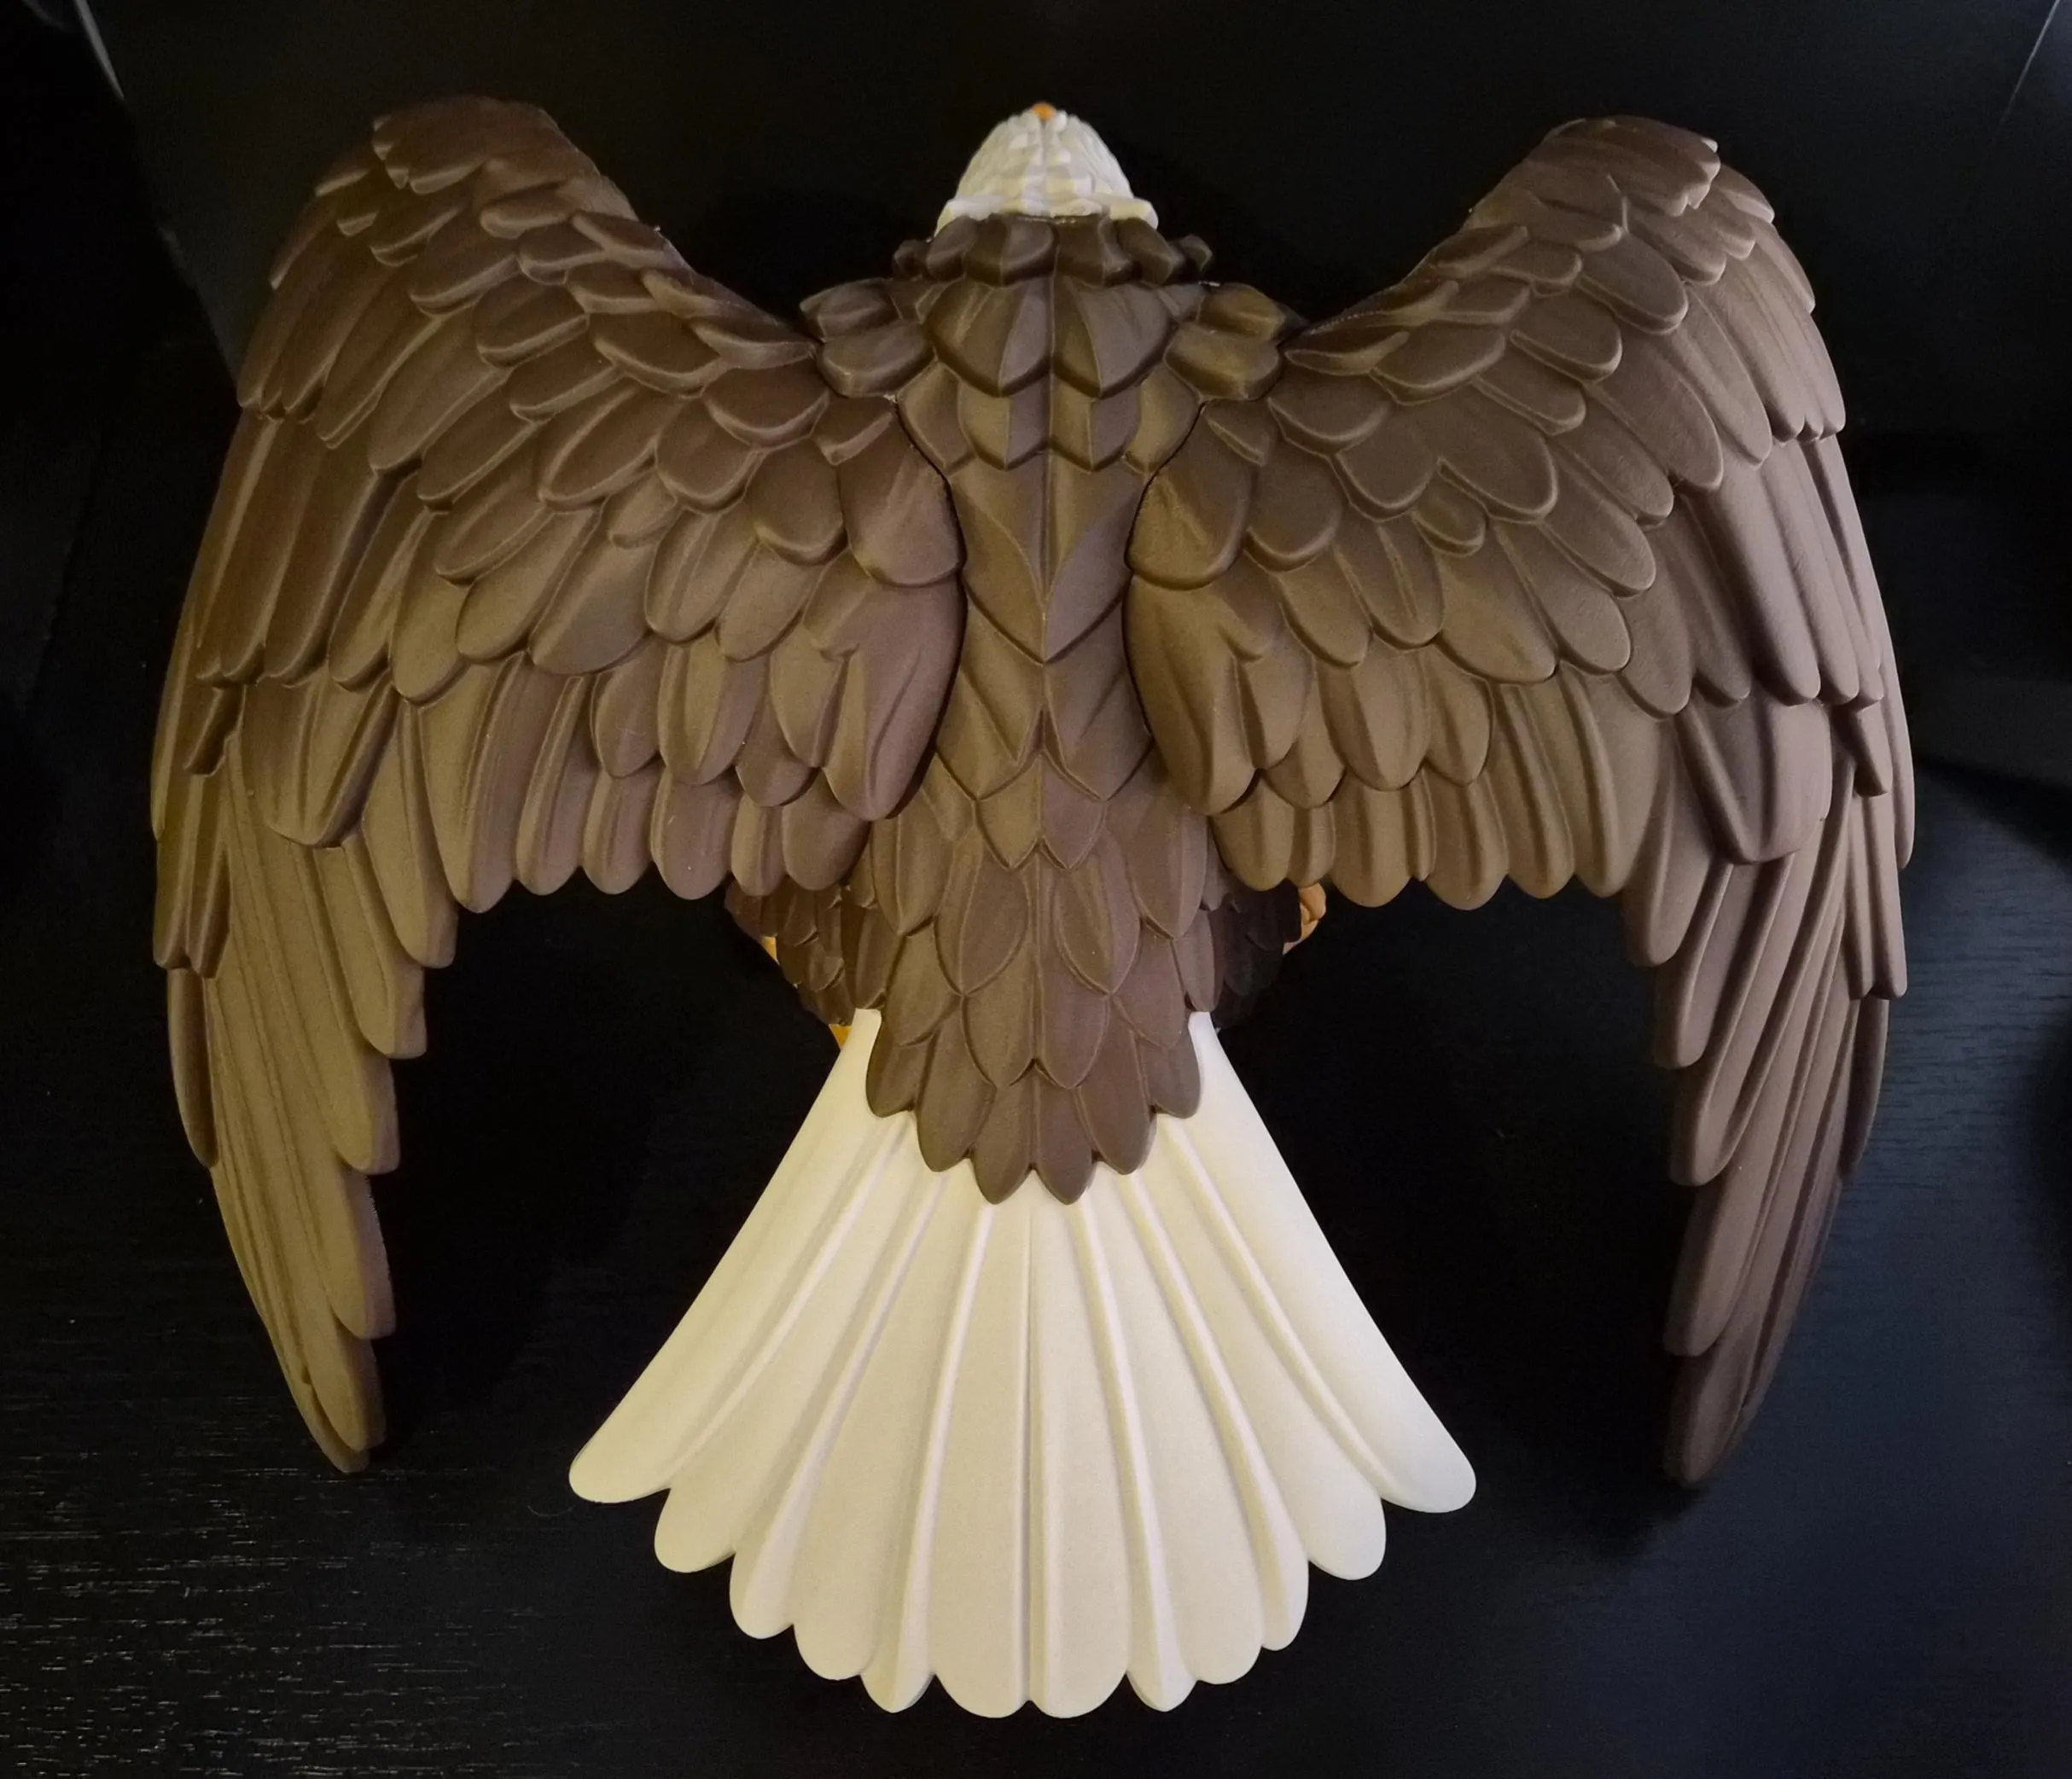
Feathers are sculpted as thick overlapping plates for strength and crisp detail. The stance is naturally balanced with weight centered over the talons, making it stable as a freestanding display piece.
Assembly
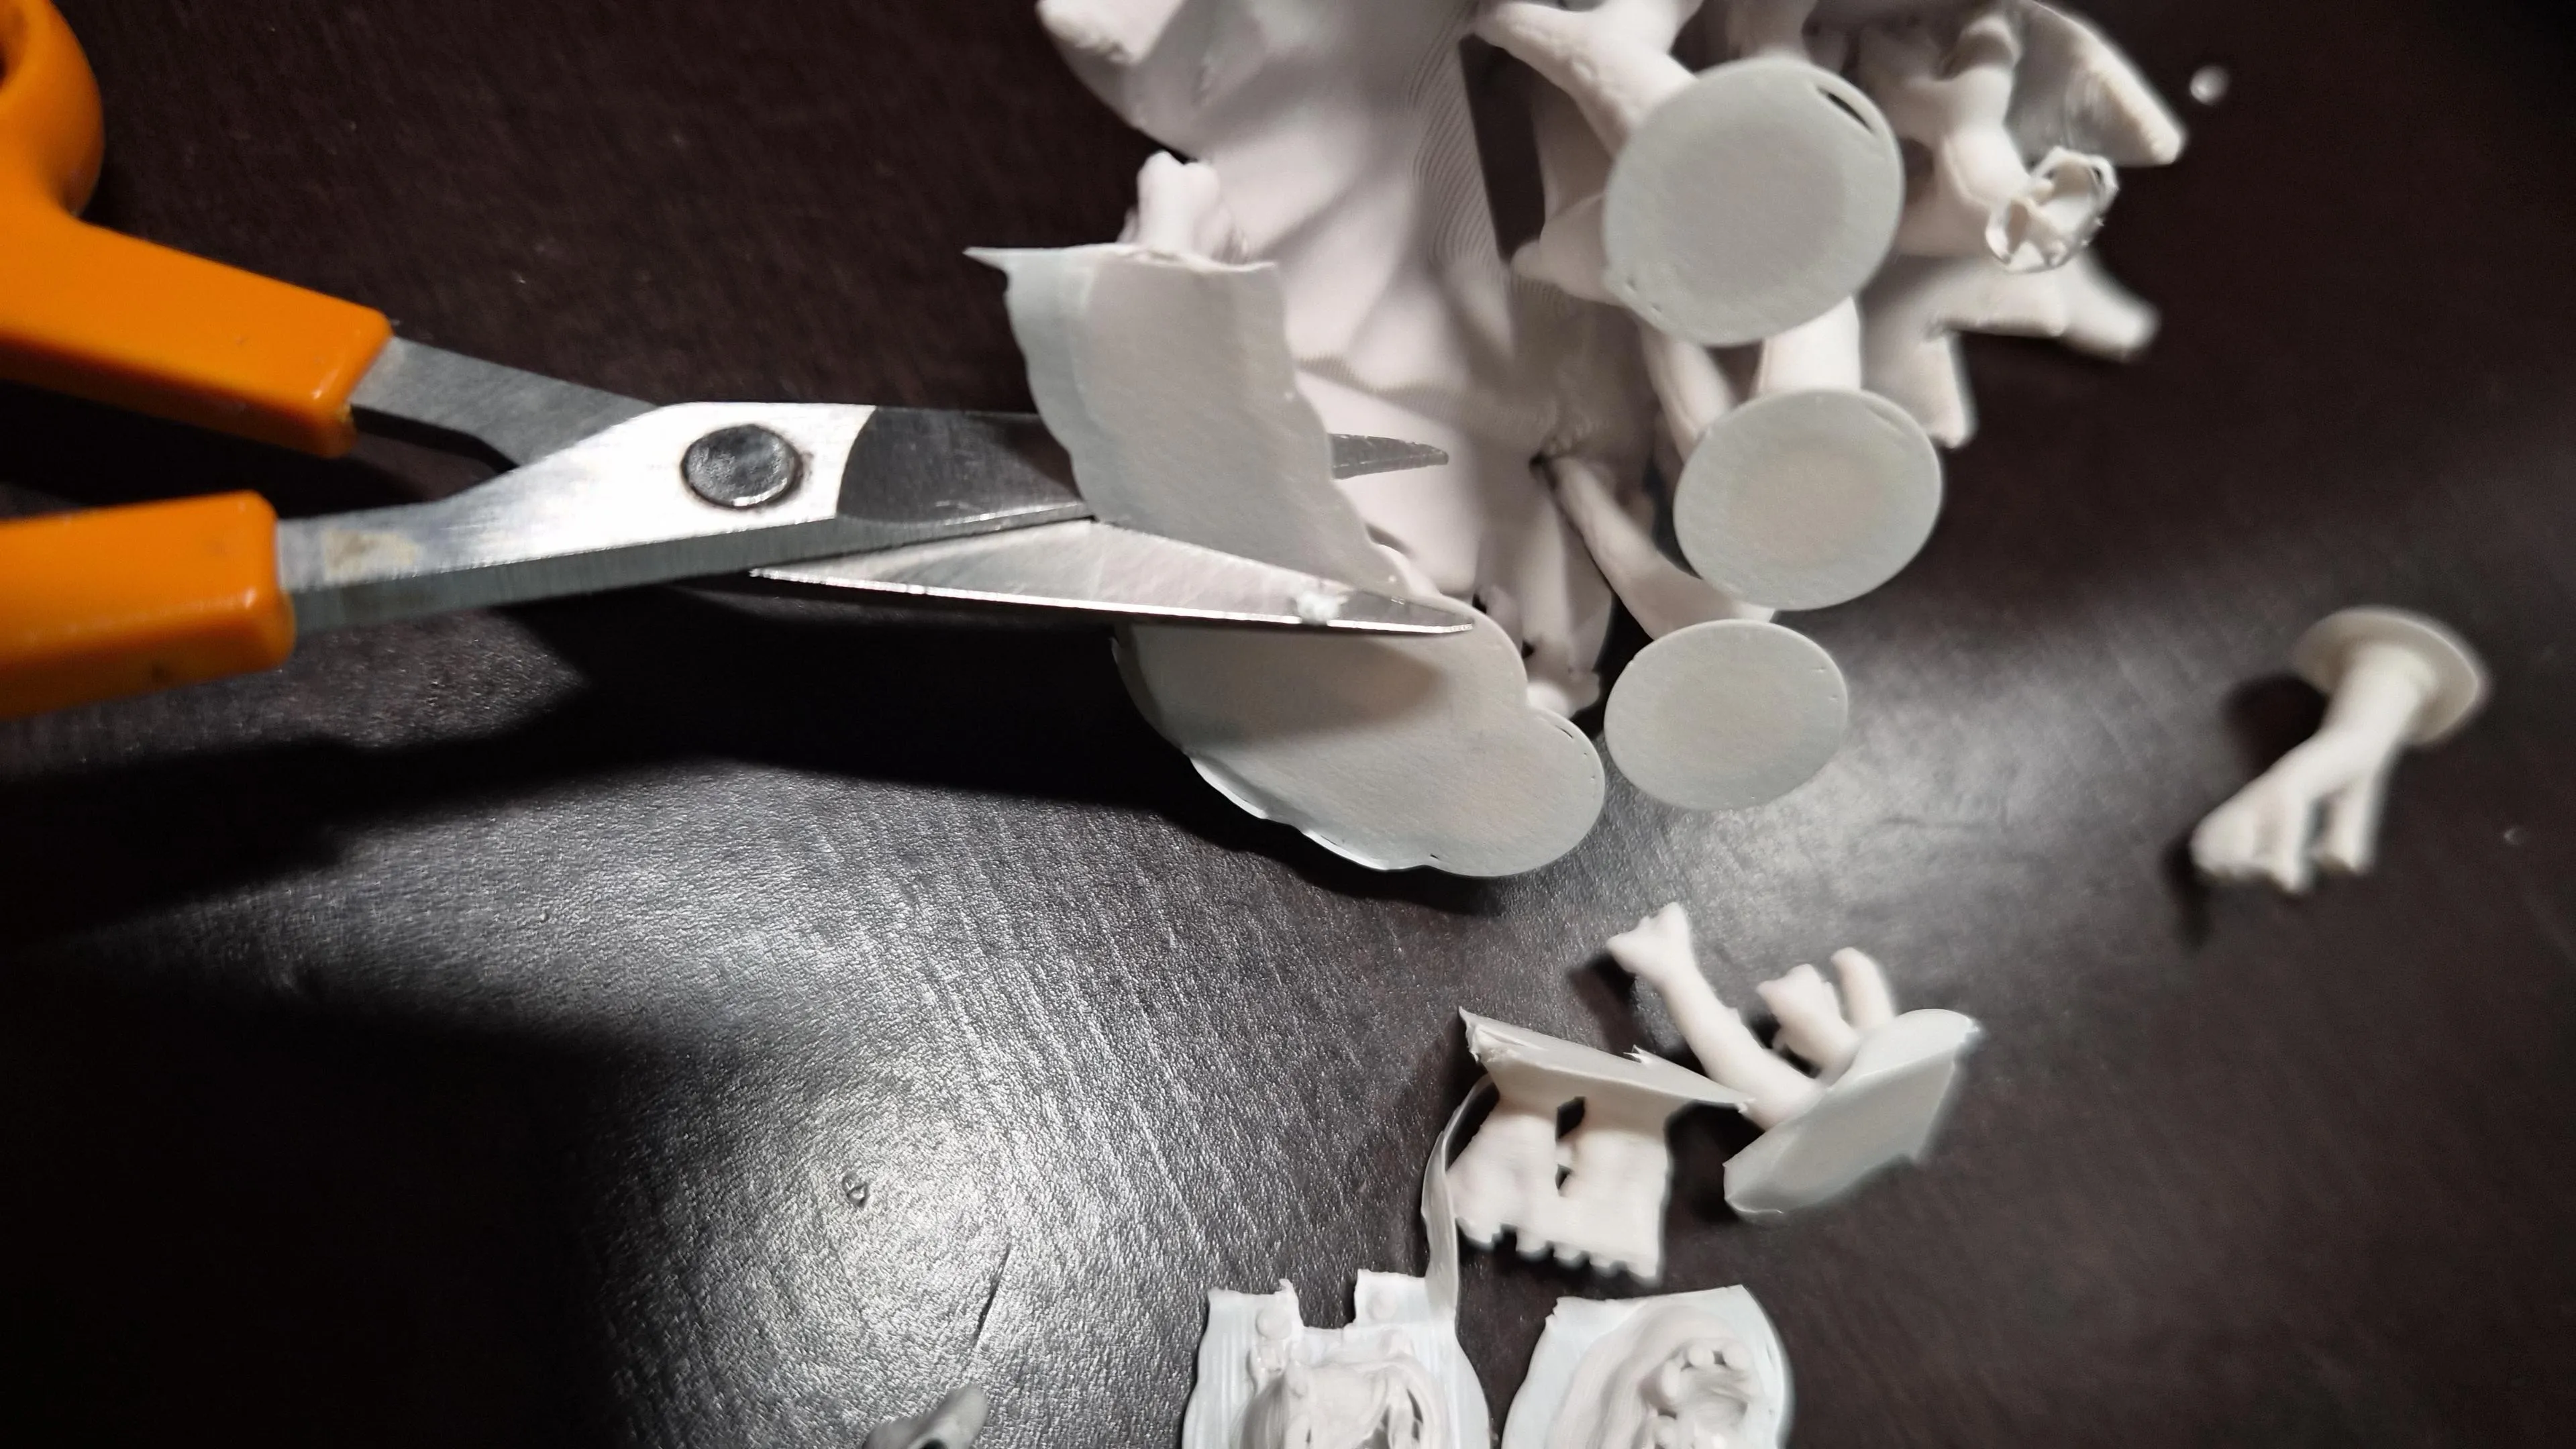
Clean supports carefully before assembly. Tree supports release most easily when cut between the branches, allowing them to snap away cleanly without stressing the surface.
Pegs are designed to snap securely
It's supposed to feel tight, but if too much force is required → trim peg domes slightly.
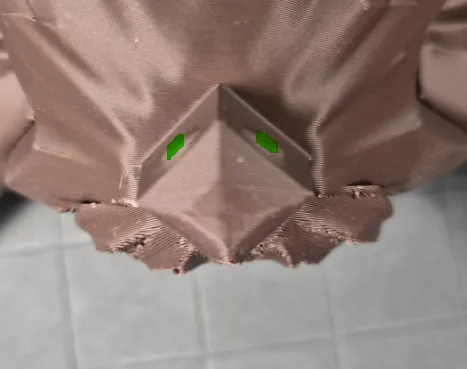
- If loose, use a small amount of glue.
Embedded text inside parts helps identify correct orientation
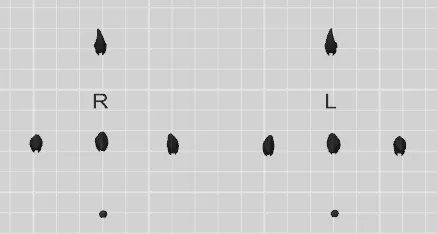
Nails and pupils use Bambu Studio snap connectors and may feel loose. Glue is recommended for these parts (try without glue first).
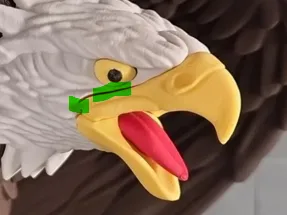
The beak assembly was challenging to design and may require some adjustment during assembly
- Insert the upper beak into the head first, then add the lower beak with the tongue
- You may need to trim the inner corner slightly to close the gap
- The lower beak is designed to press lightly against the upper beak to help close the gap, but a small amount of glue may be required for a clean fit
Assembly Troubleshooting & Tips
The parts are designed with a tight, secure fit so your model stays strong and stable once assembled. The pegs and sockets usually require a small amount of force to fully lock in; this is intentional for a reliable connection.
Common issues & quick fixes:
- Parts don’t seem to click fully together
- Clean all support remnants thoroughly from the pegs and inside the sockets.
- Check for small blobs, strings or printing artifacts on the peg or in the hole (light scraping or sanding usually solves it).
- While pushing, try a gentle back-and-forth rotation or slight twisting motion → this helps the parts align and slide in once everything lines up.
- Connection feels too tight
- Lightly sand or scrape the peg domes → only a very small amount is usually needed.
- Connection feels too loose after cleaning
- A tiny drop of glue in the joint will lock it permanently and securely.
Still not fitting smoothly? Upload close-up photos of the peg/socket area (or the problematic joint) in the comments → I’ll take a look and give specific advice. Your photos and feedback help improve future versions and profiles for everyone!
Happy assembling! 🦅🛠️
Print profiles
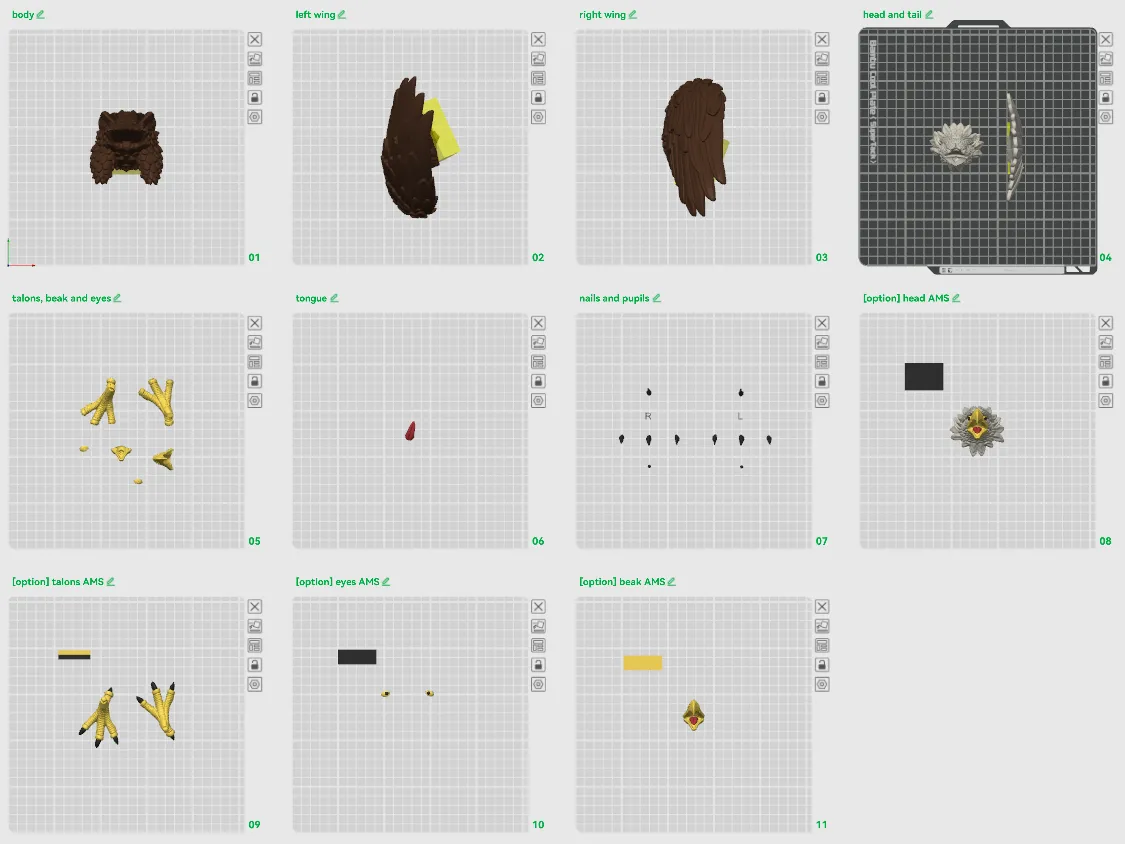
- [MEDIUM] 0.16mm layer, 2-3 walls, 5-30% infill
- 100% scale
- 2-3 walls
- 5-30% infill
- Large parts less, small parts and pegs more
- Multipart - no AMS required
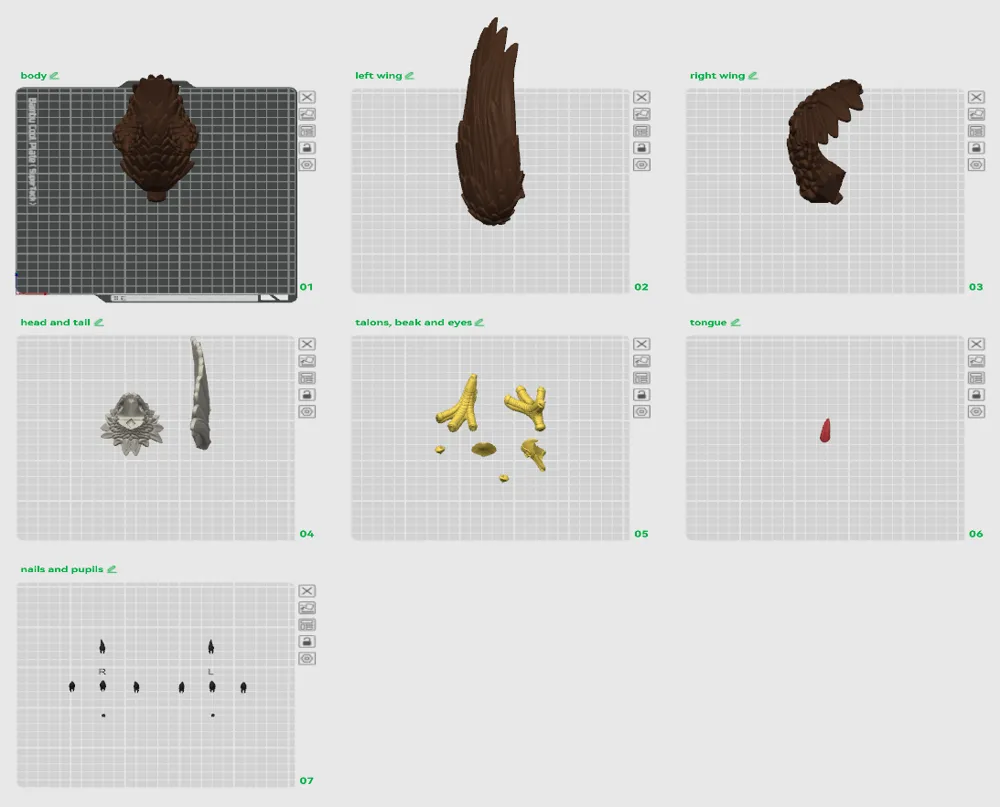
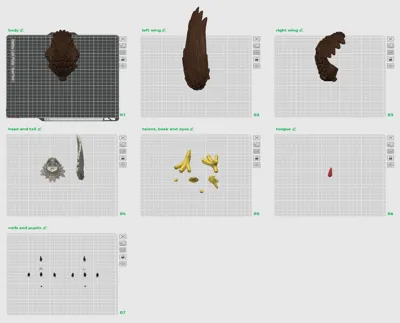
- Print plates 1–7 for the multipart assembly
- You can swap some parts with available AMS options from plates 8–11
- Plates
- body
- left wing
- right wing
- head and tail
- talons, beak and eyes
- tongue
- nails and pupils
- [option] head AMS
- [option] talons AMS
- [option] eyes AMS
- [option] beak AMS
- [LARGE] 0.2mm layer, 2-3 walls, 3-20% infill
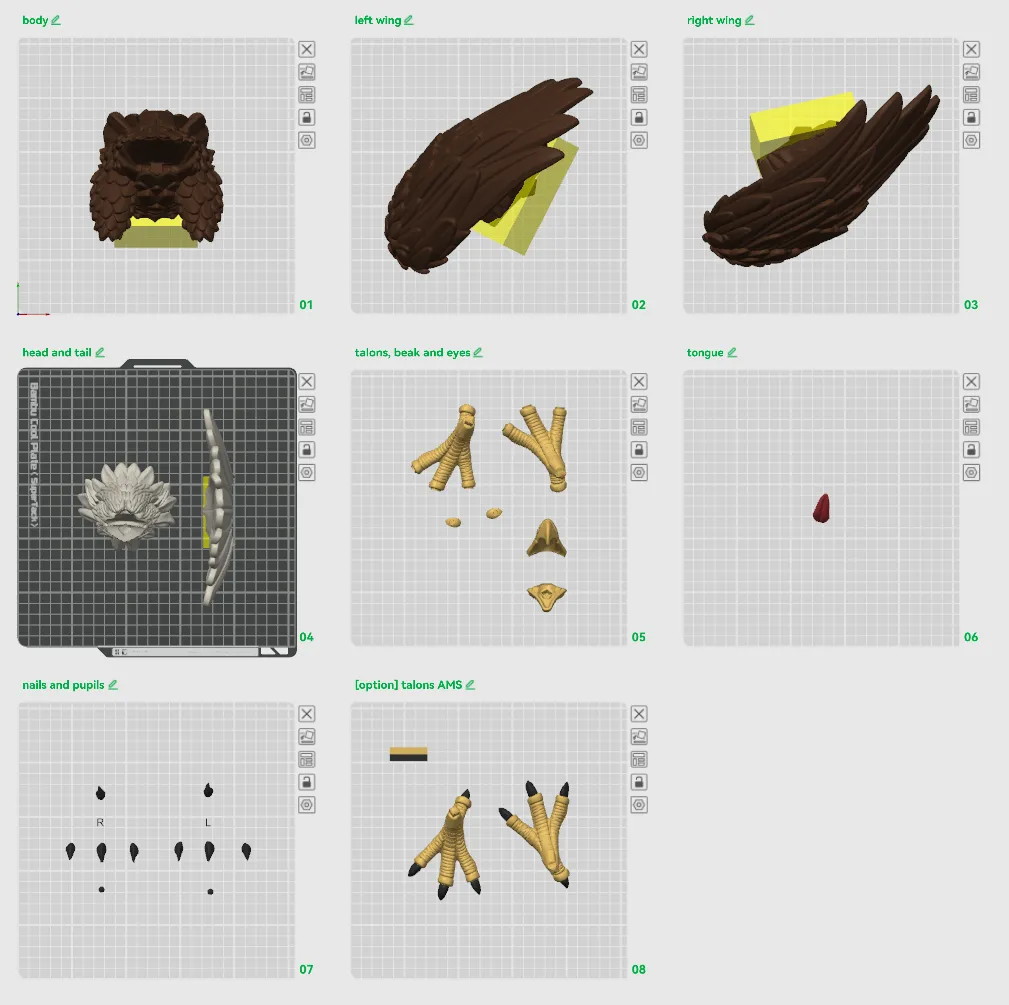
- 155.89% scale
- lower beak and tongue +4% for tight fit
- right wing is the tallest part (252mm)
- 2-3 walls
- 3-20% infill
- Large parts less, small parts and pegs more
- Head assembly support painted
- Multipart - no AMS required
- 155.89% scale
- [SMALL] 0.12-0.16mm layer, 2-3 walls, 10-30% infill
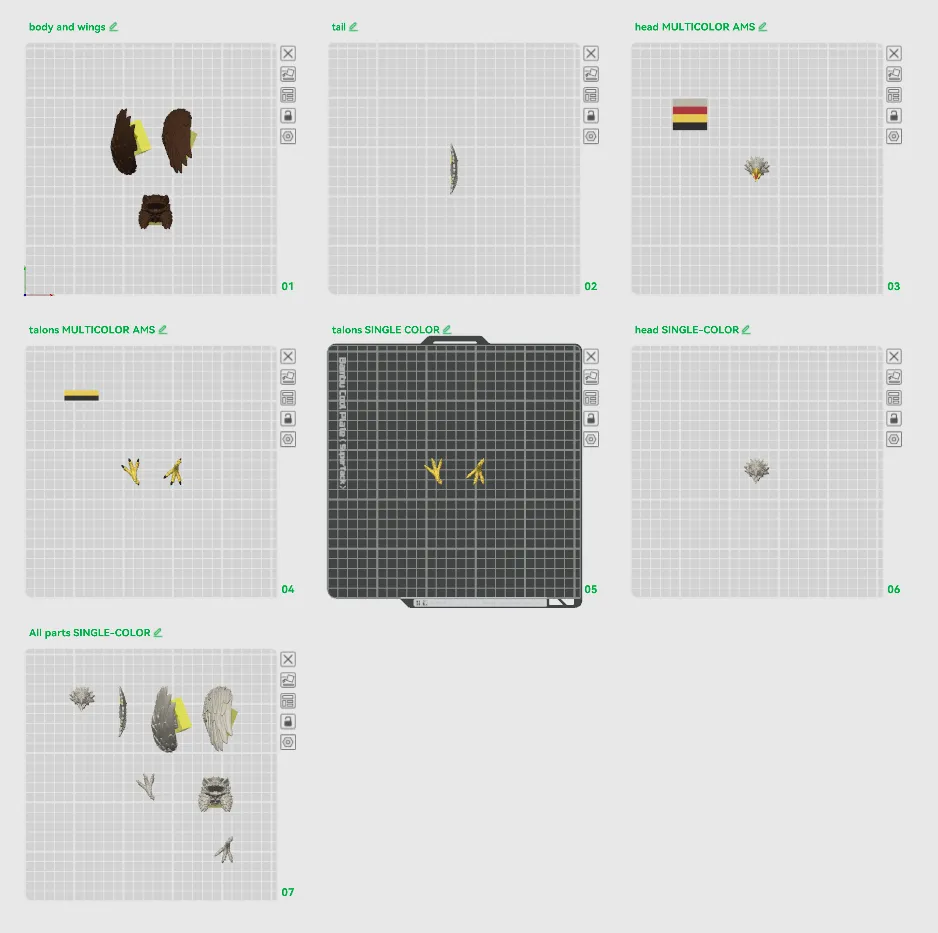
- 100% = 109x101x63 (43.93% scale from 248x230x143 print profile)
- 2-3 walls
- 10-30% infill
- Large parts less, small parts and pegs more
- Others 0.12 layer, AMS plates 0.16 layer
- snap fit pegs don't work well with this small size, so use glue for assembly if needed
Scaling
- Scaling to larger sizes should be possible, but some connections may require minor fit adjustments
- Always scale all parts uniformly and verify that the same percentage value is applied to every part before slicing
Carefully review the slicing preview, especially for the head, as there are thin areas where geometry can simplify or “cut corners” at certain scales
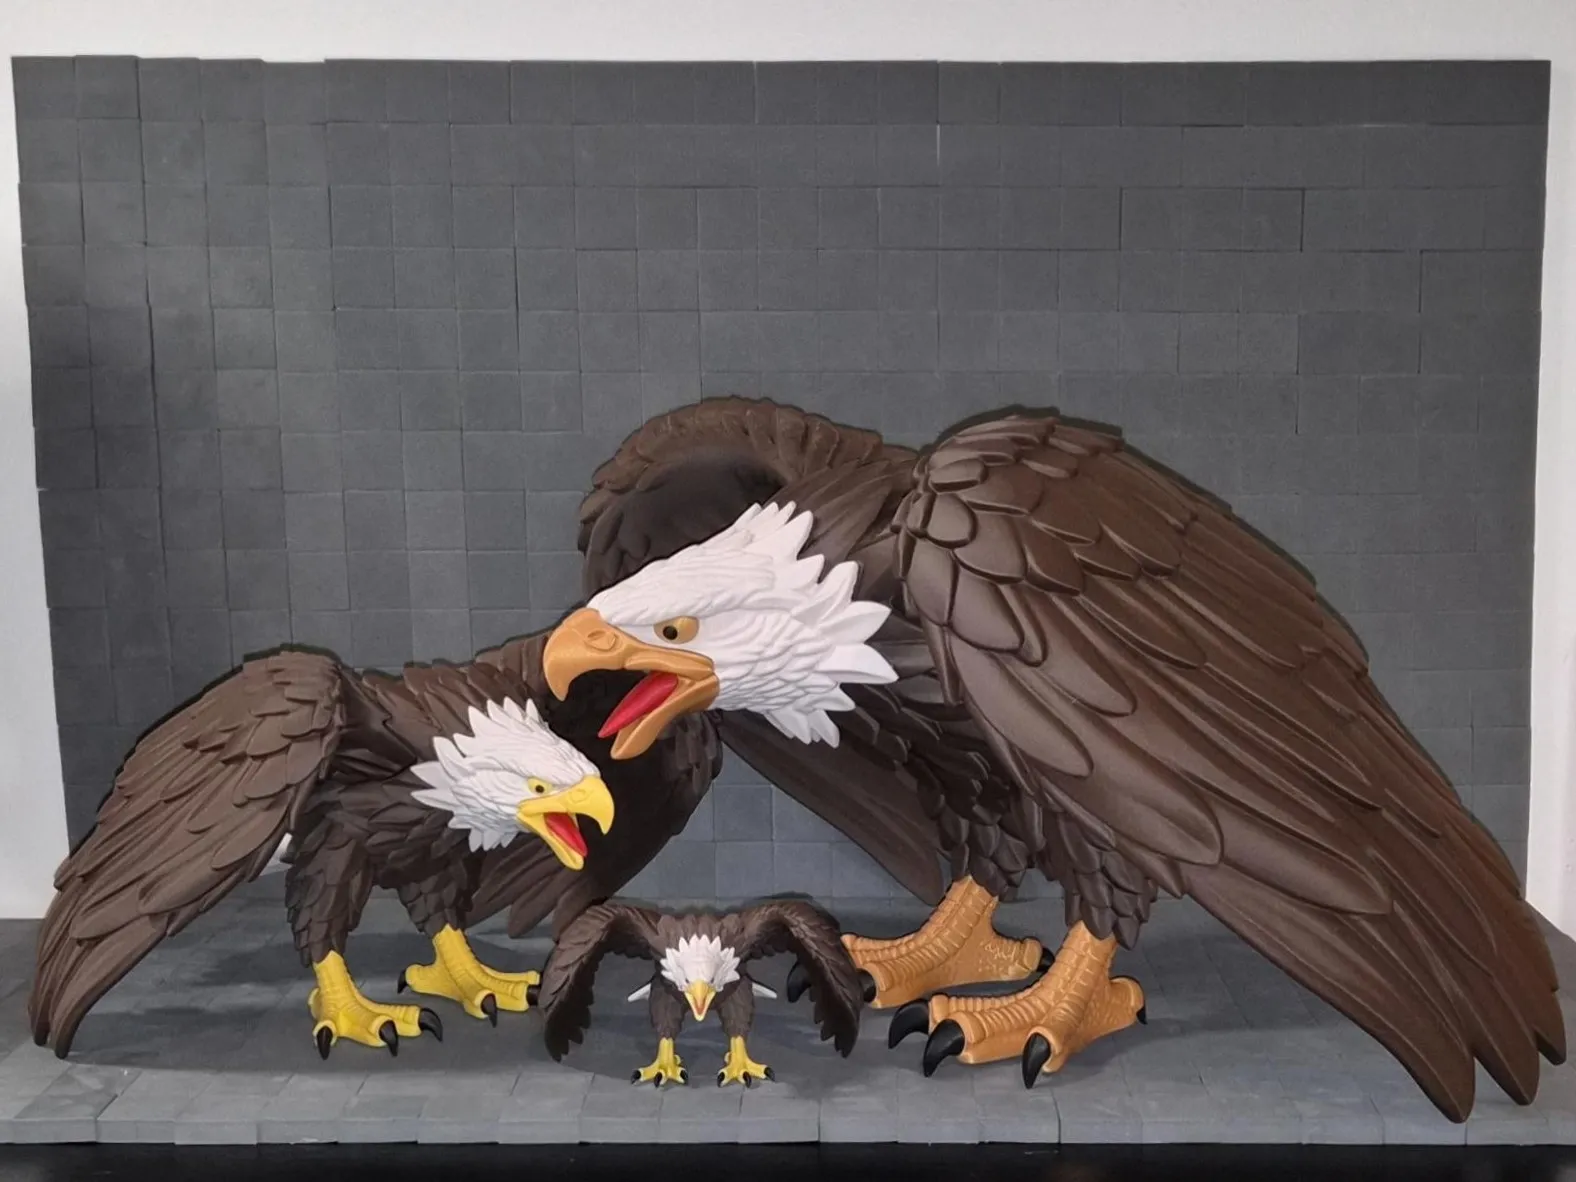
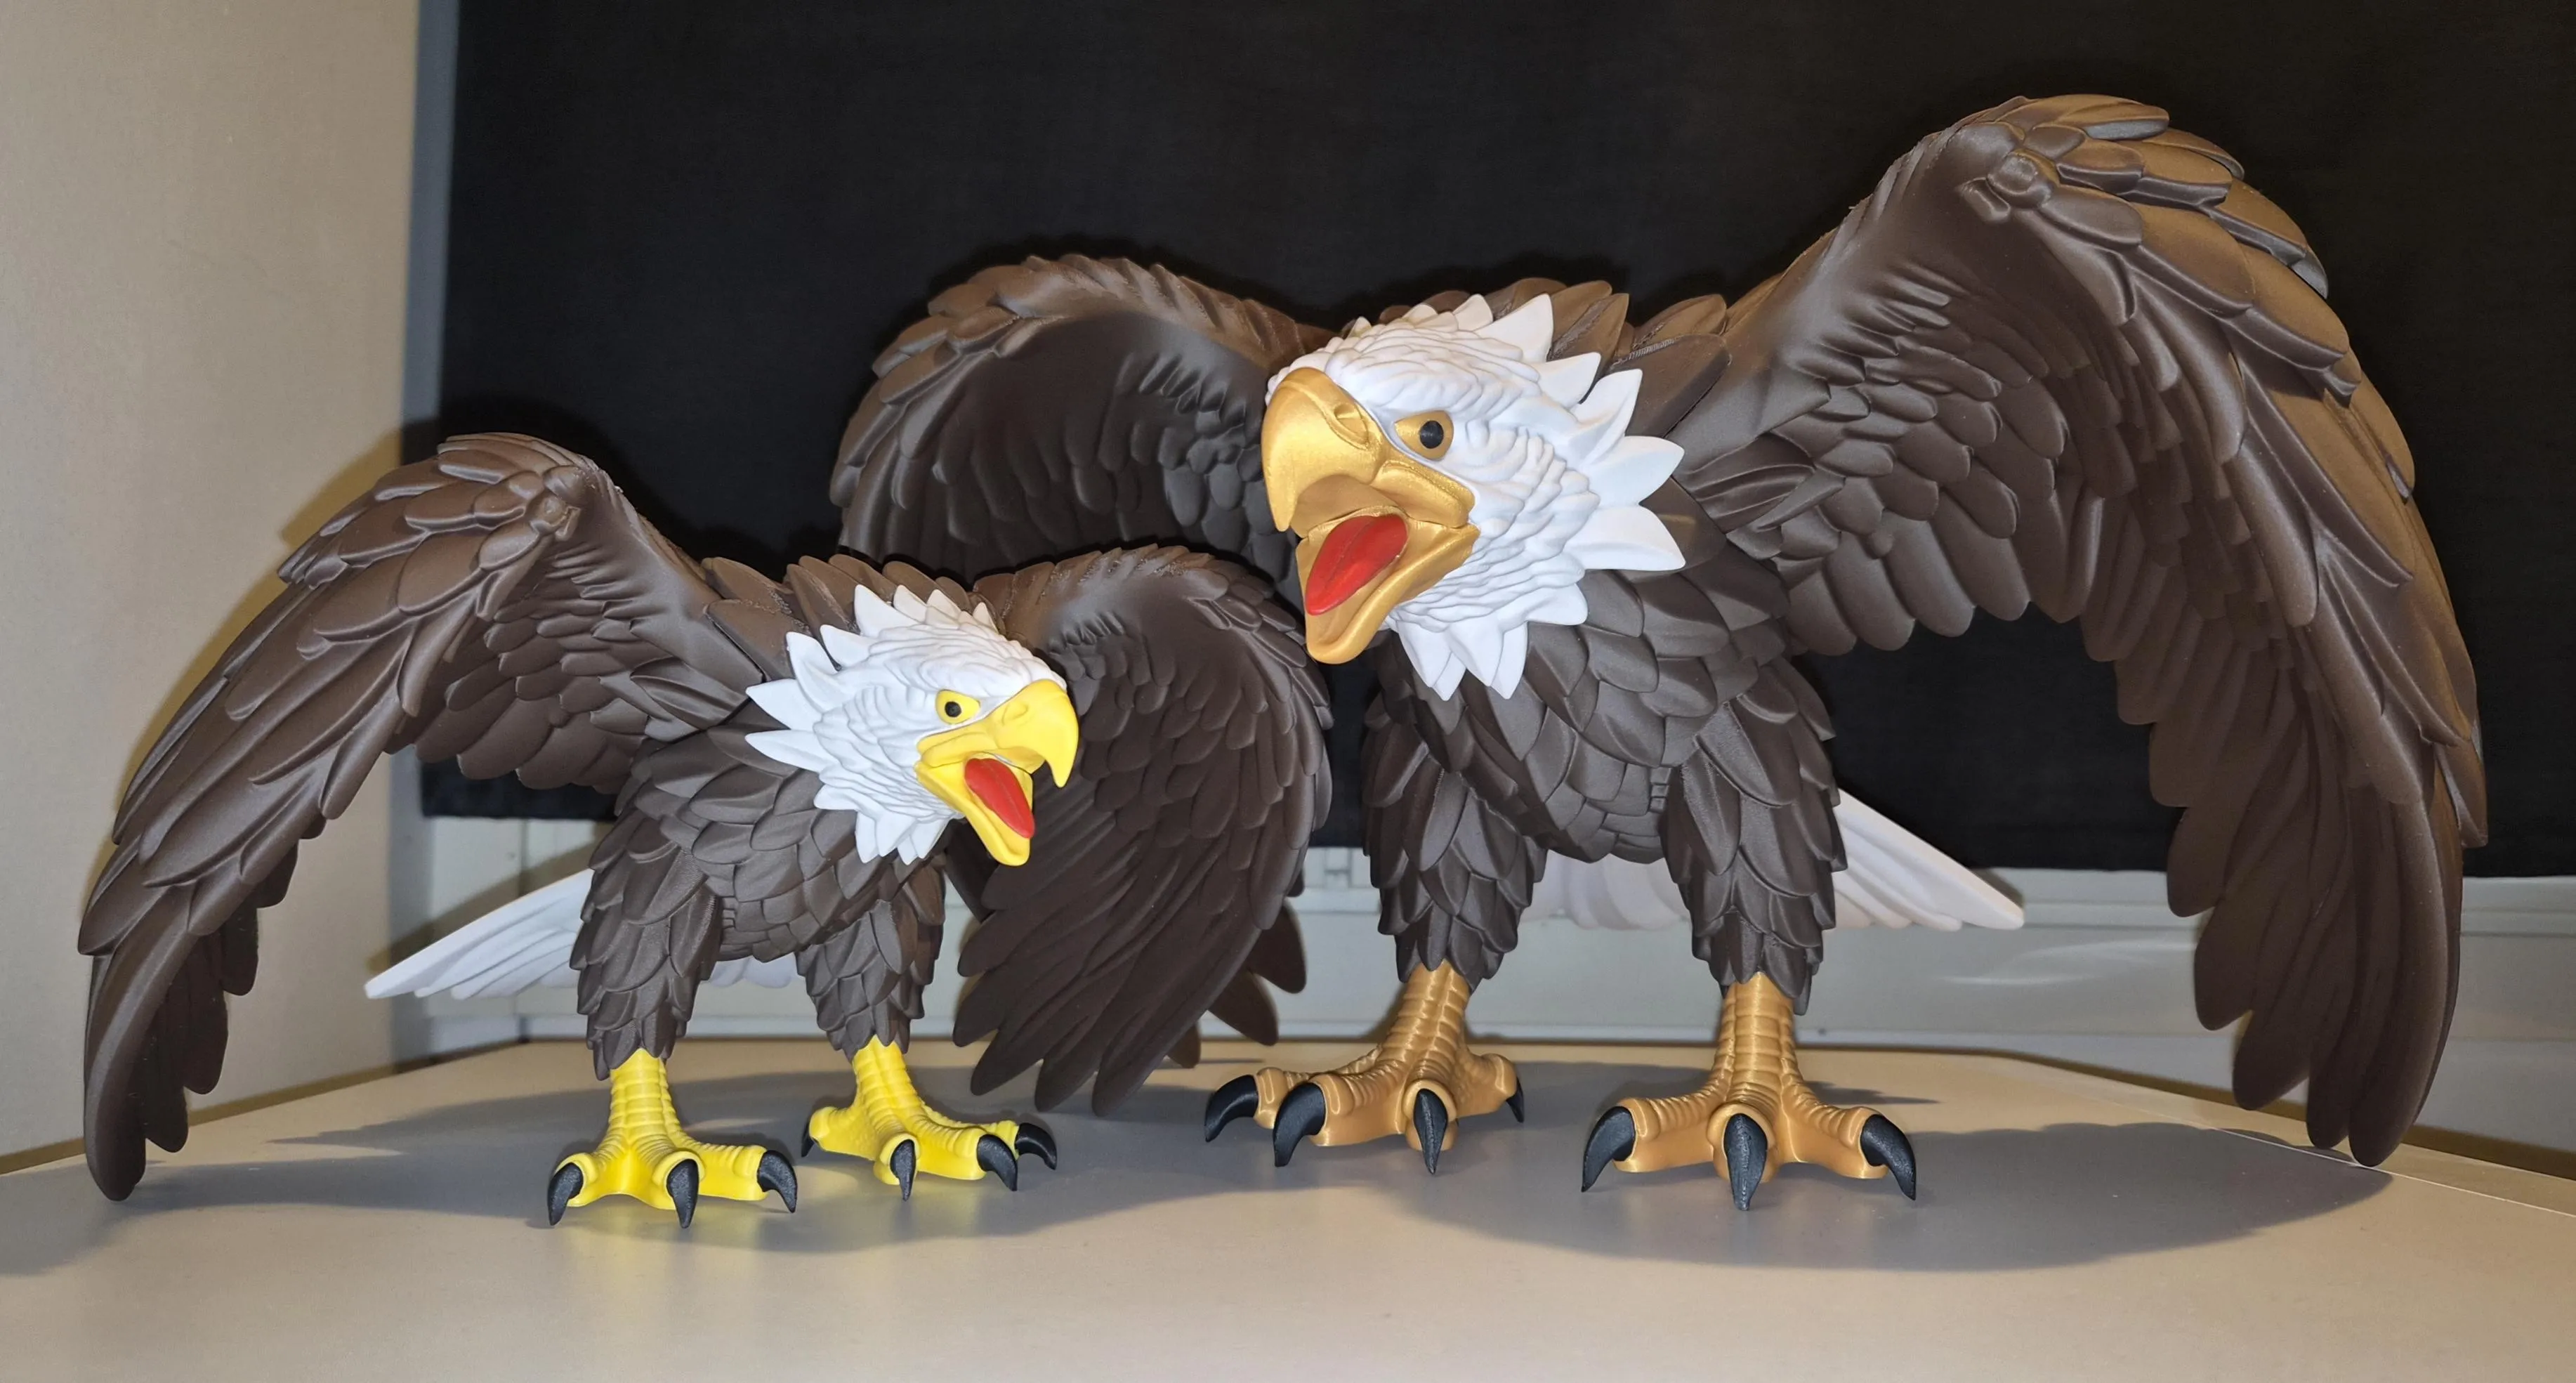
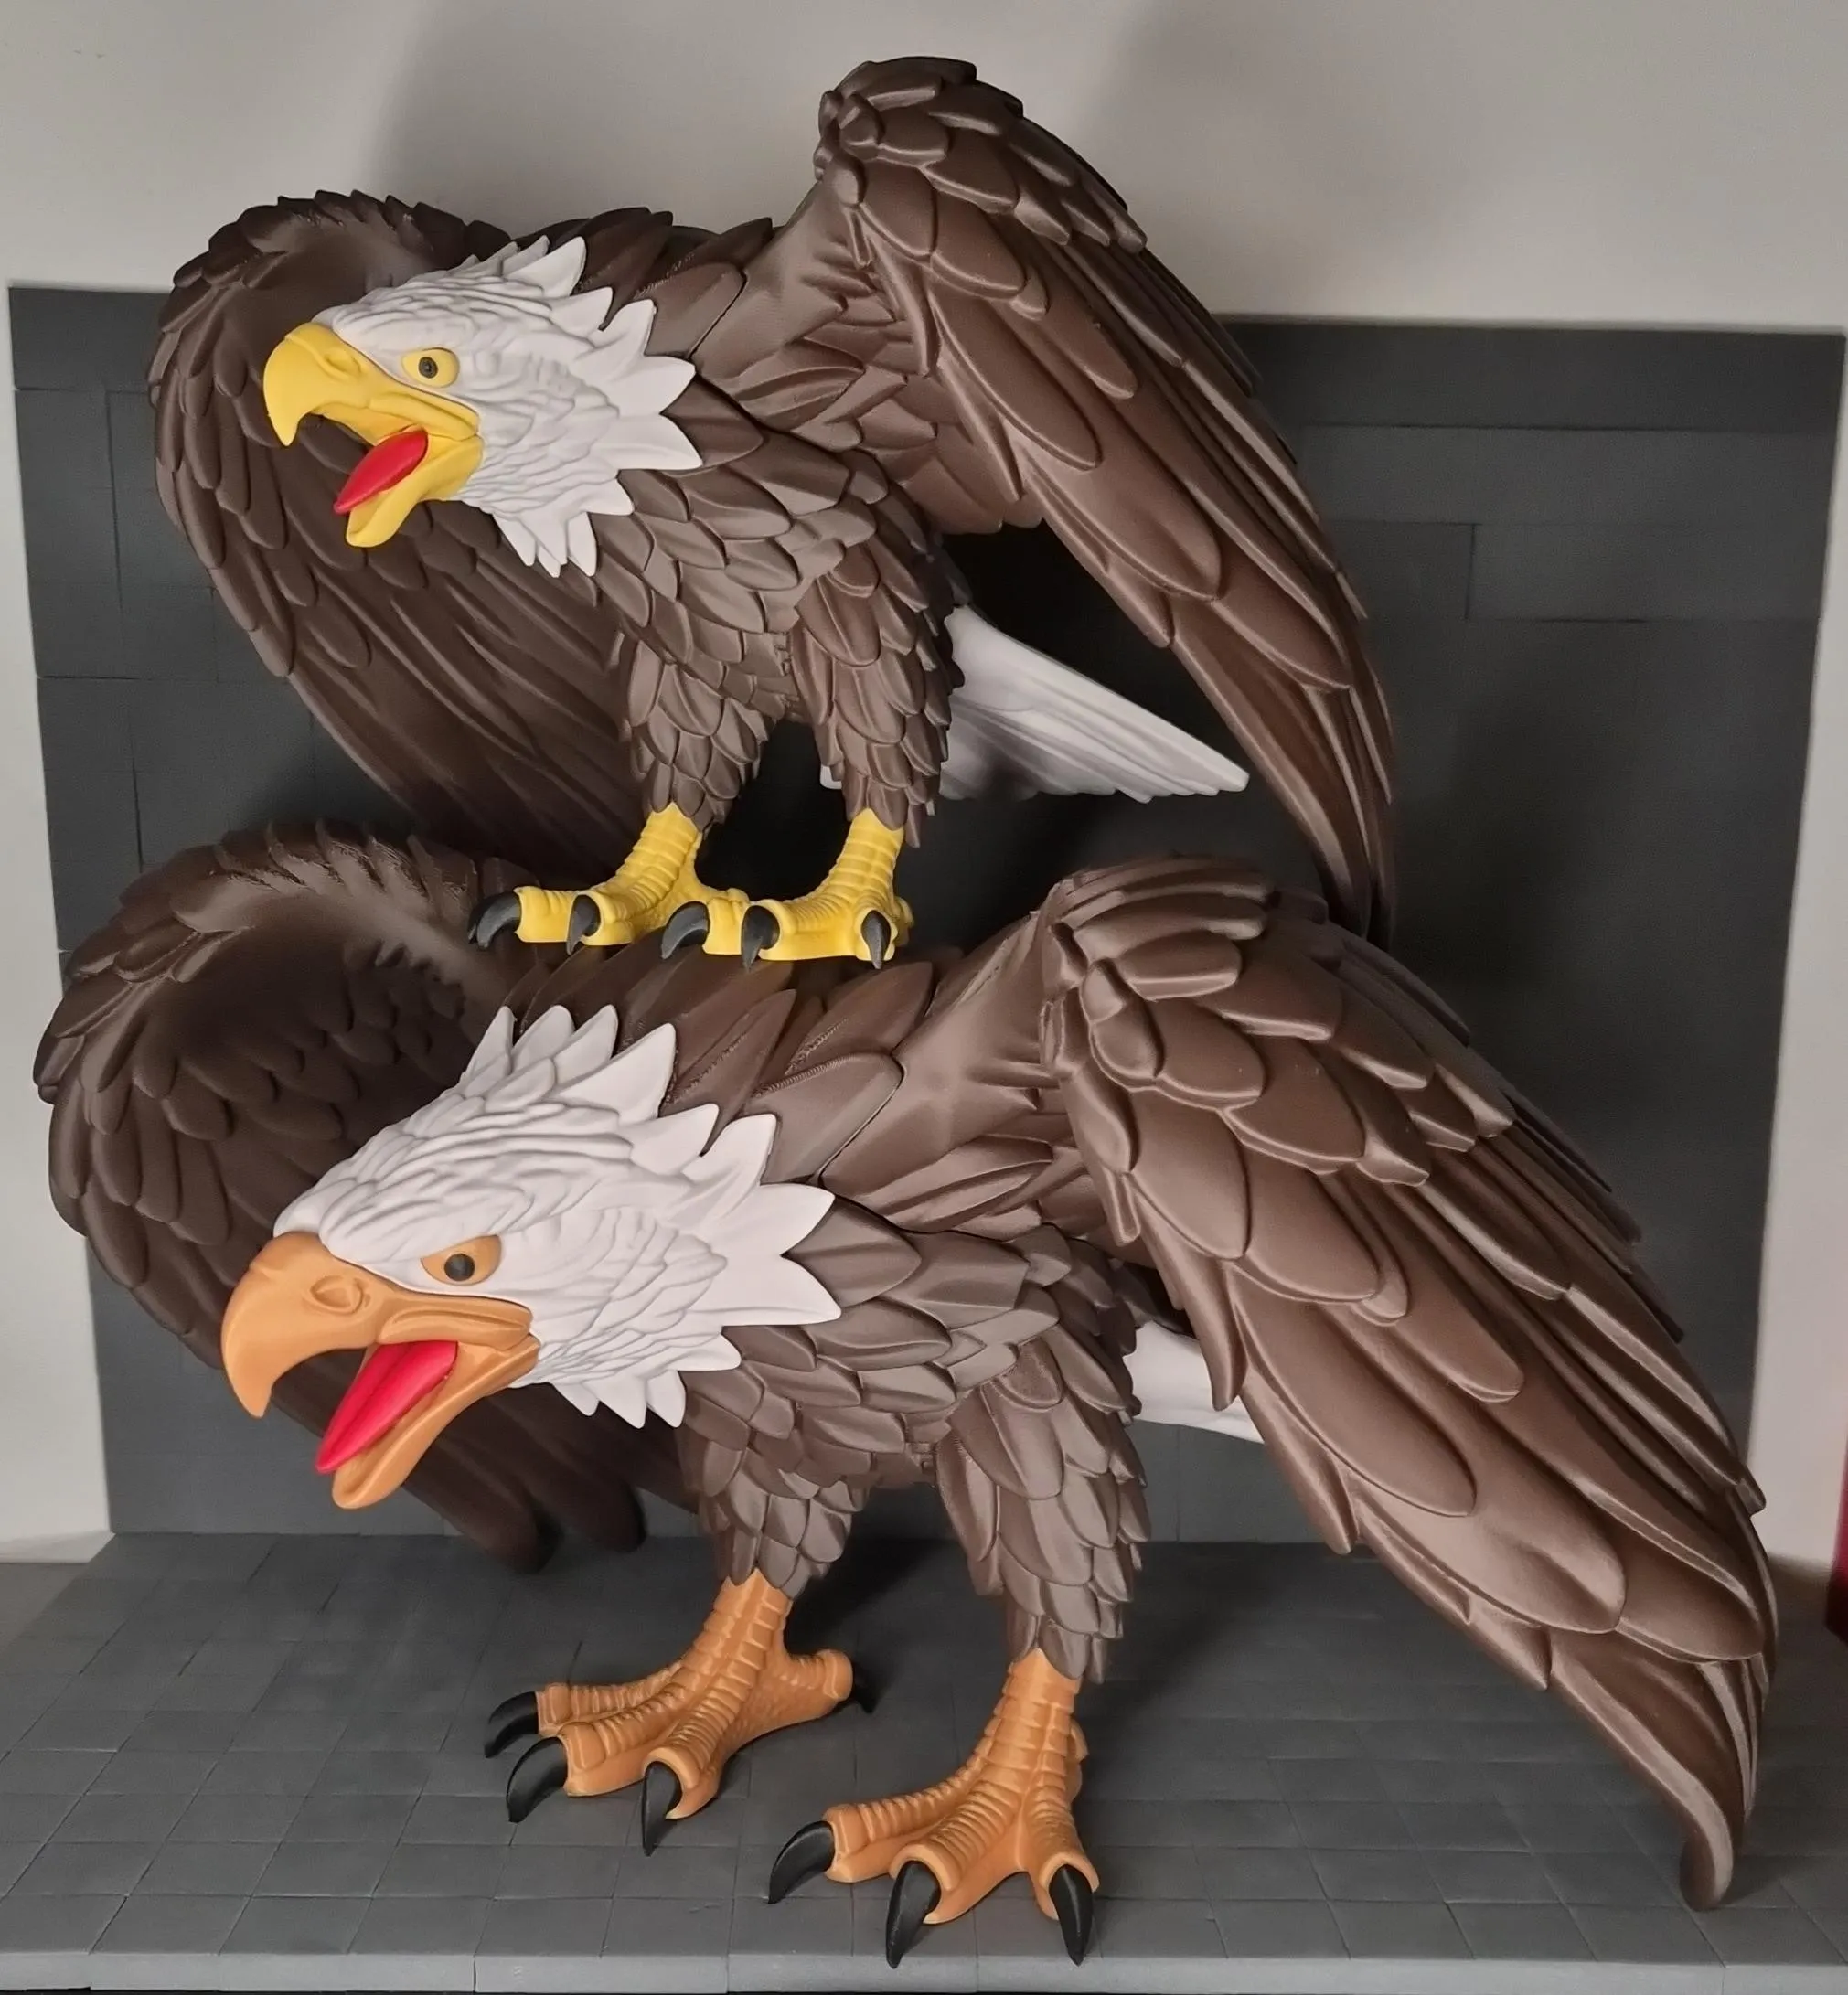
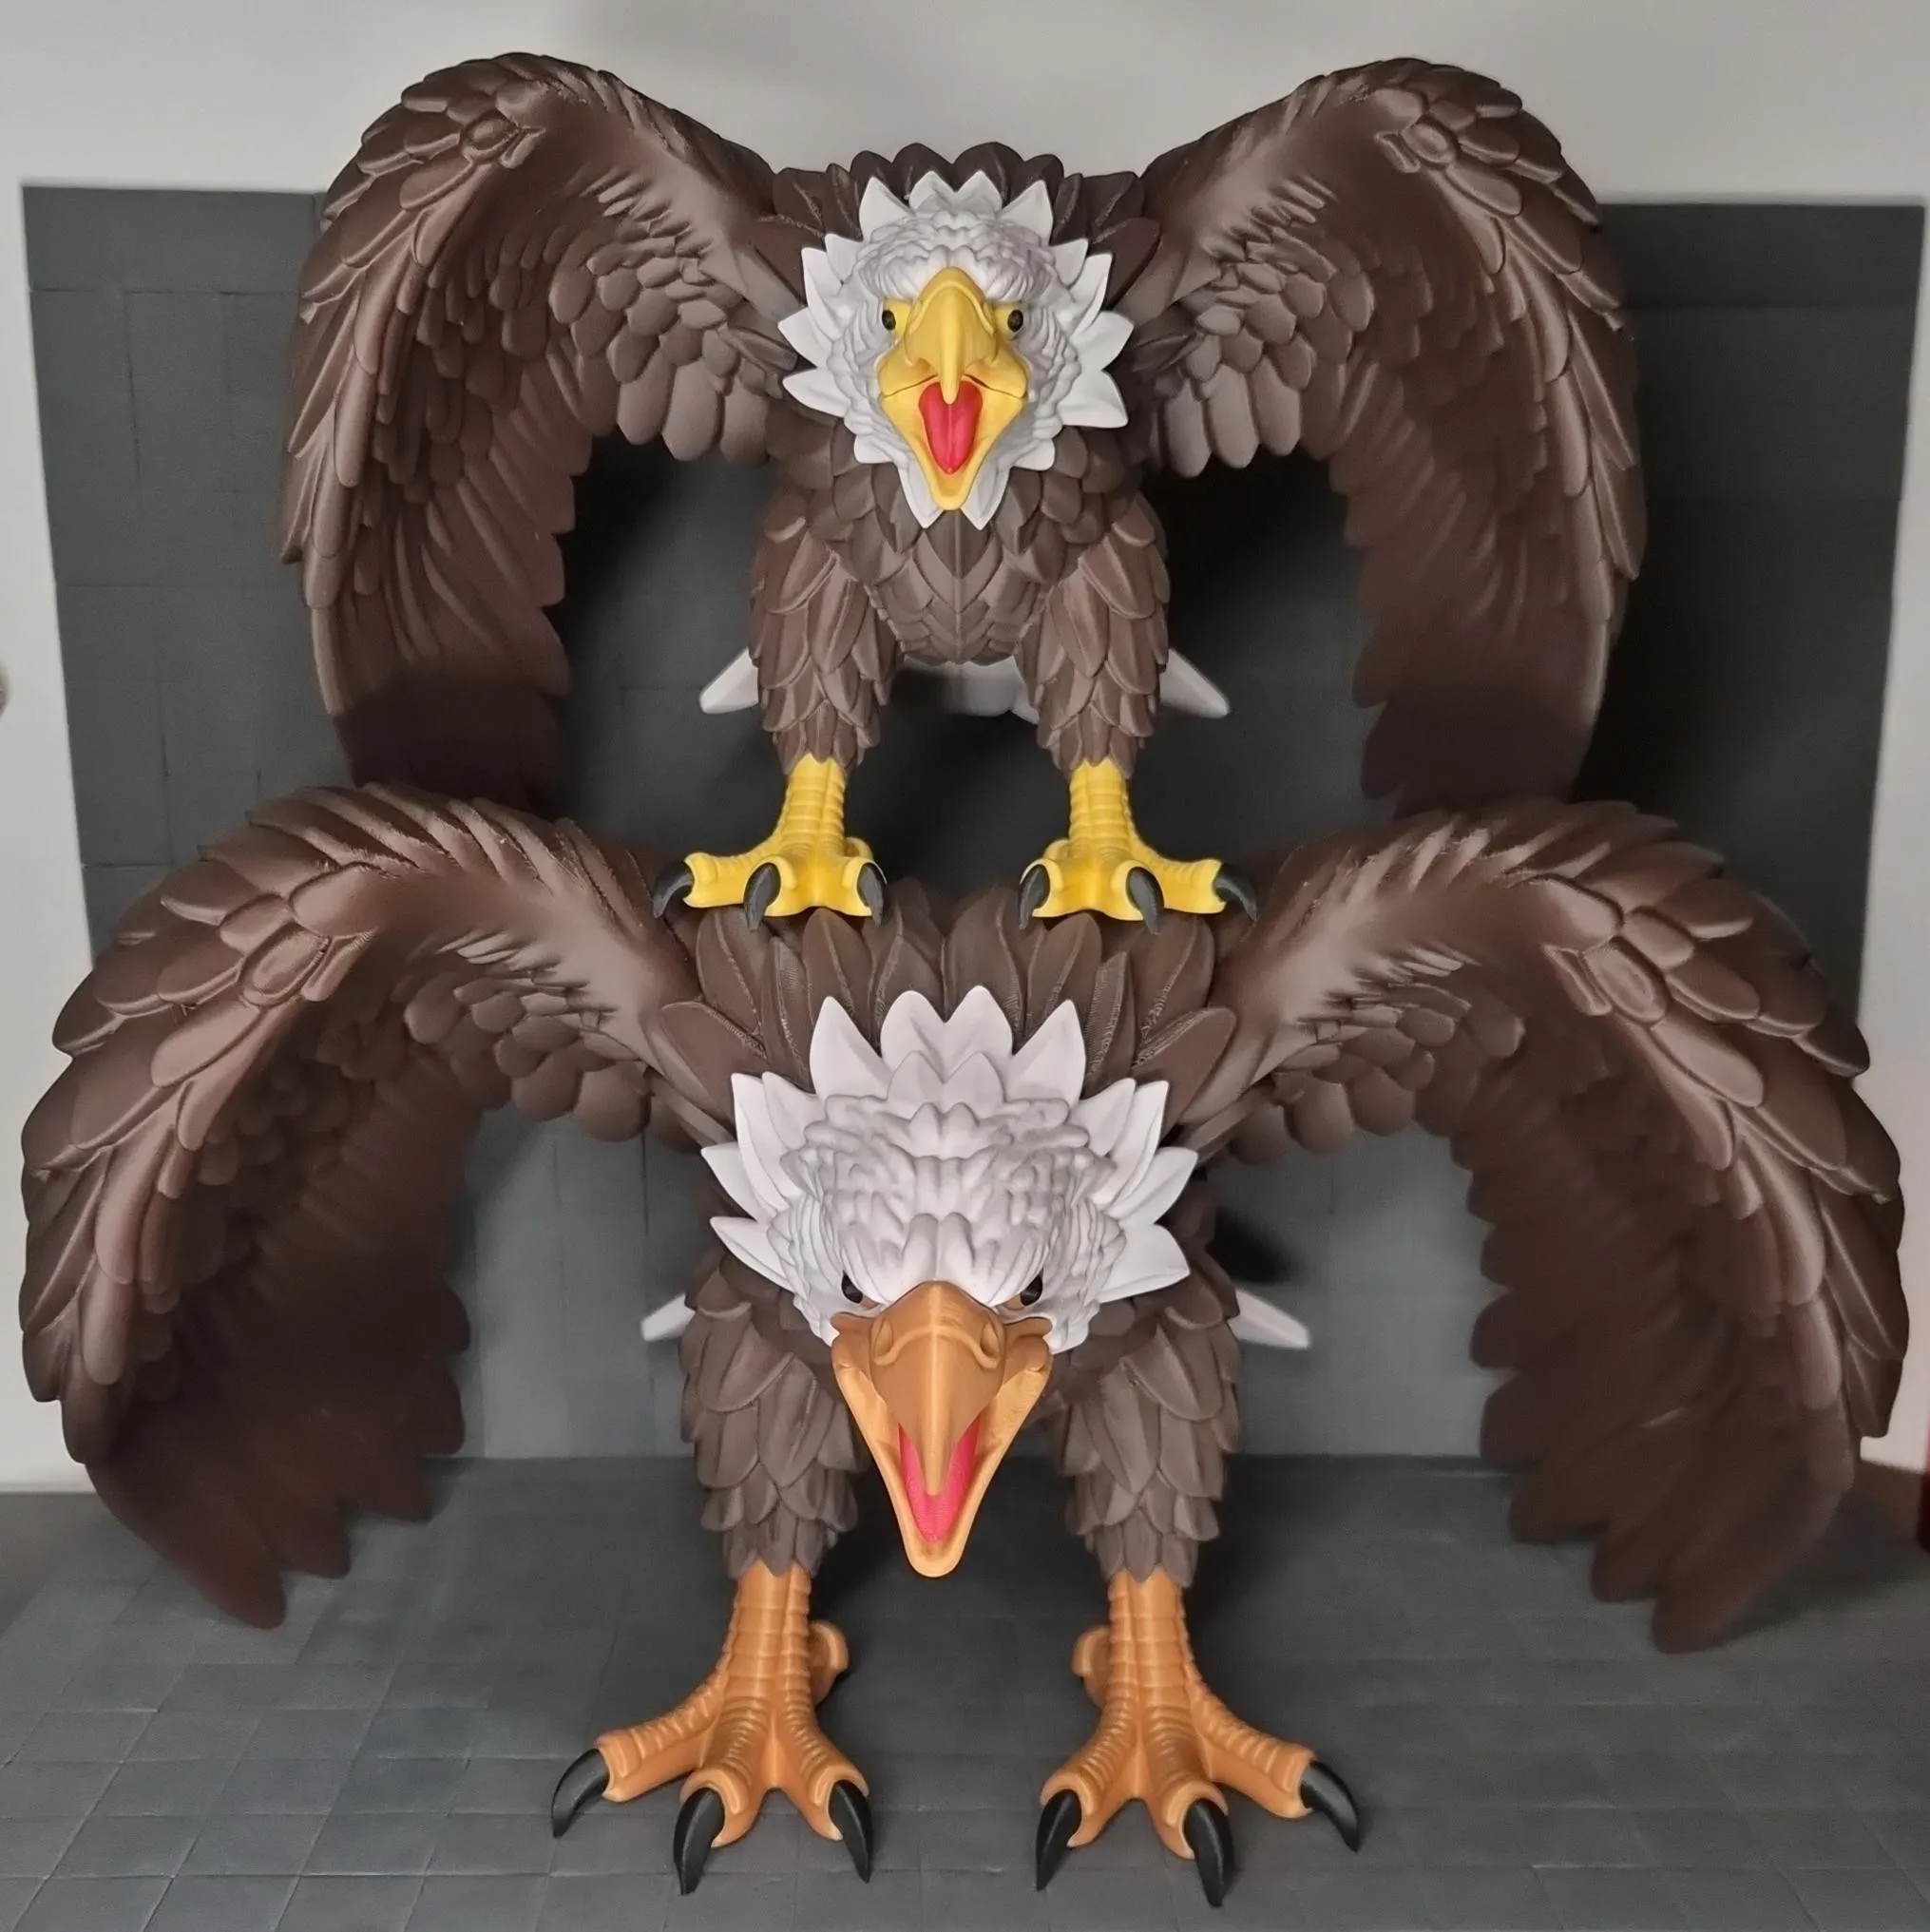
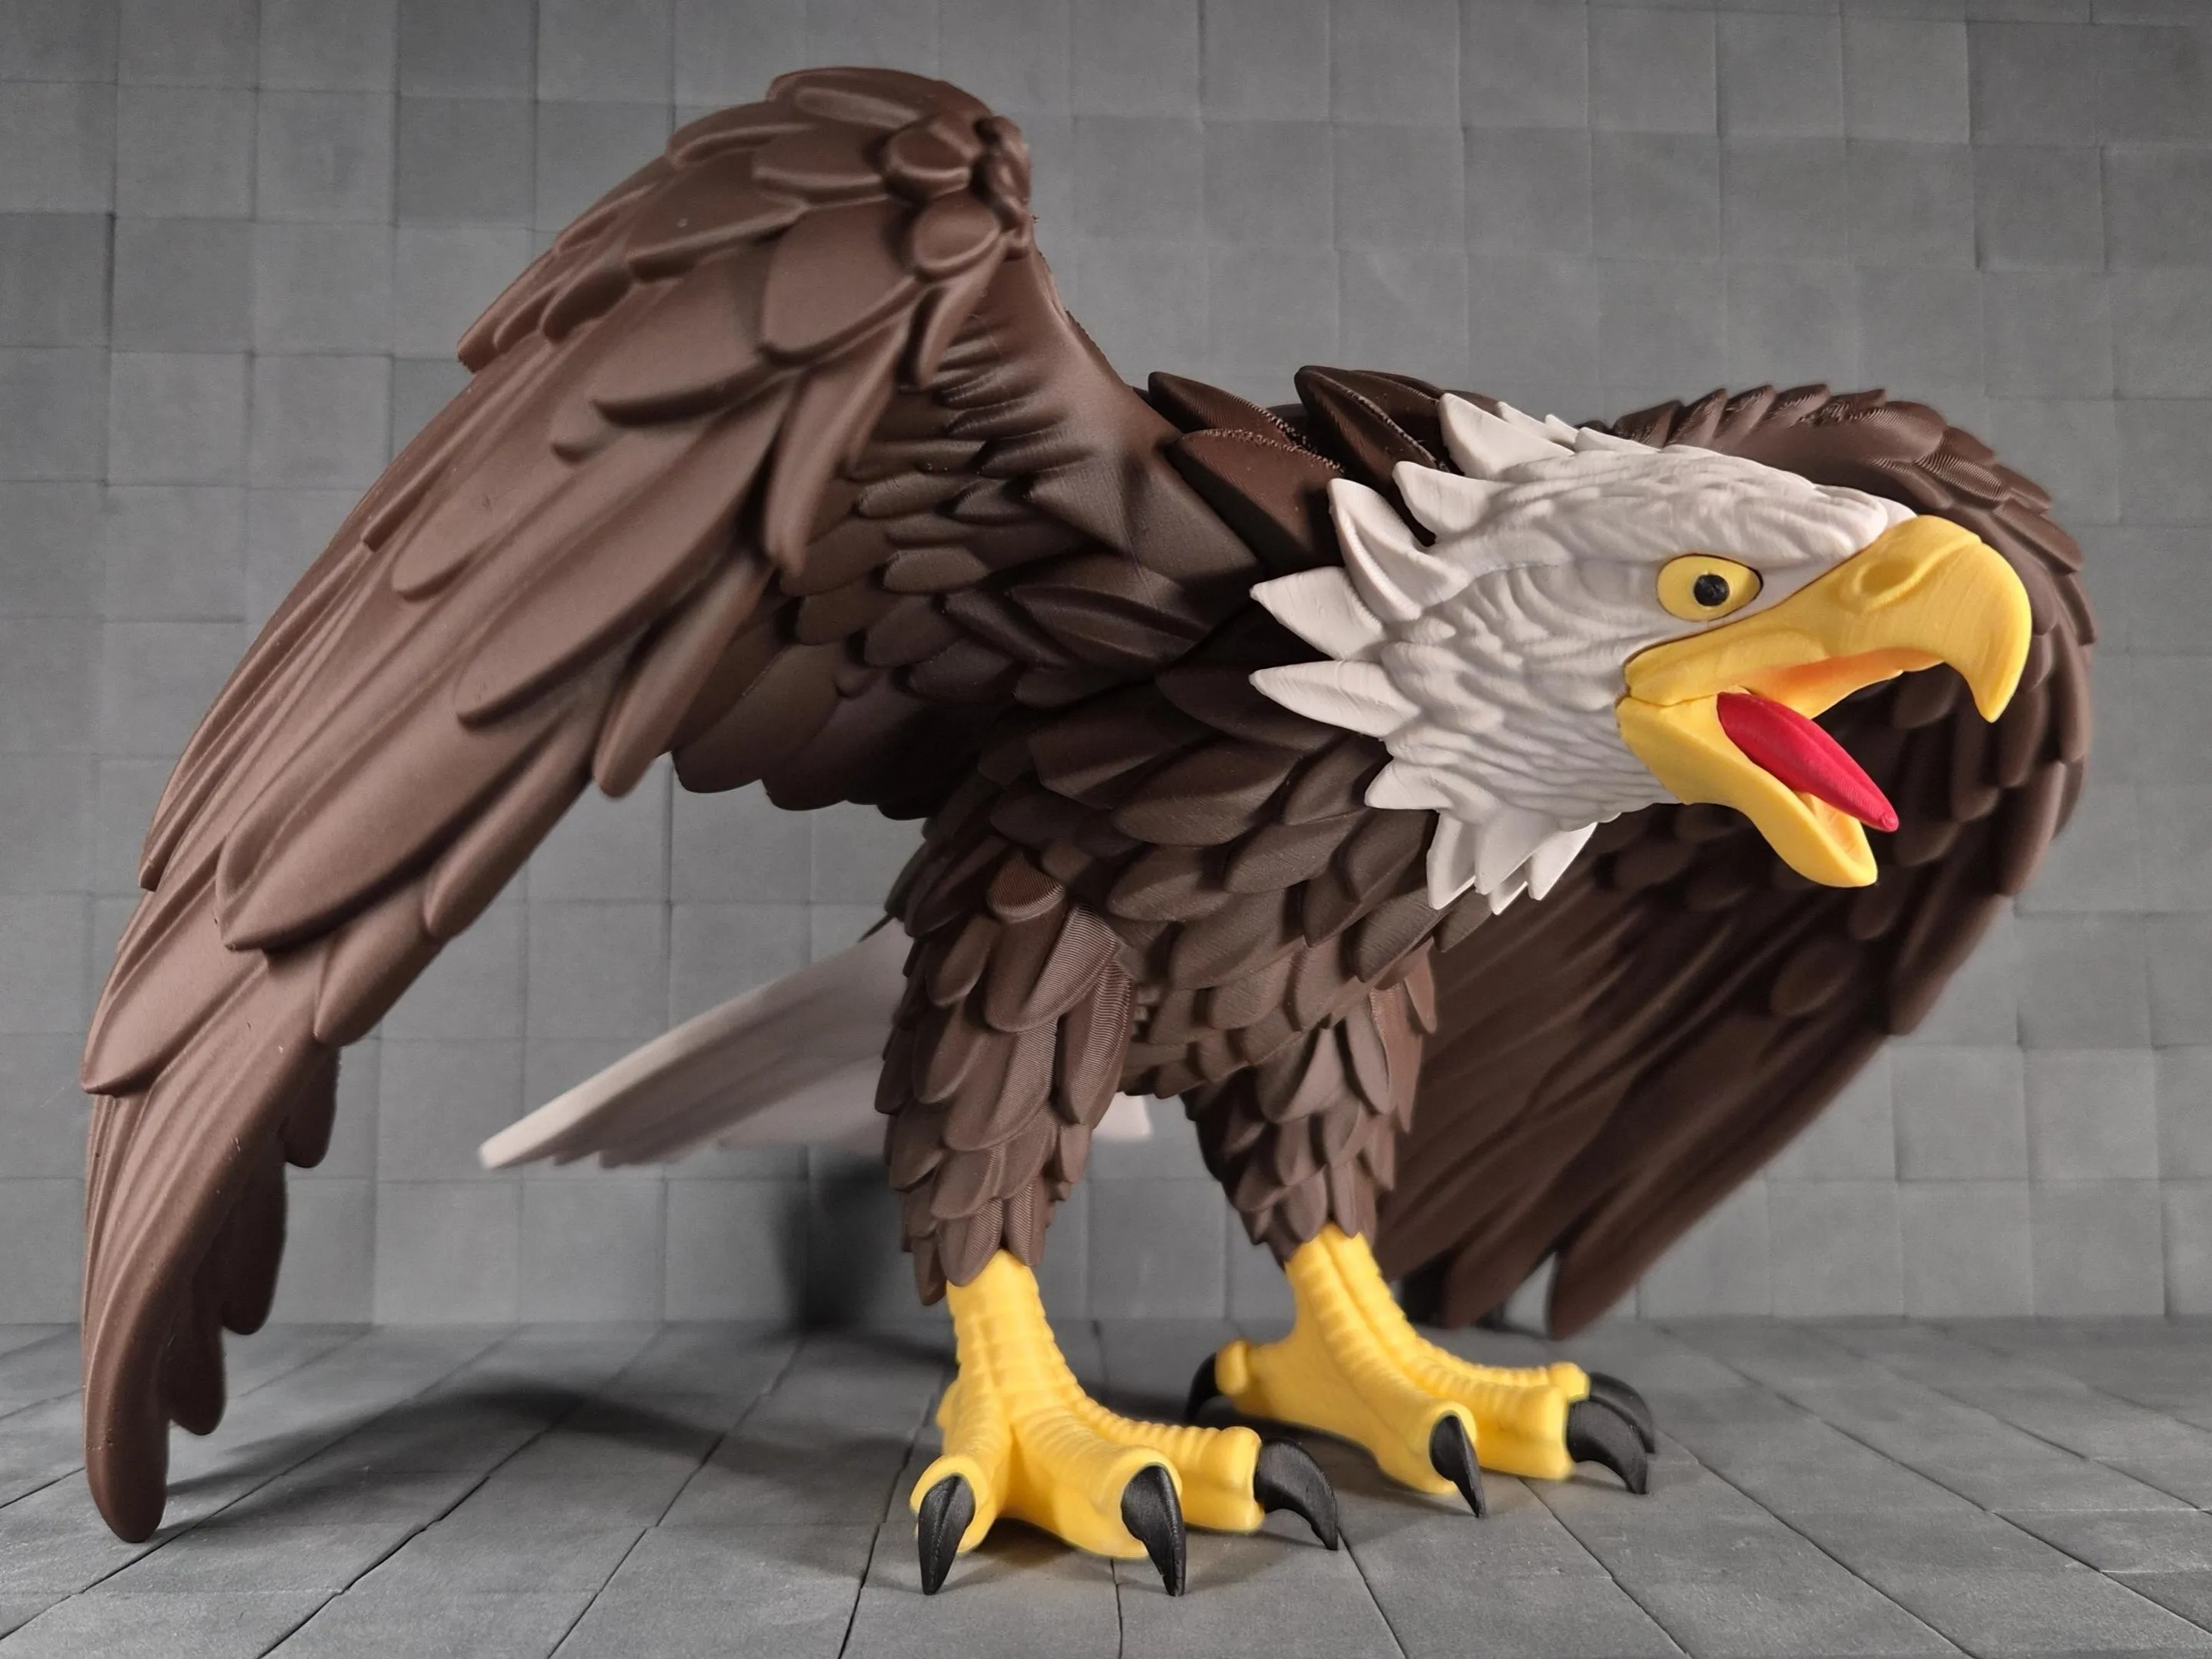
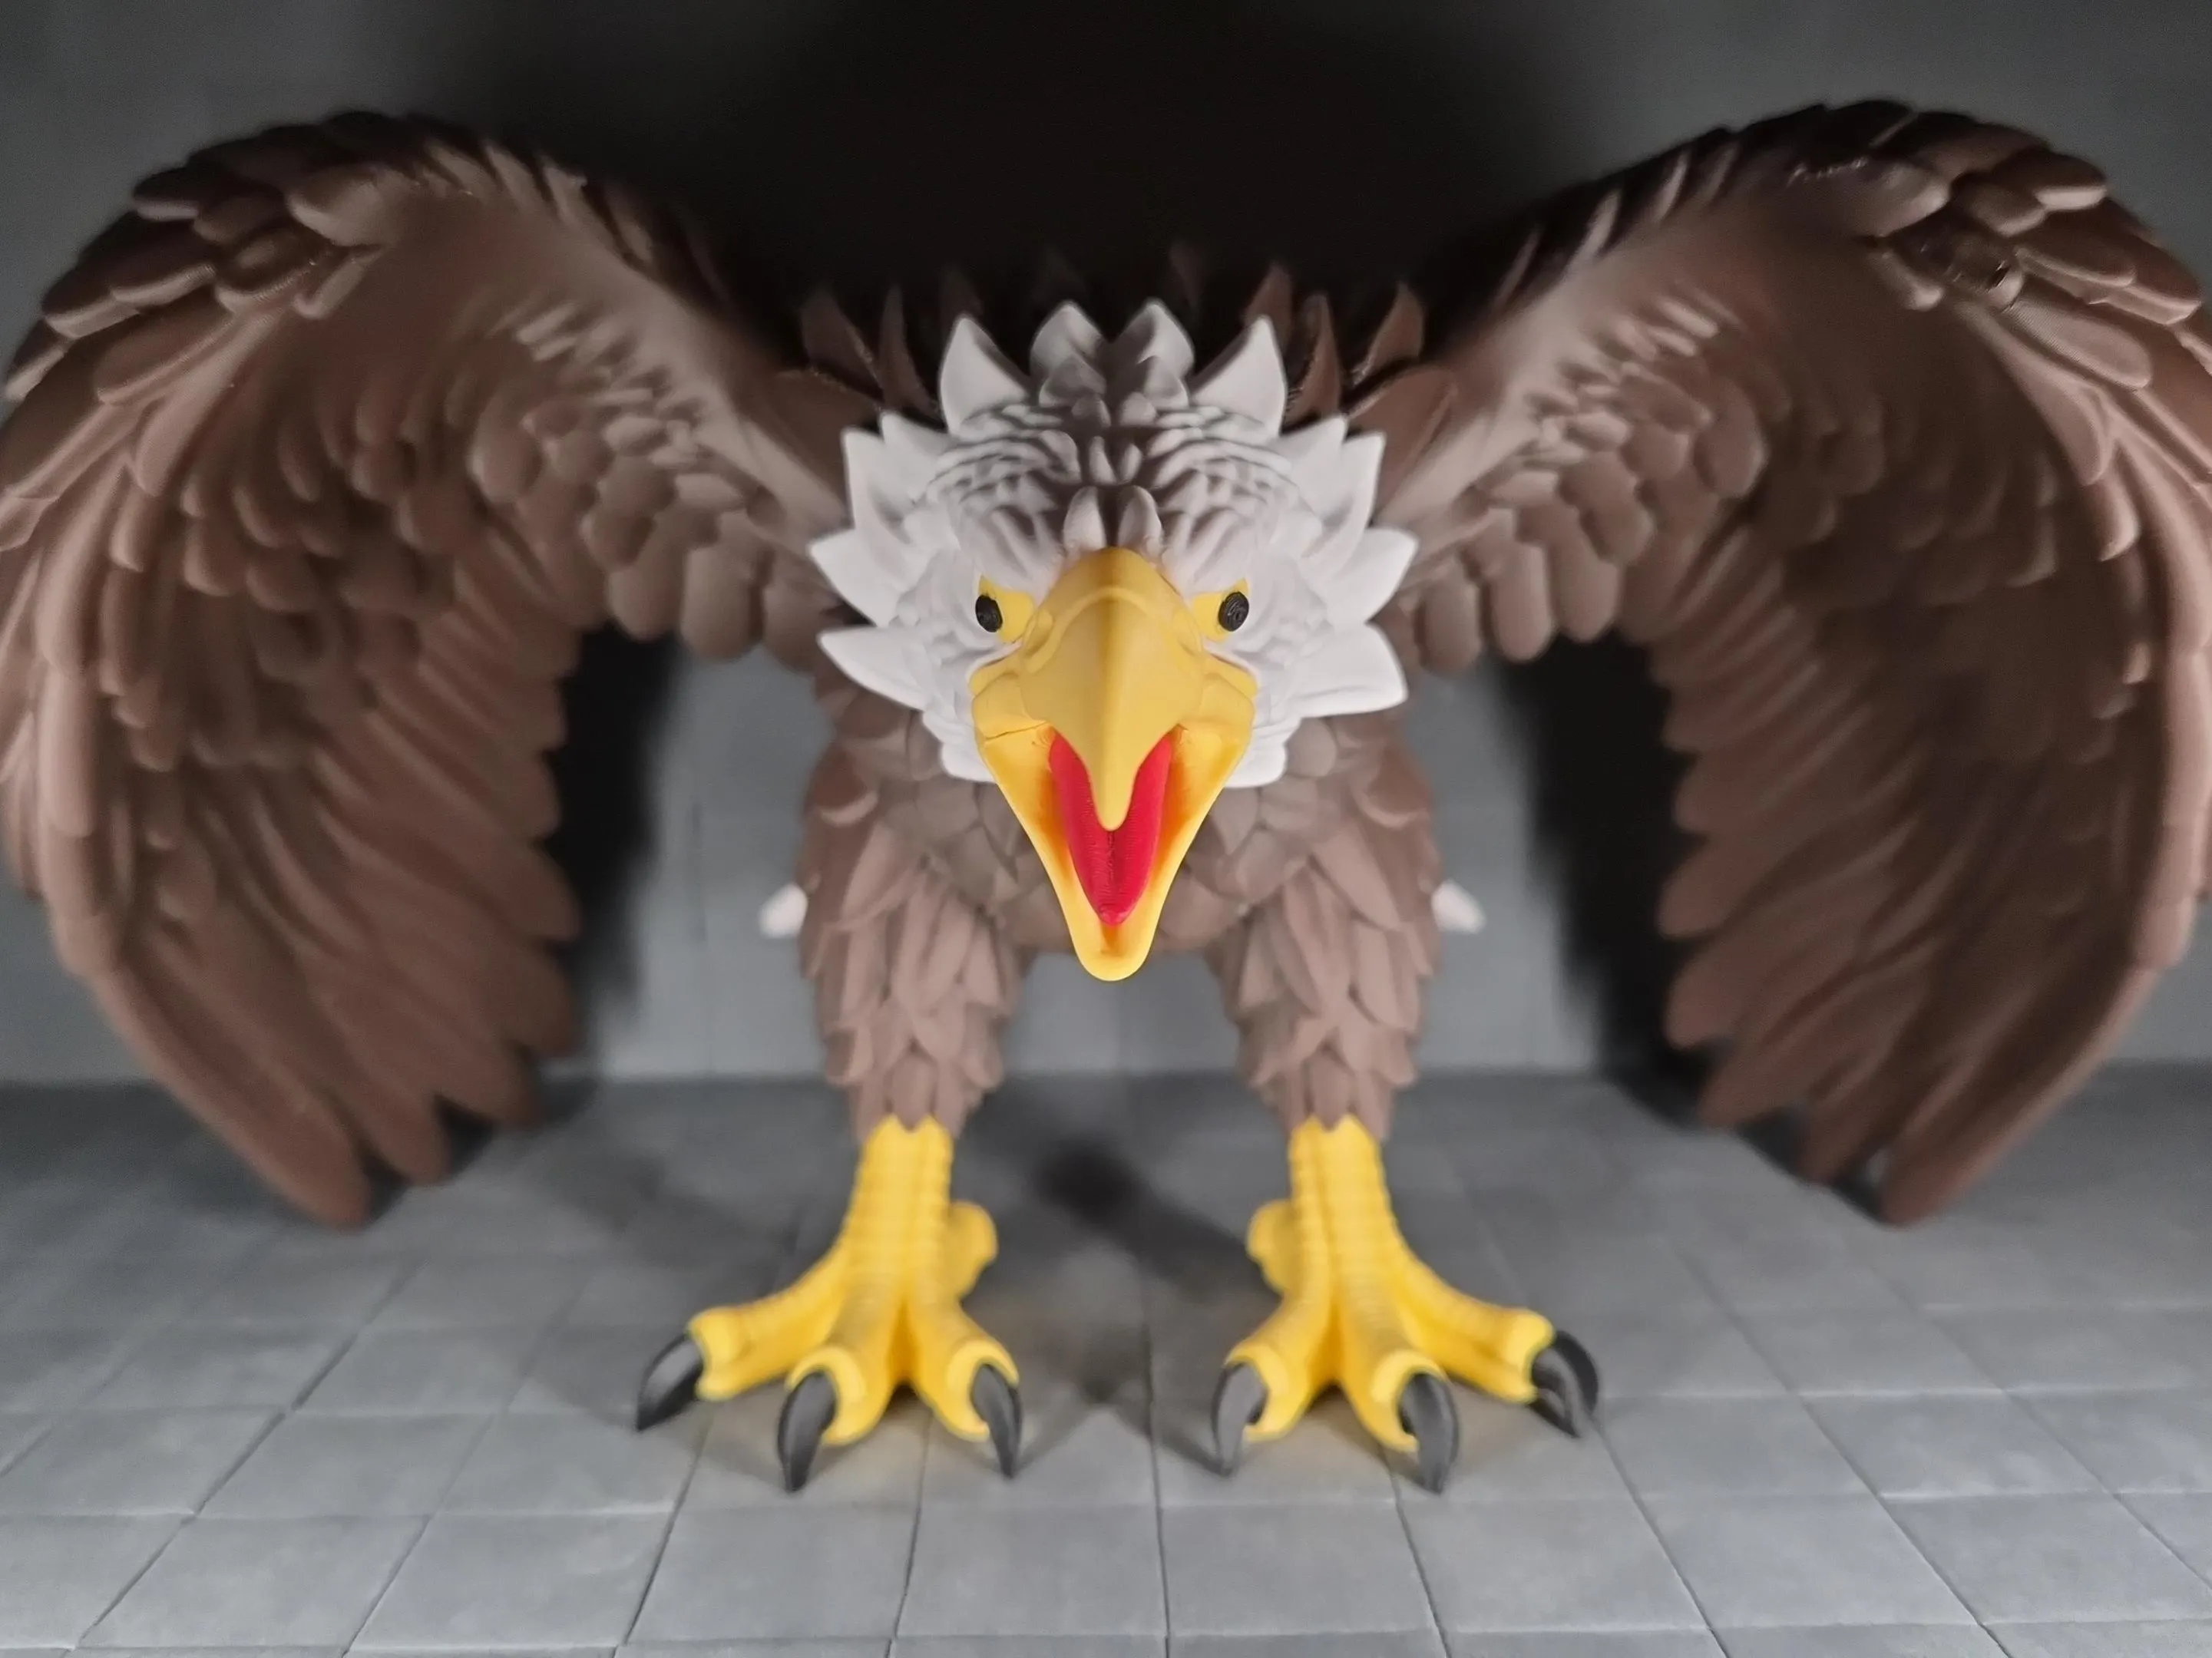
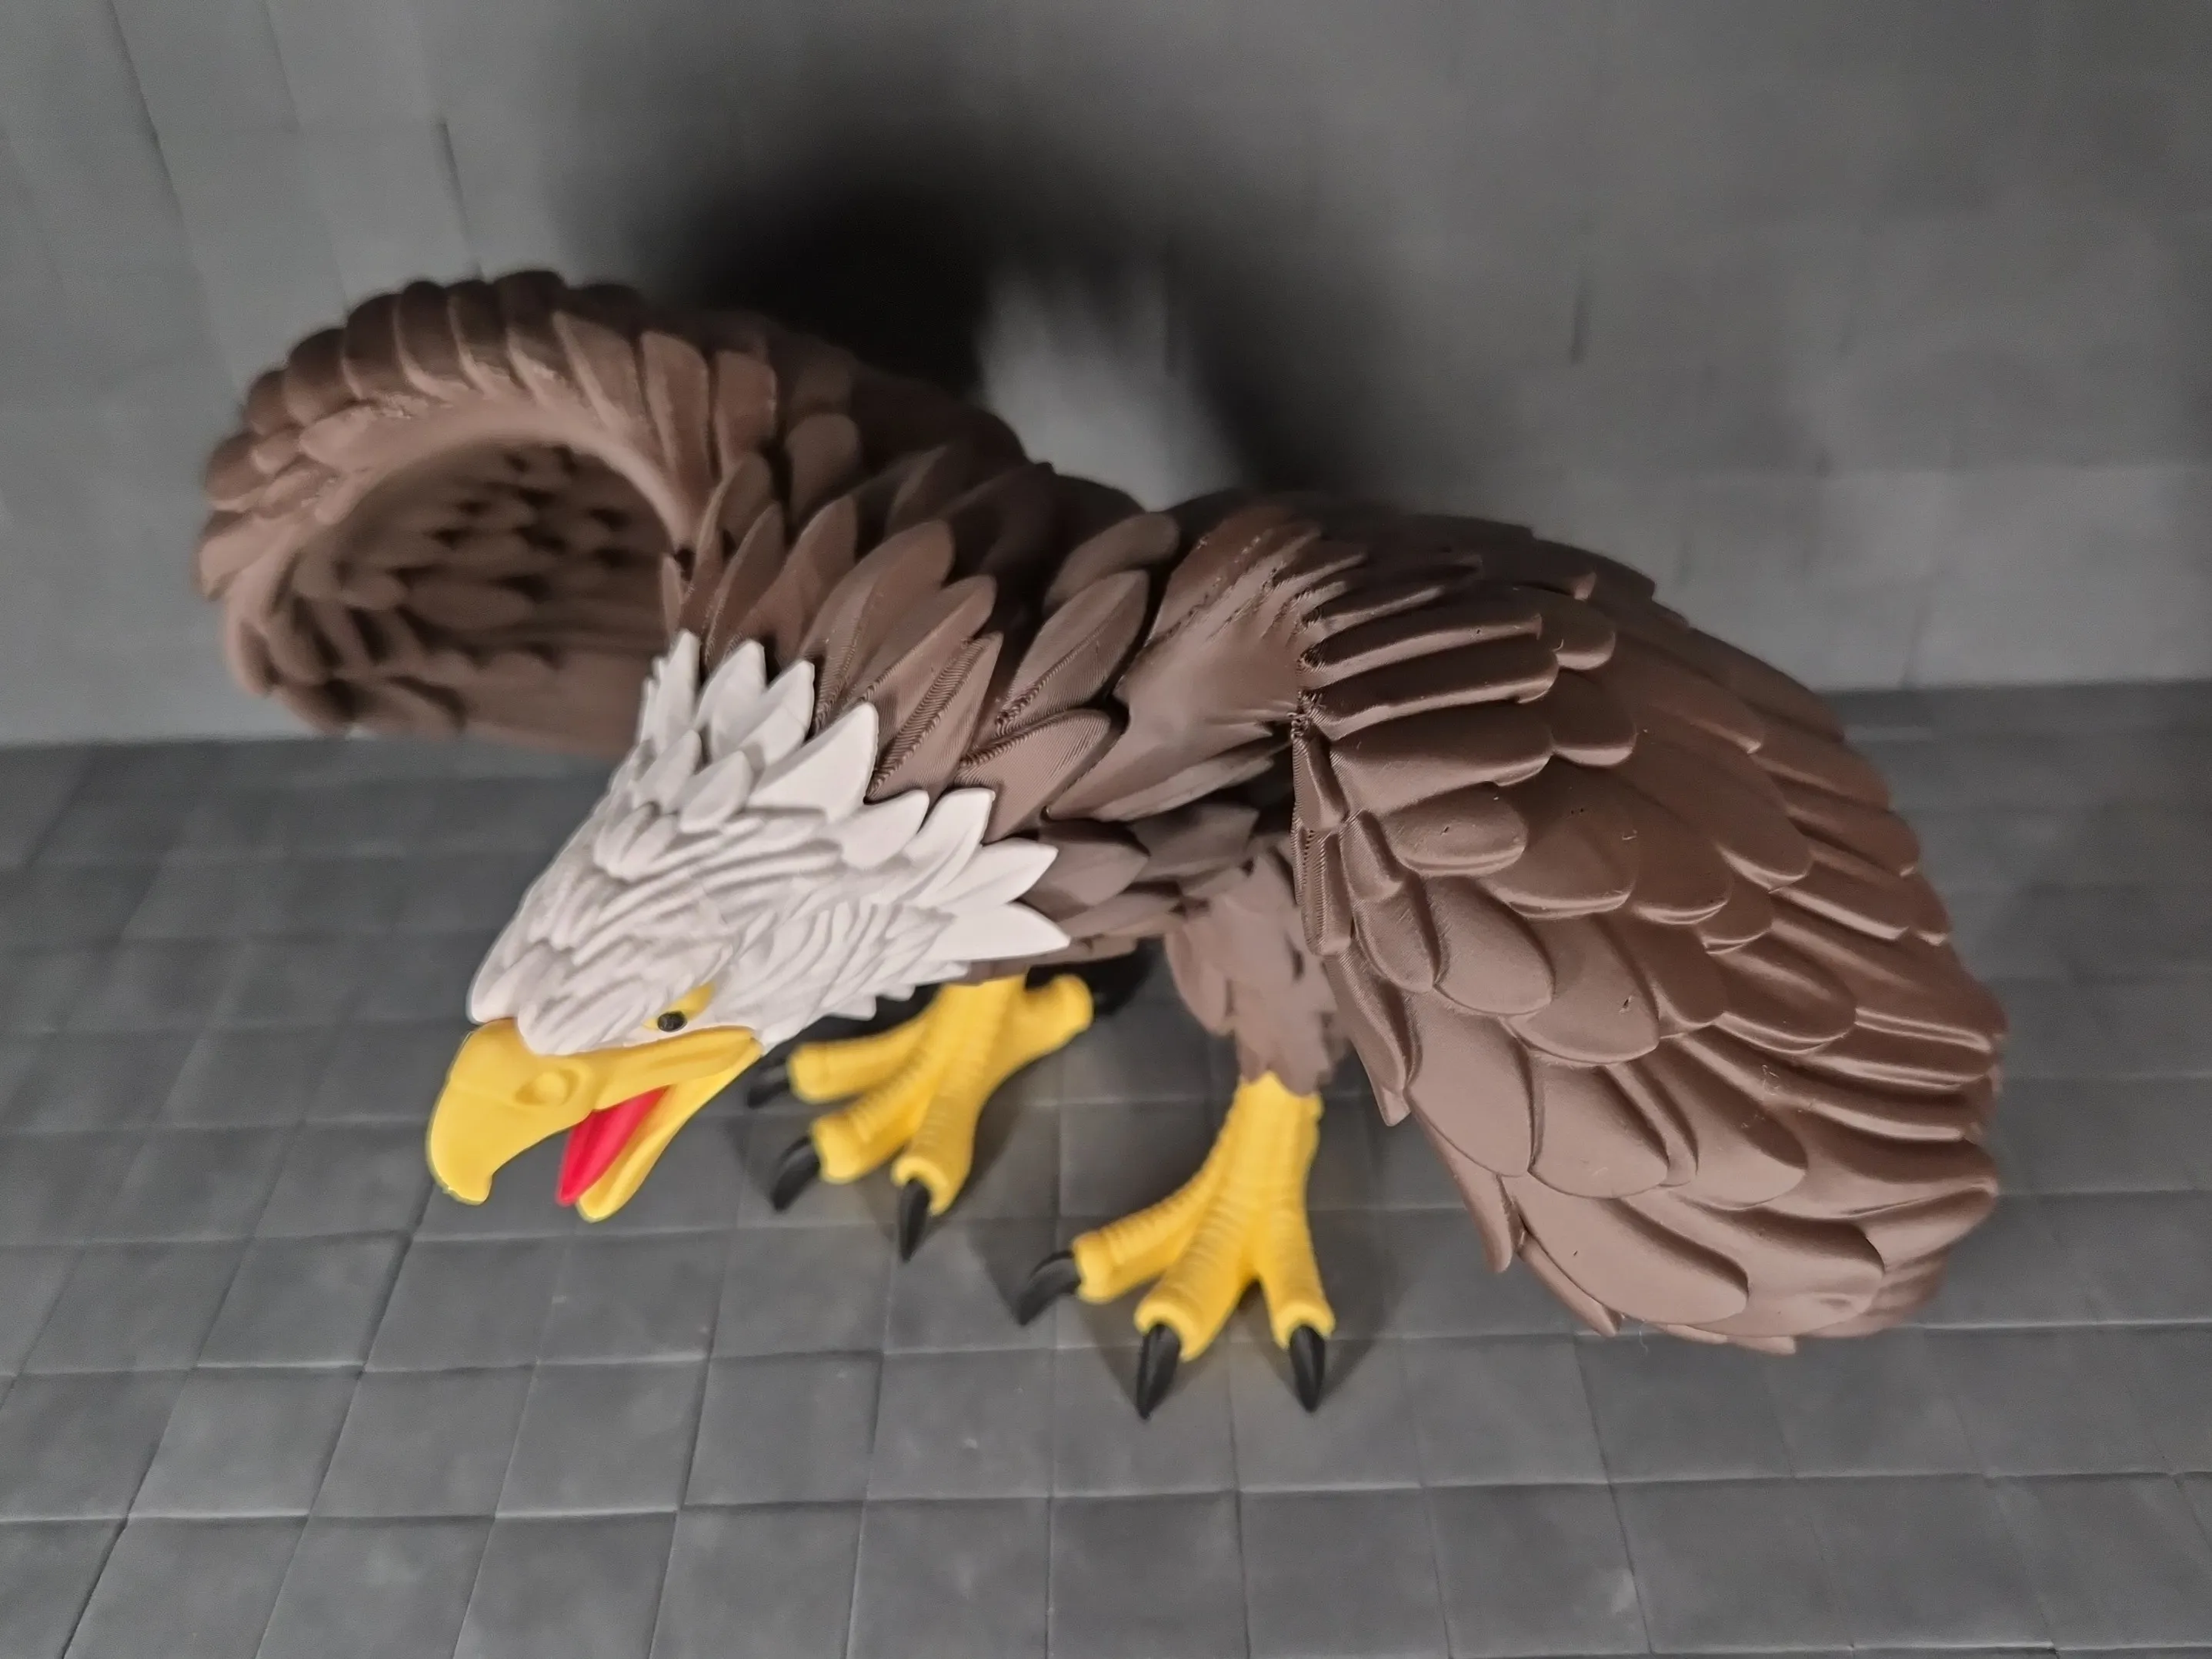
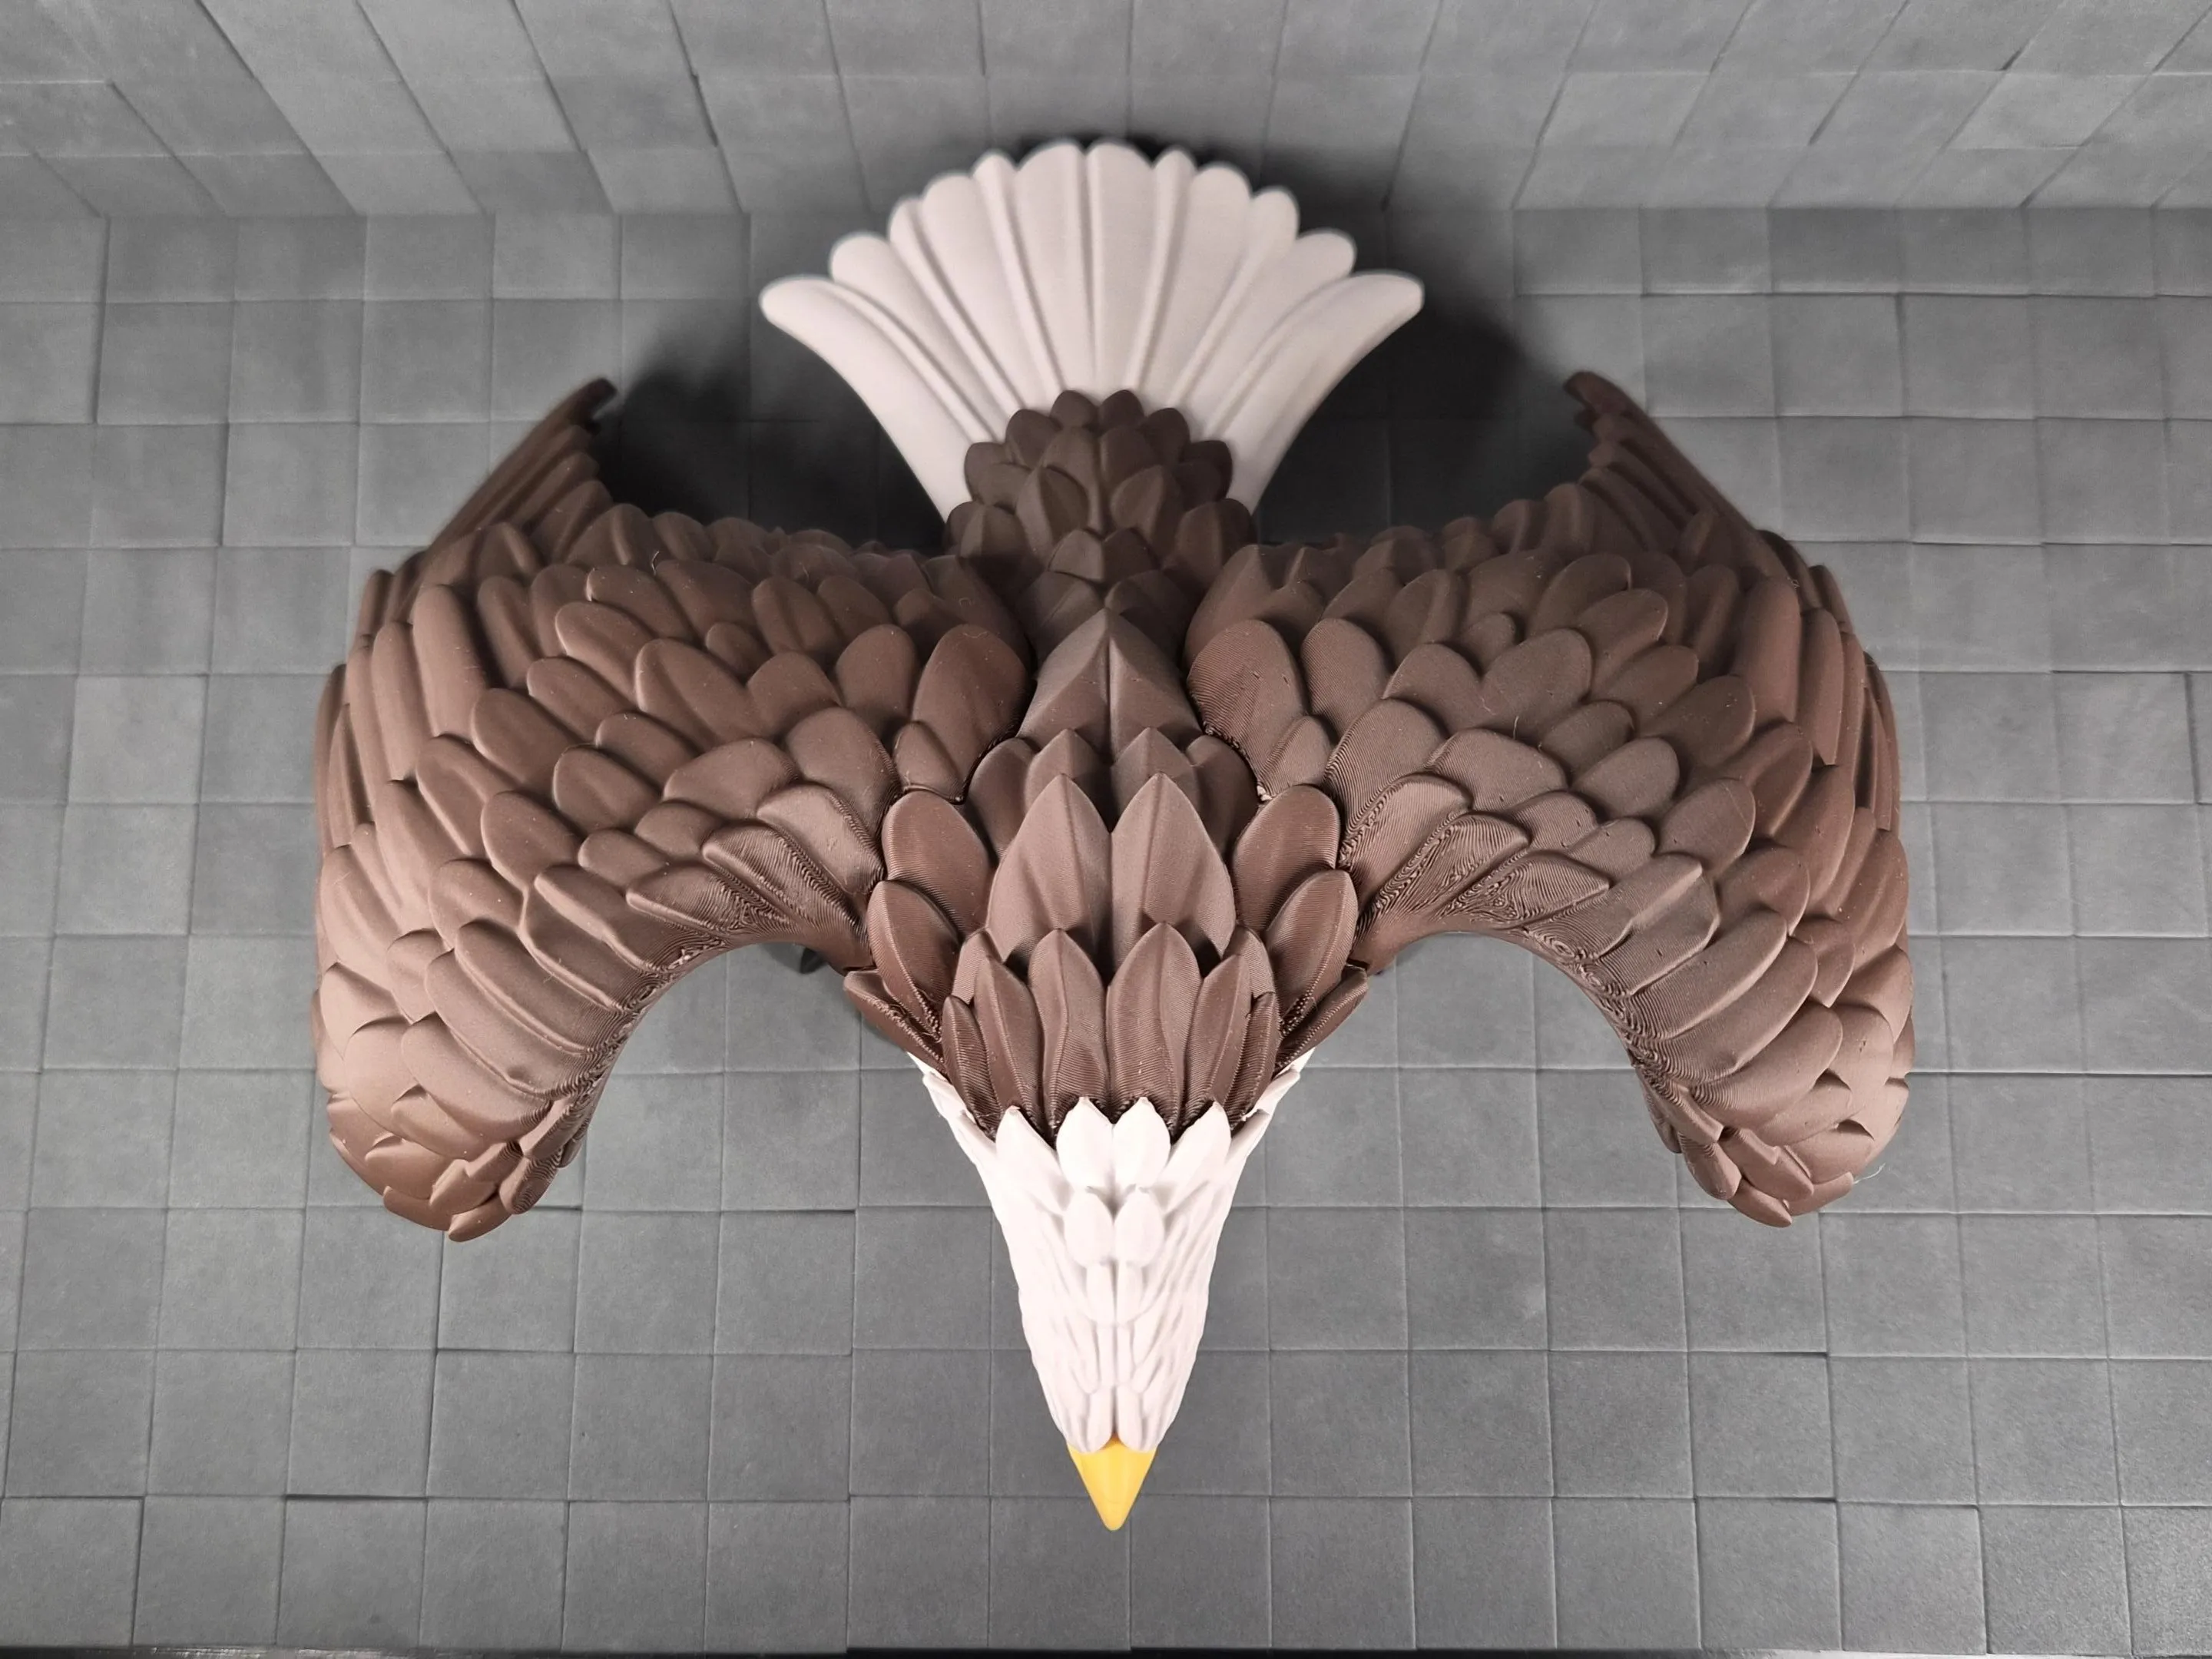
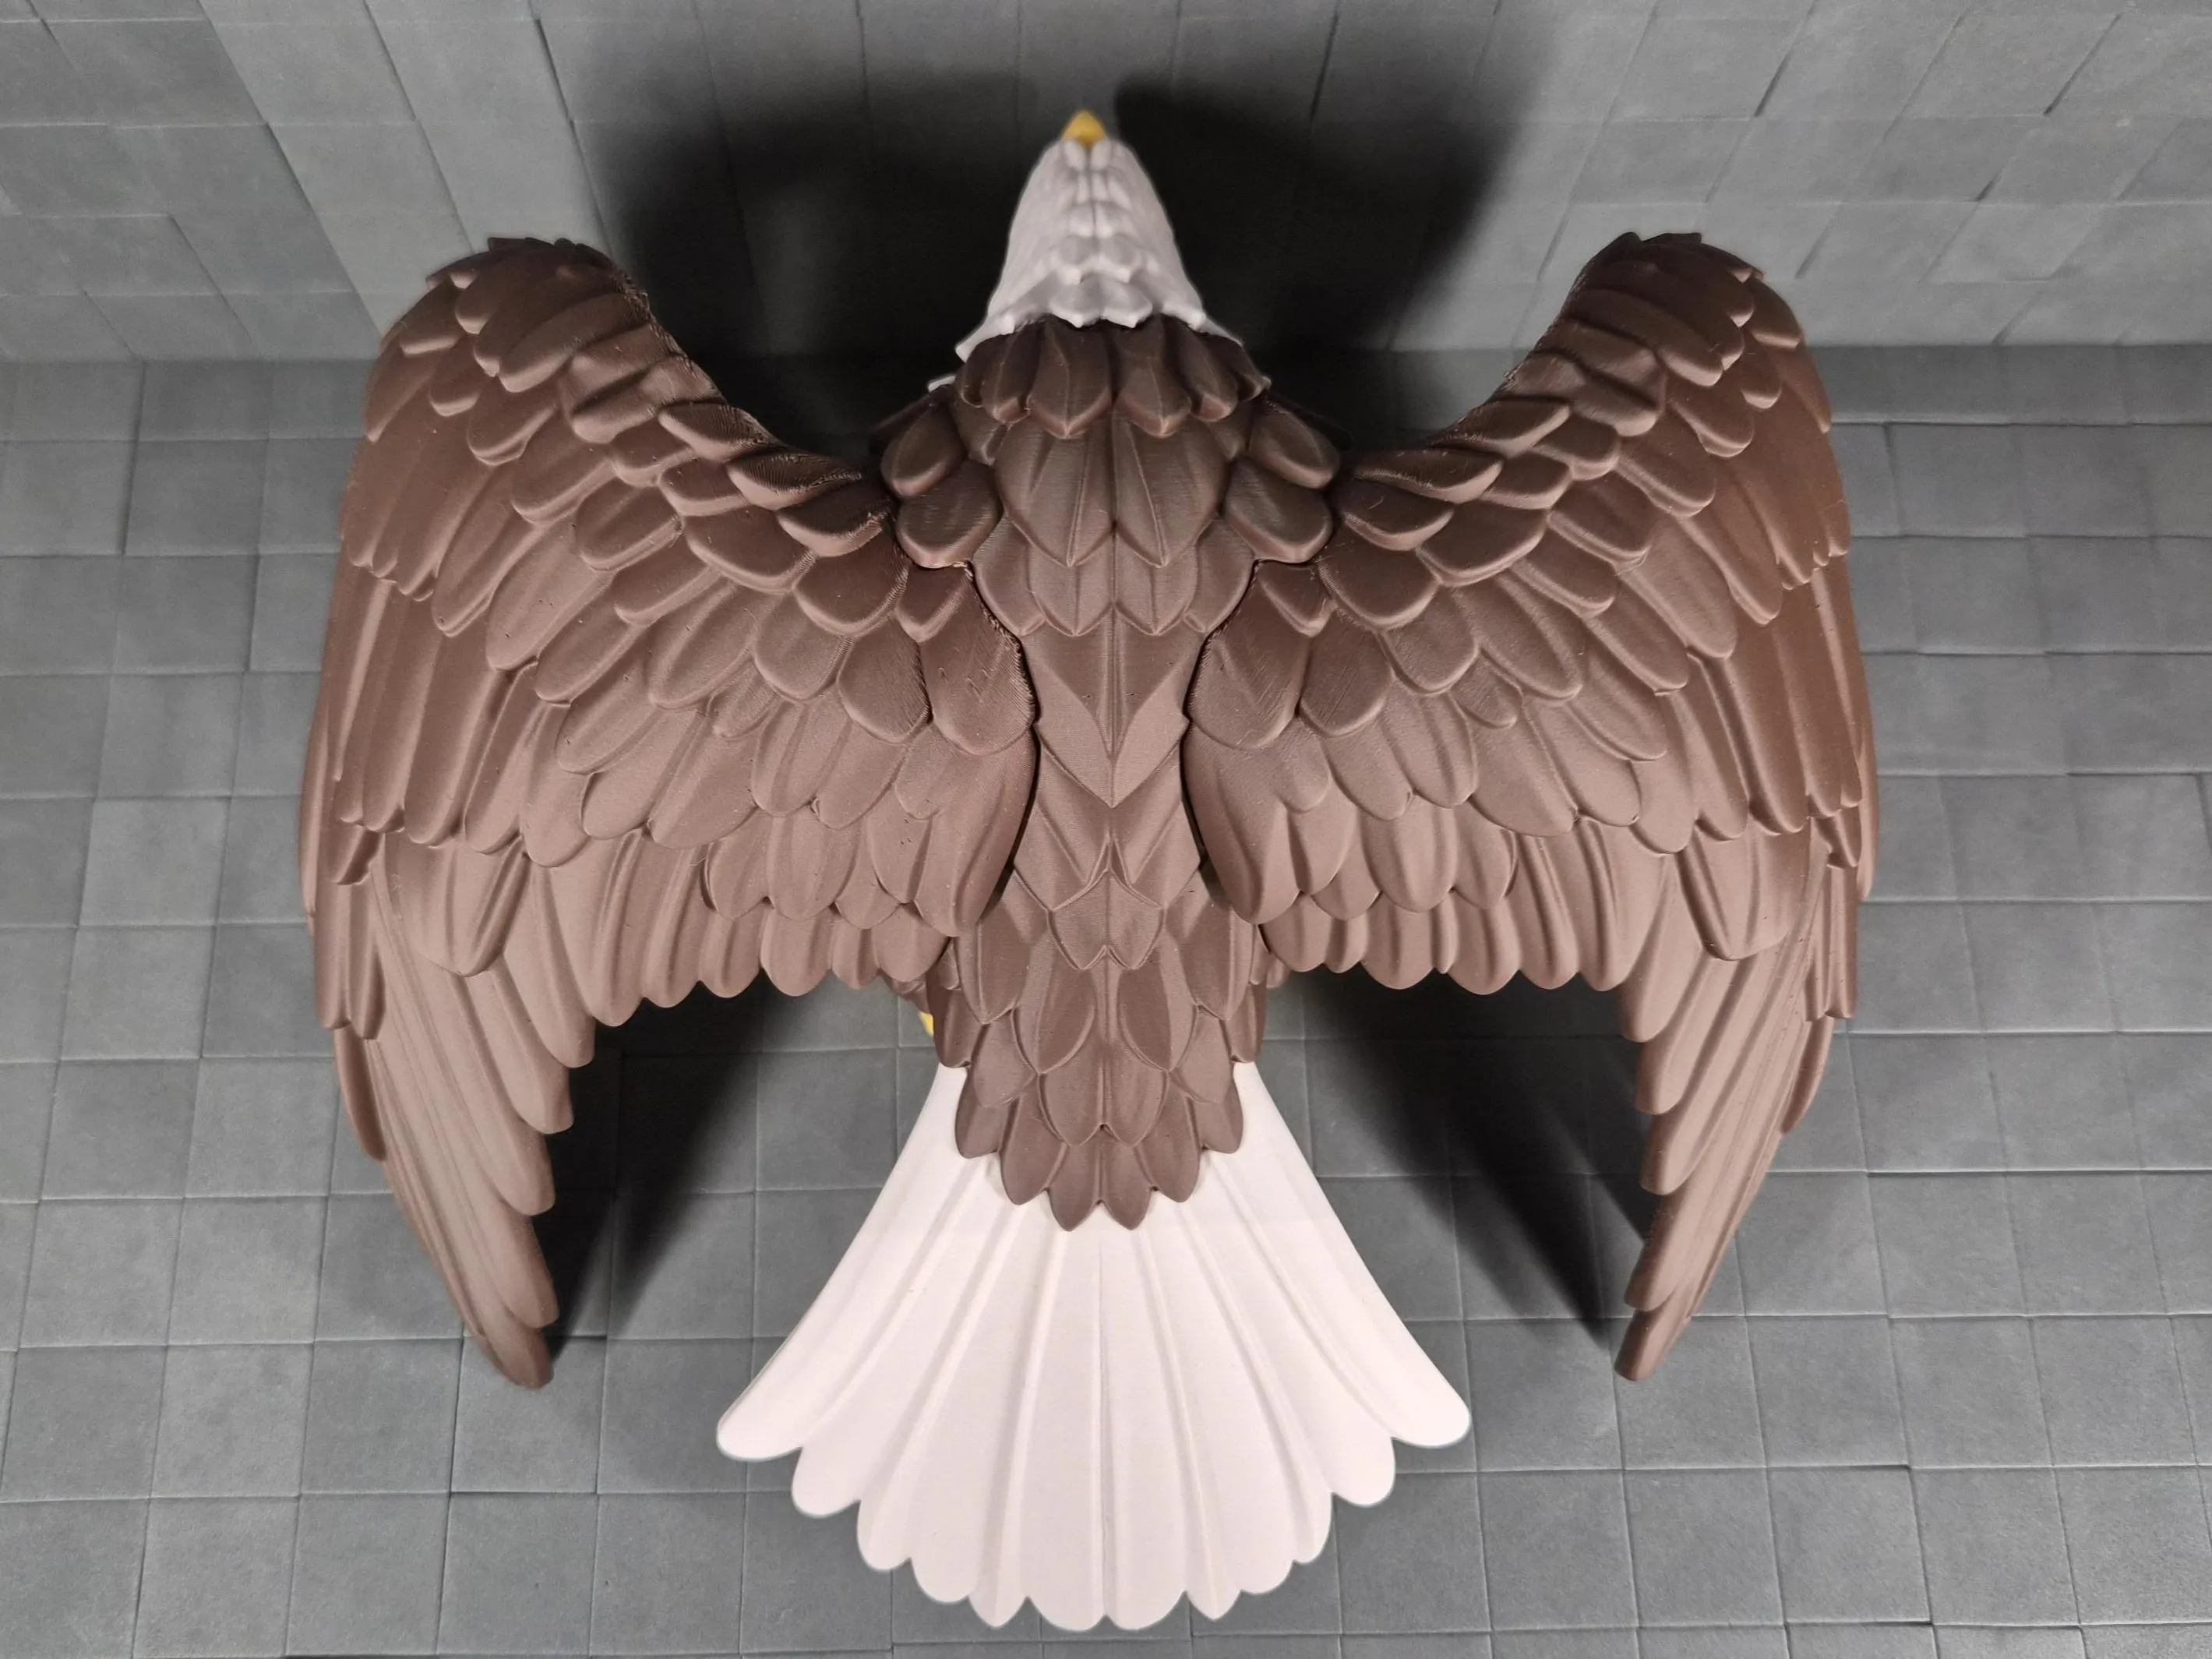
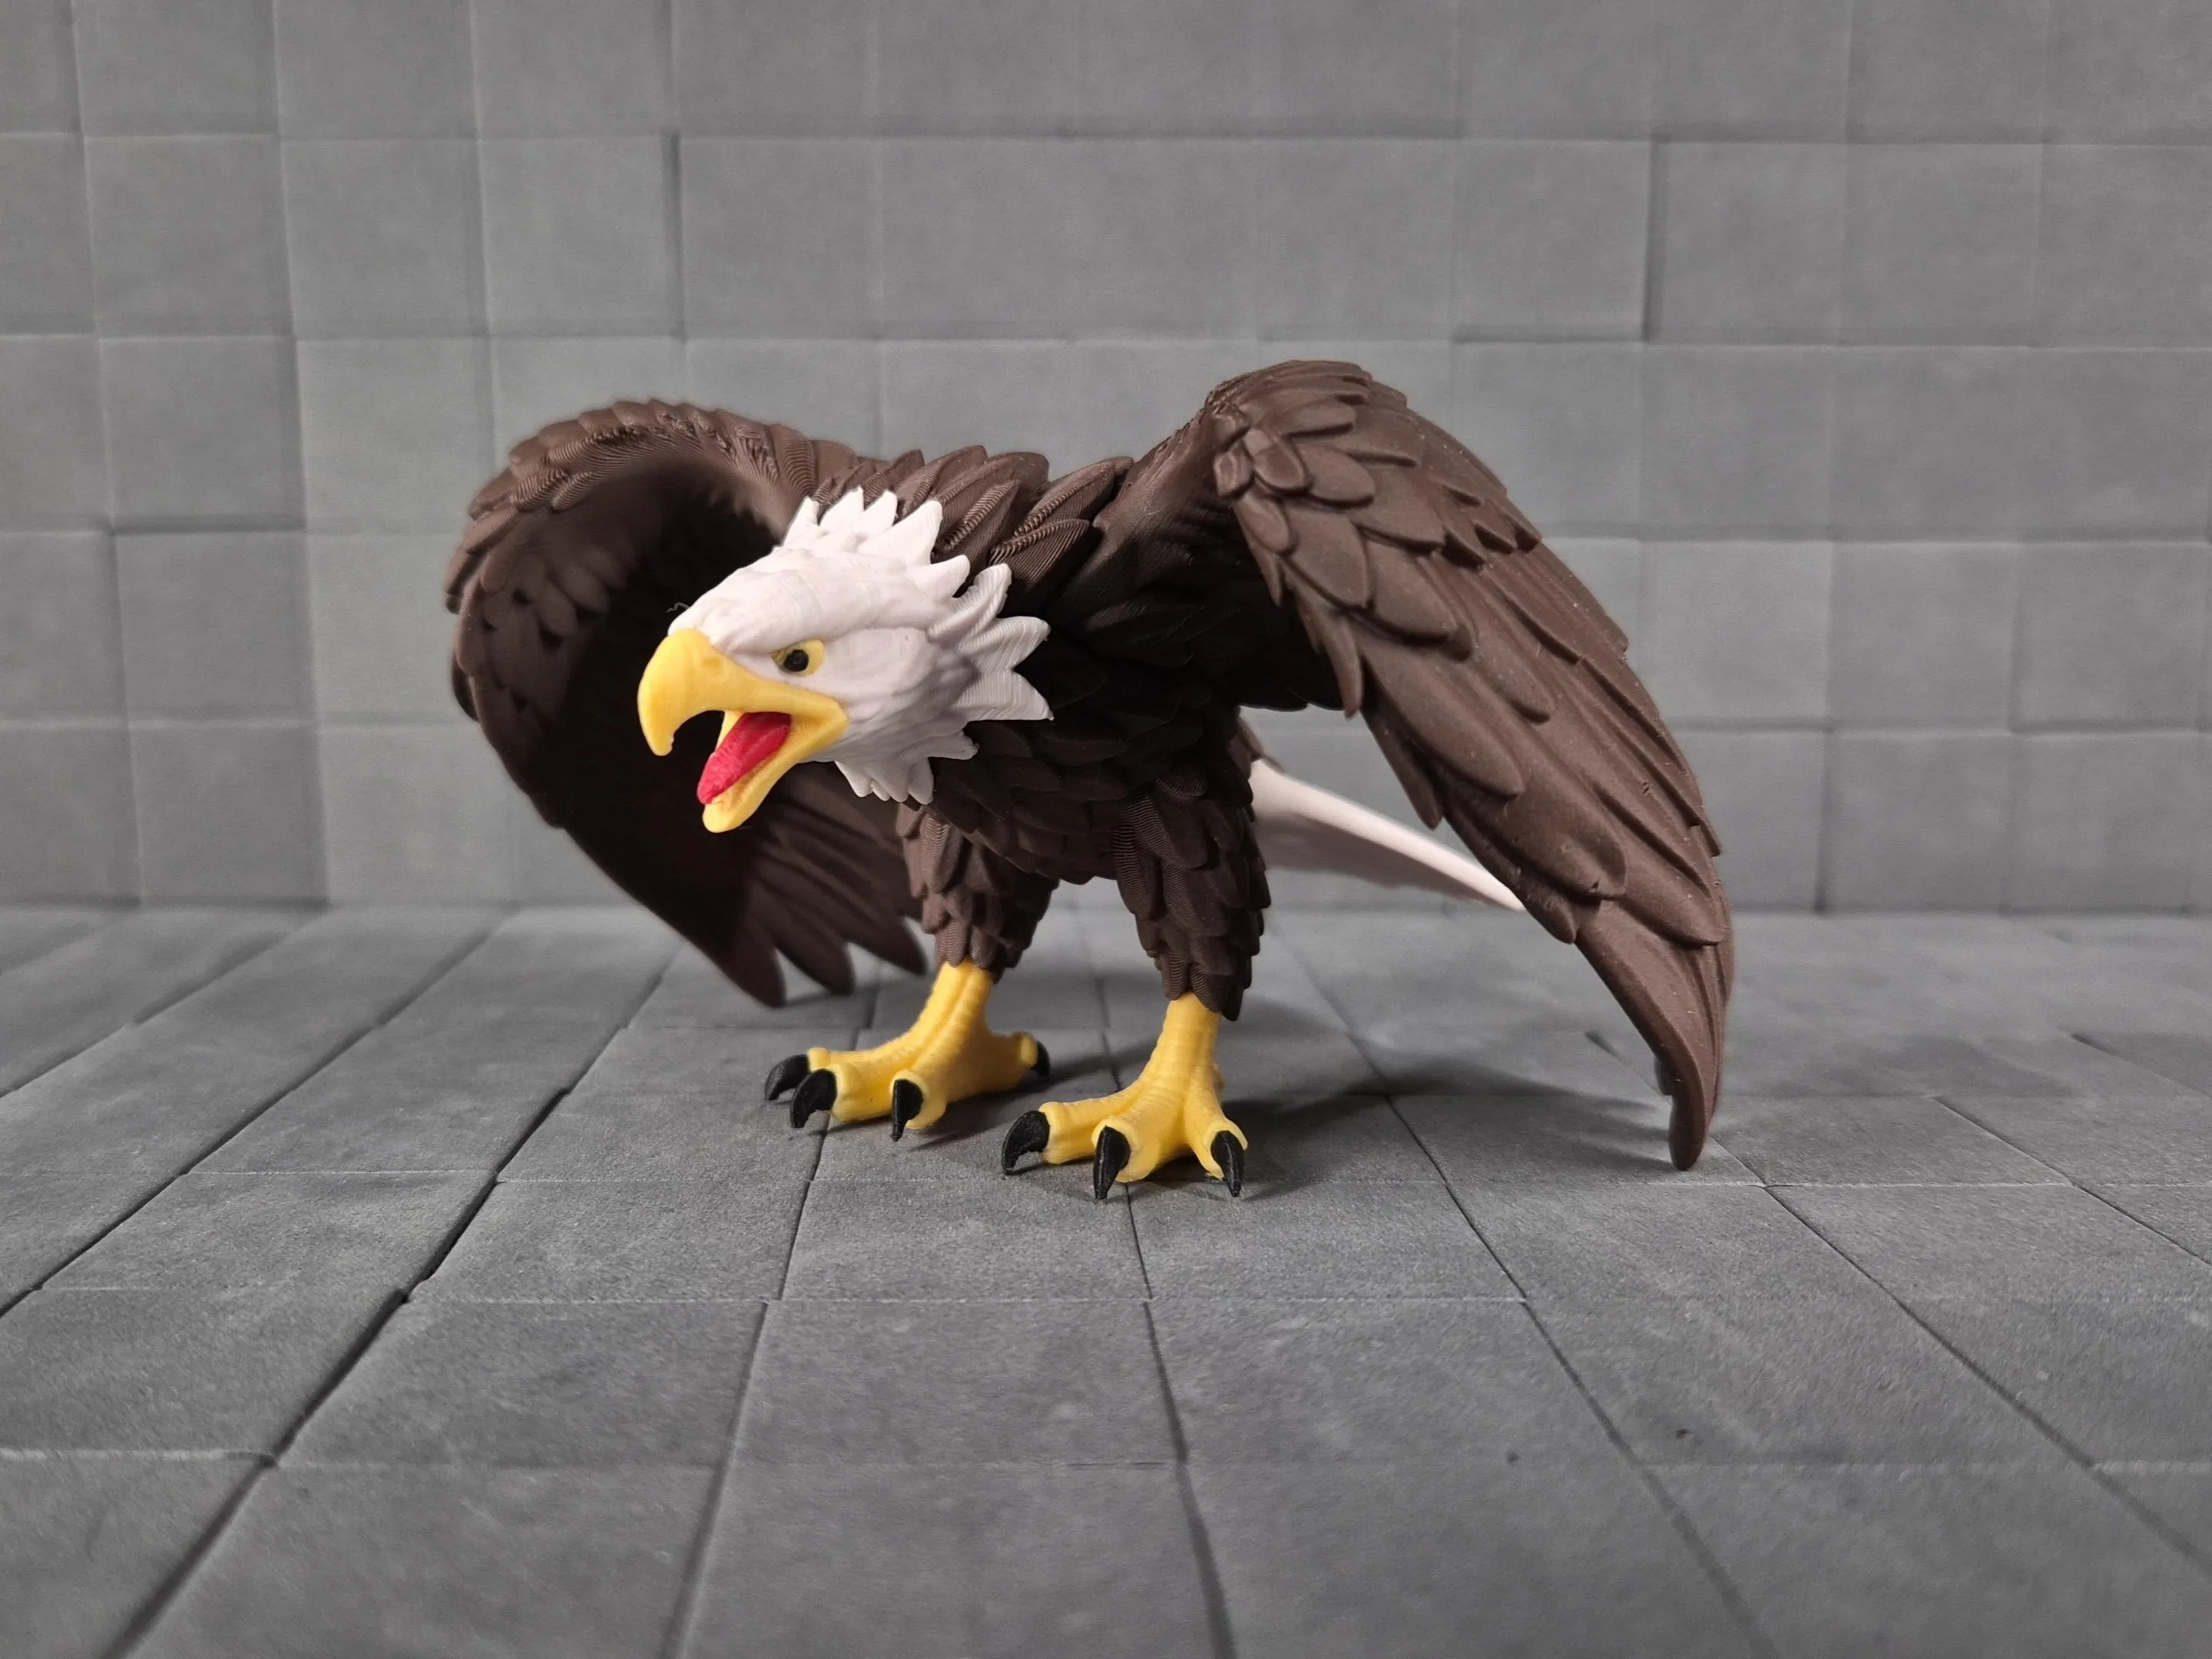
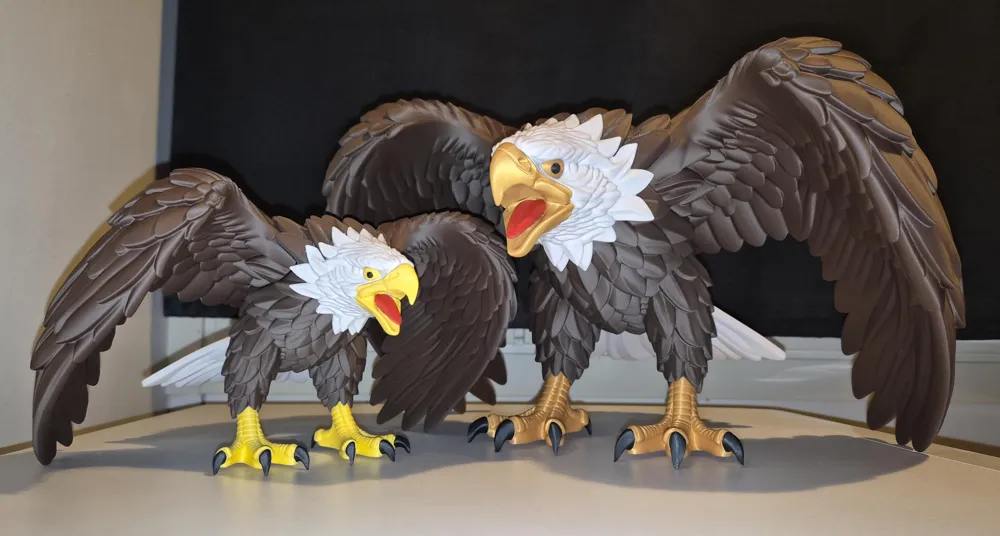
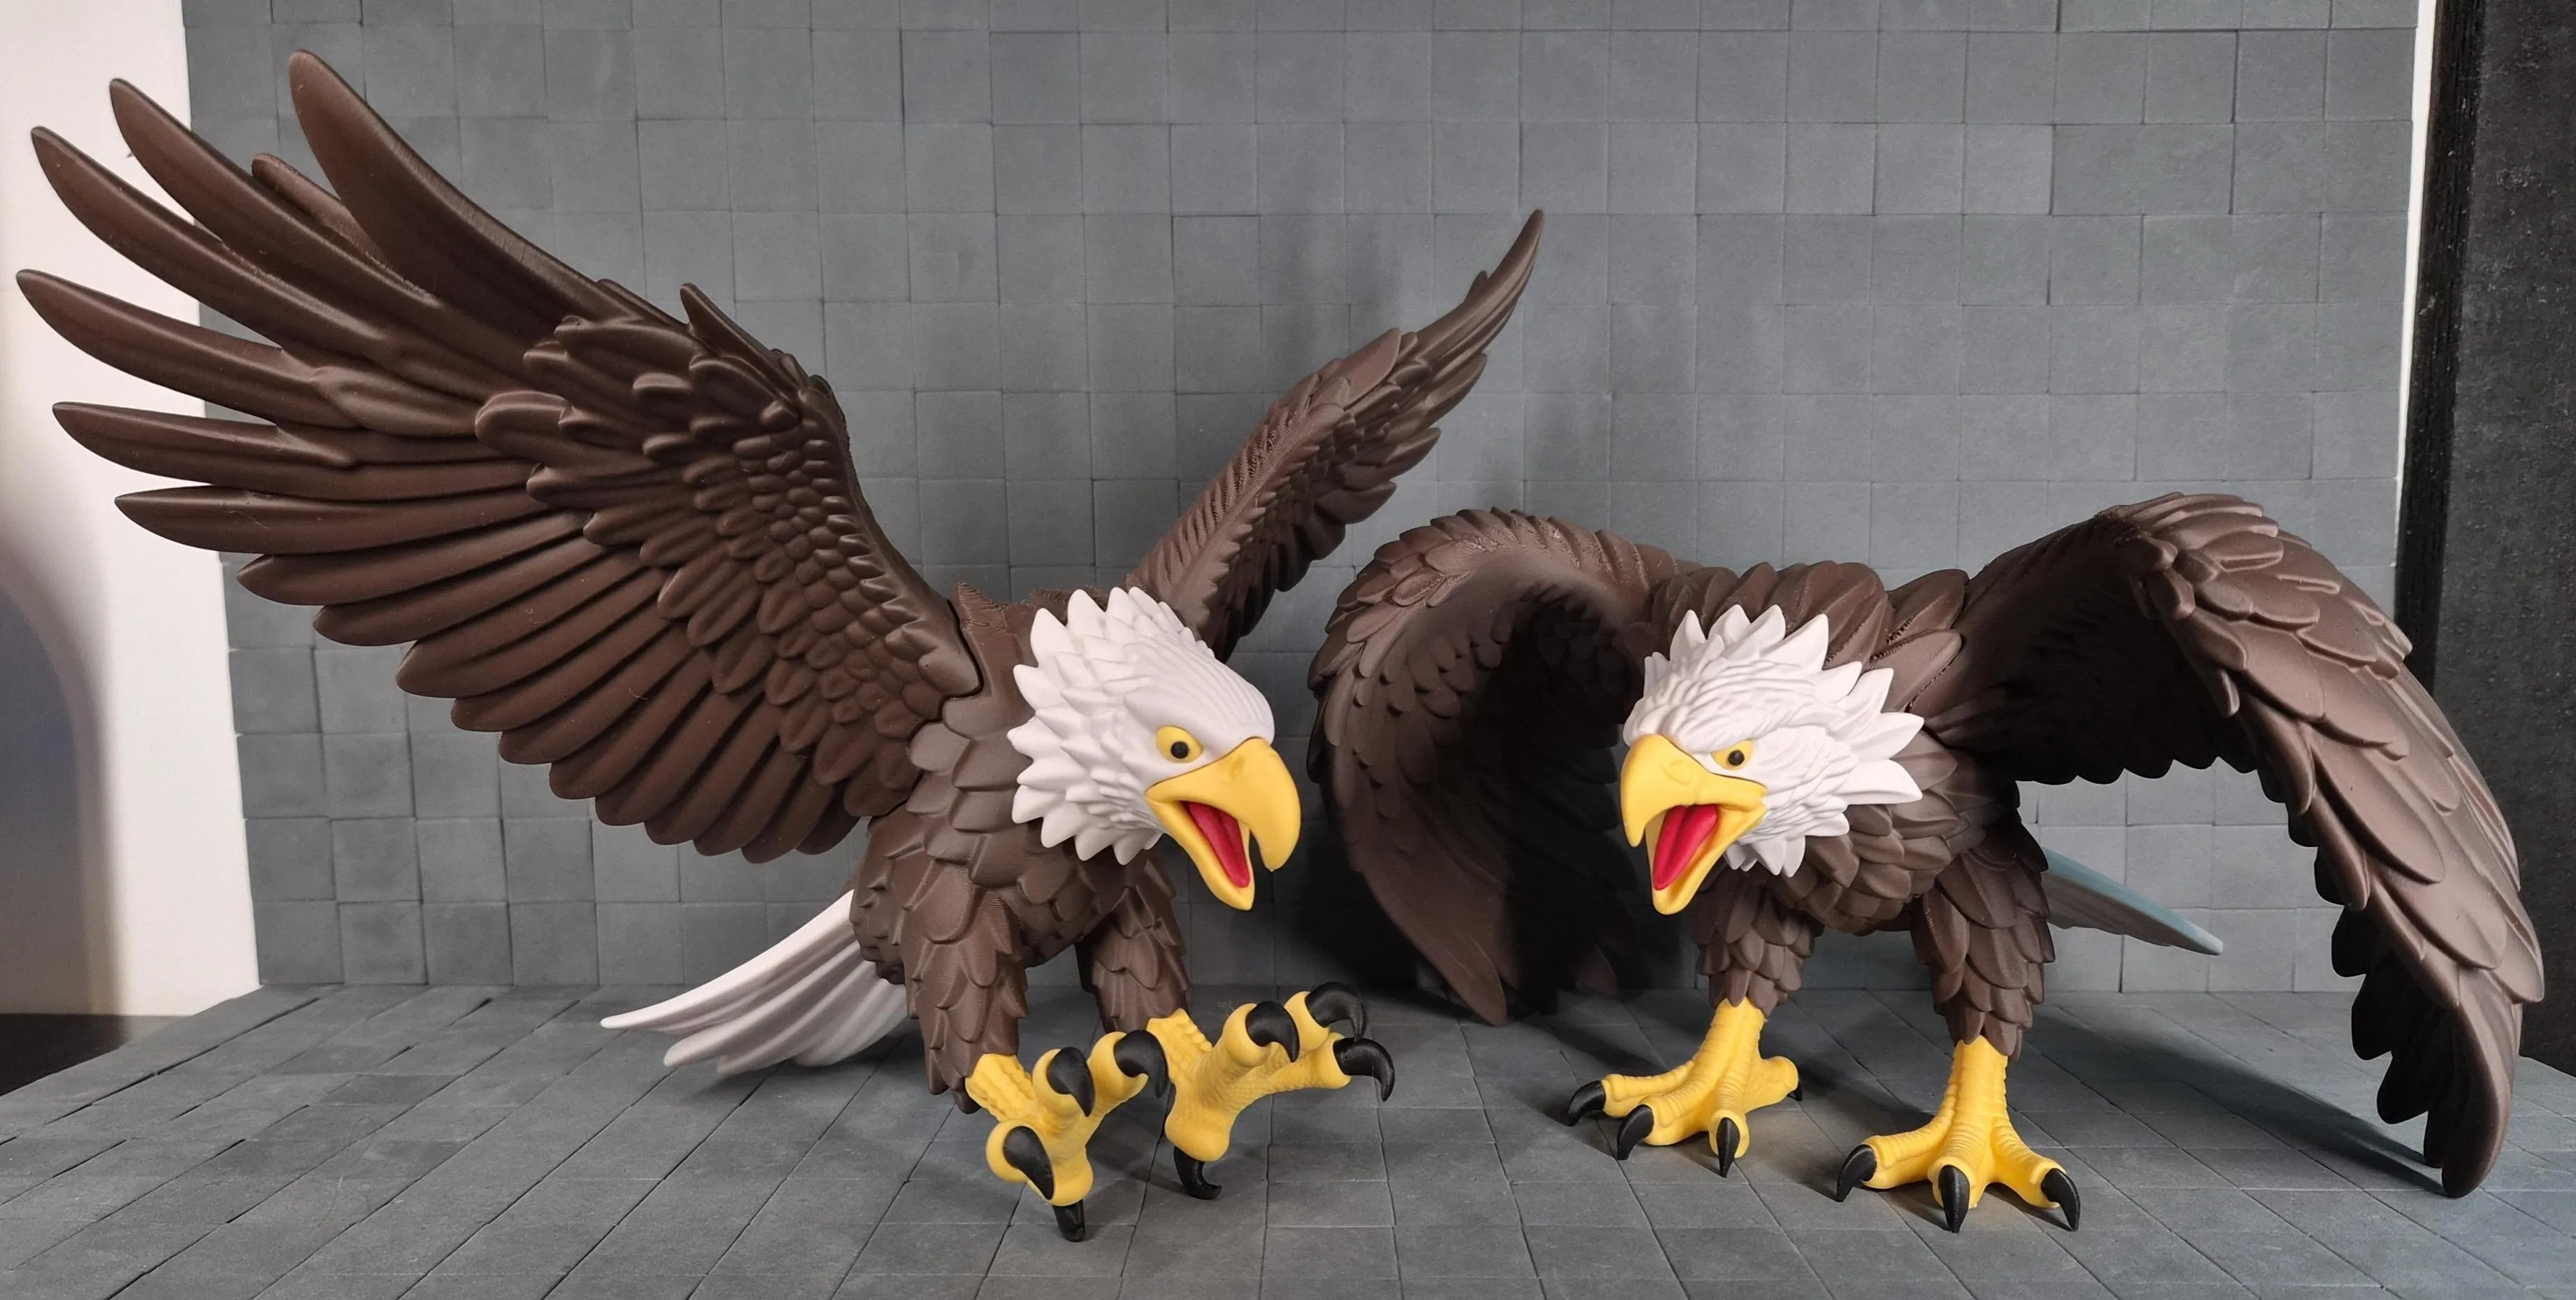
This model is part of the Eagle Collection.
Designed to look great together on display, each eagle has its own character and build style.
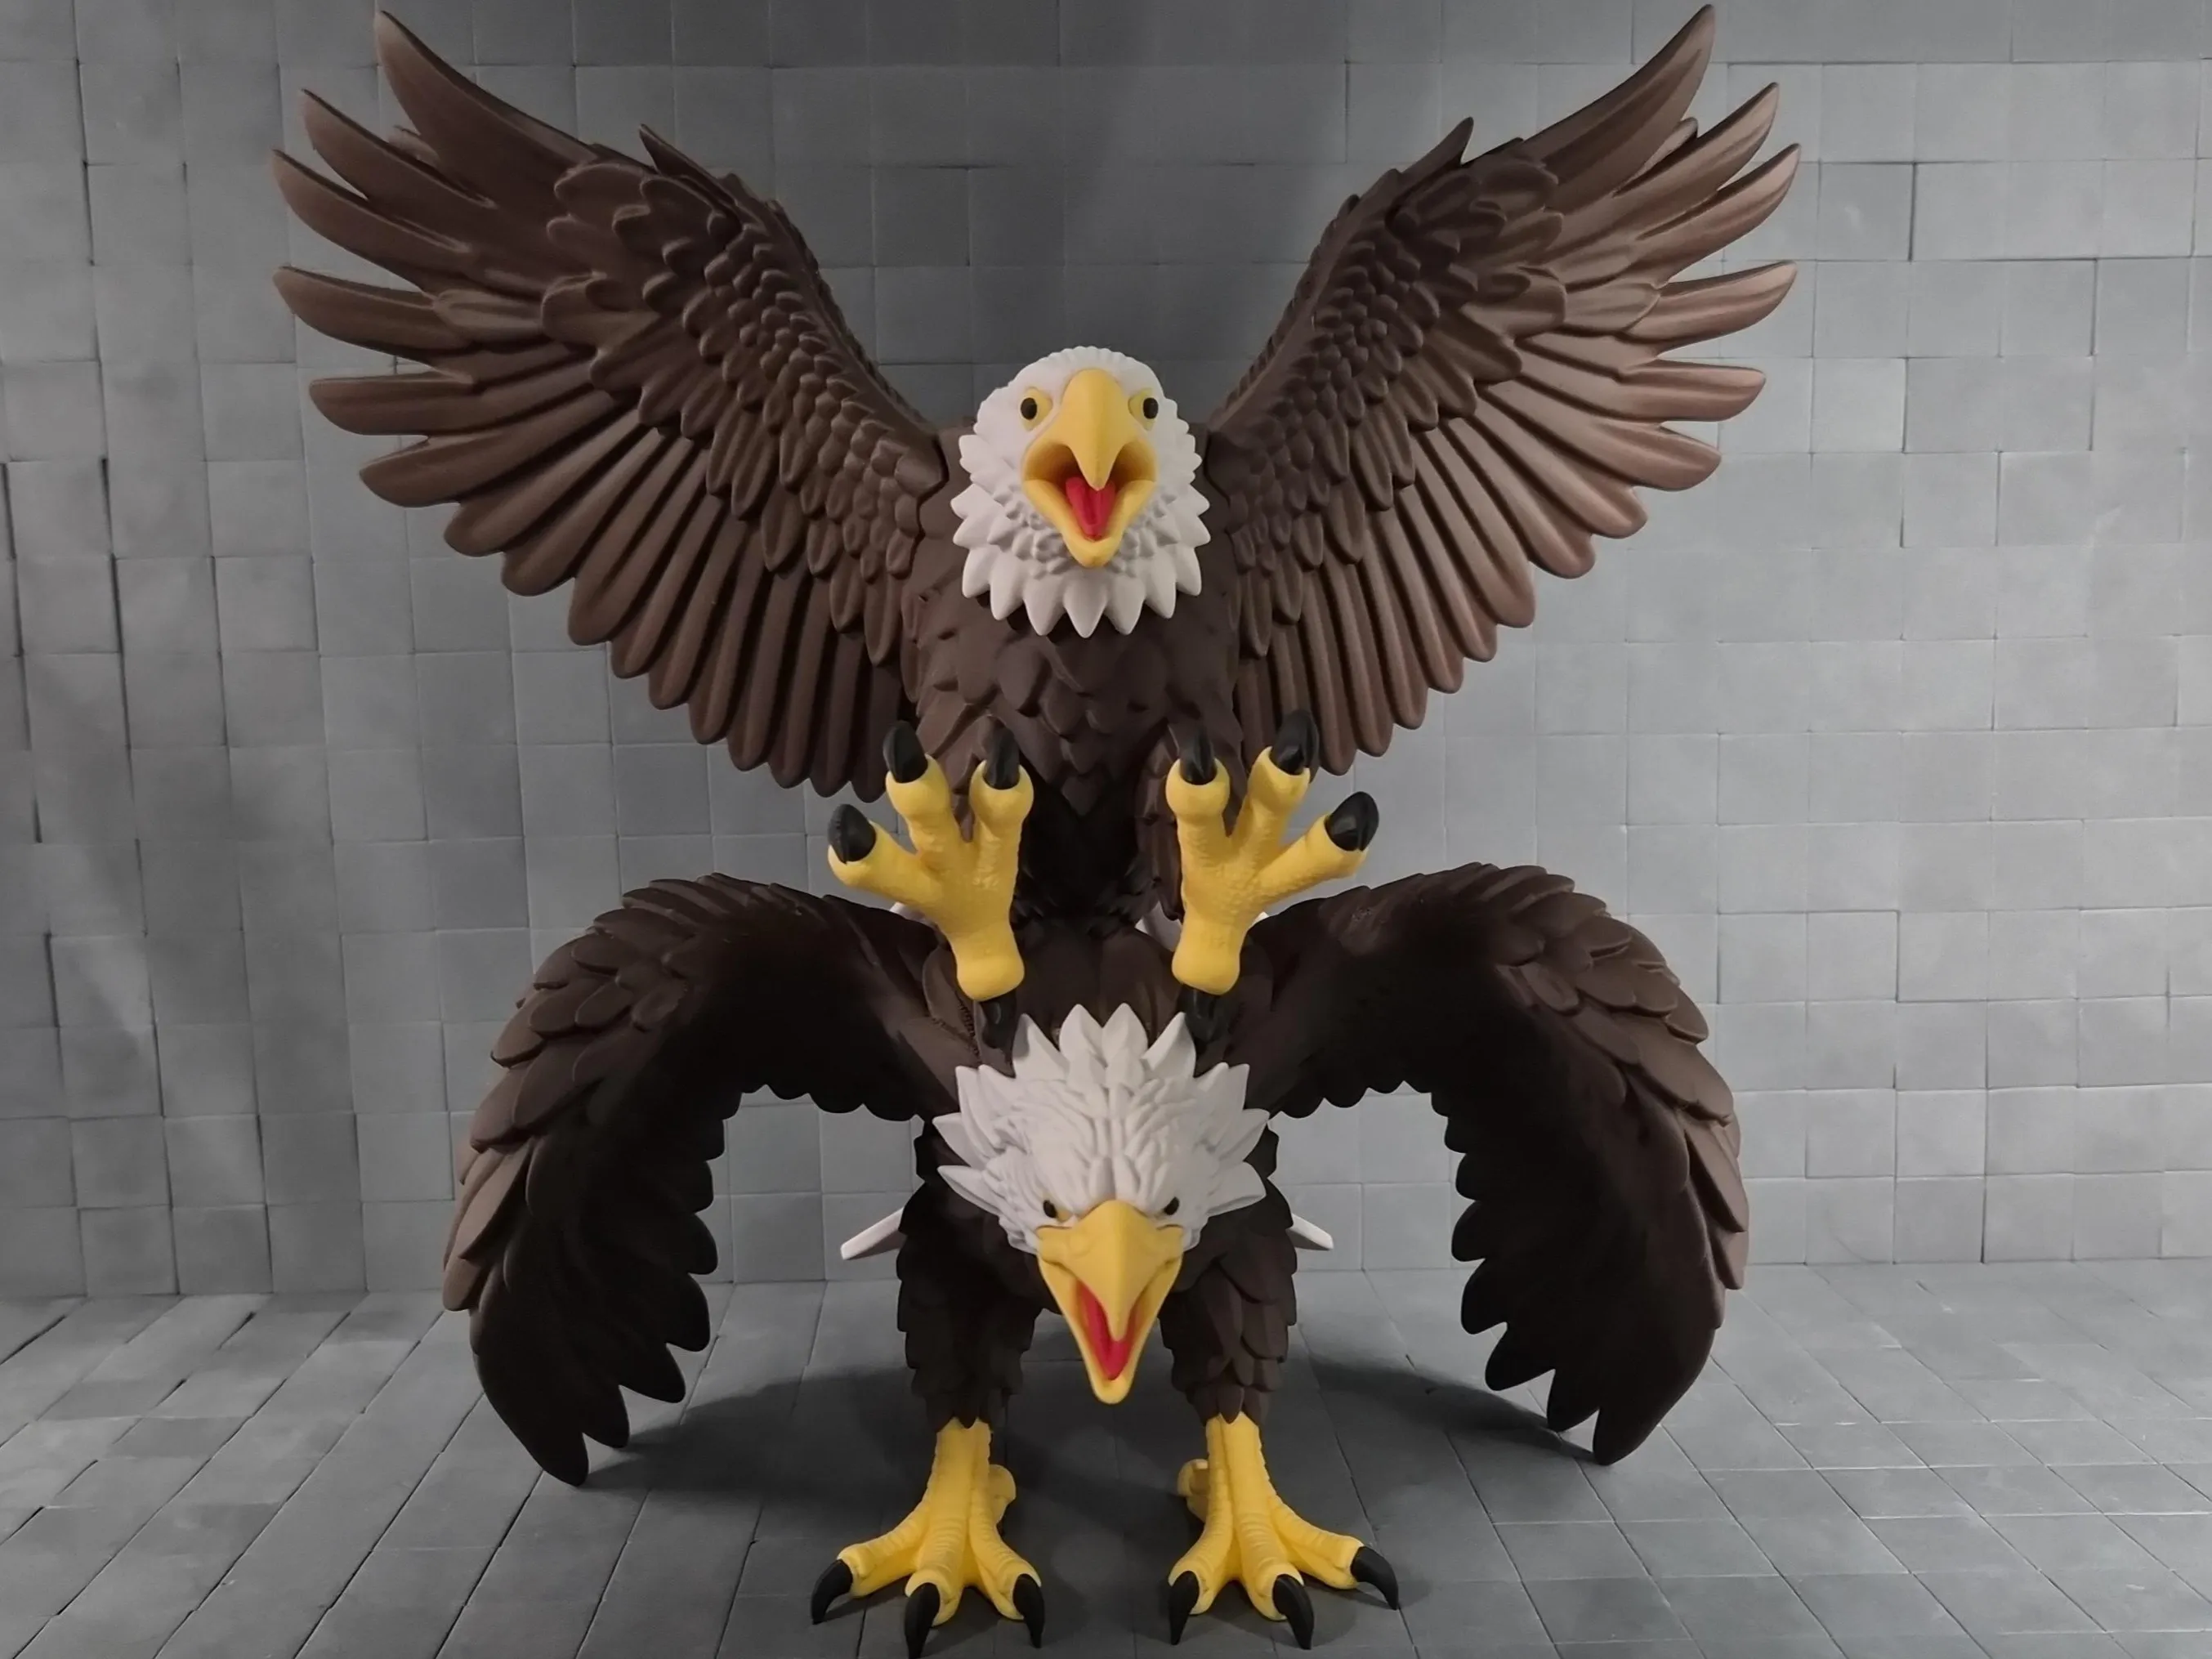
Key Printing Tips:
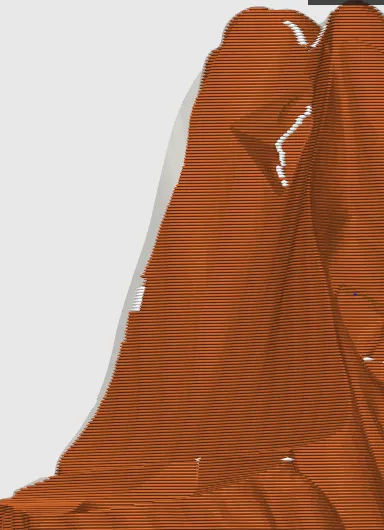
- Disable “Strength → Detect Thin Wall” → gives smoother, cleaner surfaces on detailed parts.
- Always check the slicing preview in Bambu Studio before starting the print.
- Support removal trick: Cut supports into small chunks first, then gently loosen → they usually pop off cleanly without damage.
- Some plates use lots of supports, if so → for reliable prints use these filament settings:
- Filament Overrides
- Z Hop When Retract: 0.6 mm
- Z Hop Type: Spiral
- Travel Distance Threshold: 1 mm
- ✅ Enable Retract When Changing Layer
- Also, disable these settings in Bambu Studio if Variable Layer height is used:
- Supports
- ❌ Disable Independent Support Layer Height
- Others
- ❌ Disable Reduce Infill Retraction
- I’ve found that a 0.15 mm top Z distance works best when printing with variable layer height.
- Supports
- Filament Overrides
Happy printing! Can't wait to see photos of your prints! If you're scaling, experimenting or encounter any issues, let me know → your input helps the next iteration. Please share your feedback for any rating below ⭐⭐⭐⭐⭐ so we can work on improving, thank you!
Boost Me (for free)
Boost / like / collect / follow if it made your day! 🚀
Membership
Now that you’ve printed this model, are you happy with the results? If so, why not sell it? With a subscription to my Commercial License Membership, you’re free to do so.
Documentation (1)
License

You shall not share, sub-license, sell, rent, host, transfer, or distribute in any way the digital or 3D printed versions of this object, nor any other derivative work of this object in its digital or physical format (including - but not limited to - remixes of this object, and hosting on other digital platforms). The objects may not be used without permission in any way whatsoever in which you charge money, or collect fees.


Comment & Rating (271)