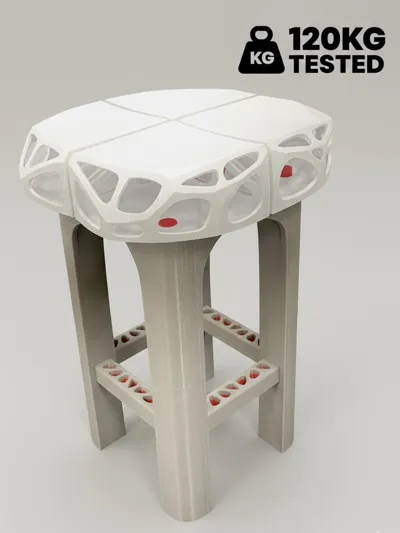
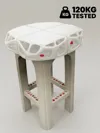
Heavy - Duty Parametric Stool (120kg tested)


Print Profile(4)


Bill of Materials
- M8 Threaded Rods (40cm length x 4:
- M8 Nuts x 8:
- M8 Washers x 4:
Description
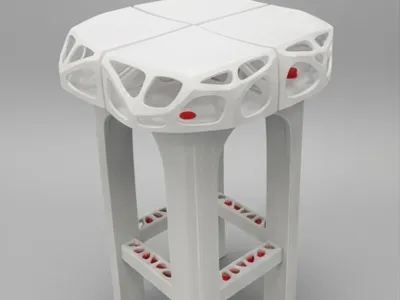
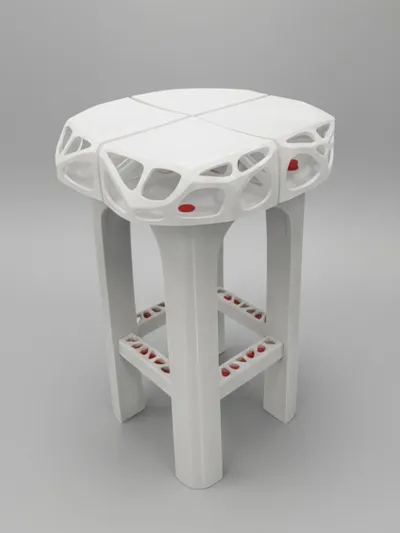
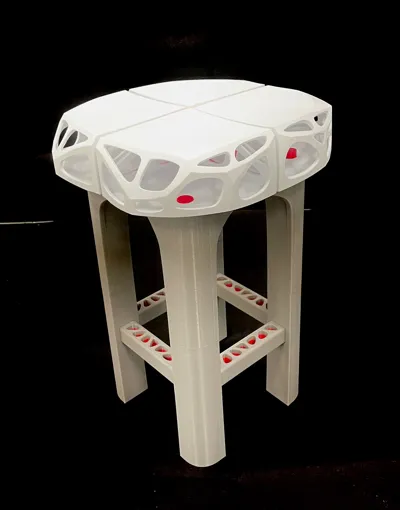
Modern Parametric Stool | Heavy-Duty (120kg Tested)
Elevate your space with this Modern Parametric Stool, a perfect blend of organic design and industrial strength. Featuring a unique Voronoi-inspired structure and a modular build, this stool is not just a piece of furniture but a functional 3D-printed art piece.
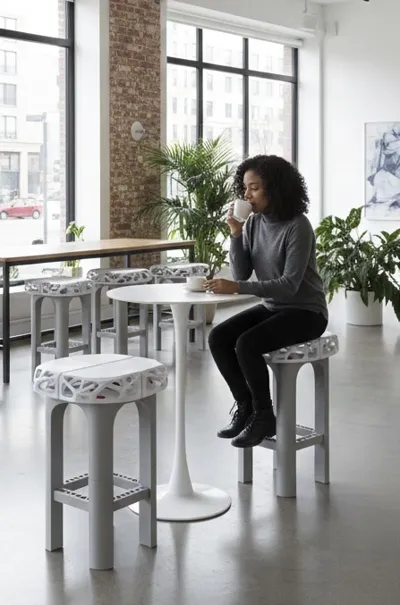
Designed for durability, this model has been physically tested to withstand up to 120kg, making it suitable for home, office, or workshop use.
Features
* Superior Strength: Engineered for stability and weight-bearing capacity.
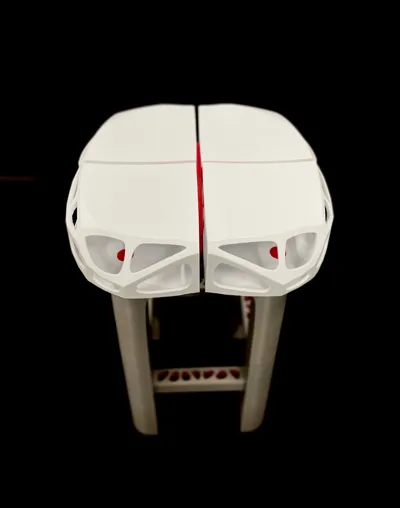
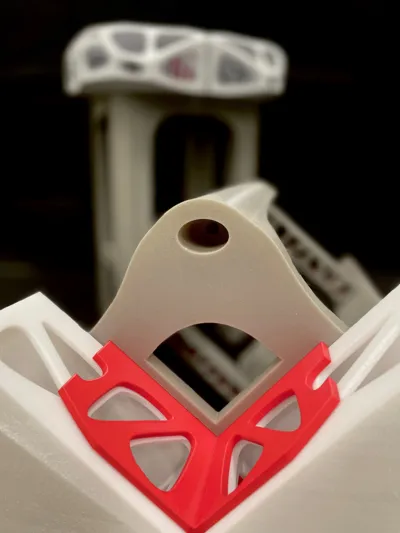
* Modular Design: Printed in sections for easy assembly and better print management.
* Modern Aesthetic: Fits perfectly in minimalist, industrial, or modern interiors.
* Functional Comfort: A solid seat top with an intricate, breathable side structure.
Technical Specifications & Print Settings
To achieve the 120kg load capacity, I recommend the following settings:
* Material: PLA+ (recommended for stiffness), PETG, or ASA/ABS.
* Wall Loops: 2 (light version), 3 (regular)
* Infill: 10-15% (Gyroid or 3d Honeycomb recommended).
* Top/Bottom Layers: 5-6 layers.
* Nozzle: 0.4mm or 0.6mm (0.6mm is faster and stronger for this scale).
Required Hardware (Bill of Materials):
To ensure the maximum stability (120kg tested), you will need:
* 4x M8 Threaded Rods (40cm length)
* 8x M8 Nuts
* 4x M8 Washers
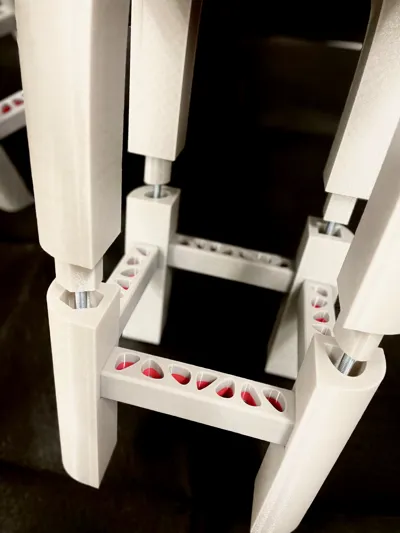
Assembly Instructions:
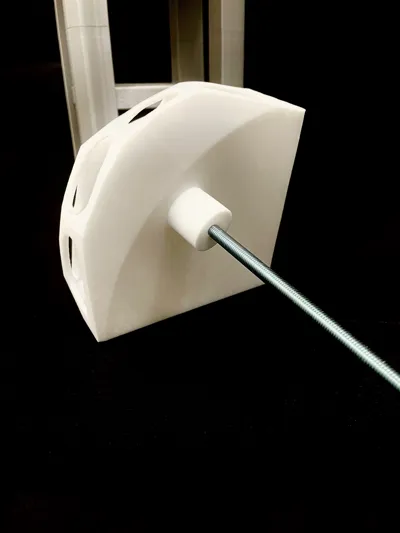
* Prepare the Seat: Insert an M8 nut into the designated slot on the underside of the seat section. While holding the nut in place with your finger, screw in the M8 threaded rod.

* Align the Components: Each seat section is "shape-coded" to fit perfectly into its specific position on the base.
* Connect to the Base: Pass the seat section with the threaded rod through the upper part of the base.

* Attach the Legs: Slide the corresponding leg onto the rod from underneath.

* Secure the Structure: On the bottom side of the leg, place a washer and another M8 nut. Tighten everything firmly to fix the assembly.

Pro Tips for Extra Strength:
* Glue: For maximum, long-term rigidity, you can apply glue to the joints during assembly, though the stool is exceptionally sturdy even without it.
* No-Rod Option: The stool can be assembled using only glue (without threaded rods), but please note that this will reduce the weight capacity. Use caution if you have printed light version and choosing this method.
Have FUN!
License
You shall not share, sub-license, sell, rent, host, transfer, or distribute in any way the digital or 3D printed versions of this object, nor any other derivative work of this object in its digital or physical format (including - but not limited to - remixes of this object, and hosting on other digital platforms). The objects may not be used without permission in any way whatsoever in which you charge money, or collect fees.
Comment & Rating (0)