
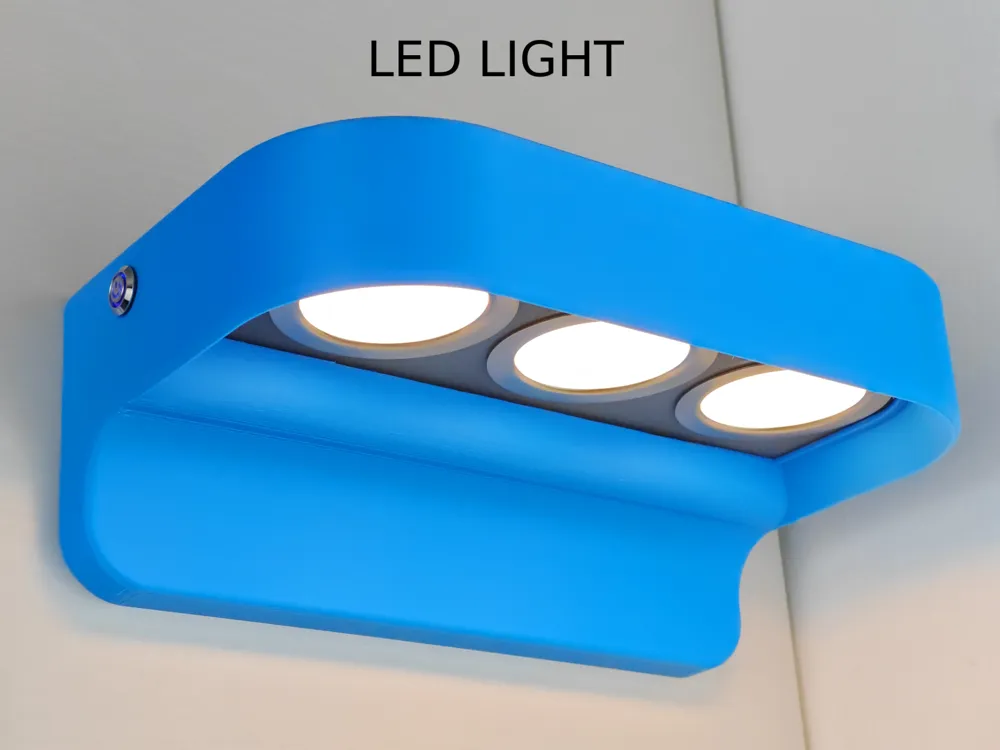
LED Light for Desk/Workbench - 3 Step Dimming
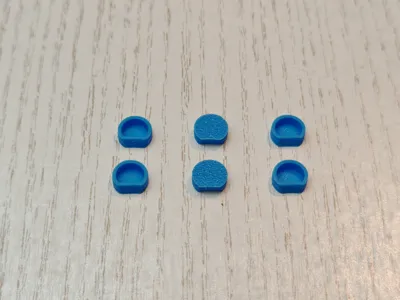
Print Profile(1)



Description
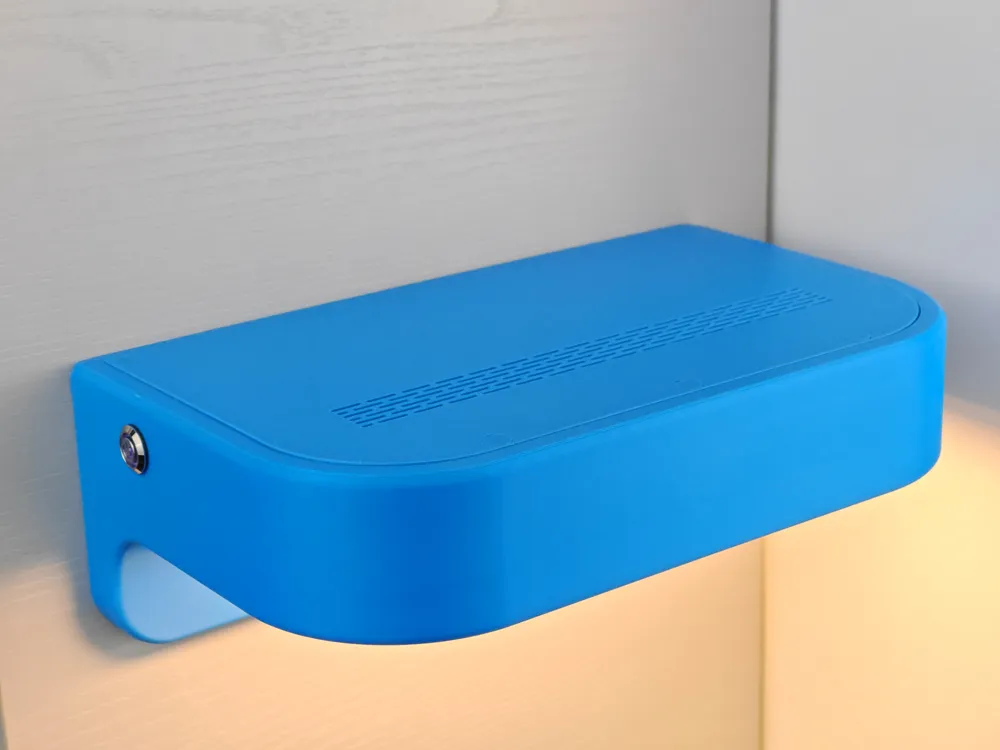
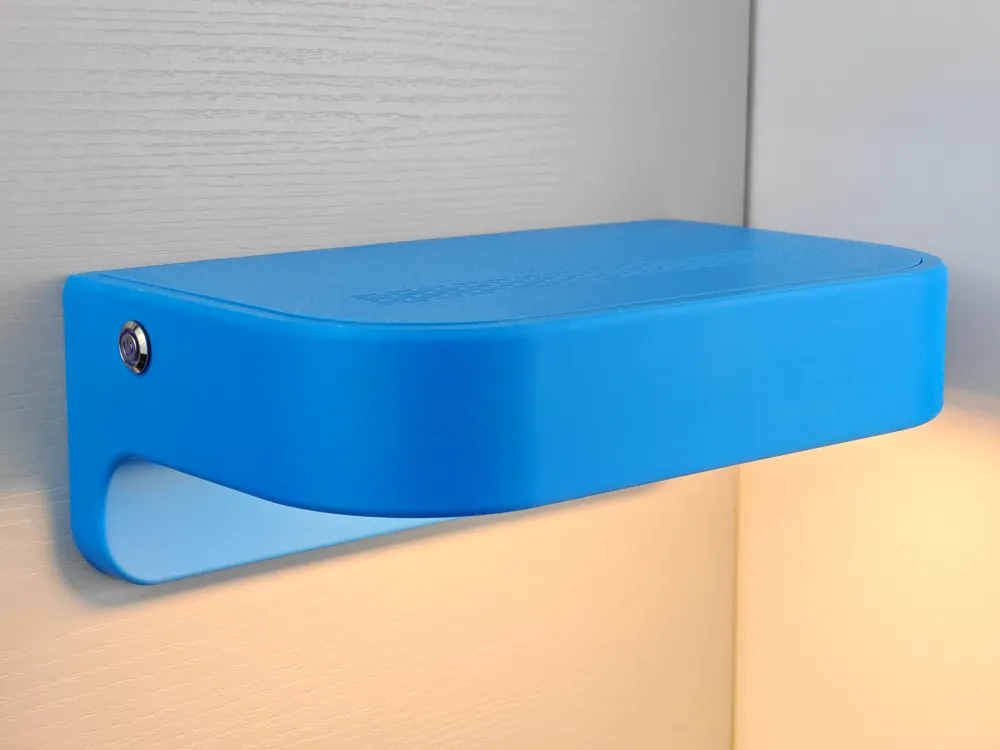
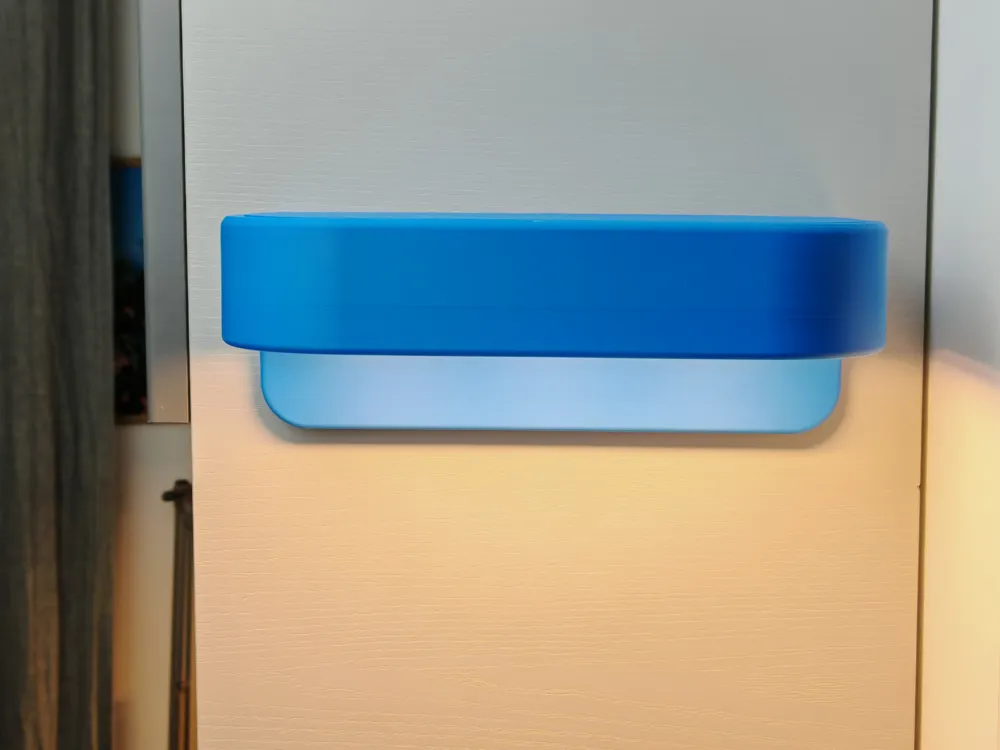
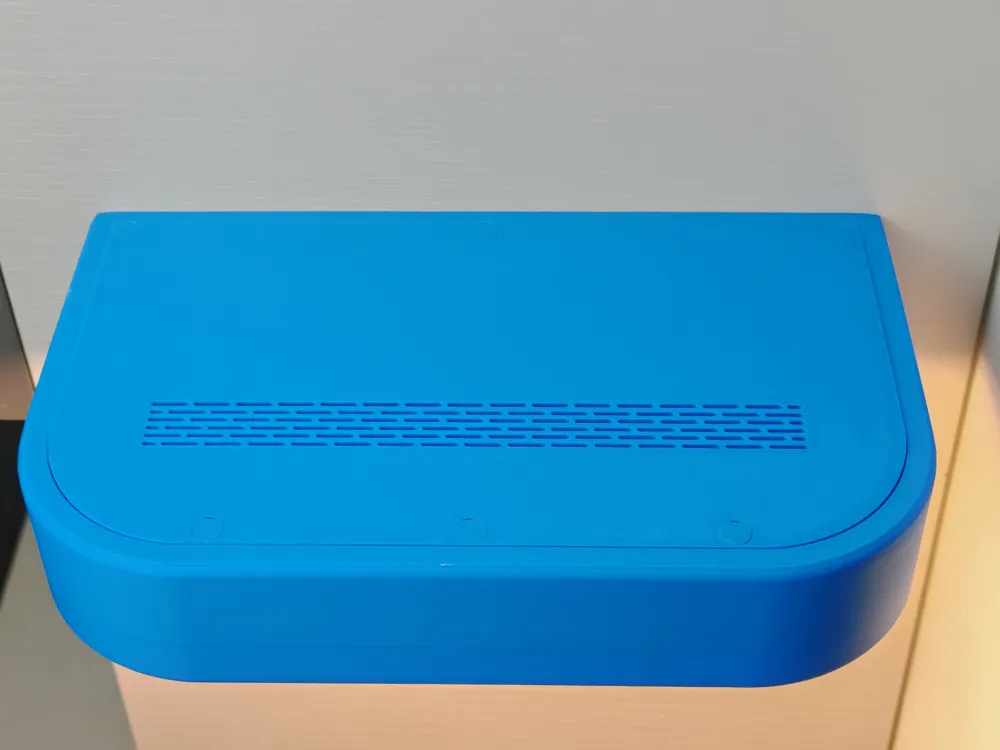
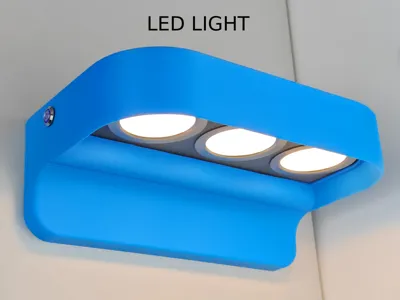
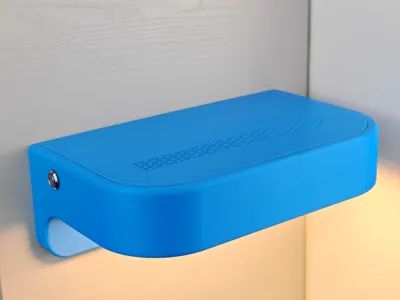
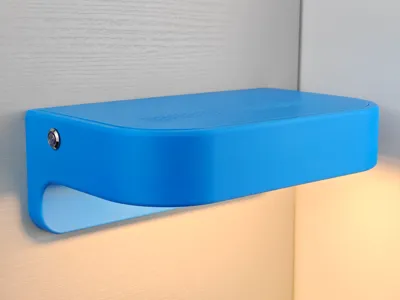
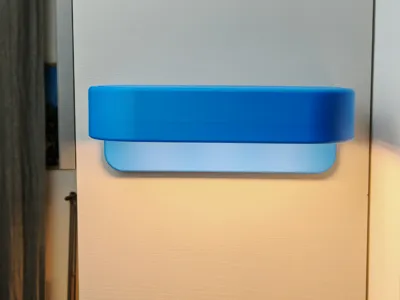
A powerful and functional lighting system for desks or workbenches. This model integrates three 3W LED spotlights with a built-in dimming feature.
Main Features
- 3-Step Dimming: Toggle between 100%, 50%, and 20% brightness by simply switching the light off and on (no external dimmer required).
- High Performance: Three 3W LED spotlights provide a total of 9W (approx. 75W halogen equivalent - for 220/230V mains).
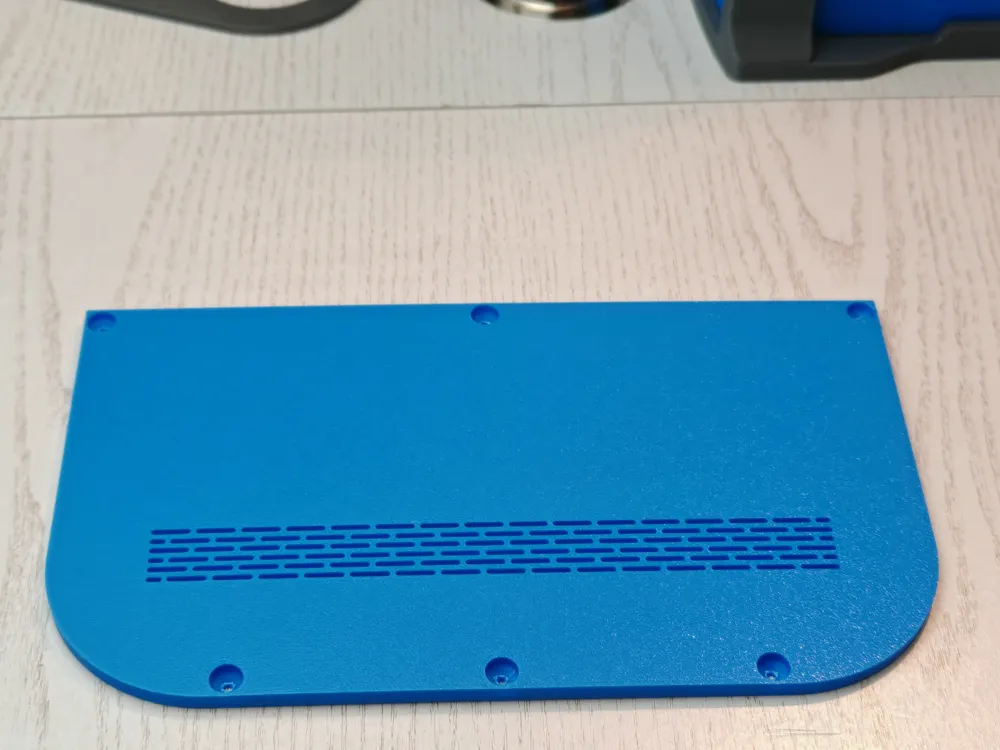
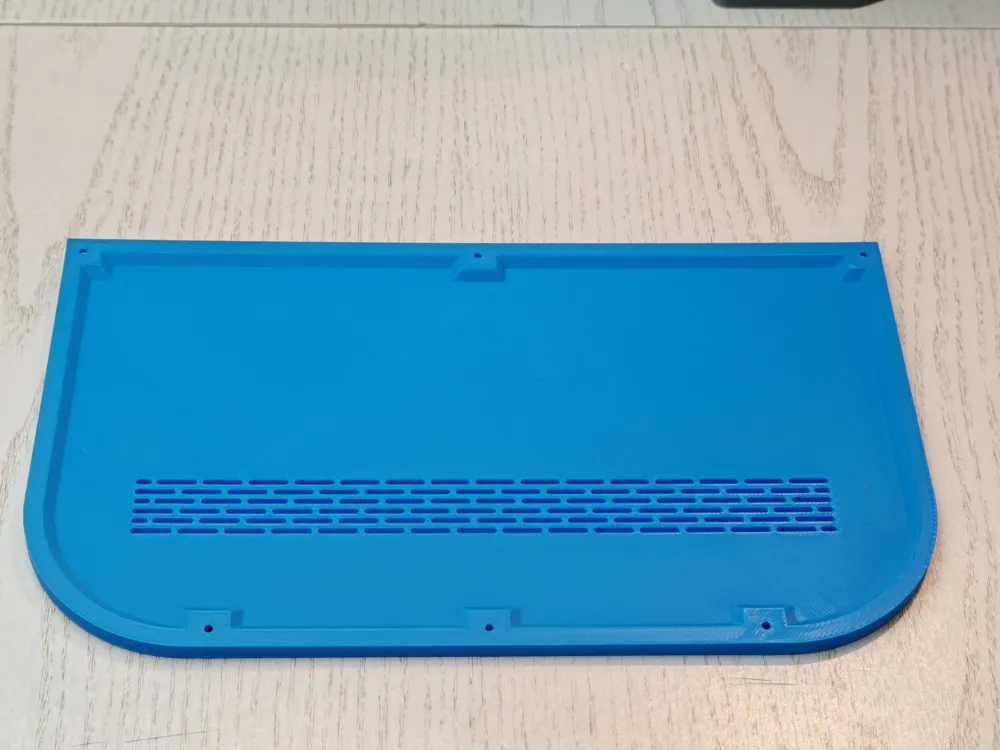
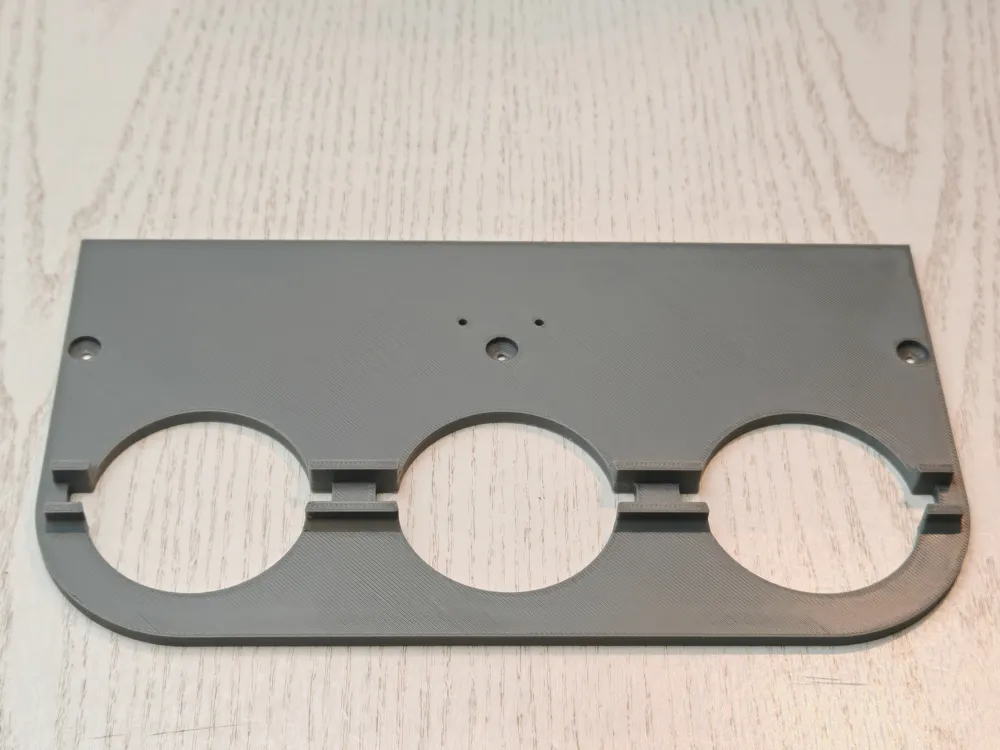
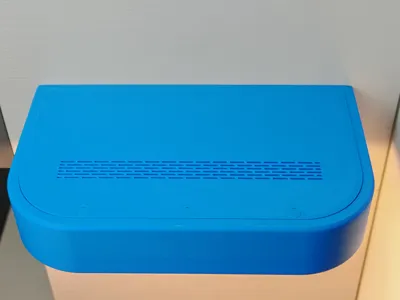
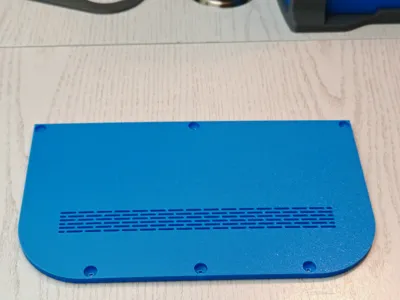
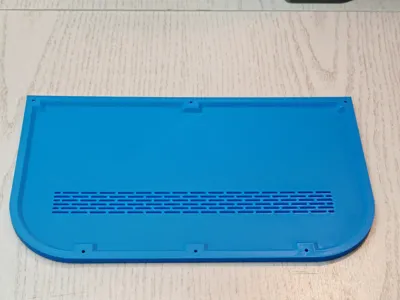
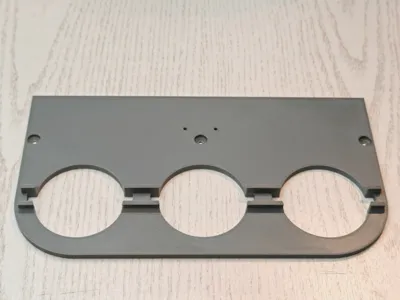
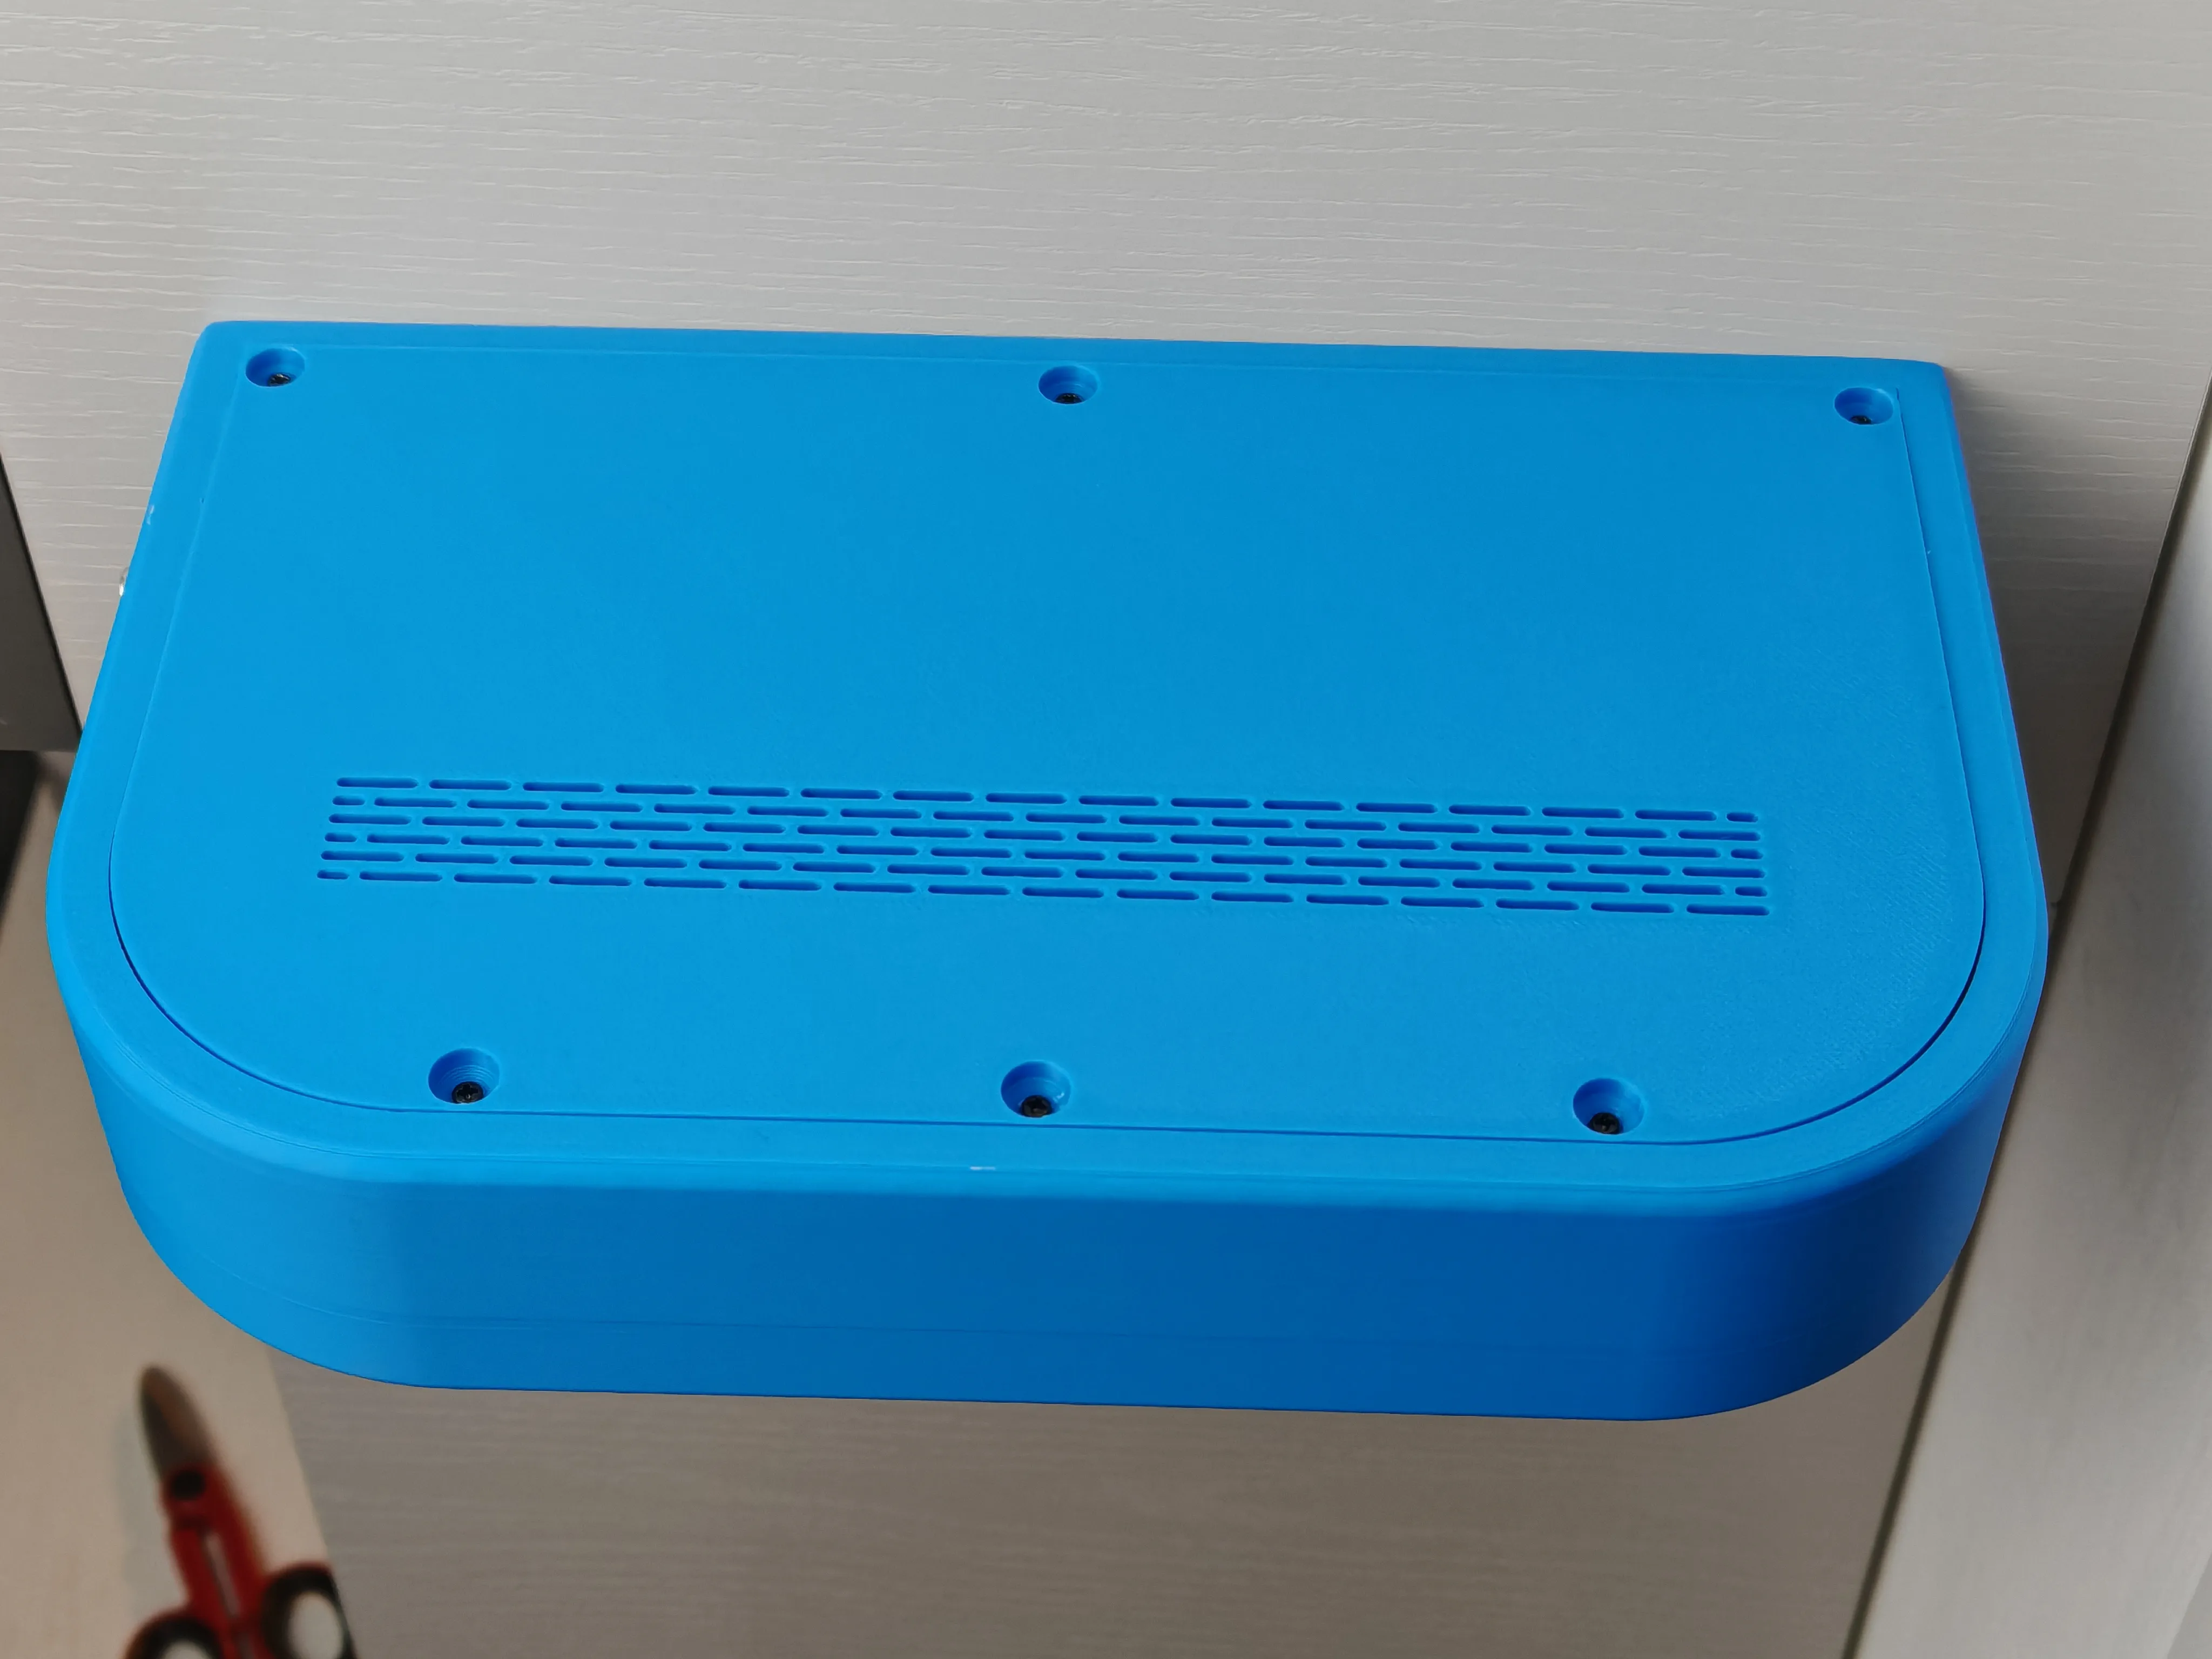
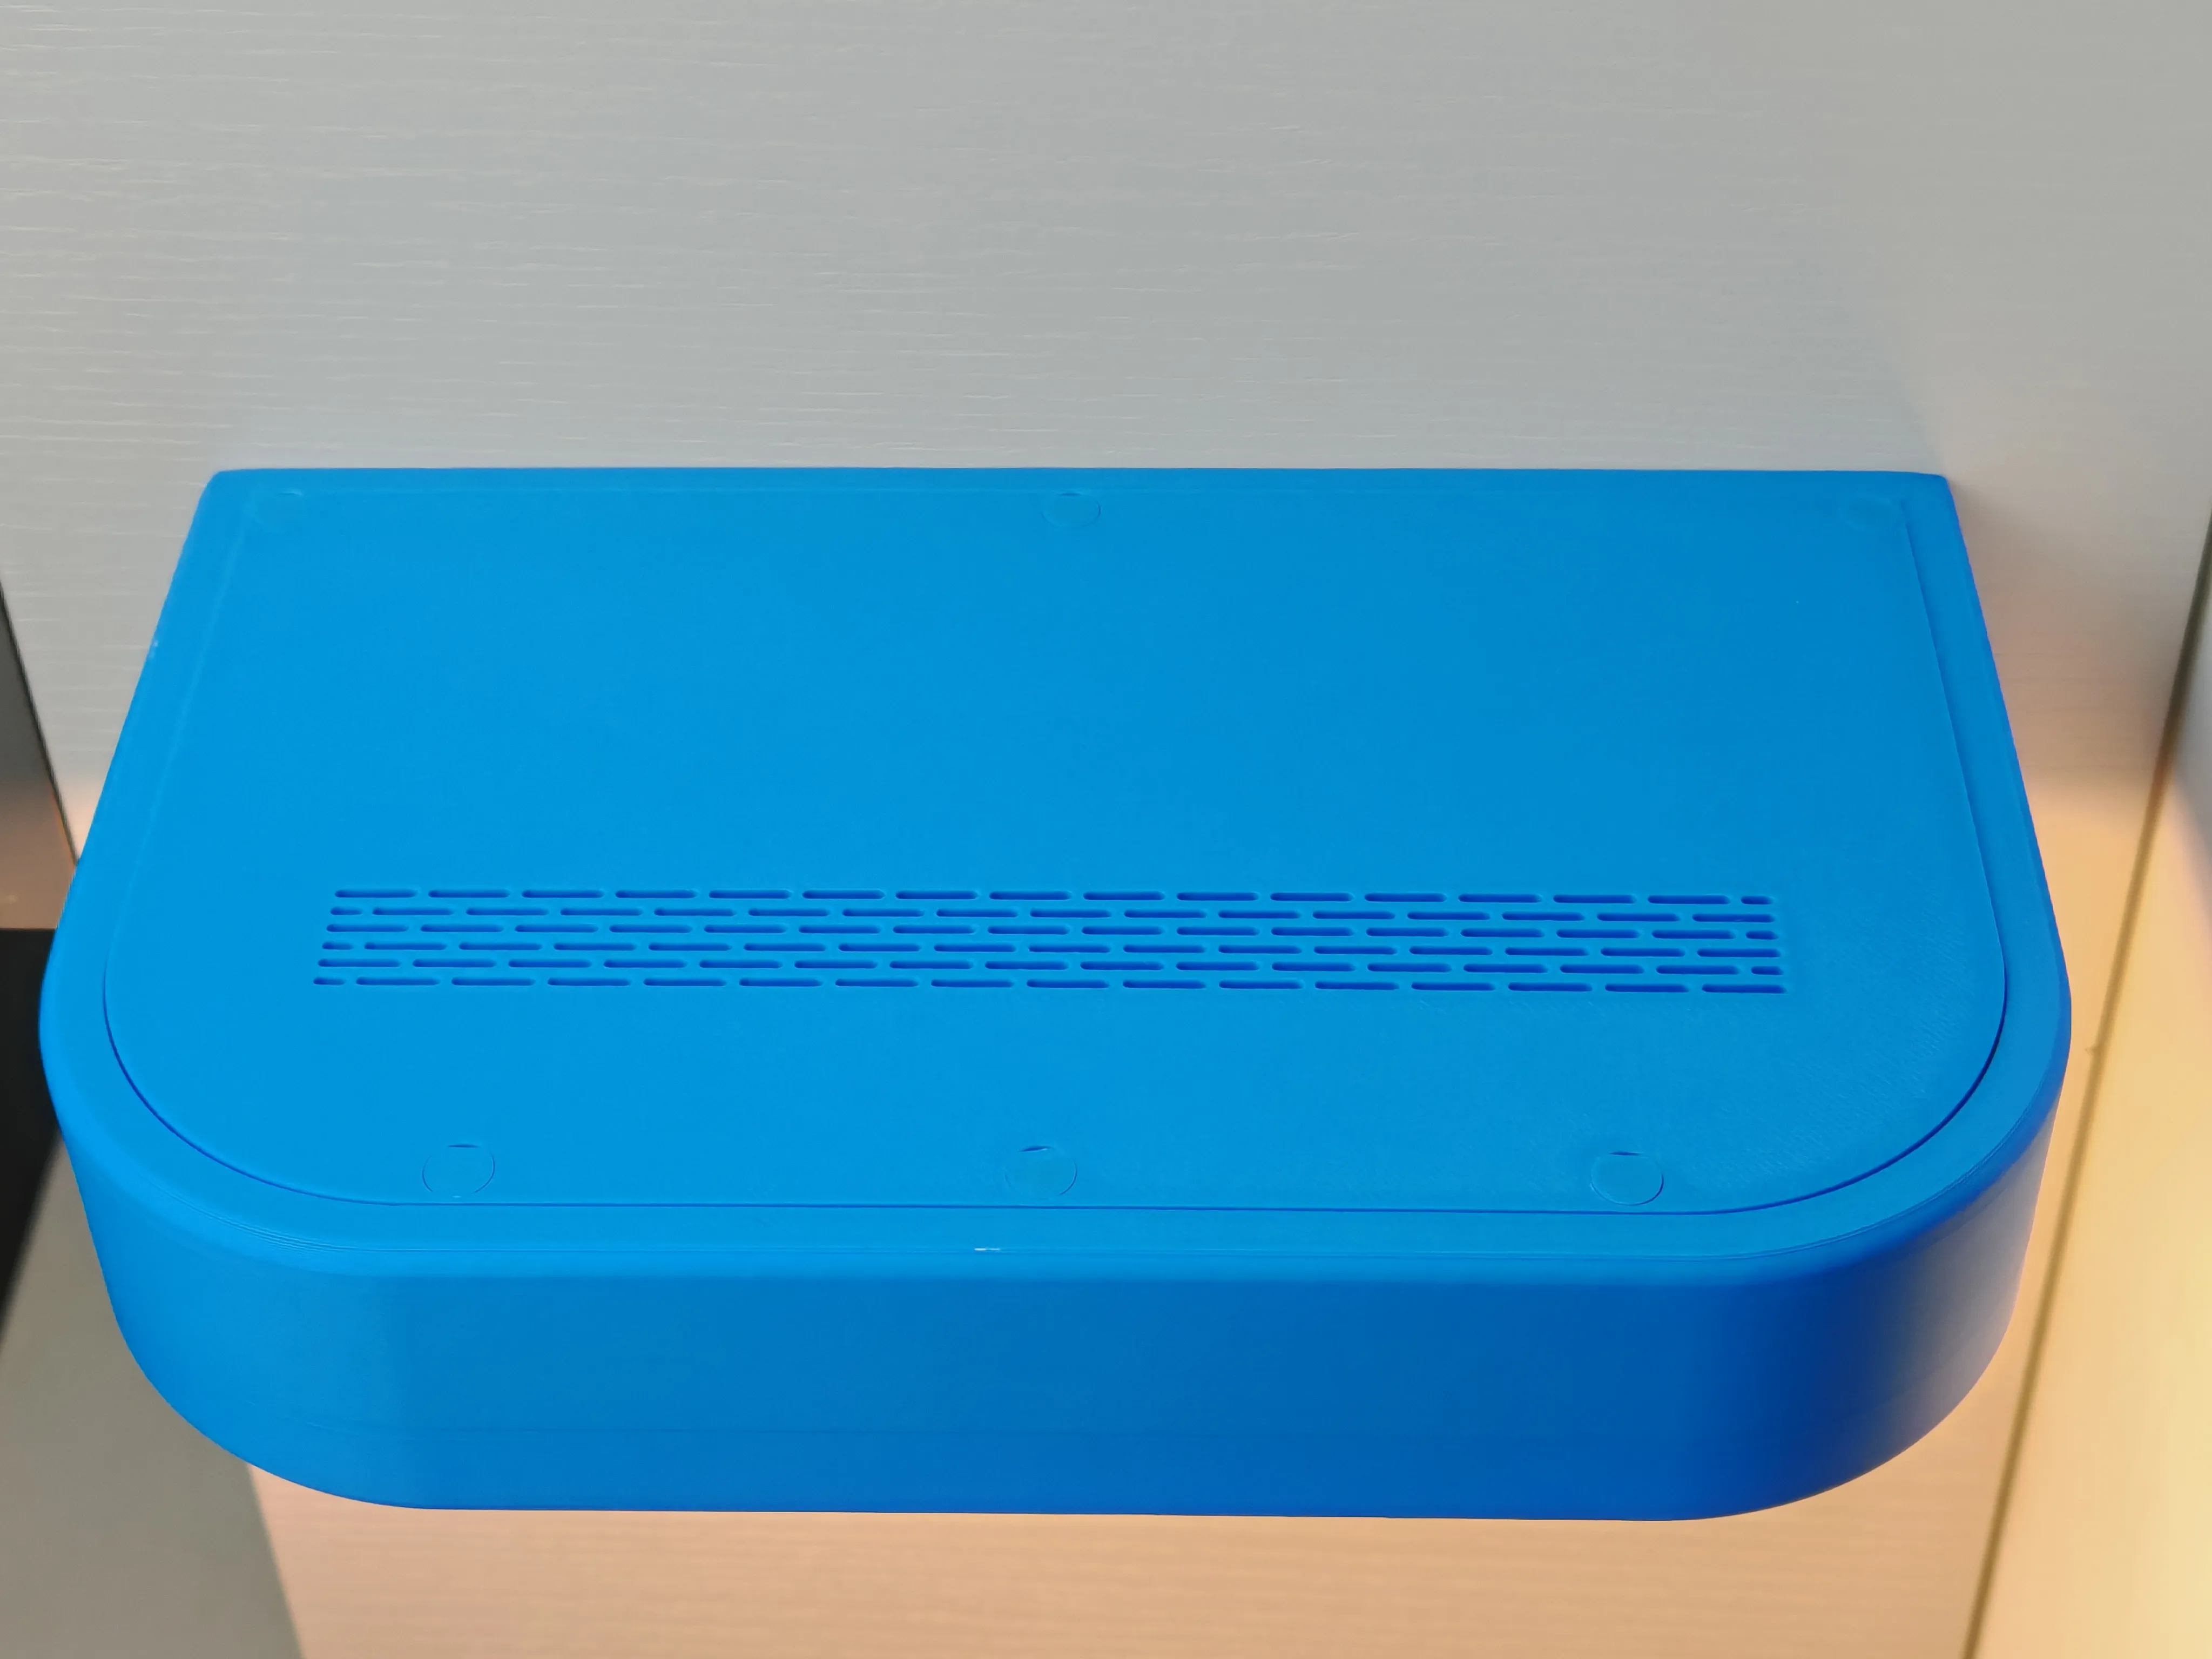
- Thermal Management: Features a vented top cover for heat dissipation; the design requires PETG for the internal mounting plate and PLA for all other parts.
- Illuminated Switch: Push button with a blue LED ring for easy location.
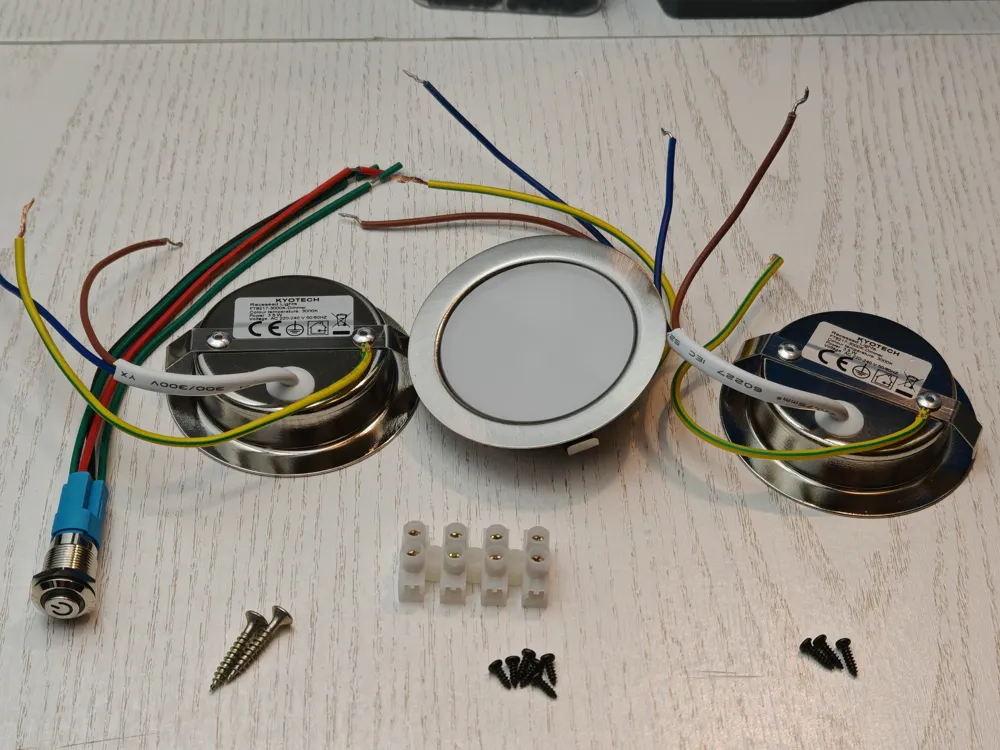
Bill of Materials
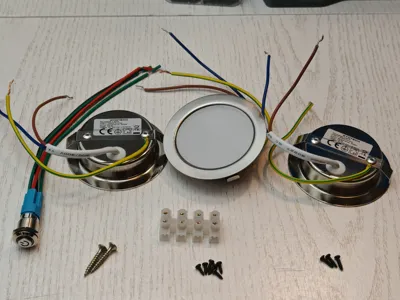
- LED Spotlights: Kyotech Dimmable LED Recessed Lights (3W, 230V)
- Switch: Latching Push Button with LED
- Terminal Block: Standard 4-Pole Mammut
- Screws:
- 2x M3 x 20mm: Secures the terminal block and plate to the body.
- 2x M2 x 6mm: Lateral plate fixation.
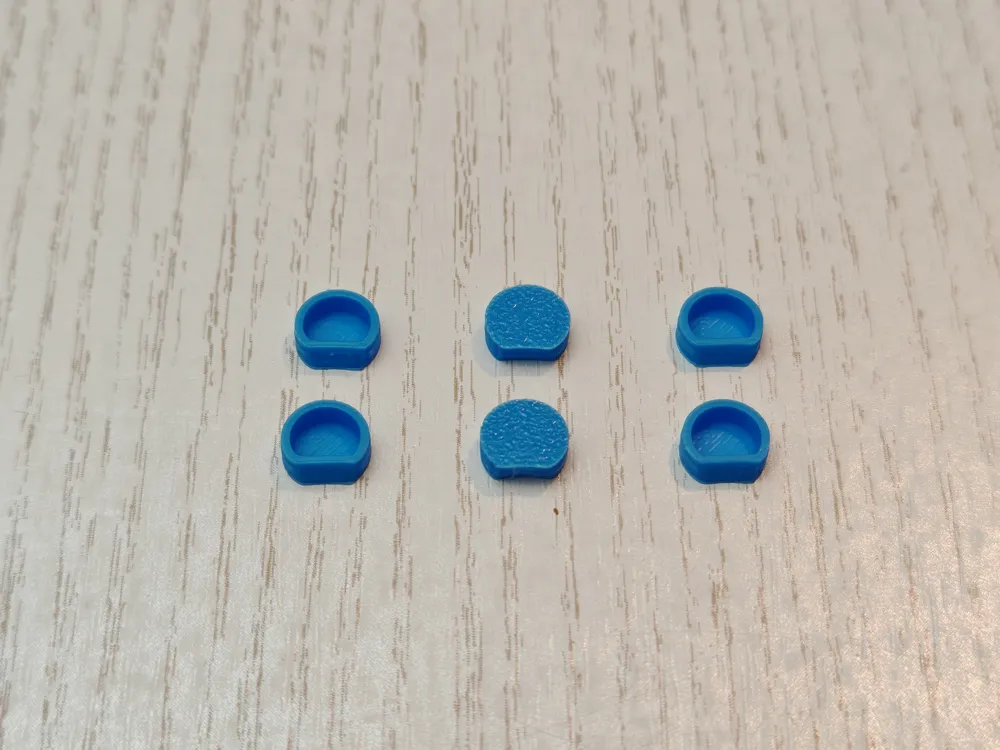
- 6x M2 x 6mm: For the top cover.
Assembly & Version Notes
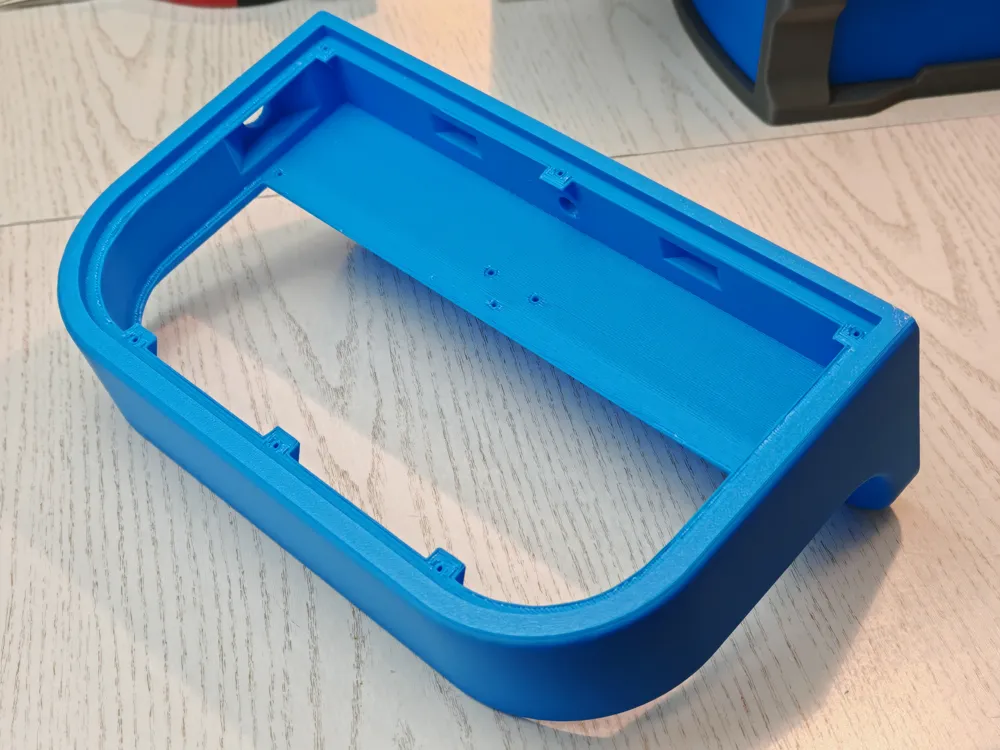
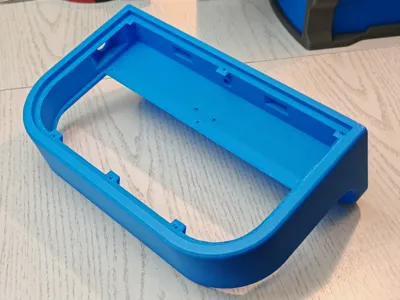
The following photos guide you through the assembly process. Please note that the images show the first prototype. During testing, I optimized the design to ensure a perfect fit:
- Improved Plate: The downloadable files include the Updated V2 of the mounting plate, which features trimmed corners for easier insertion into the Main Body.
- Screw Optimization: I removed a redundant central screw hole from the original design to simplify assembly. The files you download are the corrected versions, so you won't need to perform any manual modifications as I did on my prototype.
Step 1: LED Plate Setup
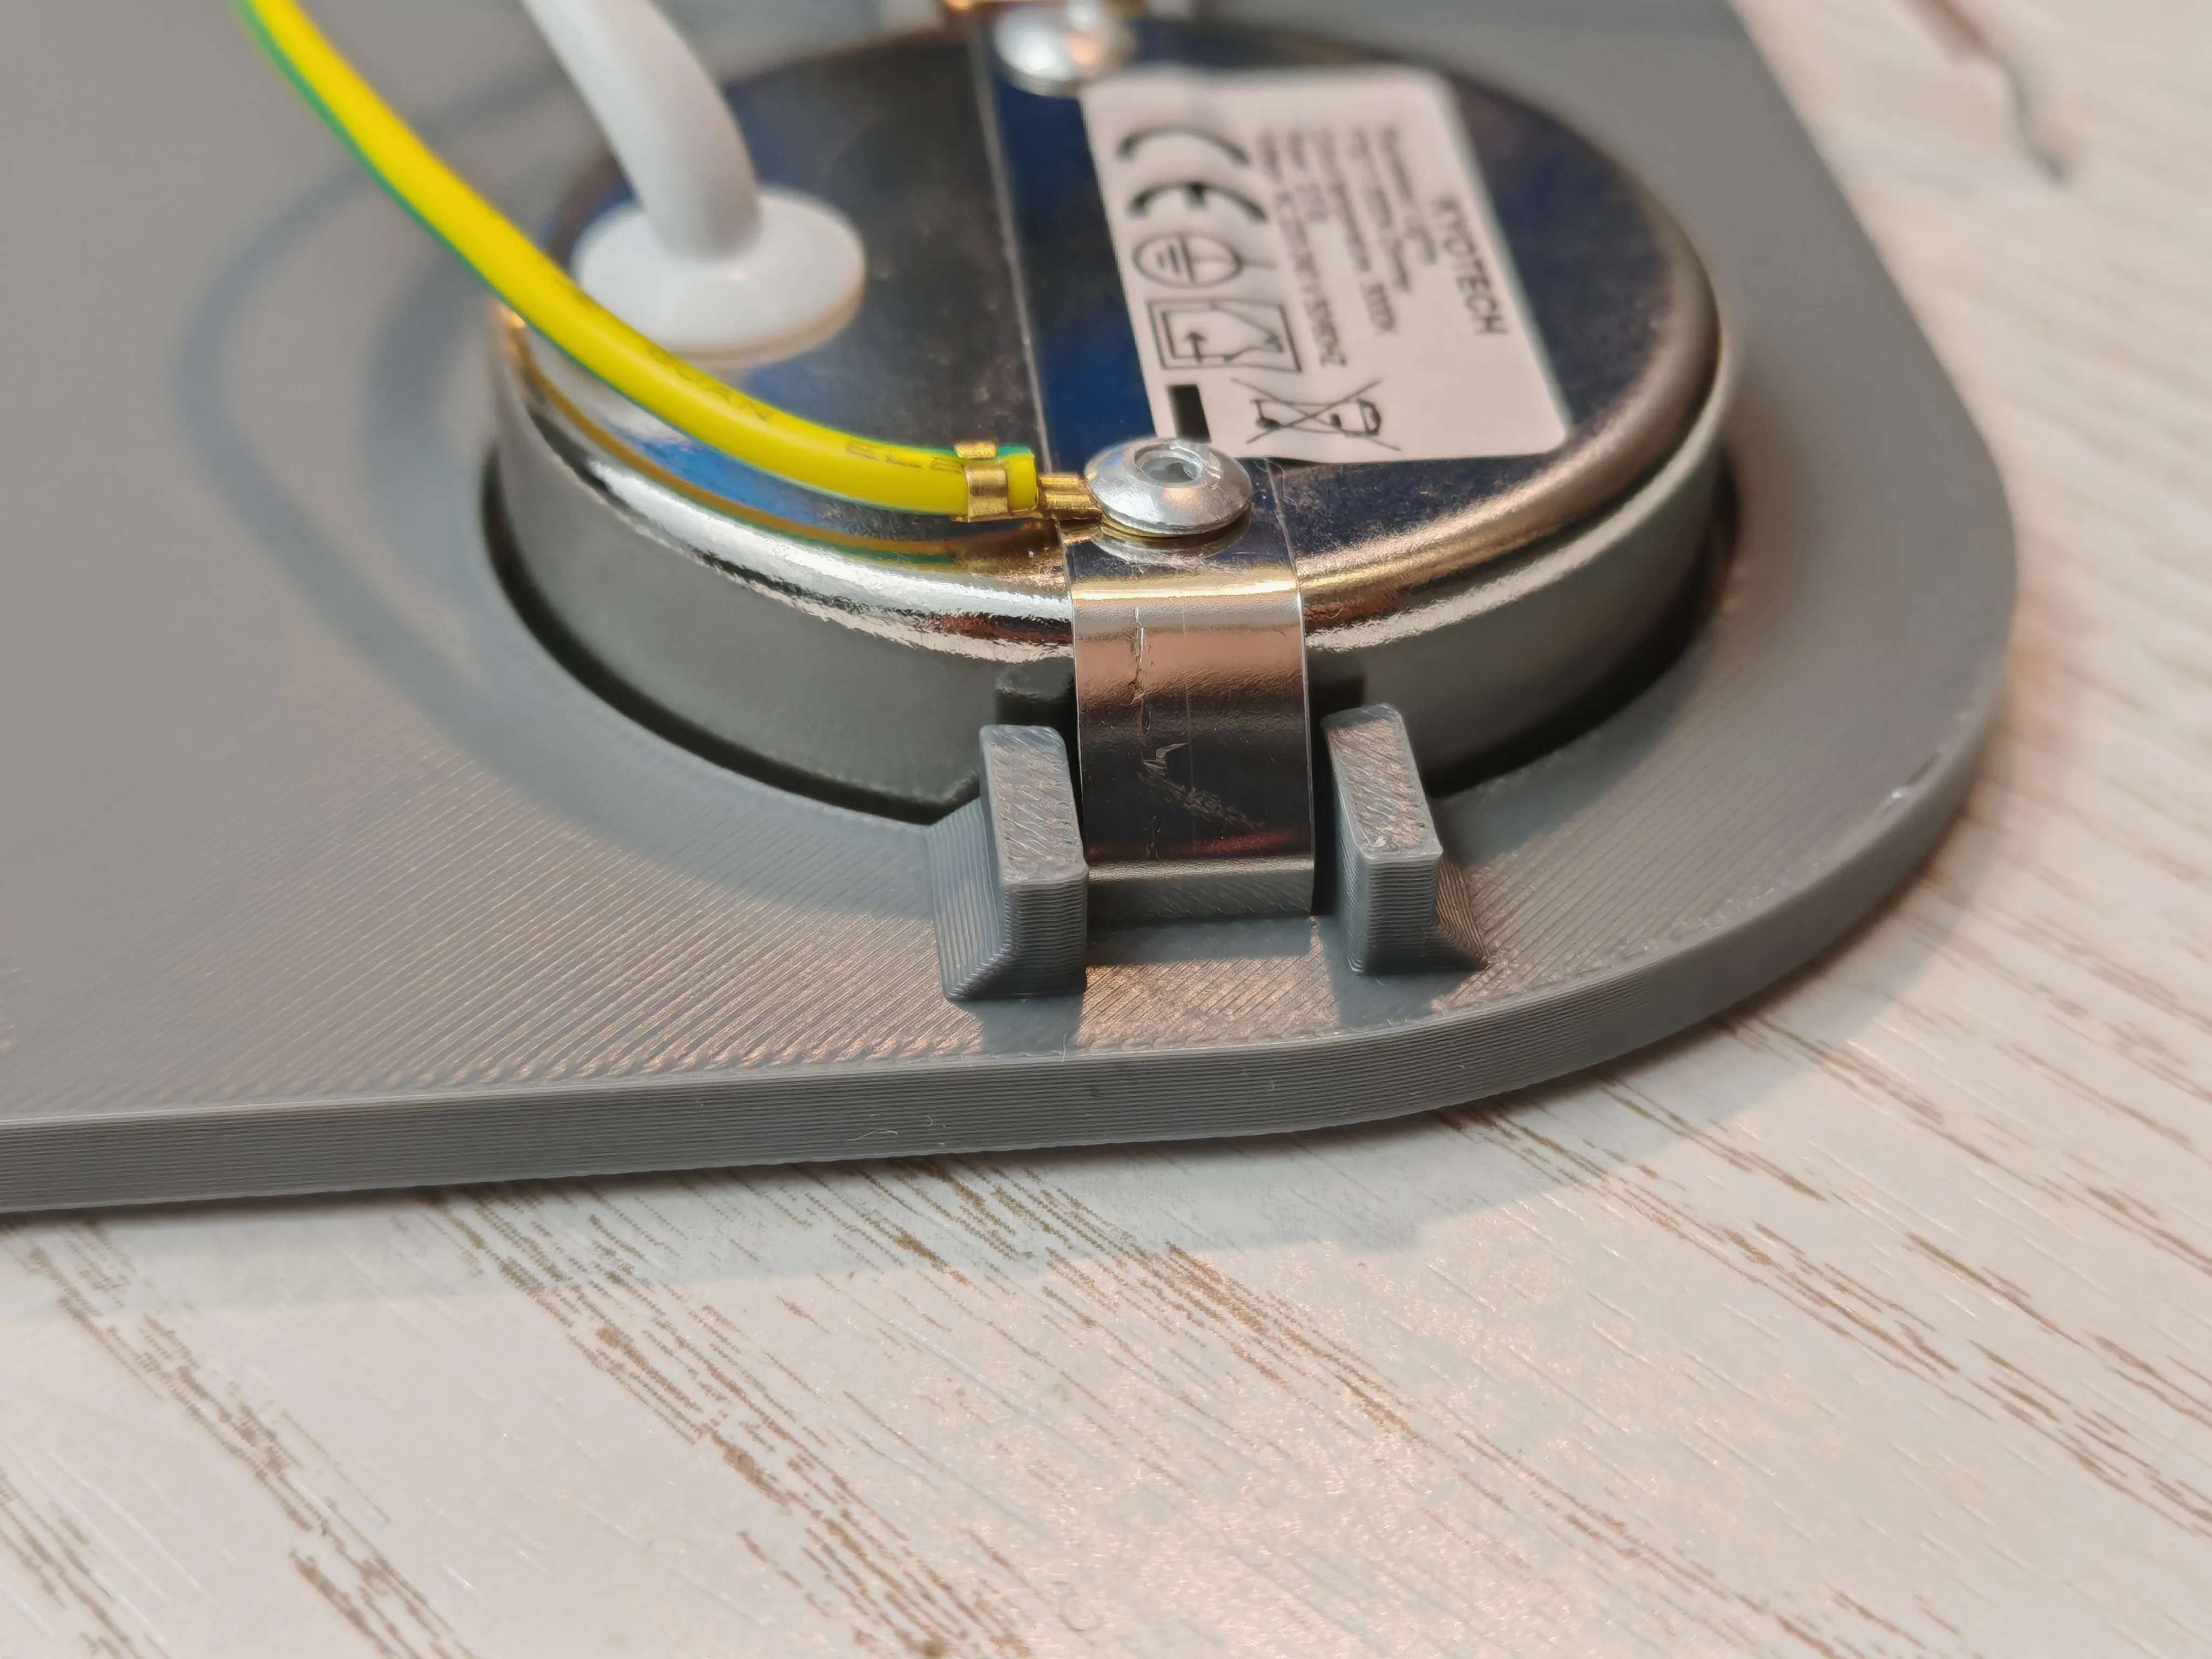
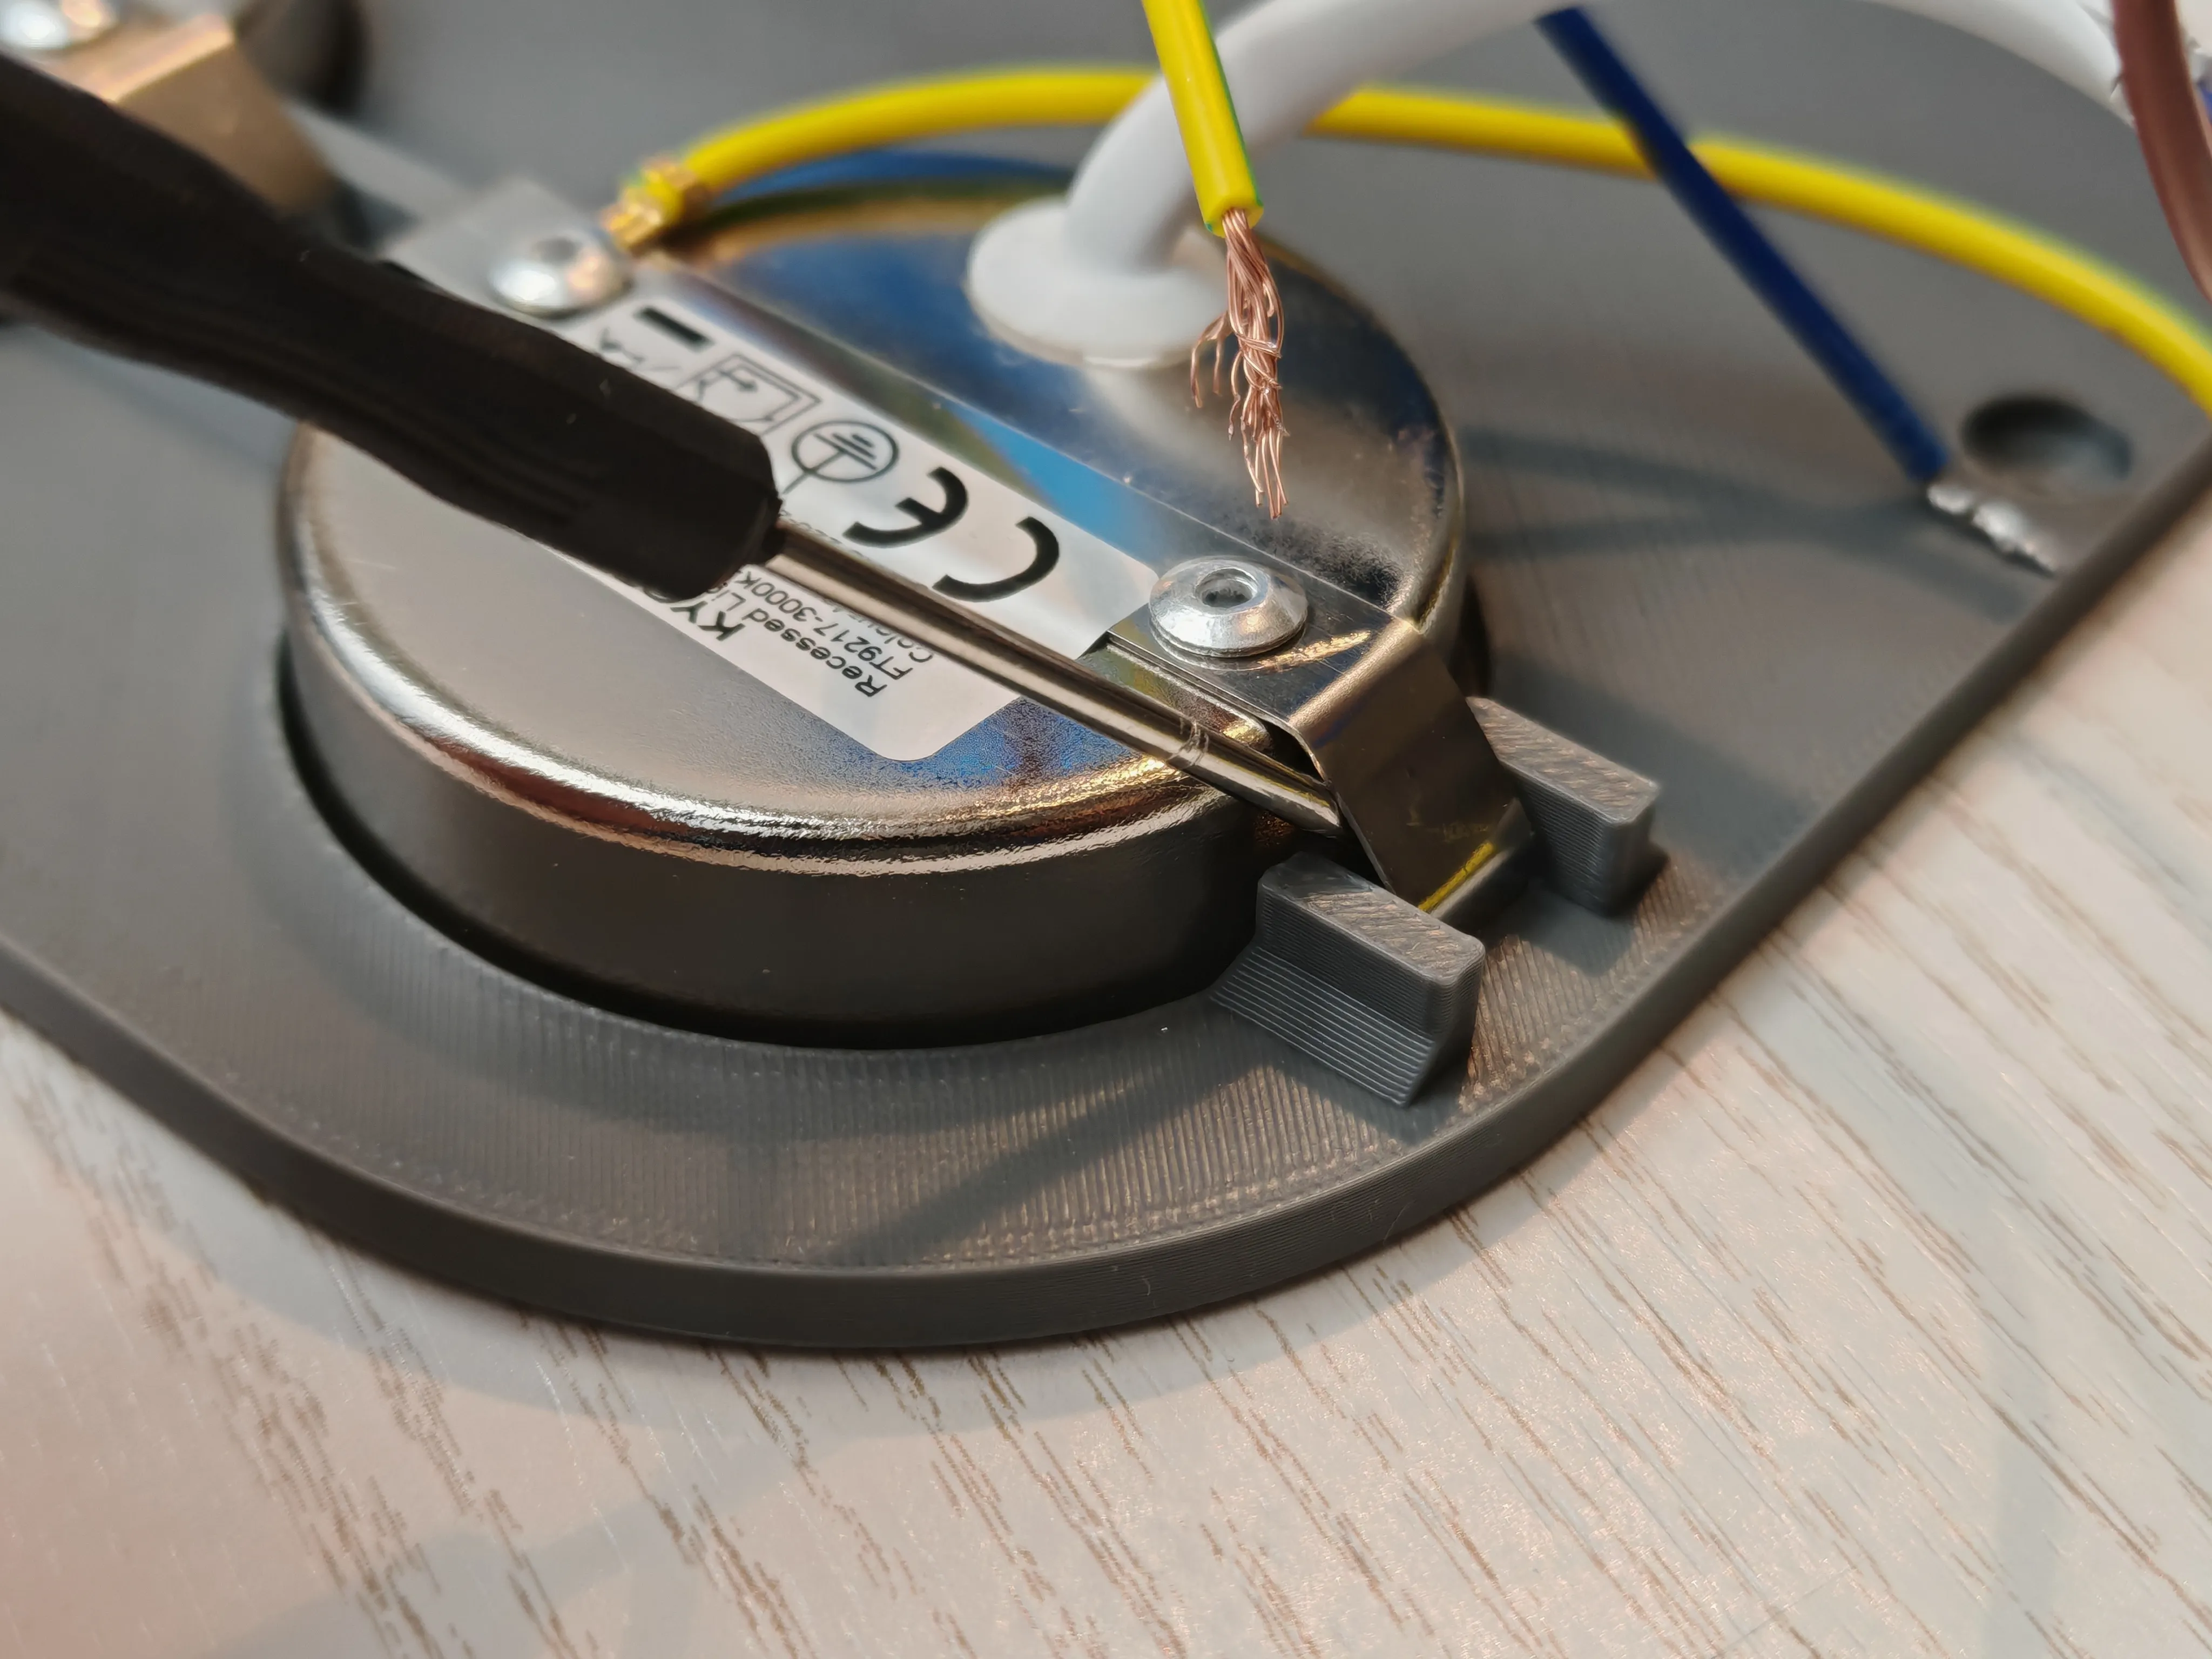
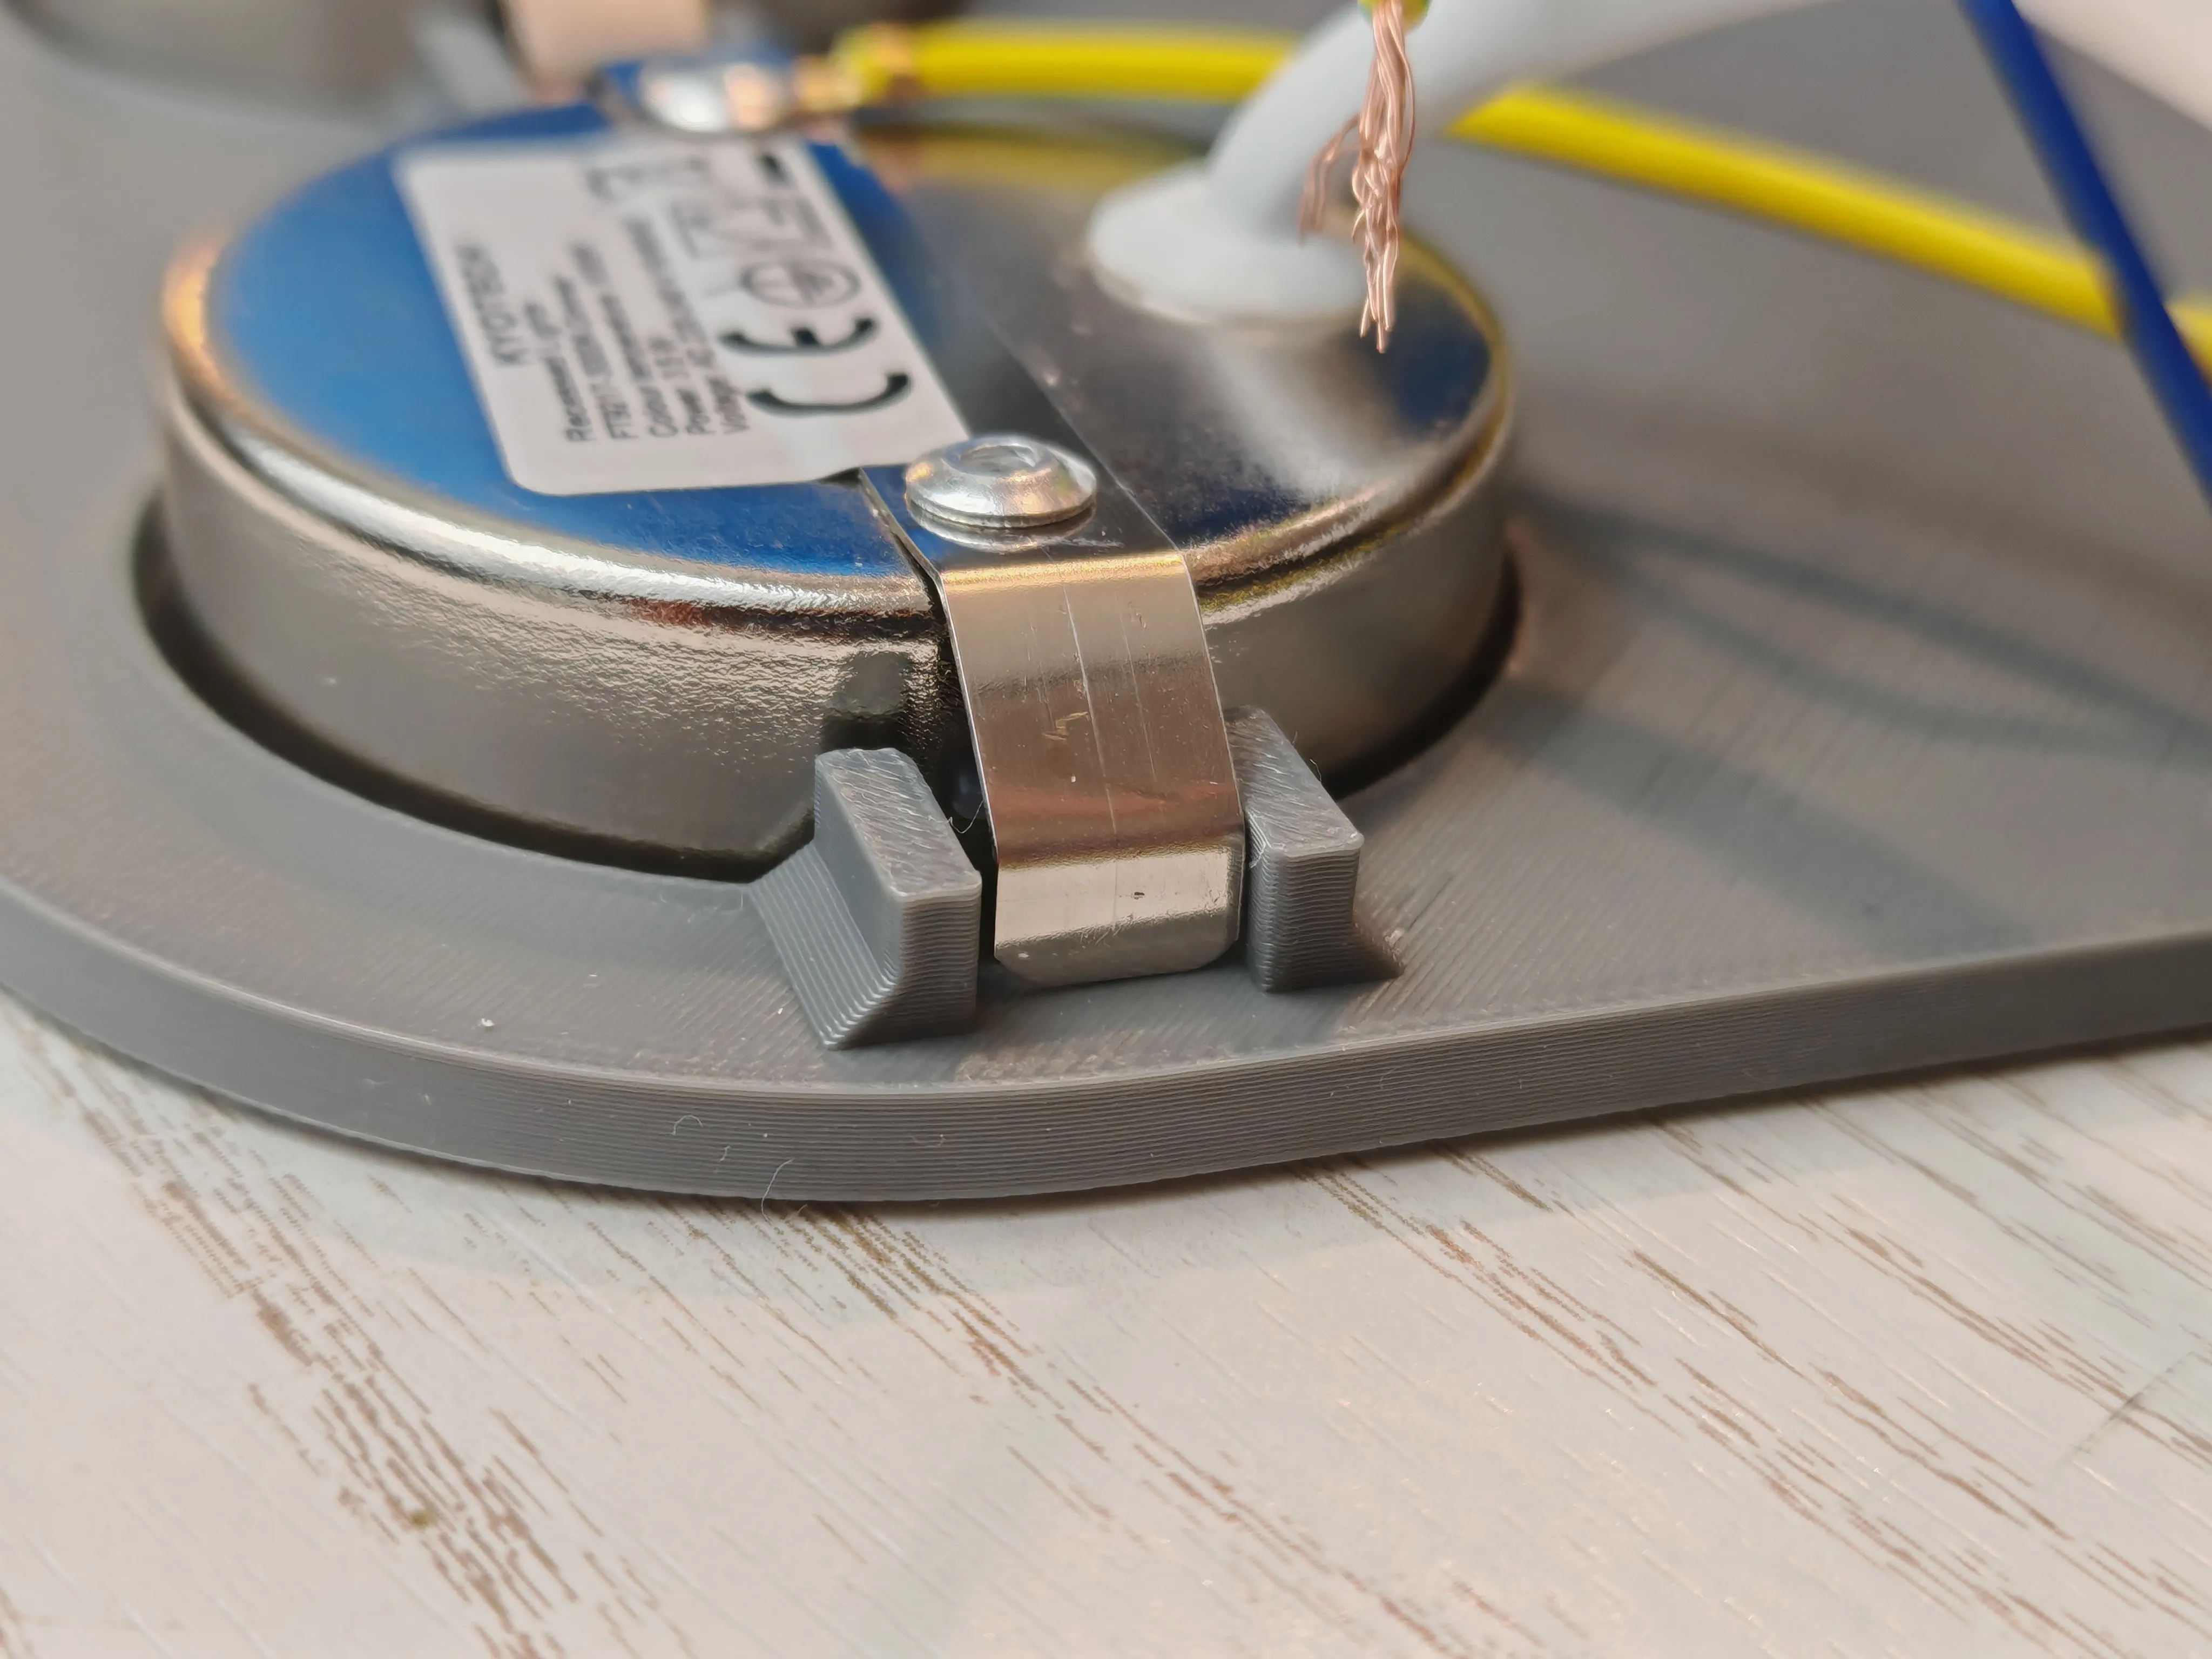
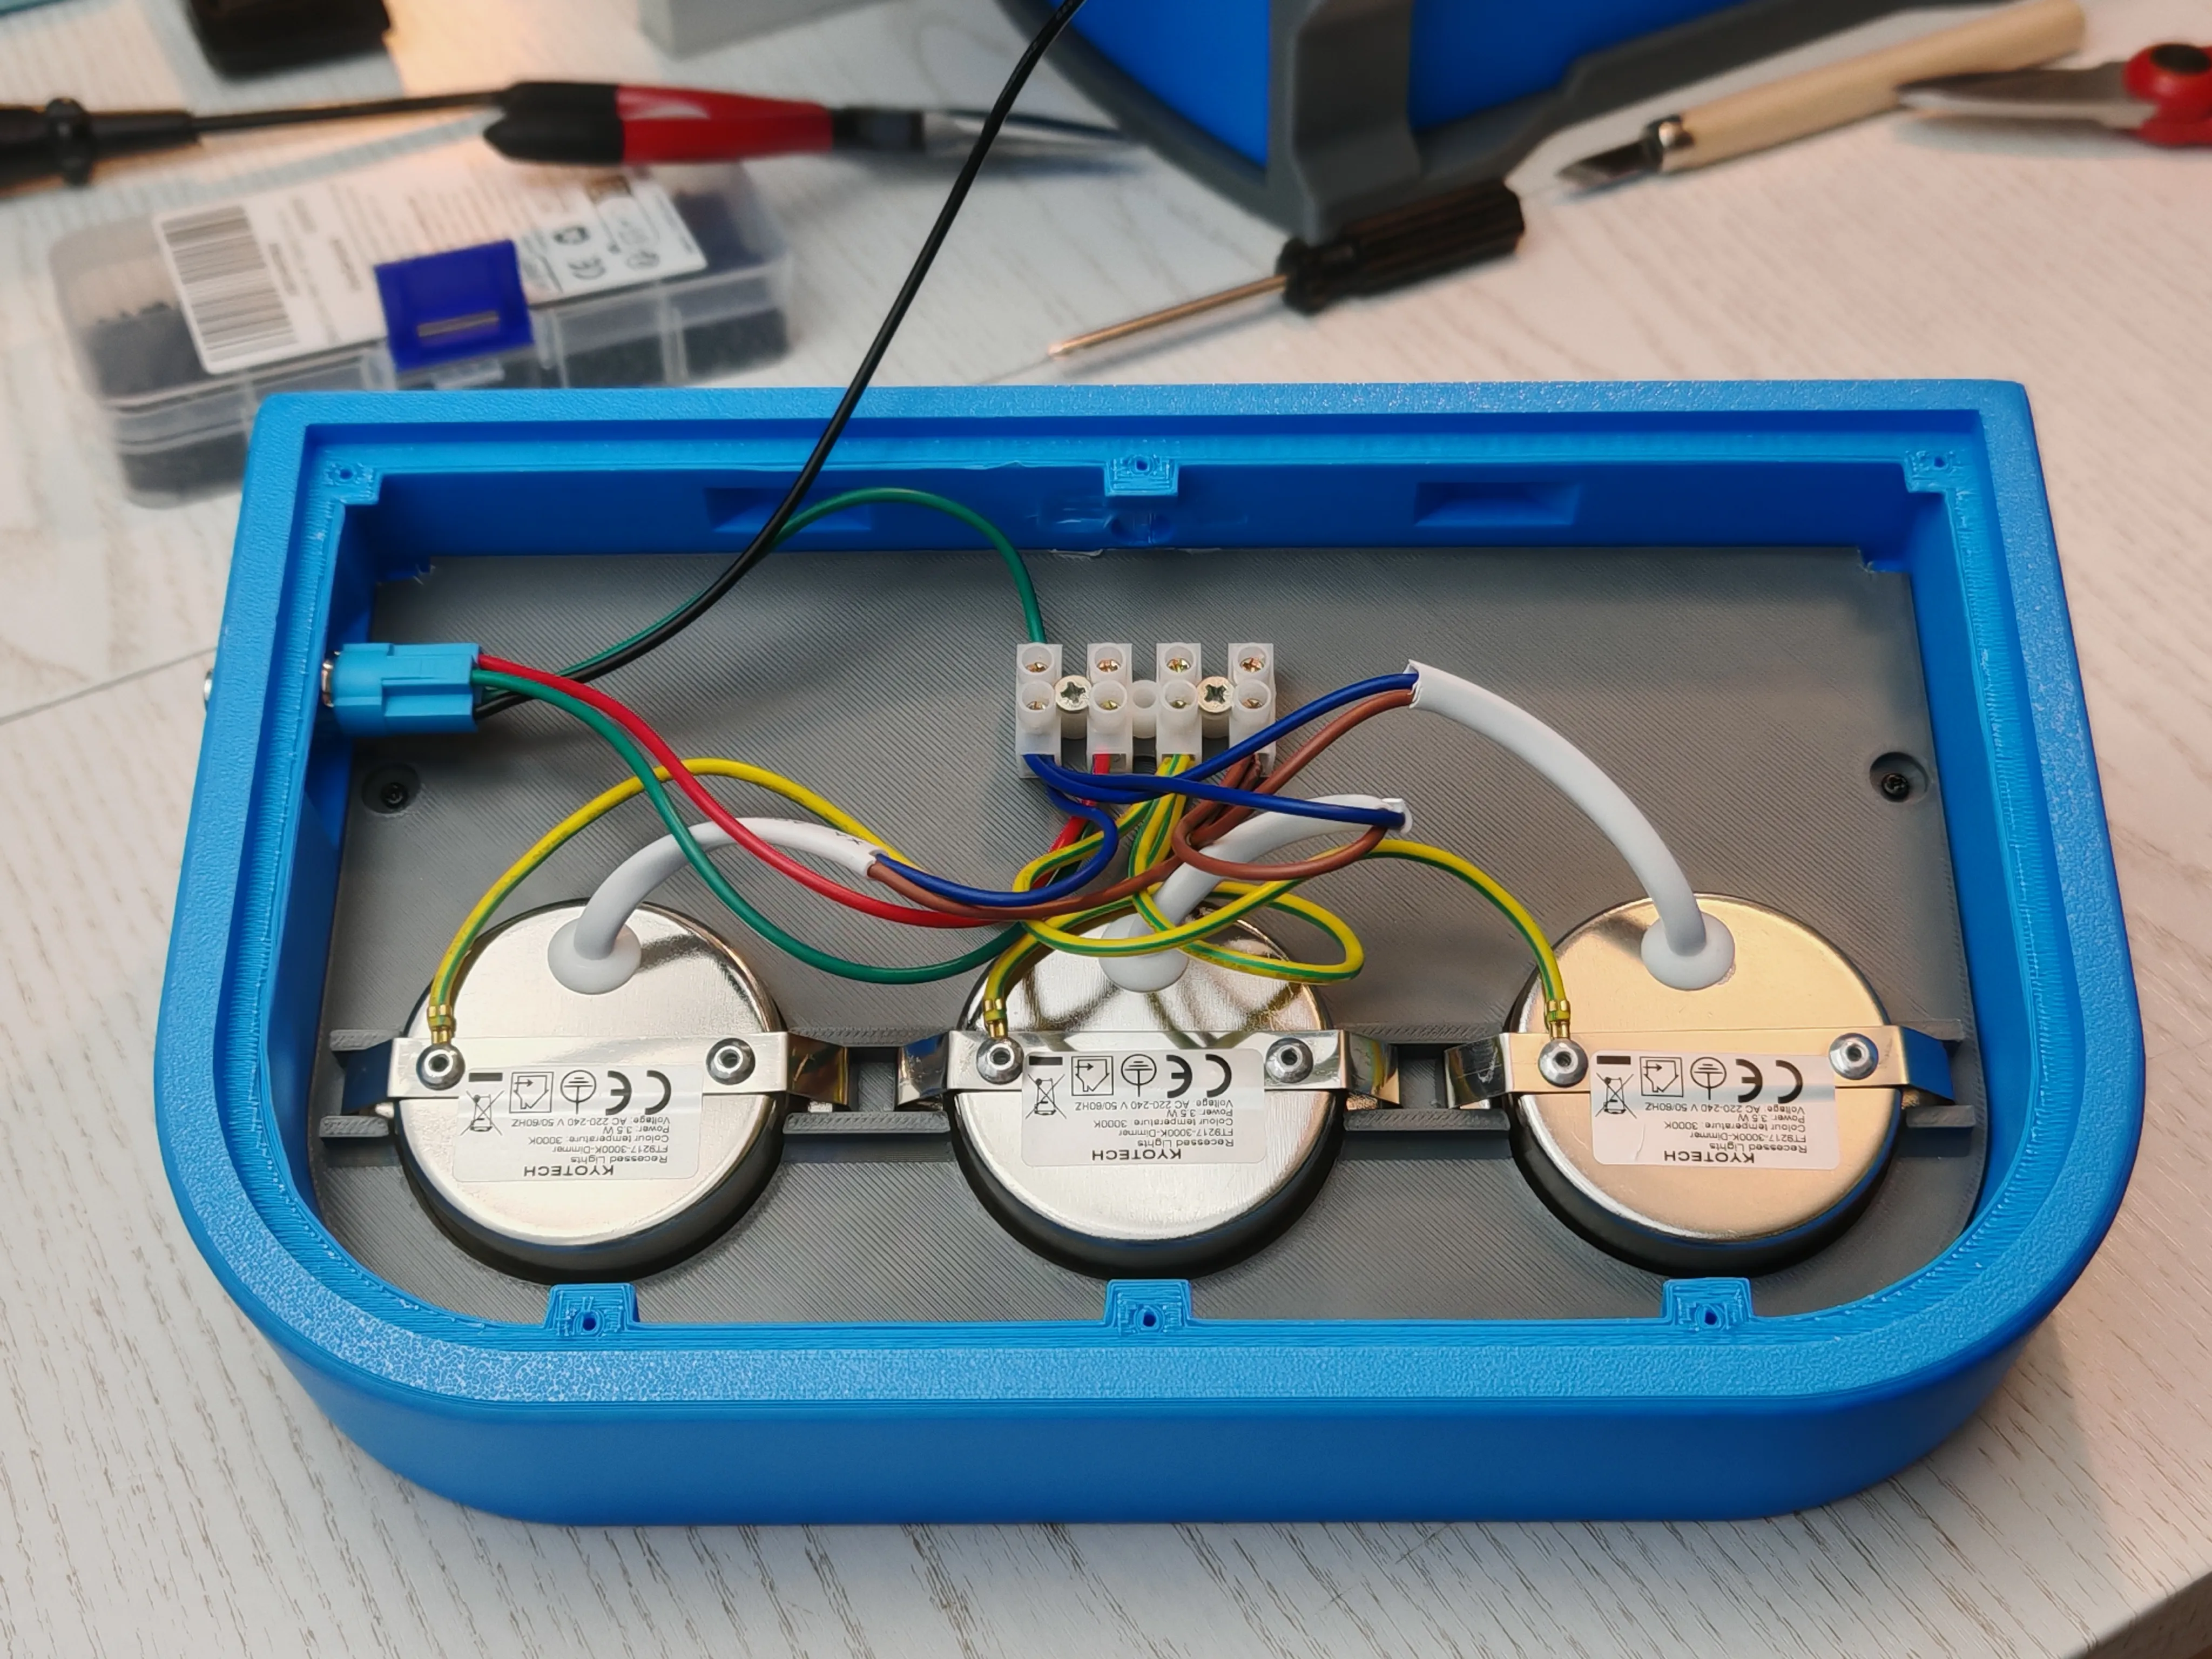
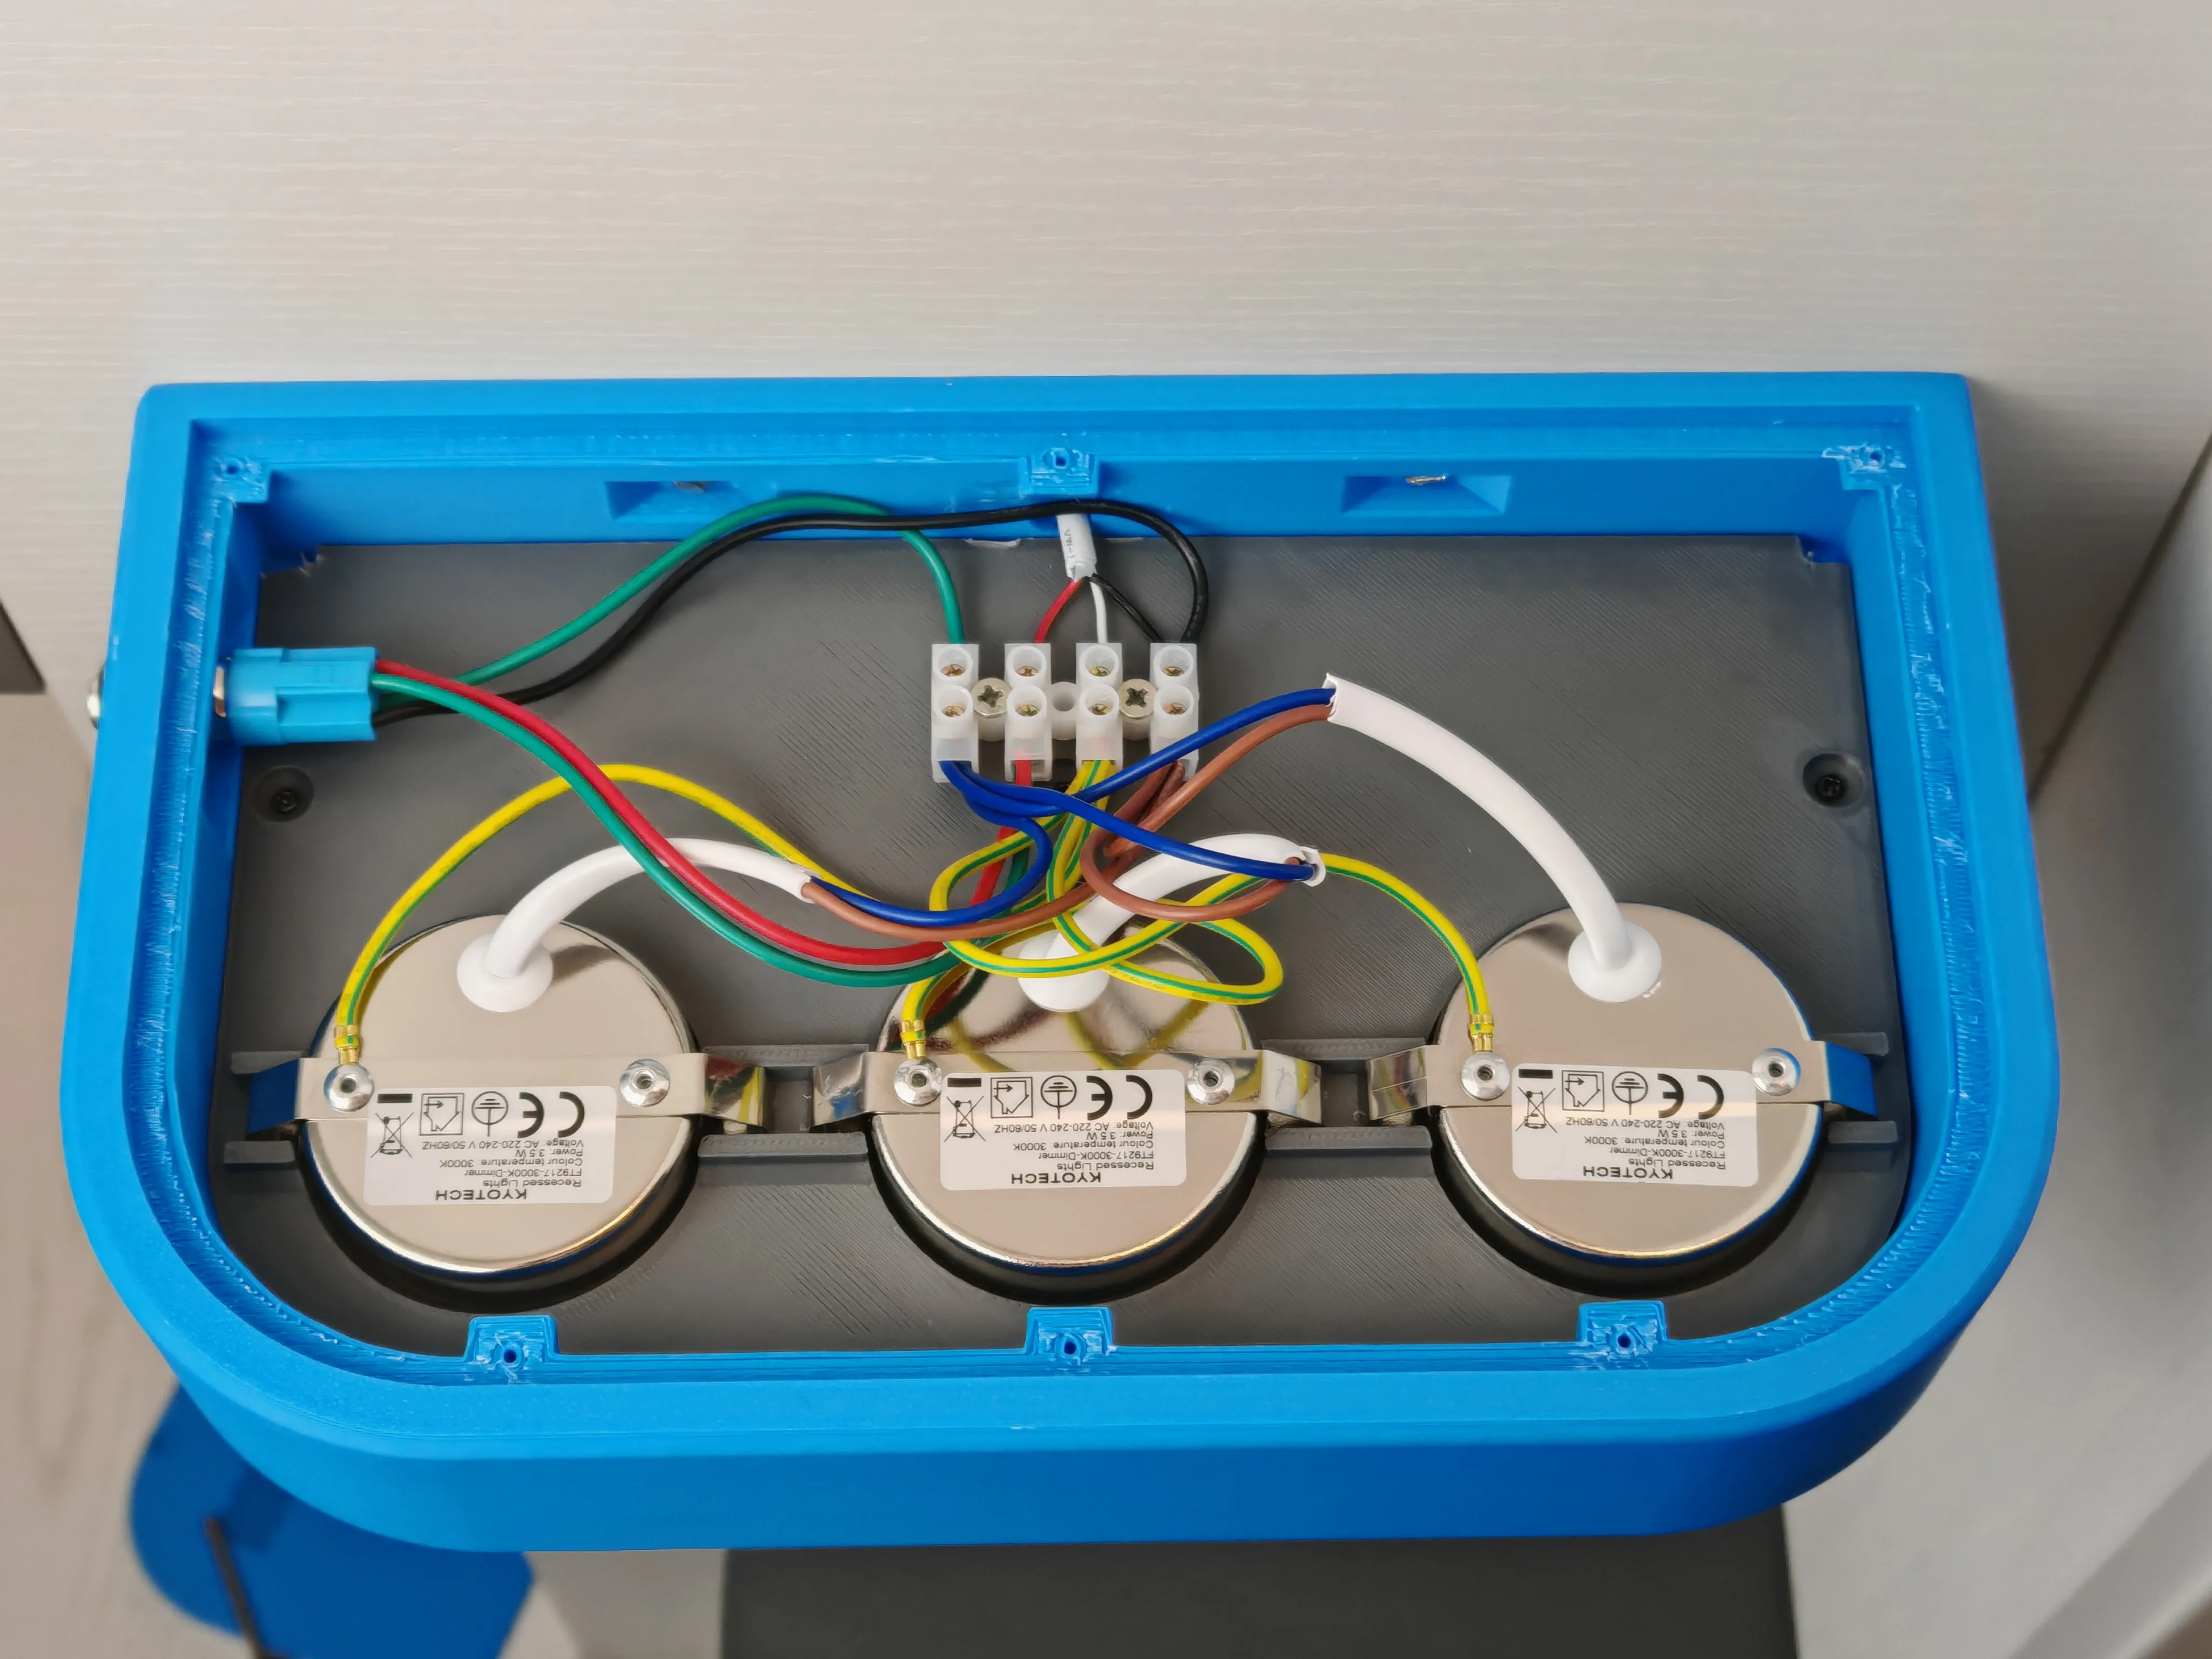
The Main Body requires supports for the internal structures. To achieve a cleaner result and avoid manual touch-ups, a test I would personally do (which I couldn't try as I don't have an AMS) is:
- Use a dedicated Support Interface material.
- Experiment with lower Z and XY distance settings for the supports to ensure better stability for the internal parts.
License

You may create derivative works based on this object, provided that all such derivative works are published exclusively on the MakerWorld platform and include proper attribution to the original creator. You may not share, upload, host, distribute, or publish this object—or any derivative work of this object—on any other digital platform, marketplace, or distribution channel. Commercial use of this object and any derivative works is strictly prohibited. This includes, but is not limited to, selling, renting, sublicensing, or using the object in any context in which you receive monetary compensation or other financial benefits.


Comment & Rating (3)