


Print Profile(3)


Bill of Materials


.jpg)


Description
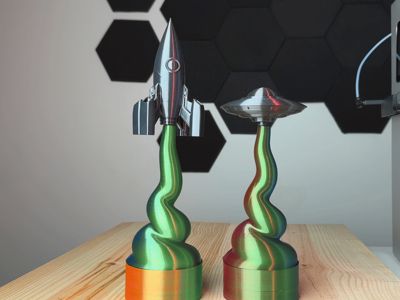
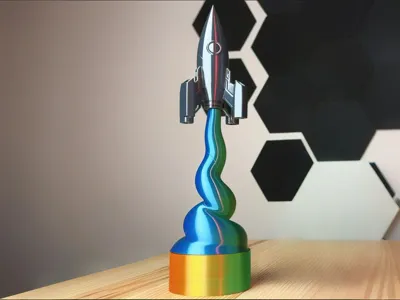
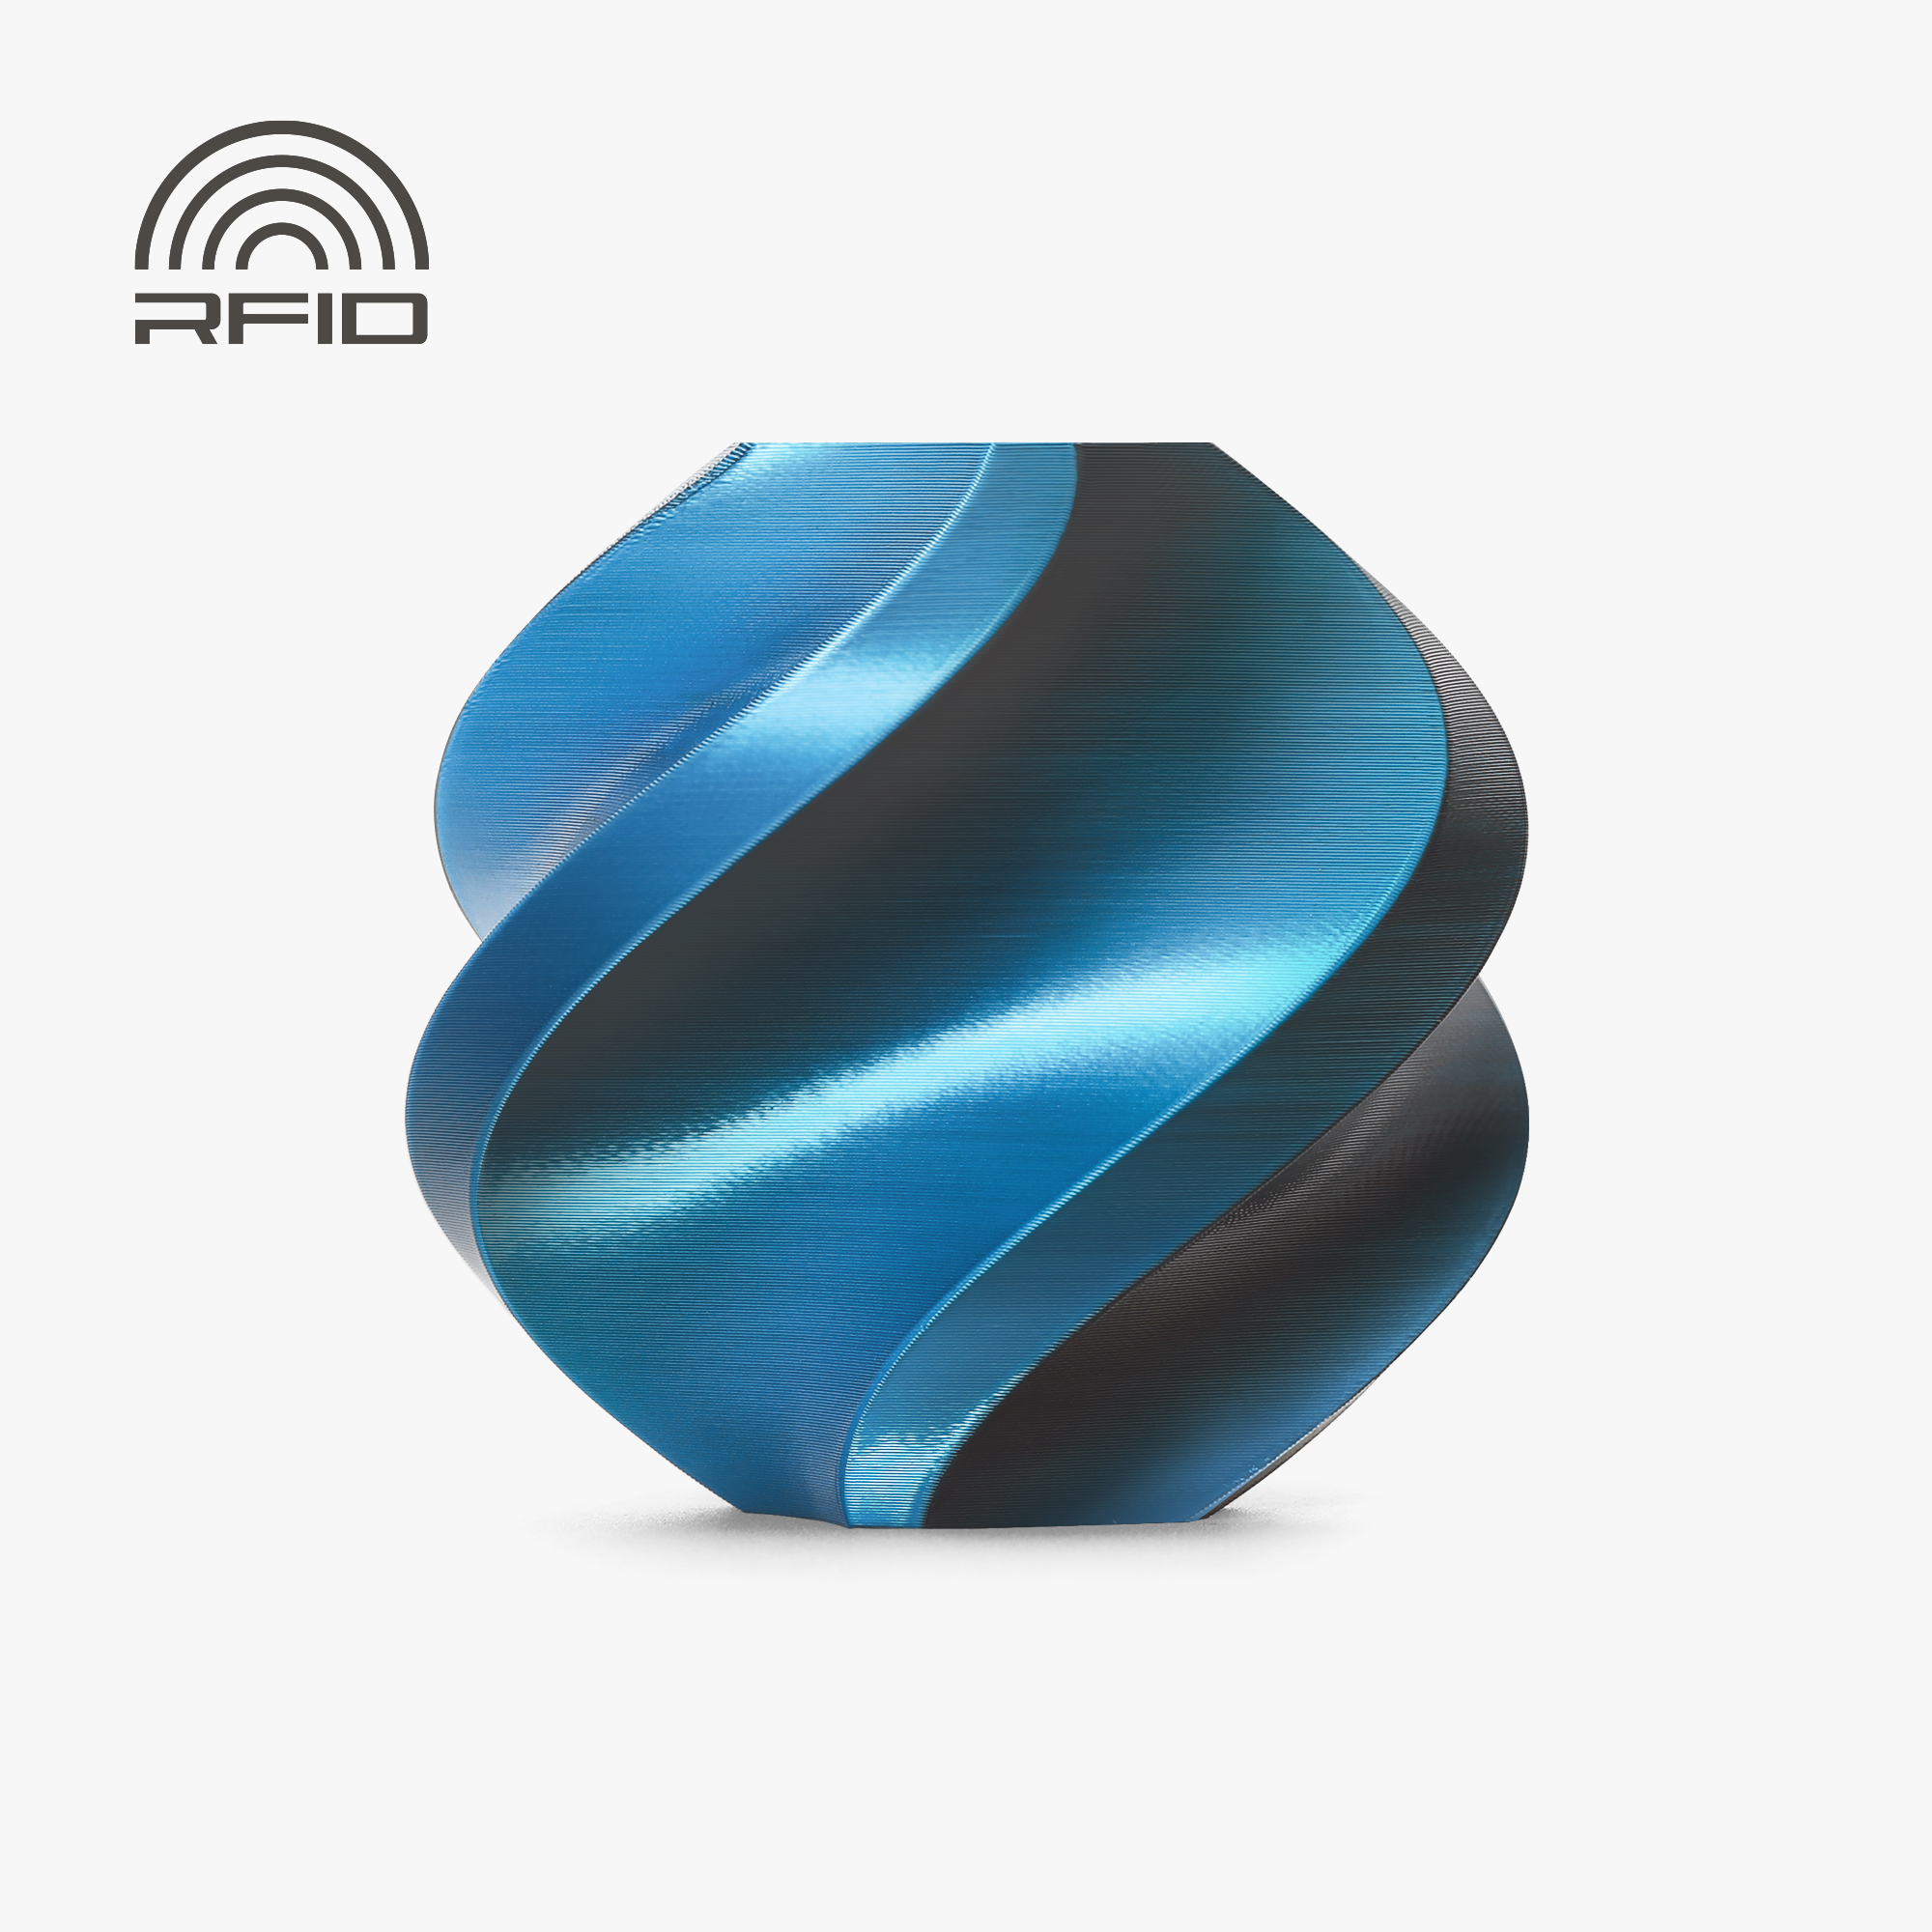
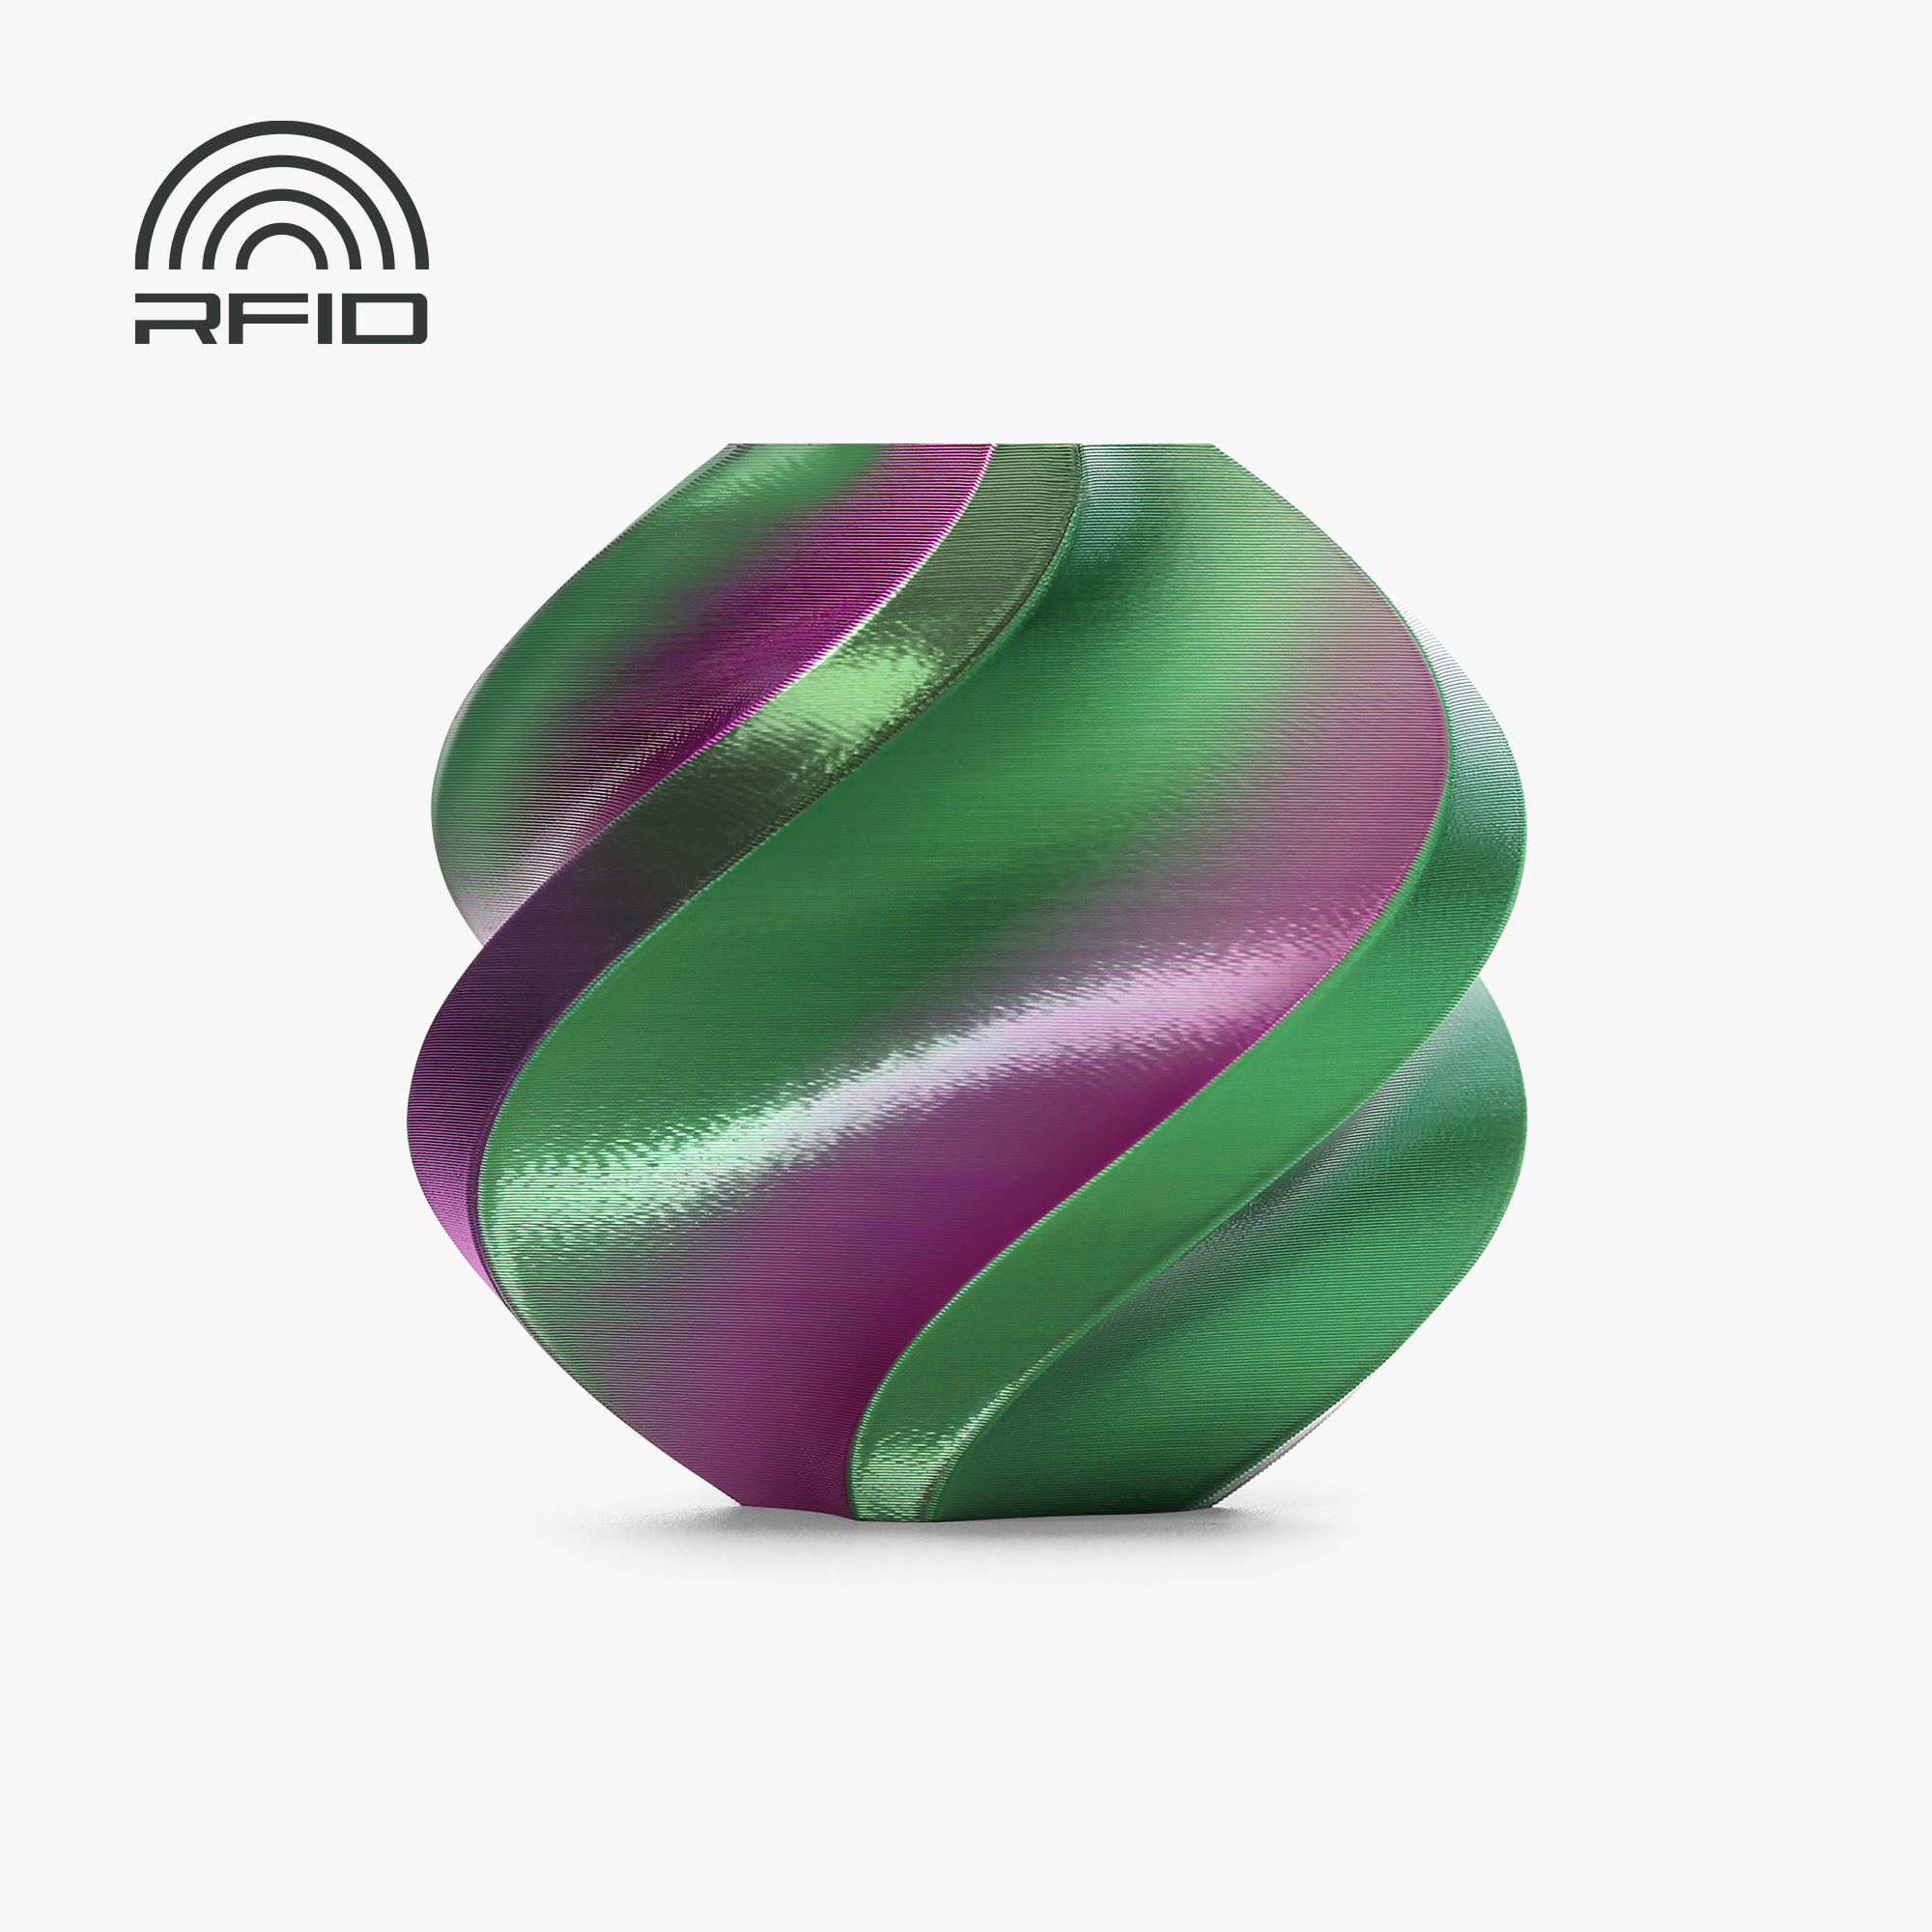
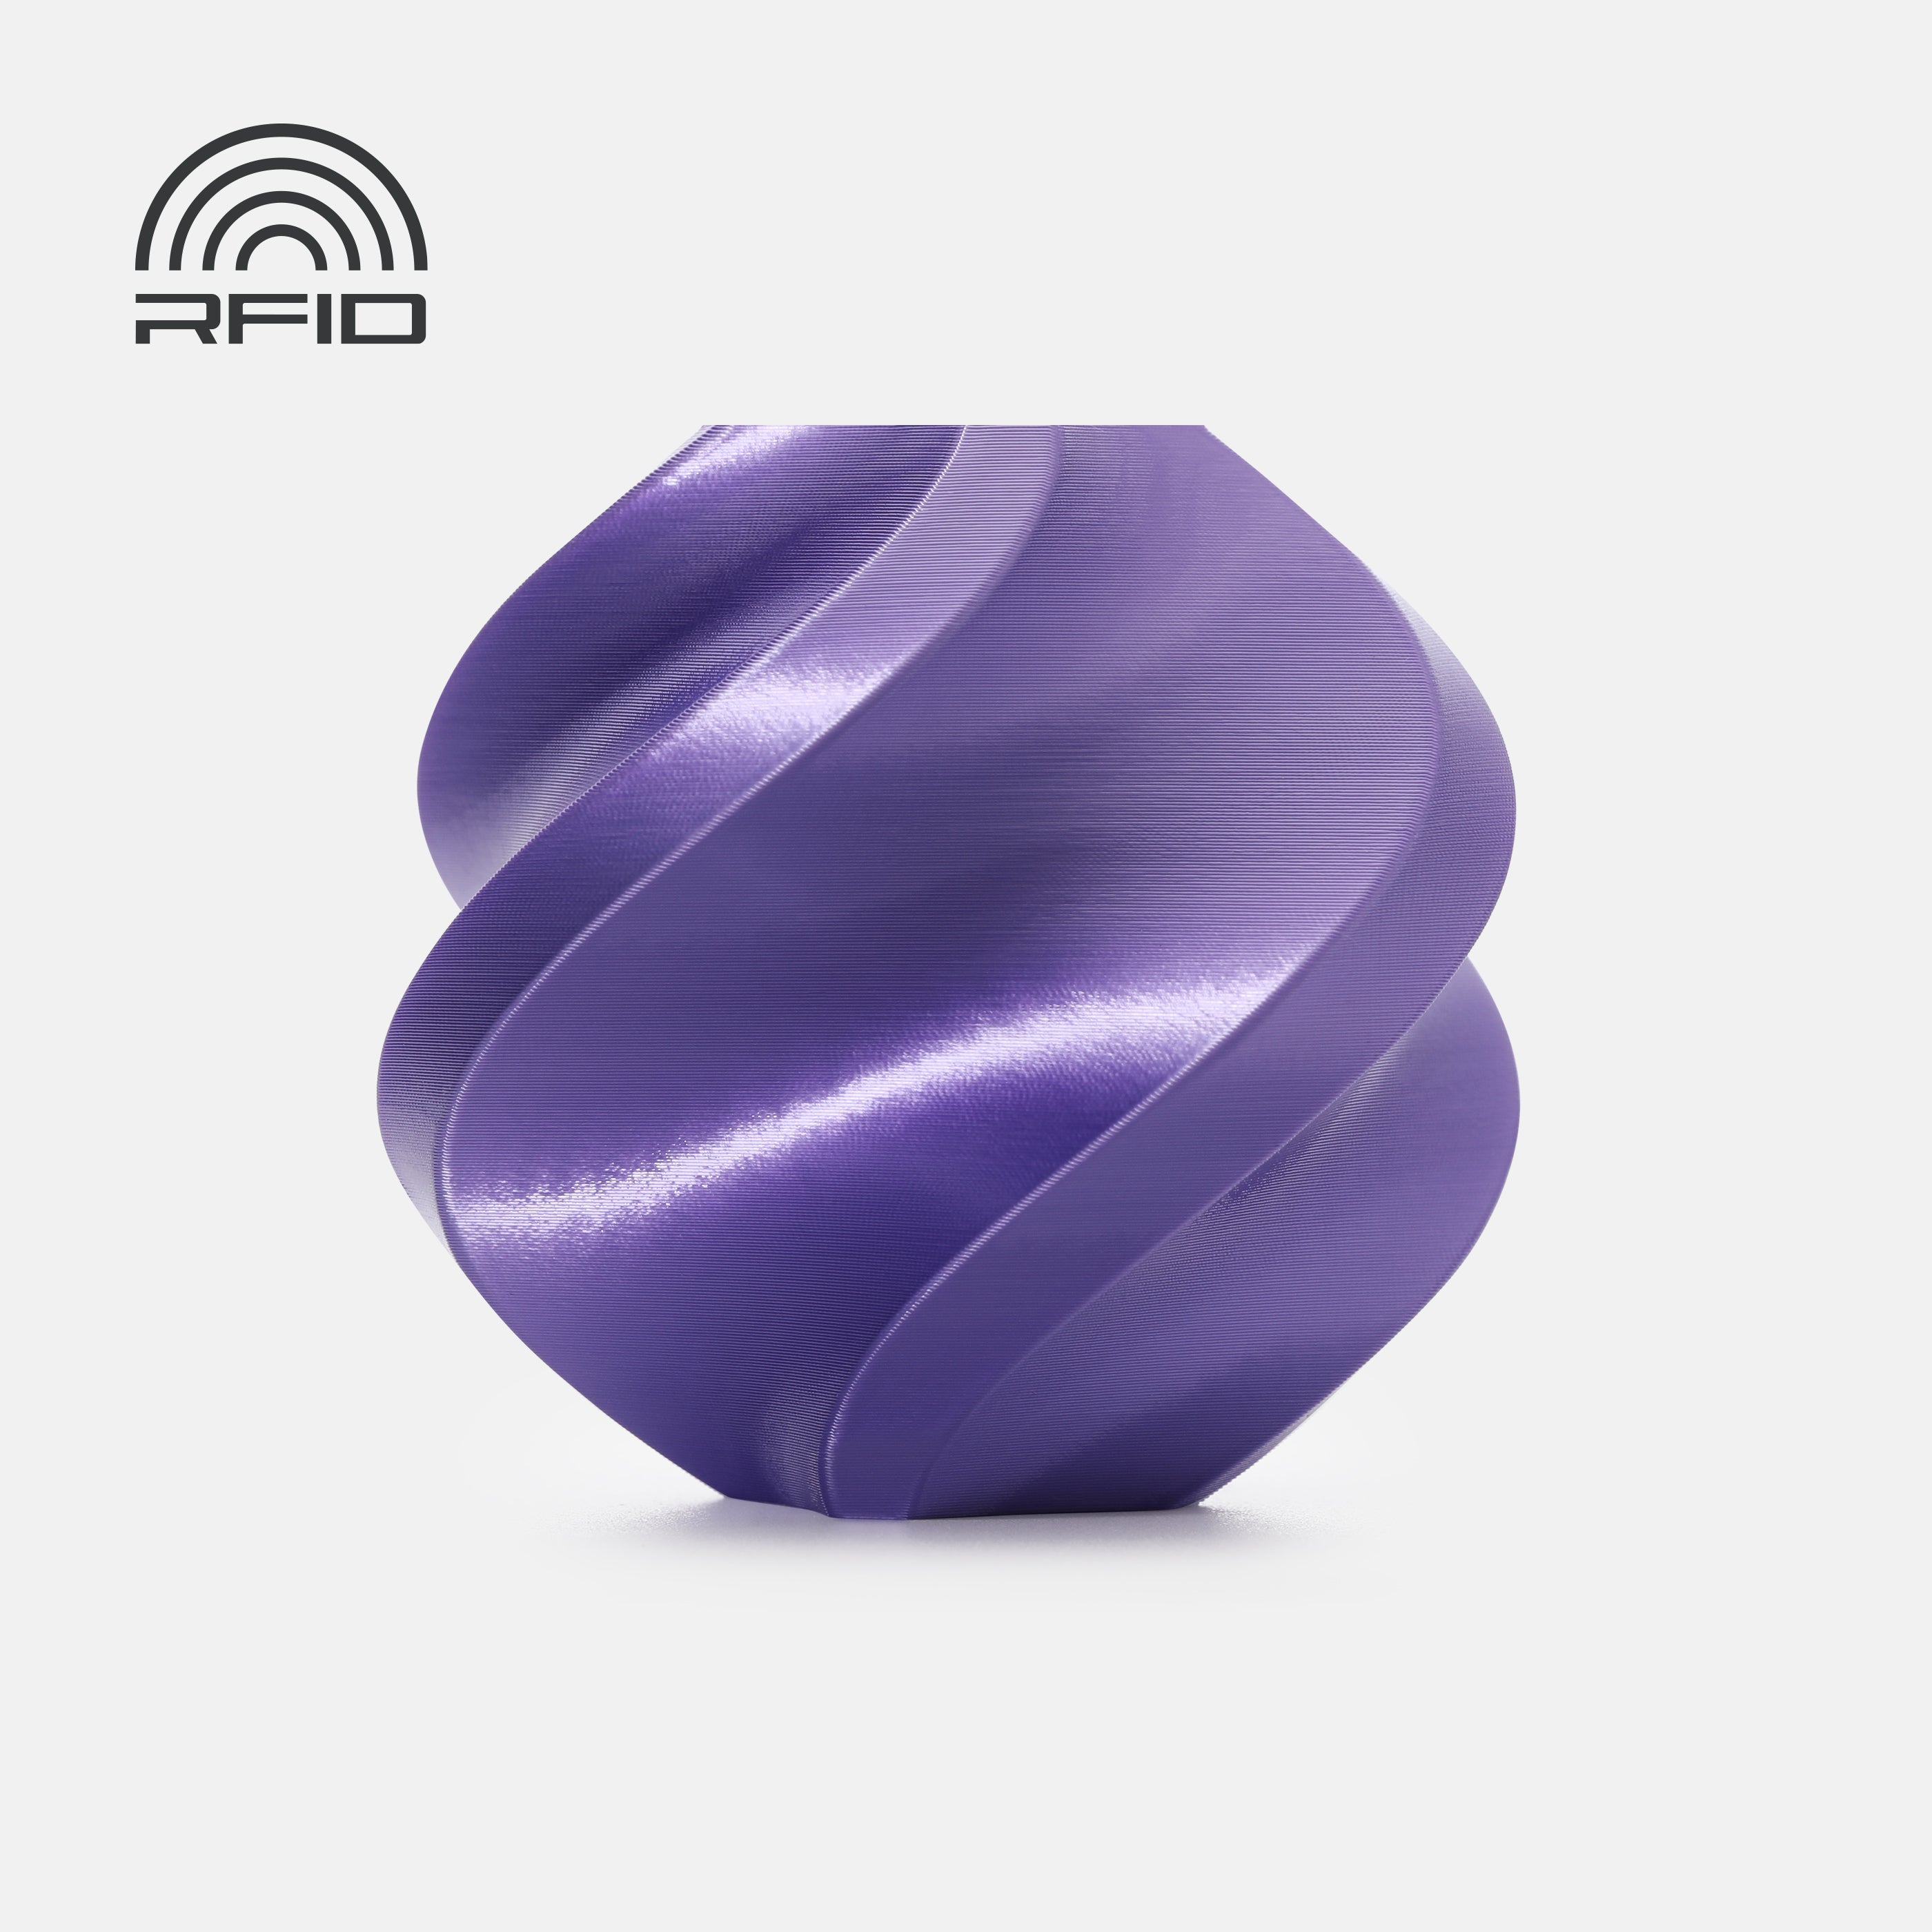
Takeoff Spiral
Boost Me (for free)
Support my work
Membership
I made this project using the MakerSupply Rechargeable Power Kit

I’ve always been a fan of clever mechanical systems that allow us to create optical illusions. With a simple setup using two double helical gears, a shaft, and a 3D-printed bearing, I was able to create the effect of an ascending takeoff trail.
The idea is that you can place any 3D object you can imagine on top. In this case, I included a UFO, a phoenix, and a rocket, which print beautifully in PLA Silk, but you can use any model you like by simply adapting the negative solid so it fits properly.

Assembly Instructions
You have two spiral designs to choose from and several objects to place on top. In this build, I used the spiral with raised details on the final plate. When printing the spirals, make sure the bearing works correctly and that the shaft moves smoothly. If needed, just add a few drops of oil. Everything was designed to be extremely easy to assemble. All parts print already assembled, with the bearing anchored directly into the spiral.


- You only need to place the electronic components into their designated slots in the base, connect the motor and the battery.

Tip: There’s a small mark on the gear that indicates the correct orientation to align with the flat side of the motor shaft.

- Then screw the spiral COUNTERCLOCKWISE. I added indicator arrows on the top of the shaft to ensure the motor’s rotation direction doesn’t accidentally unscrew the spiral during operation.


Carefully place the object on top and that’s it. Just turn it on and enjoy.

If you feel it’s a bit noisy, a small amount of lubricating oil will easily fix it.
I hope you enjoy this small project to decorate your desk with a cool kinetic visual effect!

License
You shall not share, sub-license, sell, rent, host, transfer, or distribute in any way the digital or 3D printed versions of this object, nor any other derivative work of this object in its digital or physical format (including - but not limited to - remixes of this object, and hosting on other digital platforms). The objects may not be used without permission in any way whatsoever in which you charge money, or collect fees.
Comment & Rating (44)