


Print Profile(2)


Bill of Materials


Description
Boost Me (for free)
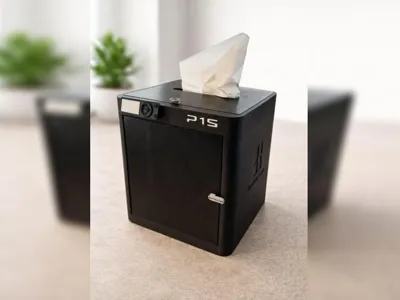
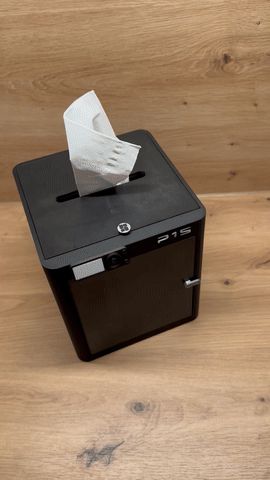
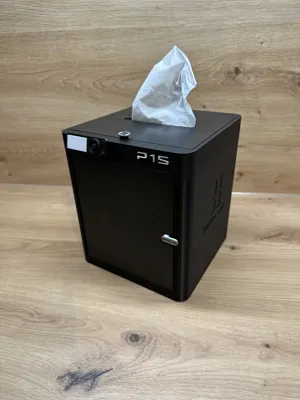
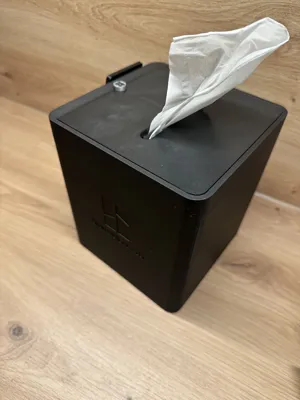
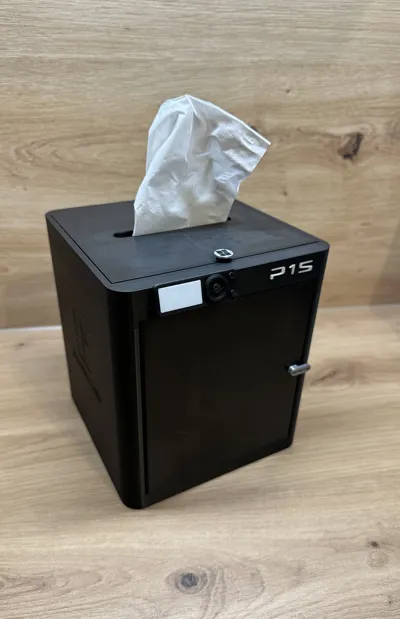
P1S Tissue Box / Tissue Box – Bambu Lab P1S Design 🖤🧻🖨️
This tissue box in the Bambu Lab P1S design is a decorative and at the same time practical 3D printed model.
Perfect as a decorative box 🏠✨ or for cube tissue boxes.
Also ideal for wipes for degreasing the print bed 😉🧹.
Features ✨
- 🧻 Suitable for cube tissue boxes
- 🖨️ Design based on the Bambu Lab P1S
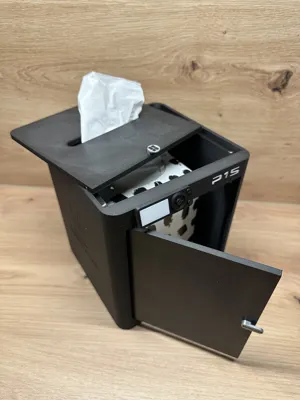
- 🚪 Functioning door (front)
- 🔝 Removable lid with magnetic attachment
- 🧲 Magnetic attachment for lid and door
- 🧩 Easy assembly
- 🎨 Ideal for multi-color printing (AMS)
- 🛠️ Sturdily & precisely designed
- ✨ "P1S" lettering is printed separately and can be inserted or glued depending on printer tolerance
- 📺 Display consists of 2 parts and 2 bolts, so it is easier to print and assemble
- 🏷️ The BambuLab logo on the sides is 0.6 mm deep
Use Cases 💡
- 🏠 Decoration for workshop or desk
- 🧻 Tissues for everyday use
- 🧹 Cleaning wipes for degreasing the print bed
- 📦 Organization in the maker space
Print & Assembly Instructions 🖌️
- Material: PLA or PETG
- Standard layer height: 0.2 mm
- 📺 Print display with variable/lower layer height (e.g., 0.08–0.10 mm), so that the buttons are clearly visible
- No support needed
Magnets (10 pieces in total):
- 🔹 Lid: 8× D = 5 × 3 mm
- 🔹 Door: 2× D = 5 × 3 mm
Magnets can be pressed in or glued in 🧲✅
Assembly 🛠️
Magnets – correct polarity 🧲
Lid:
- Place 4 magnets (5 × 3 mm) flat on the table 🏷️
- Place the lid on the magnets and press them in 👆
- Place 4 more magnets on the inserted magnets ✔️
- Press the lid including the magnets into the housing from above 📦
Door (front):
- Place 1 magnet on the table 🏷️
- Place the door from the front onto the magnet 👌
- Place a second magnet on top ✔️
- Press the door including the magnet into the housing from the front 🏠
Door assembly with bolts 🔩
The door is secured with 2 bolts:
- First, slide the upper bolt into the upper hole in the housing ⬆️
- Position the door in the closed position 🚪
- Slide the lower bolt through the door hinge into the lower hole of the housing ⬇️
- Then, pull the upper bolt downwards through the door hinge into the door using the lug on the bolt 🔧
The door is now correctly assembled and movable 🔄
Display assembly 📺
- Assemble the display with the connecting bolts to the display bracket.
- Then, insert the monitor into the display housing.
- After that, mount the complete display assembly on the printer.

Note on inserting the P1S lettering 🏷️✨
- Remove all residues of support material with a small screwdriver or tool.
- Smooth out small imperfections if necessary.
- Depending on printer tolerance, the lettering can be:
- lightly pressed in
- or glued 🖌️🧲
After assembly:
- 🔒 Lid and door hold securely
- 🔄 but can be easily opened and closed
A practical and decorative must-have for all Bambu Lab P1S fans.
Functional, high-quality, and with real utility in everyday 3D printing 🚀🎨🖤
License
You shall not share, sub-license, sell, rent, host, transfer, or distribute in any way the digital or 3D printed versions of this object, nor any other derivative work of this object in its digital or physical format (including - but not limited to - remixes of this object, and hosting on other digital platforms). The objects may not be used without permission in any way whatsoever in which you charge money, or collect fees.
Comment & Rating (63)