Search models, users, collections, and posts

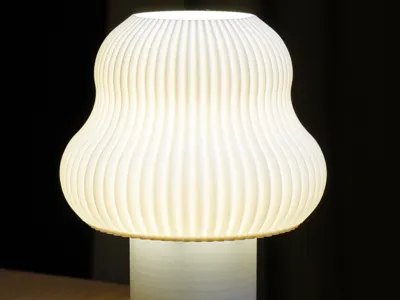
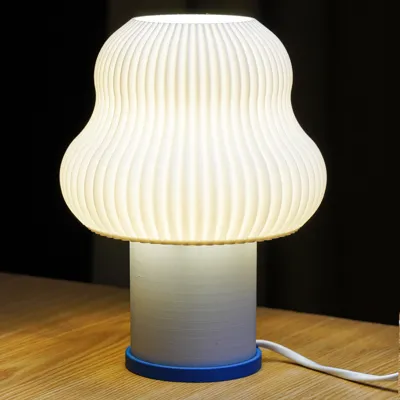
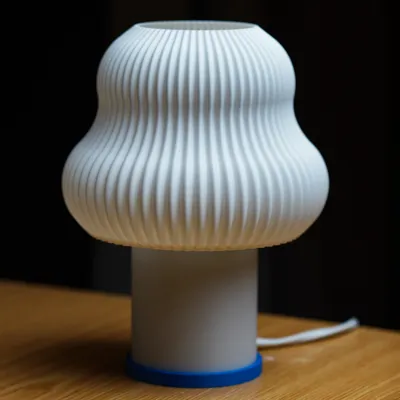
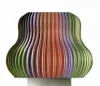
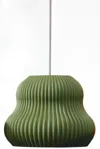
Flueted Flow Lights - MOOX

IP Report

Print Profile(5)

All
A1 mini
H2D
P1S
P1P
X1E
X1 Carbon
A1
H2D Pro
H2C
X2D
P2S
X1
H2S
A2L

0.14mm layer, 1 walls, 0% infill
Designer
5.2 h
1 plate
4.9(12)

Outer shell of the Translucent light
Designer
8.1 h
1 plate
4.9(11)

0.14mm layer, 1 walls, 0% infill
Designer
10.1 h
1 plate
5.0(2)

0.14mm layer, 1 walls, 0% infill
Designer
5.8 h
1 plate
Click to see more

27
85
61
0
165
121
Released 

Description

Assembly of the Translucent Lights:

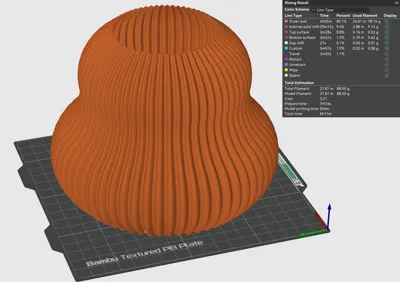
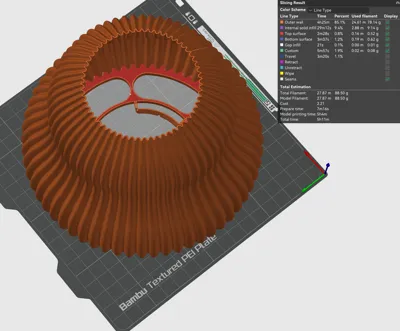
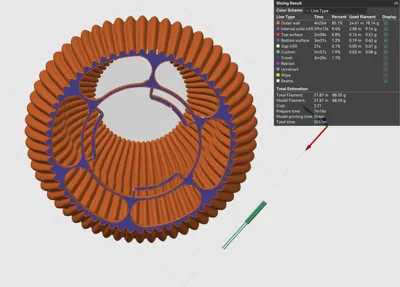
How to play with print settings: 

Important note: I forgot to mention that increasing the layer height makes layer lines more visible, which some people may not prefer. A 0.6 mm nozzle with around 0.2 mm layer height is a good balanced choice. However, depending on the design—like the Fluted Flow, Canopy, and Torsion collections—you can go higher (e.g., 0.24 mm). Don’t be afraid to experiment with the settings.


For filament selection, please refer to the PDF. : https://drive.google.com/drive/folders/1IaSxpI7RySeYucwzo67HW4V7sIvSvKYj?usp=sharing


If you prefer not to check the PDF, here is a quick summary:

All lamp shades have a 0.8 mm wall thickness, regardless of whether you use PLA or PETG. White filaments generally work best for lamp shades. We do not recommend a specific color or filament, but here are our favorite options:

  • Bambu Lab PLA Matte Bone White (11103)
  • Bambu Lab PLA Matte Ivory White (11100)
  • Bambu Lab PLA Basic Gold (10401)
  • Bambu Lab PLA Basic Pumpkin Orange (10301)

Translucent Pendant Lights:

You can also use heat-insert nuts:
1/4"-8×8 brass knurled heat-insert nuts
Link: https://eu.store.bambulab.com/it/products/1-4-8x8-brass-knurled-heat-insert-nut-10pcs

And camera screws:
1/4"-12×15 camera screws
Link: https://eu.store.bambulab.com/it/products/1-4-12x15-camera-screw-3pcs-fc014

These can add a bit more solidity to the product, although they are optional and not required.

Comment & Rating (61)

(0/1000)

Print Profile
0.14mm layer, 1 walls, 0% infill
in translucent red.
(Edited)
1
Reply
what socket bulb you are using?
0
Reply
Replying to @jaketongko :
E27 socket (40mm) with led lamp.
(Edited)
1
Reply
Was this the only printed part and just the socket bulb?
0
Reply
Perfect 
The designer has replied
designer
3
Reply
Looking really nice!!!! thank you for the comment.
0
Reply
is this PLA basic? how's the bottom of the shade?
0
Reply
Here it is, no need for many words,... BRAVO metdesignstudio! Small tweak for cable, zip tie can do as well, weight added to lower G point.
The designer has replied
2
Reply
This is my favorite color combination!!!
2
Reply
which filament is this? 😍
Show original
0
Reply
Replying to @mchllmllr :
Azure film PLA, prints perfectly on P2S
0
Reply
amazing print ! love it. Btw, your PDF above seems to be missing. I'd love reading it, could you re-update the link? thanks.
The designer has replied
0
Reply
Hi, thank you for the photo. There are also other lamp holder designs — you can find them in the “Lamp Holders and Common Parts” folder. I’ll check the link. I guess we shared it the wrong way, so somehow someone deleted the PDF.
0
Reply
Replying to @user_4162648539 :
thank you
0
Reply
Replying to @user_4162648539 :
ok the PDF is up again. I'm one of your commercial backers thanks for your hard work. looking forward to more of these =)
0
Reply
has anyone figured out how to smoothen the bottom of the fluted flow shade?
The designer has replied
0
Reply
Hi, the reason this is happening is that, in that area, the part shrinks due to temperature differences. At some point, that area no longer stays attached to the print bed. It lifts up slightly, and then this issue occurs. To fix this, you can use an enclosure for your printer so the temperature inside stays consistent. You can also apply glue to the build plate and enable the brim feature in your slicer. This will help that area stay attached to the build plate until the print is finished. Could you try these options and let me know if they help?
1
Reply
Replying to @user_4162648539 :
That was my assumption as well. Since I have an open printer setup, I don’t find it using PETG translucent material, possibly because it handles temperature differently. No worries though, I’m fine with this; I was just curious if there’s a solution. An enclosure setup isn’t an option for me for now. Thanks!
0
Reply
Replying to @jaketongko :
You can simply apply glue to the build plate; that will probably solve the issue. What I actually meant is that there are some plastic products that enclose an open printer—they’re cheap and effective.
1
Reply
Lovely project!!
The designer has replied
1
Reply
I even want to buy :D
1
Reply
Print Profile
0.14mm layer, 1 walls, 0% infill
Absolutely love how this turned out — super clean and professional finish. Printed with a 0.4 nozzle and used fuzzy skin on the base to hide layer lines, which worked great. Really impressed with the result. Next, I’ll try it with a 0.8 nozzle to compare.
0
Reply
Print Profile
Outer shell of the Translucent light
Love it !
0
Reply
An incredibly great design. Looking forward to the remaining files 😊
Show original
0
Reply
Print Profile
0.14mm layer, 1 walls, 0% infill
My favorite model, and favorite color combination (one is with E14 white lightbulb and the other is a E27 charcoal lightbulb, warmer), I can't explain how much better it looks off-camera, not a professional photographer :D
0
Reply

License

This user content is licensed under a Standard Digital File License.

You shall not share, sub-license, sell, rent, host, transfer, or distribute in any way the digital or 3D printed versions of this object, nor any other derivative work of this object in its digital or physical format (including - but not limited to - remixes of this object, and hosting on other digital platforms). The objects may not be used without permission in any way whatsoever in which you charge money, or collect fees.