


Print Profile(1)

Description
With permission from Brian I have added a 3d printable versions. Makerworld will not allow remix from Laser and Cut to 3d so it is submitted as original model with specific credit to Brian.
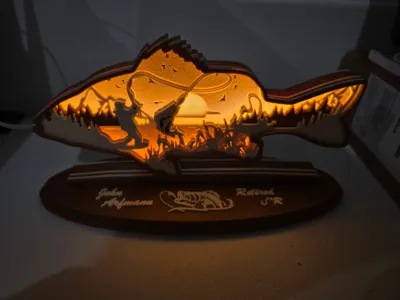
If you haven't looked at the "Laser and Cut Models" side of MakerWorld yet, you are missing out on some incredible art. This project started when I saw the "Weekend Hooker" by @briankstan.
I wanted to make this as a gift for a friend who has been fishing for most of his 87 years. However, I didn't have a laser cutter—I had a Bambu P1S.
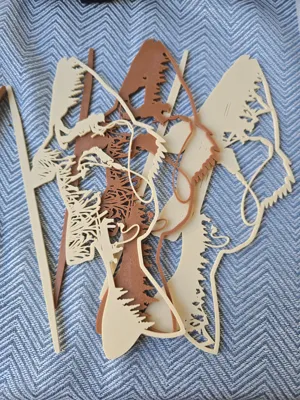
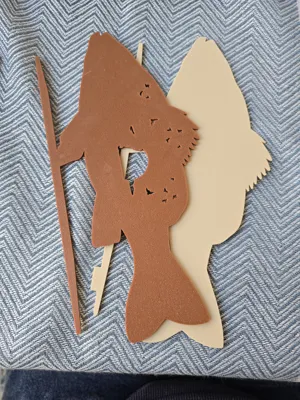
From Laser to 3D Print Converting this wasn't a simple drag-and-drop. Laser files contain a massive number of points that don't translate easily to 3D slicers. Quite often the laser sees and produces a line but they may not be truely connect which prevents correct or even possible extrusion. After several days of manipulation in Meshmixer and Fusion 360, I successfully transformed the vector pattern into a printable 3D mesh.
Modifications & Features
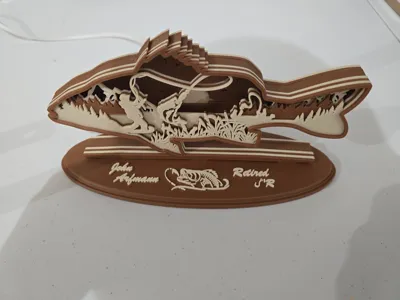
I expanded the design to function as a light box. It includes a channel to run a 5V wire and a section for COB lights to illuminate the scene. To do this I added an additional 8 mm layer and move the tabs on the base accordingly. This layer is exactly the same as the front one except for the depth. The front one is 2mm and the other 8mm to accommodate the cob light.
- Custom Base: Created a sturdy base with matching accents similar to Brian's design.
- Family Friendly Text: I changed the original text to the "Hook" plus "'R". (He is 87 and has lots of grandkids, so I kept it G!)
- Aesthetics: I printed this in varying shades of brown to pay homage to the original wood look of Brian’s laser design.
⚠️ Important Note on Scaling This model is designed with specific tolerances for tabs and holes.
- Do not simply scale by %: If you enlarge or shrink the model, the tabs will not fit the corresponding holes and the fish in the back and front will be off if you don’t take the tabs into account.
- If you must resize: You will need to manually measure and adjust the tabs on the front and back pieces. I recommend making these adjustments while the pieces are aligned horizontally in your software (even if they overrun the bed), and then rotating them to fit the plate for printing.
Bill of Materials & Assembly
To complete the light box functionality, you will need the following hardware:
- Lighting: 5V COB LED Strip (I used a cut-to-length section). By extra and you’ll be able to use it in other projects.
- Power: Standard USB cable or 5V Power Supply wire. Cheap or use an old cable.
- Adhesive: CA Glue (Super Glue) or 3D Gloop to secure the tabs and base.
- Tools: Soldering iron (if connecting raw wires) or LED strip connectors.
License
You shall not share, sub-license, sell, rent, host, transfer, or distribute in any way the digital or 3D printed versions of this object, nor any other derivative work of this object in its digital or physical format (including - but not limited to - remixes of this object, and hosting on other digital platforms). The objects may not be used without permission in any way whatsoever in which you charge money, or collect fees.
Comment & Rating (6)