
Laser Distance Meter for Fiber Laser - DIY
Print Profile(1)

Description

🌟 Appreciation in 3D Printing 🌟
Your support counts!
By liking, rating, or boosting this model from BlackFridge, you motivate me to continue developing creative designs.
✨ Your recognition strengthens our community and fosters the exchange of ideas.
🎨 Every feedback helps me to improve and increase my visibility.
👉 The links in my Makerworld profile to Instagram and Discord are also available to help - stop by and stay in touch!
Let's revolutionize the 3D printing world together - your voice makes the difference! 💡✨
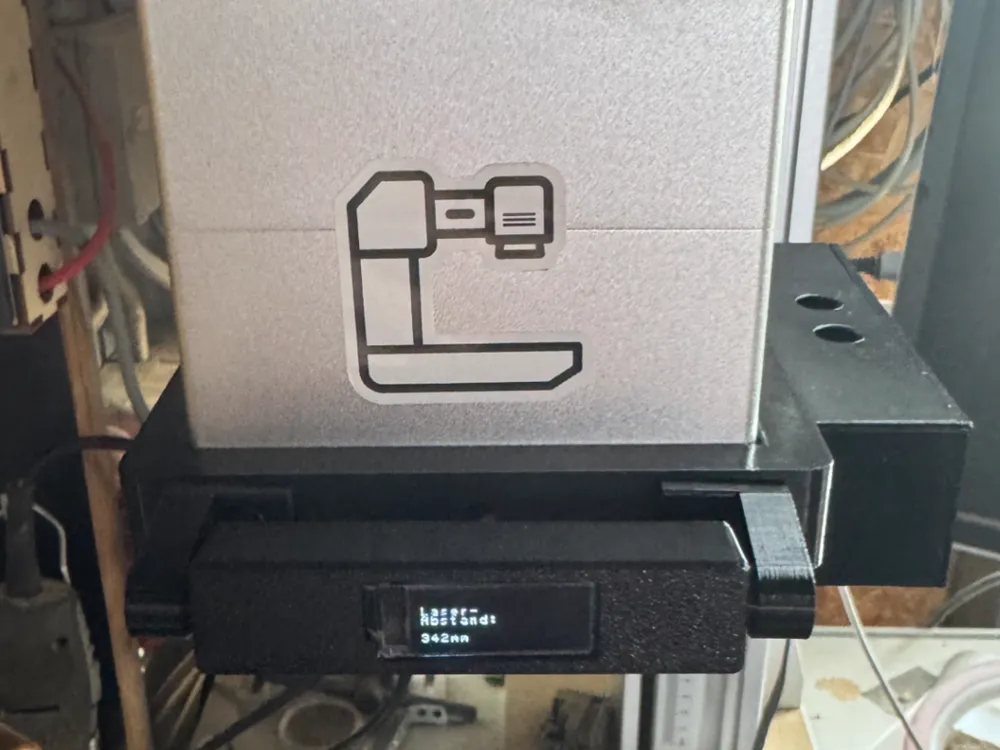
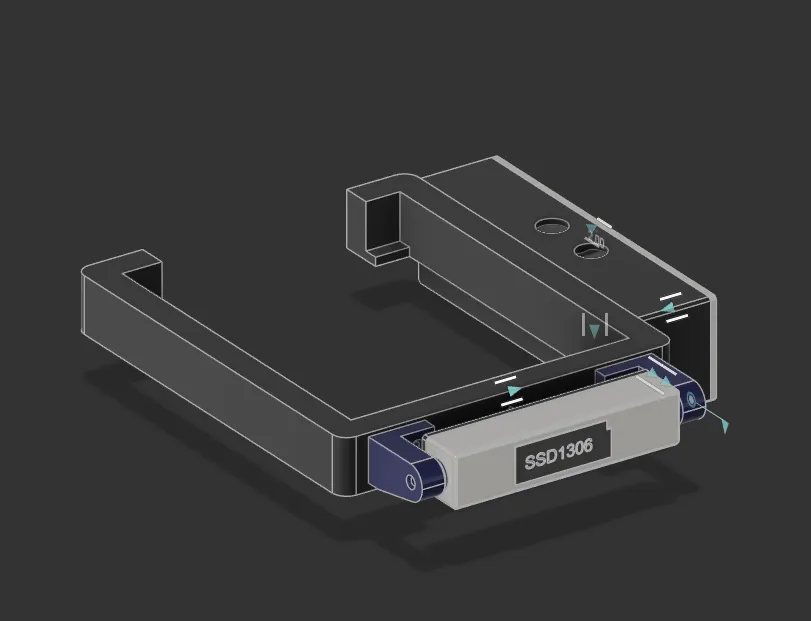
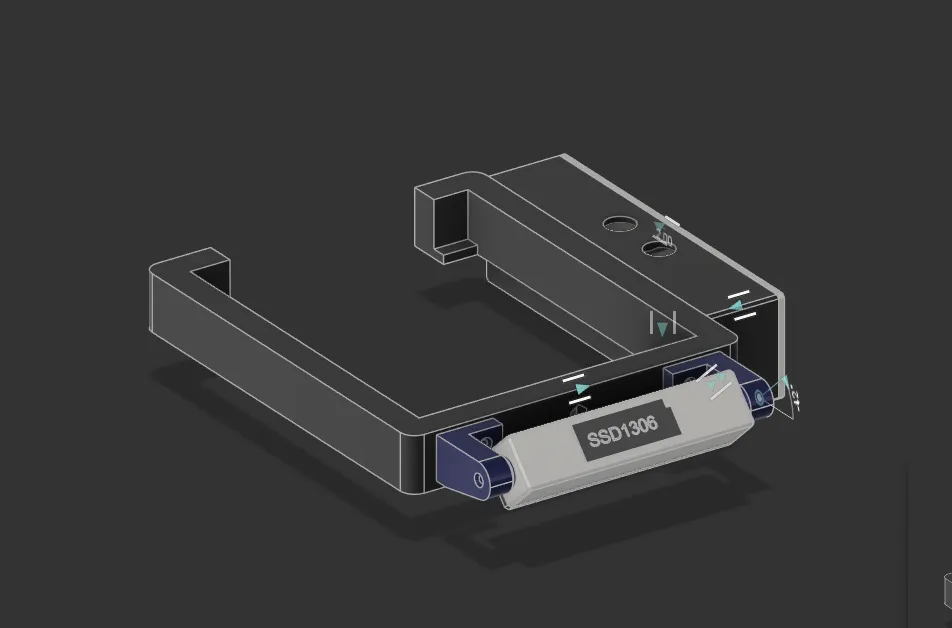
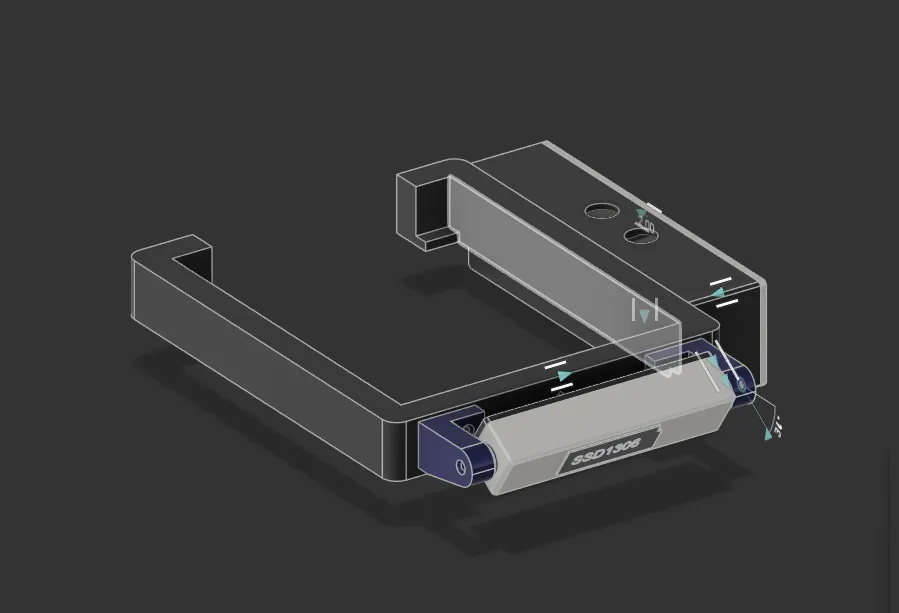
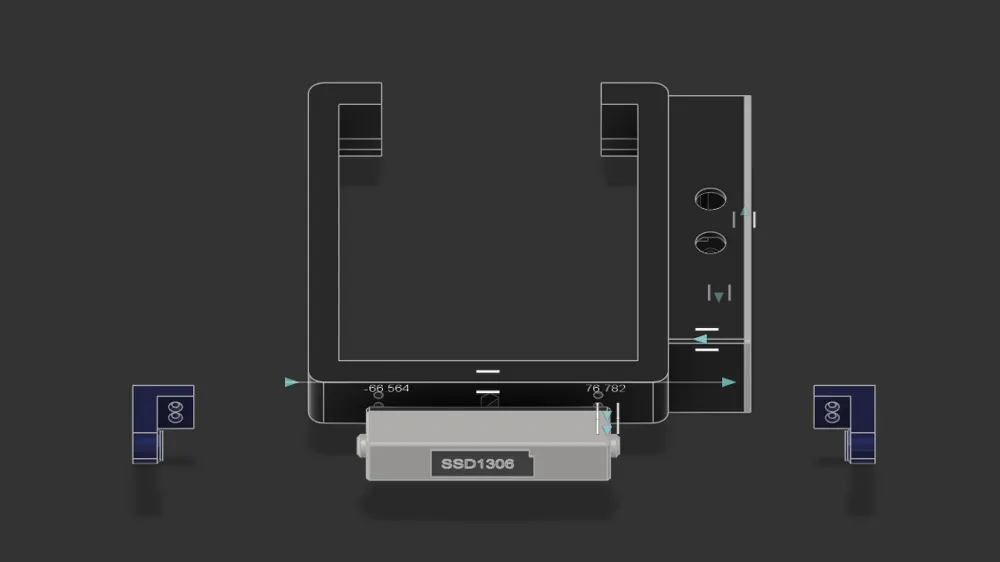
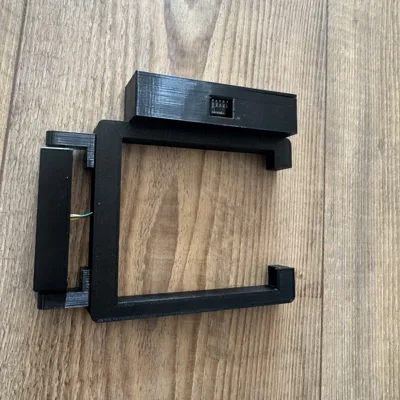
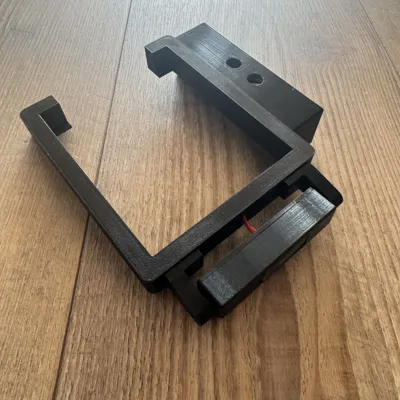
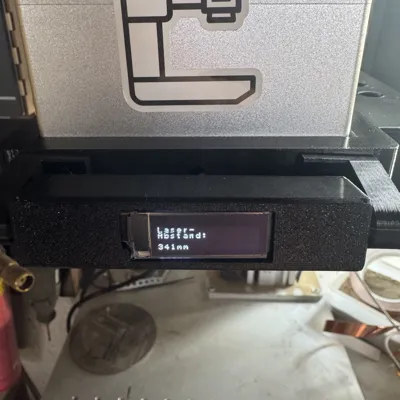
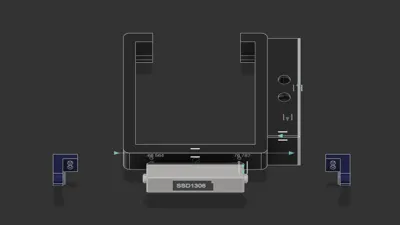
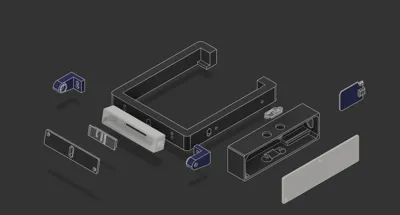
📏 Laser Distance Meter for Fiber Lasers – precise, smart & extremely practical! 🔥🤖
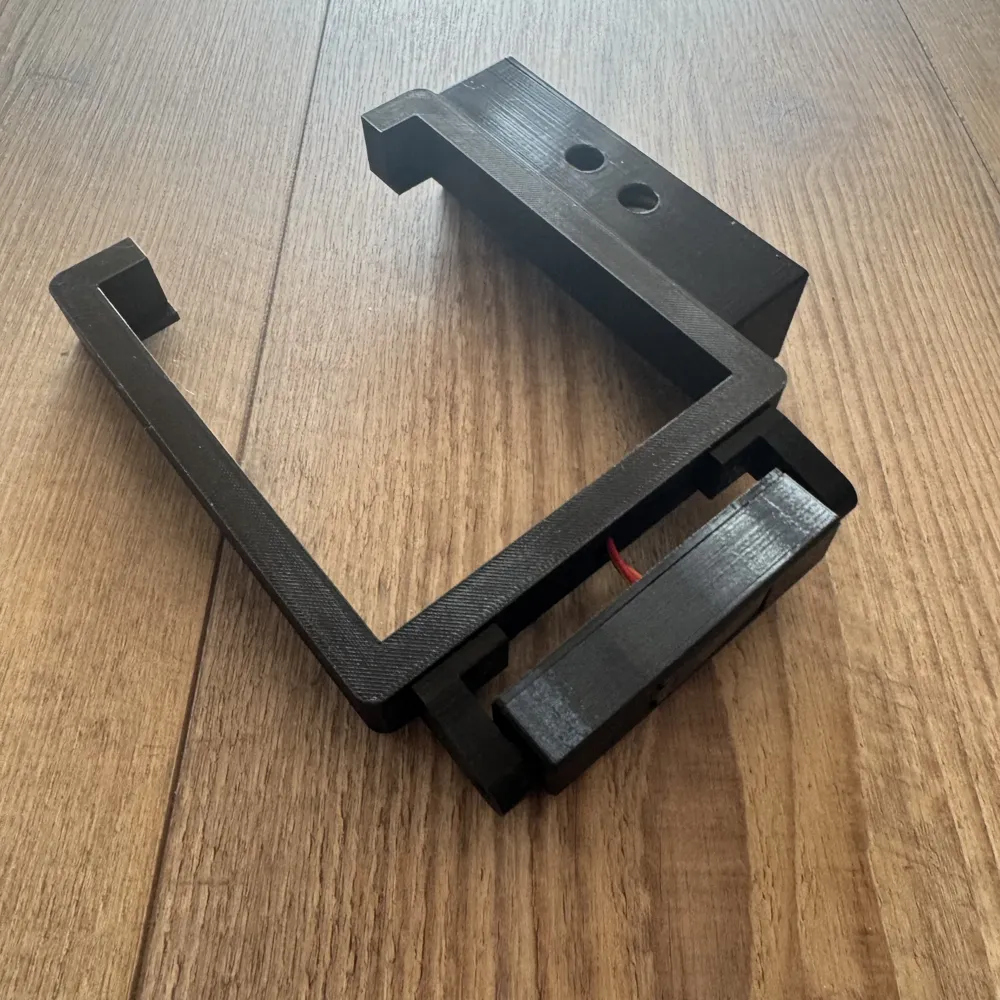
Since constantly measuring with a tape measure on the fiber laser annoyed me, I designed and built a digital distance meter to the base plate
Precisely because different lenses have different focal points, you often have to readjust – and this is exactly where this tool plays to its strengths
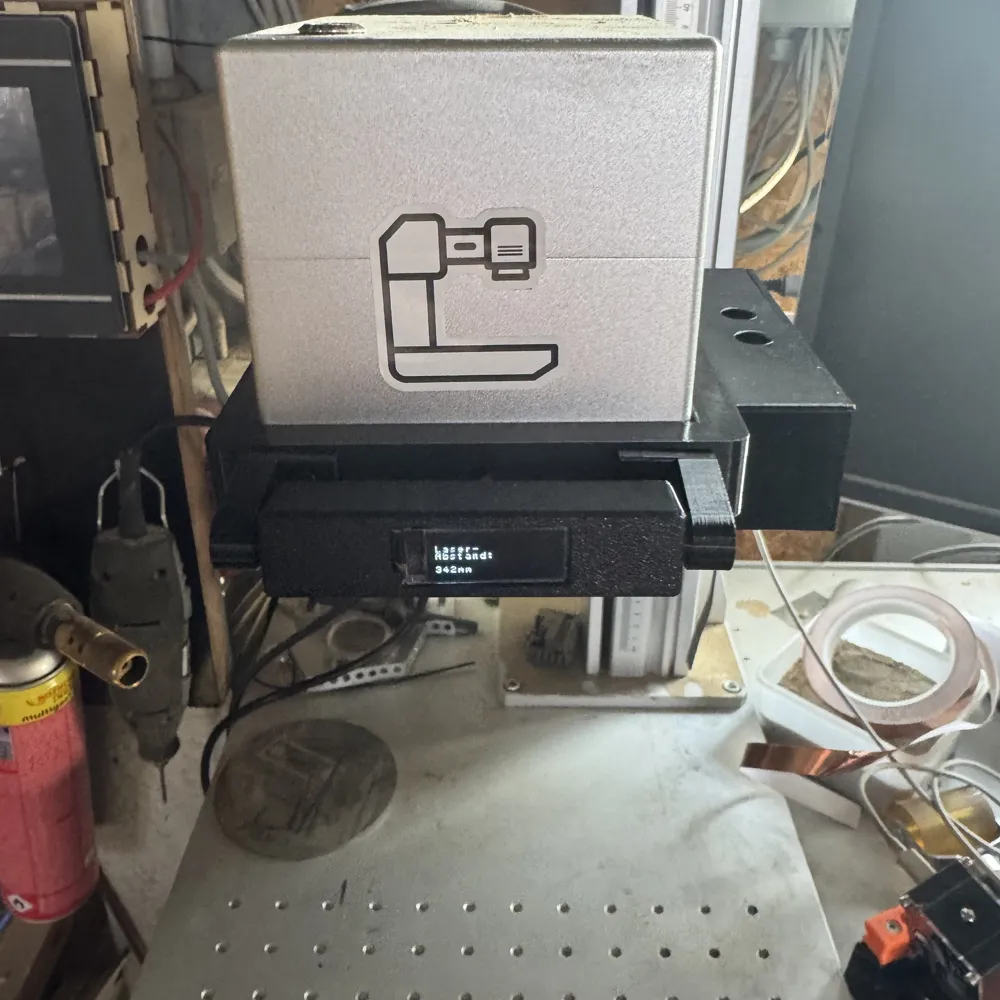
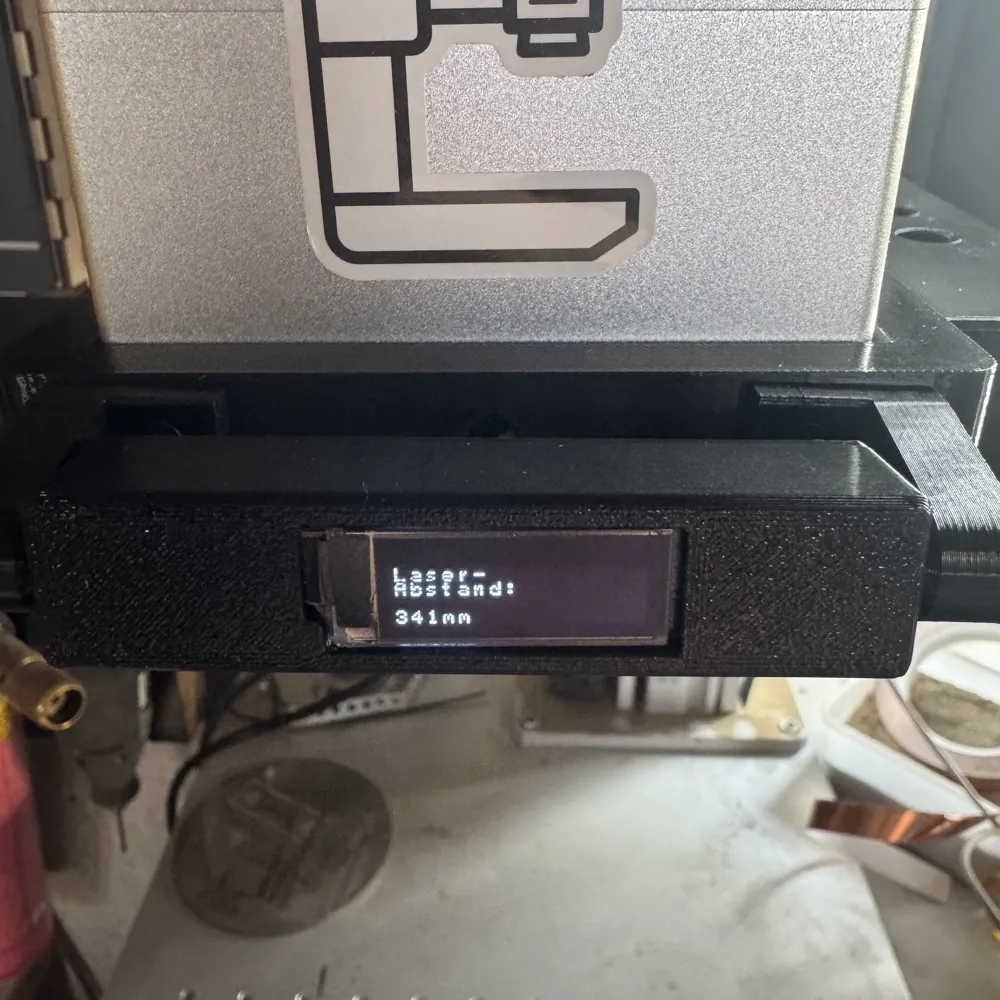
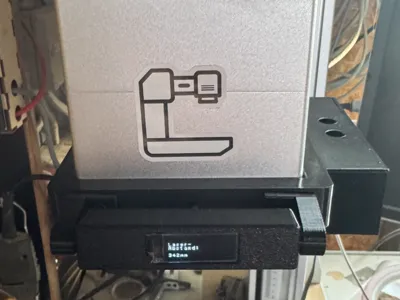
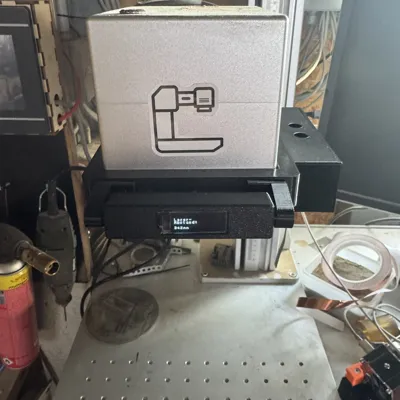
👉 The device directly measures the distance from the lens to the base plate
👉 This allows the exact focal point to be noted
👉 No tape measure, no more fumbling
🖨️ Print & Time:
🔹 Print time: 3h 34min
🔹 Material: 112 g filament
🔹 Assembly: approx 15 Minutes
🧩 Required Hardware:
🔹 ESP8266
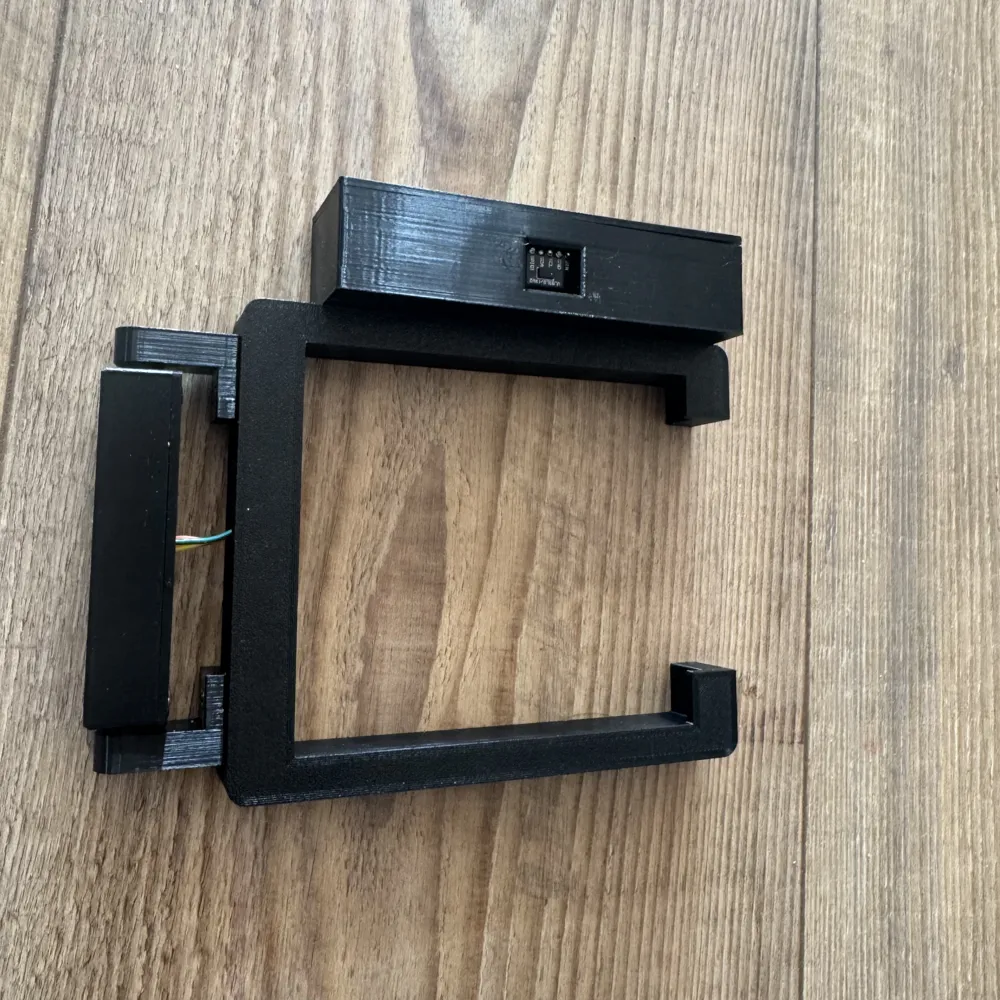
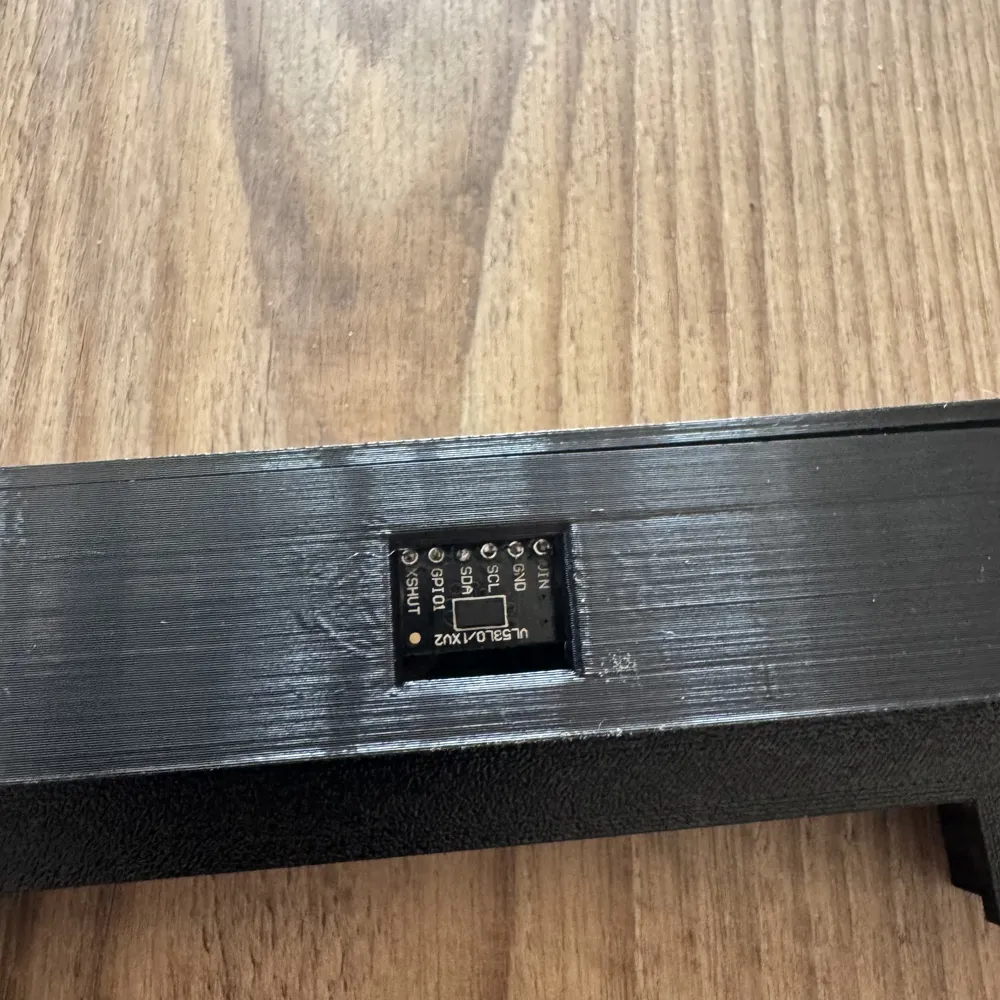
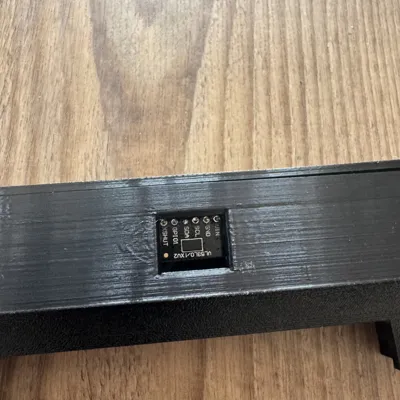
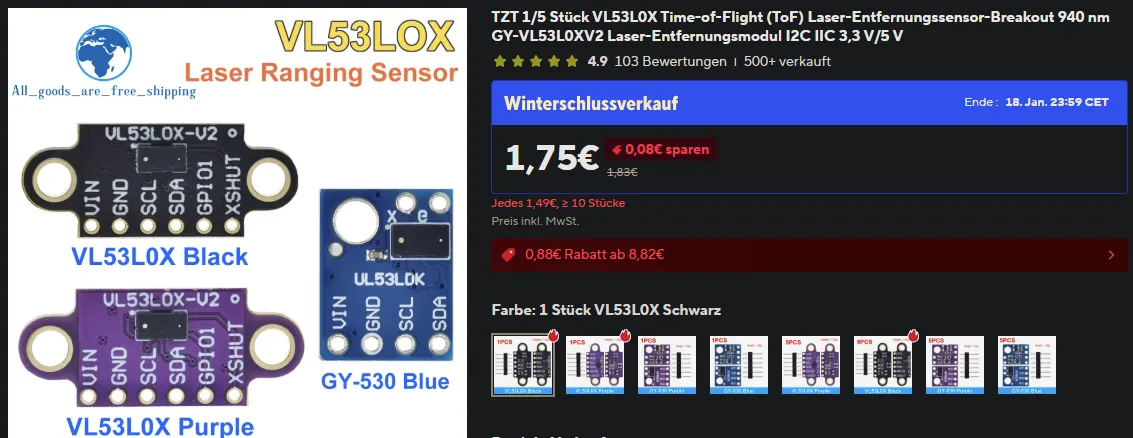
🔹 Laser Distance Sensor VL53L0X
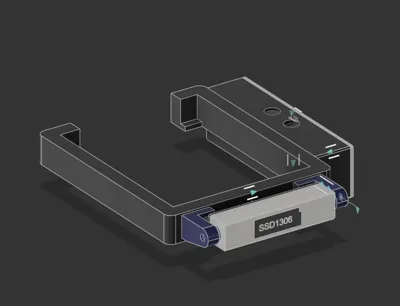
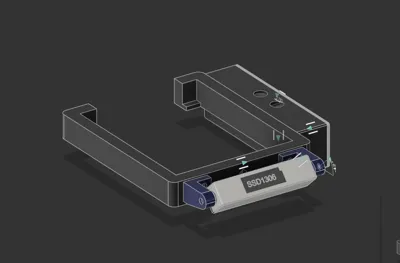
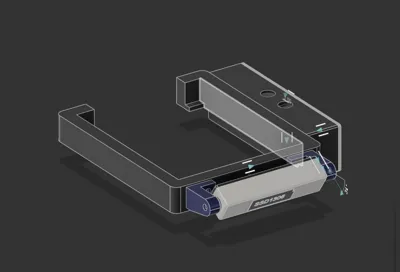
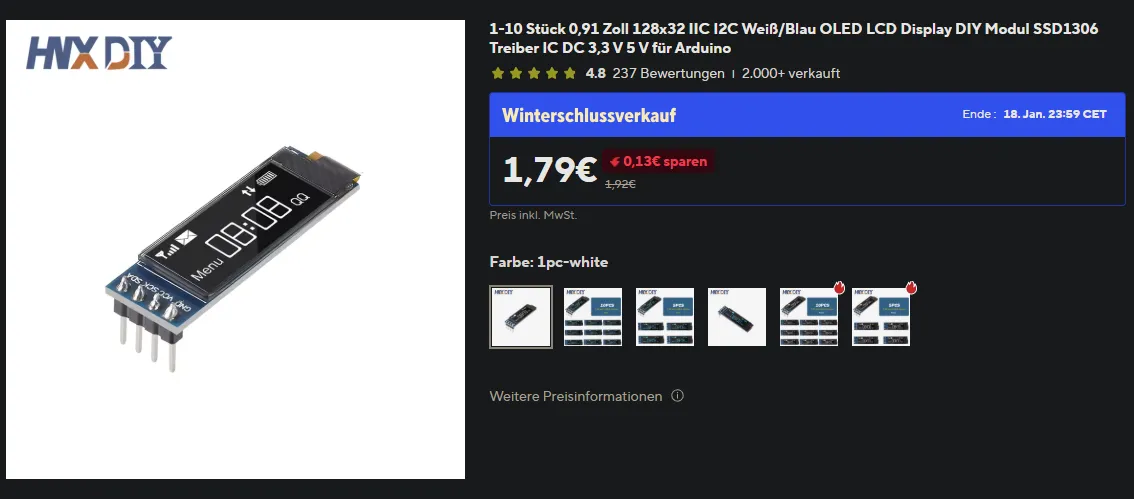
🔹 OLED Display SSD1306 (1306 OLED)
🔹 Heat-set Inserts: M2 × 4 mm (length) × 3.6 mm (Ø)
🔹 Screws: M2 × 4 / 6 / 8 mm
🔹 Small parts & cables
⚙️ Software & System:
🔹 ESP runs with ESP Easy
🔹 Required: ESP-Easy Collection B
🔹 Setup conveniently via web interface via WLAN
🔌 Wiring Diagram:
DISPLAY – SENSOR – ESP8266
🔹 VCC → VIN → 5V
🔹 GND → GND → G
🔹 SCK → SCL → D1
🔹 SDA → SDA → D2
🖥️ ESP-Easy Setup:
1️⃣ Install ESP-Easy Collection B
2️⃣ Connect ESP to WLAN
3️⃣ Open web interface
4️⃣ Device → Add
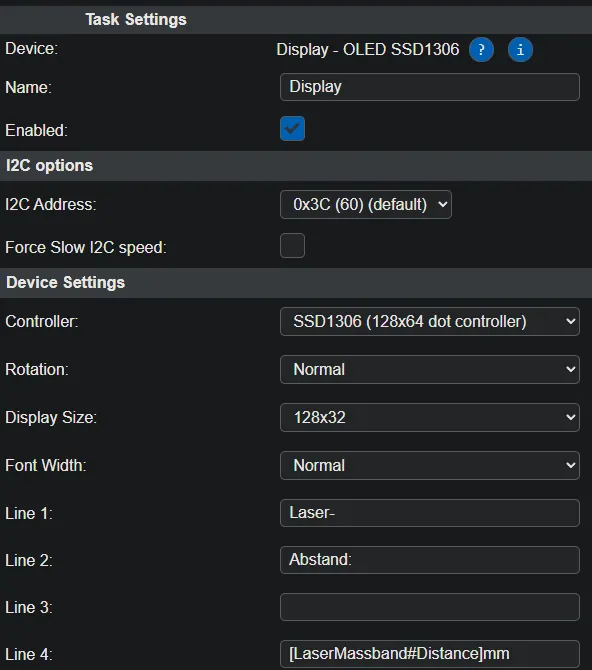
- Select Display: SSD1306
5️⃣ Device Settings: - Display size: 128×32
- Text fields:
- Line 1: Laser-
- Line 2: Distance:
- Line 3: (empty)
- Line 4: [LaserMassband#Distance]mm
- Activate Enabled
6️⃣ Add new Device:
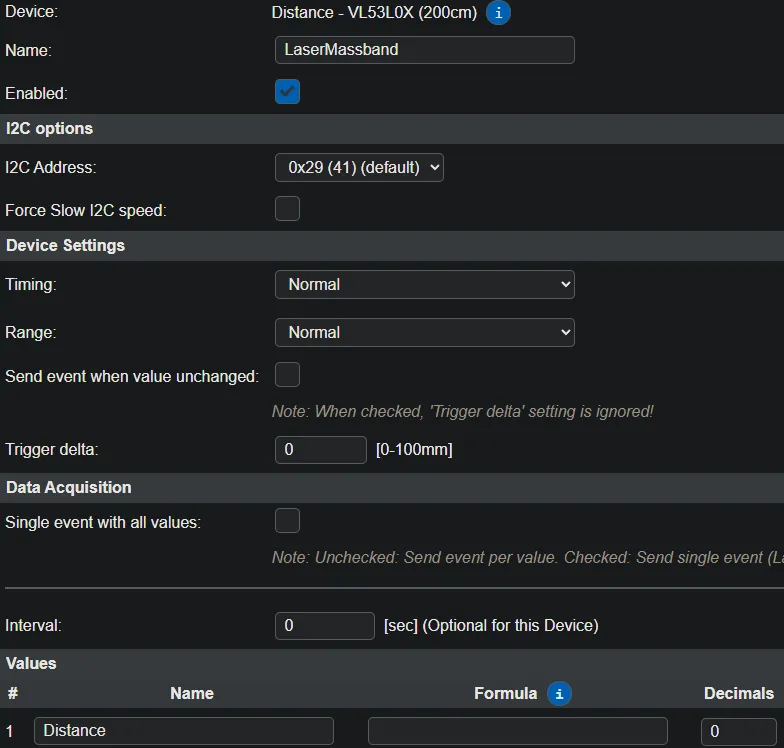
- Distance – VL53L0X
- Name: LaserMassband
- Query time: 1 Second
- Activate Enabled
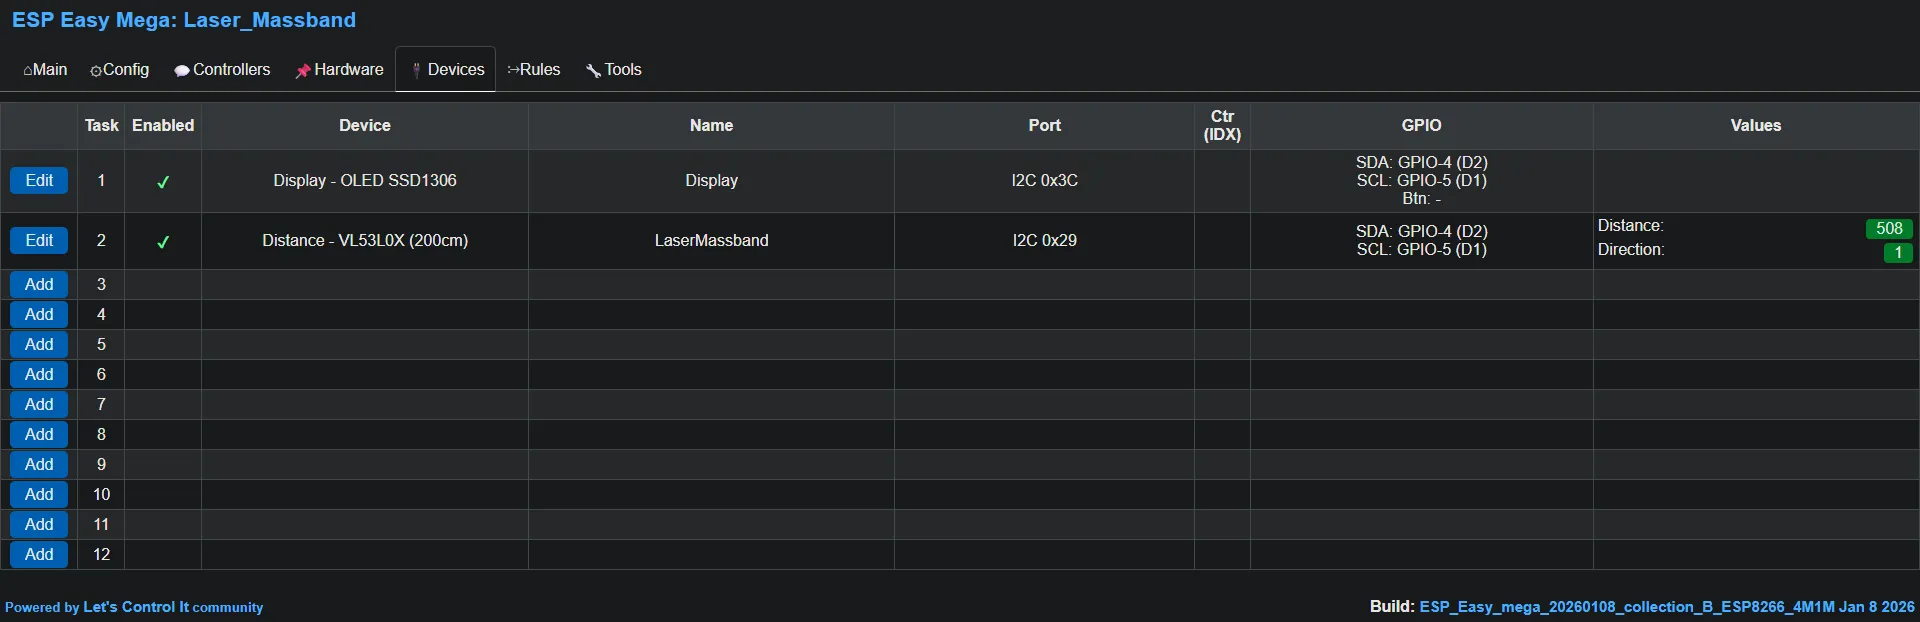
7️⃣ Restart ESP
🧱 Assembly:
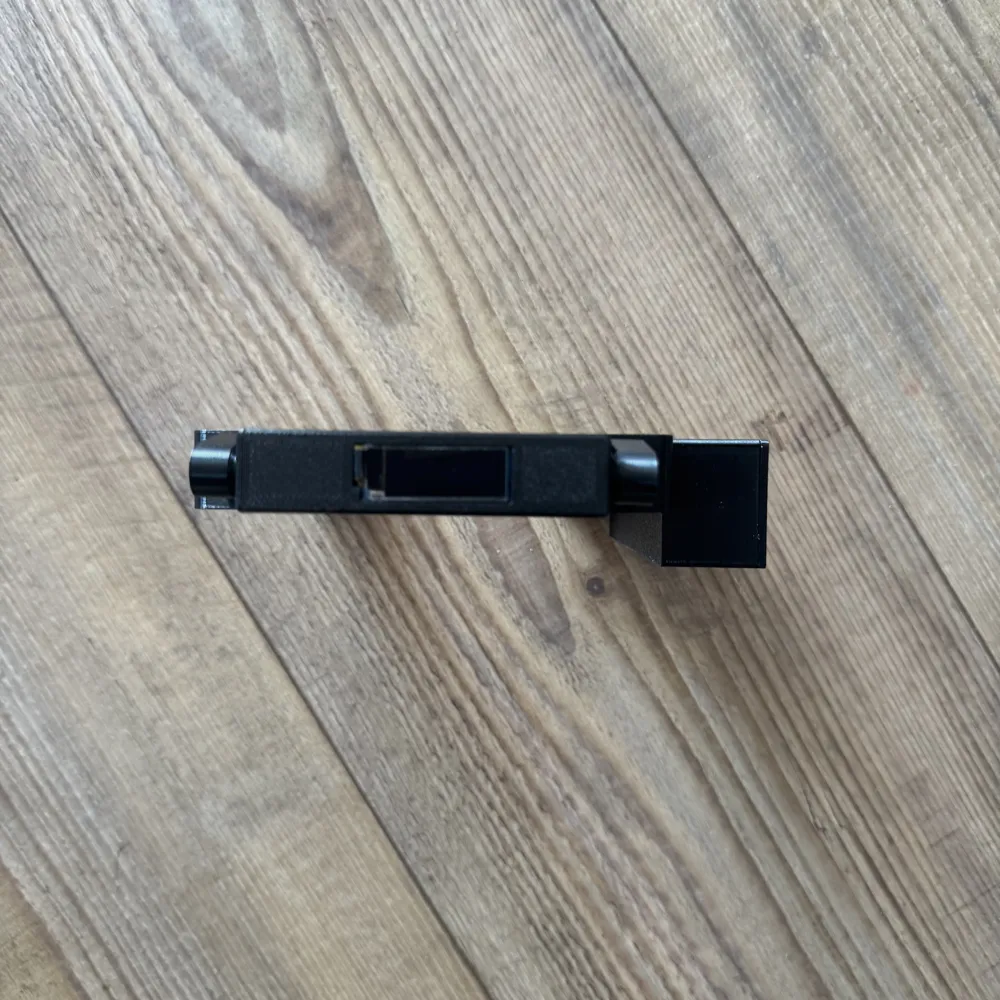
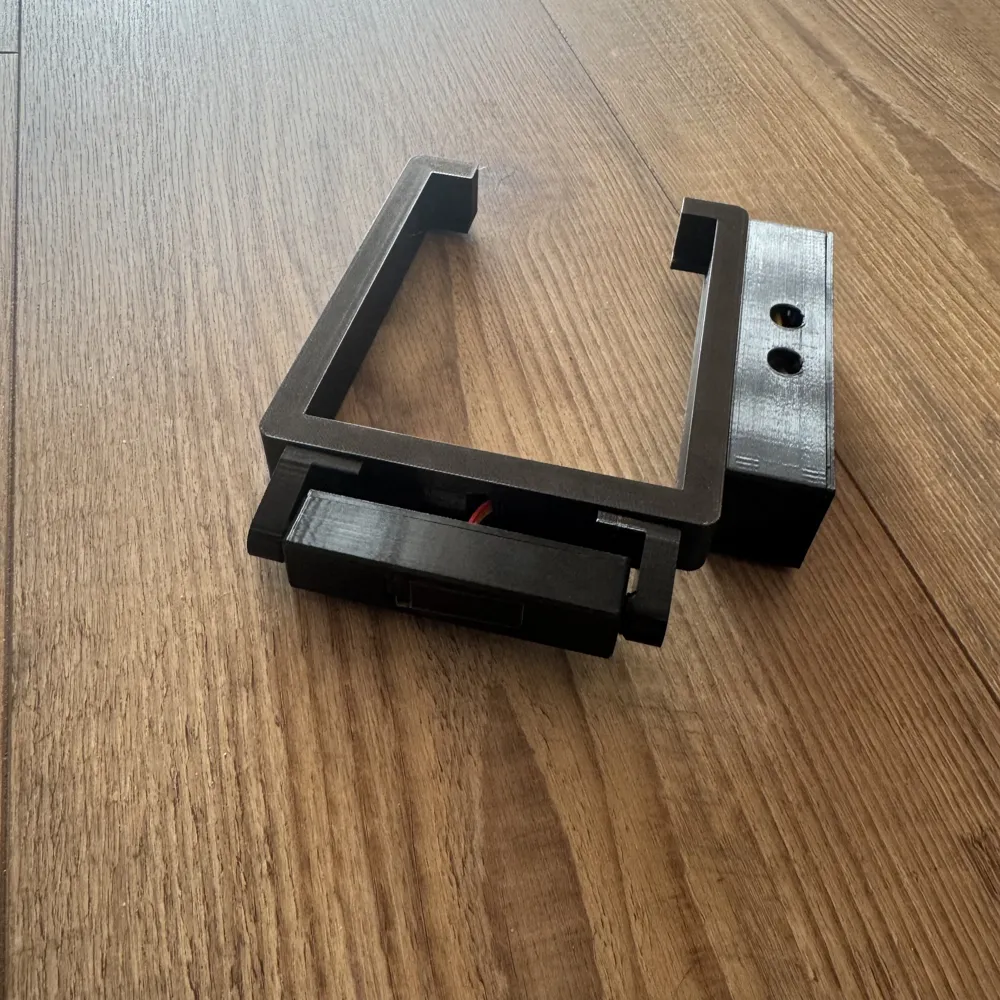
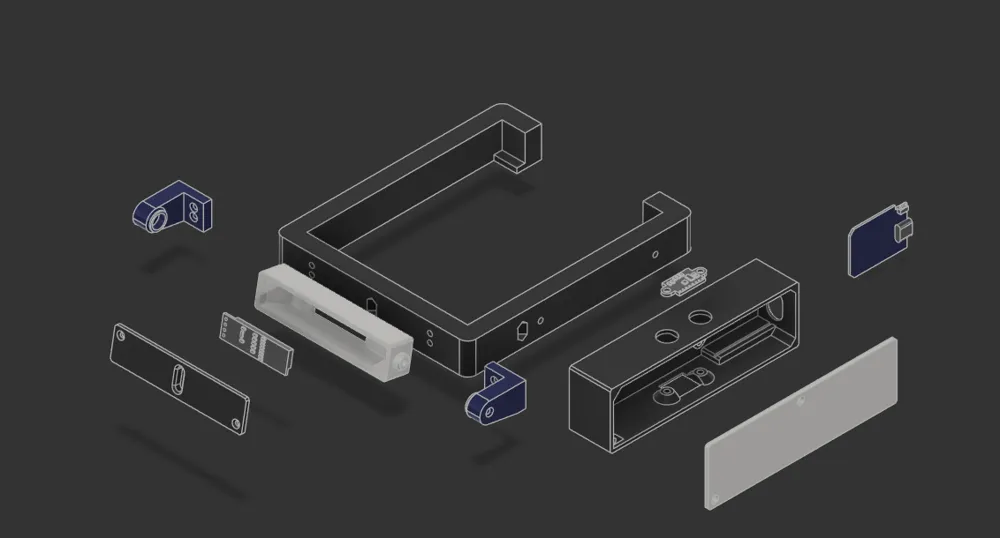
🔹 Insert all components into the 3D-printed housing
🔹 Attach to the laser head
🔹 Read distance & precisely set focal point
💡 Why this tool is worth gold:
✅ No more tape measure needed
✅ Fast & reproducible focus adjustment
✅ Perfect for different lenses
✅ Compact & directly on the laser head
✅ Ideal for precise engravings & cuts
🎯 A small tool with immense benefit for every fiber laser owner
🔥 If you like the project – Don't forget to Like & Boost!
📩 Customizations or other sensors desired? Just let me know!
Boost Me (for free)
This model is the result of extensive development work. Boosts and likes are a valuable form of recognition. Thank you for your support.
License

You shall not share, sub-license, sell, rent, host, transfer, or distribute in any way the digital or 3D printed versions of this object, nor any other derivative work of this object in its digital or physical format (including - but not limited to - remixes of this object, and hosting on other digital platforms). The objects may not be used without permission in any way whatsoever in which you charge money, or collect fees.


Comment & Rating (1)