
Print Profile(1)

Bill of Materials

Description
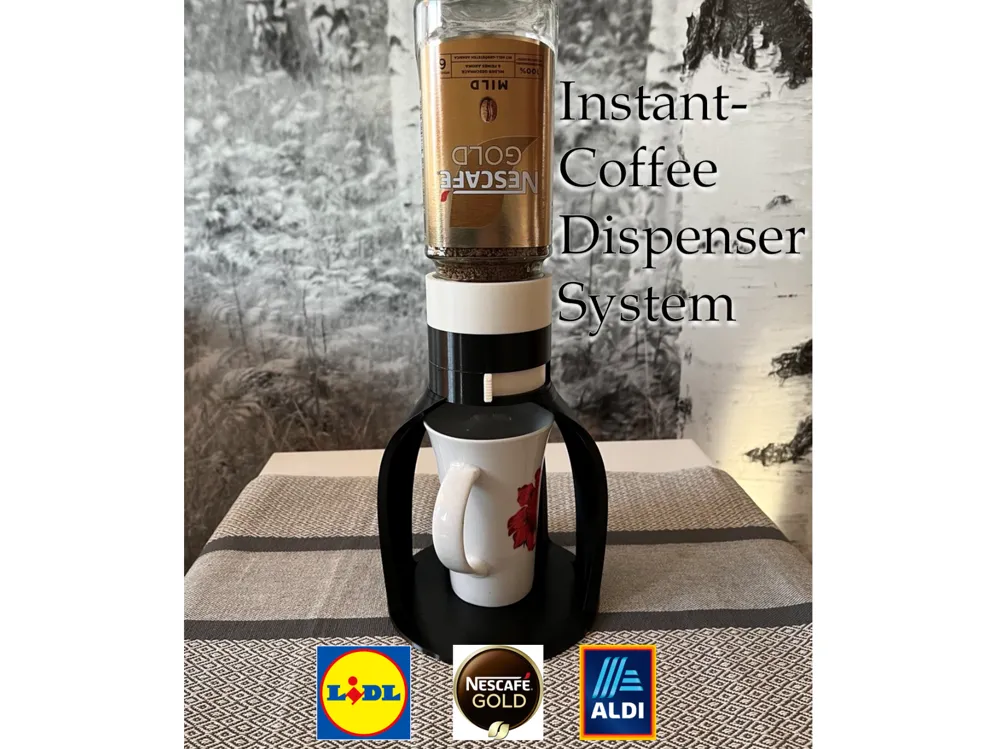
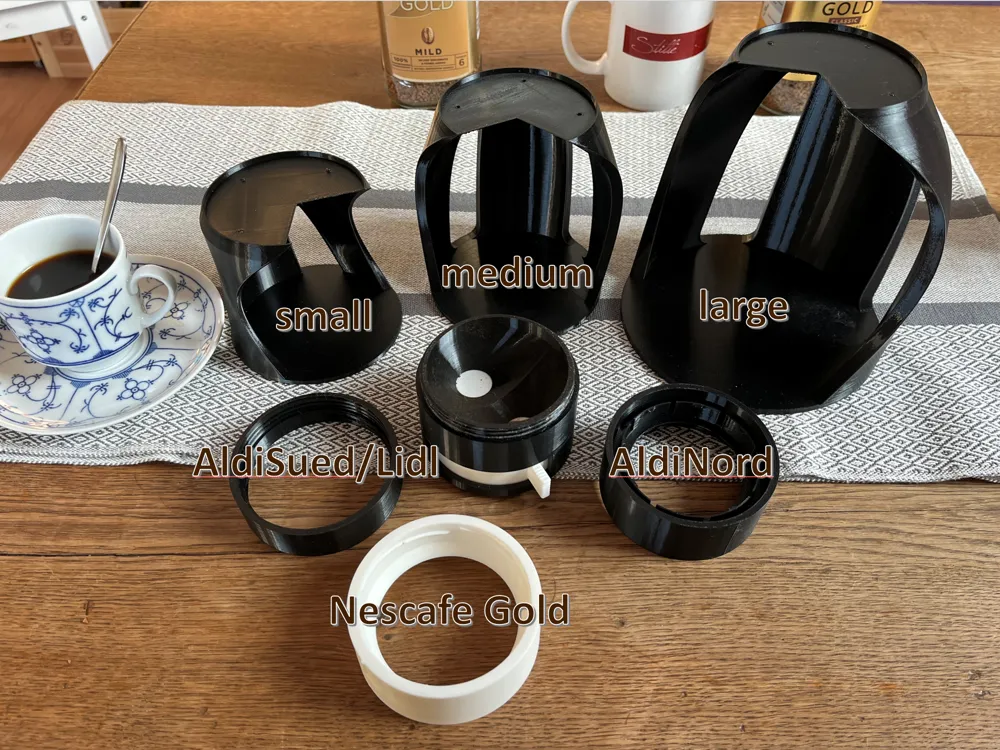
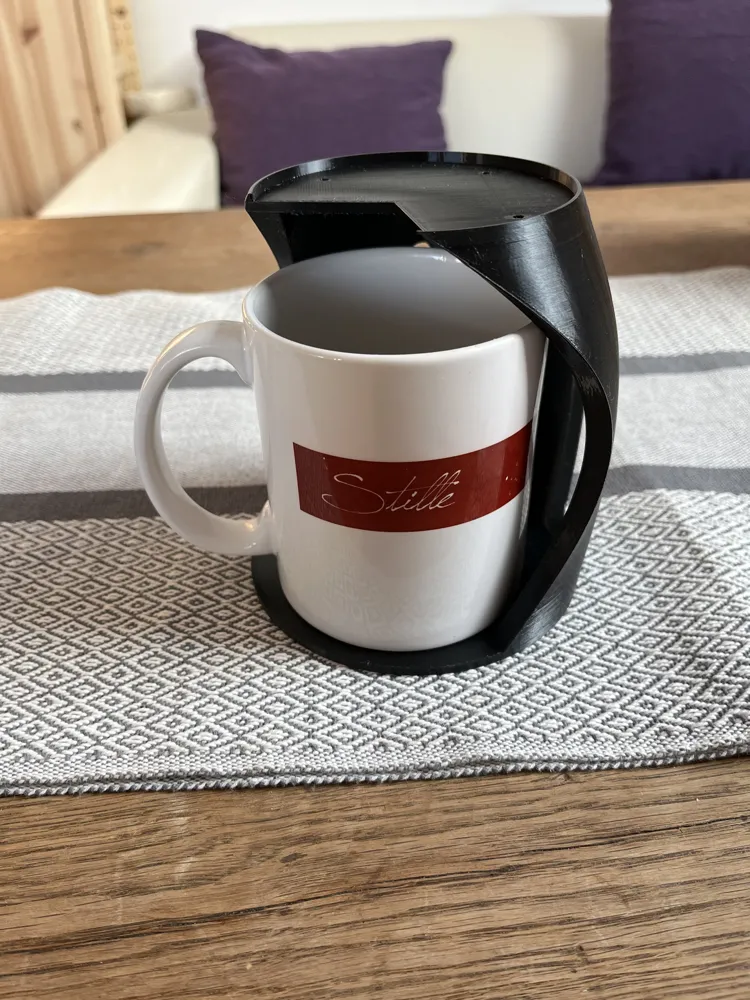
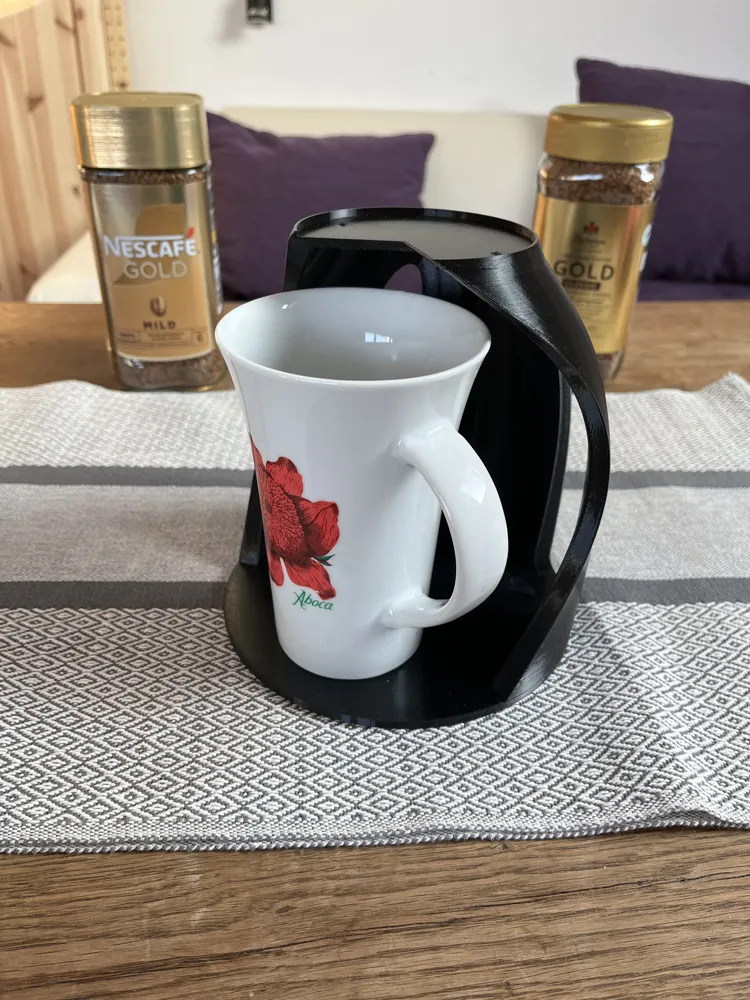
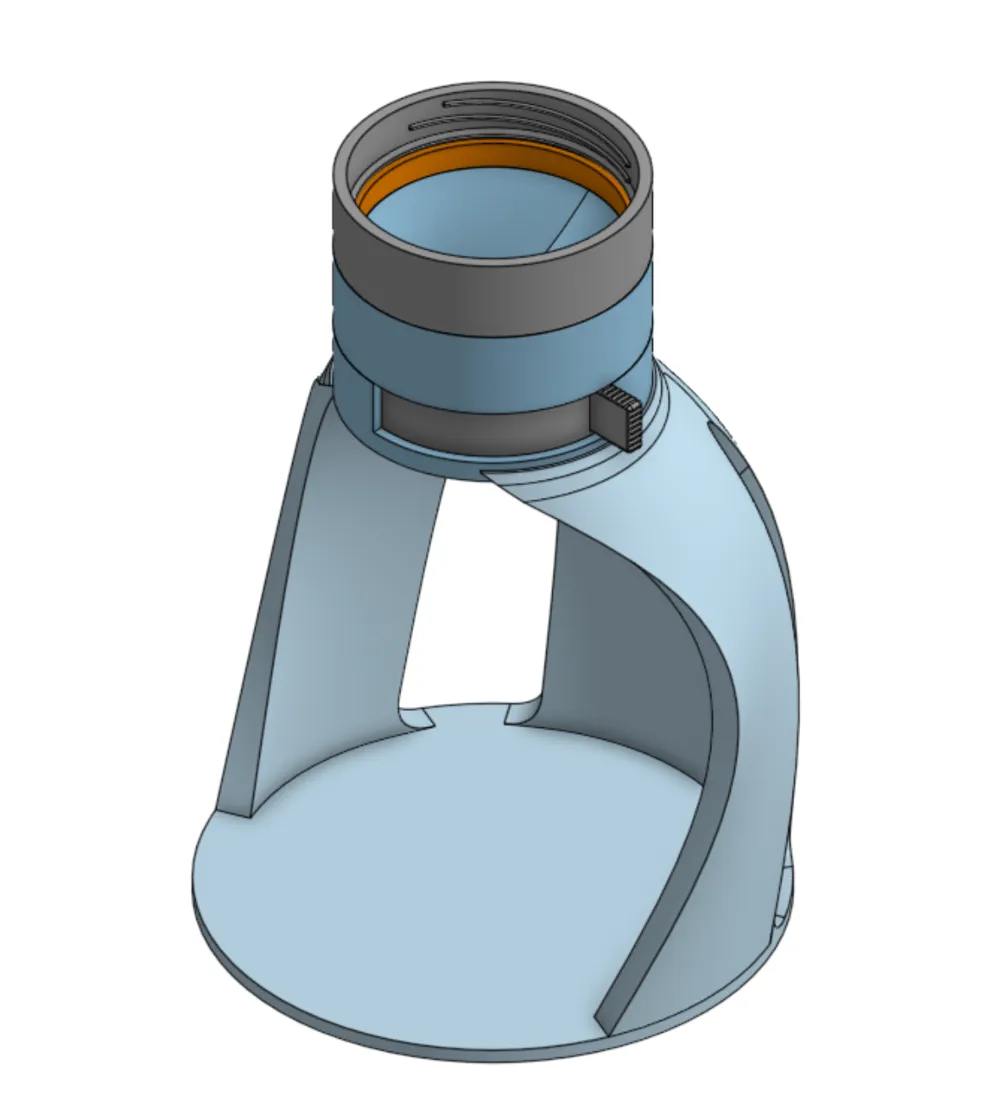
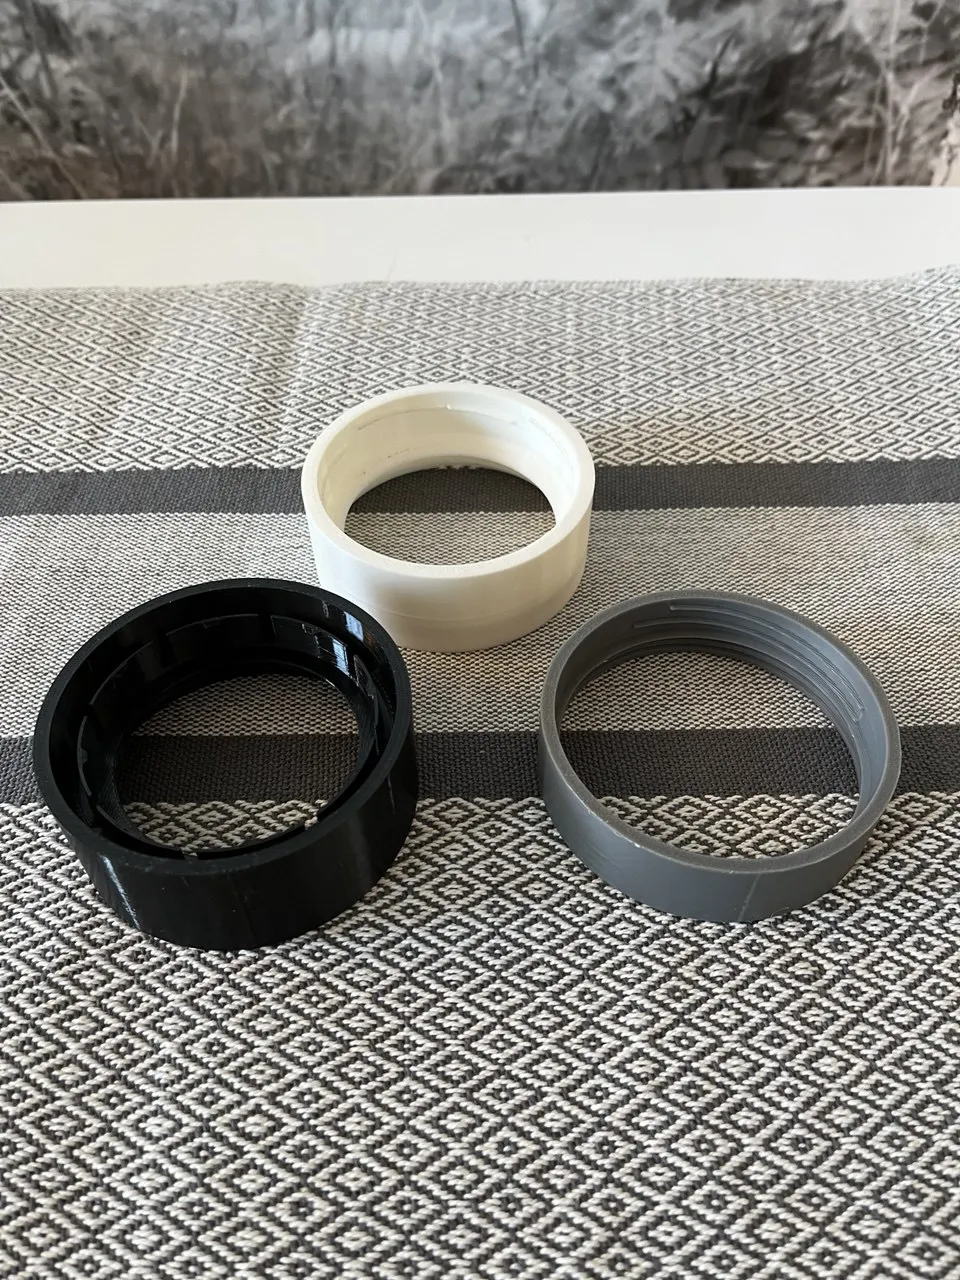
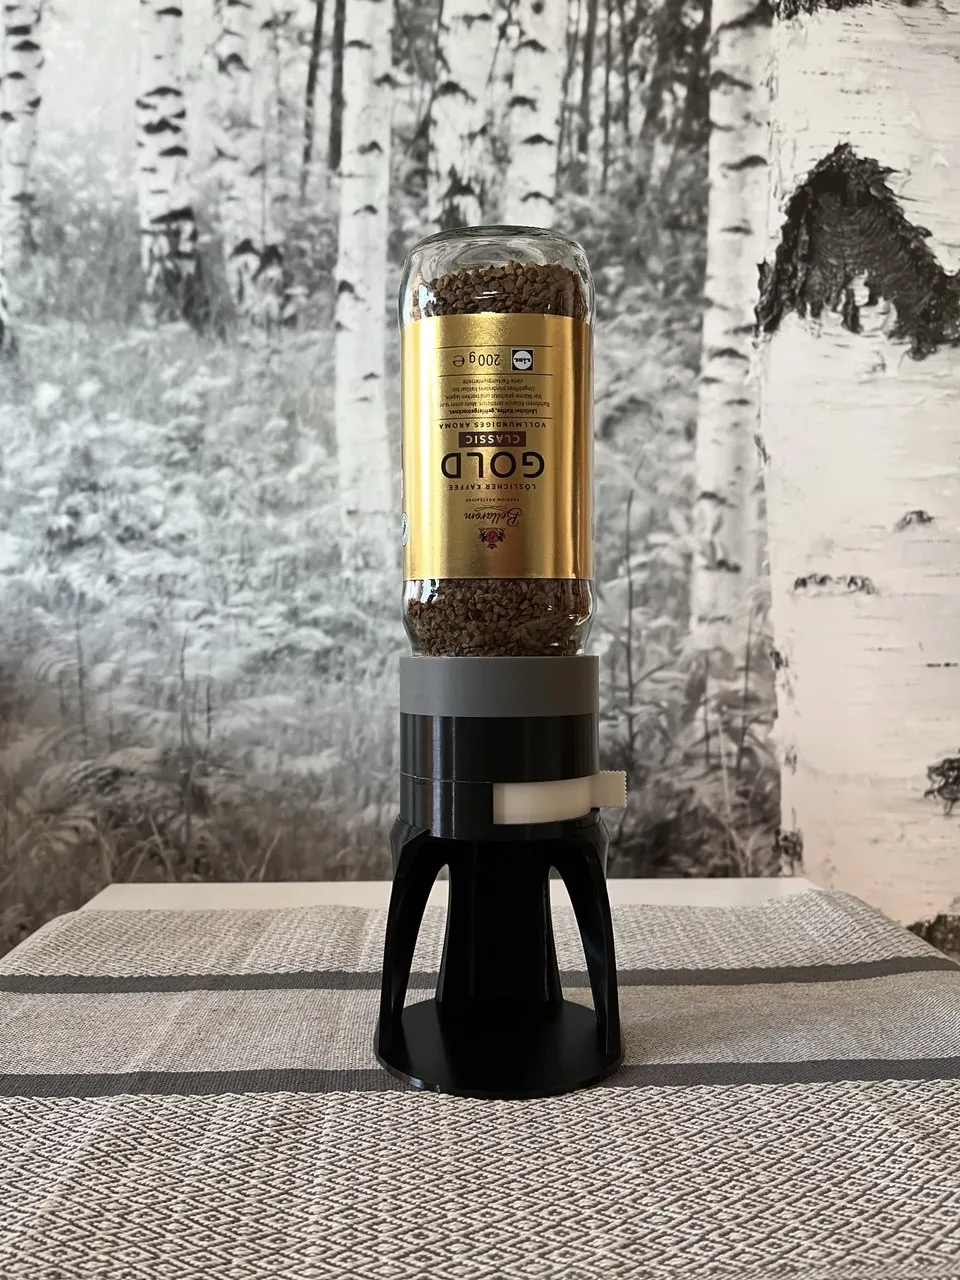
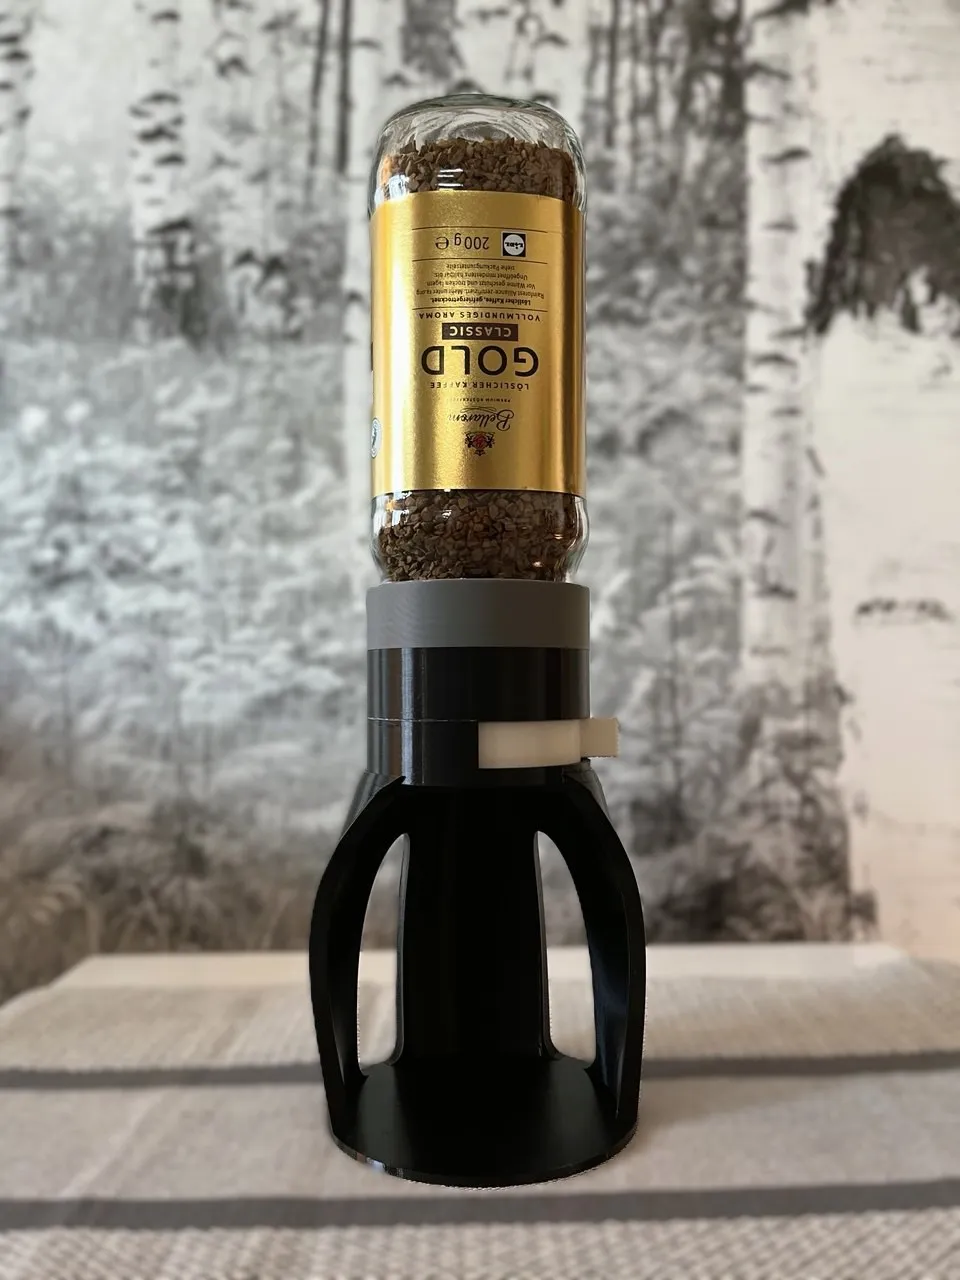
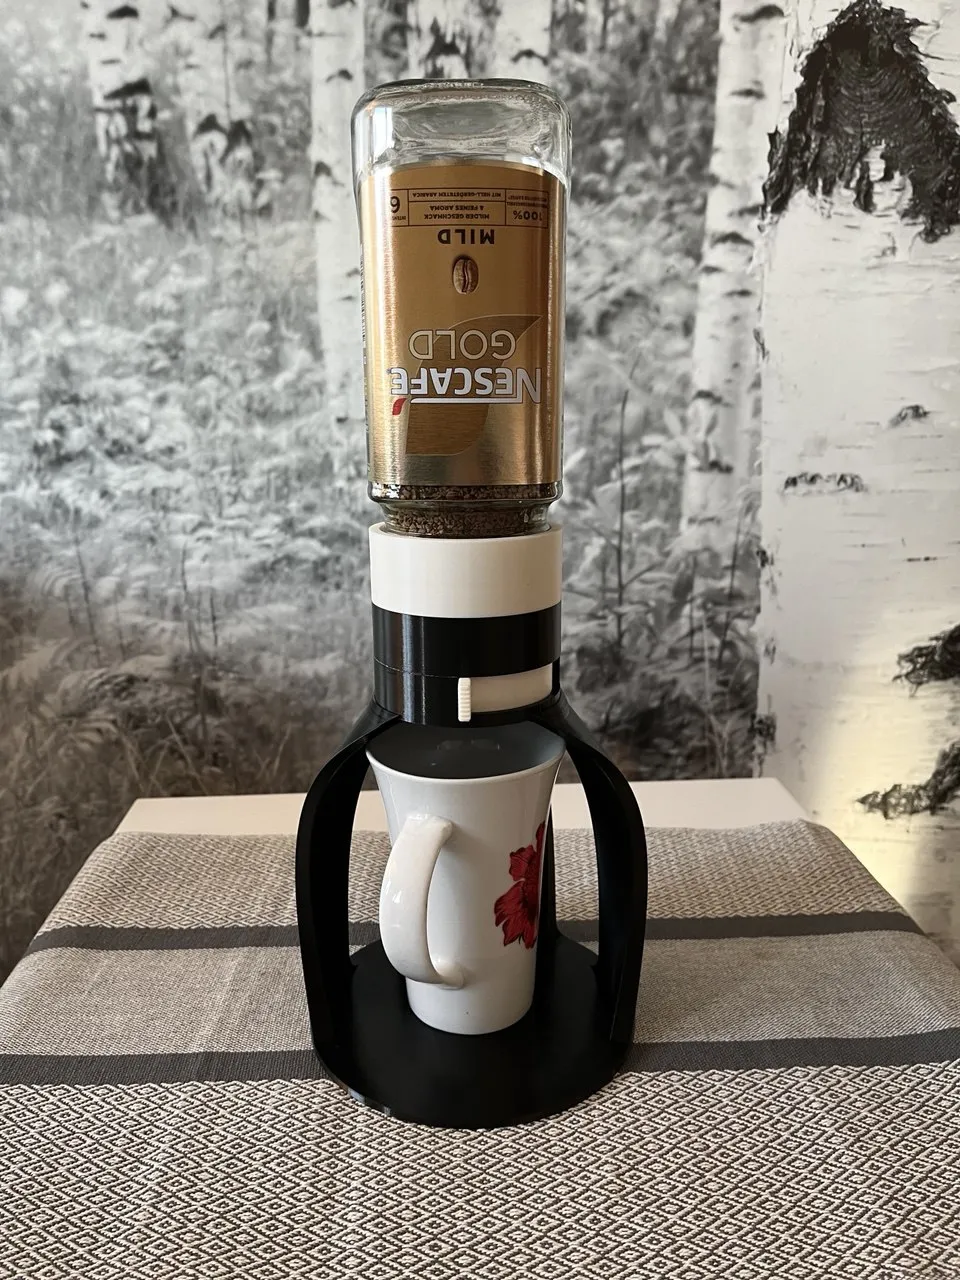
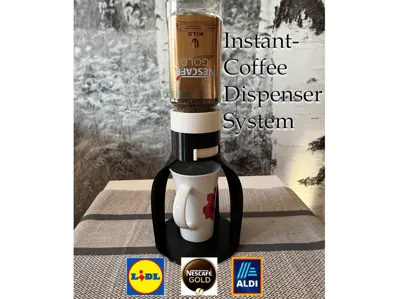
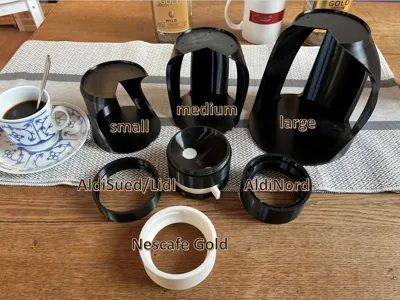
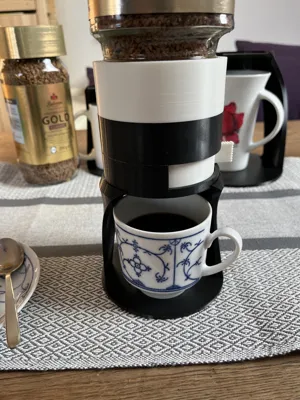
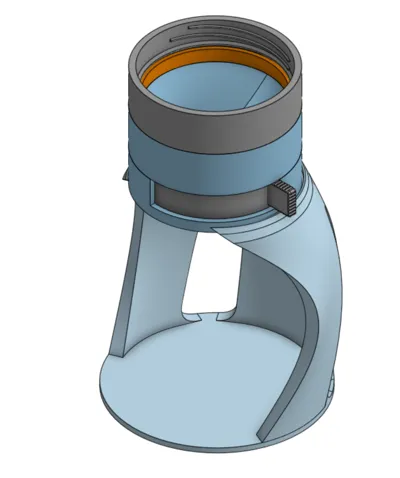
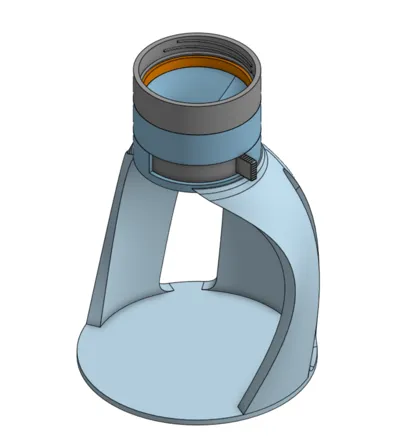
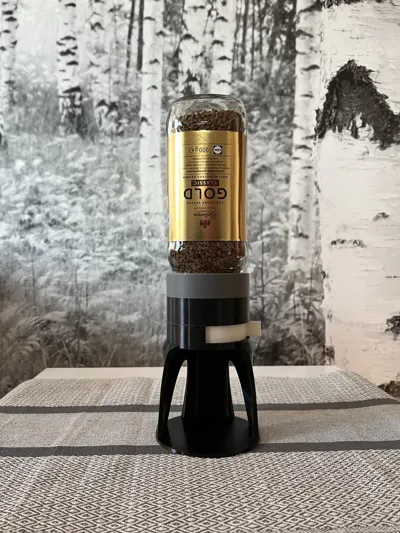
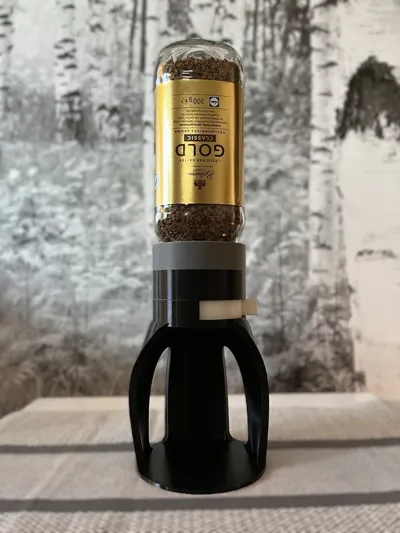
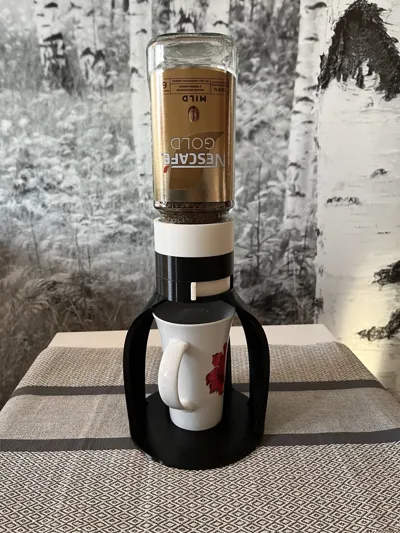
This is a modular instant coffee dispenser system that adapts to the needs of the individual user. There are 3 different base sizes (small, medium, large) and three different adapters to the corresponding instant coffee bottle.
Boost Me (for free)
This model took a great amount of work, I'd appreciate a boost :)
Three base sizes for different cups:
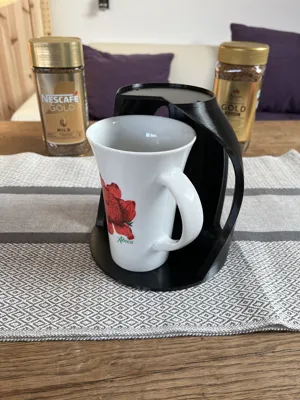
- small - grandma's coffee cups (8.5cm)
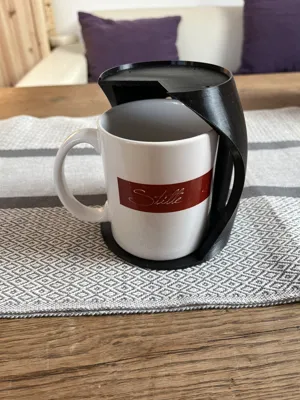
- medium - the average coffee mug (11.5cm)
- large - huge mugs (15.5cm )
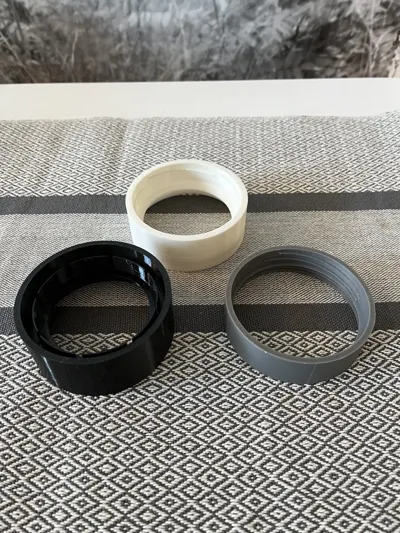
The supported bottles are from the following brands:
- Nescafe Gold (big bottle)
- Bellarom Gold (LIDL)
- Barissimo Classic/Mild (Aldi Sued and Aldi Nord - they use different containers)
If you want to find out if the adapter fits your desired coffee, you can print the individual adapter first. No need to print anything alse. If the adapter fits, everything else will.
The model is tried and works flawlessly. The adapters are also tested and work great. And yes, I bought each of these coffee containers just for this model.
PRINTING:
Print the following:
- 1 base
- 1 adapter ring
- the dispenser assembly (plate #1)
Do not just print everything!
Printing the dispenser + adapter ring:
I much liked the layer height of 0.12mm as it gave everything a really nice look. Feel free to print in whatever settings you like if that takes too long. The adapter rings also work in a 0.24mm configuration.
Because the dispenser has contact with the coffe you'll be drinking later, I'd avoid printing it in any filament that contains fibers (-CF and -GF).
Pure PETG is surely a good choice, but PLA will also work well. Print in Nylon to reduce friction the most (I haven't tried that though).
Printing the base:
The base needs to be sturdy, so 3-4 walls and a sturdy infill should be used.
Printing in PETG can be done, but in my experience was a bit too flexible. It will still work, but a stiffer filament like PLA is better. If you want to make sure that even spilled hot water won't damage your base, then ABS/ASA would probably work best. Any fibrous filament will also work as it's not in direct contact with your coffee.
In order to safe filament, the three bases can be printed WITHOUT support structures. The overhang is designed in a way that the printer can bridge the distance. However, the printer and filament should be calibrated well for this task. I printed both the large and the small base and it worked twice. You'll eventually have to remove some bridging filament strands.
It will also print with support structures - that is for sure the safe method with a nicer underside because of the supports.
ASSEMBLY:
Dispenser Assembly:

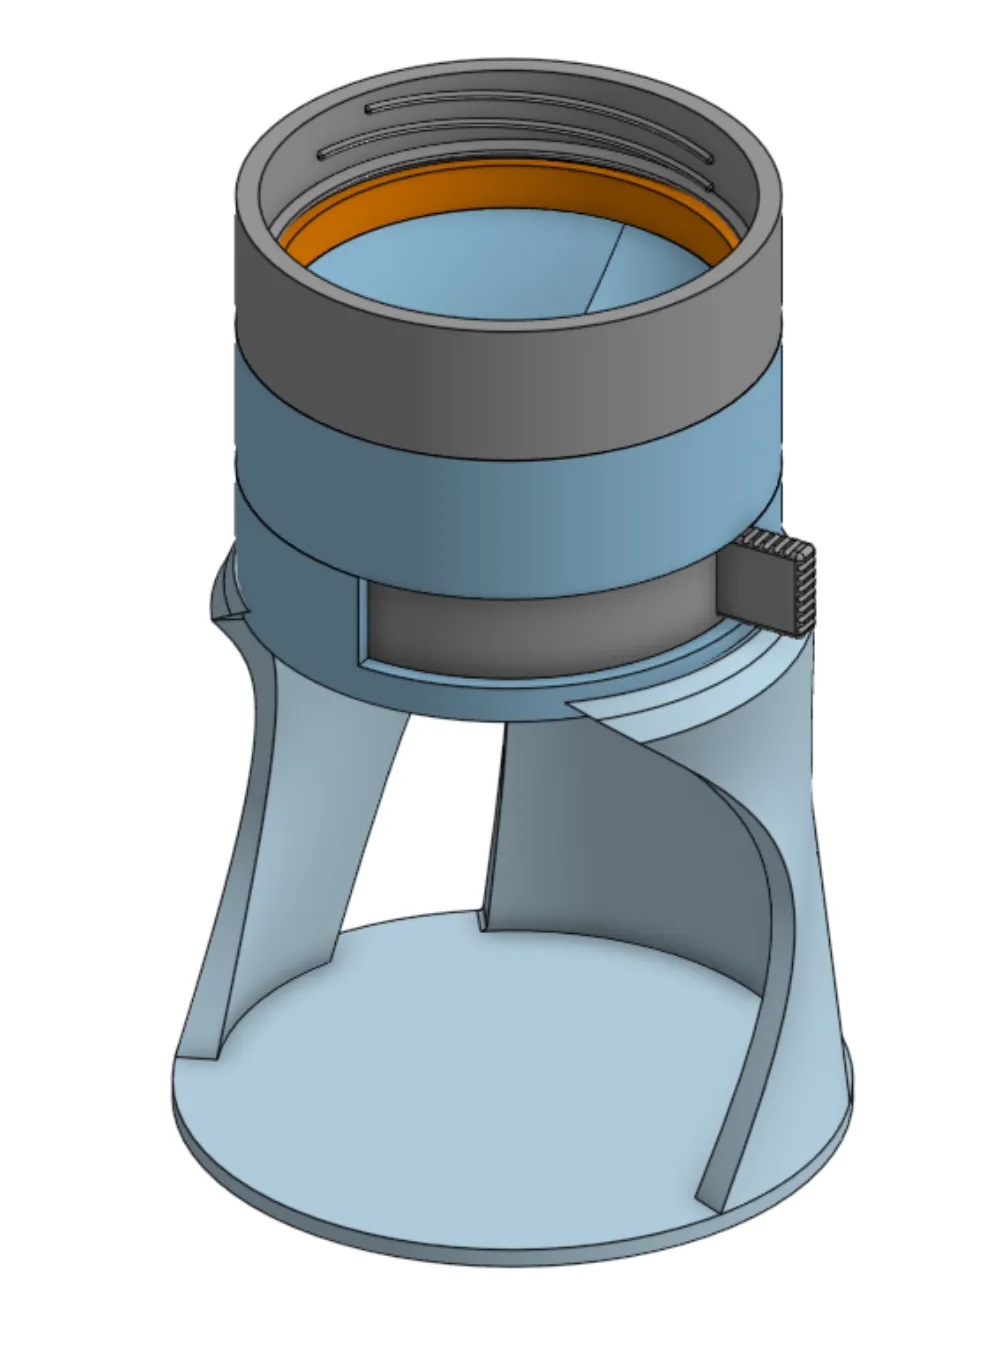
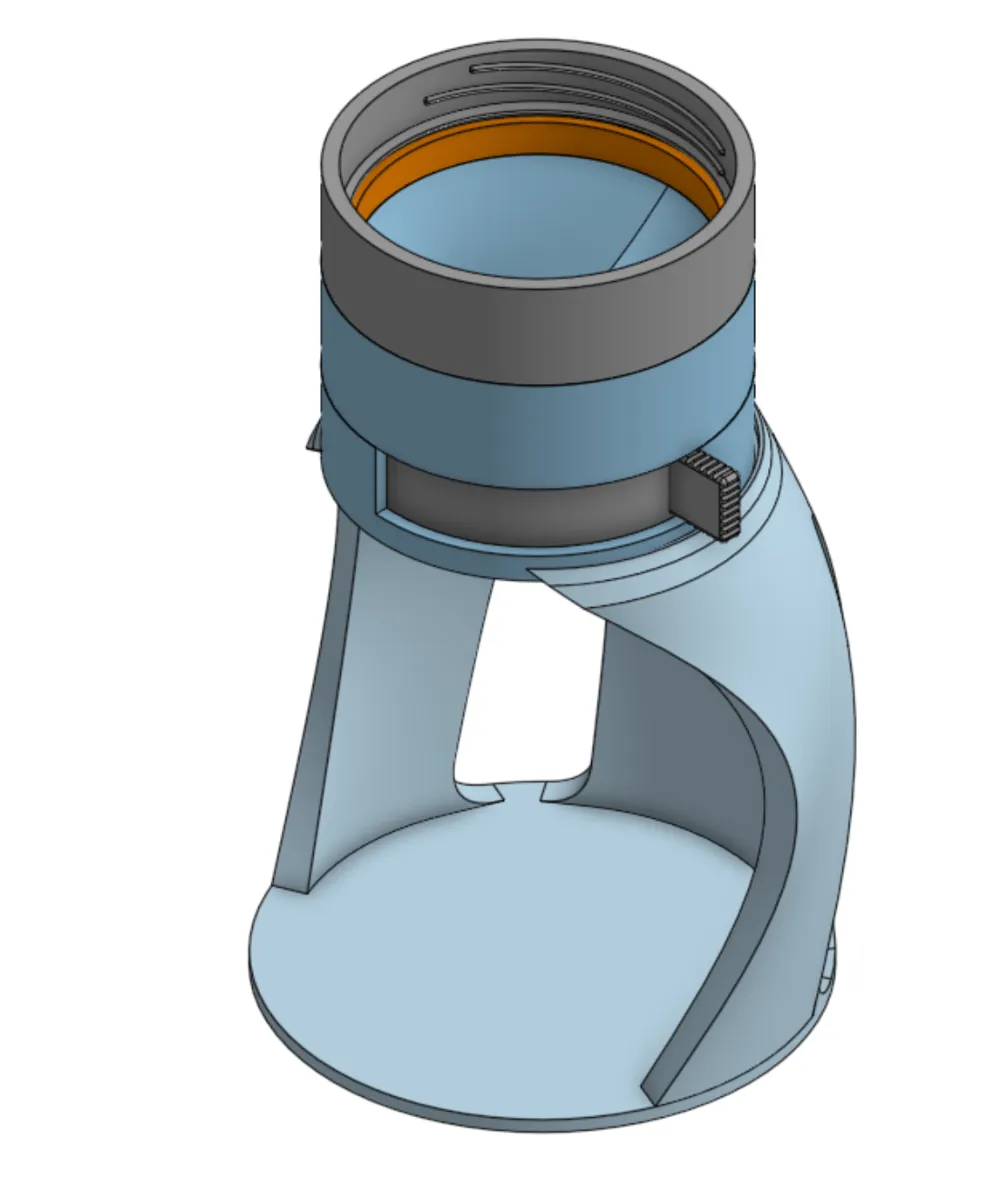
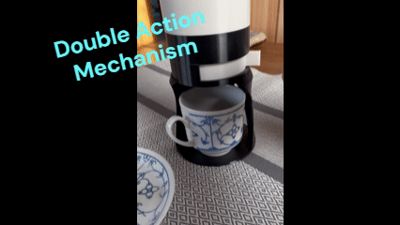
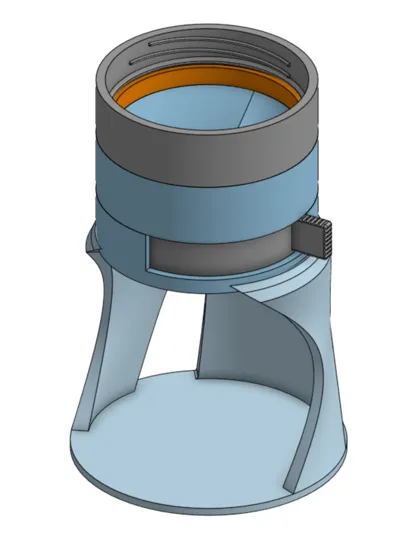
Assemble the dispenser by putting the turning part with the handle into the part with the hole on the side.
Then glue the (double) funnel onto that. There are guide pins and holes printed on the pieces. They won't hold the print together on their own, they need to be glued together. Pay close attention that you don't glue the turning mechanism.
Superglue worked well for me. I moved the handle back and forth while gluing to ensure it wouldn't glue the wrong part. Don't use too much glue.
Attach Base:
— The base can be glued or screwed to the dispenser! — Read first before printing.
After the dispenser is assembled, the individual base can be attached. They only differ in height, the section that connects to the dispenser is the same in all three.
There are three screw holes that have to be punched through from the top (because of the bridging). The hex key that comes with every bambu printer works great. Screw the Dispenser onto the base, using the BT3x8 SHCS Self Tapping Screw (Standard Bambu Screw that comes with the Maker's Beginner Kit). Every other 3x8mm self tapping screw will also work.
You can also just glue the base to the dispenser. Don't punch through the holes then.
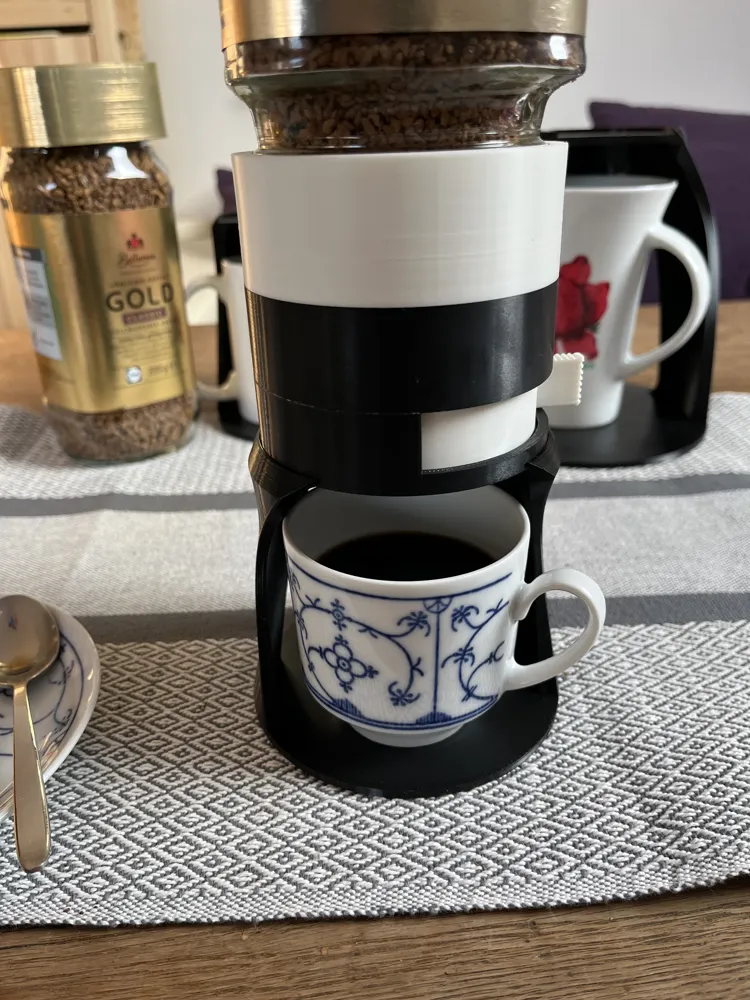
And that's it. Now just screw the coffee glass jar onto the assembly and you're good to go.
License

You shall not share, sub-license, sell, rent, host, transfer, or distribute in any way the digital or 3D printed versions of this object, nor any other derivative work of this object in its digital or physical format (including - but not limited to - remixes of this object, and hosting on other digital platforms). The objects may not be used without permission in any way whatsoever in which you charge money, or collect fees.


Comment & Rating (22)