
Print Profile(1)

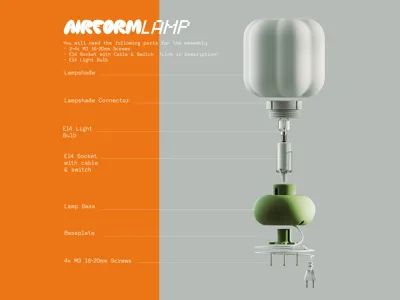
Bill of Materials




Description
Update: 25.06.2026
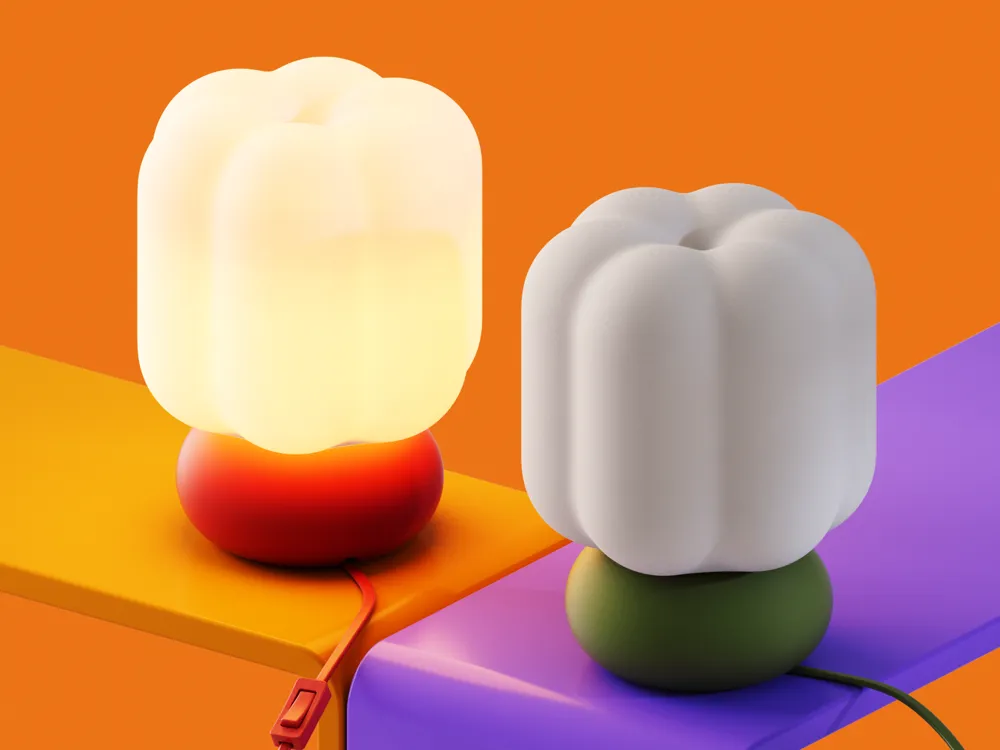
I recently reworked the Airform Lamp, improving the model with better printable angles, and updated it to use the LED Kit 001. I also refined the print profiles to reduce visible layer lines, minimize support structures, and achieve a much more consistent print quality overall.
I highly recommend printing the new version.
Find the Airform Lamp v2 here
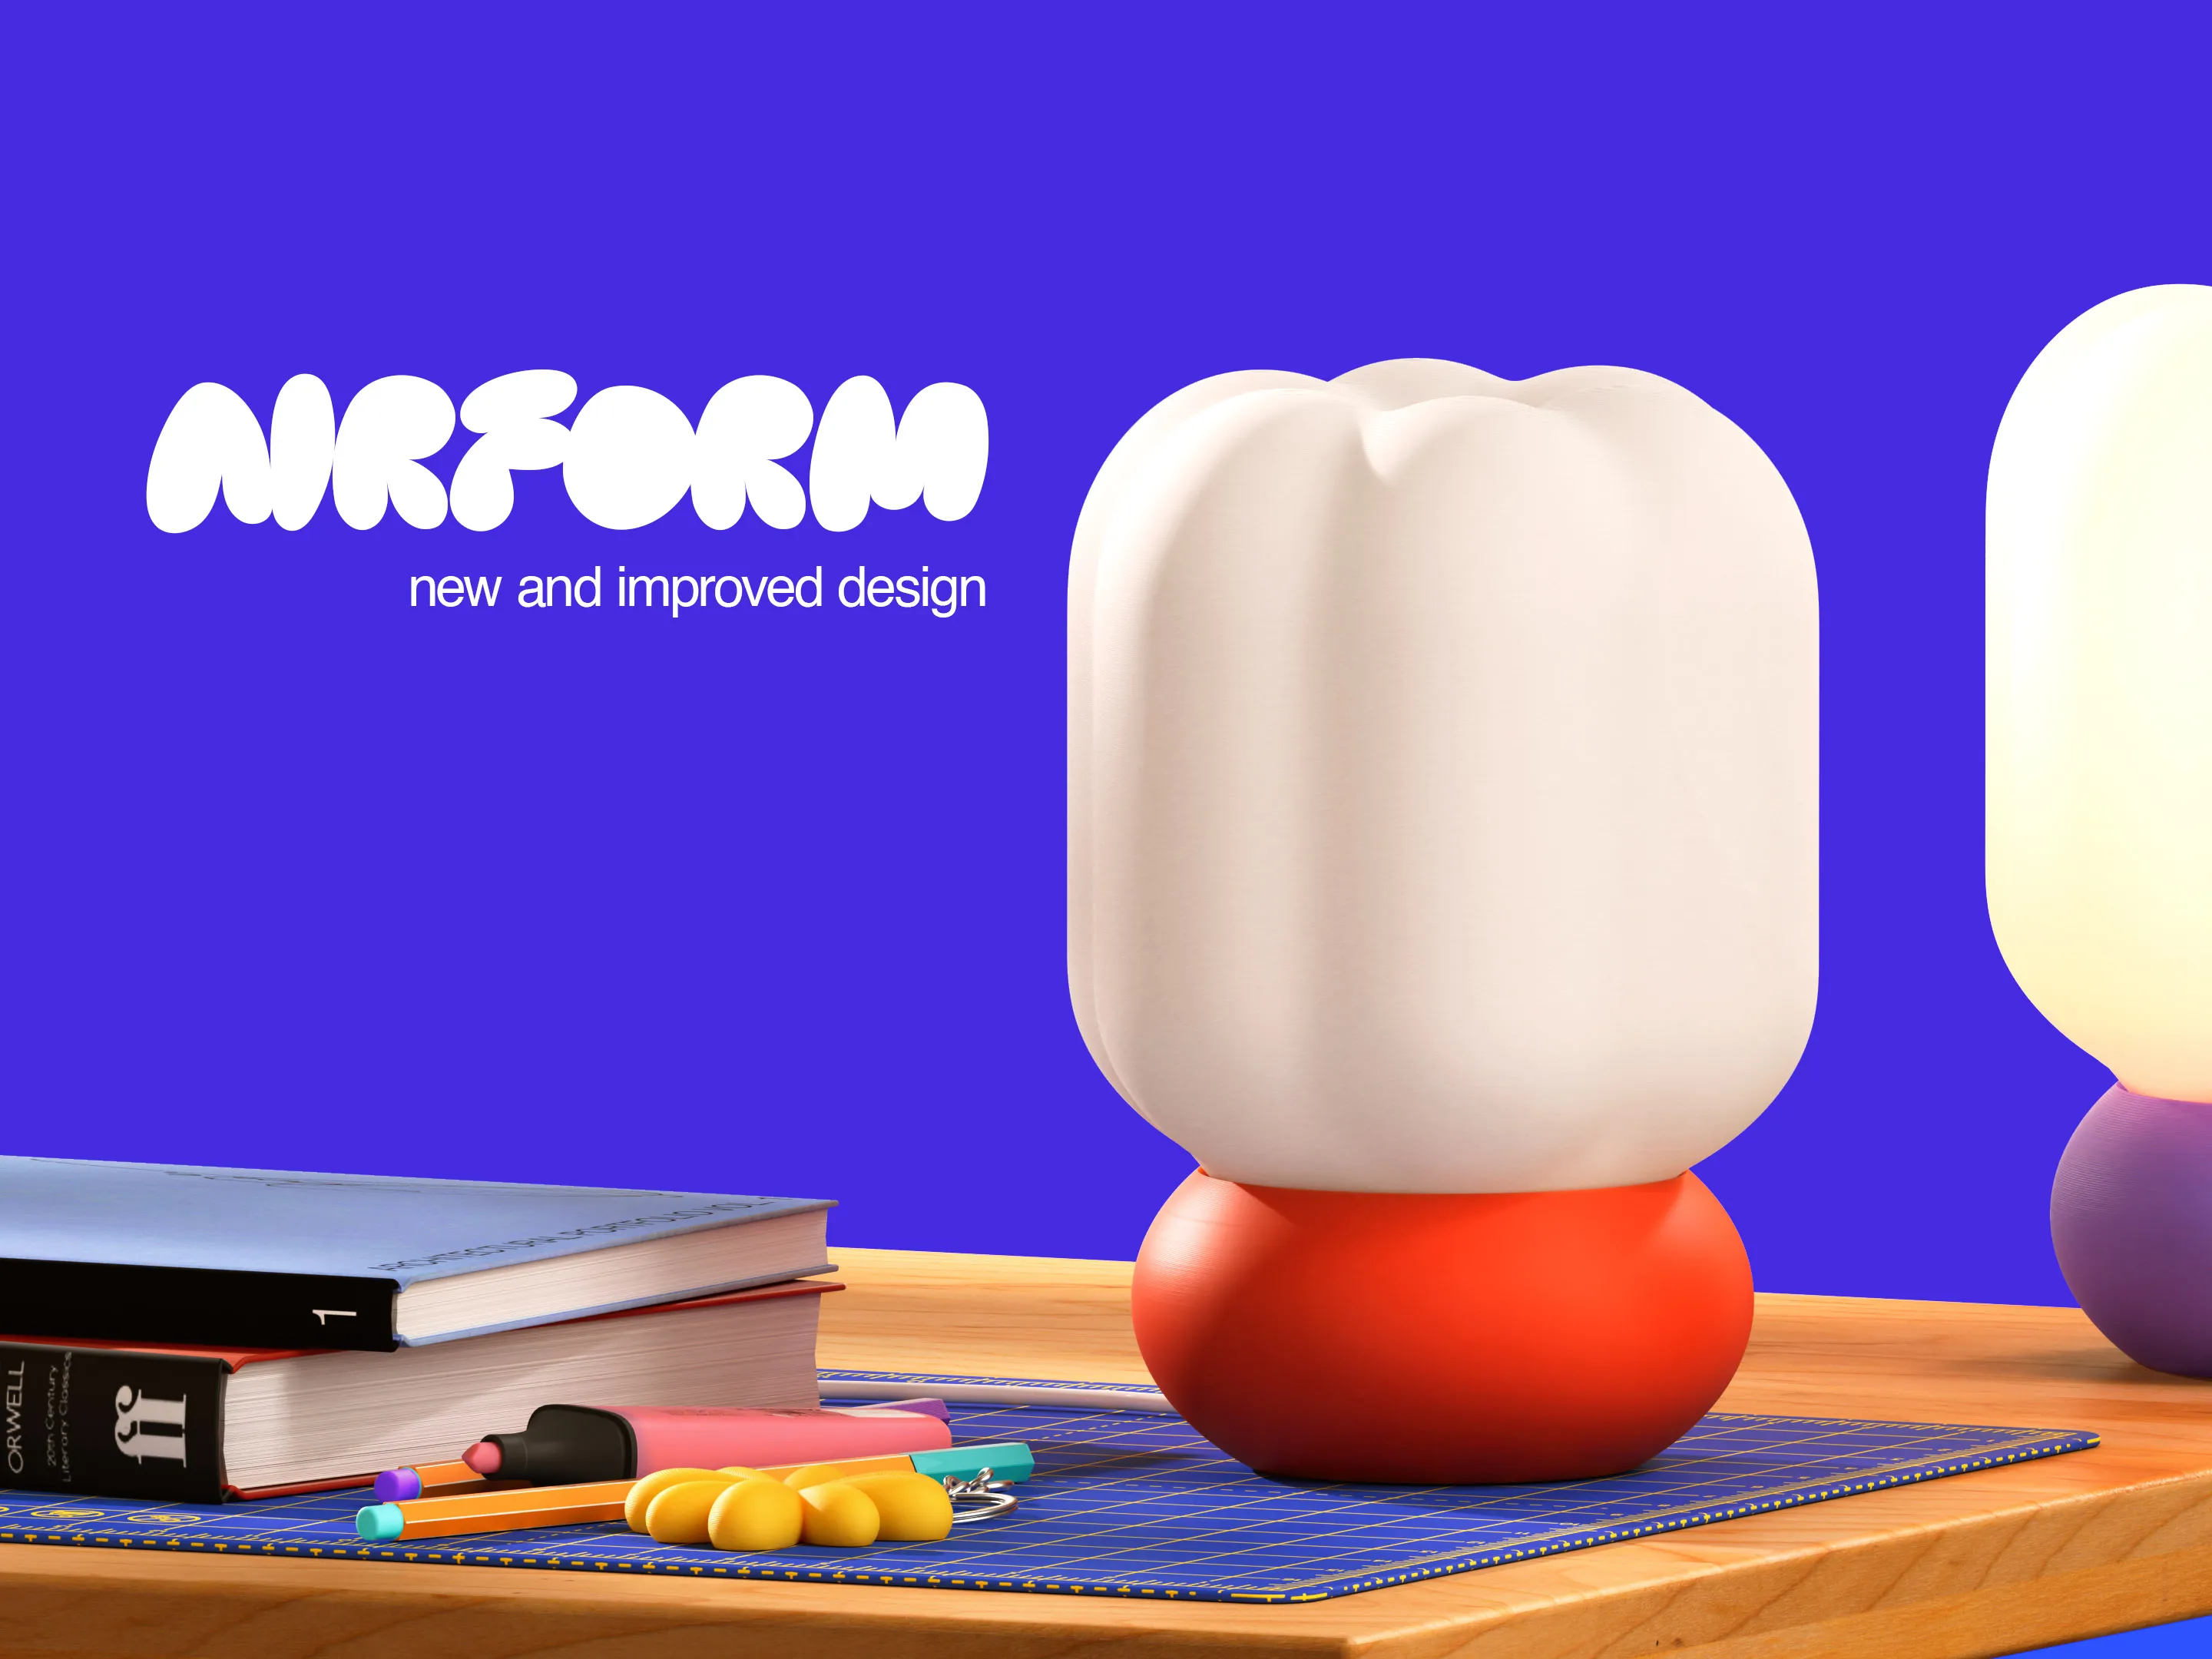
If you prefer the original version of the project, the model and print profile is still available - although I don’t recommend it.
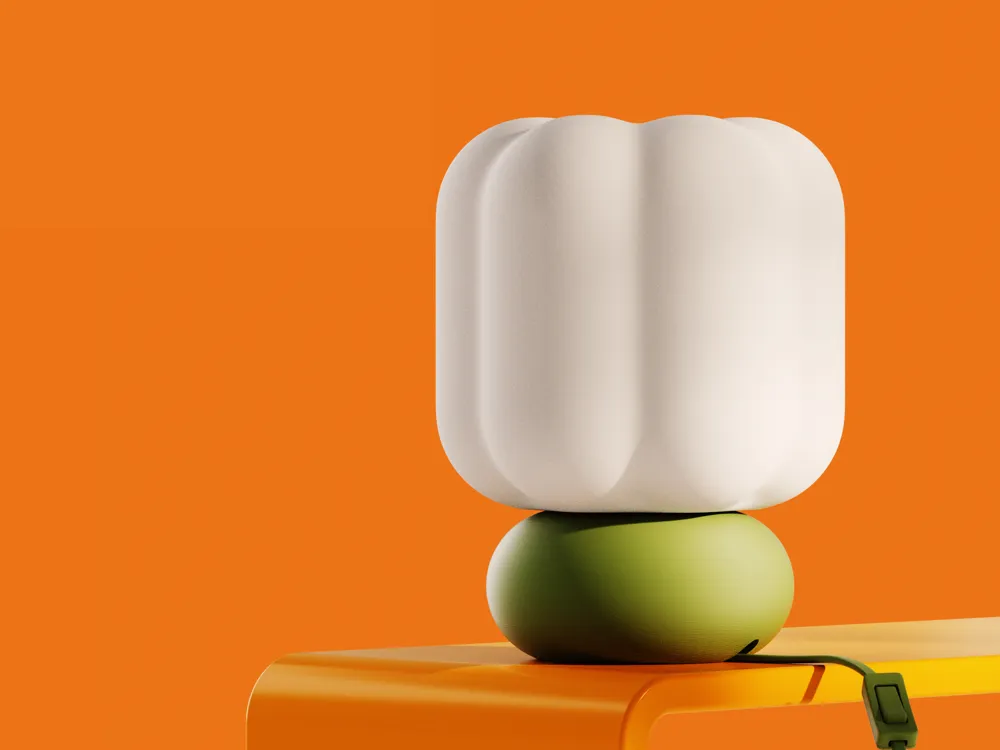
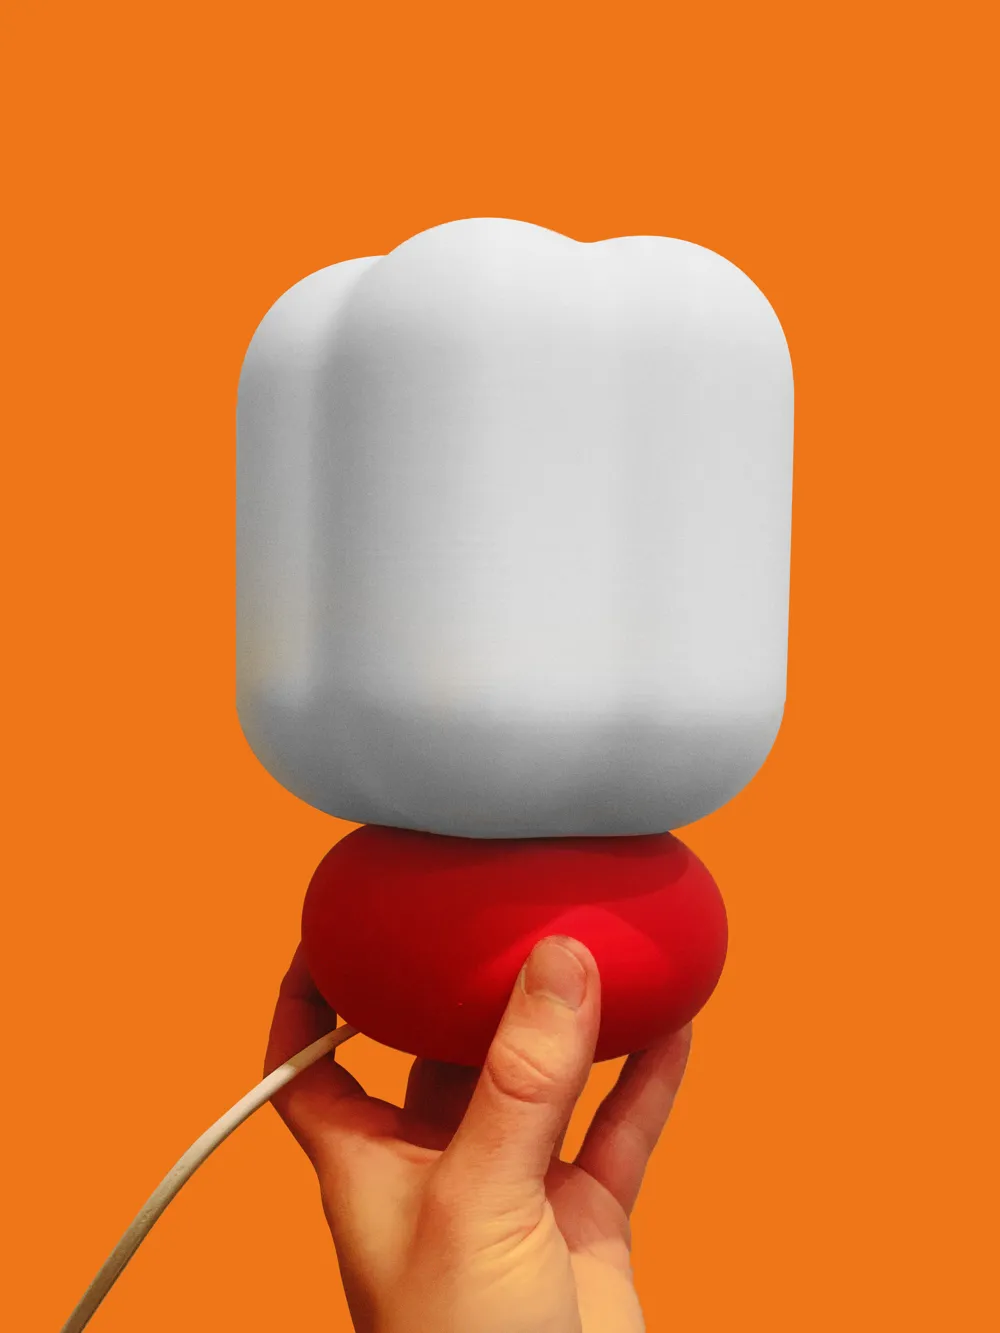
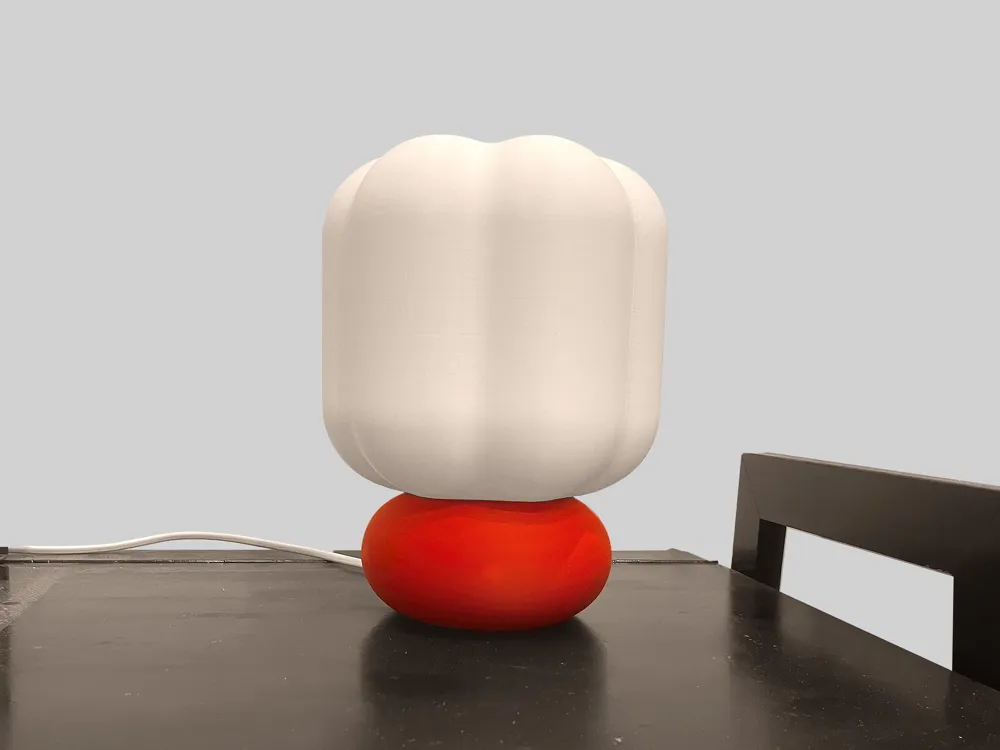
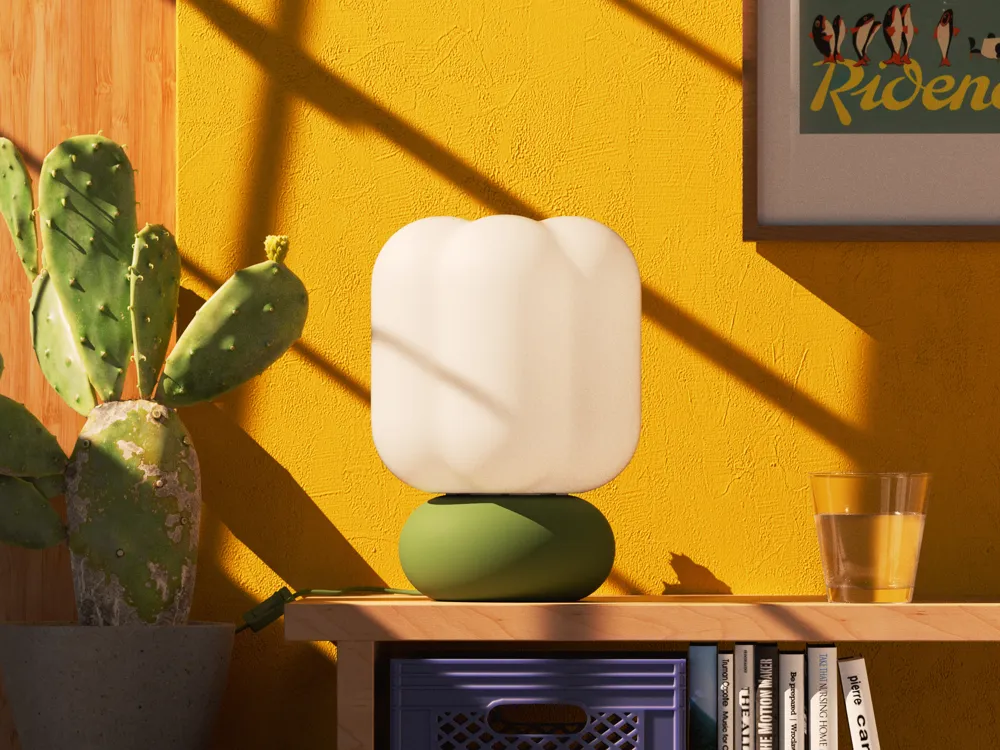
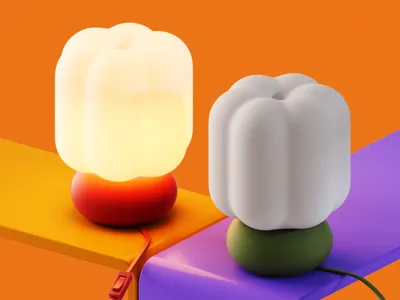
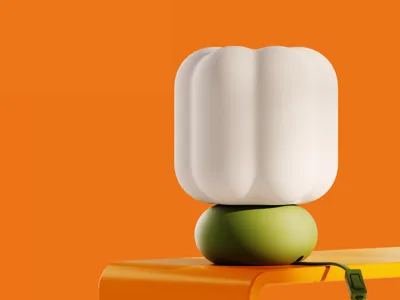
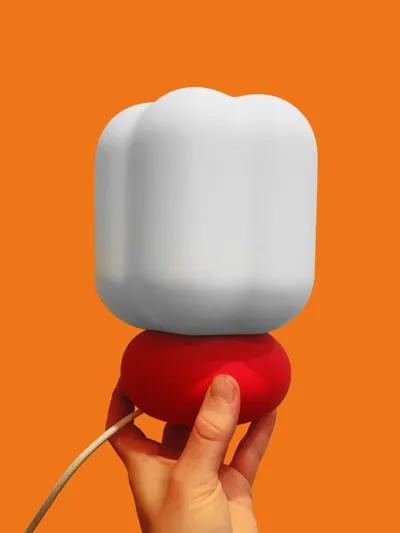
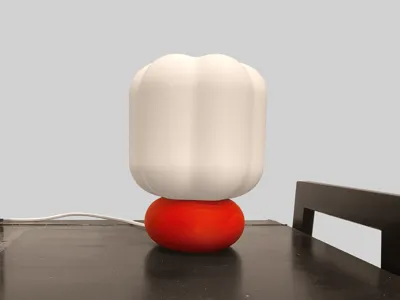
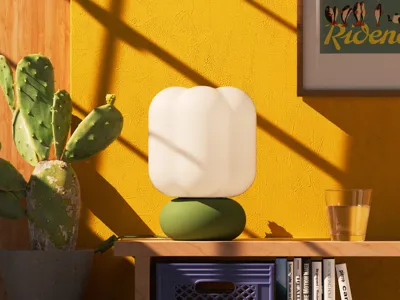
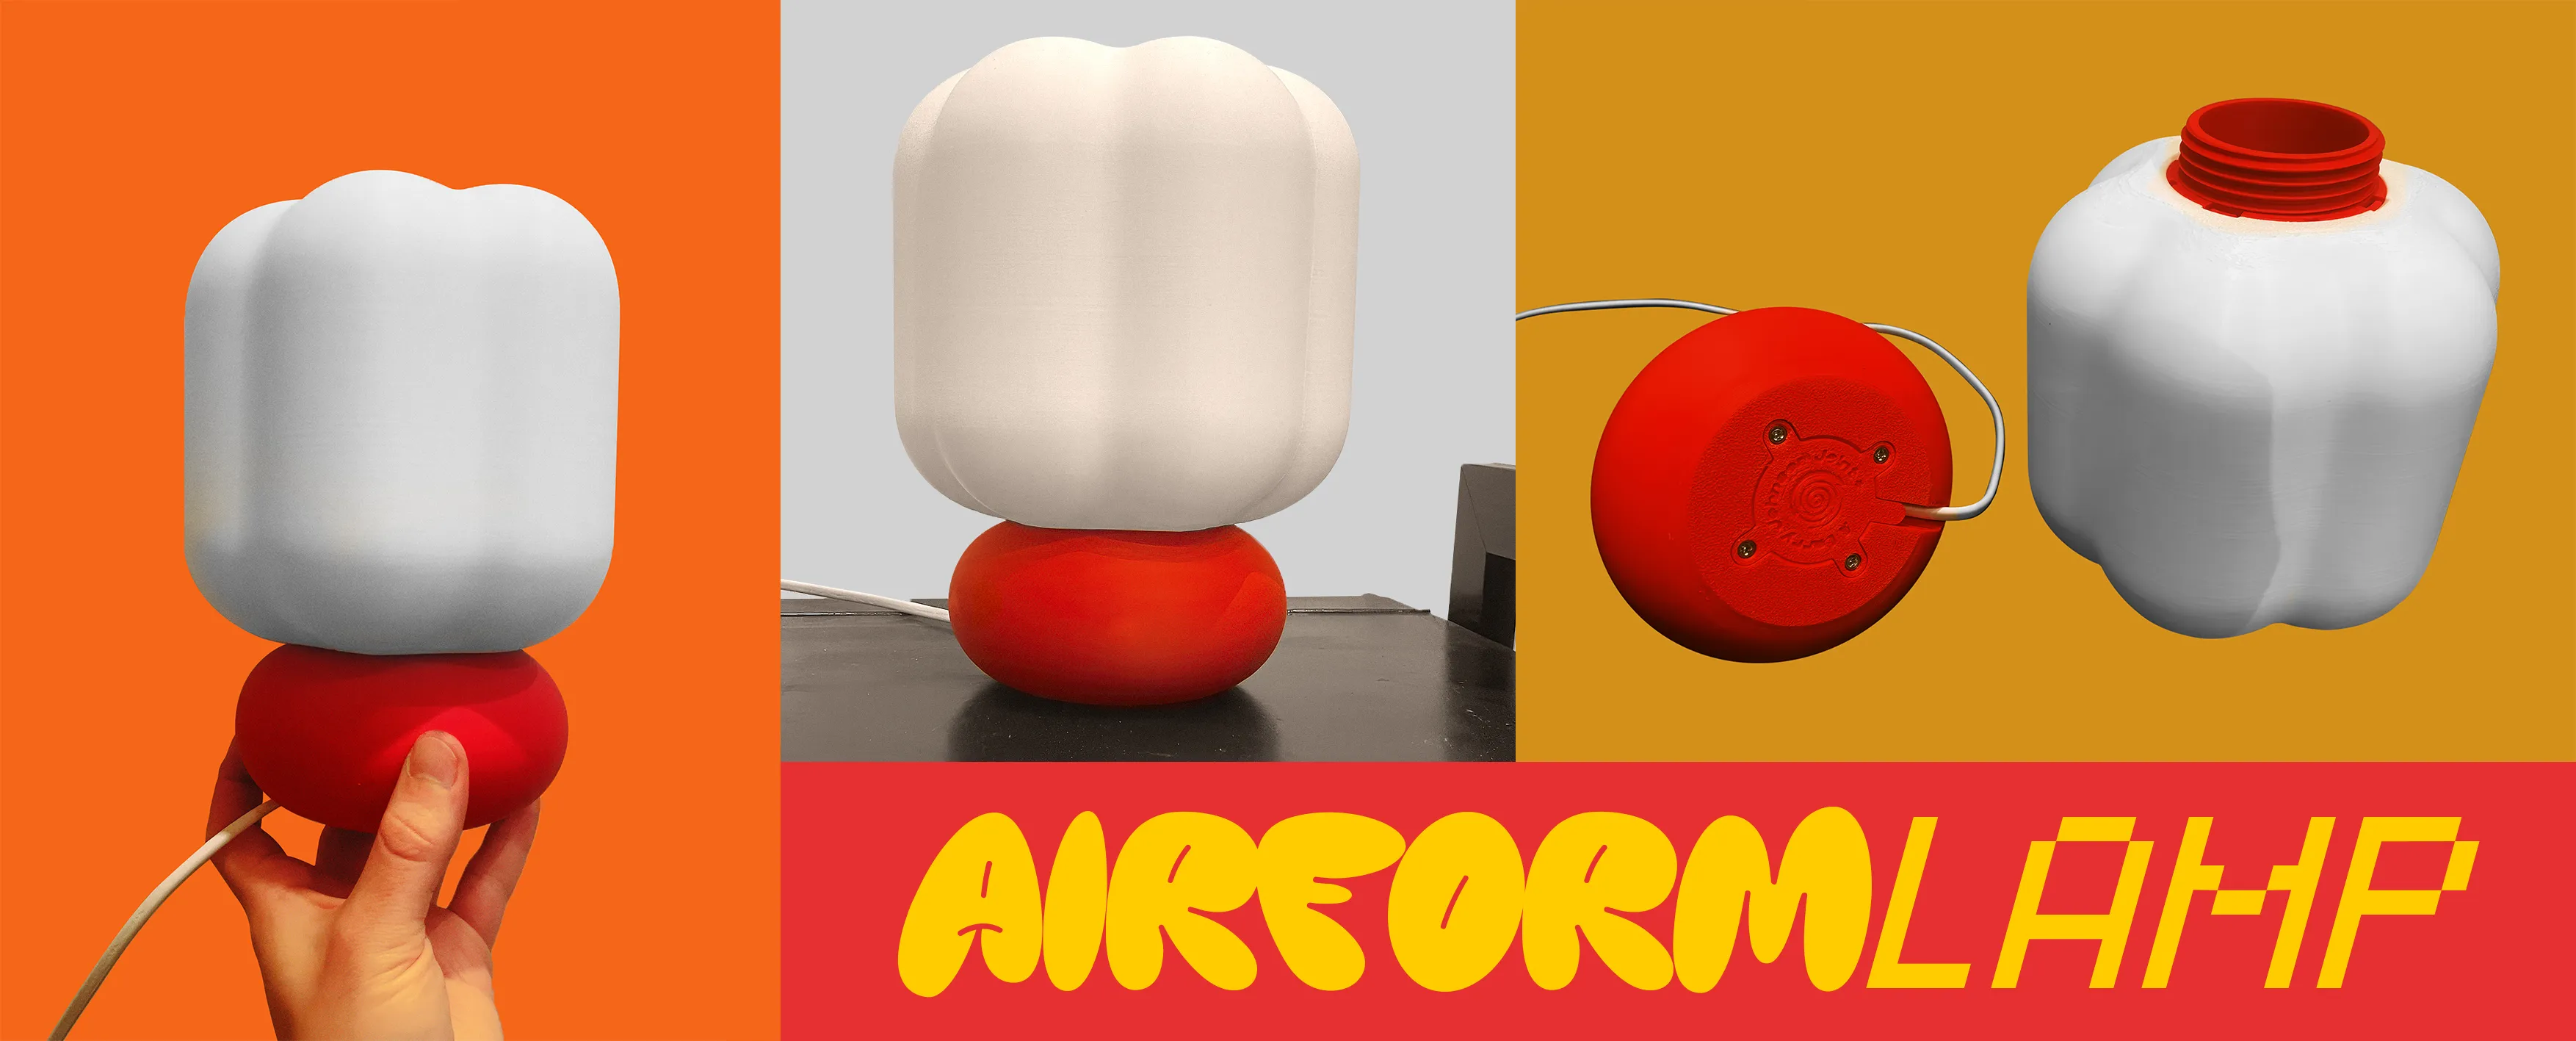
Airform Lamp
Boost Me (for free)
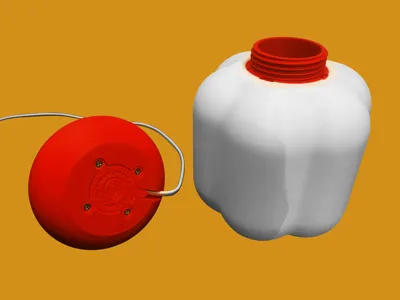
This lamp is designed for 3D printing and can be assembled using only a few standard components.
I recommend using Bambu Matte PLA. Especially for the lampshade, white matte PLA works very well and produces a soft, diffused light.
Required Components
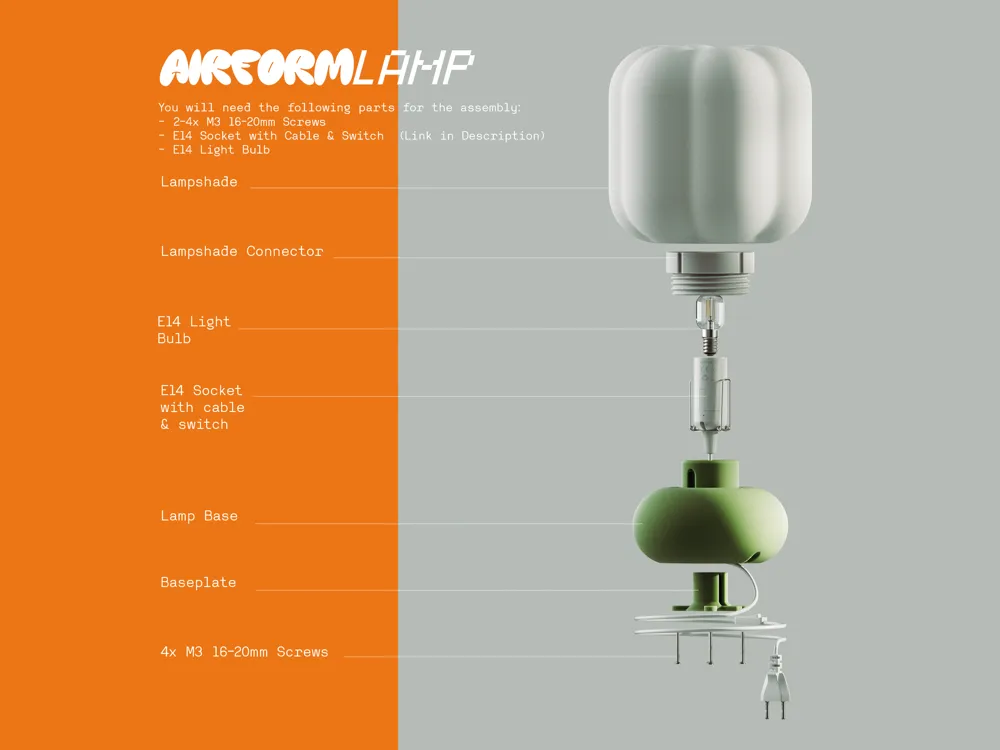
To assemble the lamp, you will need:
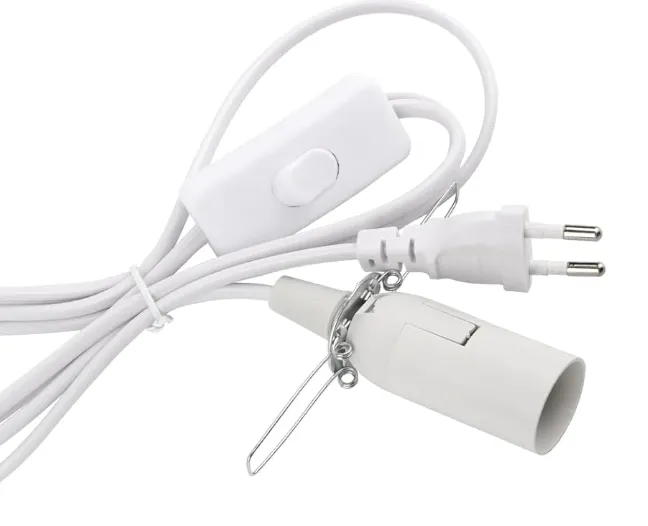
1× E14 cylindrical socket with cable
(i used this one): https://www.amazon.de/dp/B0F99VXGXQ?ref=ppx_yo2ov_dt_b_fed_asin_title
- 1× E14 light bulb
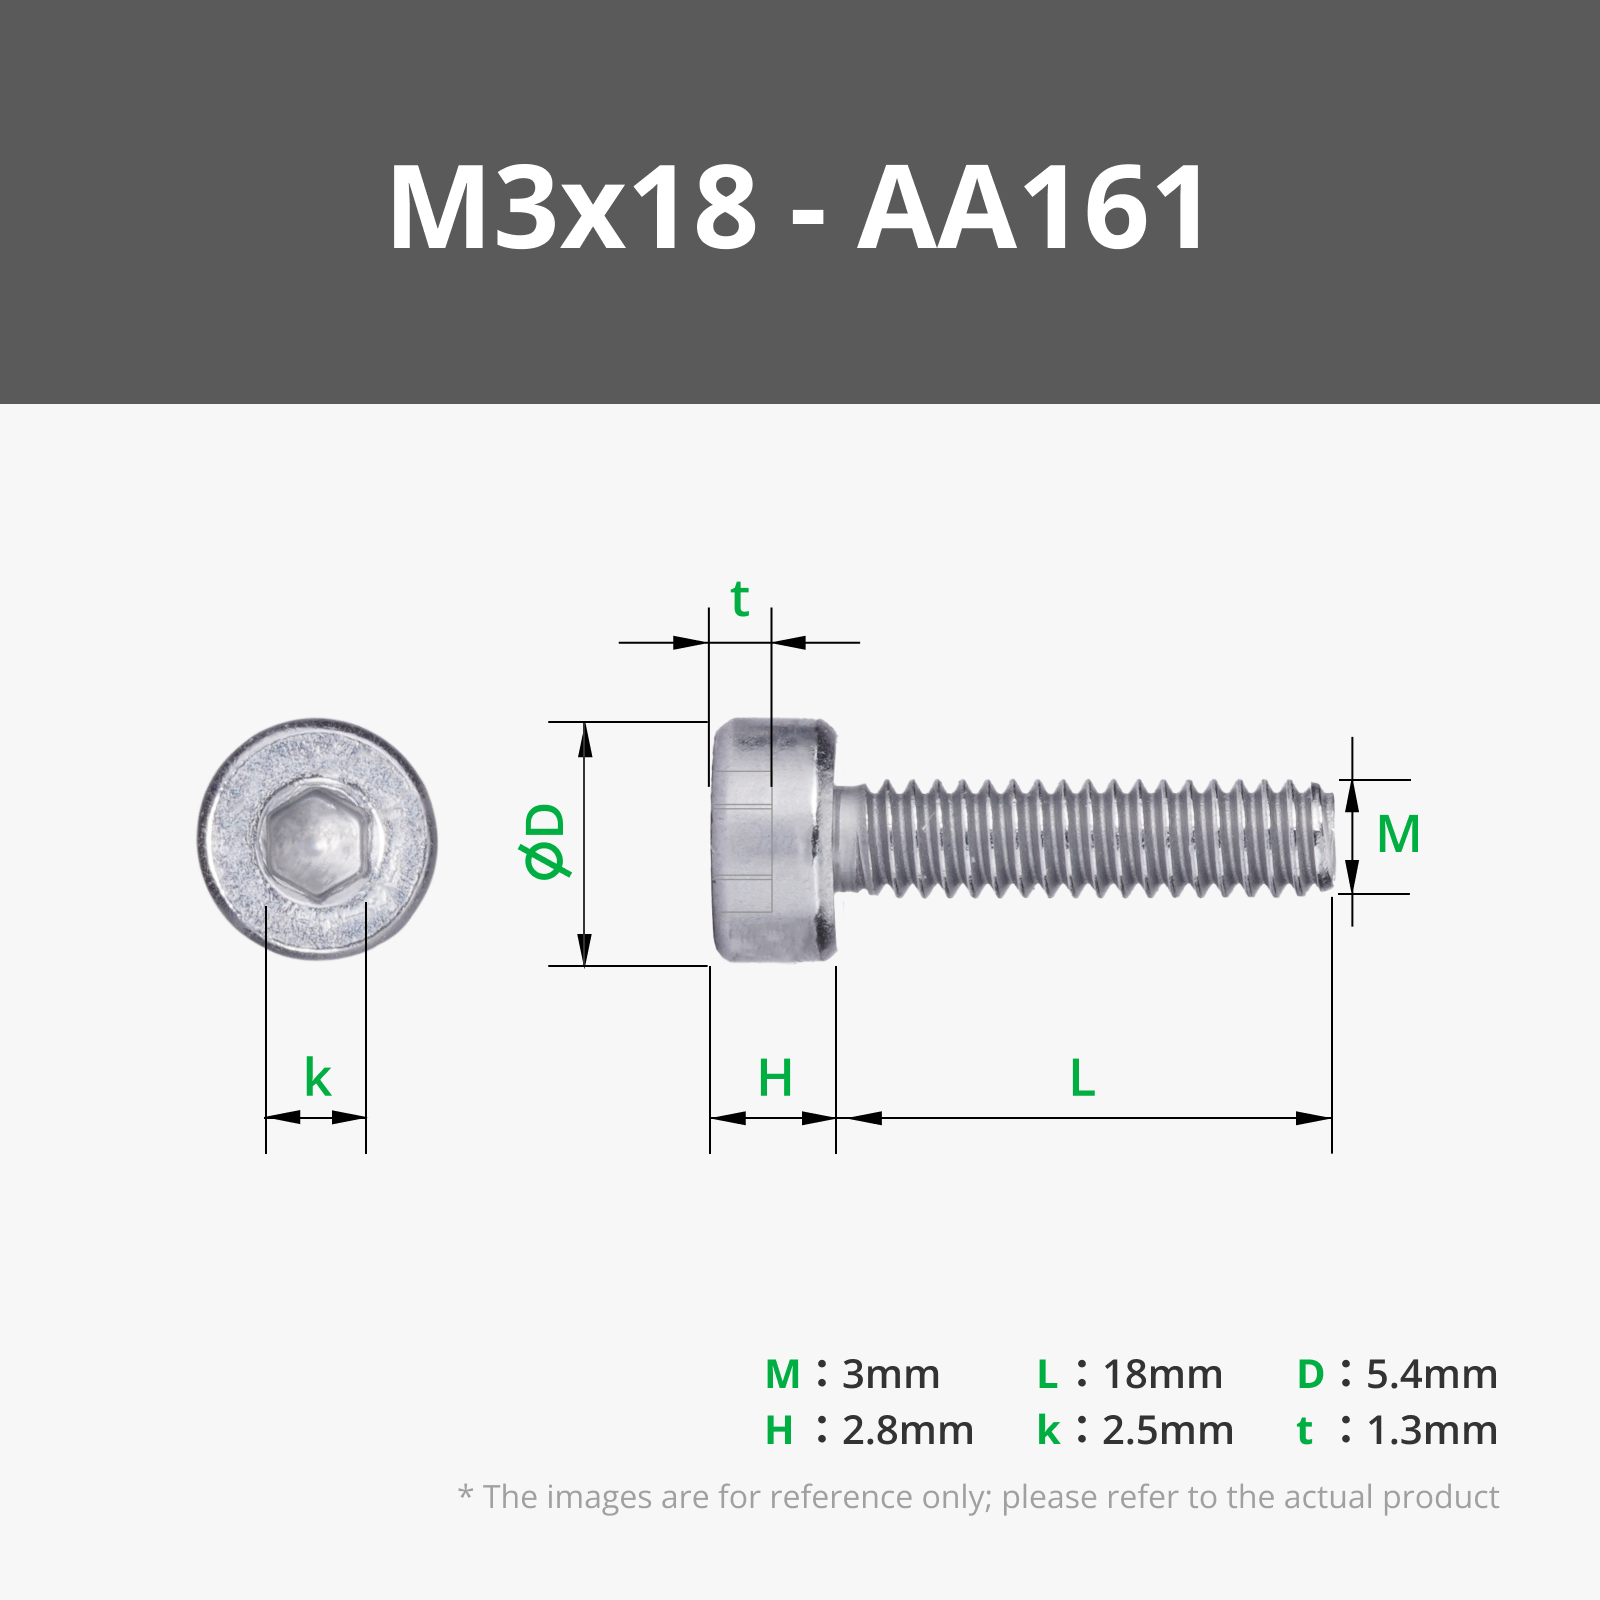
- 4× M3 screws (10–20 mm length)
Important
Please make sure to use a cylindrical E14 socket with a maximum diameter of ~2,7 cm and a maximum height of ~10 cm to ensure proper fit.
I used E14 sockets with steel wiring around them, and the lamp base is designed with matching notches to securely hold this type of socket in place.
Dimensions
The fully assembled lamp has the following dimensions:
- Height: approx. 21 cm
- Width: approx. 15 cm
Assembly Instructions
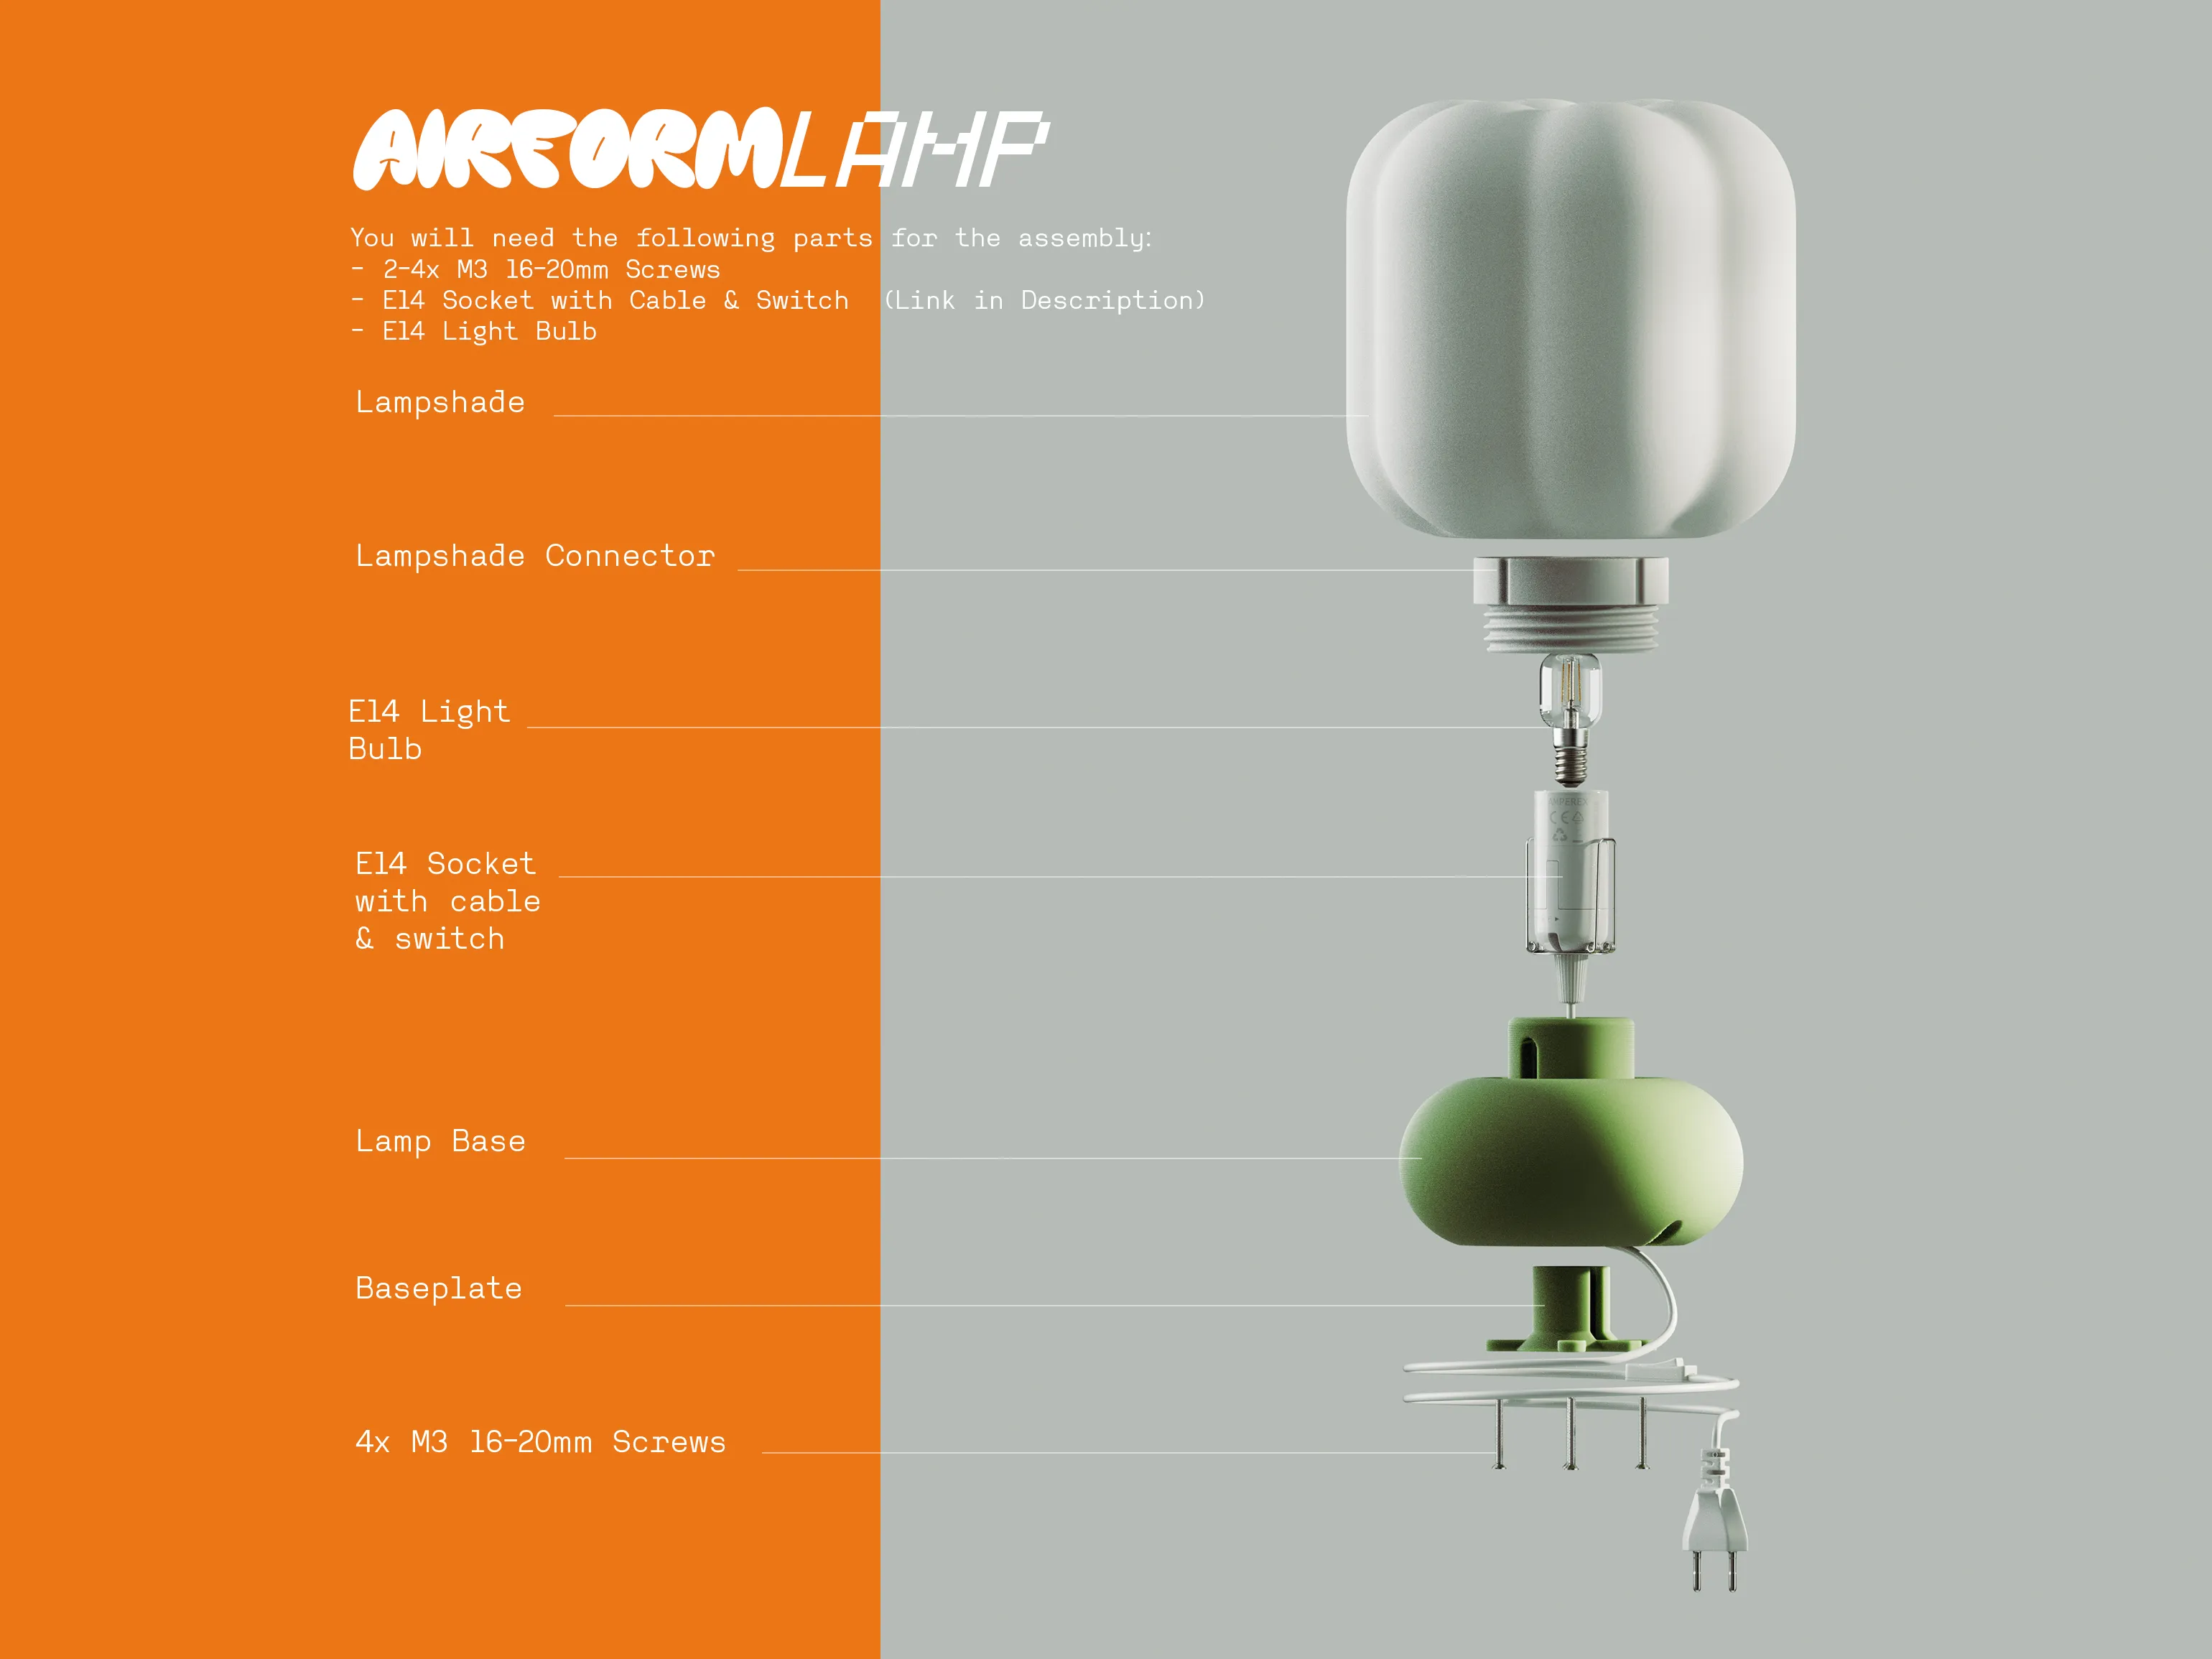
Assembly is quick and straightforward:
- 3D print all individual parts
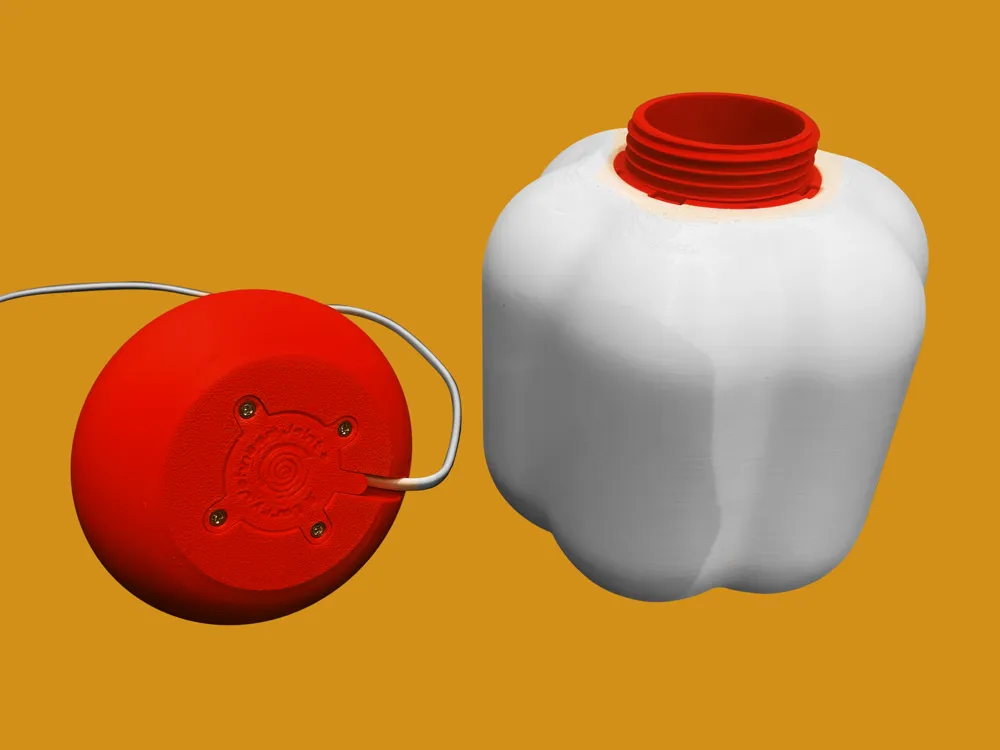
- Insert the E14 socket into the base from the bottom
- Route the cable through the designated notch
- Attach the base plate using the M3 screws
- Push the lampshade connector into the lampshade until it snaps into place
- Install the E14 light bulb
- Connect the lampshade to the base
License

You shall not share, sub-license, sell, rent, host, transfer, or distribute in any way the digital or 3D printed versions of this object, nor any other derivative work of this object in its digital or physical format (including - but not limited to - remixes of this object, and hosting on other digital platforms). The objects may not be used without permission in any way whatsoever in which you charge money, or collect fees.


Comment & Rating (23)