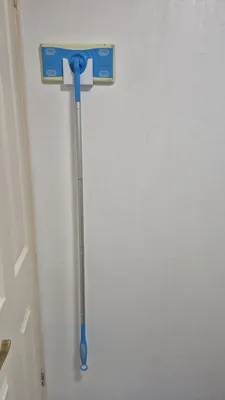
Flash Mop holder


Print Profile(1)

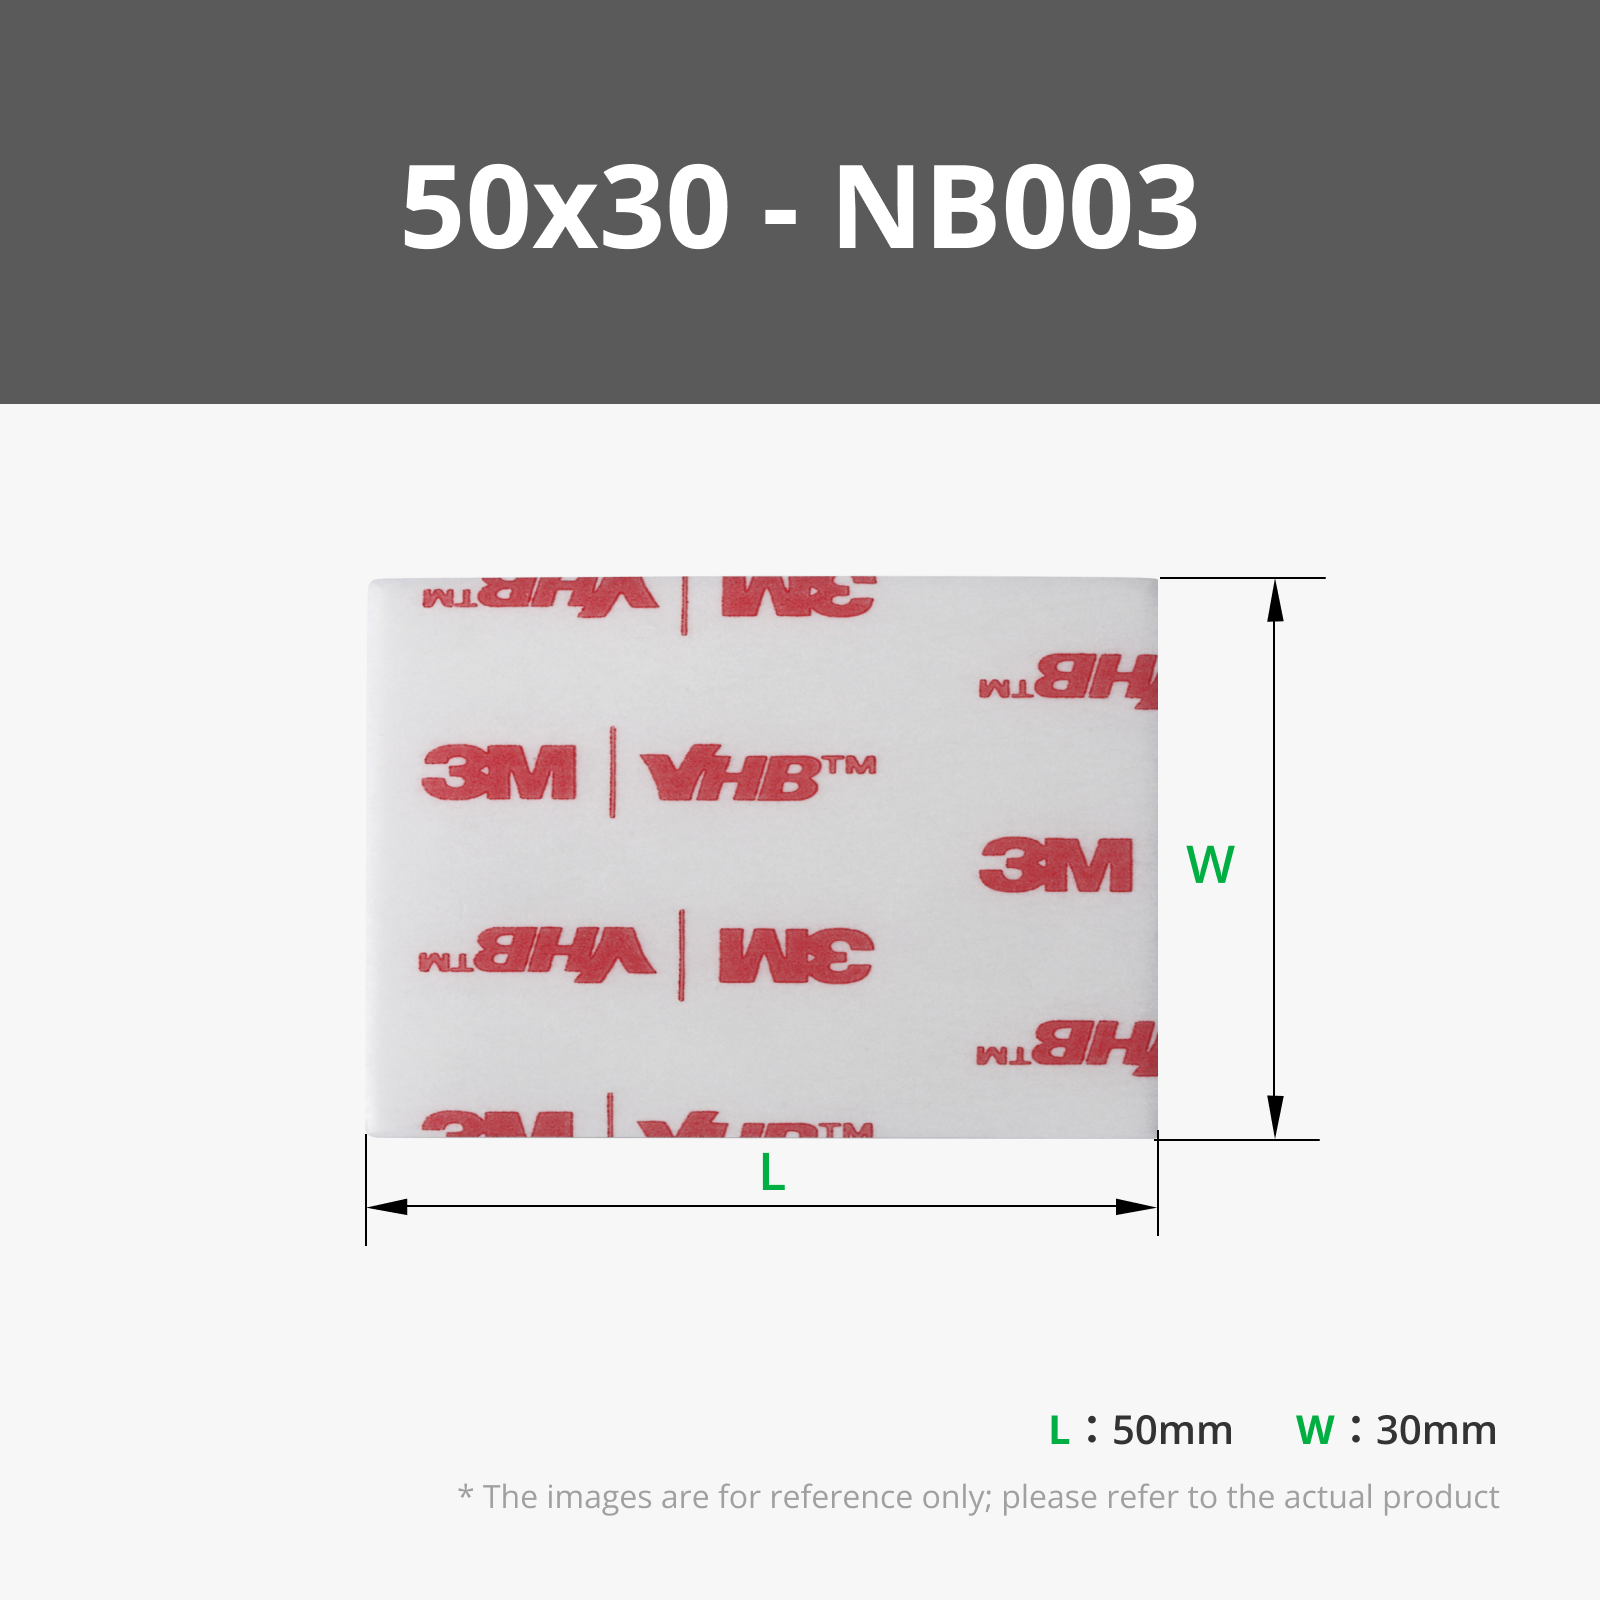
Bill of Materials

Description
📐 Design by Inzi
Welcome to another design from my workshop
I create functional and aesthetic 3D prints that are optimised for quality, ease of printing, and real-world usability. Each model I share is carefully designed, tested, and refined to ensure you get excellent results straight from your printer.
✨ What Makes This Design Special
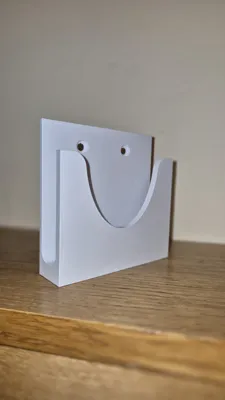
Finally – A Mop Holder That Actually Looks Good
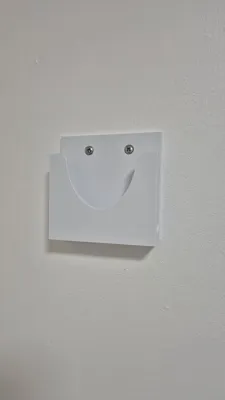
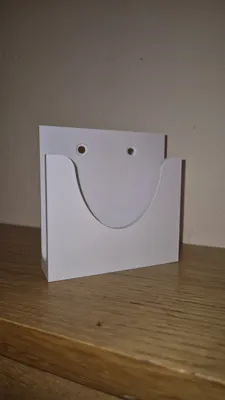
Wall-mounted mop holders are one of those things that should be simple, but most designs look clunky or take up valuable space. This one solves that problem with a clean, minimalist design that holds mops securely while keeping them off the floor.
Why it's better:
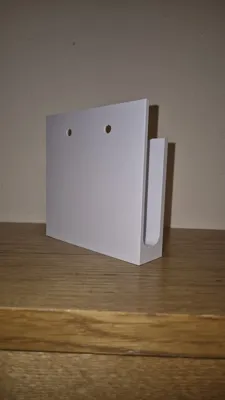
- Ultra-Lightweight: At just 48 grams, it uses minimal filament and won't strain your wall.
- Two Mounting Options: Mount it with wall anchors through the two holes, or use double-sided tape for renters and temporary placement.
- Curved Design: The contoured grip securely holds round handles without scratching them, and the shape naturally guides handles into place.
- Space-Saving: Takes up almost no wall space compared to bulky plastic organisers, perfect for small homes or apartments.
📝 Installation Guide
Option 1: Wall Anchors
- Mark the two holes on your wall.
- Drill pilot holes and insert wall anchors (suitable for your wall type – drywall, tile, etc.).
- Screw the holder in place.
Option 2: Double-Sided Tape
- Clean the wall surface thoroughly with rubbing alcohol and let it dry.
- Apply strong double-sided mounting tape to the back of the holder.
- Press firmly for 30 seconds and allow the adhesive to cure for 24 hours before hanging items.
📸 Share Your Make!
I'd love to see how your print turns out! Upload photos of your finished print to help other makers in the community. Your feedback helps me improve future designs.
💙 Support My Work
If this model prints well for you and serves its purpose, please consider:
- ⭐ Giving this model a boost:
Boost Me (for free)
It helps others discover useful designs and supports my work!
- 📷 Posting a photo of your finished print
- 💬 Leaving feedback to help me improve
- 🔔 Following my profile @inzamam001 for more quality designs
Your support motivates me to keep creating and sharing functional designs with the community. Every boost, comment, and make truly makes a difference!
Comment & Rating (6)