Cowboy Chevrolet


Print Profile(1)

Description
Just a regular guy designing prints for the masses.
Hey Everyone!
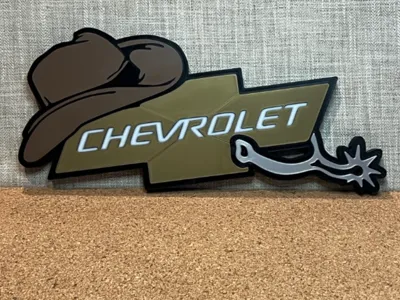
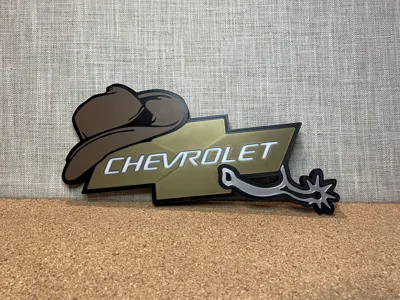
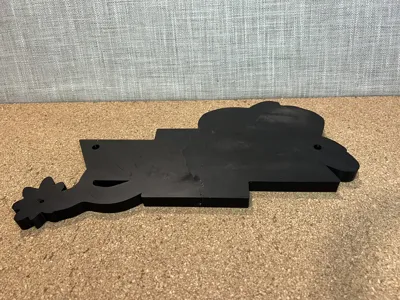
If you're a little bit country or even not, this Western Chevy sign will be a fun addition to display. An AMS is not required, all the pieces are on separate plates for easy color selection (the colors i used are noted in the object description). ( I did decide to paint the letters white on the one pictured, so an AMS is needed for that if you choose to do the same. Otherwise, they will be the outline base color) It also has built in holes on the back for hanging.
Dimensions:
15.5in W x 8.5in H x .750in T
Print Specifications:
PLA
0.4 mm nozzle
0.2 mm layer height
2 wall loops
15% infill
no supports
Assembly Instructions:
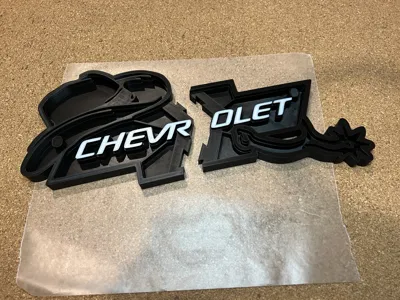
The print is beginner friendly set up by color on separate plates. The base has interlocking pieces that you will glue together (see photos and gluing tips below) Next simply push the lenses into the recess gluing them in place and your ready to go!
Pro Gluing Tips:
Test fit the pieces before gluing, be sure the piece is level and square to the hole easing assembly.
If needed, de-burr any sharp edges. (a nail file works great)
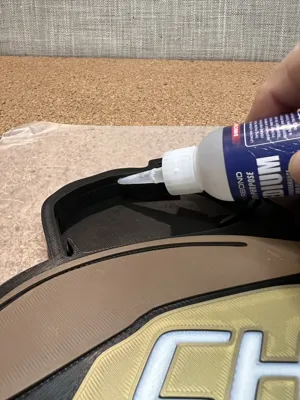
When gluing the base joints apply a few drops to only one piece, place that piece on a flat surface with wax paper underneath. Spray the other joining piece with accelerator (optional, be careful the accelerator can affect the surface finish) and slide down onto the piece laying on the wax paper. Any squeeze out will be on the back side and out of view. It will assure they are even as well.
When gluing on the lenses, there a couple ways. One put just a few drops of glue on the tiny ledge inside the base, spray the lens with accelerator (optional, again be careful the accelerator can affect the surface finish) and place on the base. Again; this will prevent any glue being visible. Another is using a fine tip applicator, applying a small amount to the seam
Boost Me (for free)
If you enjoy my models, please consider following me, leaving a comment, like, and Boost!
Link to my models:
https://makerworld.com/en/@Little_Eddy_M/upload
Instagram link:
https://www.instagram.com/lem_little_eddy_m?igsh=MWl3NHloOTBiaHY3OQ%3D%3D&utm_source=qr
YouTube:
https://www.youtube.com/@LittleEddyM
DISCLAIMER:
I design models for fun, the files are posted for “PERSONAL USE ONLY” and are provided ”AS - IS" without warranty of safety or functionality. CAUTION!! some models have small parts, pieces could break off or come loose causing a choking hazard, always use extra care monitoring your children when playing with them.
License
You shall not share, sub-license, sell, rent, host, transfer, or distribute in any way the digital or 3D printed versions of this object, nor any other derivative work of this object in its digital or physical format (including - but not limited to - remixes of this object, and hosting on other digital platforms). The objects may not be used without permission in any way whatsoever in which you charge money, or collect fees.
Comment & Rating (3)