
Print Profile(1)

Description
Boost Me (for free)
💬 If this project was helpful, leave feedback – it's free for you, but it's a huge help for me as I create and share new content! 🔔 Follow me to stay updated: lots of new and original projects coming soon!
✨ Want to sell my designs? Subscribe to my Patreon to get a commercial license.
☕ Or, if you'd like, buy me a coffee to support my projects!
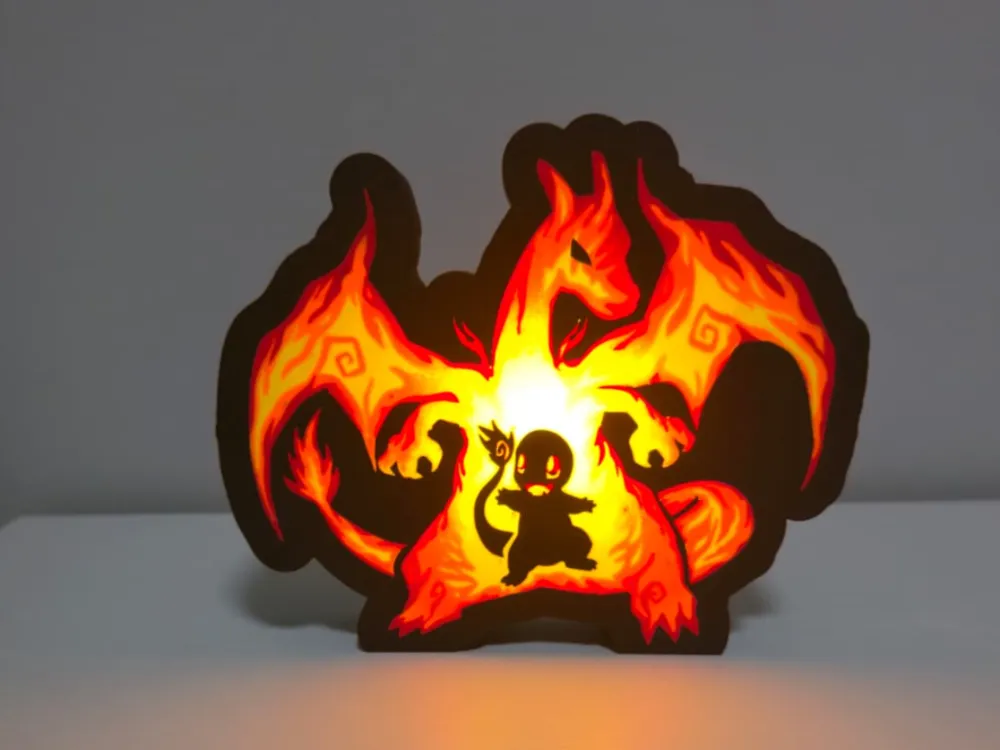
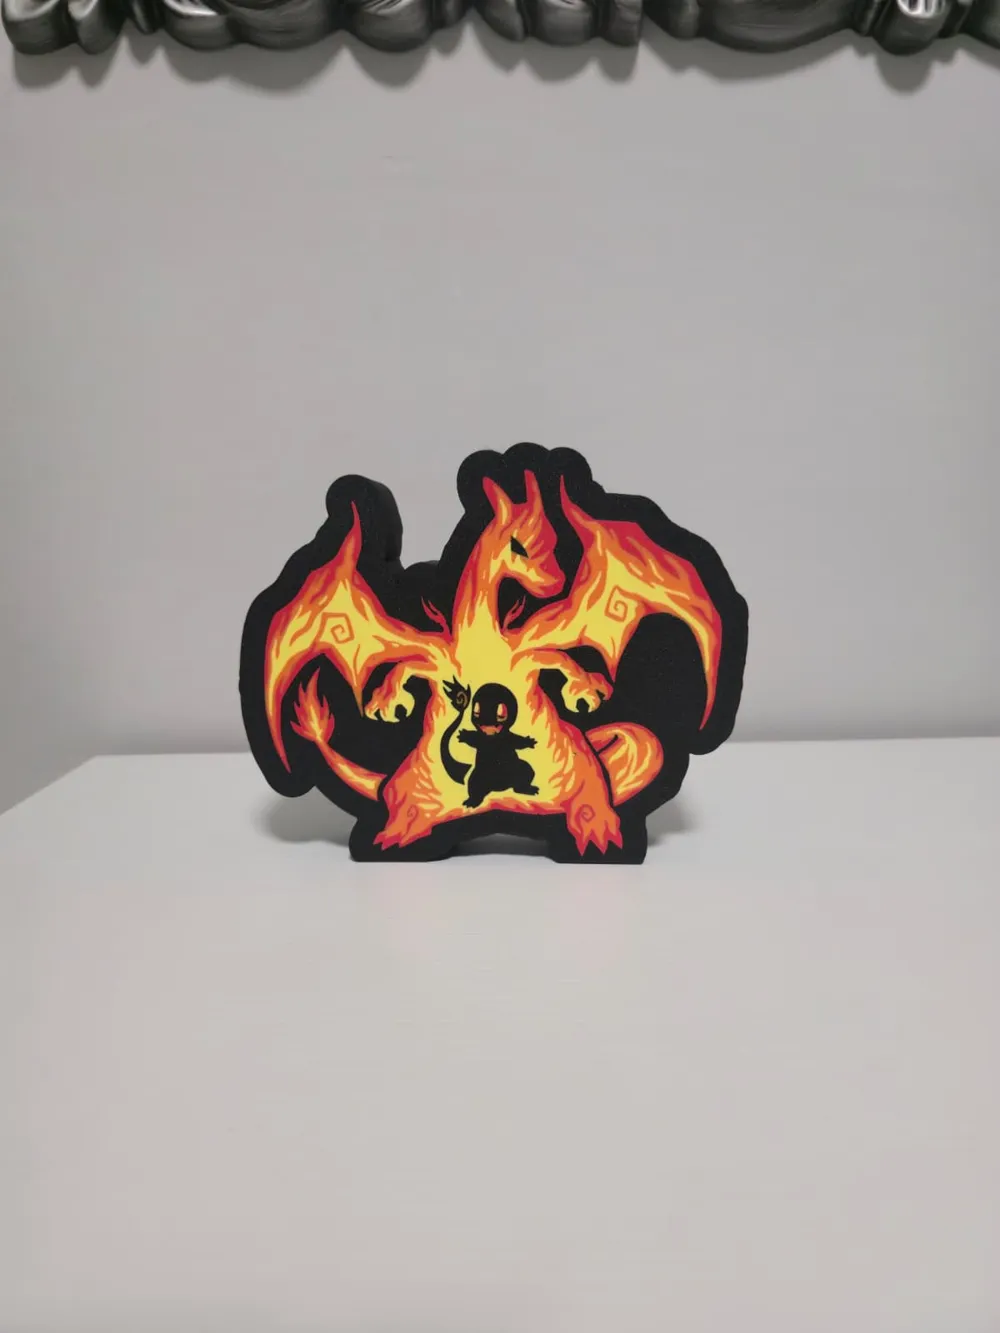
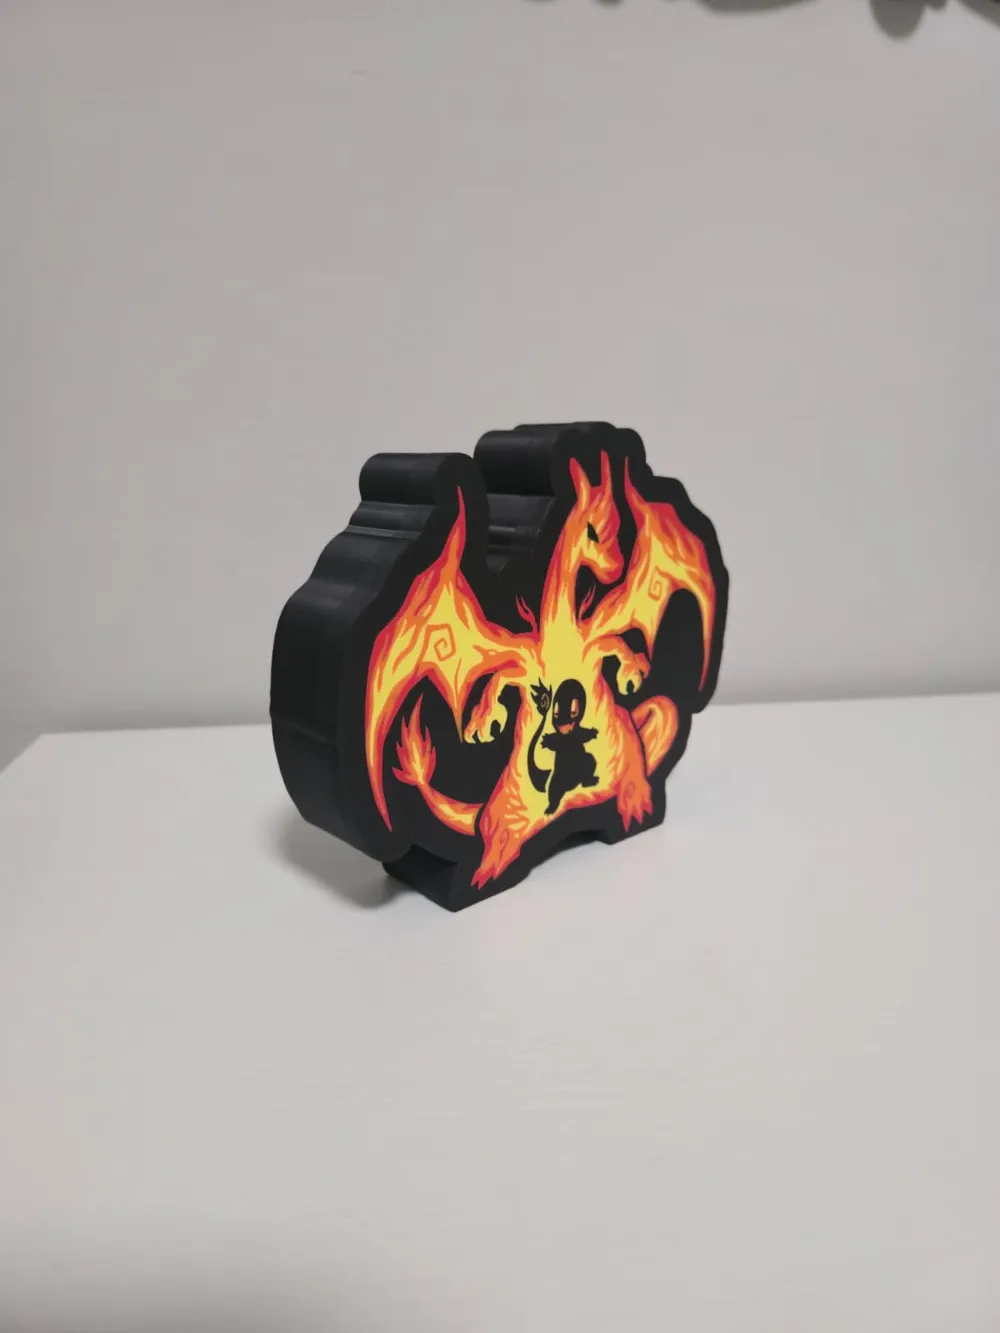
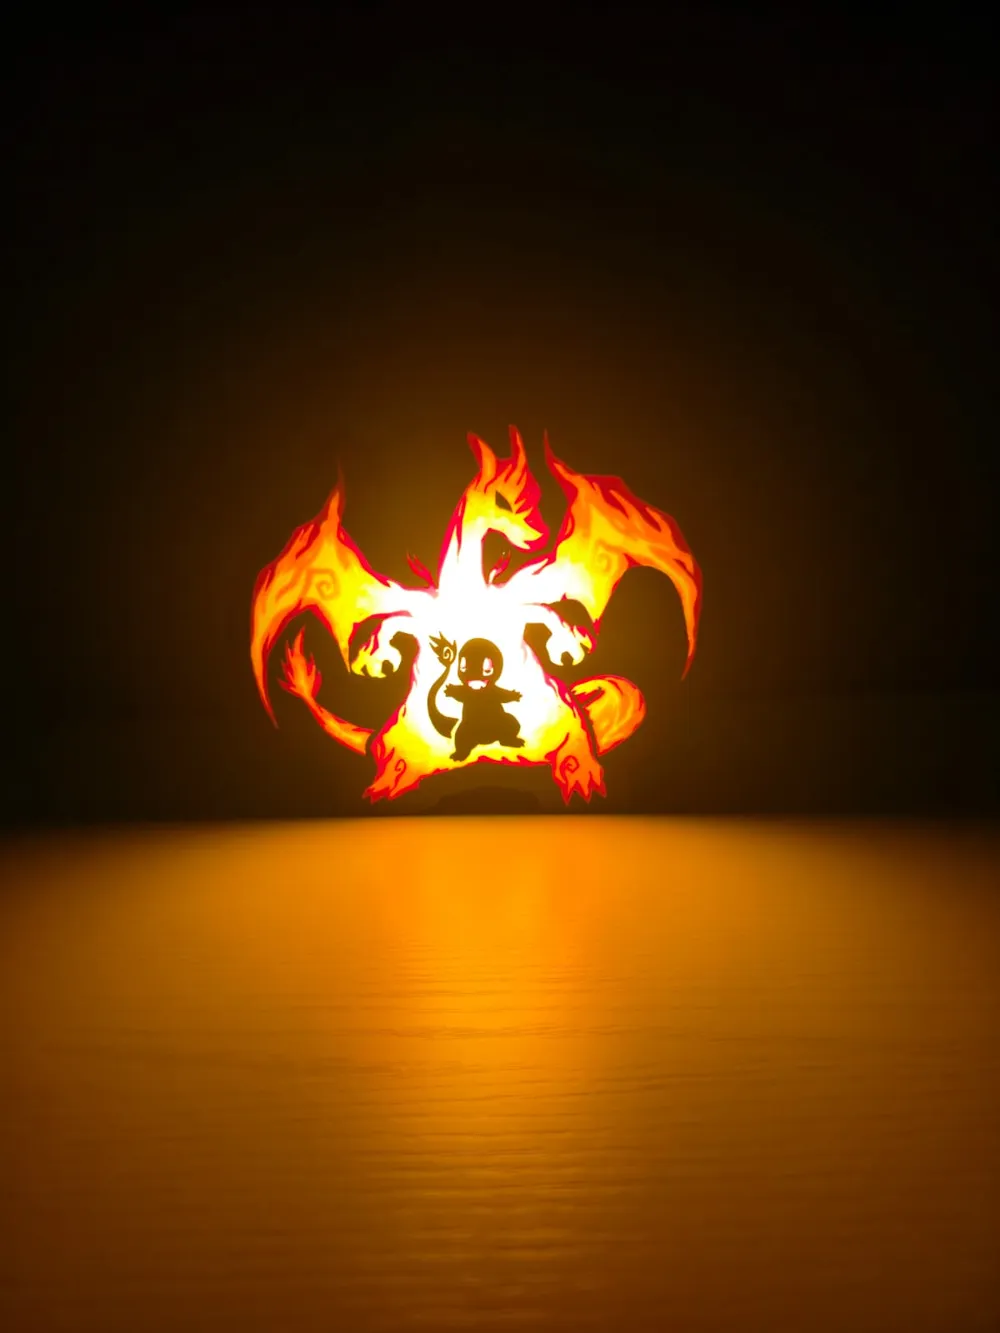
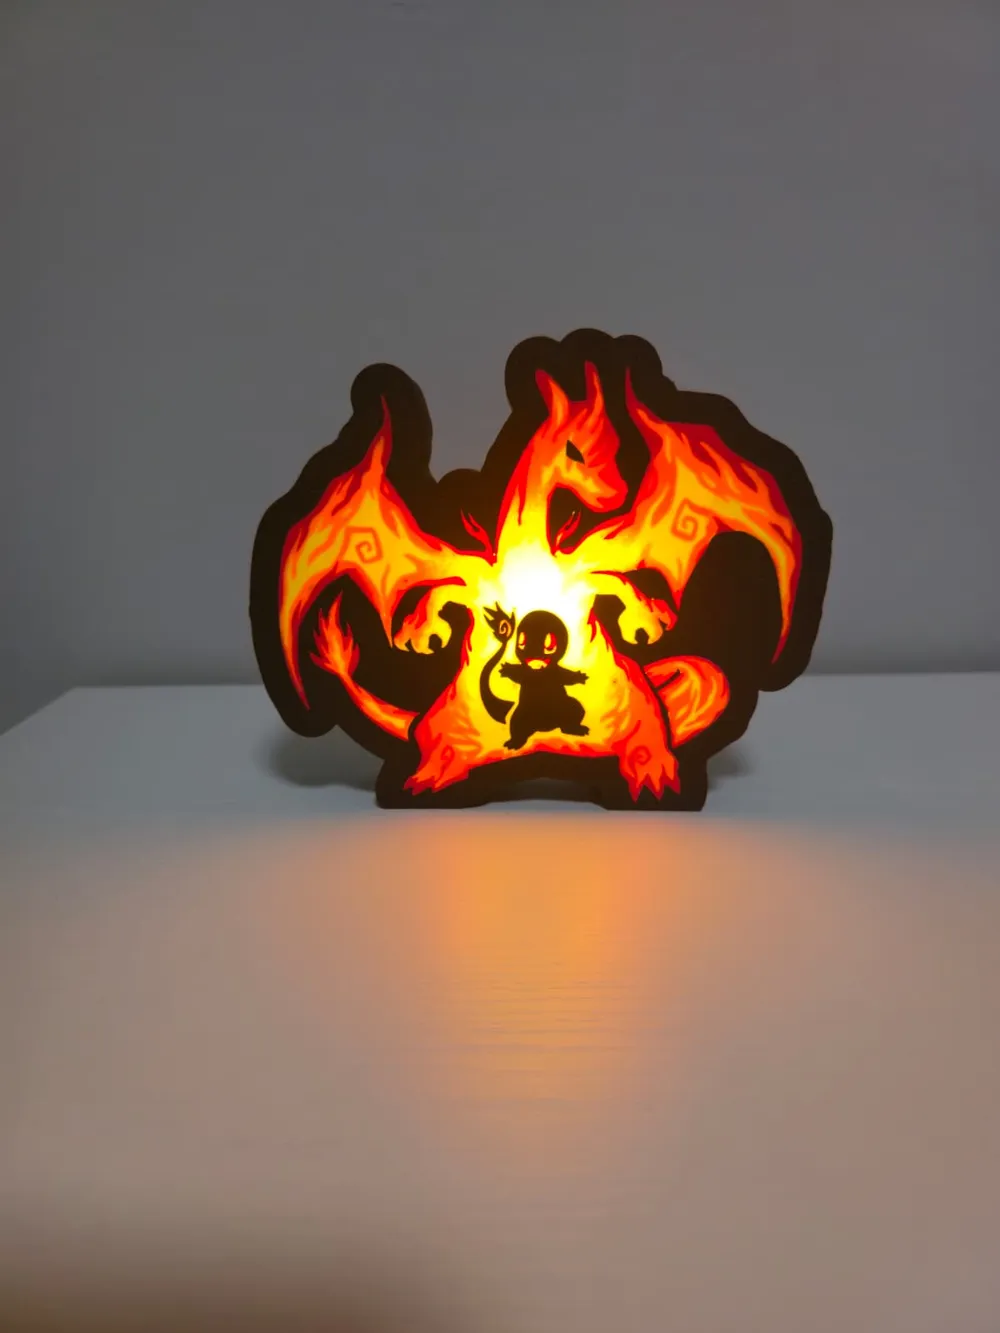
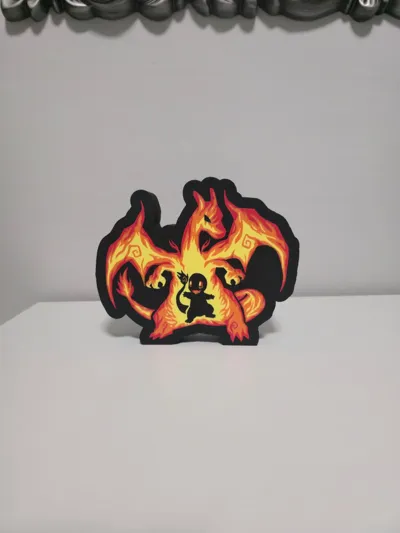
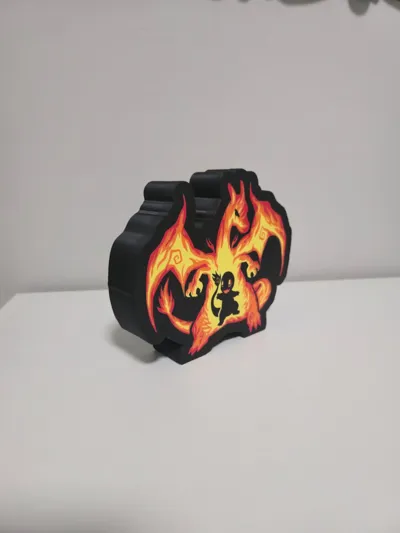
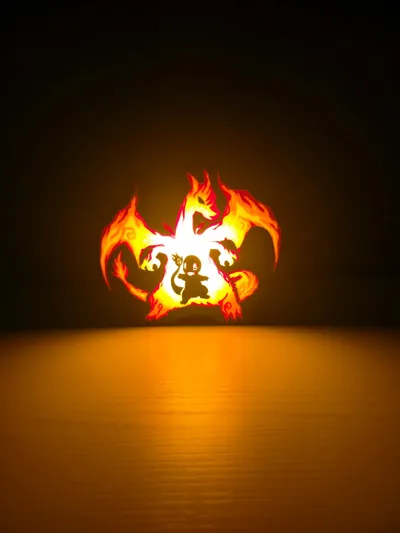
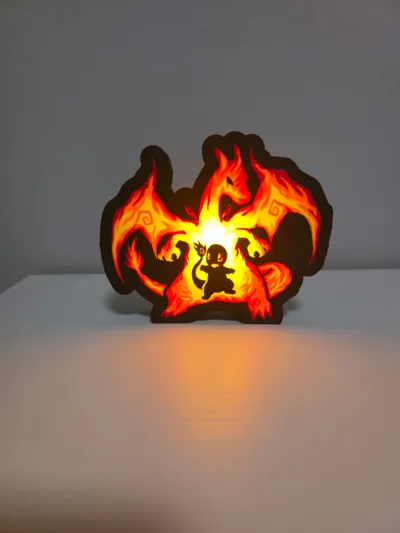
Ignite your gaming setup with this unique Evolution Lightbox. The design features Charmander’s silhouette projecting the fiery aura of his final form, Charizard. Specifically optimized for Bambu Lab printers (X1, P1, and A1 series), this lamp is a must-have decorative piece for any Pokémon enthusiast.
Why choose this model?
- AMS Optimized: Files pre-colored and ready for automatic multi-material printing.
- Aura Effect: Engineered to diffuse light so Charizard's wings glow like real flames.
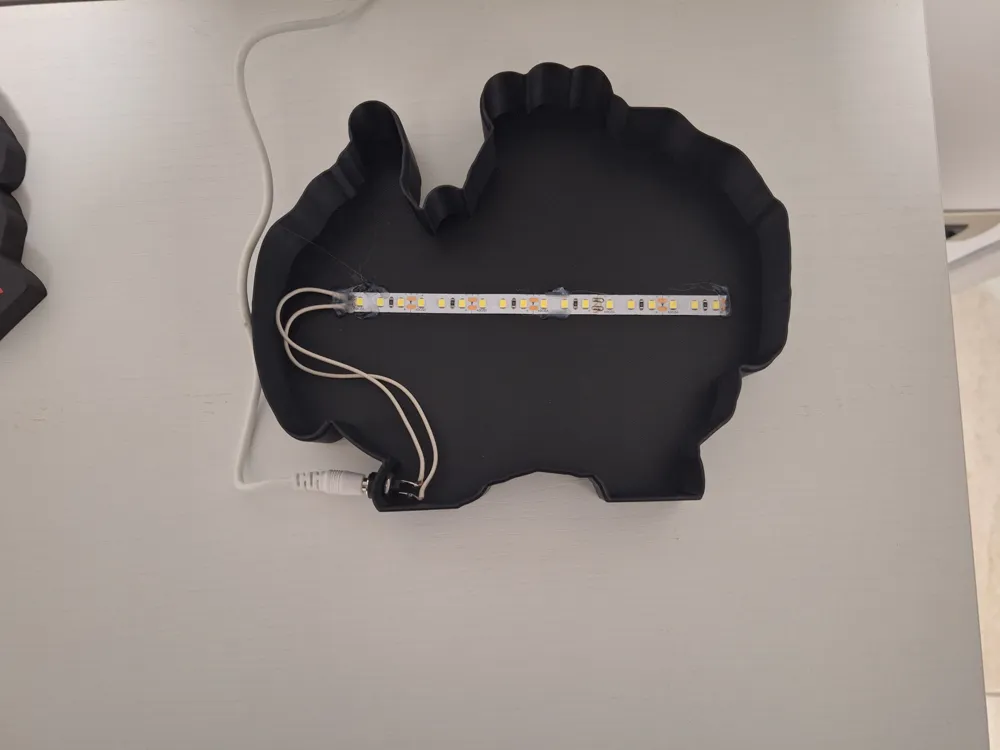
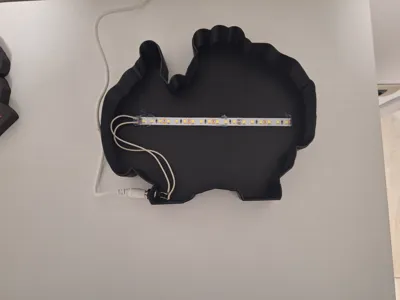
- Easy Assembly: Integrated rear housing for LED strips and cable management hole.
Boost Me (for free)
💬 If this project was helpful, leave feedback – it's free for you, but it's a huge help for me as I create and share new content!
🔔 Follow me to stay updated: lots of new and original projects coming soon!
Thanks and happy printing! 🧵✨
Print Settings:
- File Type: 3MF (Bambu Studio Ready).
- Material: PLA (Black, Yellow, Orange, Red).
- Supports: No supports needed when printed face-down on a Smooth or Textured PEI plate.
- Infill: 15% (Gyroid) for the frame; 100% for the diffuser layers to avoid internal shadows.
To finish your Charmander & Charizard lamp, you will need these simple and affordable components:
- LED Strip (12V or 5V):
- Natural White or Warm White LEDs are recommended.
- Approximately 15-20 cm is enough to be glued onto the back shell.
- DC Female Power Jack (5.5 x 2.1 mm):
- A standard panel-mount connector that fits perfectly into the pre-designed hole.
- Power Supply:
- Match the power adapter voltage to your LED strip (e.g., 12V adapter for a 12V strip).
- Wires & Soldering Iron:
- Short lengths of wire to connect the strip to the DC jack.
License

You shall not share, sub-license, sell, rent, host, transfer, or distribute in any way the digital or 3D printed versions of this object, nor any other derivative work of this object in its digital or physical format (including - but not limited to - remixes of this object, and hosting on other digital platforms). The objects may not be used without permission in any way whatsoever in which you charge money, or collect fees.


Comment & Rating (57)