
Unihiker M10 enclosure for HMI Gauge
Print Profile(1)
Bill of Materials



Description
ABOUT COMMERCIAL USE
I'm happy to share my designs but please note that them are for personal use only. This means you can print them for your own pleasure but I have NOT provided any commercial license to anyone to sell either digital or physical copies of my designs (e.g.: you cannot sell 3D-prints of this design). I will not hesitate to report to Etsy or other sites admin if I find them being sold there for profit.

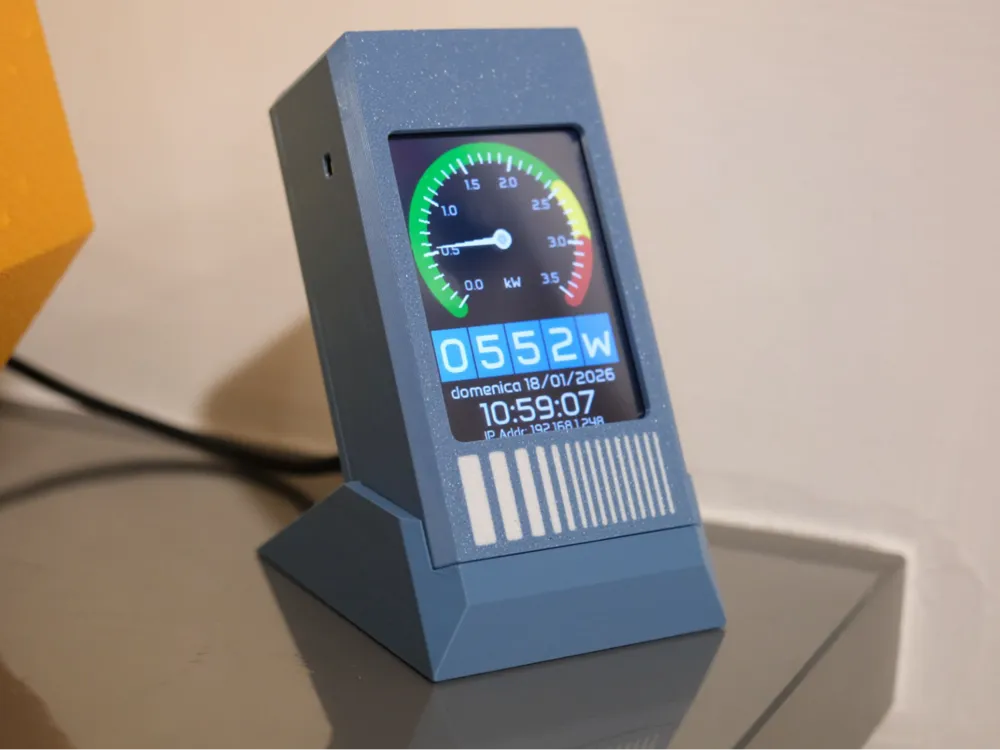
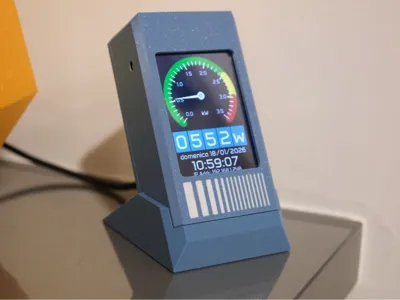
This is an enclosure for the DFRobot Unihiker M10 I designed specifically for my own project: an HMI Gauge I use for giving information about power usage at my home. The entire project will be released soon: if you're interested I can only advice you to follow me on my Instagram since I'm most active there. Anyway you could use this enclosure also for other projects using the Unihiker M10, taking in consideration 2 important factors:
the Unihiker M10 is totally different from the Unihiker K10, so you can't use this design with the K10
My enclosure leave only the ‘home’ button exposed, so the A and B buttons are totally enclosed and not usable
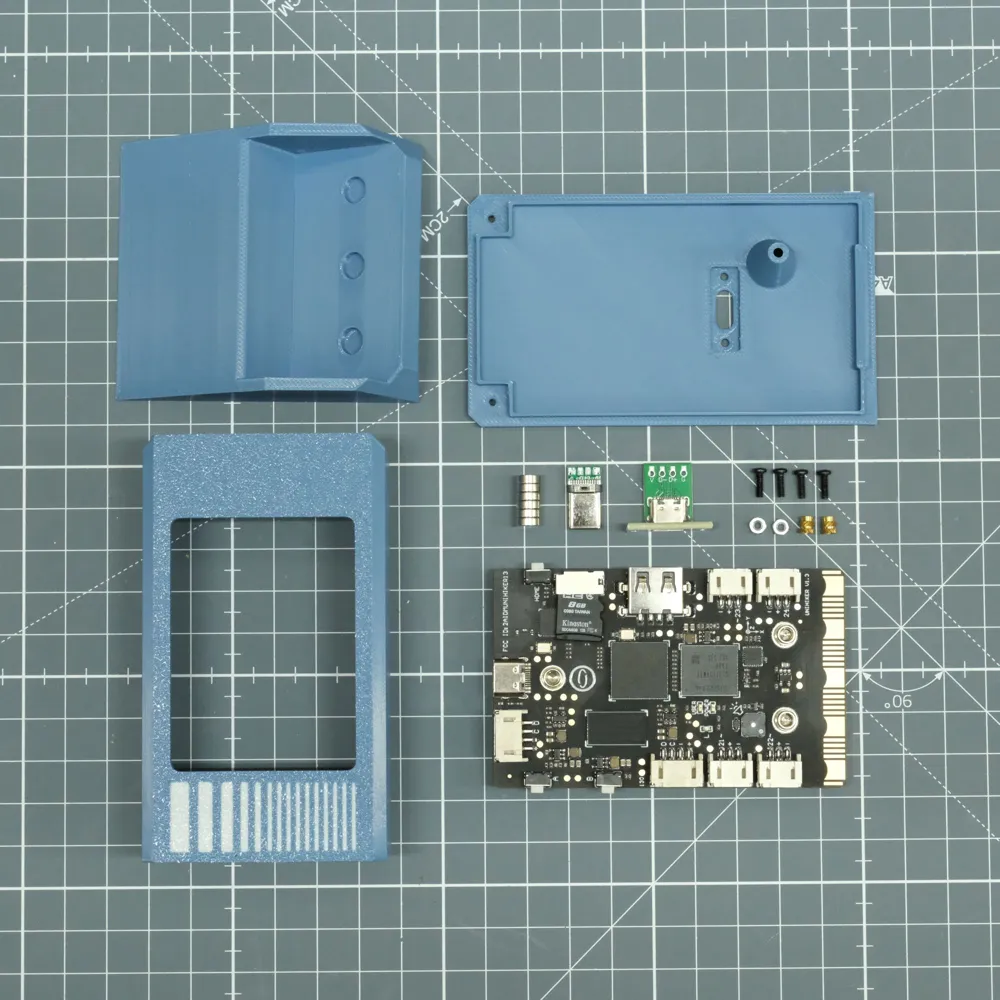
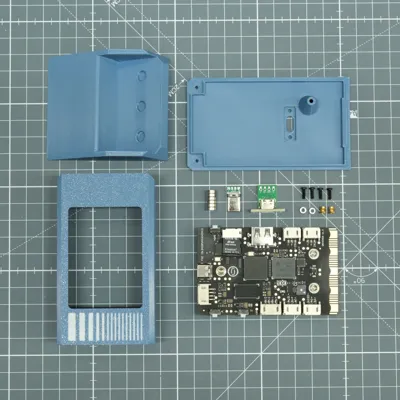
Enclosure is made of 3 parts:
- Main Enclosure
- Lid (available in 2 variants)
- Cradle (available in 3 variants)
Let see in details
Enclosure
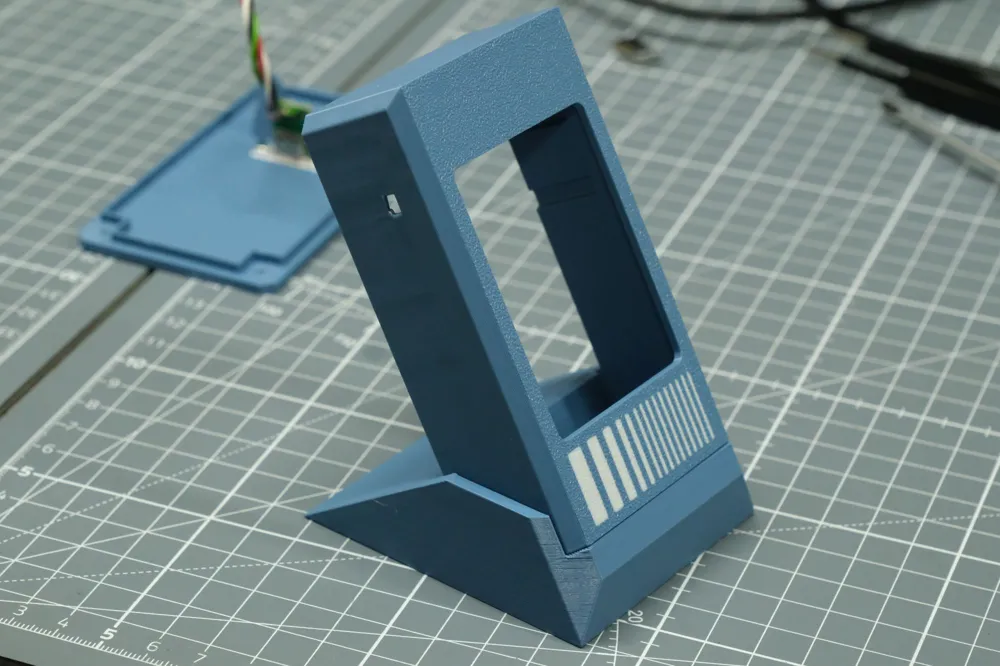
As said is specifically designed around the Unihiker M10 and leaves only the Home button exposed. Also a little part of the display is covered since I choosed to design a rounded rectangle, so angles and a little borders are covered. The Unihiker will fit thanks to upper joint and a bottom block. The front part has a decoration made with vertical stripes: you can remove them if you don't like them. Don't worry if I give you here lot of informations about how to assemble the enclosure: I prepared also a video: it's linked below in the “Assembling” chapter.
Lid
Since the Unihiker M10 has no possibility to be powered from a connector different than the USB-C on top I had to invent something and I had two different ideas, so… there are two variants of the lid: one made for a short, angled, USB cable and another made for some USB connectors I found easy to solder (at least to me). Both solutions will allow to power the board and also to communicate with it since also data lines will be connected.
USB Cable variant
The USB cable solution is the quickest and simplest but is not perfect since the USB female end will protrude from the lid and can appear bad. Anyway is the design I advice for not having a risk to damage the Unihiker M10 or if you're not so good to soldering.
You'll need this specific cable (sponsored link): https://amzn.to/3Nj0ZNh
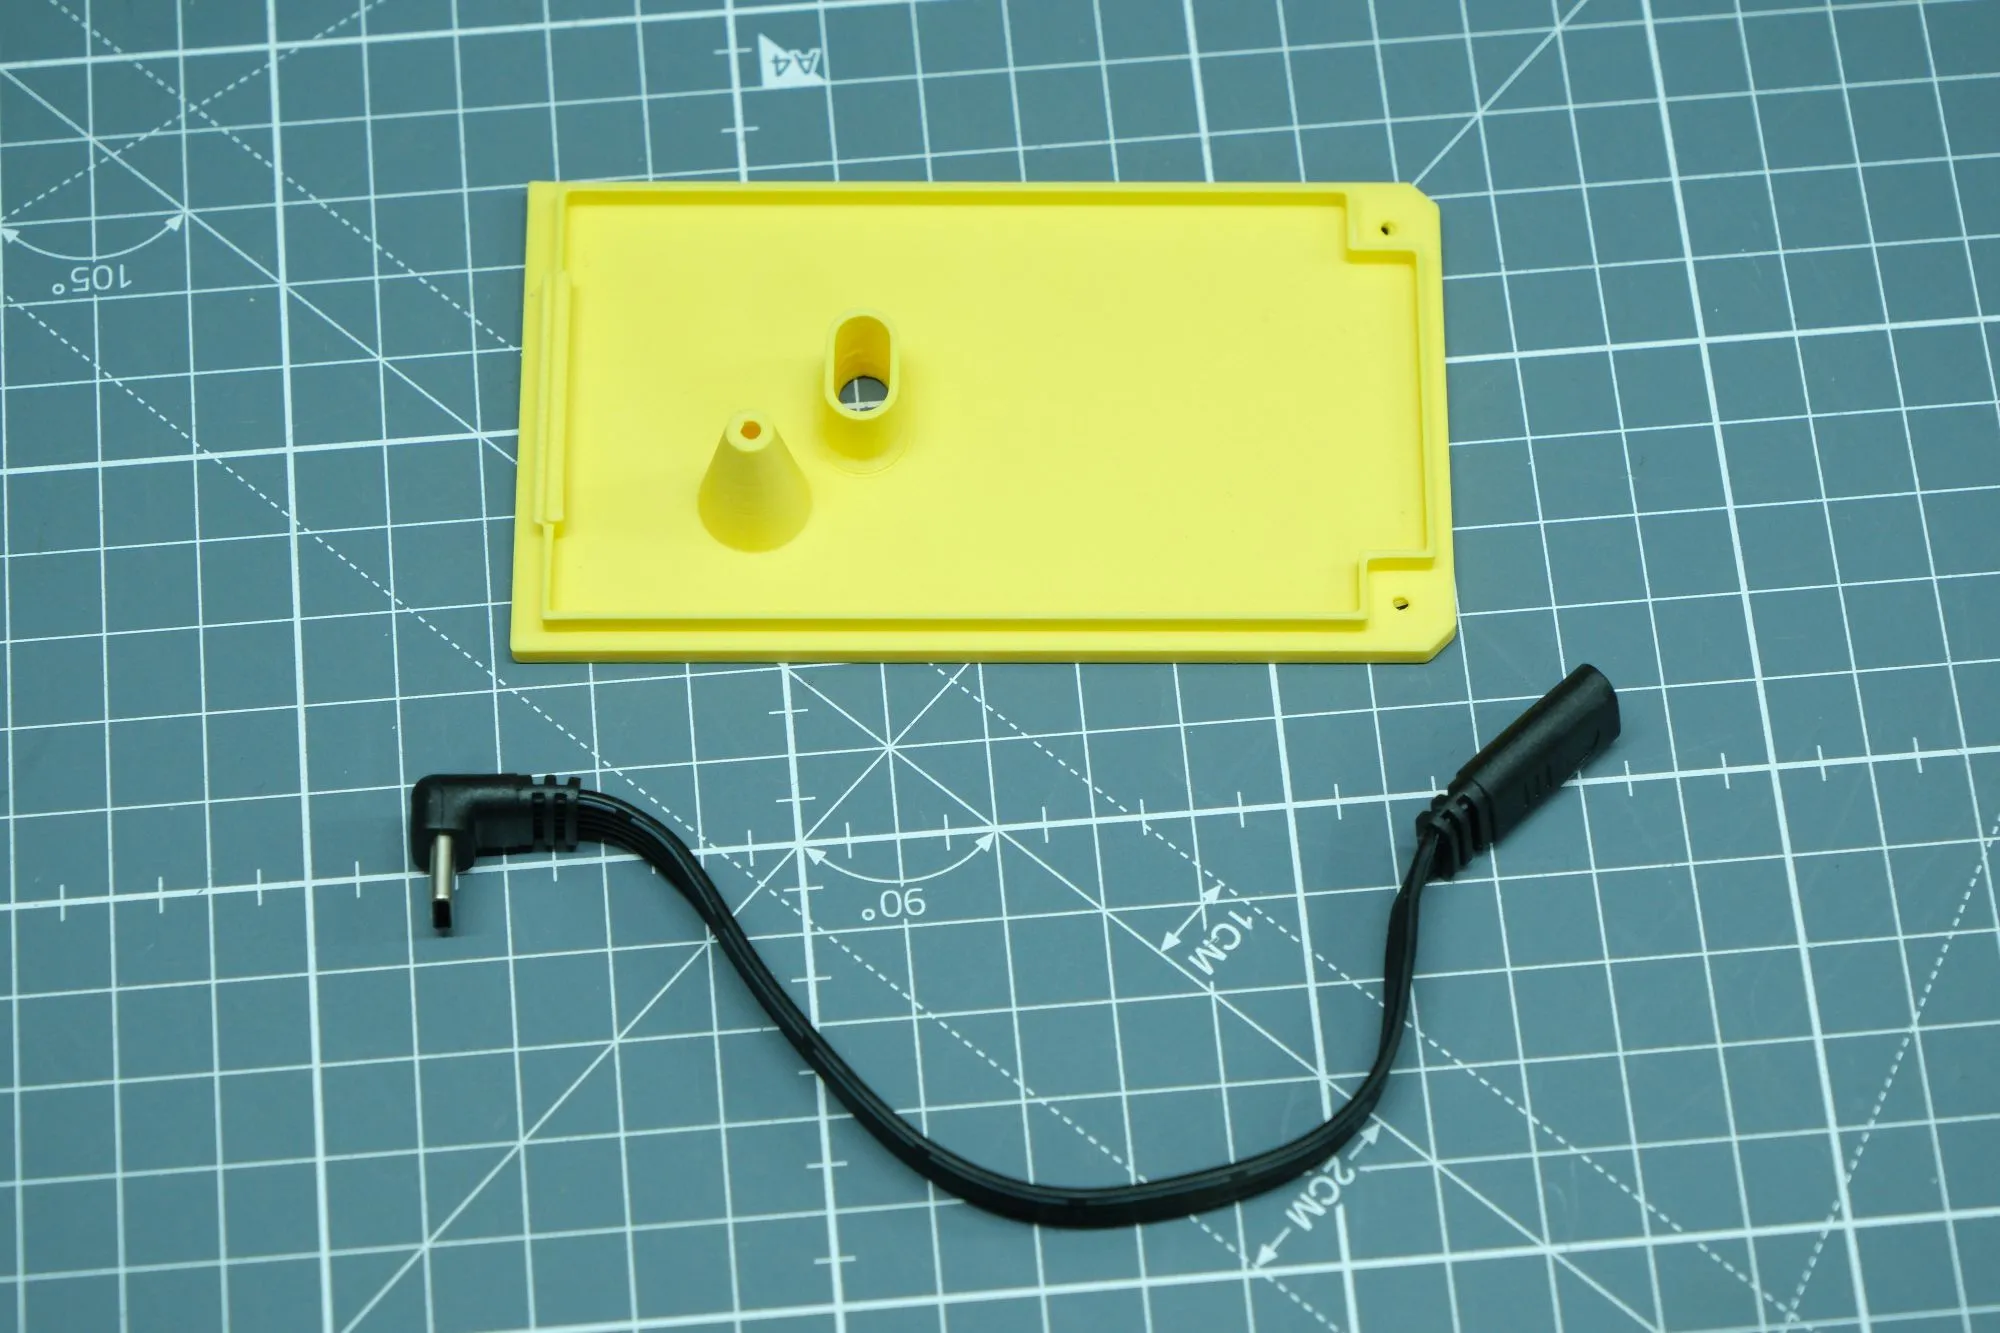
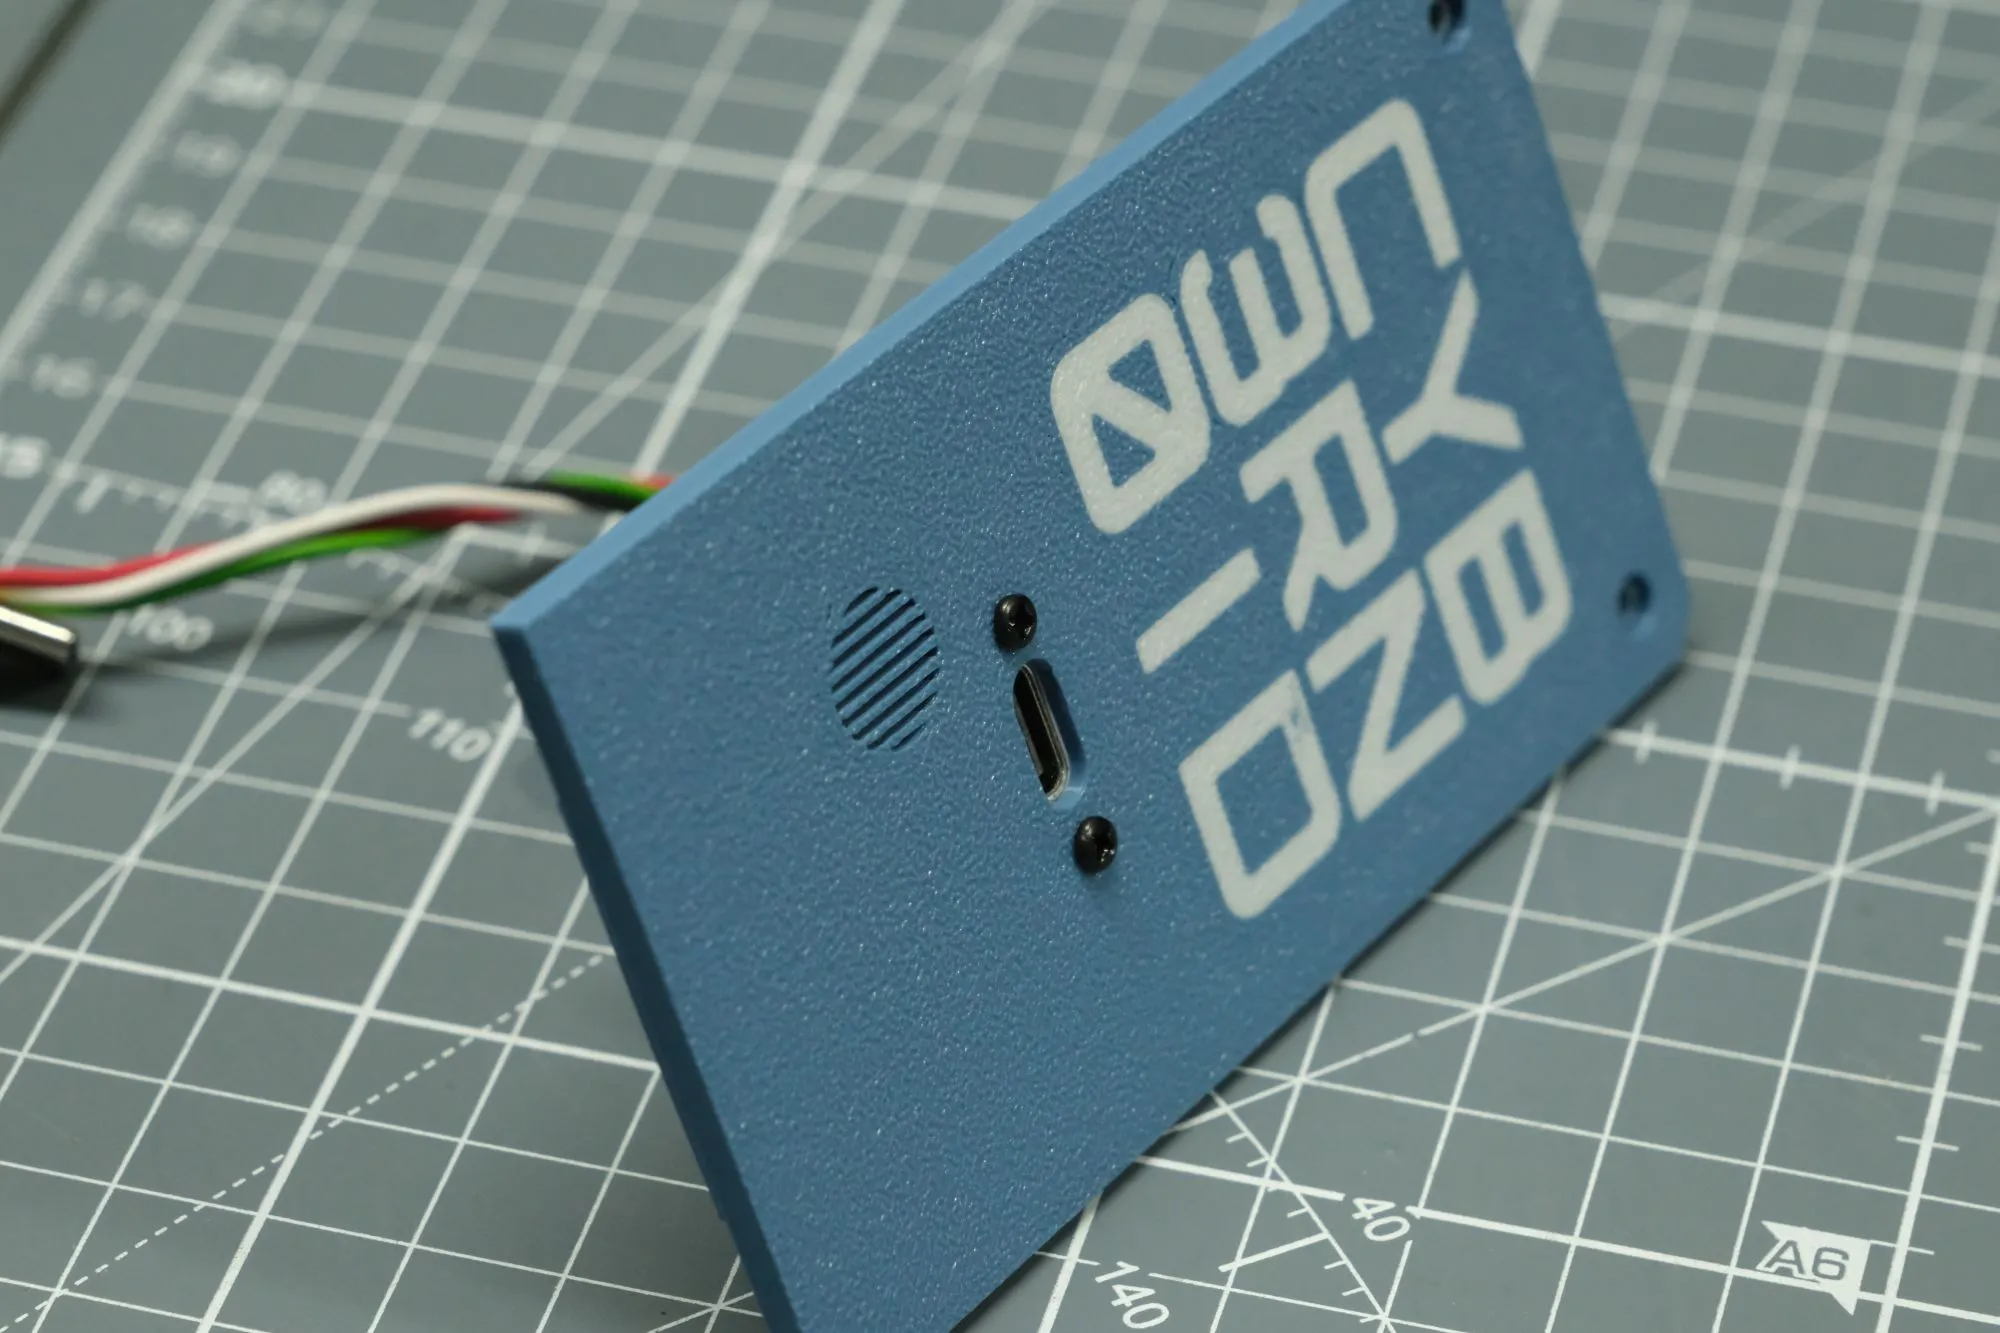
The female part will fit the slotted hole on the back:
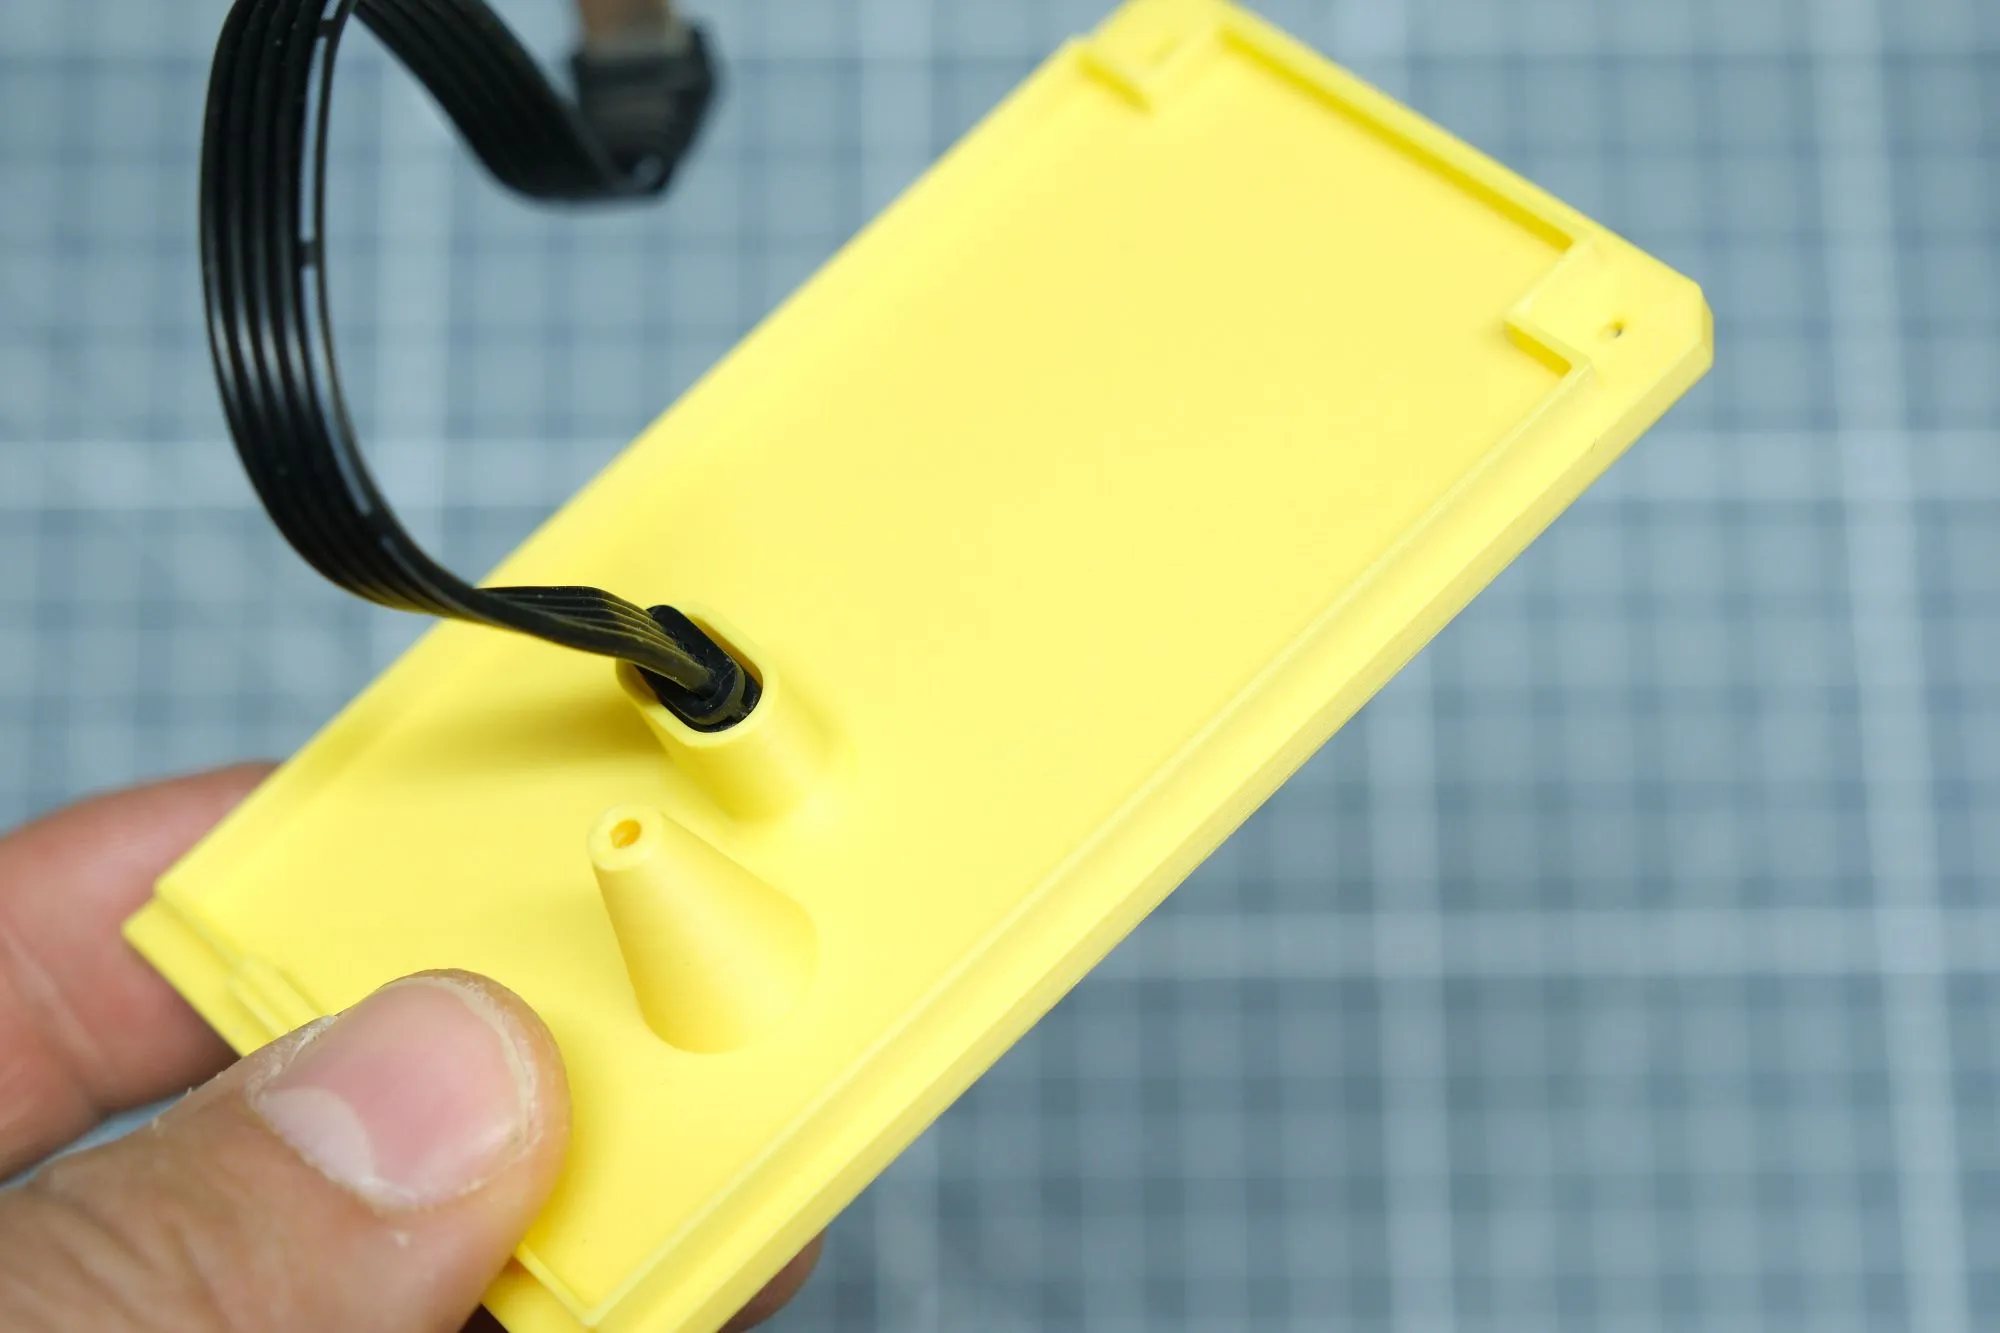
and must be protude from external:
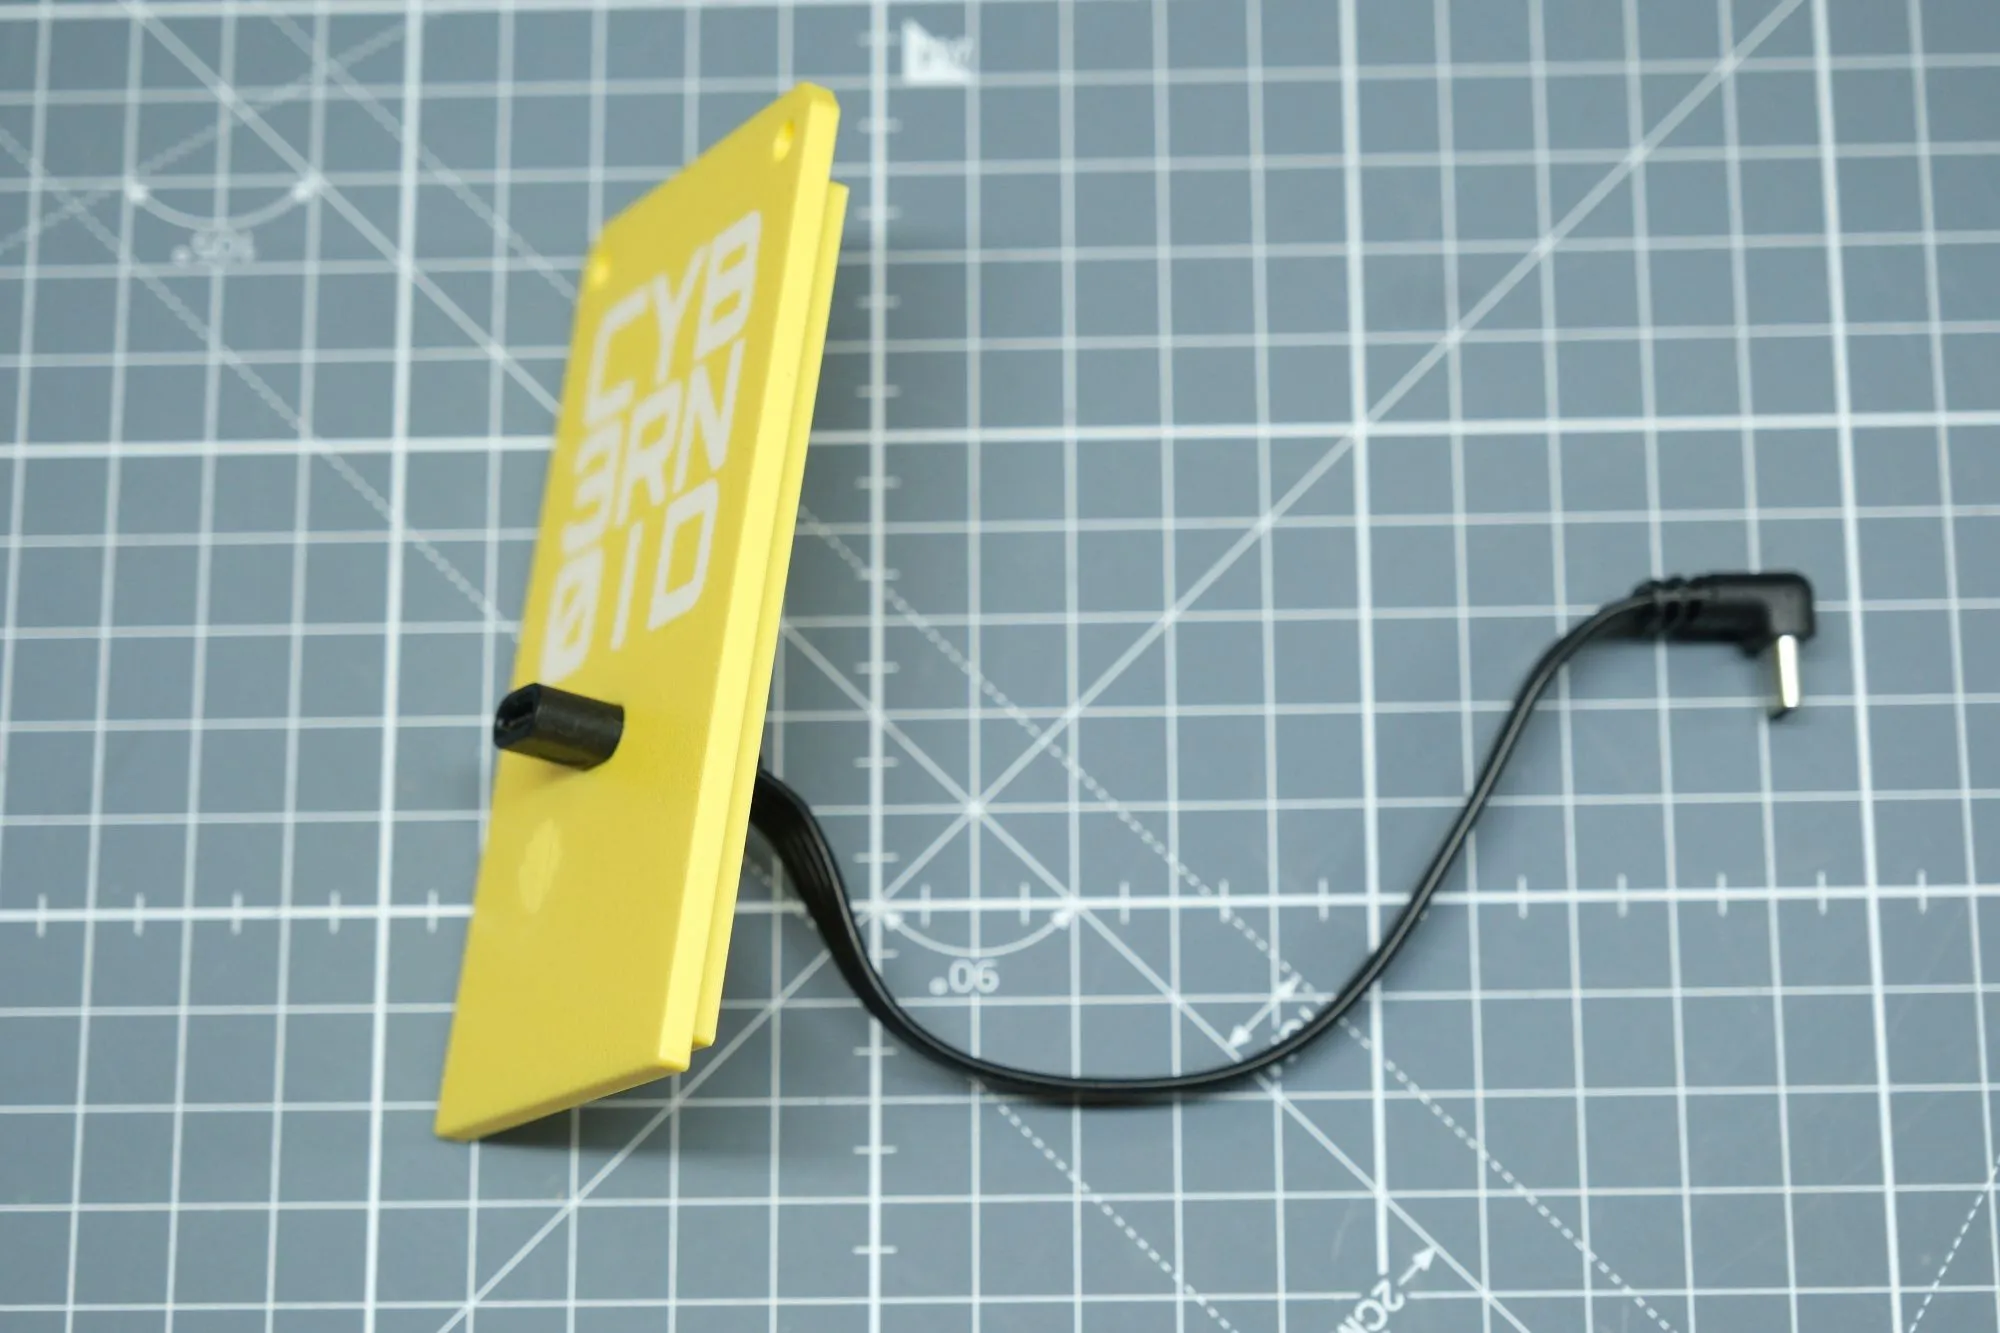
You'll use a drop of superglue for making the cable not moving, even if it fits very thight.
USB Connector variant
This is the most elegant way to attach an external USB but will require some skills in soldering. First of all you'll need a panel USB female connector and a male USB connector to be soldered. Those two objects are the one requested for doing this:
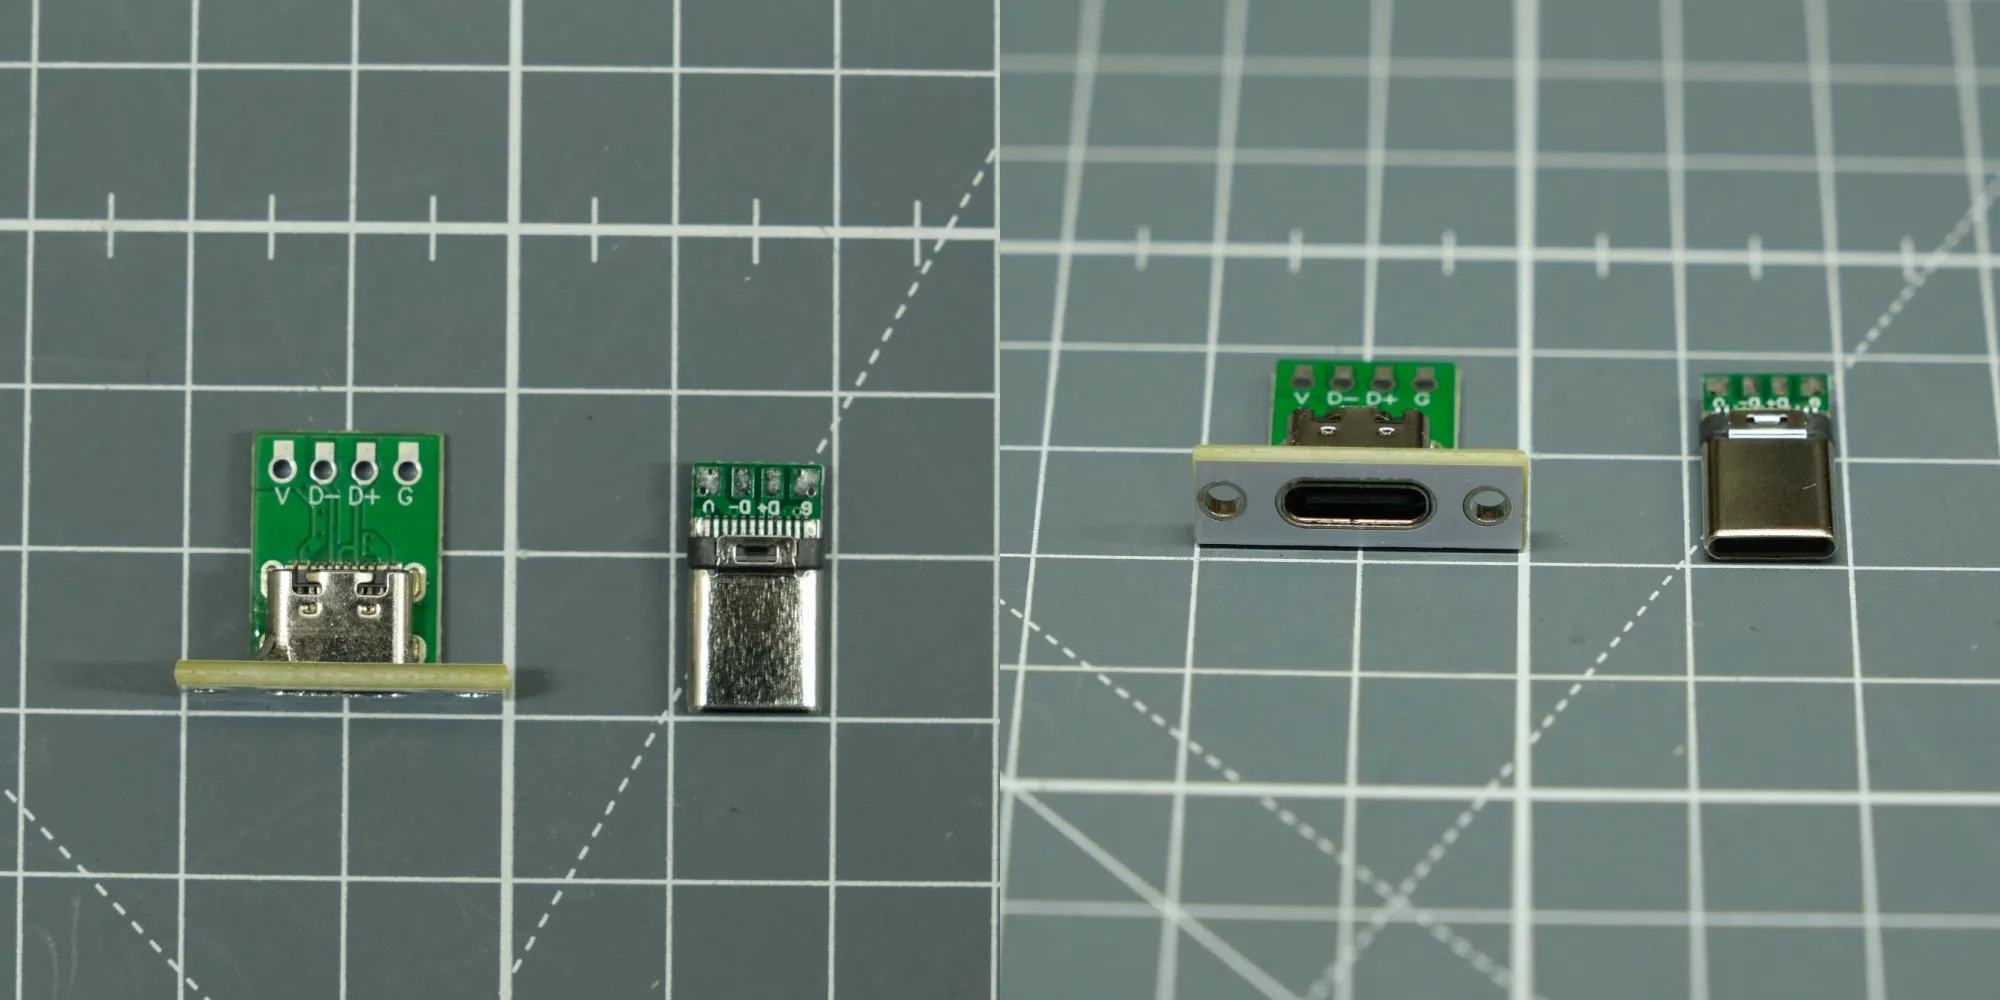
I bought the panel USB Femal connector here (sponsored link): https://amzn.to/3YKZFoM
I taken the male USB connector from a kit where there also the female ones that turned perfect for testing the whole thing for soldering failure. This is the kit I bought (sponsored link): https://amzn.to/4qR9uxe
Anyway you can check the cable at end also using another panel female connector attached on the male USB connector
You must build a cable using 4x 12cm wires (red, black, green for D+ and white for D-) soldering the cables on the male connector in the opposite way you're natural to do it, isolating the connector first than soldering and after soldered the cables, somehow:
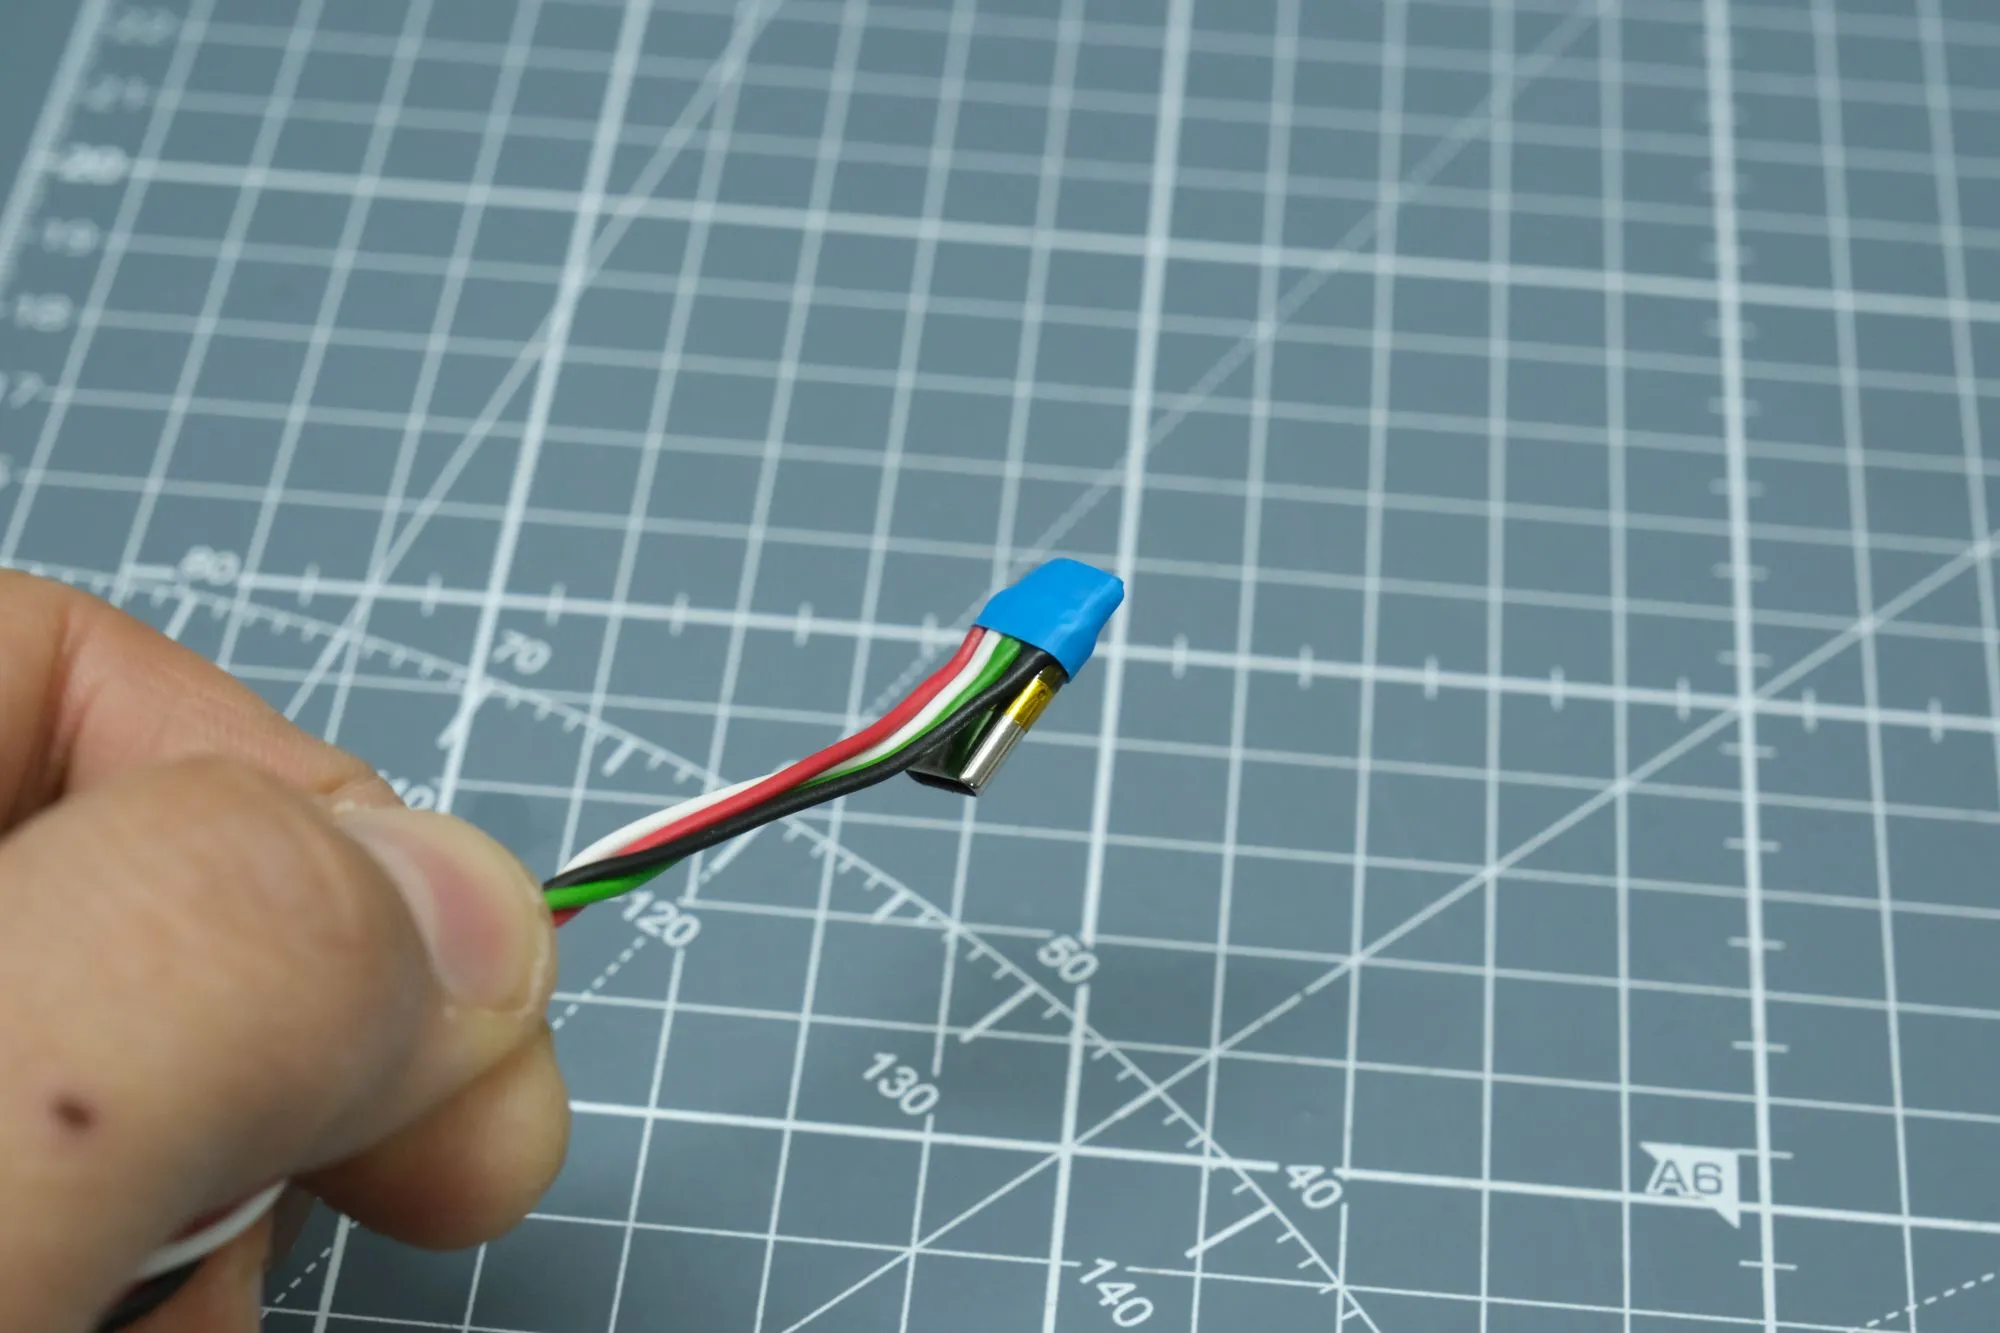
It's very important to do this in this way or the board with the connector attached on top will not fit the enclosure: it must not be other stuff exiting from the top connector. As you can see from the above image, I put some kapton tape on the border of the metallic connector, near the soldering pad, then, after soldering cables, I covered them with some heat shrinking tube, removing the excess on top after shrinked.
Your cable must look like this:
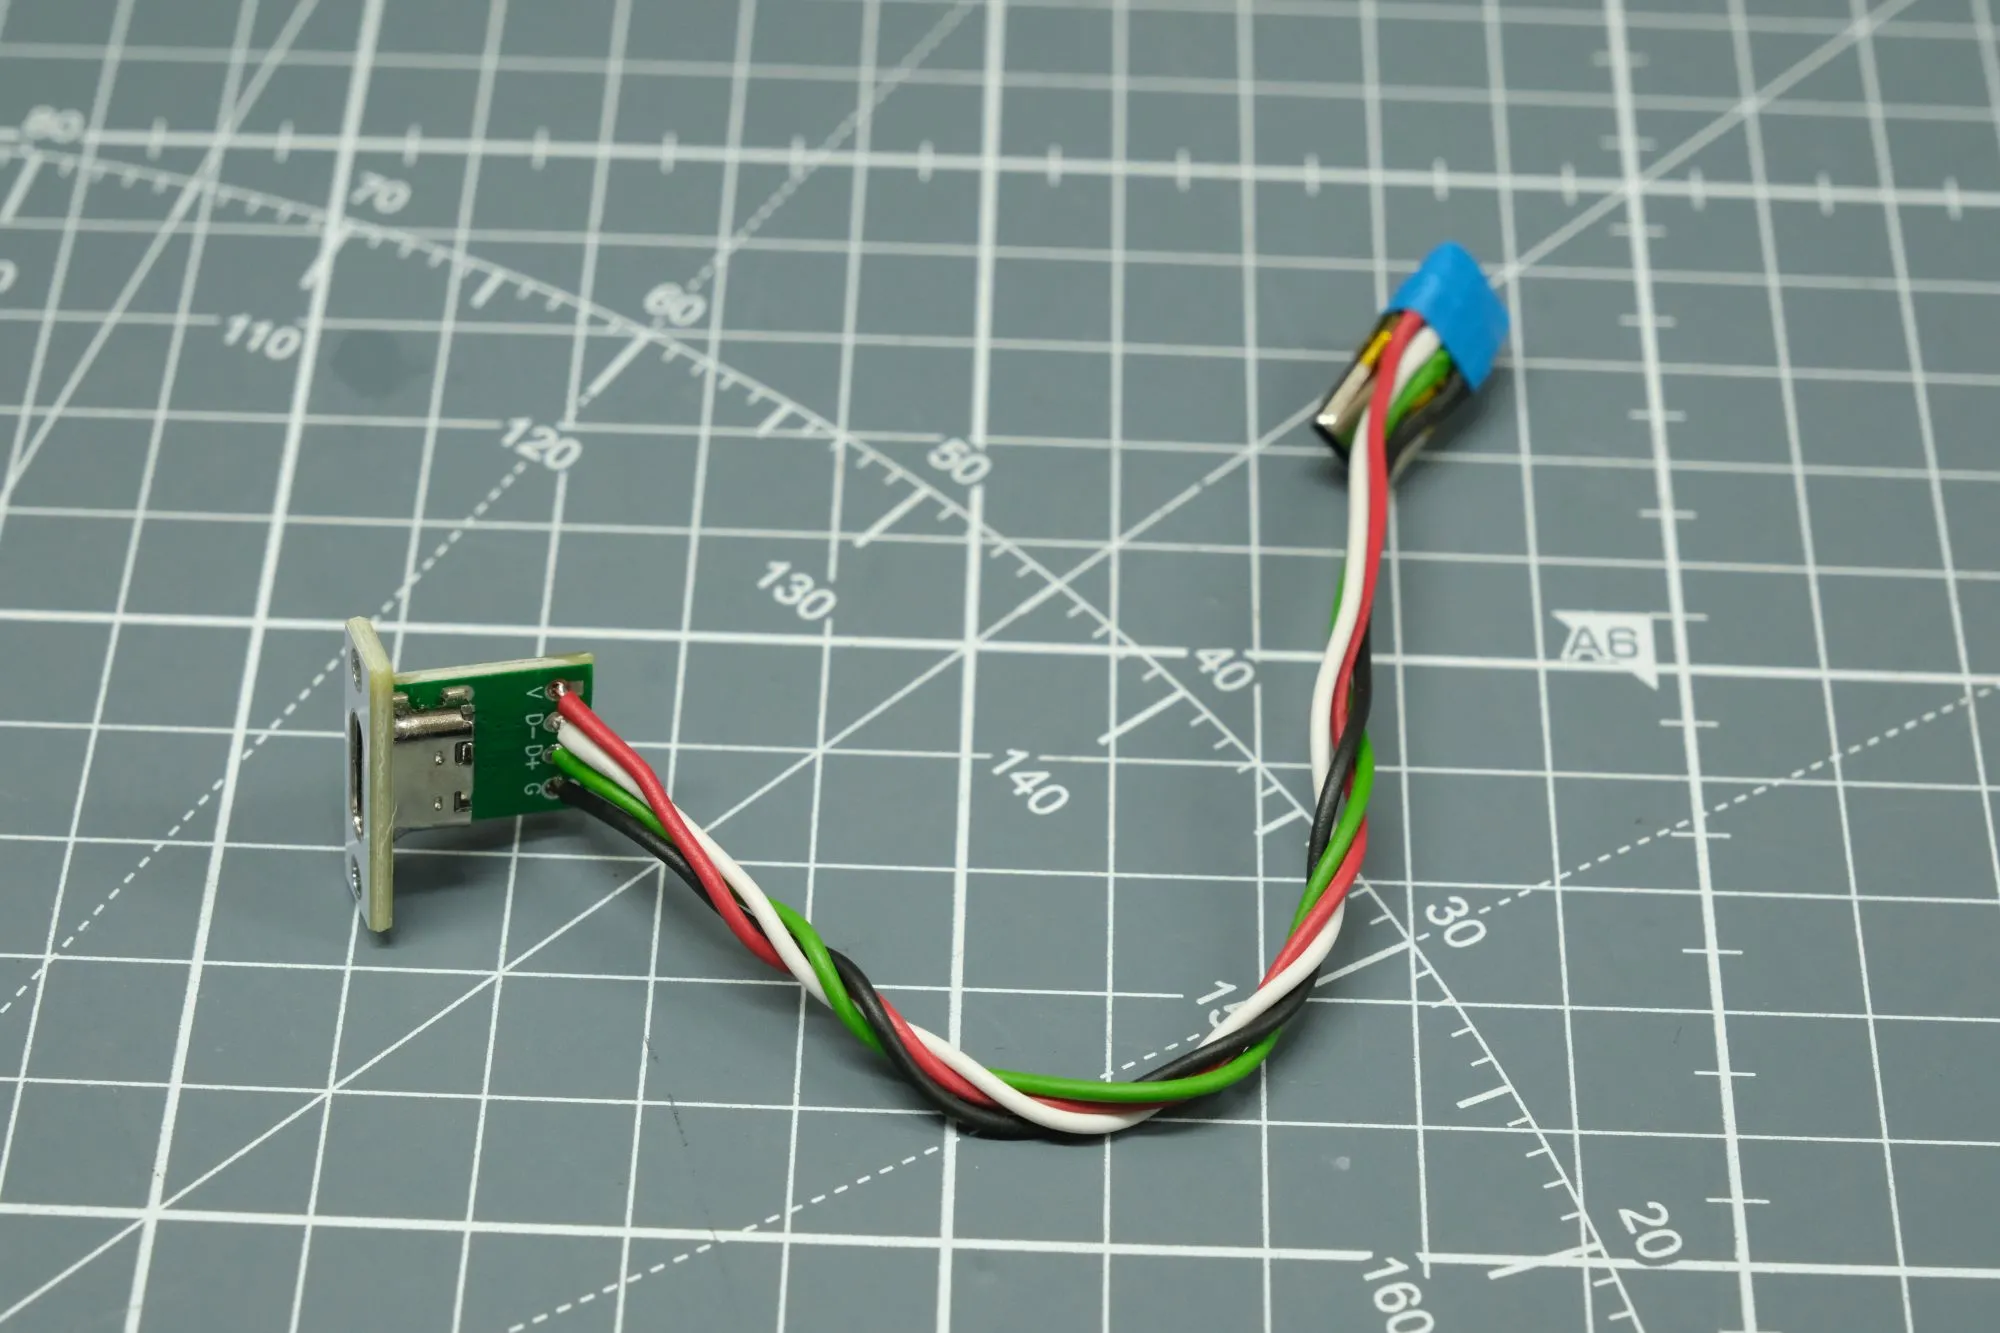
The panel connector will perfectly fit in the slot behind the lid:
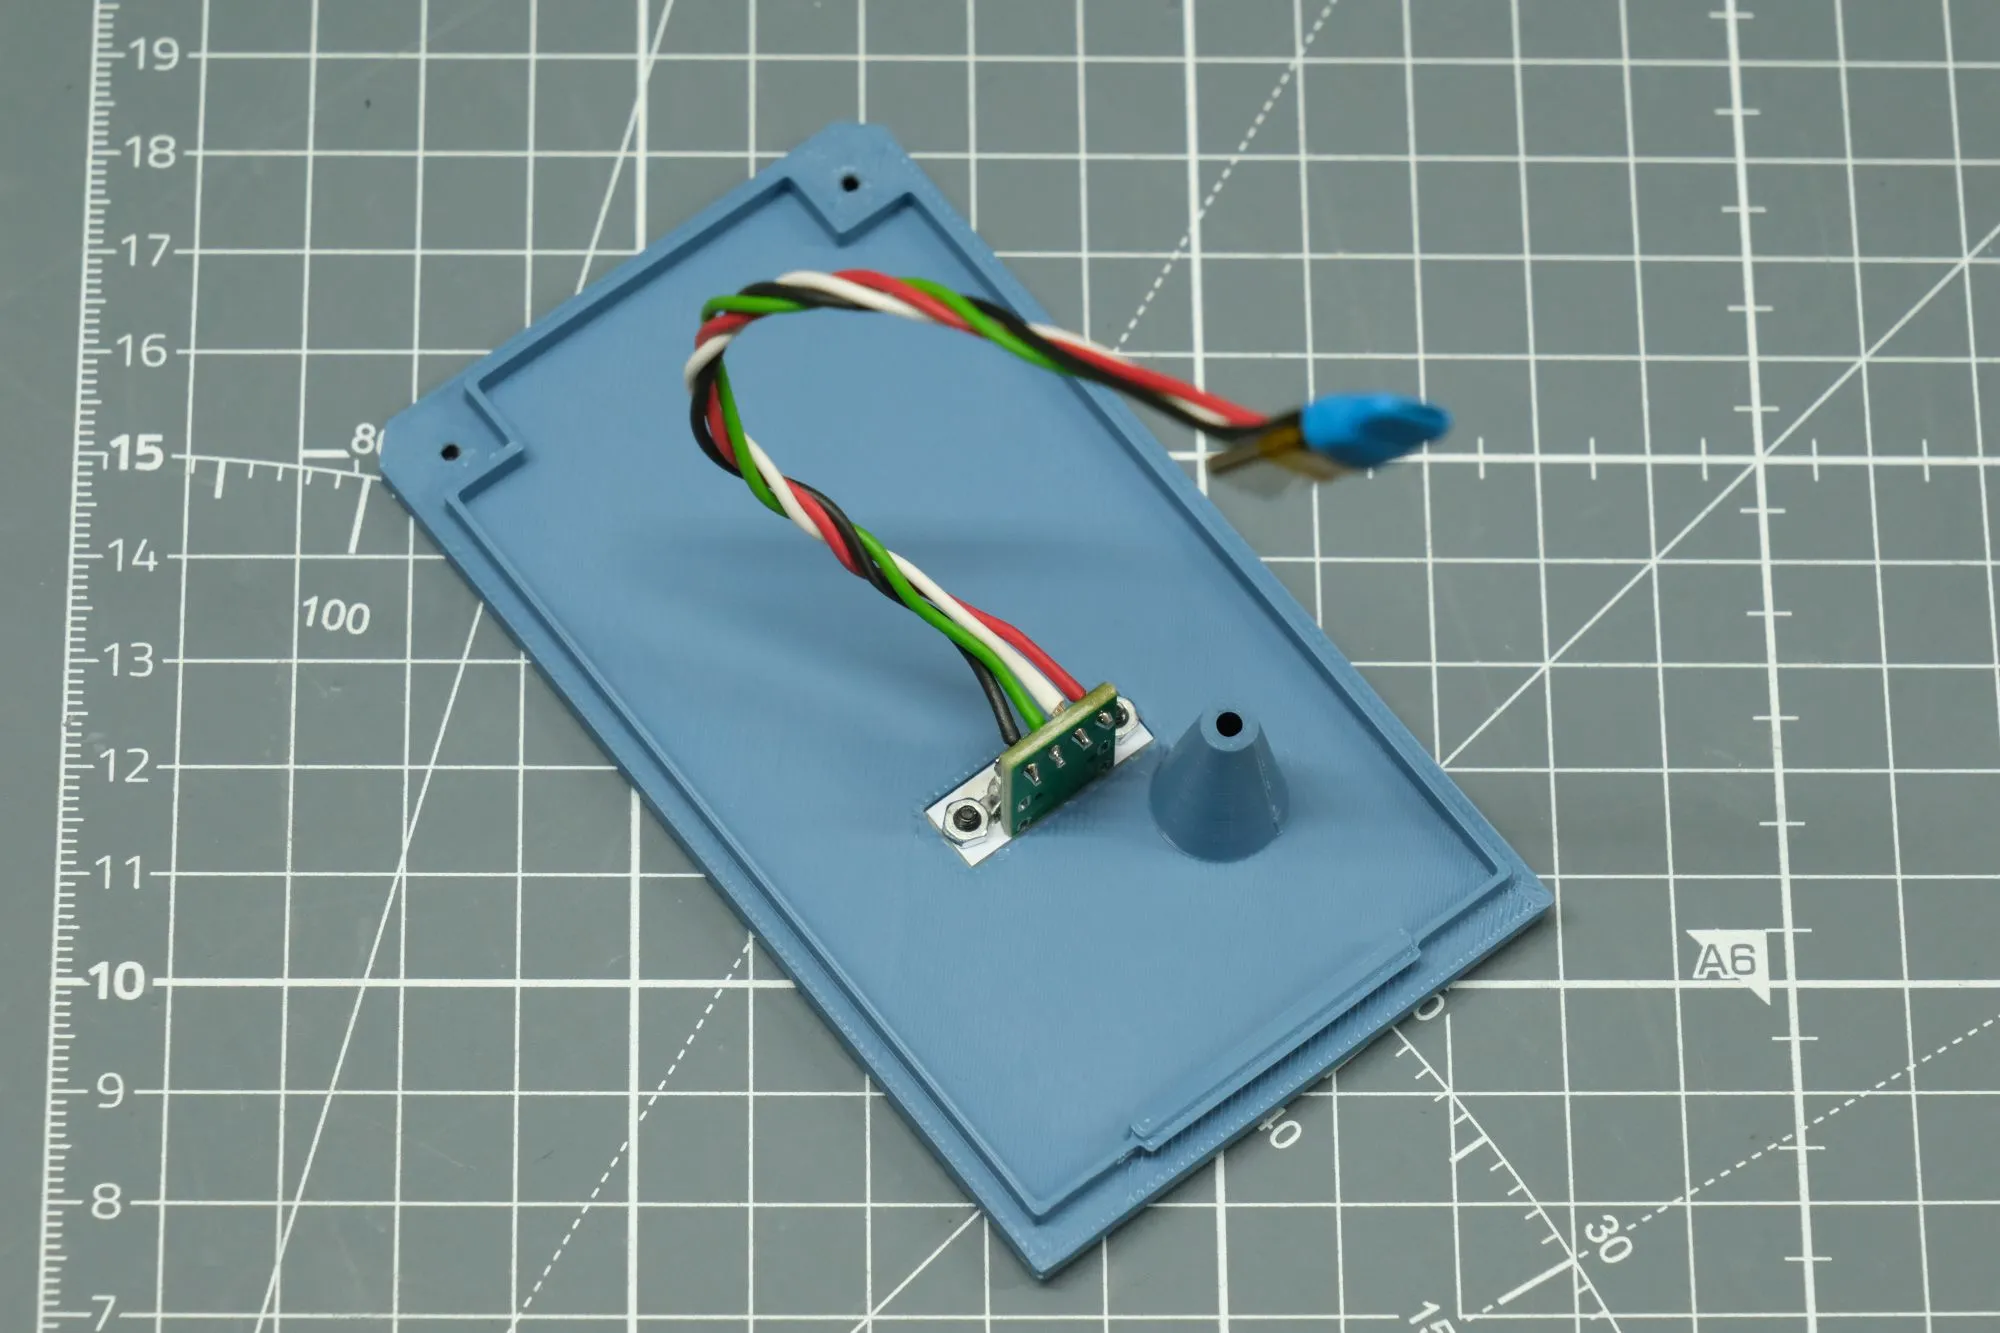
then you will fix it using 2x M2 screws having a total length of 8mm and then 2x M2 nuts. This variant will allow to have a more elegant and professional enclosure:
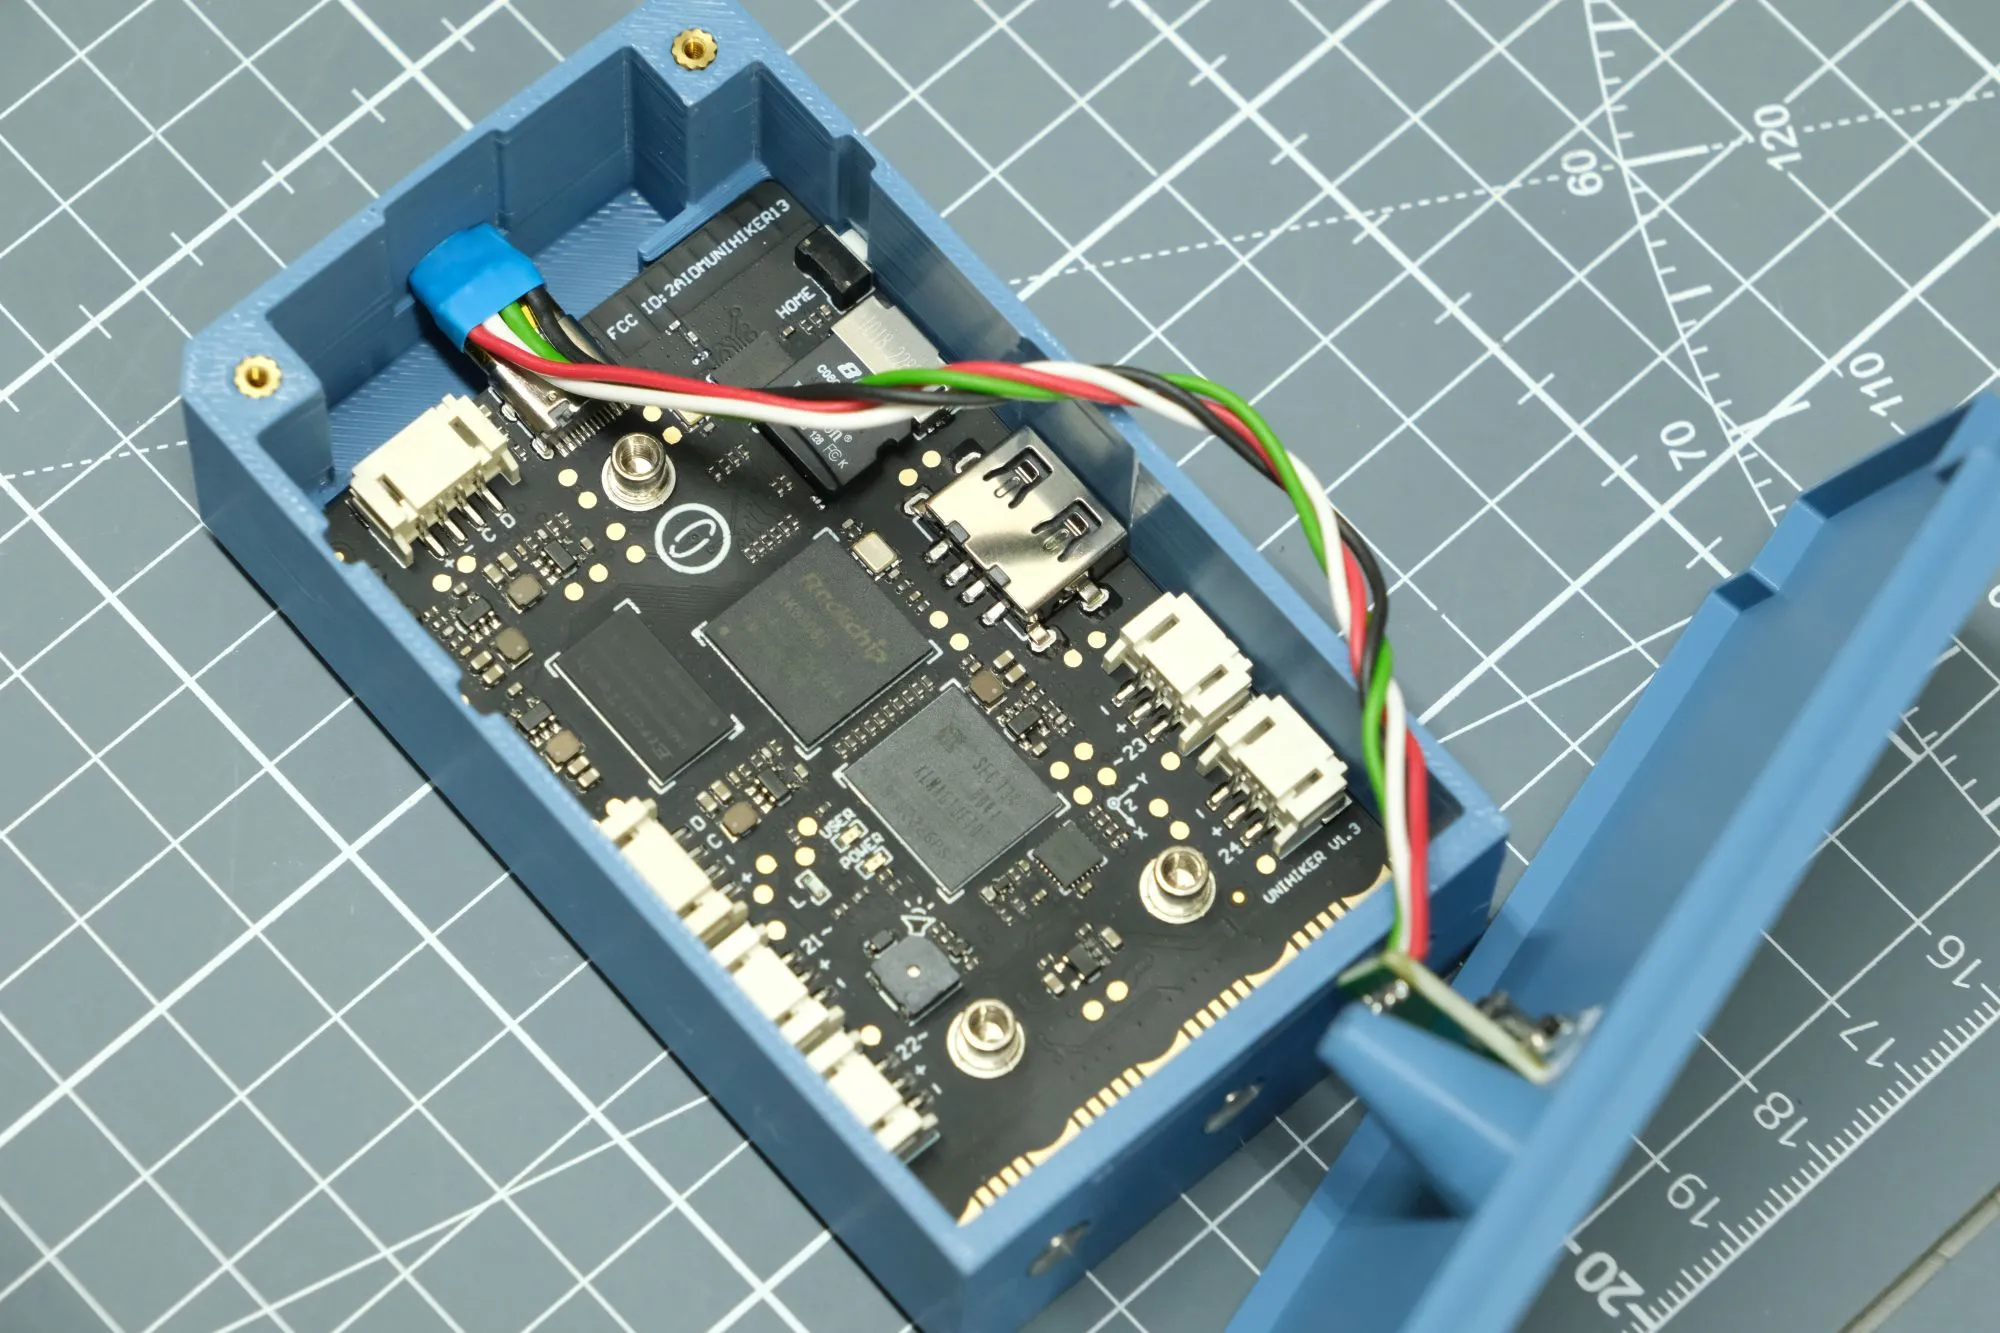
Please check the cable with a tester for continuity and no shorts. Form a perfect testing my advice is to use at least another female connector attached on the male USB
As you can see from the following picture it's very important that no material will come out from the top USB male connector of it will not fit.
Cradles
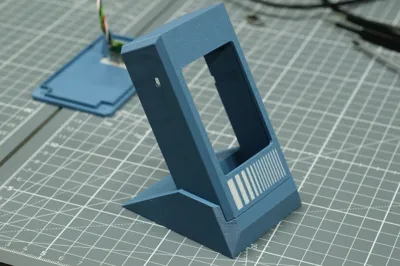
There are 3 cradles variants allowing the enclosure to be tilted of 6, 20 or 30 degrees: this is very important since the display on the Unihiker M10 has no good visibility if you see it at an angle. I found the 30 degree to be the best. Anyway the cradle is not part of the enclosure so is totally an optional. You can check if you can see the display good from you usual position, and then you can decide if to print the cradle or not.
Assembling
I prepared a video showing the enclosure assembly using the lid for the USB-C panel variant. You can see the video on Instagram, at the following link: https://www.instagram.com/reel/DTvF3isiuHZ/
For the assembling you'll need also:
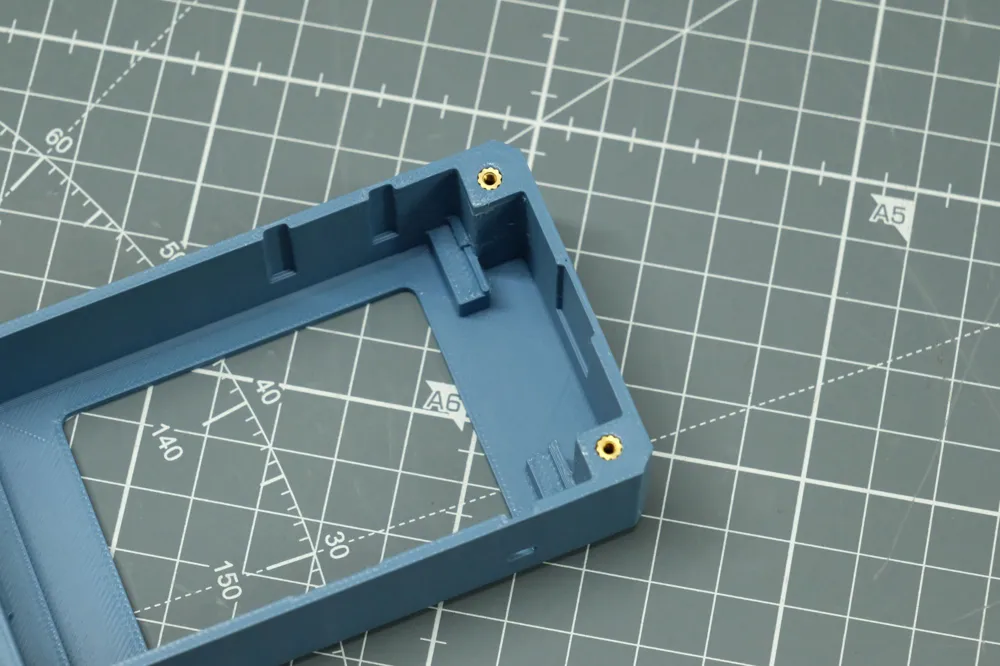
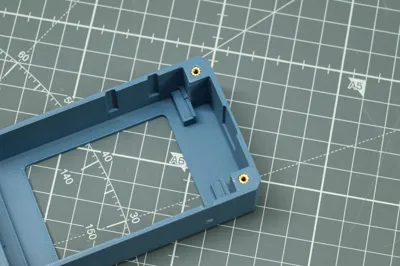
- 2x M2 brass inserts (to be inserted in the top holes of the enclosure)
- 2x M2 screws having a length of 8mm (to attach the Lid on the enclosure using the above inserts)
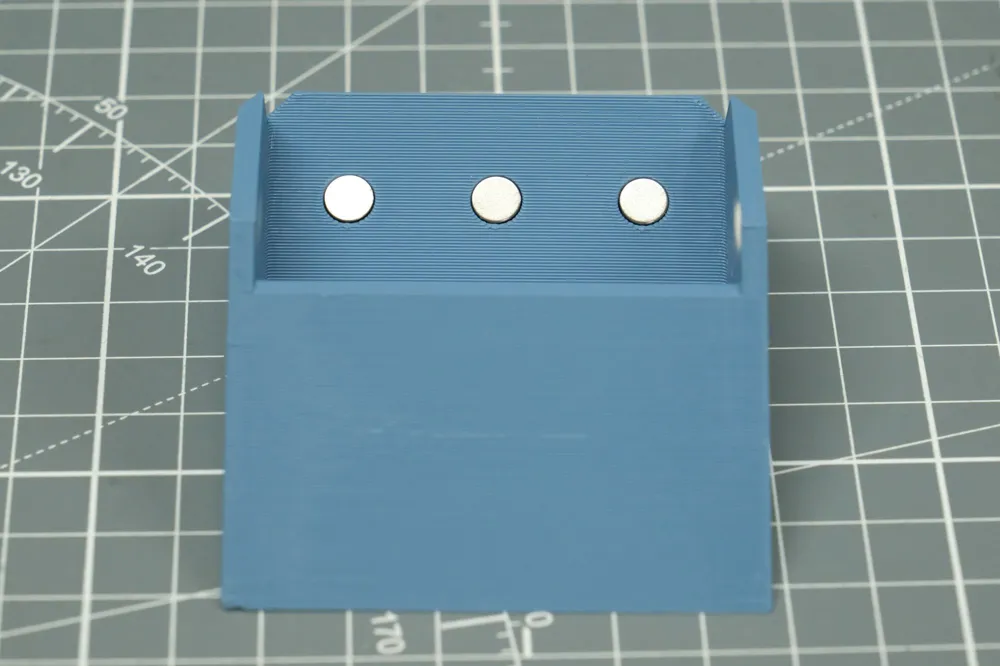
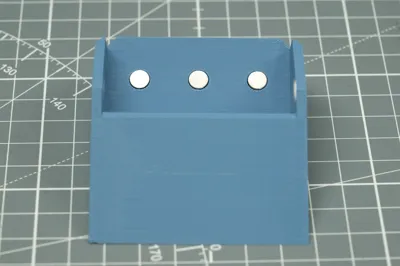
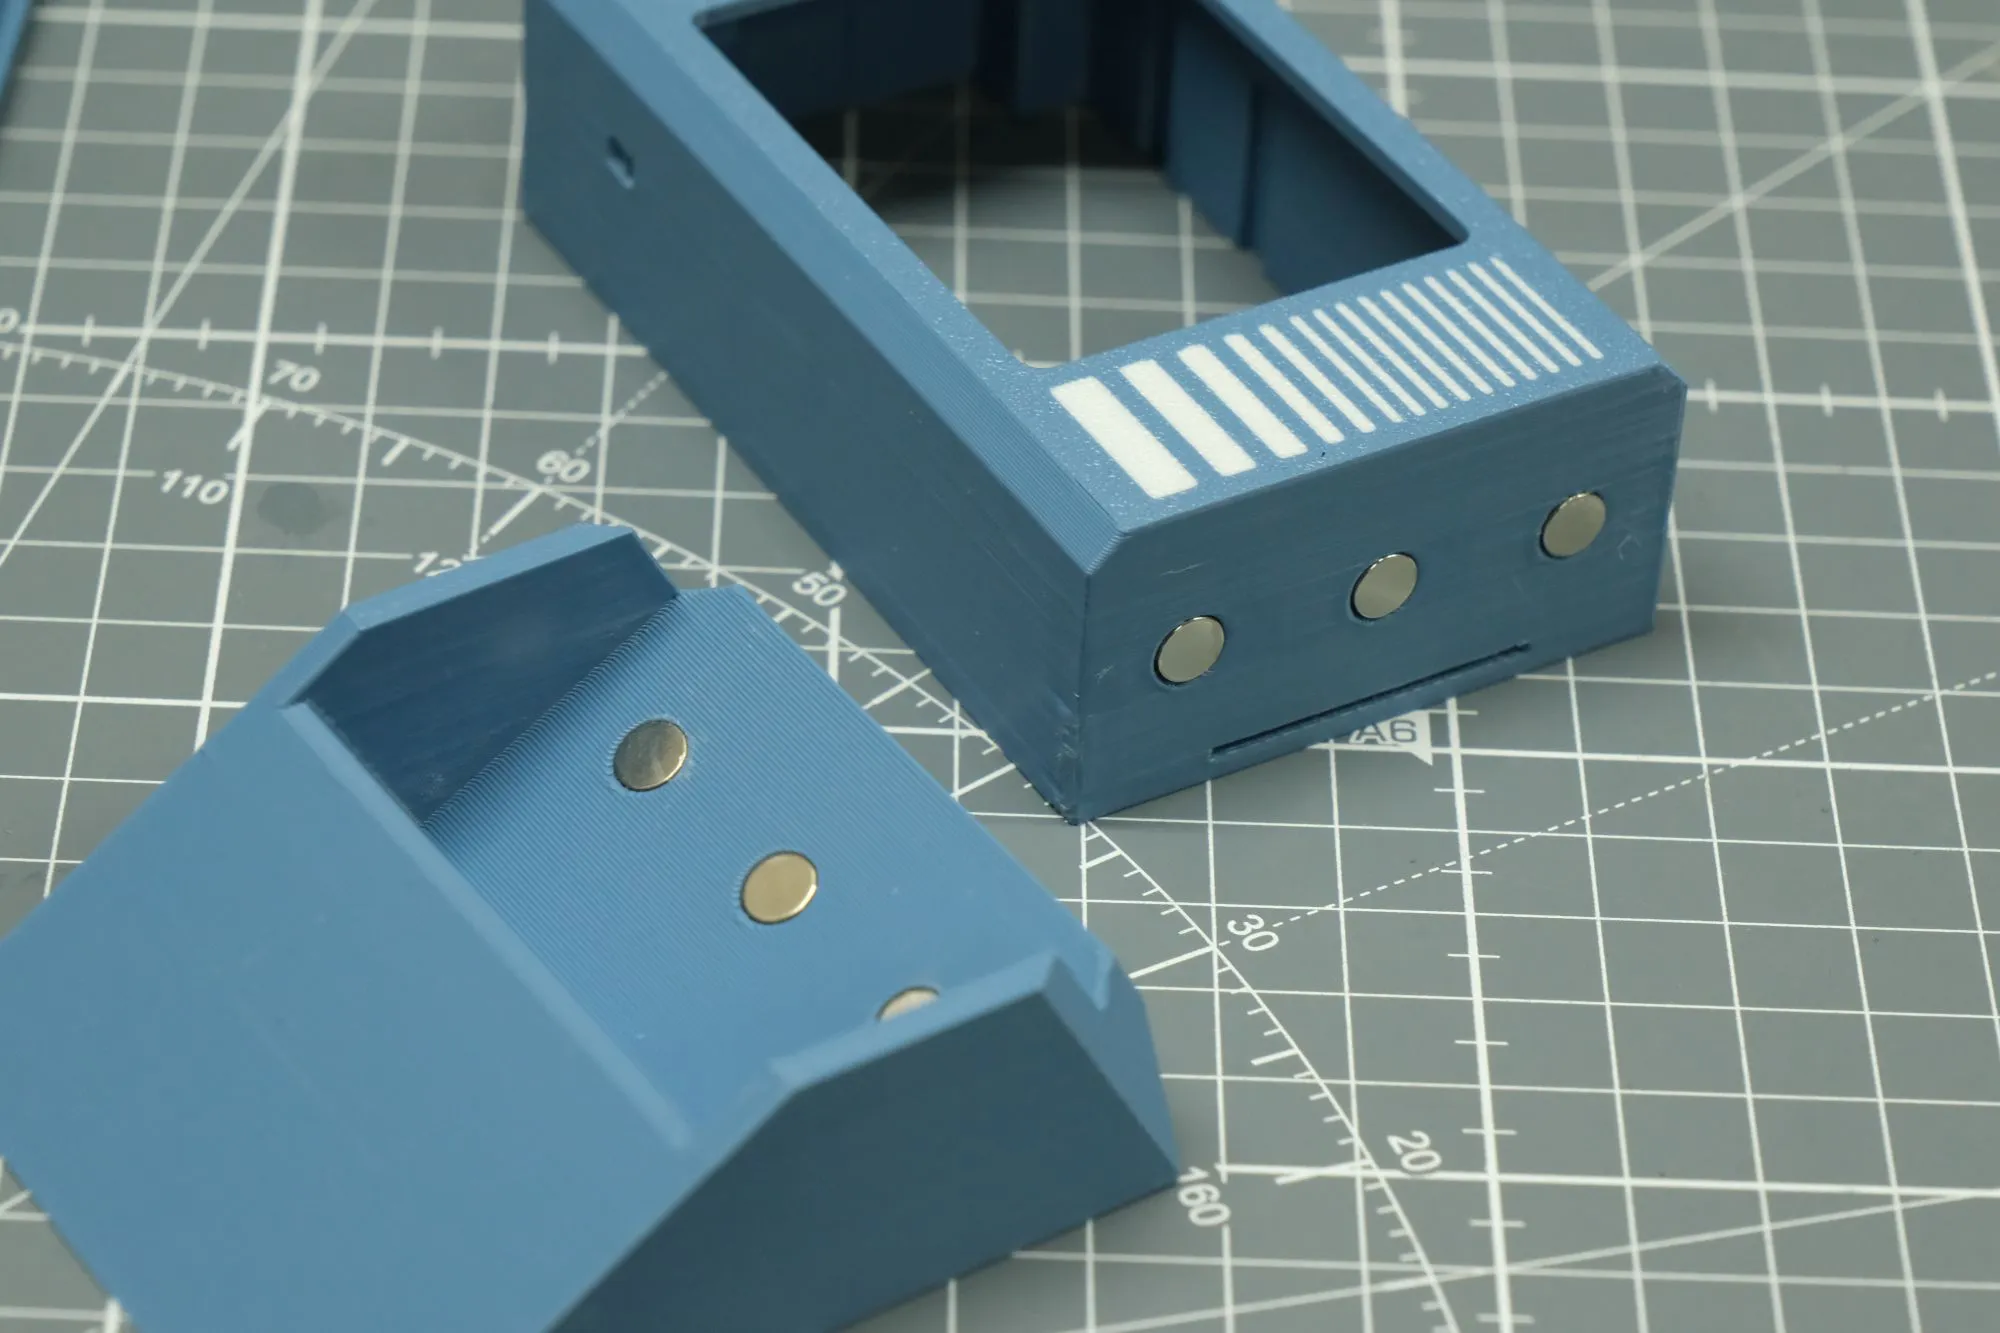
- 6x 6x2mm round magnets
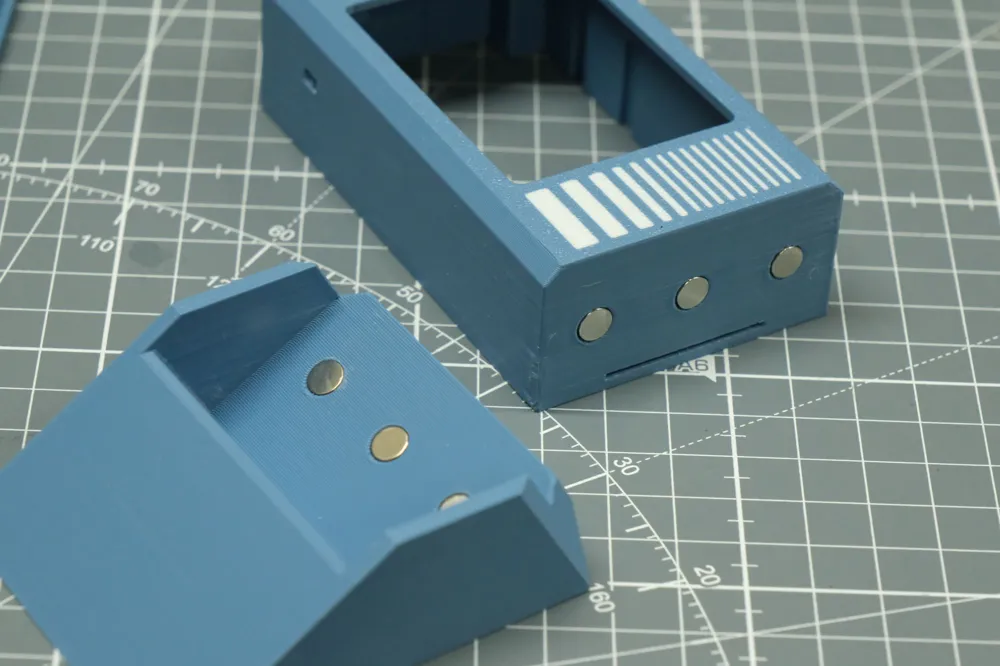
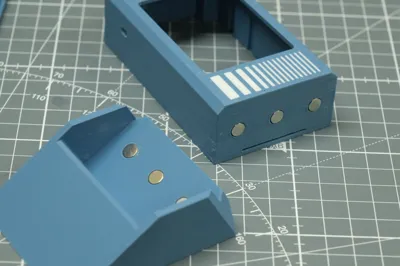
Magnets are an optional to be used only if you print the cradle. Anyway the 6 and 20 degree cradles allow the enclosure to be stable even without magnets, but the 30 degree cradle needs magnets. Magnets are attached on the cradle and on the bottom enclosure using a drop of superglue:
Follow me on istagram to be updated about the release of the firmware for the Unihiker M10
Boost Me (for free)
If you like this design, you printed this design for enjoying it or to solve a your problem, please consider to leave me a boost so I can feel motivated and continue to share my creations for free. Thank you very much
PROBLEMS WITH THIS DESIGN?
If you had a problem with this design or you need some edits for fit your own needs, first than leave a bad review please let me know what is your problem/need. You can leave a comment (I prefer this since anyone can benefit from it) or send me a direct message. I can make edits to my designs or change printing profiles for fit your own needs. Please note I can actually understand Italian and English language, so please don't write in another language since I can have problems with automatic translation.
License

You shall not share, sub-license, sell, rent, host, transfer, or distribute in any way the digital or 3D printed versions of this object, nor any other derivative work of this object in its digital or physical format (including - but not limited to - remixes of this object, and hosting on other digital platforms). The objects may not be used without permission in any way whatsoever in which you charge money, or collect fees.


Comment & Rating (0)