Search models, users, collections, and posts

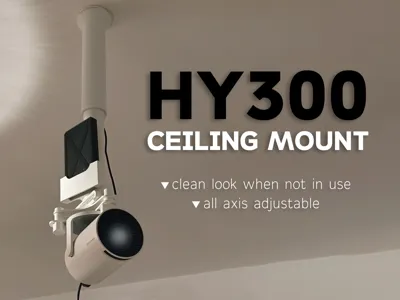
HY300 Ceiling Mount
IP Report
Print Profile(2)

3d printed connection
Designer
10.2 h
3 plates

screw connector
Designer
9.8 h
3 plates
Open in Bambu Studio
Boost
19
51
6
0
35
11
Released
Description
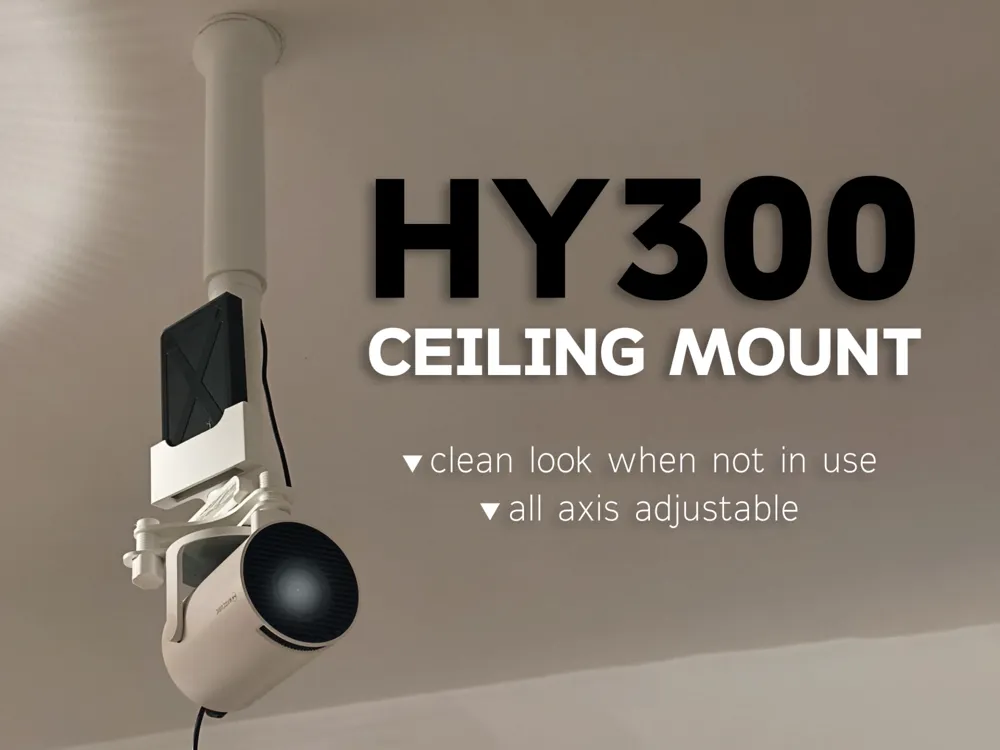
The aim of this project is to minimize the use of digital image correction, which often causes a noticeable loss of image quality—especially on budget projectors. At the same time, the design focuses on keeping the setup as clean as possible, with the option to easily remove everything so the room stays tidy and free of visible cables when the projector is not in use.
How to install
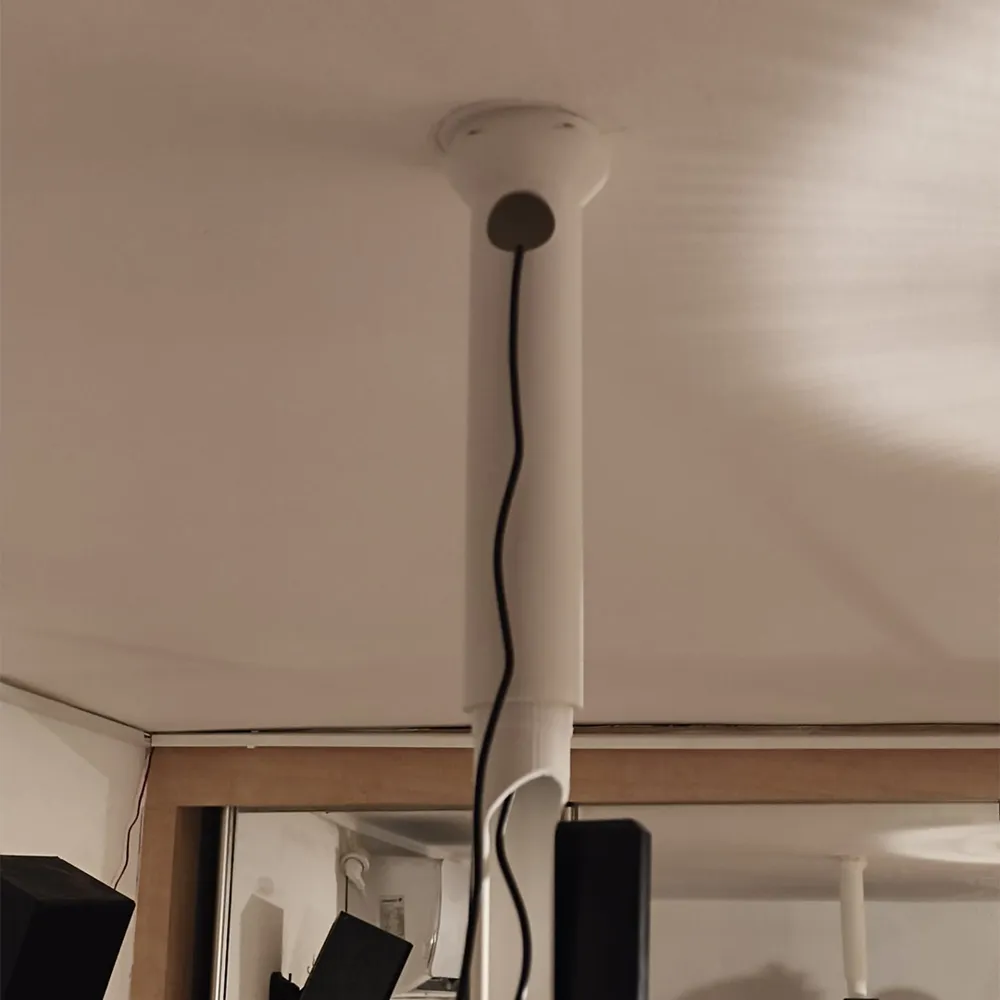
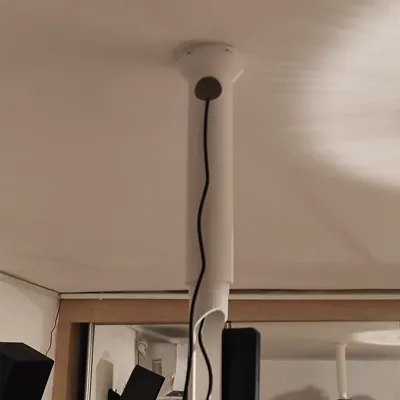
- Drill a hole in the ceiling at the correct distance from your dedicated screen. Attach the dovetail to the small top part.
- Insert the projector cable, then screw in the bottom part. An internal threaded rod runs through the entire upper section, allowing you to adjust the projector height without introducing any tilt.
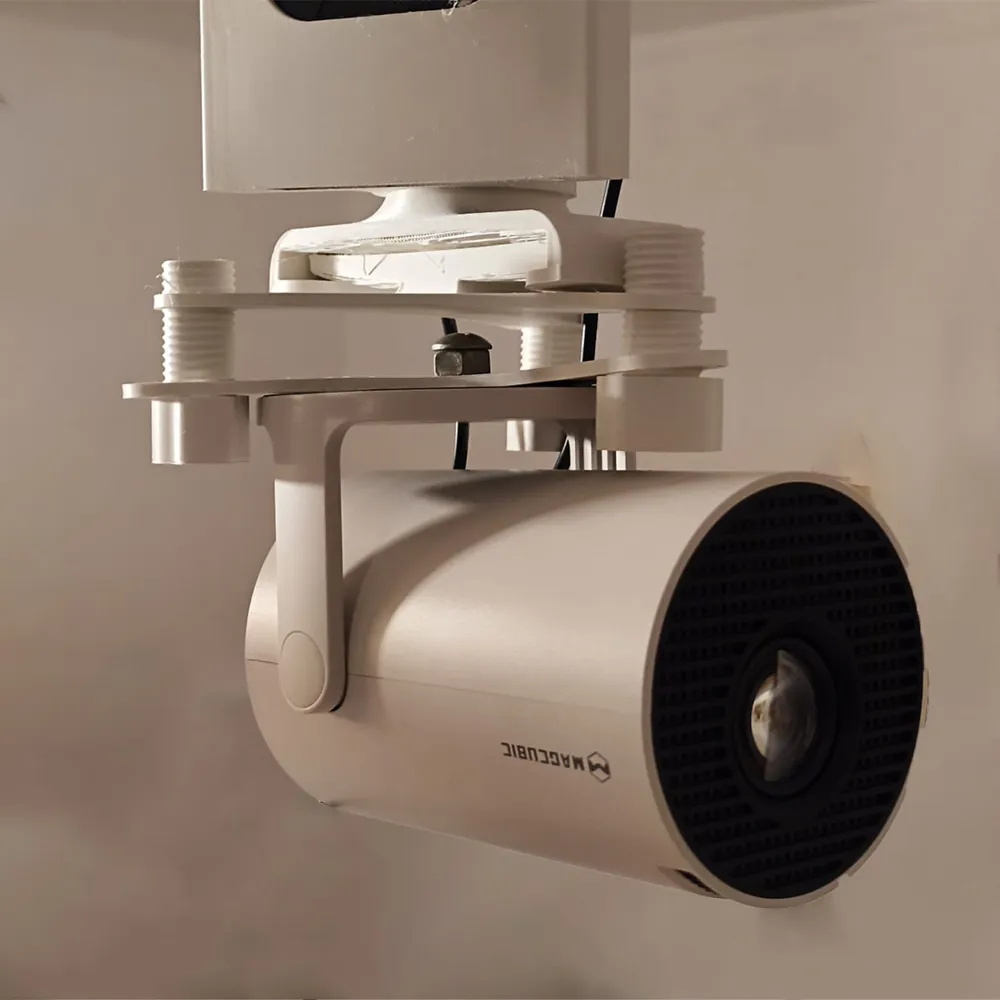
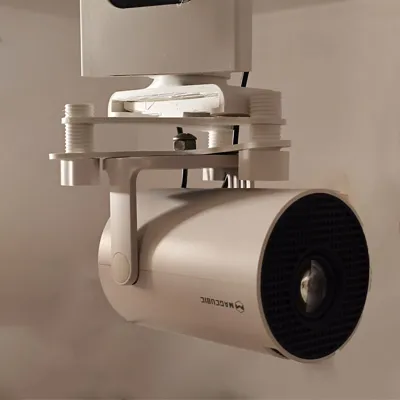
- Attach the projector to the separate mounting plate. If you have a compatible screw, this is the easiest option. If not, I designed a dedicated plate that fits the projector base and holds it securely in place.
- Connect the mounting plate to the bottom part using the three screws. These screws are used to fine-tune the projector alignment on all axes.
(note: the screw radius is tight to the projector base so make sure you have the same size, i recommend first print the adjuster plate to see if it fits your projector and then print the rest)
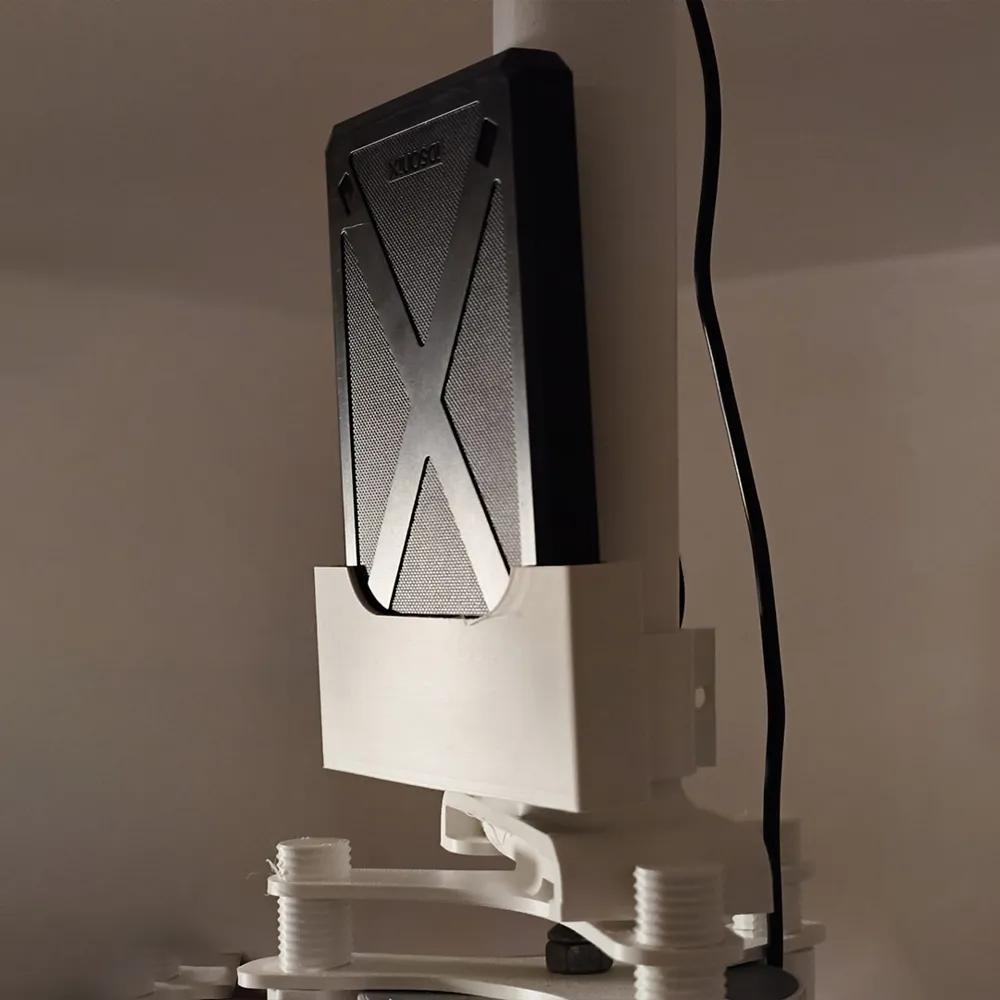
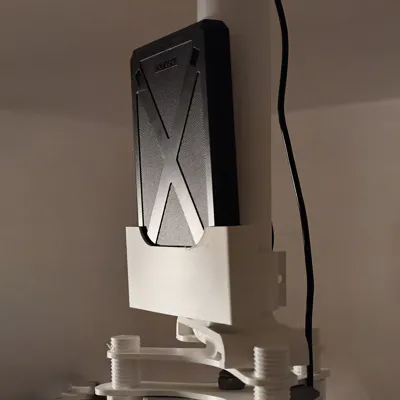
I also added an optional “case” that fits onto the arm. It can hold a streaming device or a hard drive, which is useful if you connect external devices directly to the projector.
to install the case just slide it in at the open section of the arm till it covers it and let it slide down to where the arm is fully closed
License

This user content is licensed under a
Creative Commons Attribution-Noncommercial


Comment & Rating (6)