
Print Profile(1)

Bill of Materials

Description
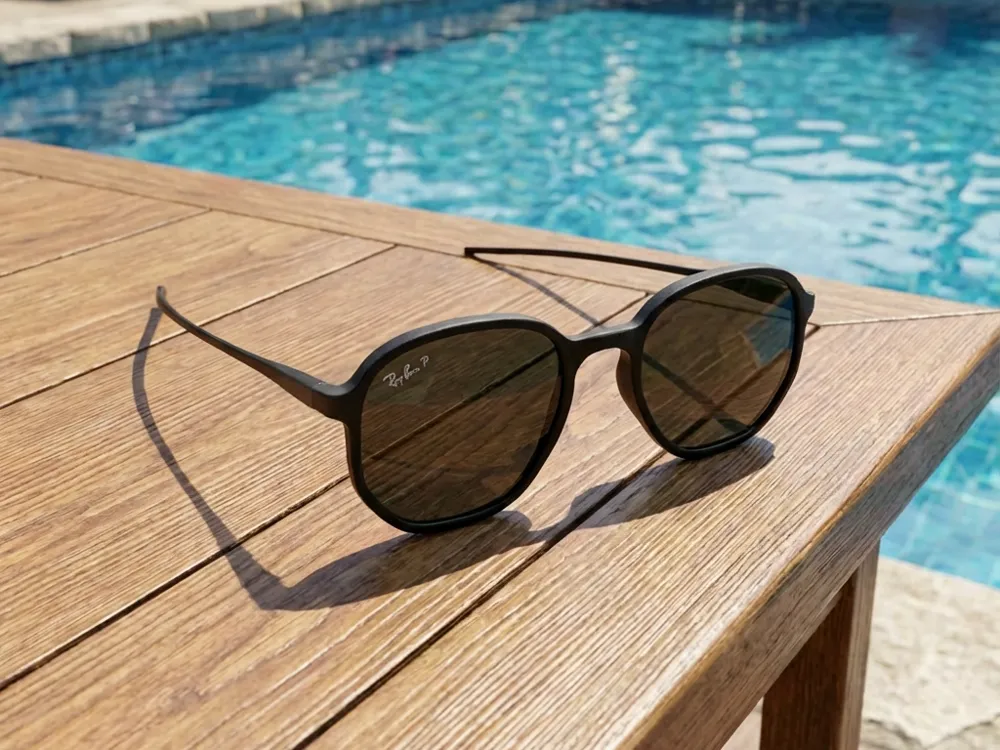
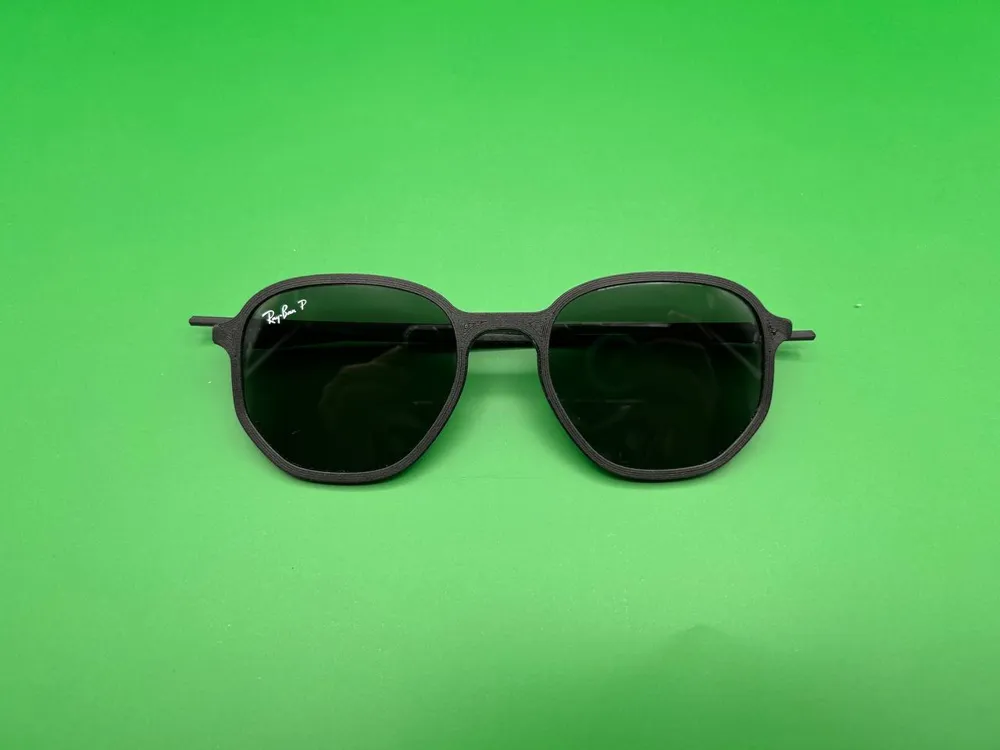
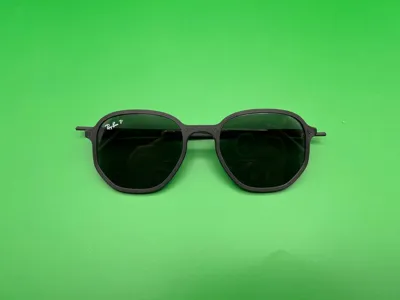
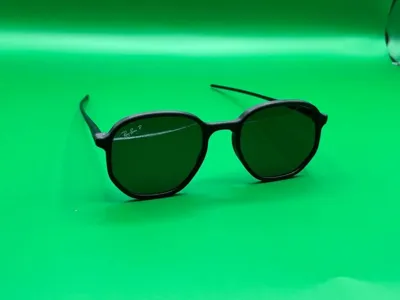
This is an aftermarket replacement frame made to fit Ray-Ban hexagonal flat lenses.
The frame is not an OEM or visual replica of the original Ray-Ban frame. It is a custom design focused on comfort, simplicity, and ease of assembly while maintaining a precise, secure lens fit.
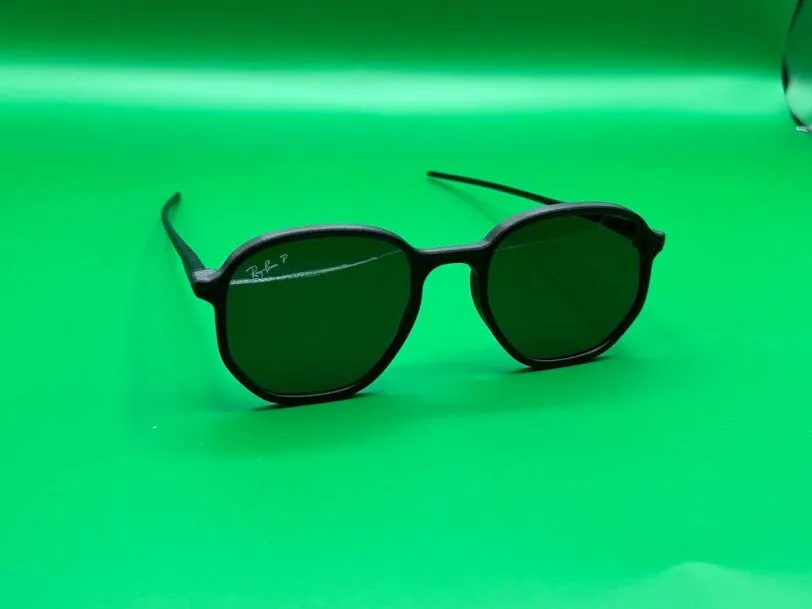
The lenses fit perfectly into the frame and install without screws, special tools, or additional hardware. Once assembled, the lenses sit firmly with no movement or stress.
Design highlights:
- Compatible with Ray-Ban® hexagonal flat lenses
- Extra-wide bridge for improved comfort
- Longer handles (temples) for better fit and balance
- Lightweight construction for everyday wear
- Tool-free, screw-free assembly
- Secure and accurate lens seating
I broke my Ray-Bans and was about to throw them out 😬… but instead, I decided to design a replacement frame for the lenses I already had—and it turned out way better than expected 🔥
I’ve been using these sunglasses ever since, and honestly, they’re more comfortable than the original frame. The extra-wide bridge fits my face perfectly (let me know in the comments if you need a narrower bridge 👇), and the redesigned handles are much more comfortable than the stock ones.
This frame is perfect for anyone with broken frames ♻️ or anyone looking for a clean, minimalist, and comfortable alternative that works seamlessly with existing hexagonal flat lenses.
Boost Me (for free)
Boost me if you like this design!! :)
🛠️ Assembly guide
1️⃣ Print all three parts and remove supports.
• I used PETG-CF on a Bambu Lab Cool Plate SuperTack, and the results were 🔥
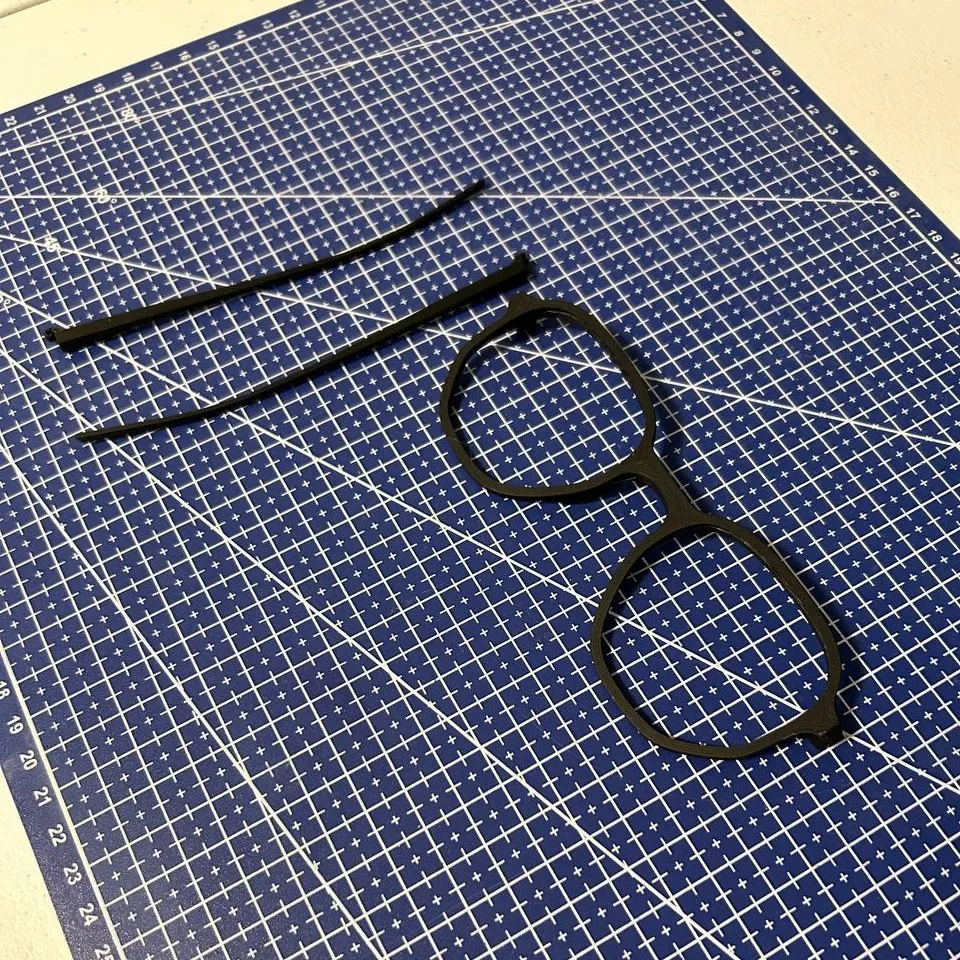
2️⃣ Place the handles and align the holes.
3️⃣ Grab a key ring and deform it (as shown in the image) to create a pin 🔑
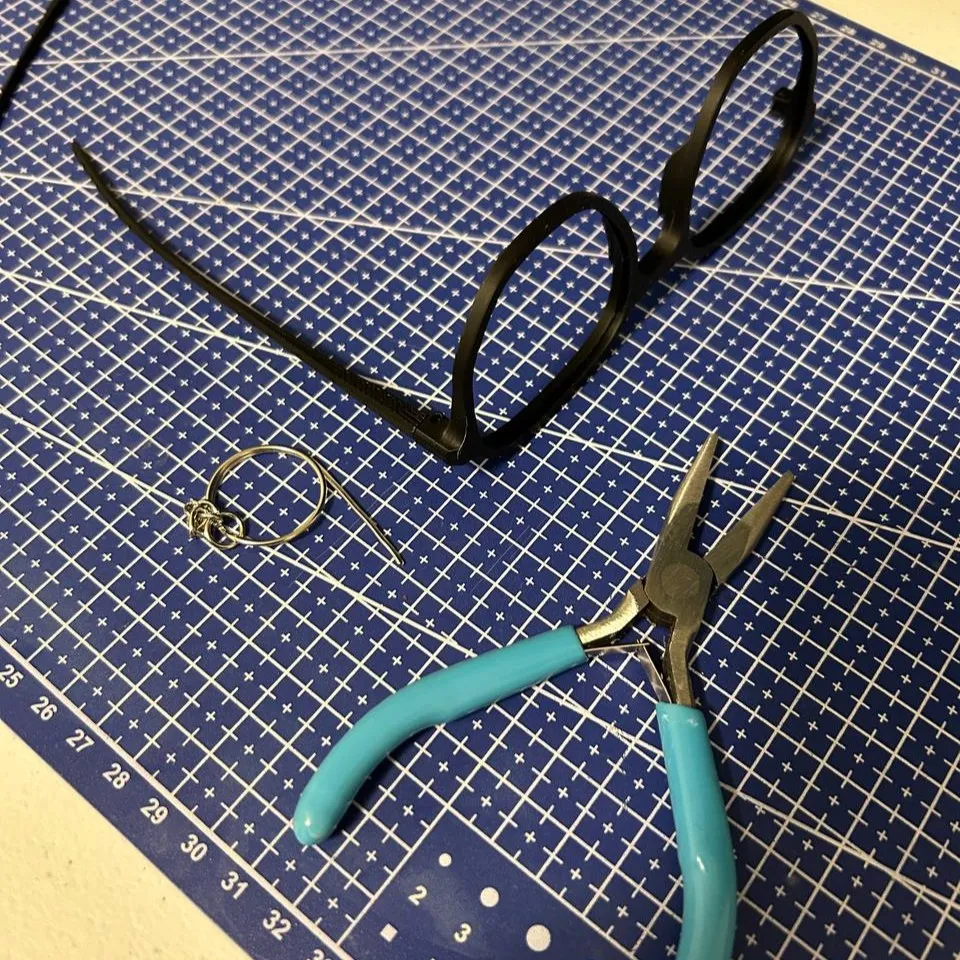
4️⃣ Push the key ring pin all the way through the holes until fully seated.
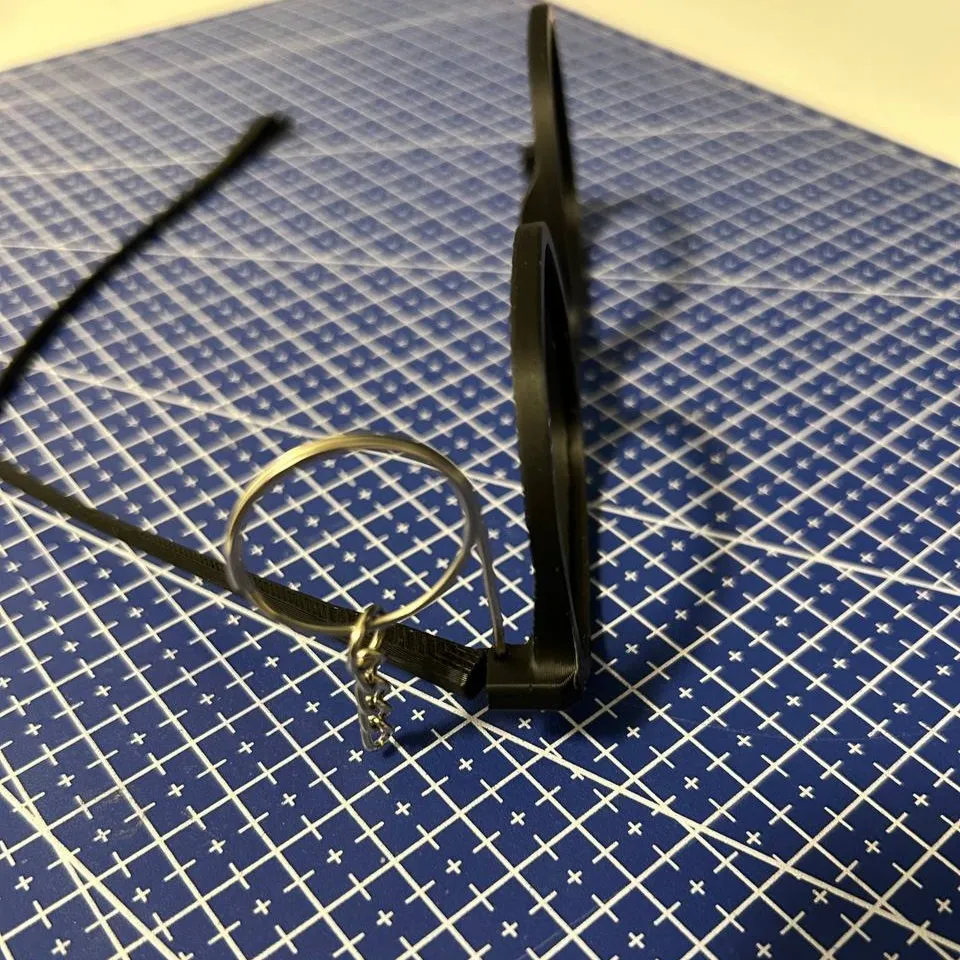
5️⃣ Cut the excess with a flush cutter ✂️
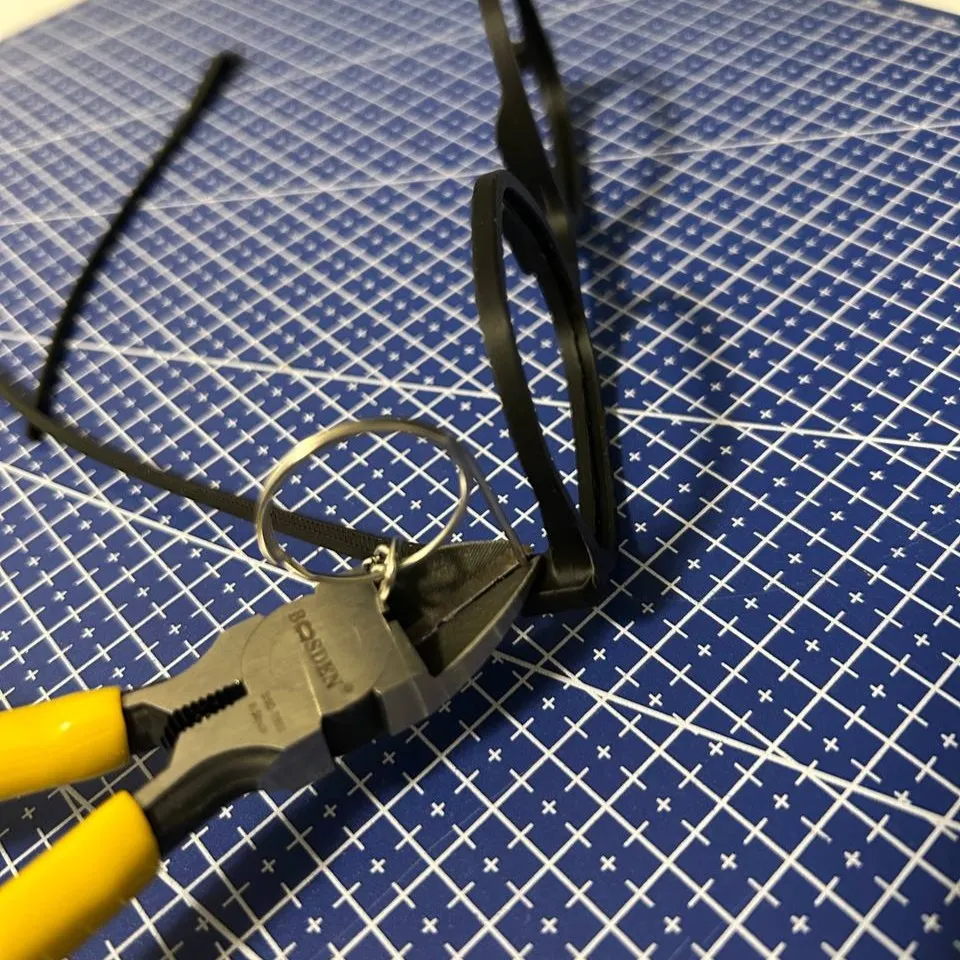
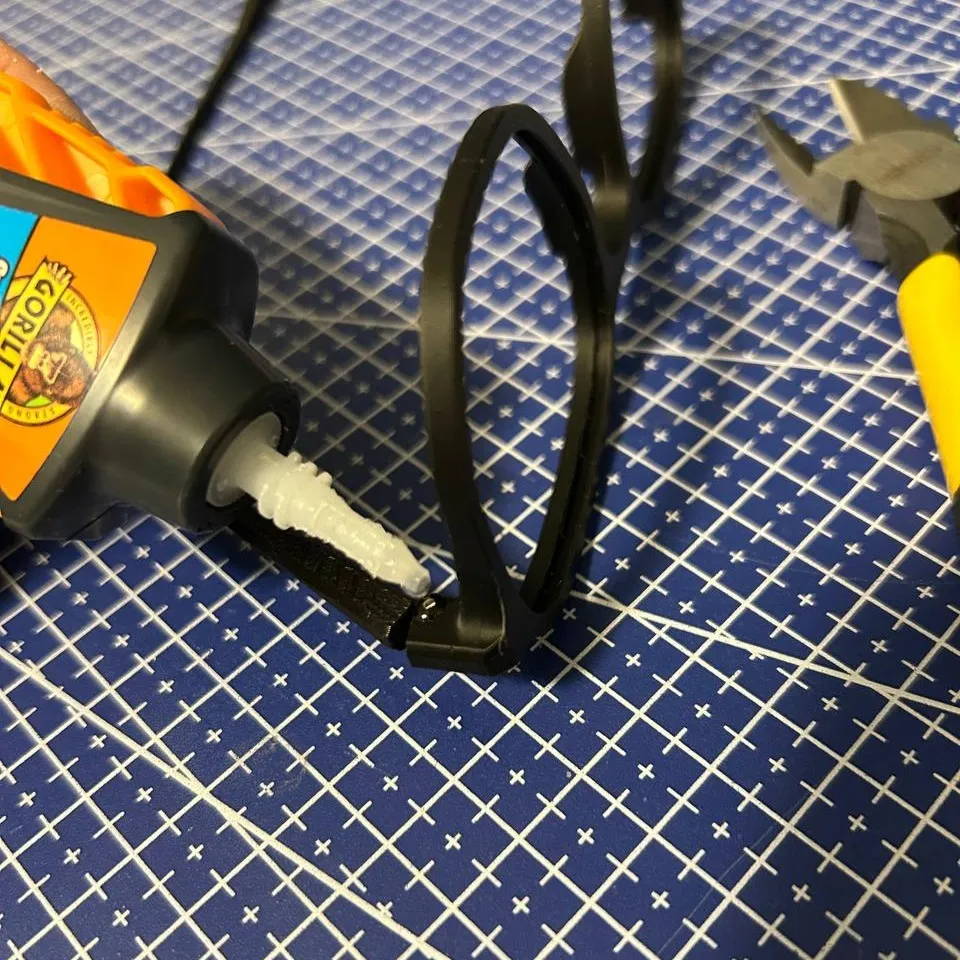
6️⃣ Add a small drop of super glue 🧴
• Repeat the same steps for the other side.
💬 Let me know in the comments if you like it, have suggestions, or want a different bridge size!
More from Moss Labs:
👉 Explore more product-focused designs:
- SpongeBob SquarePants Coaster Easy print – decorative and functional 3D-printed drink coasters
- Modern Lamp for LED Lamp Kit – clean, modern, functional lighting
- Closet Hanger – minimal everyday utility design
License

You shall not share, sub-license, sell, rent, host, transfer, or distribute in any way the digital or 3D printed versions of this object, nor any other derivative work of this object in its digital or physical format (including - but not limited to - remixes of this object, and hosting on other digital platforms). The objects may not be used without permission in any way whatsoever in which you charge money, or collect fees.


Comment & Rating (27)