LD2450 Presense Radar ESP32-C3 Case Corner Mount


Print Profile(1)

Bill of Materials


- ESP32-C3 Super Mini x 1:
- LD2450 x 1: with cable set
Description
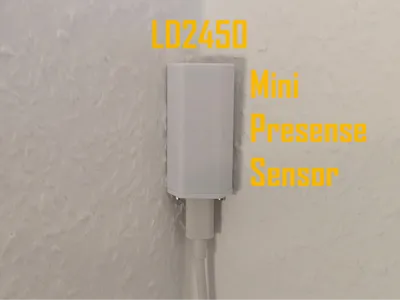
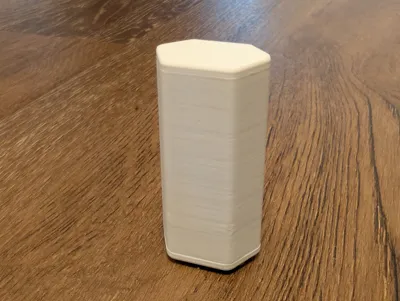
This is a compact enclosure for the LD2450 mmWave presence sensor combined with an ESP32-C3 Super Mini.
It is designed for corner mounting and optimized for small size.
With this setup, you can build a powerful Home Assistant presence sensor for around €8.
Features:
- Supports up to 3 detection zones natively (more possible via ESPHome configuration)
- Detects up to 3 people simultaneously
- Compact, clean design
- Optional corner mounting
- No external Bluetooth antenna required
Required materials:
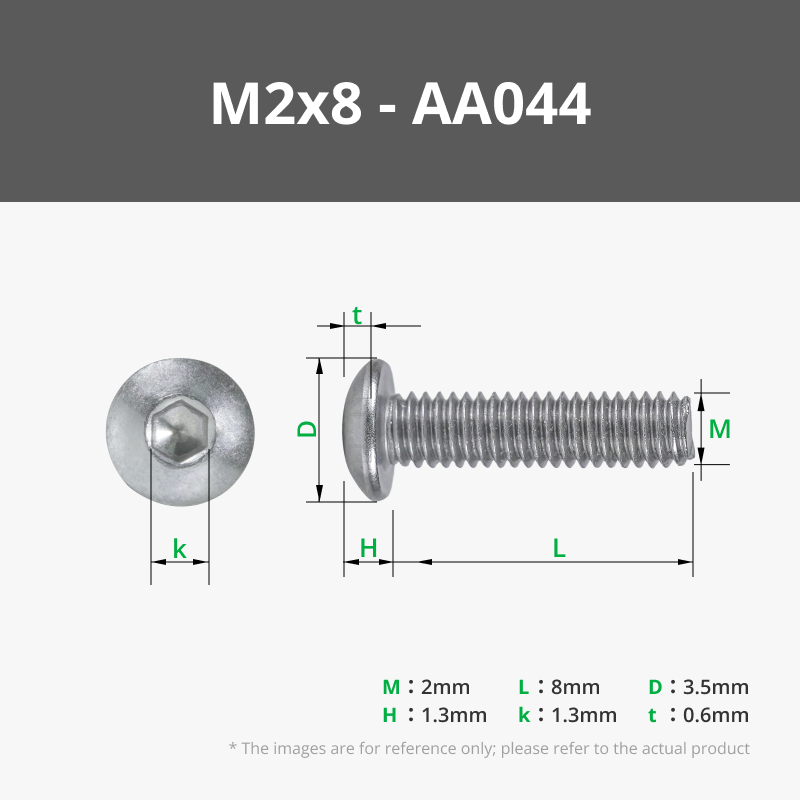
- 3x M2x8 screws
- 1x M3x6 screw with flange or washer
- ESP32-C3 Super Mini
- LD2450 sensor + connection cable
Assembly:
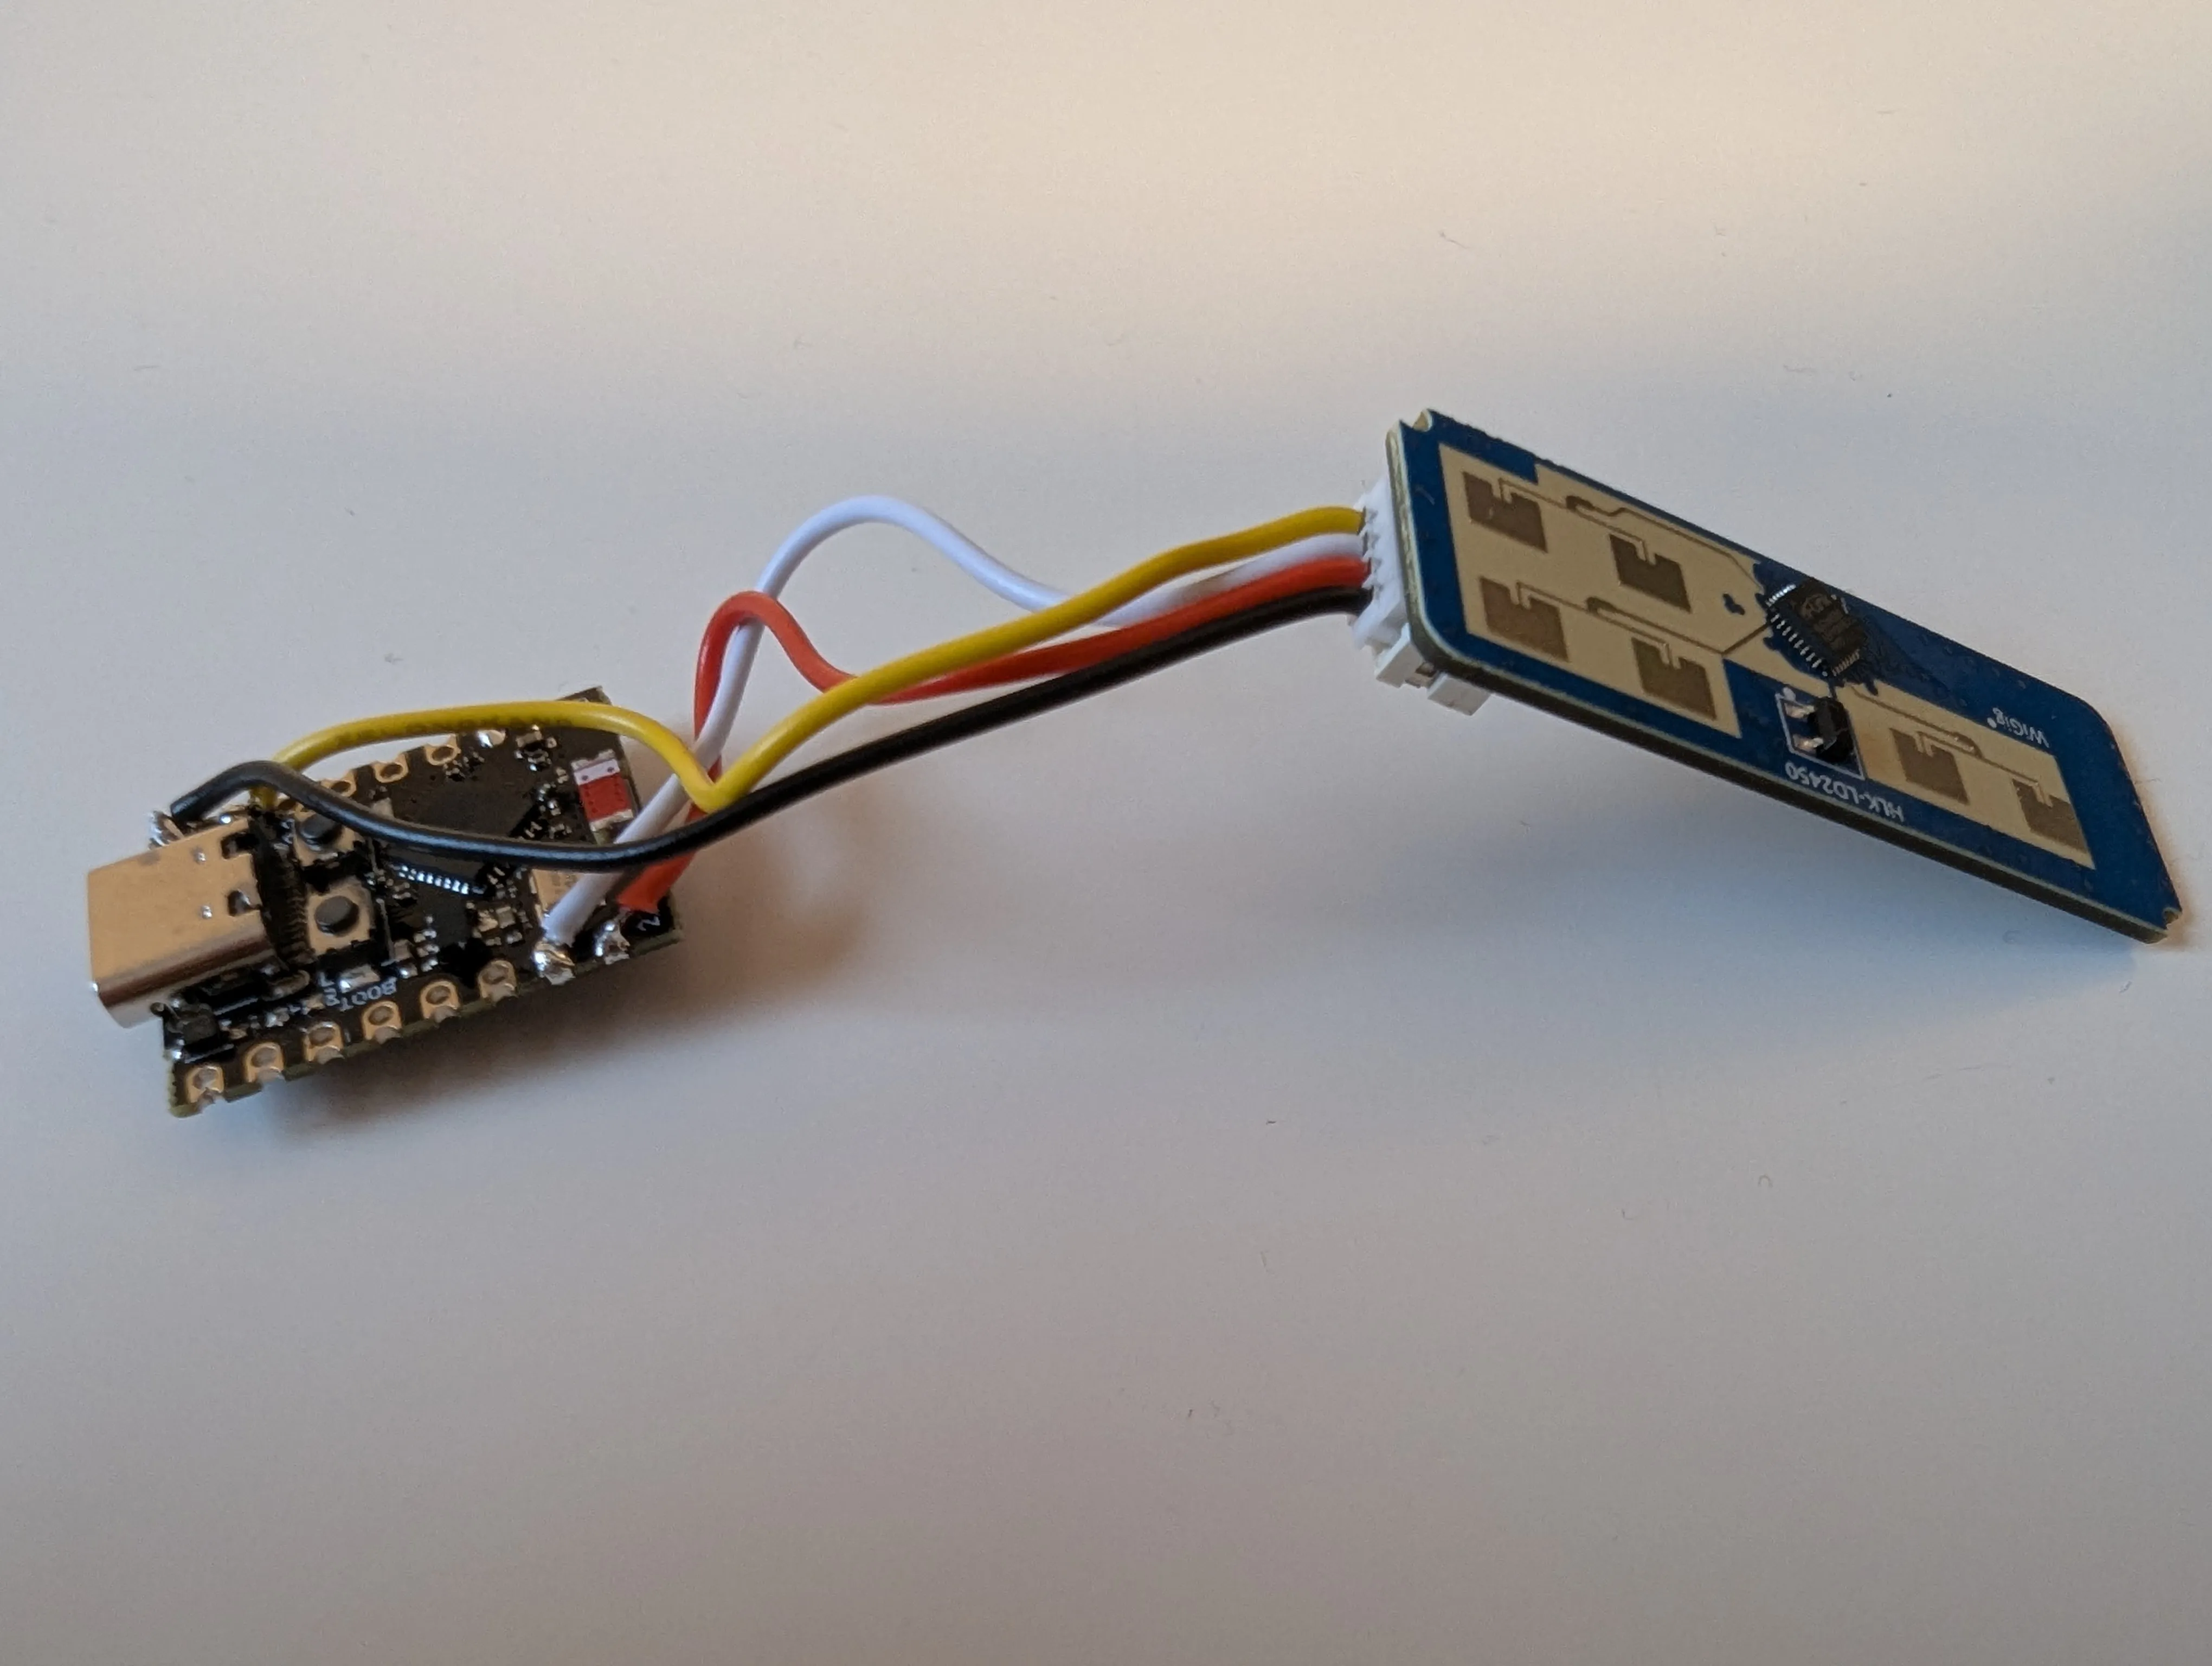
To keep the enclosure as small as possible, wires are soldered directly to the ESP32 pads.
I bought the LD2450 as a set including a cable:
- The cable plugs directly into the LD2450
- The Dupont connectors were cut off
The wires were soldered directly to the ESP32

1) ESP32
- Insert the ESP32 into the cover
- USB connector faces forward
Secure with an M3×4–M3×8 screw with a flange or washer

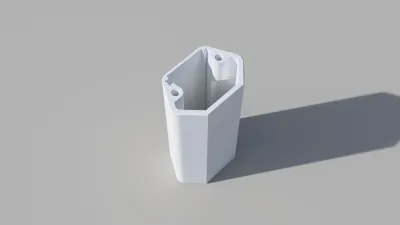
2) LD2450
- Insert into the designated slot in the housing
- Connector faces forward
- Gold-colored antennas must point outward
- I recommend sticking some insulating tape on the back of the LD2450 to prevent short circuits with the screw holding the ESP32
3) Wiring
- Carefully stuff the cable into the housing
- Place the cover on top
- Secure with 2× M2×4–M2×10 screws
An external Bluetooth antenna is not required.
Even without it, Bluetooth configuration works reliably over several meters.
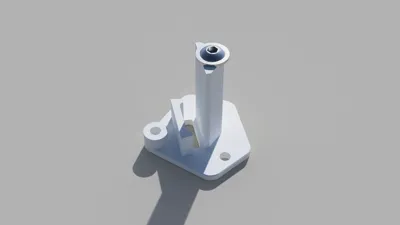
4) Corner Mounting (optional)

- Print the wall-mount cover
- Secure the wall bracket with a nail or screw in the corner
- The mounting hole of the sensor must face downwards
- The sensor housing is then attached to the bracket using an M2×8–M2×10 screw
If you would like I can also design a bracket to attach the sensor parallel to the wall.
Feedback and criticism are welcome.
Changelog:
- 28/01/26: I added cooling holes on the back to keep the MCU Temperature lower (75°C vs 65°C). The changed part is still compatible with the other components.
- 13/02/26: I have removed the assumption that an ESP32-S3 could also fit. Since it has a thicker circuit board, another version of the case for the ESP32-S3 will be available soon.
If you like the project:
Boost Me (for free)
License
You shall not share, sub-license, sell, rent, host, transfer, or distribute in any way the digital or 3D printed versions of this object, nor any other derivative work of this object in its digital or physical format (including - but not limited to - remixes of this object, and hosting on other digital platforms). The objects may not be used without permission in any way whatsoever in which you charge money, or collect fees.
Comment & Rating (3)