Z-axis calibrator for i3 mega(s)


Print Profile(1)

Description
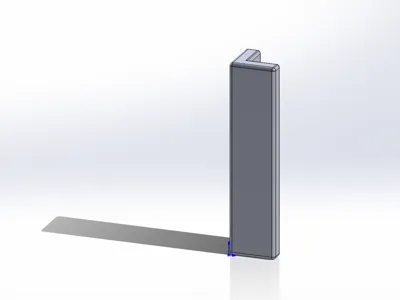
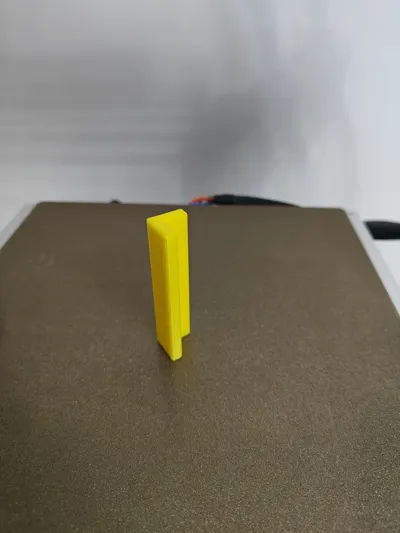
Z-axis calibrator for i3 mega(s).
Calibration steps:
1. Home the Z-axis, then turn off the motors.
2. Align the inner right angle of the limit block with the edge of the printer's keel, and the lower part of the limit block with the lower printer structure, as shown in the figures below.


3. Rotate the Z-axis coupler so that the X-axis frame perfectly fits the top of the calibrator, ensuring the calibrator can be easily slid out.
4. Adjust the slender Z-axis limit bolt on the X-axis frame so that the limit bolt just triggers the Z-axis limit switch.
5. Repeat steps 2, 3, and 4 to complete the dual Z-axis calibration.
6. Rotate the 4 heatbed leveling knobs clockwise to lower the heatbed as much as possible, let the printer auto-home, then turn off the motors and level the heatbed.
License
You shall not share, sub-license, sell, rent, host, transfer, or distribute in any way the digital or 3D printed versions of this object, nor any other derivative work of this object in its digital or physical format (including - but not limited to - remixes of this object, and hosting on other digital platforms). The objects may not be used without permission in any way whatsoever in which you charge money, or collect fees.
Comment & Rating (0)