
Solar IoT Weather Station - ESP32 & Home Assistant

Print Profile(1)

Description
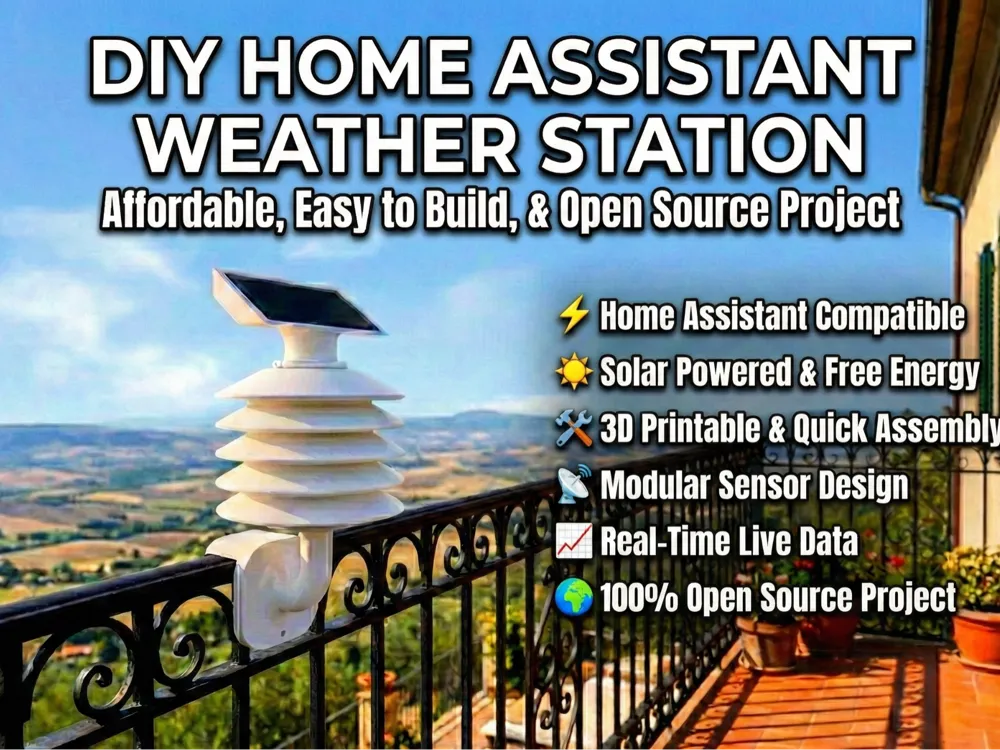
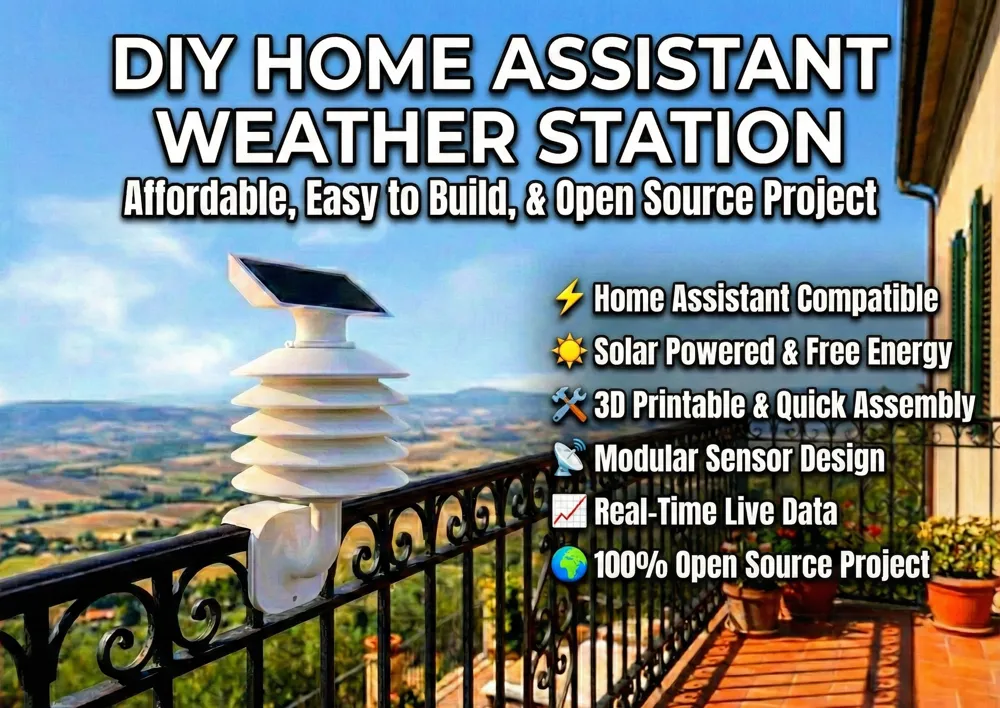
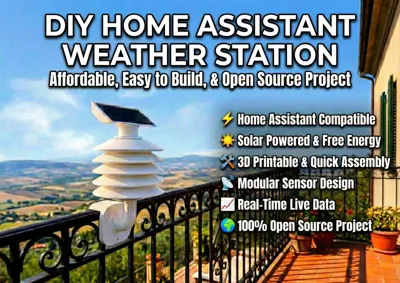
🌦️ Smart Solar Weather Station – ESP32-C3 & BME280
V2 version is avaible, new shape e new mesurement Print it!
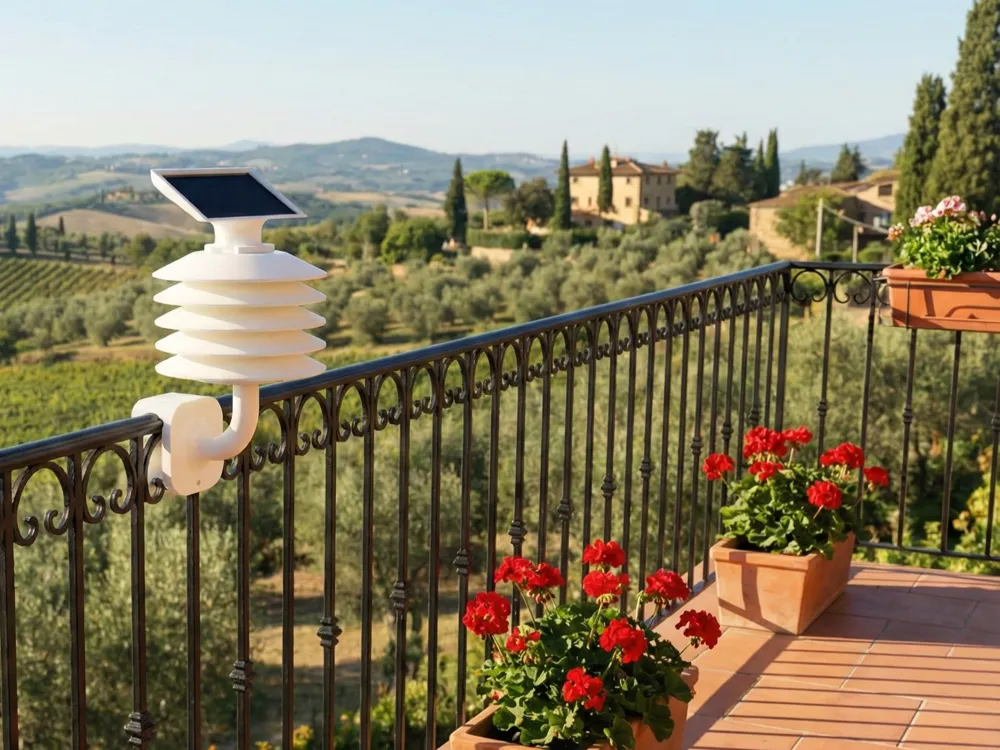
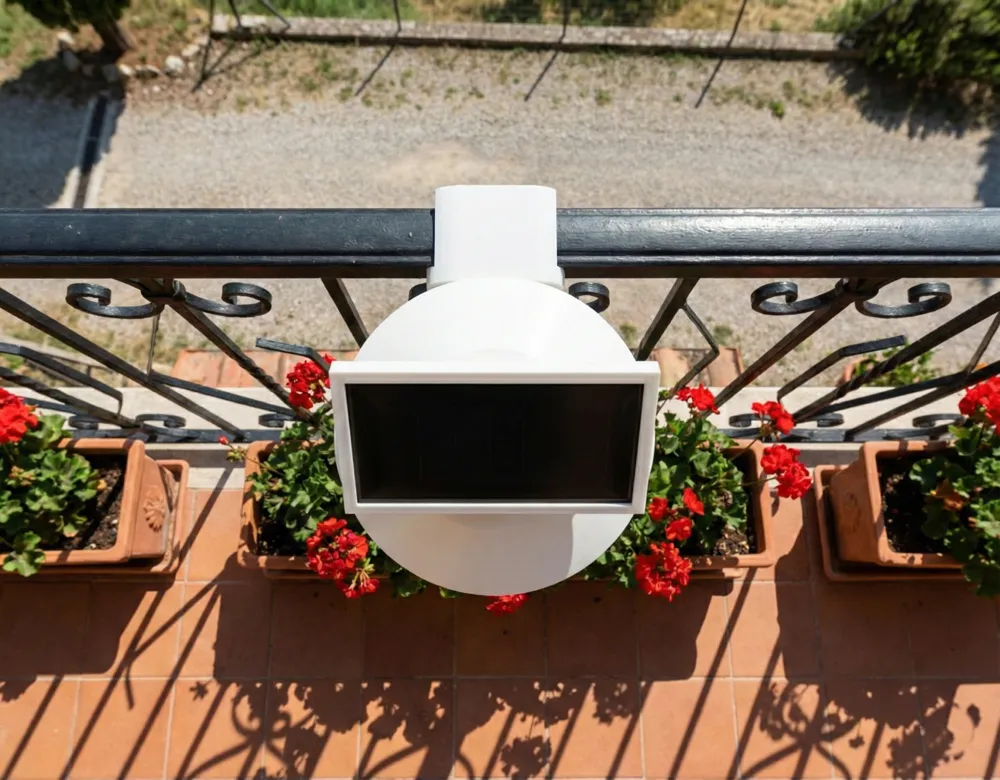
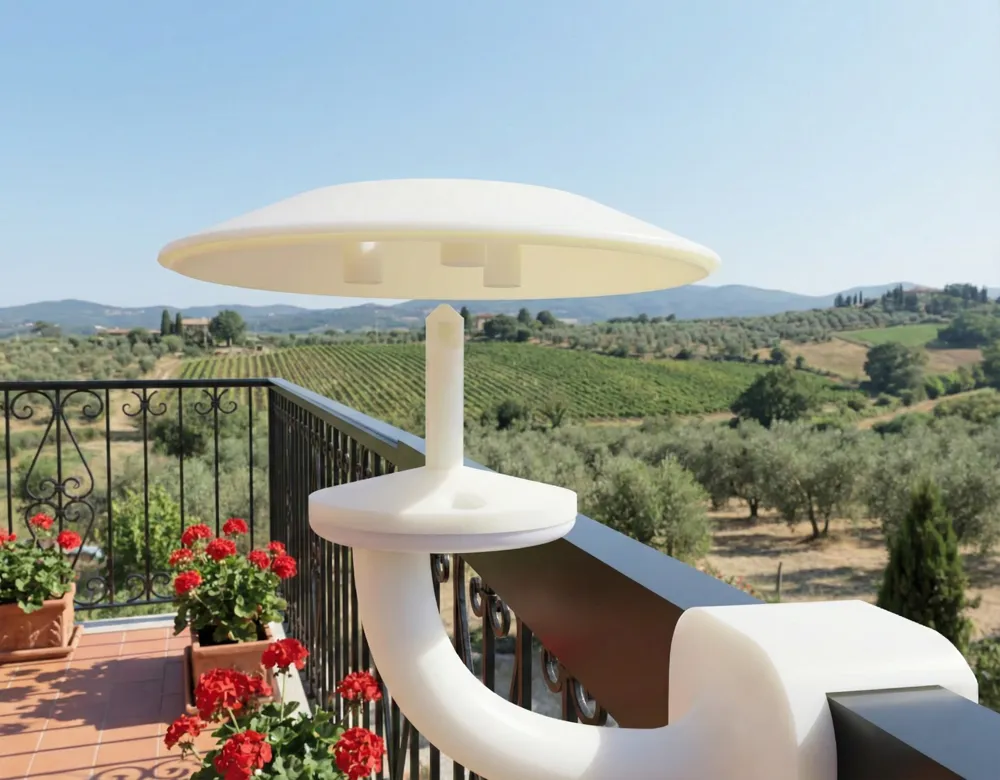
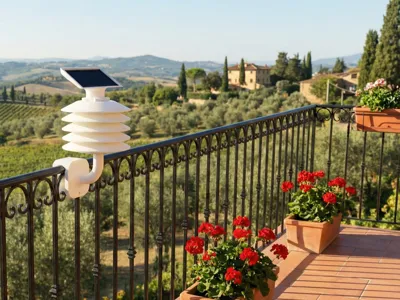
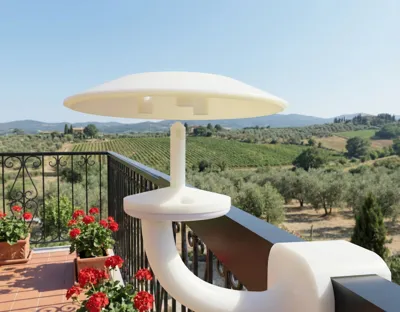
This IoT Weather Station is a fully autonomous environmental monitoring system. Designed with a professional "Stevenson Screen" (solar shield) architecture, it protects internal sensors from direct sunlight and rain while ensuring optimal airflow for precise readings.
Powered by a Seeed Studio Xiao ESP32-C3, the station leverages ultra-low power Deep Sleep modes to run indefinitely using only solar energy.
🚀 Features
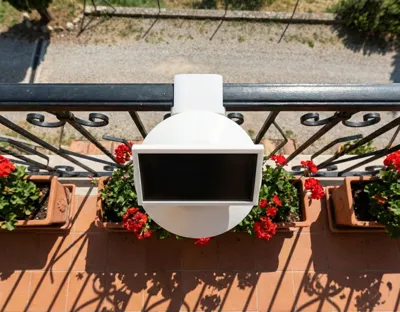
- Total Autonomy: Powered by a 18650 Li-ion battery recharged by a 1W solar panel.
- Precision Sensing: High-quality BME280 for Temperature, Humidity, and Barometric Pressure.
- Energy Monitoring: Integrated INA219 sensor to track battery voltage and solar charging efficiency.
- Weatherproof Design: Optimized for PETG 3D printing to withstand UV rays and high temperatures.
- Dual Compatibility: Ready for Home Assistant (ESPHome) or custom Arduino firmware.
🛠️ Bill of Materials (BOM)
Electronics
- 1x Seeed Studio Xiao ESP32-C3 (or equivalent logic board).
- 1x BME280 (3.3v version) Sensor.
- 1x MCU-219 INA219 Current/Voltage Sensor.
- 1x TP4056 Li-ion Charger Module.
- 1x Solar Panel 6V 1W (110x60mm).
- 1x 18650 Li-ion Battery & 18650 Battery Case.
Hardware & Assembly
- 3x Threaded bars M4x120mm.
- 3x M4 Nuts.
- 1x M6x55mm Screw (for mounting bracket).
- 1x M6 Nut.
🖨️ 3D Printing Settings
- Material: PETG is mandatory (PLA will warp under the sun). ASA is a great premium alternative.
- Color: White (highly recommended) to reflect solar radiation and prevent heat build-up.
- Layer Height: 0.2mm or 0.24mm.
- Infill: 15-20% (Gyroid suggested).
- Wall Loops: 3 for extra durability.
🔌 Wiring Diagram
The sensors use the I2C protocol. Connect them to the Xiao ESP32-C3 as follows:
| Sensor Pin | Xiao ESP32-C3 Pin / Power |
|---|---|
| VCC (BME & INA) | 3V3 |
| GND (BME & INA) | GND |
| SDA (BME & INA) | GPIO 4 (D4) |
| SCL (BME & INA) | GPIO 5 (D5) |
Note: The Solar Panel connects to the IN pads of the TP4056. The Battery connects to the BAT pads. Use the OUT pads of the TP4056 to power the Xiao 5V pin.
💻 Software Options
Option A: ESPHome (Home Assistant)
Best for seamless integration with Home Assistant. The device wakes up every 20 minutes, sends data, and sleeps.
YAML
esphome:
name: weather-station-c3
esp32:
board: esp32-c3-devkitm-1
deep_sleep:
run_duration: 30s
sleep_duration: 20min
i2c:
sda: GPIO4
scl: GPIO5
sensor:
- platform: bme280_i2c
temperature:
name: "Outdoor Temperature"
humidity:
name: "Outdoor Humidity"
pressure:
name: "Pressure"
address: 0x76
- platform: ina219
address: 0x40
bus_voltage:
name: "Battery Voltage"
current:
name: "Solar Current"
Option B: Arduino Sketch (C++ Native)
For users who prefer custom coding. Requires Adafruit BME280 and Adafruit INA219 libraries.
C++
#include <Wire.h>
#include <Adafruit_Sensor.h>
#include <Adafruit_BME280.h>
#include <Adafruit_INA219.h>
#define TIME_TO_SLEEP 1200 // Sleep time in seconds (20 min)
#define uS_TO_S_FACTOR 1000000 // Microseconds to Seconds conversion
Adafruit_BME280 bme;
Adafruit_INA219 ina219;
void setup() {
Serial.begin(115200);
Wire.begin(4, 5); // SDA = D4, SCL = D5
if (!bme.begin(0x76)) Serial.println("BME280 Error!");
if (!ina219.begin()) Serial.println("INA219 Error!");
// Read data
Serial.printf("Temp: %.2f °C, Bat: %.2f V\n", bme.readTemperature(), ina219.getBusVoltage_V());
// Enter Deep Sleep
esp_sleep_enable_timer_wakeup(TIME_TO_SLEEP * uS_TO_S_FACTOR);
esp_deep_sleep_start();
}
void loop() {}
🔧 Assembly Tips
- Sensor Placement: Place the BME280 in the middle plates, away from the battery and TP4056, to avoid heat interference.
- Weatherproofing: Apply a thin layer of silicone or conformal coating to the electronics to prevent corrosion from humidity.
- Calibration: If your temperature readings seem high, ensure the station is not placed directly against a dark wall that absorbs heat.
Boost Me (for free)
If you found this model useful or enjoyed the print, please consider giving it a Boost! 🚀 Your support is essential for me to keep designing and sharing new free models with the community. Thank you and happy printing!
License

You shall not share, sub-license, sell, rent, host, transfer, or distribute in any way the digital or 3D printed versions of this object, nor any other derivative work of this object in its digital or physical format (including - but not limited to - remixes of this object, and hosting on other digital platforms). The objects may not be used without permission in any way whatsoever in which you charge money, or collect fees.


Comment & Rating (9)