
Kukirin g4&Teewing GT4 NO DASHBOARD
Print Profile(2)


Description
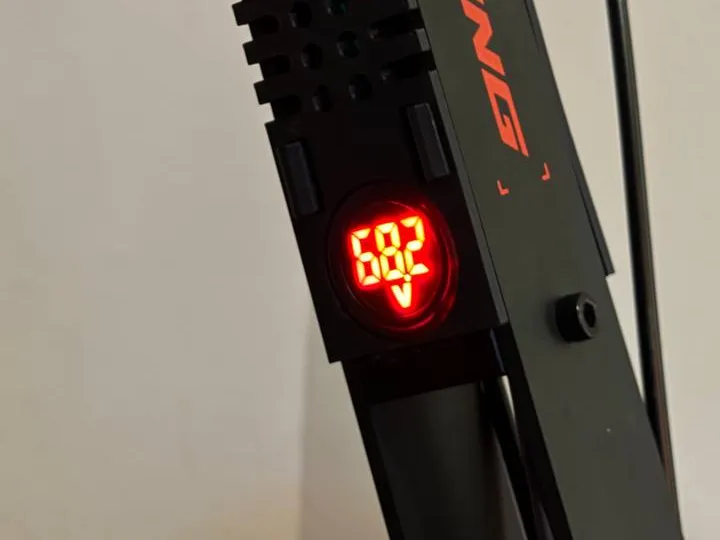
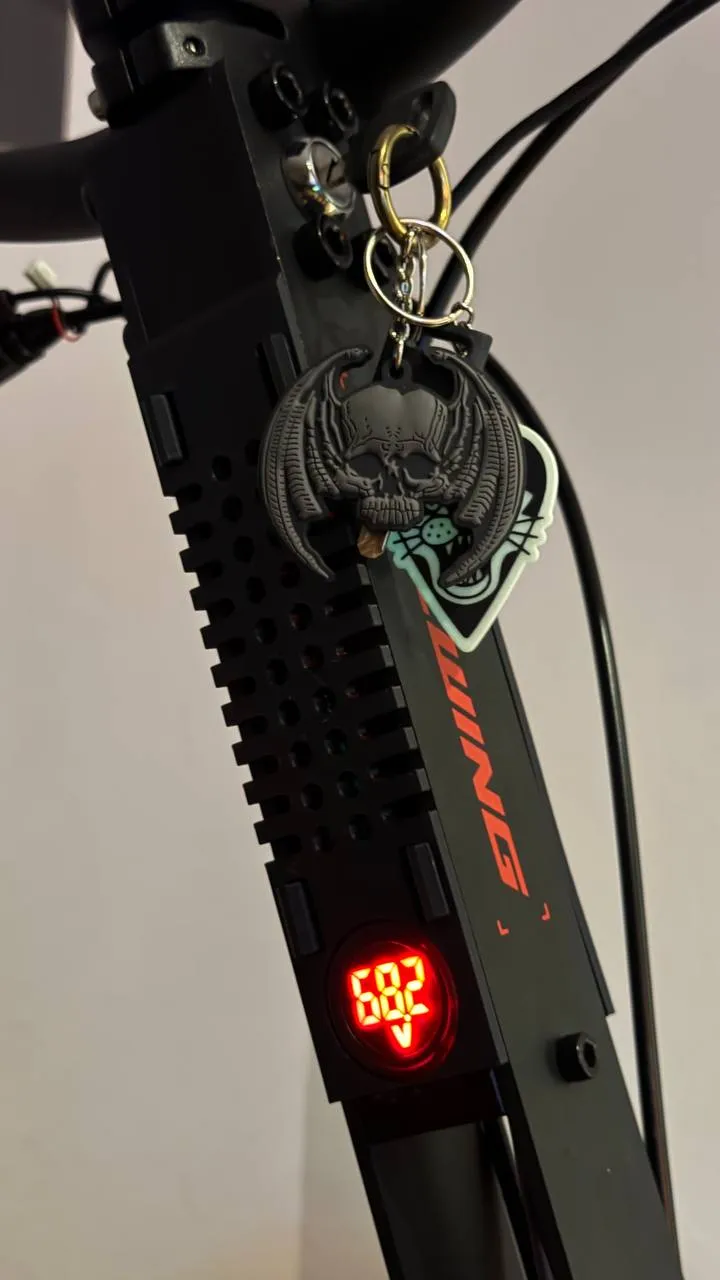
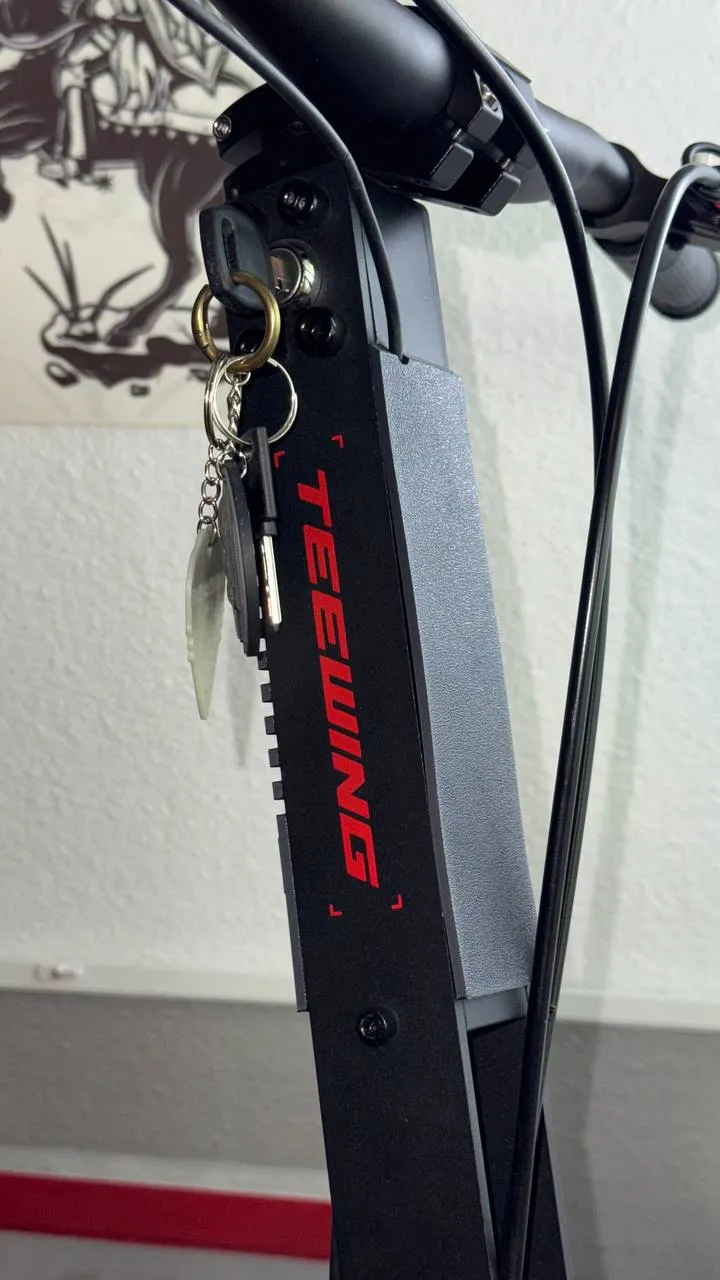
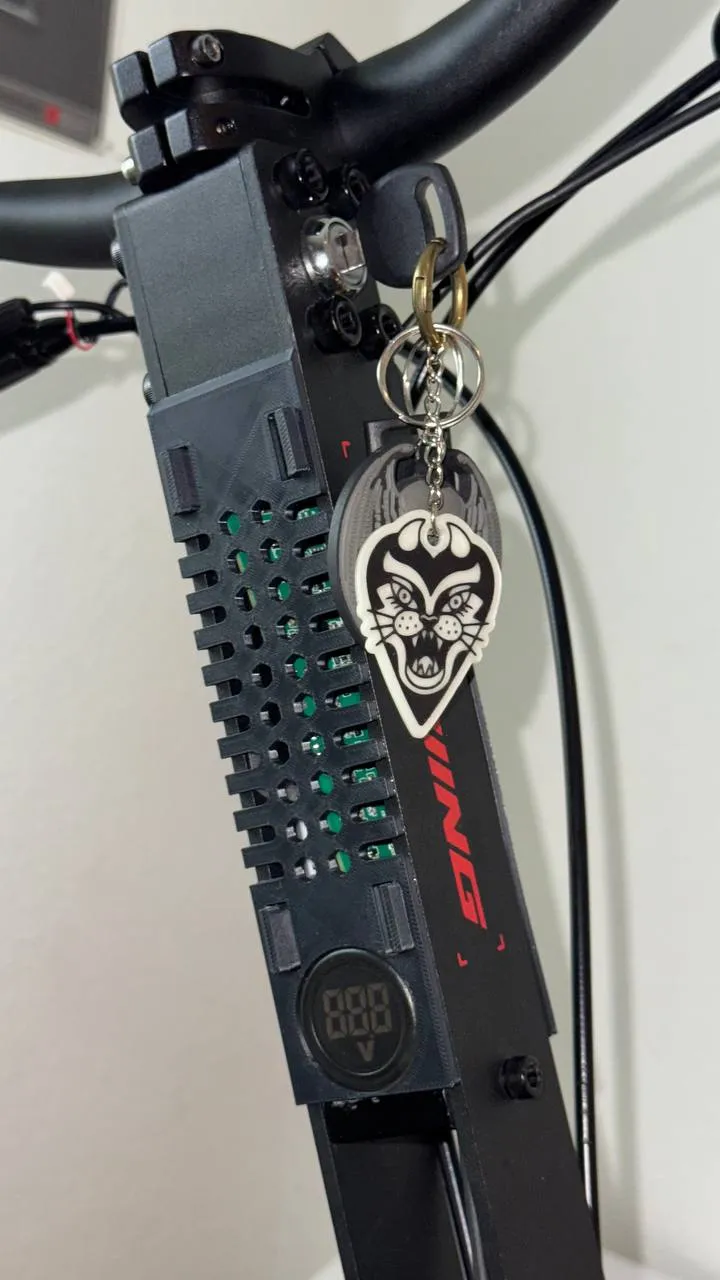
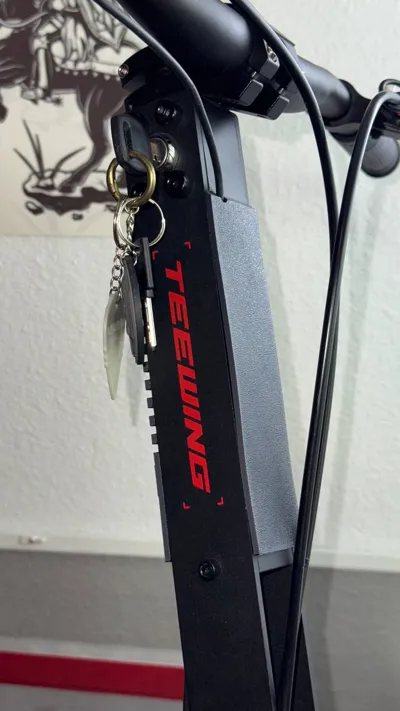
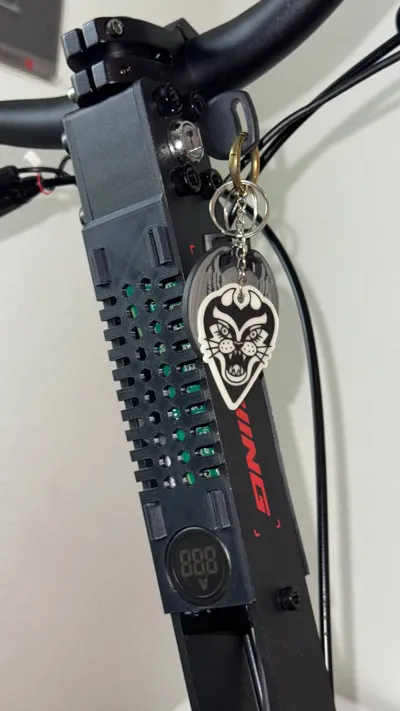
🚀 Stealth Handlebar & Voltage Monitor Mod: KuKirin G4 / Teewing GT4
Modification by Kozlov
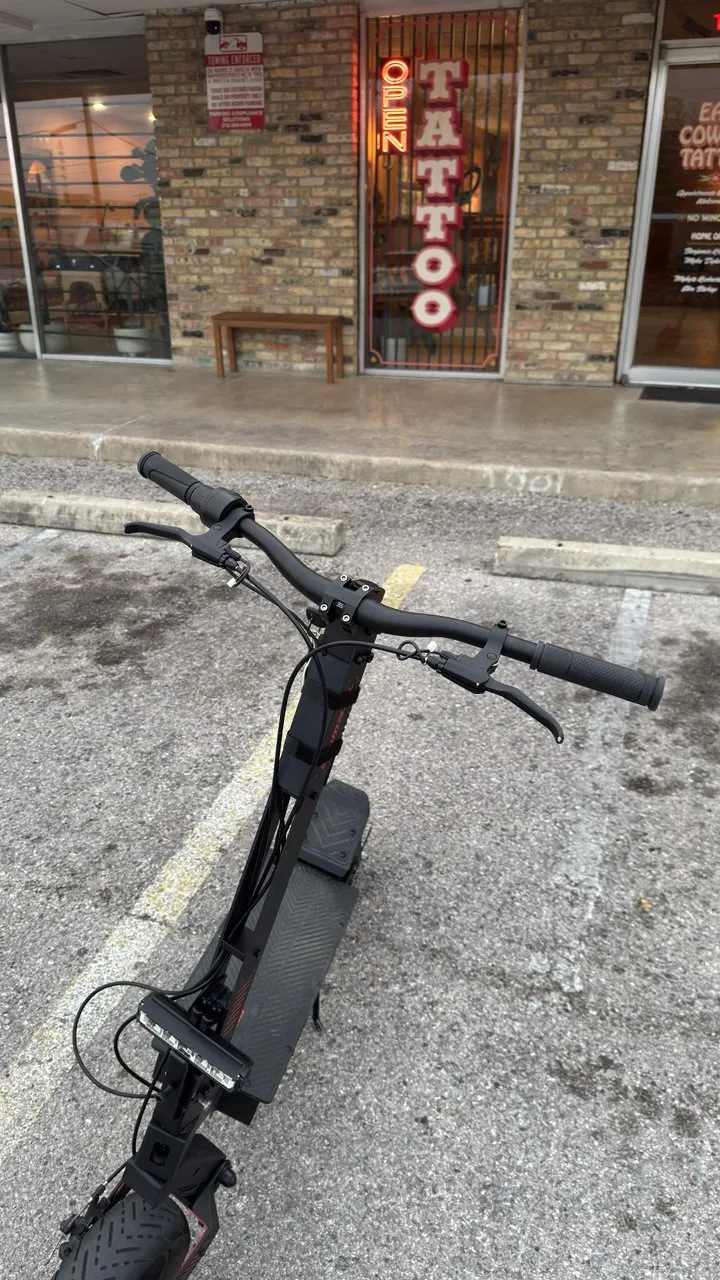
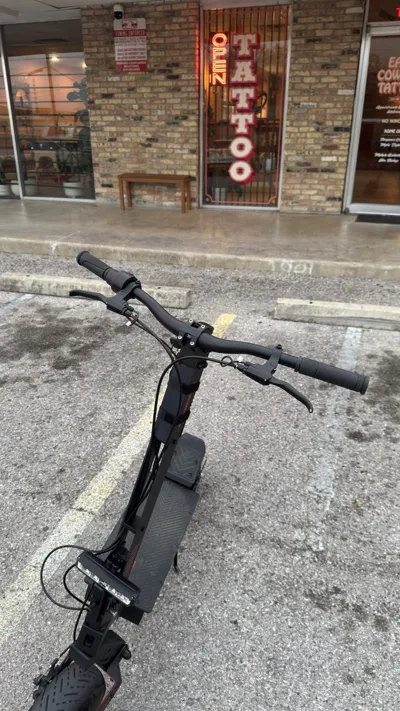
Upgrade your ride by removing the bulky stock dashboard and the weak integrated headlight. This mod allows you to achieve a "clean" handlebar setup, making room for custom MTB handlebars, stems, and other modifications that were previously blocked by the stock plastic housing.
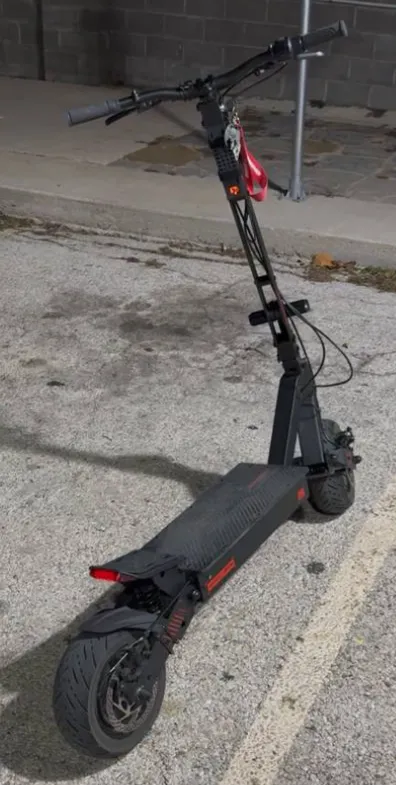
[!WARNING] DISCLAIMER: You are solely responsible for any modifications made to your vehicle. If you are not confident in your technical skills, please consult a professional. Ride safe!
🌟 Key Benefits
- Clean Cockpit: Visual aesthetics and complete freedom to install custom stems or accessories.
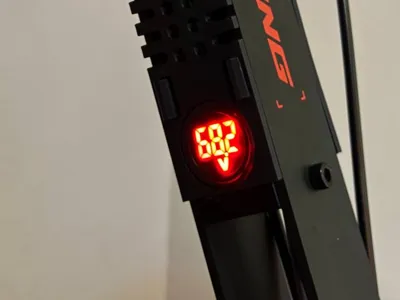
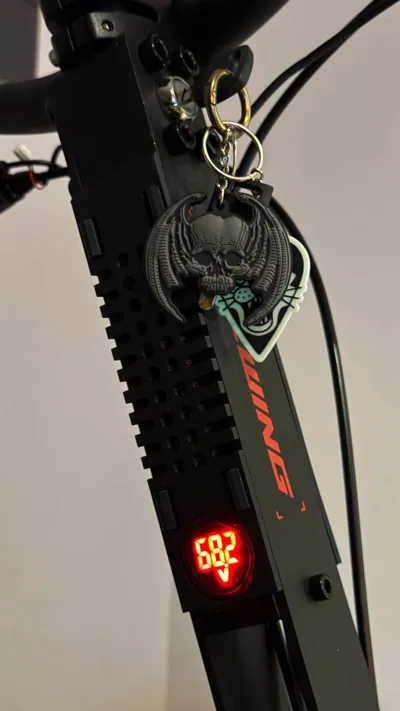
- Precise Battery Monitoring: The voltmeter provides a real-time, accurate reading of your remaining battery voltage. No more guessing with the unreliable stock "battery bars."
- Easy Maintenance: Gain direct access to your stem bolts. Tighten or adjust your handlebars without disassembling the entire plastic dash.
- OEM Reliability: This mod uses your original internal PCB. No need for expensive third-party controllers or complex rewiring.
- Fully Functional: Your key switch, throttle, and rear lights remain 100% operational.
📦 Requirements
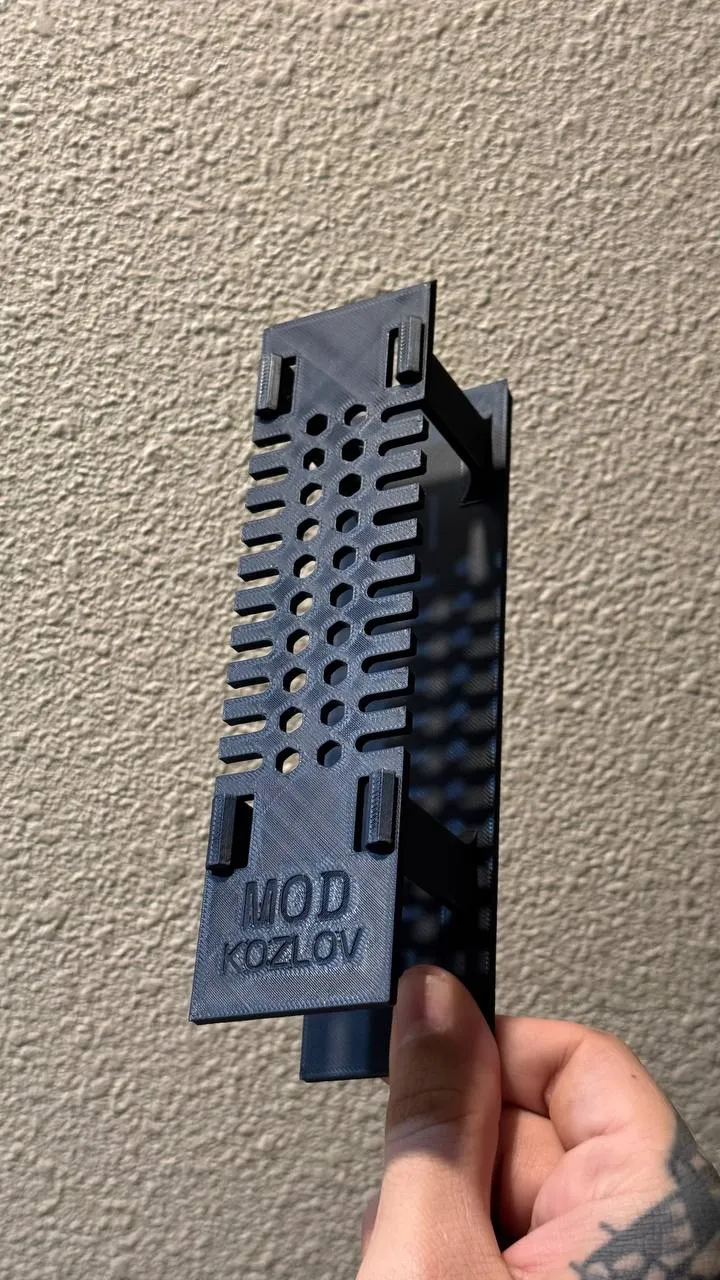
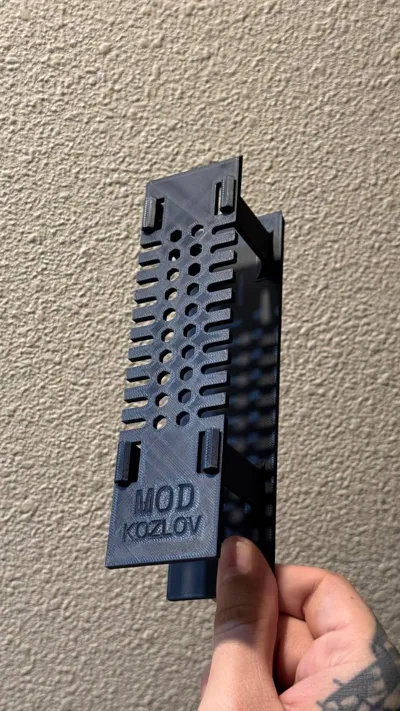
- 3D Printed Parts: Front and Rear covers (Files included).
Electronics: Original dashboard PCB and a Digital Voltmeter (Optional, 0-100V range).
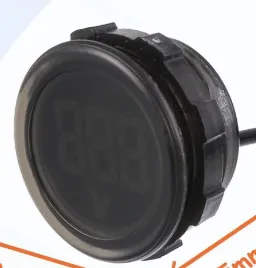
Diameter: 33.5 mm (1.32 in)Donor Parts: Original wire from the button panel (turn signals/horn) to use as a connector.
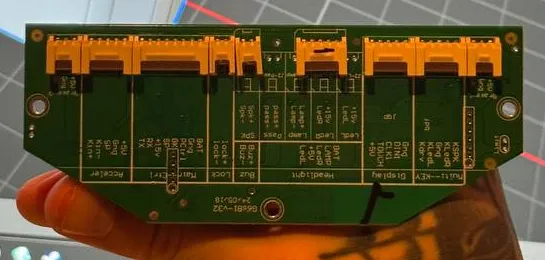
- Tools: Phillips screwdriver, heat shrink tubing, and basic soldering/crimping tools.
🛠 Step-by-Step Installation
Step 1: Preparation
- Print the covers. Recommended Material: PLA&PETG or ASA (for UV and heat resistance).
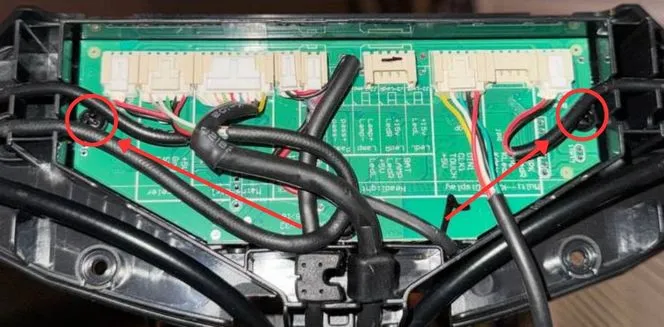
Disassemble the stock plastic dashboard. Carefully remove the internal PCB after disconnecting all plugs.
Step 2: Front Panel Mounting
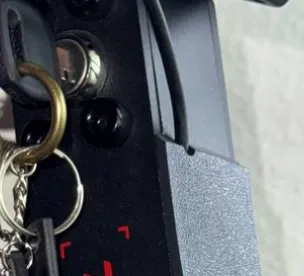
- Place the throttle wire into the dedicated cutout on the Front Cover.
- Slide the Front Cover into place directly under the key switch. Note: The cutout must face UP. Press it firmly against the frame.
Step 3: Wiring & Testing
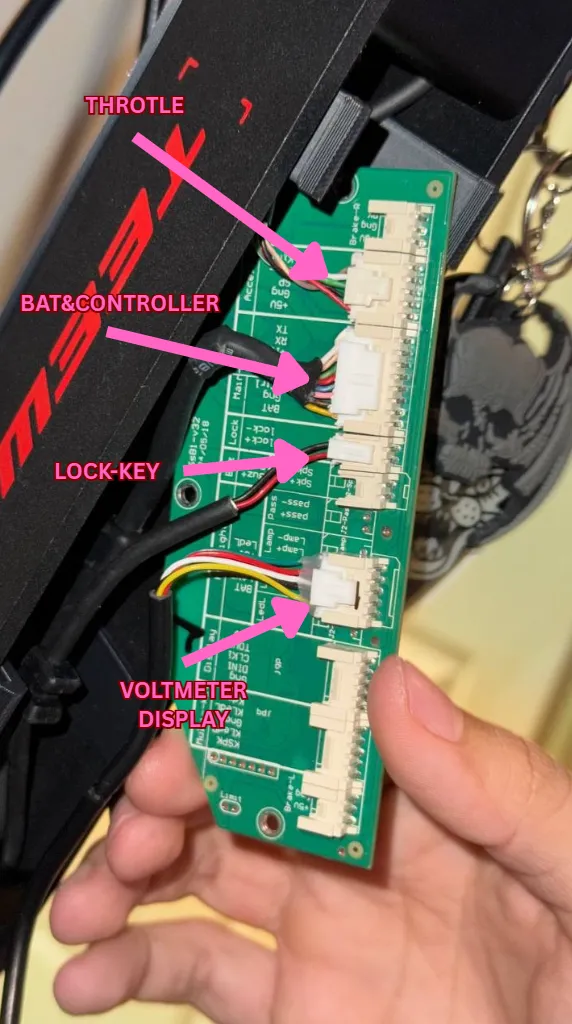
- Reconnect the main power, throttle, and key switch to the original PCB.
Test: Turn the key. Ensure the red LED on the PCB lights up and the throttle/rear lights respond correctly.
Step 4: Final Assembly
- Carefully tuck the "spaghetti" of wires and the PCB between the two metal plates of the frame. You may need to tilt the PCB slightly to save space.
- Snap the Rear Cover into place using the integrated clips.
⚡️ Voltmeter Installation (Recommended)
For a precise understanding of your battery's health:
- Donor Wire: Cut the wire from the old button panel, keeping the 5-pin connector.
- Wiring Diagram: * Red wire (Voltmeter) ➔ Yellow wire (Connector).
Black wire (Voltmeter) ➔ Black wire (Connector).
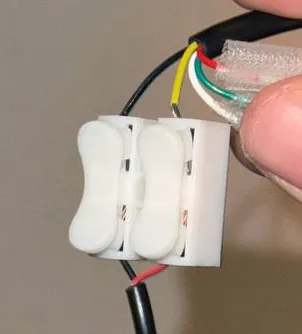
- Insulation: Use heat shrink tubing on all connections to prevent shorts.
Connection: Plug the connector into the "Headlight" port on the PCB.
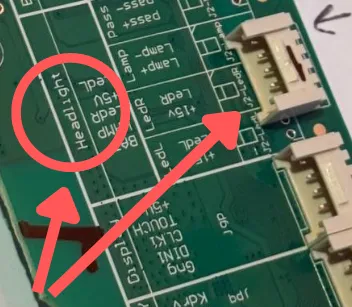
- Operation: The voltmeter will now turn on when you activate the lights or turn the key (depending on your configuration).
📊 Voltage Cheat Sheet (60V System)
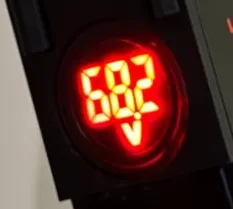
Check your voltmeter against these values to know your real range:
- 67.2V — 100% (Fully Charged)
- 59.2V — 50% (Halfway Point)
- 48.0V - 50.0V — 0% (BMS Cut-off / Charge Immediately)
Links: Waterproof DC 4V-100V Voltmeter (Diameter: 33.5 mm or 1.32 in) https://a.co/d/ezY9CZR
License

You shall not share, sub-license, sell, rent, host, transfer, or distribute in any way the digital or 3D printed versions of this object, nor any other derivative work of this object in its digital or physical format (including - but not limited to - remixes of this object, and hosting on other digital platforms). The objects may not be used without permission in any way whatsoever in which you charge money, or collect fees.


Comment & Rating (2)